
Forces
NSL
Commander
Matthias
Motivation
low
Fatigue
tired
ADE
N/A
Support
N/A
The Jäger platoon is experienced in missions behing enemy lines, consisting of both experienced troops and vetreran troops. Draw the quality counters randomly from regular and veteran. The PA squad is very experienced, draw the quality counters randomly from veteran and elite. The Jäger Platoon and the Sniper Team are deployed hidden on the table around the central hill. They had enough time to place mines in the vicinity (we used actually too many mines and dummy counters, which made advancing for the NAC player to dangerous).
Mission Outline
A covert OPs mission has been ordered, sending in a squad of power armoured troops to destroy an important communications relay point. The troops HALOed in excelled at completing the mission. A squad of Jägers was covertly inserted near the target, to secure a hill where captured NAC VTOLs (to be less suspicious) would land to extract the PA troops as well as the guarding Jägers.
Primary Objective
Hold the landing zone until the PA troops arrive. Then call in the VTOLs and extract everyone.
Secondary Objective
Get all your wounded out.
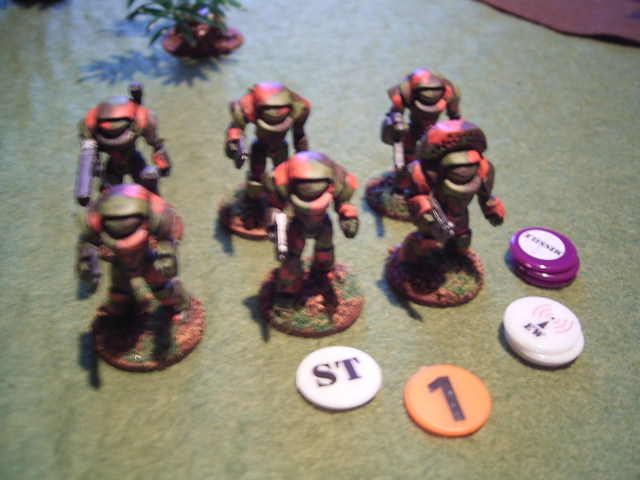
PlatoonJäger Kompanie, 1. Zug
SquadCommand
| Name | Equipment | Armour | Mobility | Sensors |
|---|---|---|---|---|
| Leutnant | SG58 AAR | Basic Battledress (d4) | very light (8") | d8 (enhanced) |
| Feldwebel | SG58 AAR | Basic Battledress (d4) | very light (8") | d8 (enhanced) |
| Jäger | SG58AAR | Basic Battledress (d4) | very light (8") | d8 (enhanced) |
| Jäger | SK51 Plasma Gun | Basic Battledress (d4) | very light (8") | d8 (enhanced) |
TeamSniper
| Name | Equipment | Armour | Mobility | Sensors |
|---|---|---|---|---|
| 2 Jäger | Heavy Anti-Material Rifle | Basic Battledress (d4) | very light (8") | d8 (enhanced) |
SquadI, II & III
| Name | Equipment | Armour | Mobility | Sensors |
|---|---|---|---|---|
| Unteroffizier | SG58 AAR | Basic Battledress (d4) | very light (8") | d8 (enhanced) |
| Jäger | MG66 SAW | Basic Battledress (d4) | very light (8") | d8 (enhanced) |
| Jäger | PzSKK XII GMS/P | Basic Battledress (d4) | very light (8") | d8 (enhanced) |
| Jäger | SK51 Plasma Gun | Basic Battledress (d4) | very light (8") | d8 (enhanced) |
| Jäger | SK51 Plasma Gun | Basic Battledress (d4) | very light (8") | d8 (enhanced) |
| Jäger | SK51 Plasma Gun | Basic Battledress (d4) | very light (8") | d8 (enhanced) |
SquadPower Armoured Panzergrnadiere
| Name | Equipment | Armour | Mobility | Sensors |
|---|---|---|---|---|
| Feldwebel | SGKpfZ 60 APW | Heavy Power Armour (d12) | Power Armour, fast (12") | d8 (enhanced) |
| Hauptgefreiter | MGKpfZ 66 SAW | Heavy Power Armour (d12) | Power Armour, fast (12") | d8 (enhanced) |
| Gefreiter | SKKpfZ 51 SAW | Heavy Power Armour (d12) | Power Armour, fast (12") | d8 (enhanced) |
| Obergefreiter | Shoulder mounted MRL, SGKpfZ 60 APW | Heavy Power Armour (d12) | Power Armour, fast (12") | d8 (enhanced) |
| Obergefreiter | SGKpfZ 60 APW | Heavy Power Armour (d12) | Power Armour, fast (12") | d8 (enhanced) |
| Gefreiter | SGKpfZ 60 APW | Heavy Power Armour (d12) | Power Armour, fast (12") | d8 (enhanced) |
TeamExtraction
| Name | Quality | Leadership | Confidence | Crew | Size | Mobility | Capacity | Armour | ECM |
|---|---|---|---|---|---|---|---|---|---|
| V2022-Osprey Mk. III VTOL | Regular | random | CO | 2 | 3 | VTOL | 15 | 3 | d8 (enhanced) |
| V2022-Osprey Mk. III VTOL | Regular | random | CO | 2 | 3 | VTOL | 15 | 3 | d8 (enhanced) |
NAC
Commander
Richard
Motivation
medium
Fatigue
fresh
ADE
N/A
Support
3 RAM mortar tubes (off-table support, inbound chart position 2)
The NAC consists of mixed quality troops, the quality counters are drawn from veteran and regular.
Mission Outline
An important communication relay station has been hit hard with a raid in the early morning hours by NSL PA troops. Higher ups hope to catch the raiding force while it extracts itself, so your company is sent out, one platoon covering a possible landing zone.
Primary Objective
Secure the landing zone. If you were assigned to the one which will be used by the NSL troops, prevent them from escaping.
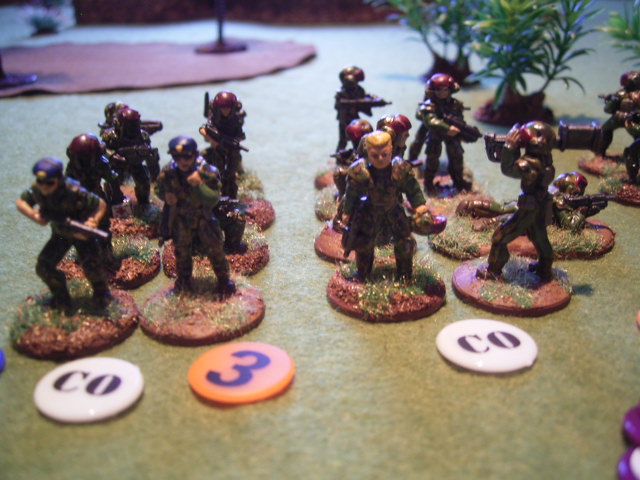
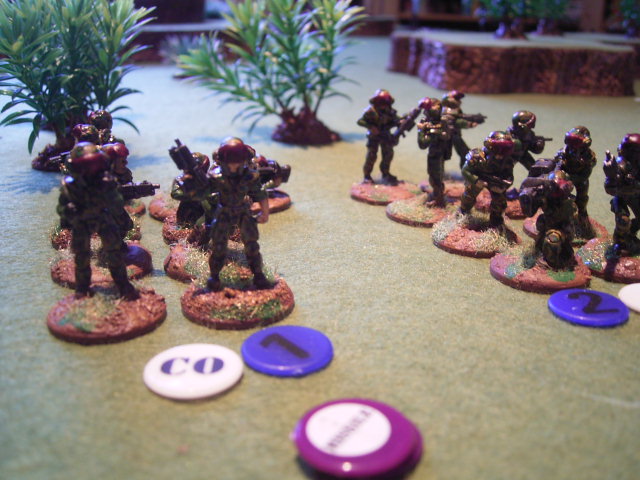
PlatoonNAC Marines
SquadCommand
SquadCommand
| Name | Equipment | Armour | Mobility | Sensors |
|---|---|---|---|---|
| Lt. | L7A3 | Partial Light Armour (d6) | normal (6") | d6 (basic) |
| Platoon Sergeant | Combat Shotgun | Partial Light Armour (d6) | normal (6") | d6 (basic) |
| Marine | L5 SAW | Partial Light Armour (d6) | normal (6") | d6 (basic) |
| Marine | L7A3 Rifle | Partial Light Armour (d6) | normal (6") | d6 (basic) |
| Marine | L7A3 Rifle | Partial Light Armour (d6) | normal (6") | d6 (basic) |
| Medic | L7A3 Rifle | Partial Light Armour (d6) | normal (6") | d6 (basic) |
| Sgt., Forward Observer | L7A3 Rifle | Partial Light Armour (d6) | normal (6") | d6 (basic) |
| Marine, Forward Observer | L7A3 Rifle, Radio & Target Designator | Partial Light Armour (d6) | normal (6") | d6 (basic) |
SquadI, II & III
| Name | Equipment | Armour | Mobility | Sensors |
|---|---|---|---|---|
| Corporal | L7A3 Rifle | Partial Light Armour (d6) | normal (6") | d6 (basic) |
| Marine | L5 SAW | Partial Light Armour (d6) | normal (6") | d6 (basic) |
| Marine | L18 GMS/P | Partial Light Armour (d6) | normal (6") | d6 (basic) |
| Marine | L7A3 Rifle | Partial Light Armour (d6) | normal (6") | d6 (basic) |
| Marine | L7A3 Rifle | Partial Light Armour (d6) | normal (6") | d6 (basic) |
| Marine | L7A3 Rifle | Partial Light Armour (d6) | normal (6") | d6 (basic) |
| Marine | L7A3 Rifle | Partial Light Armour (d6) | normal (6") | d6 (basic) |
| Marine | L7A3 Rifle | Partial Light Armour (d6) | normal (6") | d6 (basic) |
The Game
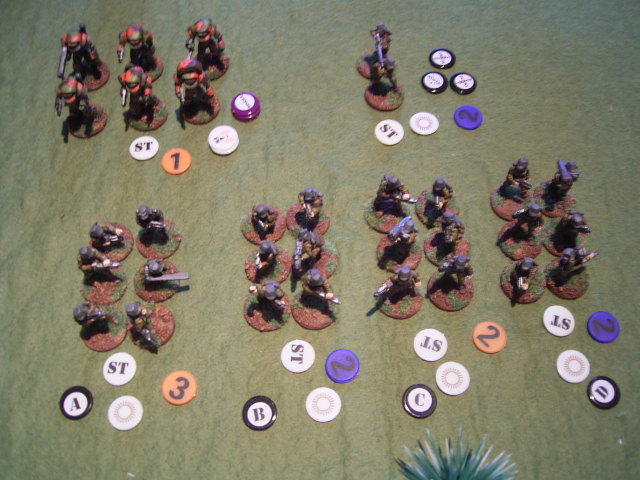
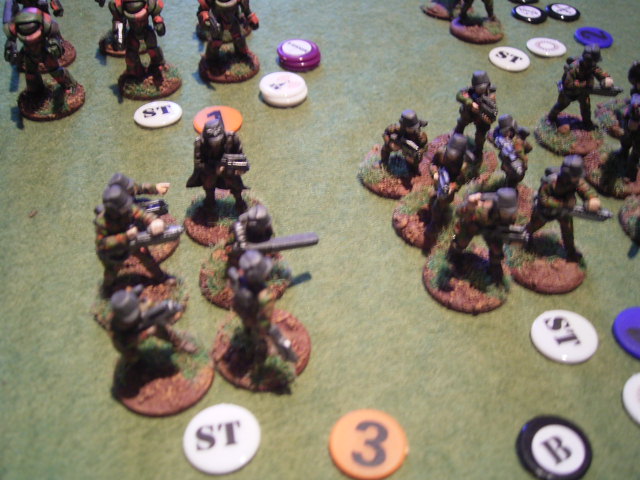
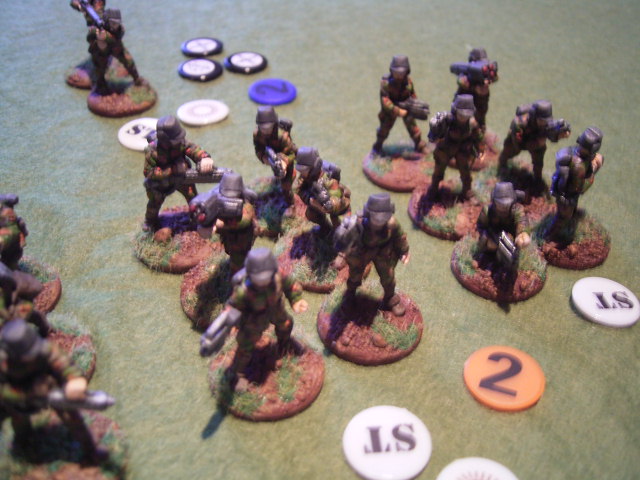
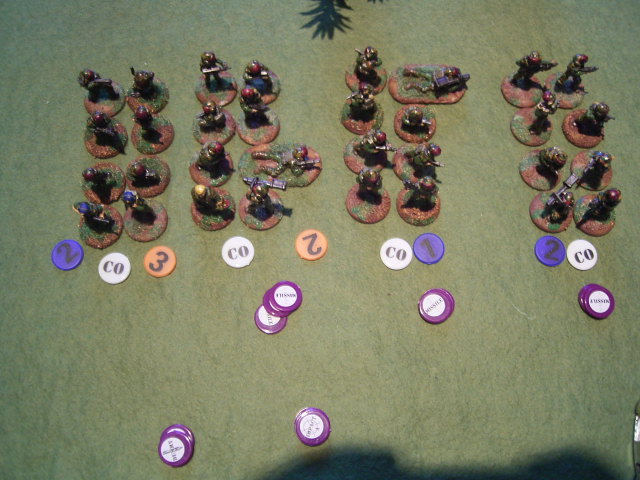
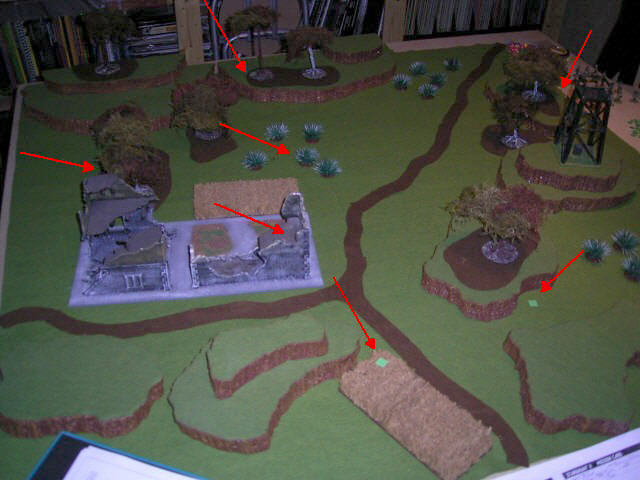
Both forces and the table before setup.
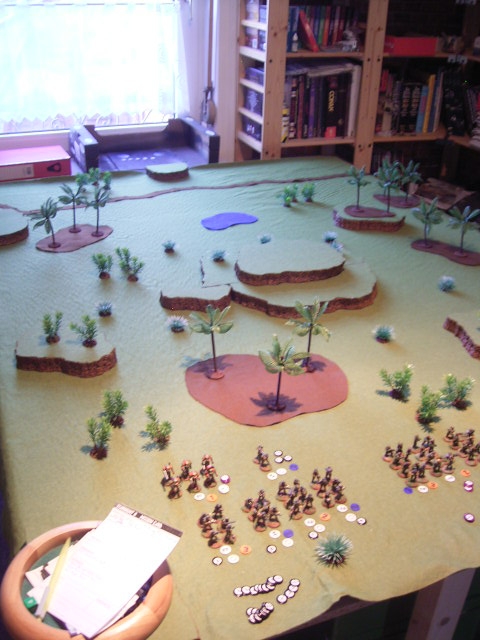
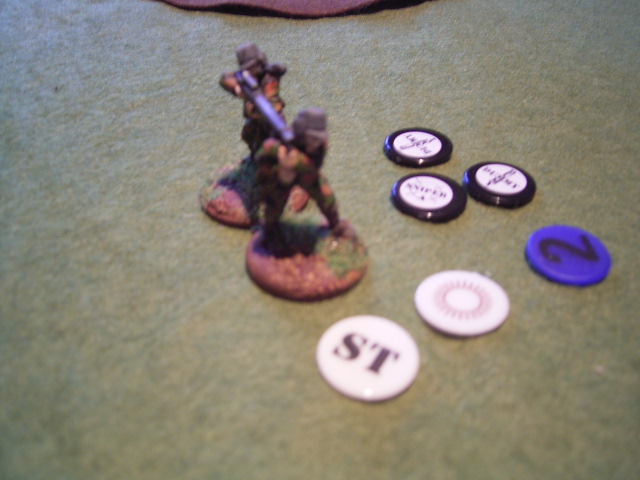
The NSL Setup. 4 Jäger Squads, a Sniper Team 10 AP Minefields and a lot of dummies…
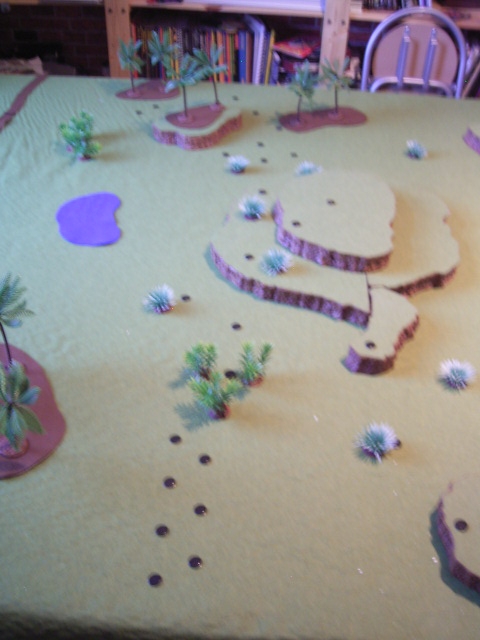
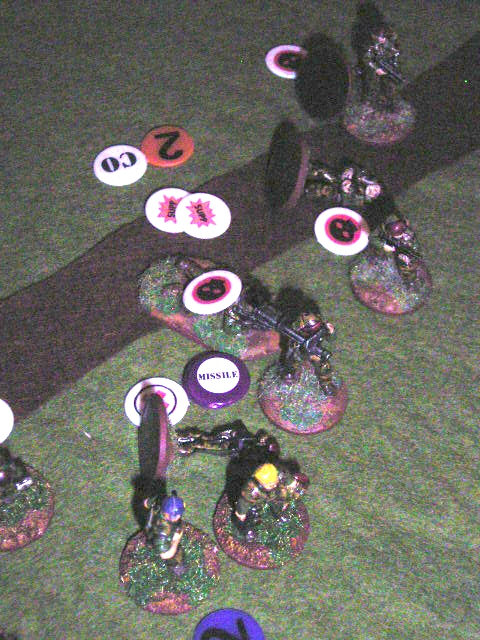
A view from the NSL position to the road they monitored for the last few days.
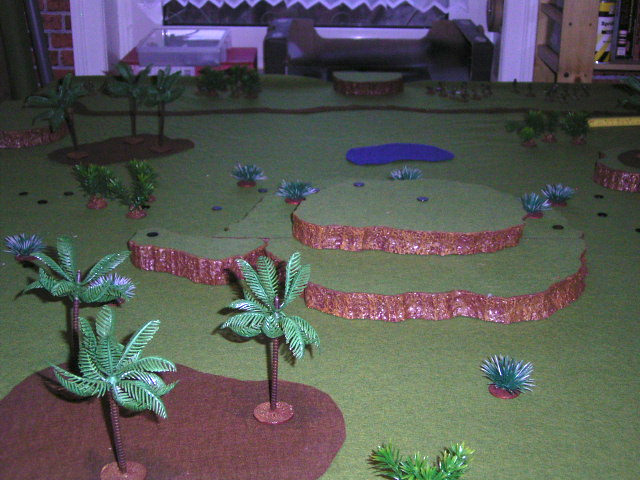
The NAC squads move toward the hill, not really expecting any enemy in their AO. Why exactly here? There are so many other possible landing zones…
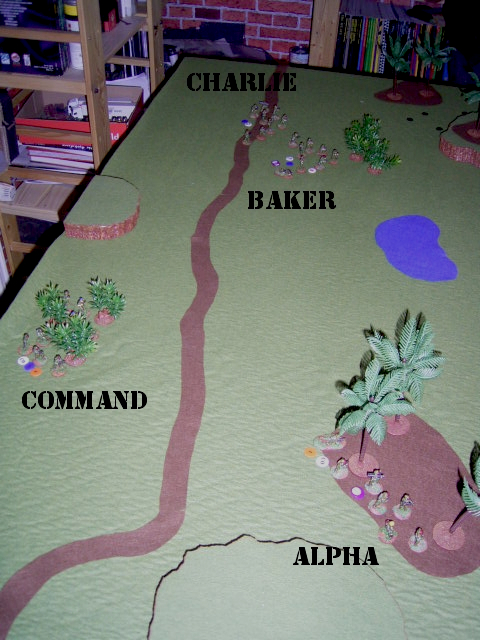
This Illusion is soon shattered by a massive boom… The NSL Sniper Team opens fire with their Heavy Anti-Material Rifle, but miss. But still, coming under fire from a hidden sniper suppresses the NAC Marines.
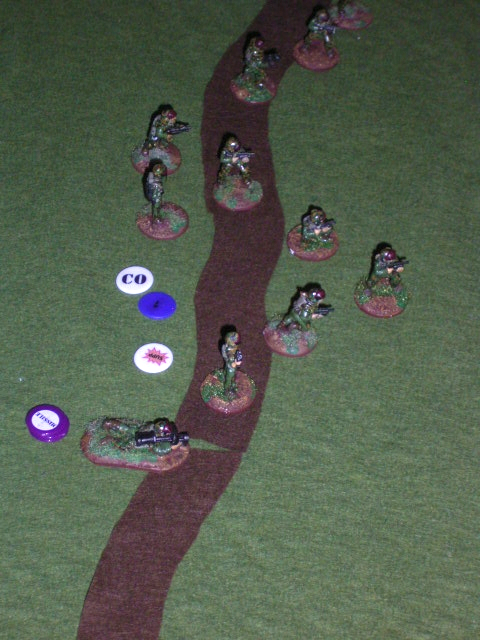
Baker quickly overcomes their inital shock and moves into the cover of some sapplings, only to come under fire from the hidden sniper again. Luckily, again no one is wounded, but they hug the ground (or the sapplings?) again.
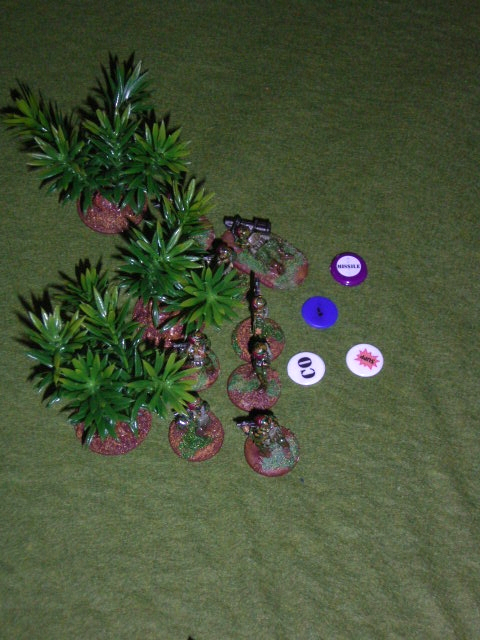
When Alpha moves through the woods, they spot something between the plants. Not sure what it is, they soon find out, as Jäger Gruppe 1 opens fire on them.
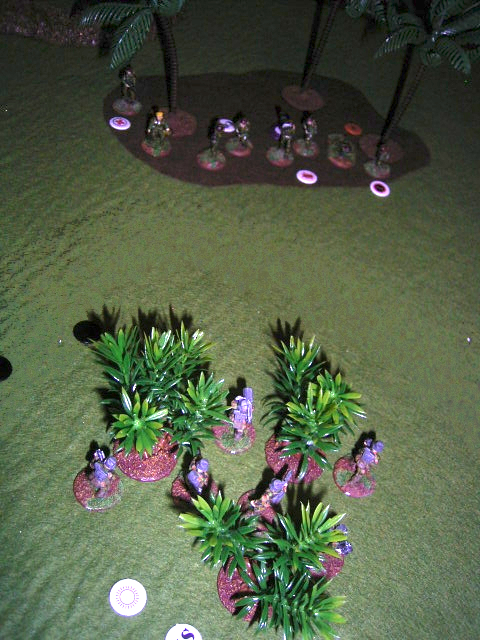
Alpha suffers one wounded and one KIA.
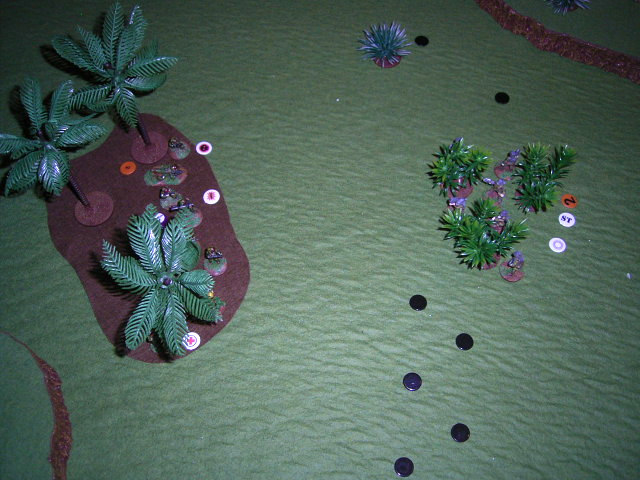
On the other side of the battlefield Charlie advances further, while Baker is still pinned down by the Sniper Fire.
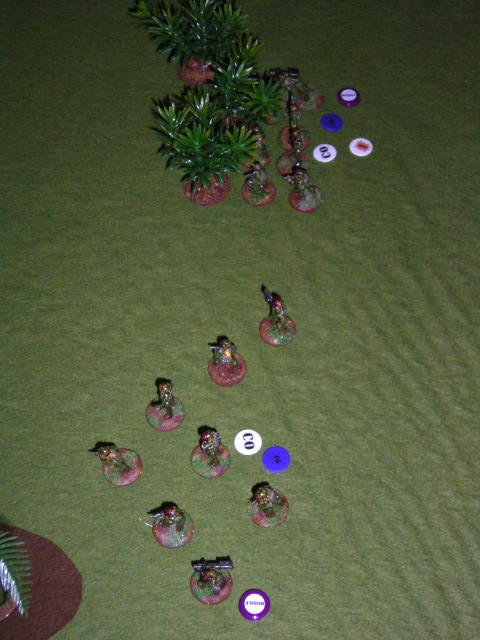
The command squad slowly moves up behind Alpha.
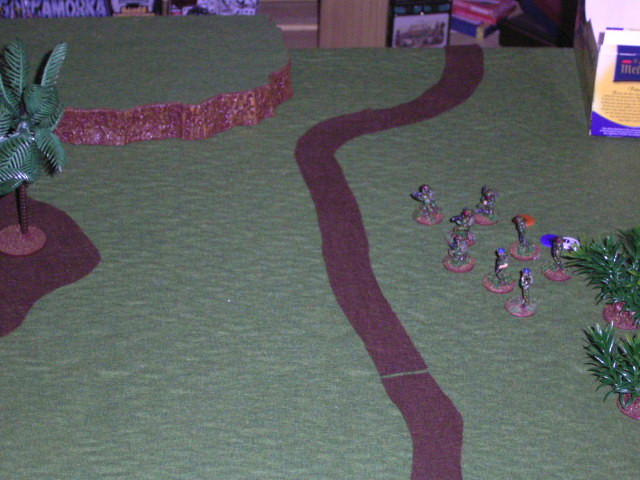
Alpha overcomes being suppressed and returns fire, with almost two dice coming up with maximum score. Only the d10 rolls an 8. Quite effective. To the dimay of the NAC player, the NSL player also rolls the maximum score on his d8, thus turning the superb firing result into a mere suppressed counter…
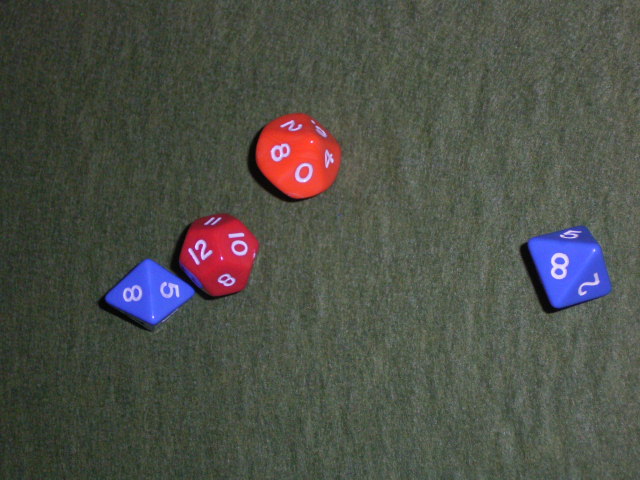
The Unteroffizier shouts at his men to get their heads out of the mud and return the fire, which they manage to do better, as the NAC rolls under two dice from the NSL - a major success.
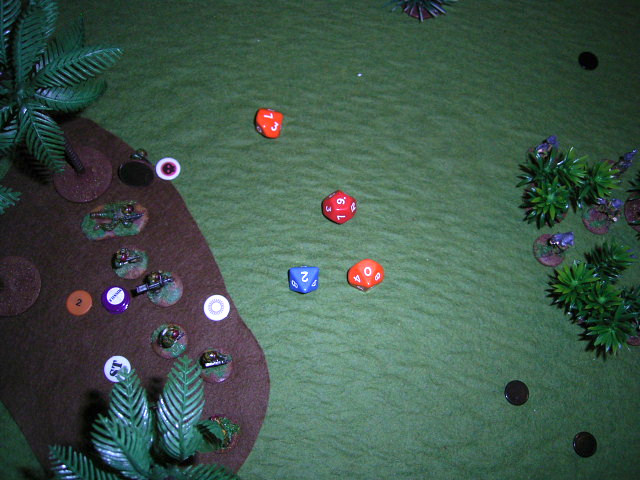
The Marines of Squad Alpha suffer one more dead and two more wounded.
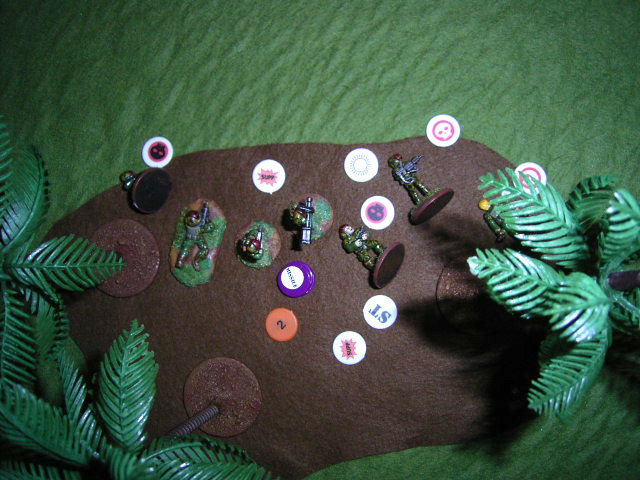
Finally the NSL sniper hits its mark, and kills Baker's GMS/P operator.
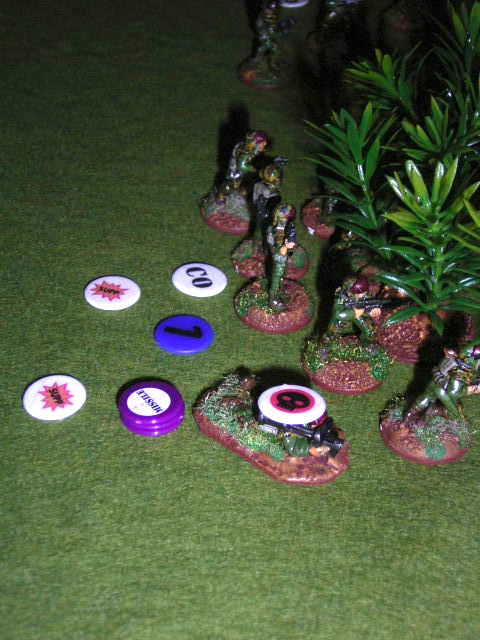
The badly mauled Alpha Squad retreats through the woods away from the NSL.
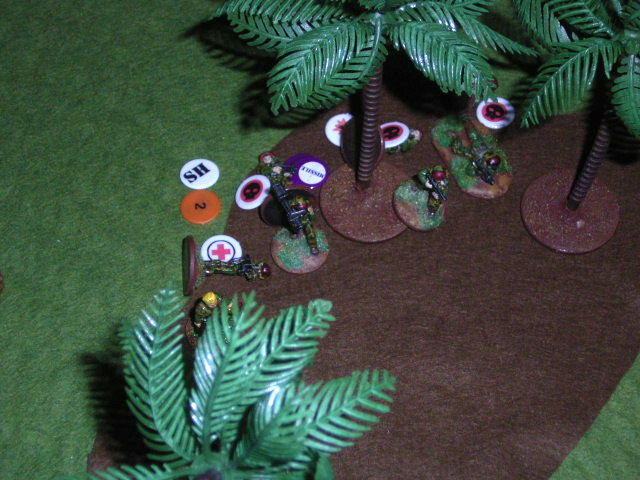
Now they cannot be seen anymore and cannot get shot at.
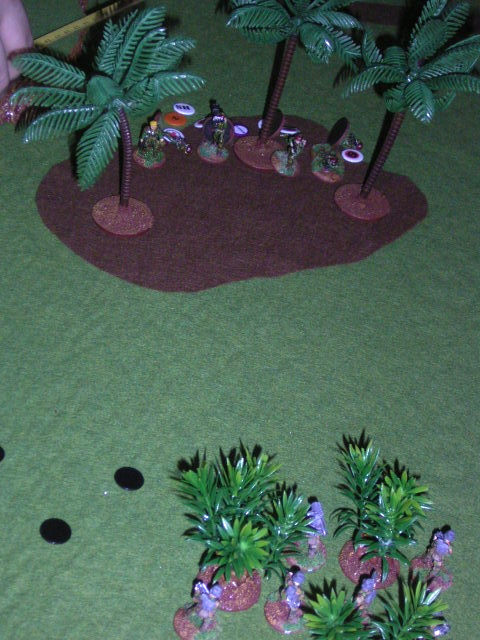
In turn 5, the VTOLs arrive and can now be called onto the table by the NSL player any time.
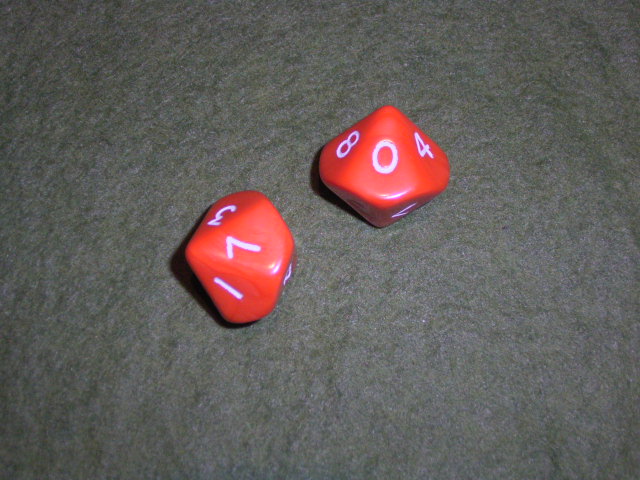
Charlie moves around on the left flank, and its point man discovers a mine field the hard way - which kills him.
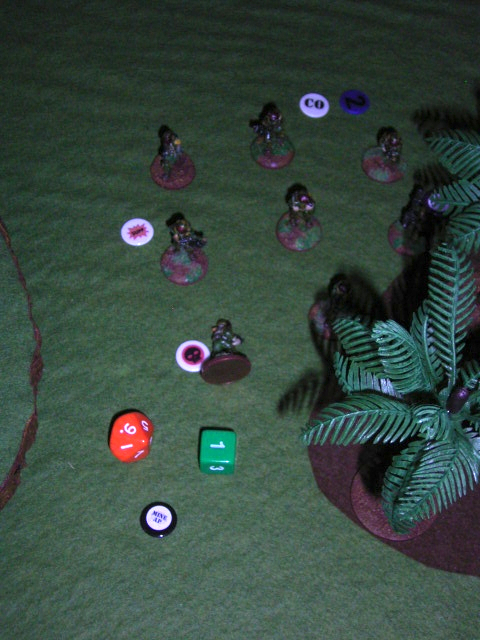
As a result of this casualty, the confidence of Charlie drops from CO to SH. Bad luck with the die.
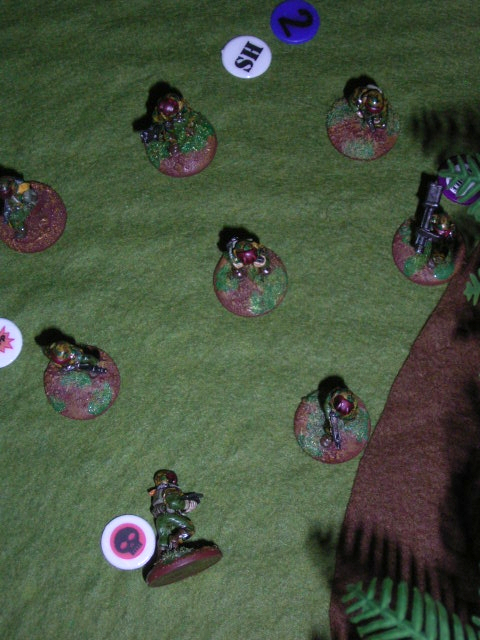
The FO decides it is time to earn his money. He leaves the command squad with his RTO, and moves onto the hill to call down the mortars on Jäger Gruppe 1, which badly mauled Alpha.
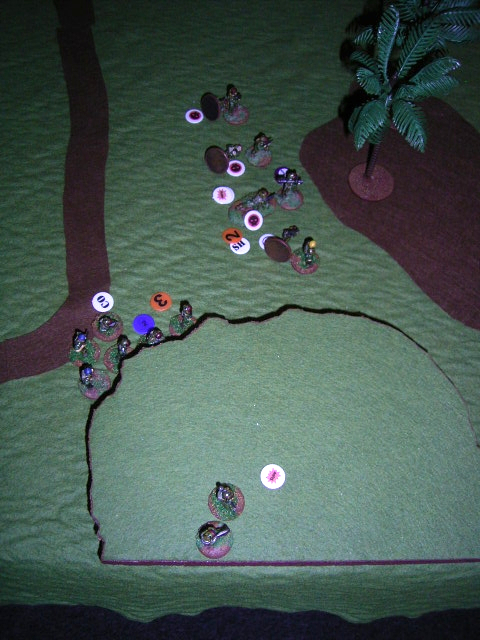
The FO plots the fire coordinates.
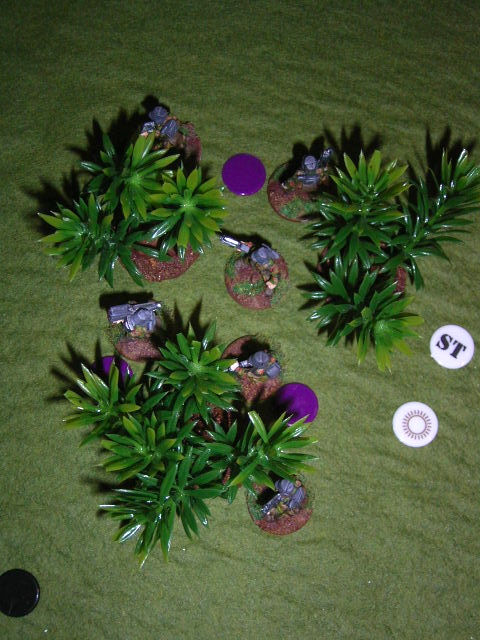
The NSL Sniper immediately trains his rifle on them, but onyl manages to suppress them. On his next activation, the NSL player activates his command squad, which passes down on of its action as an extra activation for the sniper - which misses again, only causing another suppression.
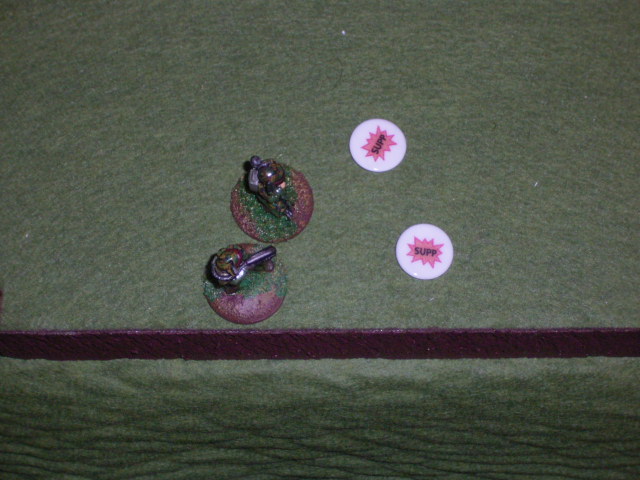
The FO and his RTO turn tail and scurry back behind the hill.
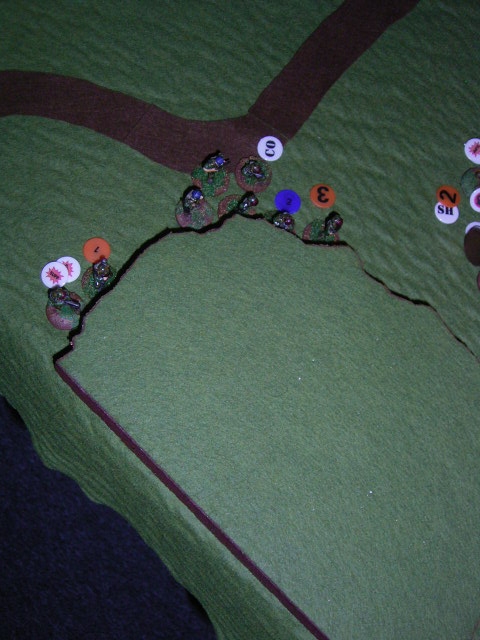
Jäger Gruppe 2 makes an apperance by opening fire on Baker… But completely misses.
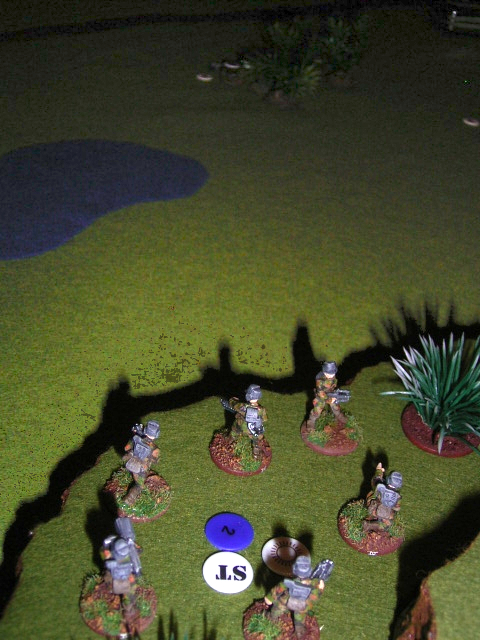
When Alpha and Command meet, the Medic suddenly has a lot to do…
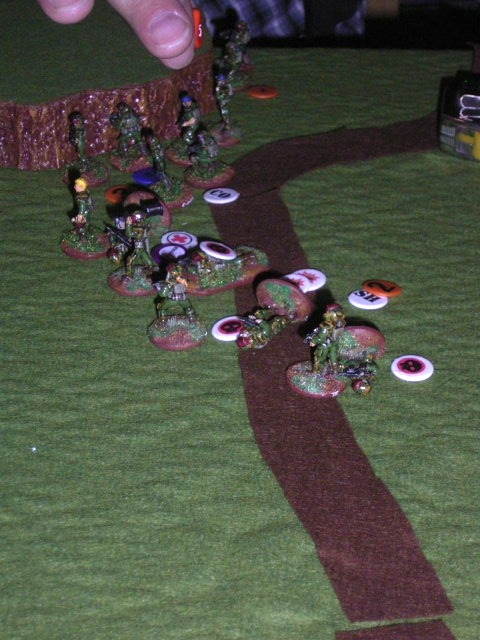
The Sniper Team feels to secure and compromises its position. They are spotted by the Marines.
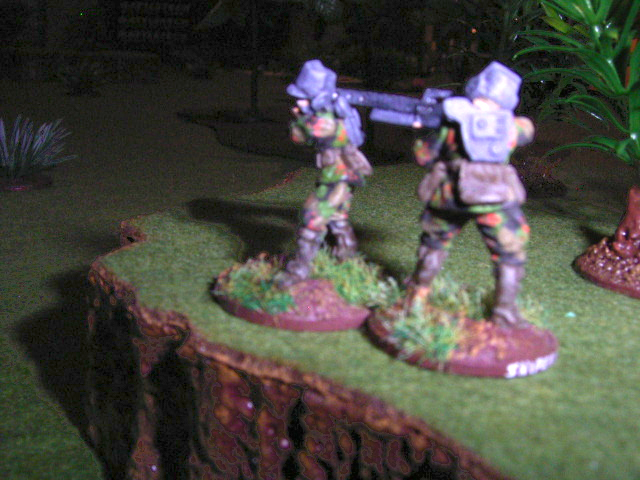
On turn 7 the Power Armoured Troops arrive.
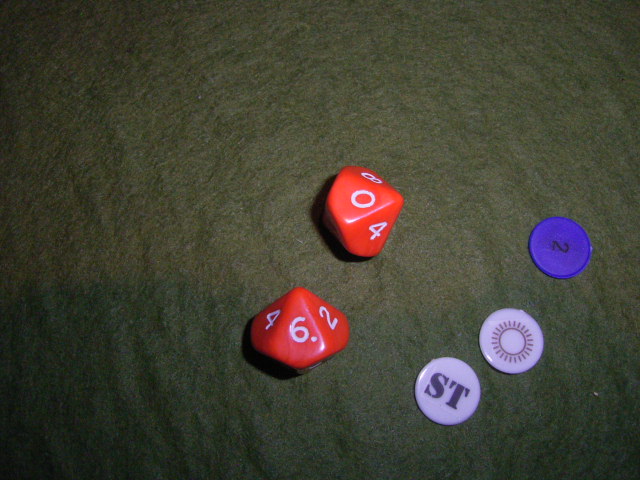
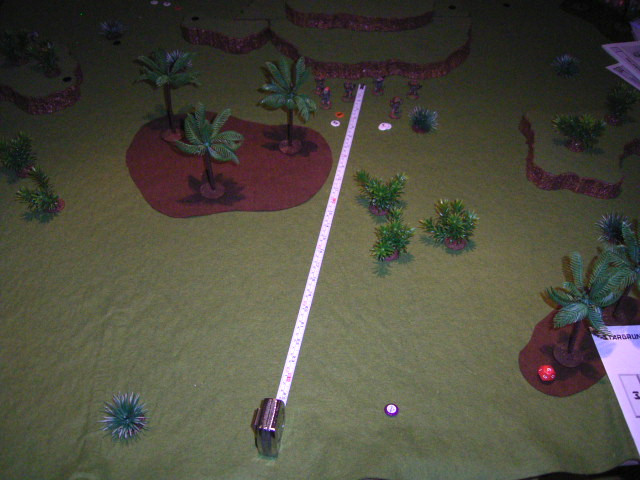
They enter the game by making two combat moves, which allows them to race toward the hill with amazing 31"!
Alpha is questioned by the platoon sergeant, asking for the Squad's Sergeant assessment of the situation on this flank.
The power armoured squad takes up position on the hill.
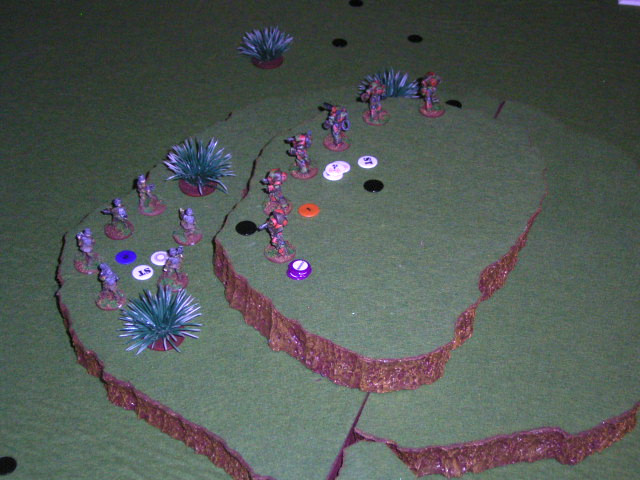
With the PA troops on the hill,…
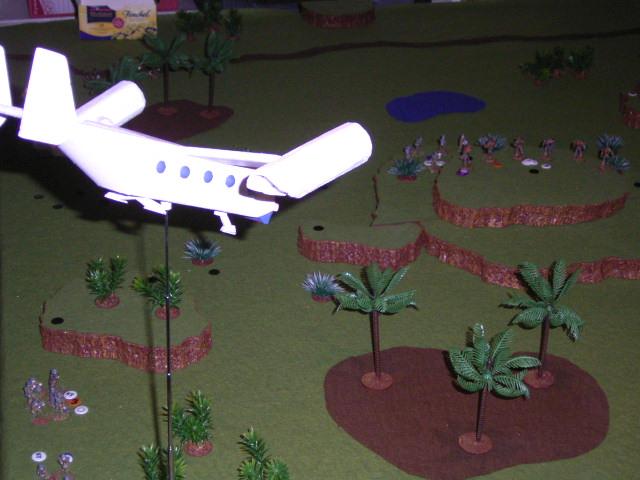
…the first VTOL is called in, …
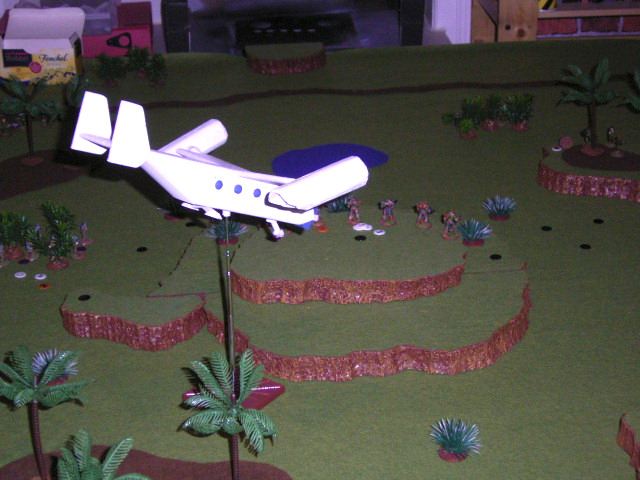
… and lands ready to be boarded.
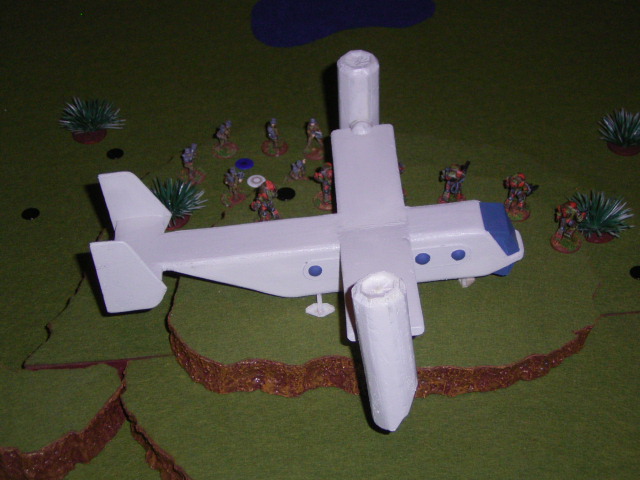
The FO team moves forward again, to call down mortar fire on the landing zone. After their attempt was spoofed by the electronic warfare specialist of the power armoured squad, the sniper hits home and kills the FO. The RTO panickes and his confidence drops from confident to shaken.
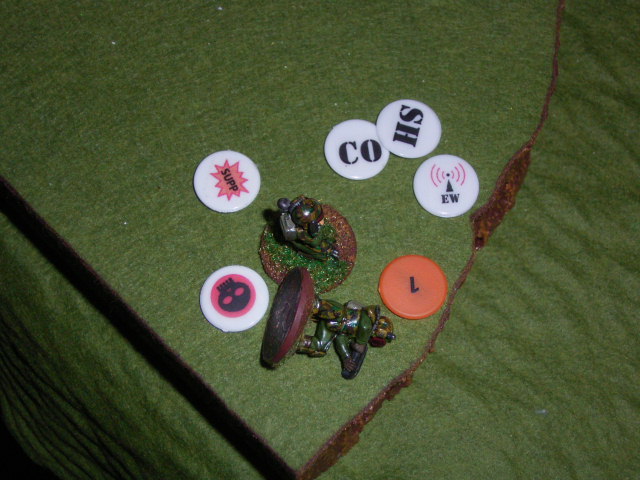
The mortar rounds called in earlier onto Jäger Gruppe 1's position arrive and shrapnell seems to be everywere. The Jäger Gruppe suffers one dead and two wounded.
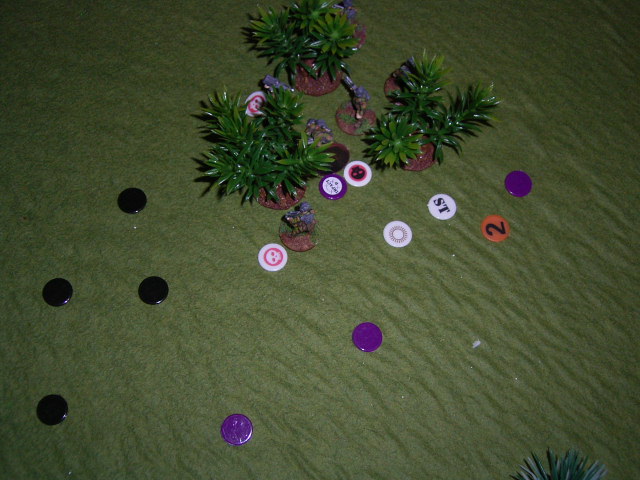
The NSL Sniper kills the FO's RTO, before…
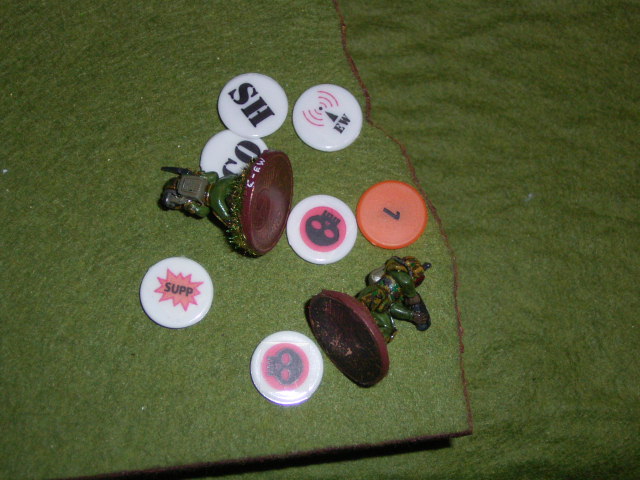
…the two head towards the hill and the waiting VTOL.
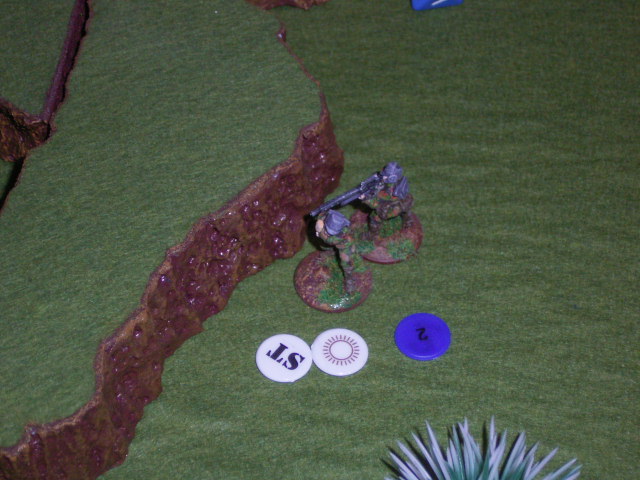
Charlie's GMS/P operator moves around the hill, and fires a missile at the VTOL. Again, the PA EW specialists shows his worth.
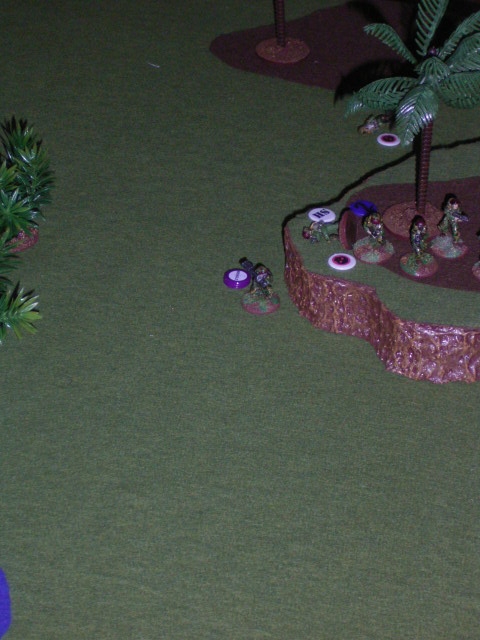
Jäger Gruppe 1 leaves their mortared position, and makes a run for the VTOL, dragging their wounded and dead comrades with them.
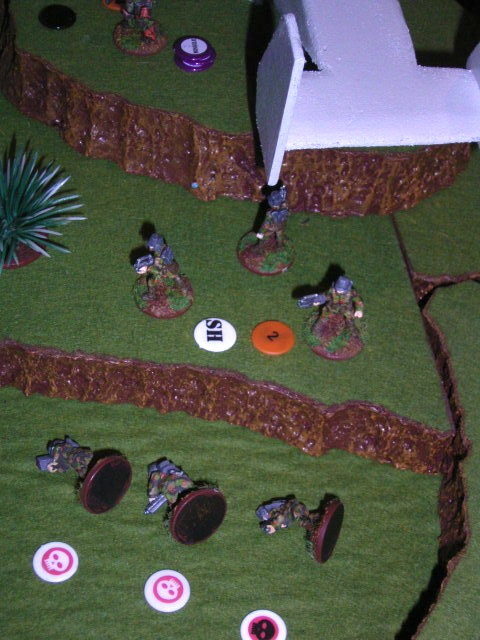
The second missile fired by Charlie, activated again by the LT, hits the VTOL and causes a system overload - everything shuts down. The crew frantically tries to get up the back power system.
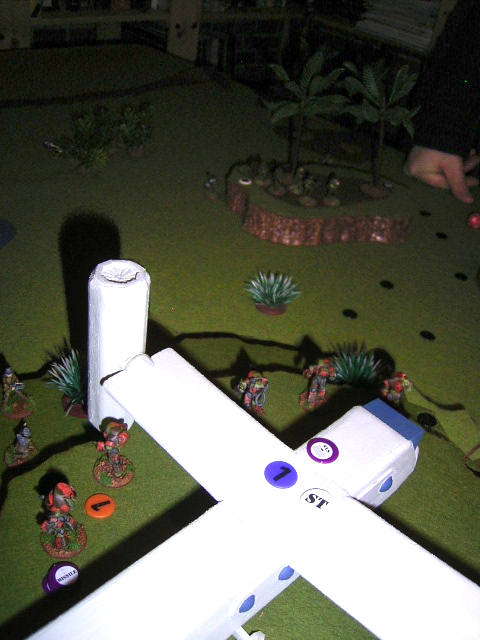
Charlie finds itself at the receiving end of the well armed PA trooper squad, and suffers three more dead.
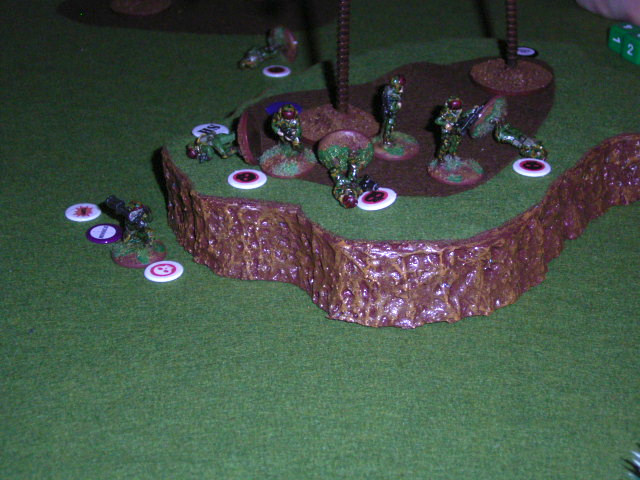
This is too much for them, and following the excellent moral of the rest of the platoon, immediately drops from shaken to routed.
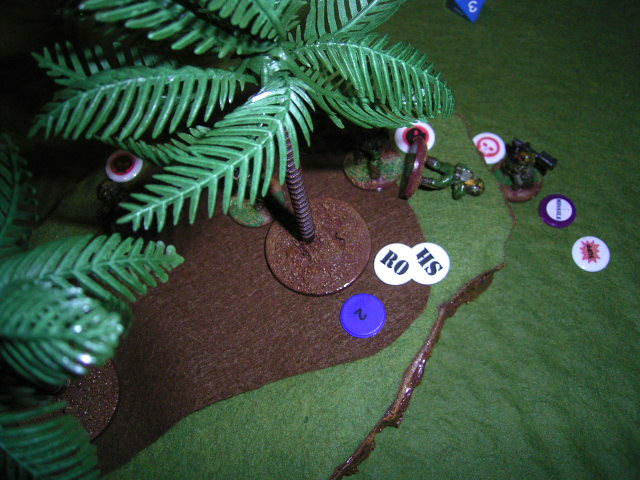
Jäger Gruppe 1 enters the VTOL,
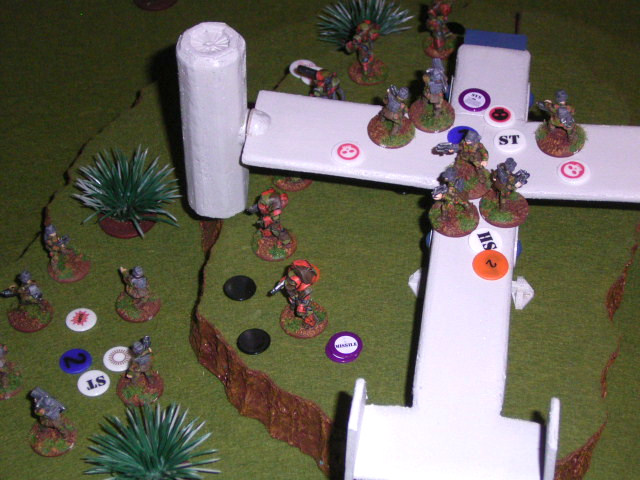
immediately followed by Jäger Gruppe 3. The Crew manages to turn the power supply back on.
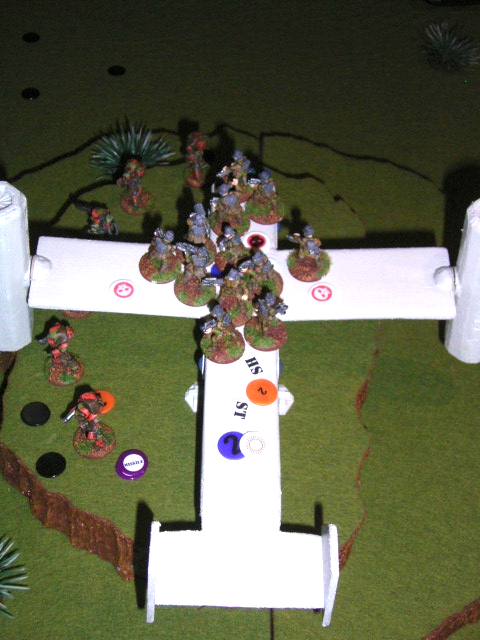
The Sniper team and half of the command squad, which reveals itselve in the process, also moves into the VTOL, which now carries the maximum passenger load. The turbines heat up.
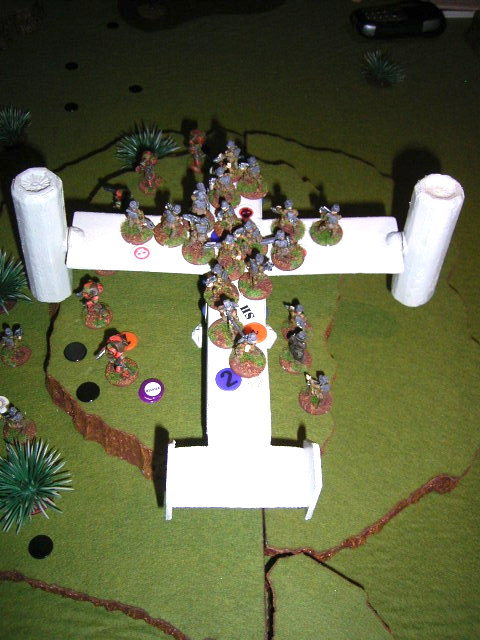
While VTOL 1 leaves with the first halve of the NSL troops, the second VTOL speeds toward the LZ.
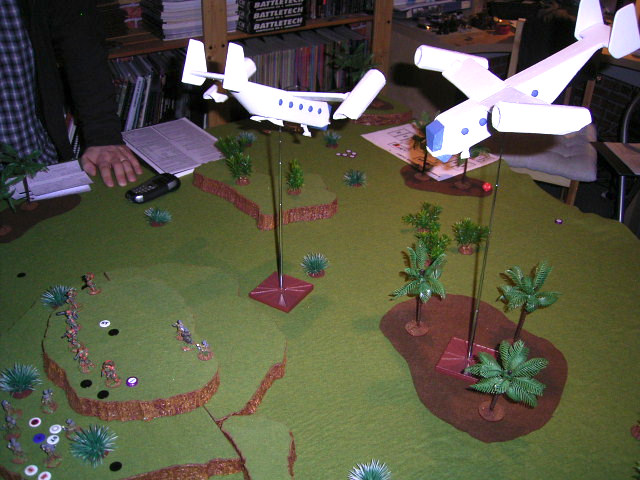
There it lands ready to fly out the rest of the NSL troops. Jäger Gruppe 2 meanwhile comes under heavy fire by Baker, suffering one dead.
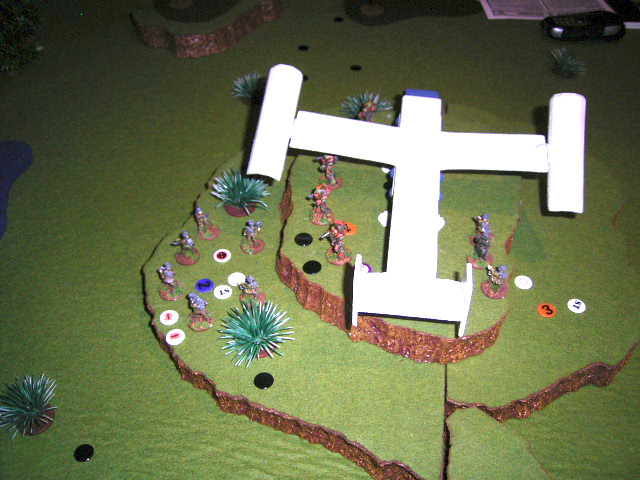
Alpha recovers, and moves into position to fire its GMS/P at the landed VTOL. They are taken under fire by the NSL PA squad, and suffer more casualties. The GMS/P operator remains unscathed.
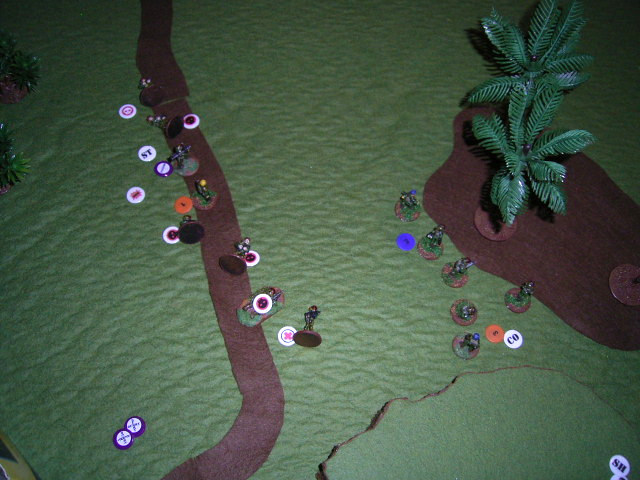
Charlie routs, and runs away as quickly as possible. Baker manages to take the GMS/P of the killed trooper, and open fire on the VTOL as well.
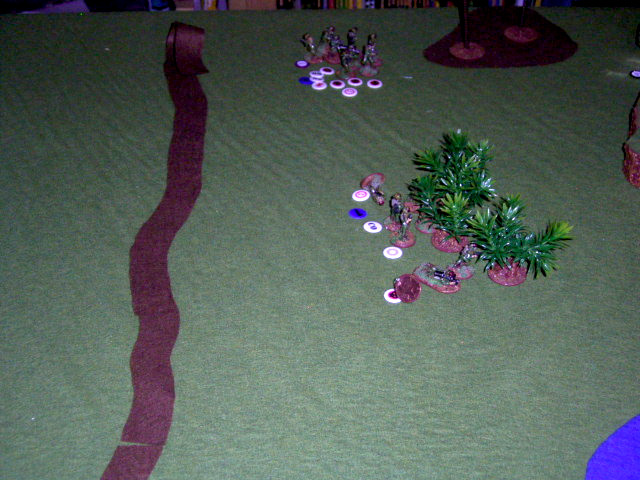
The battlefield. Red arrows indicate the counters representing troops and dummies of the NSL.
Aftermath
Missing with their last missile, Charlie running away, and Alpha being nearly wiped out, the NAC Marines start to retreat, while the NSL troops board the VTOL and leave the area.