
I just came across these pictures again, along with the few sparse notes, one and a half years after playing the game. I don't even remember why I didn't do the full write-up back then… Now I am missing all the memories the short notes would normally trigger.
So below are just the notes I took during the game.
Deployment
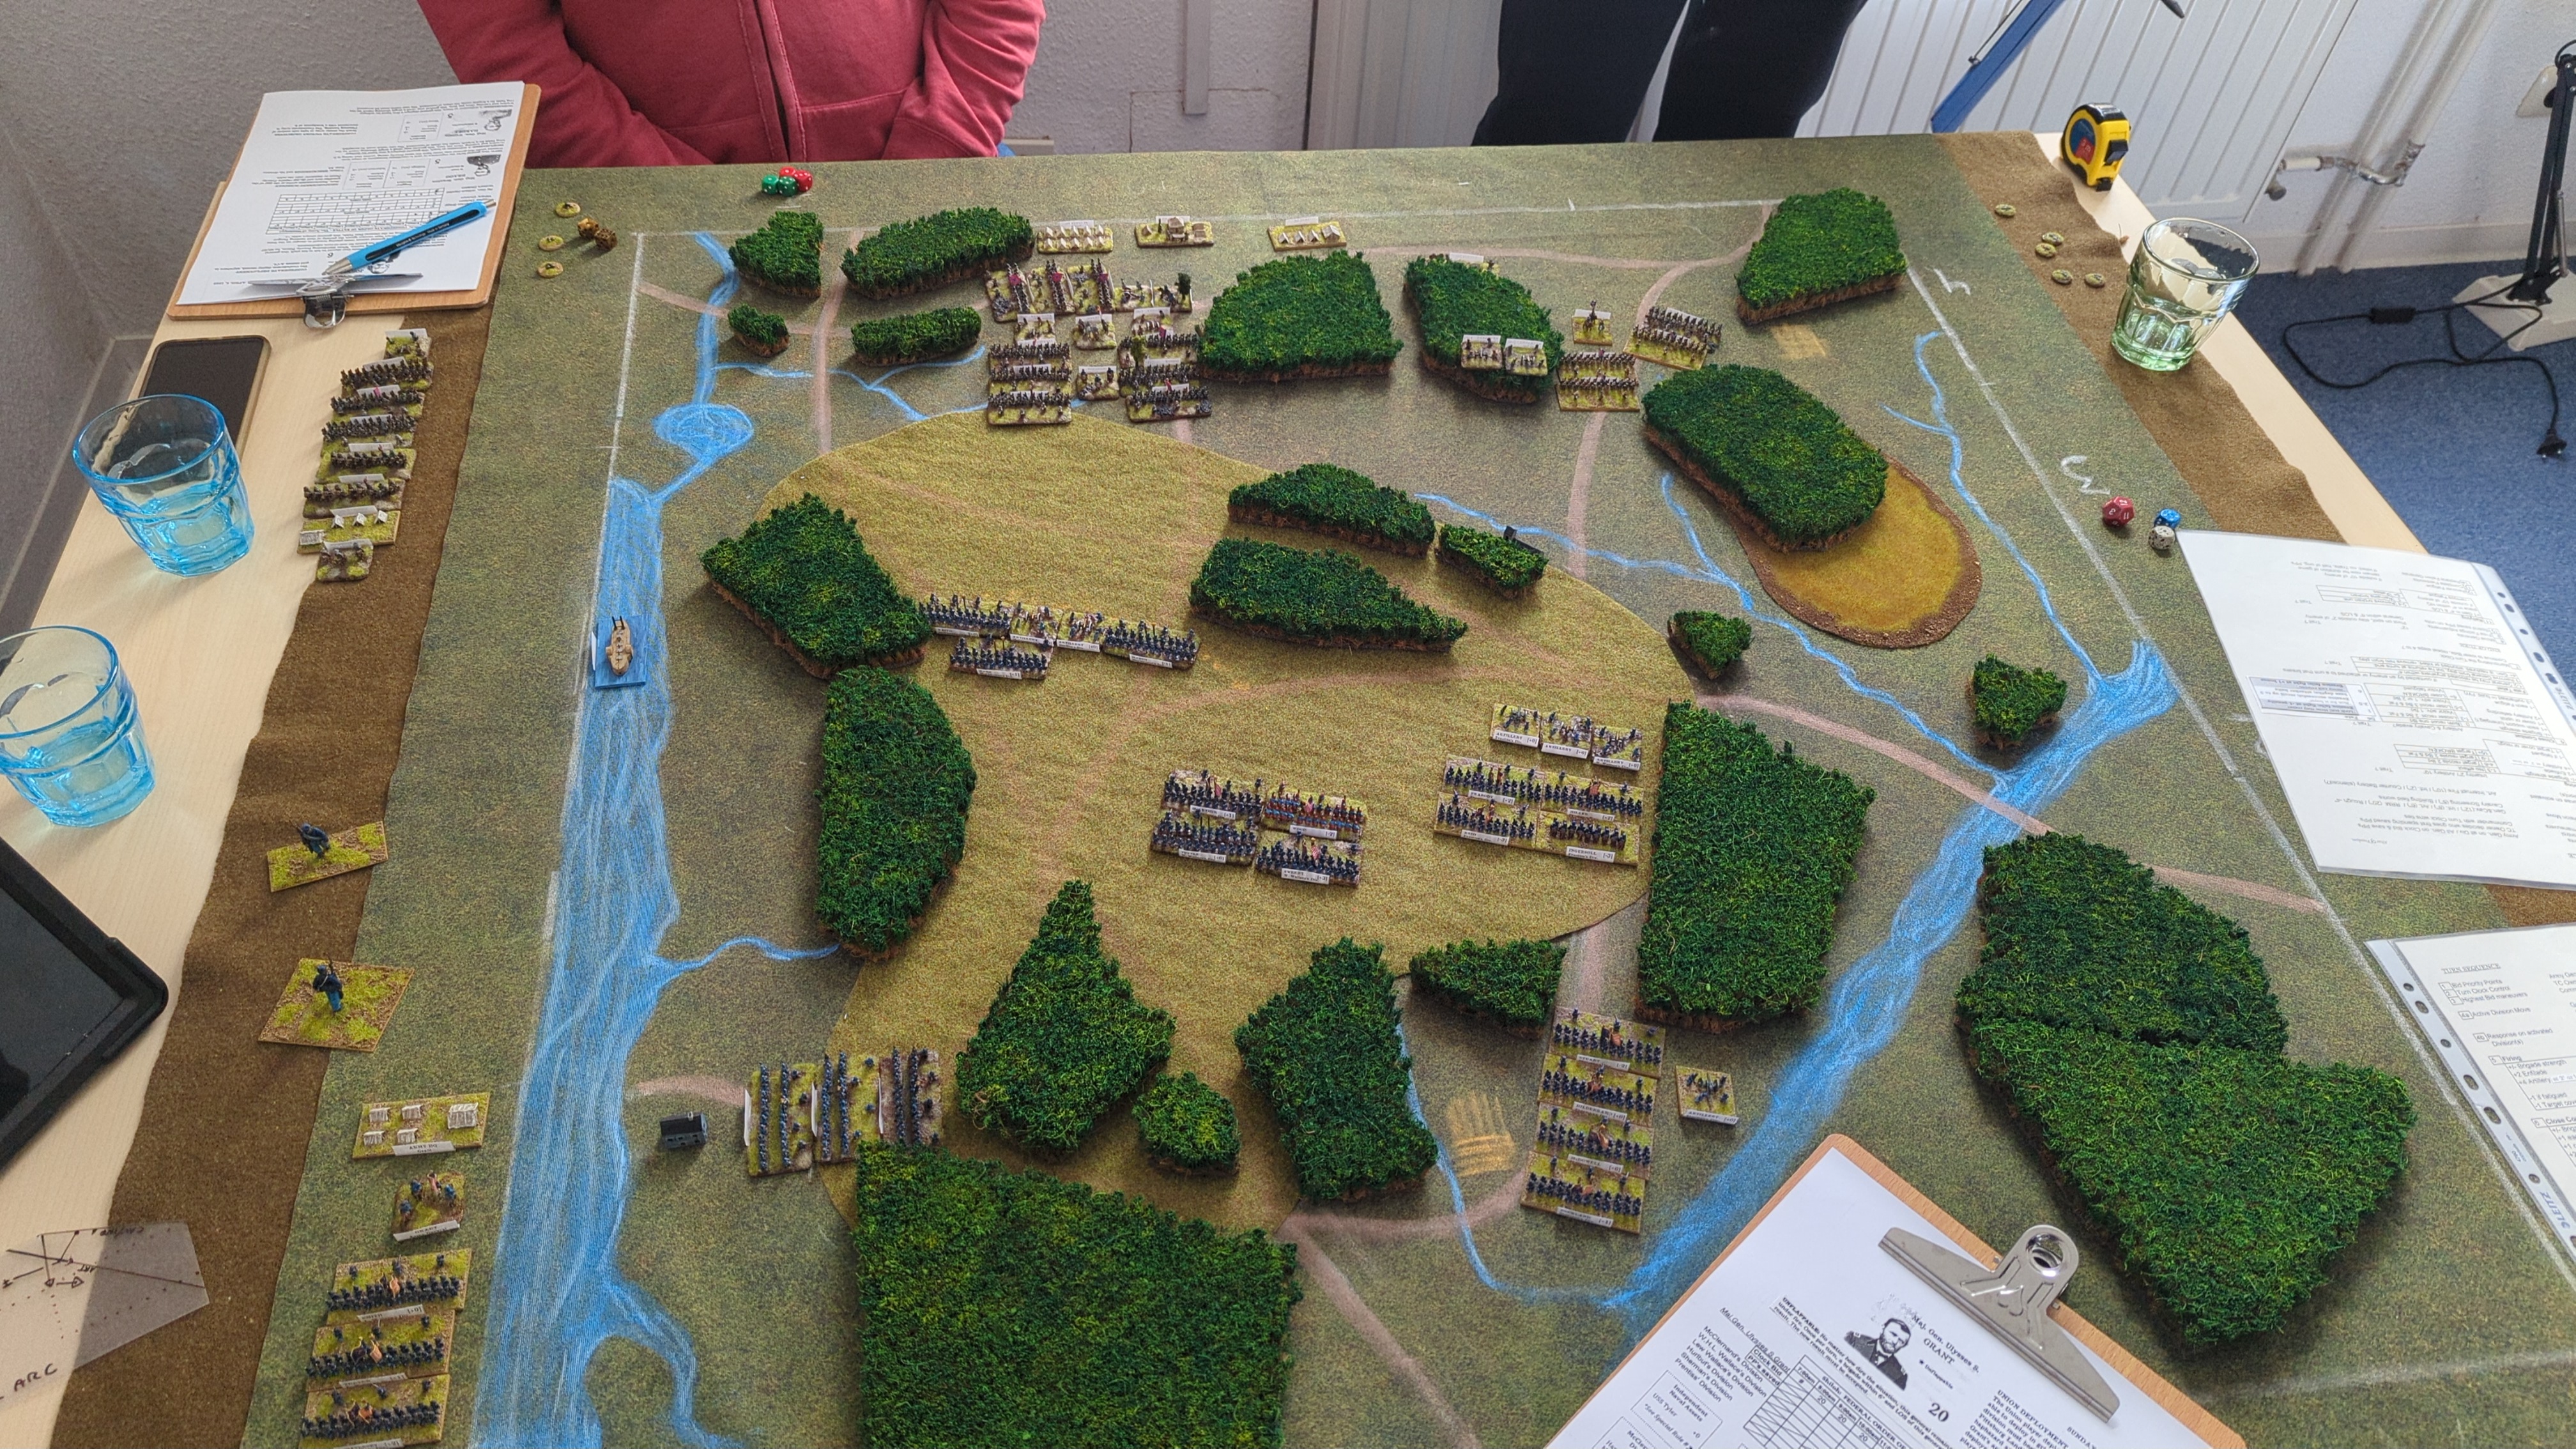
Turn 1
7 vs 4: the Confederates got the clock.
Bid 3
Clark's division advanced; the first two interrupt shots hit and stopped the advance.
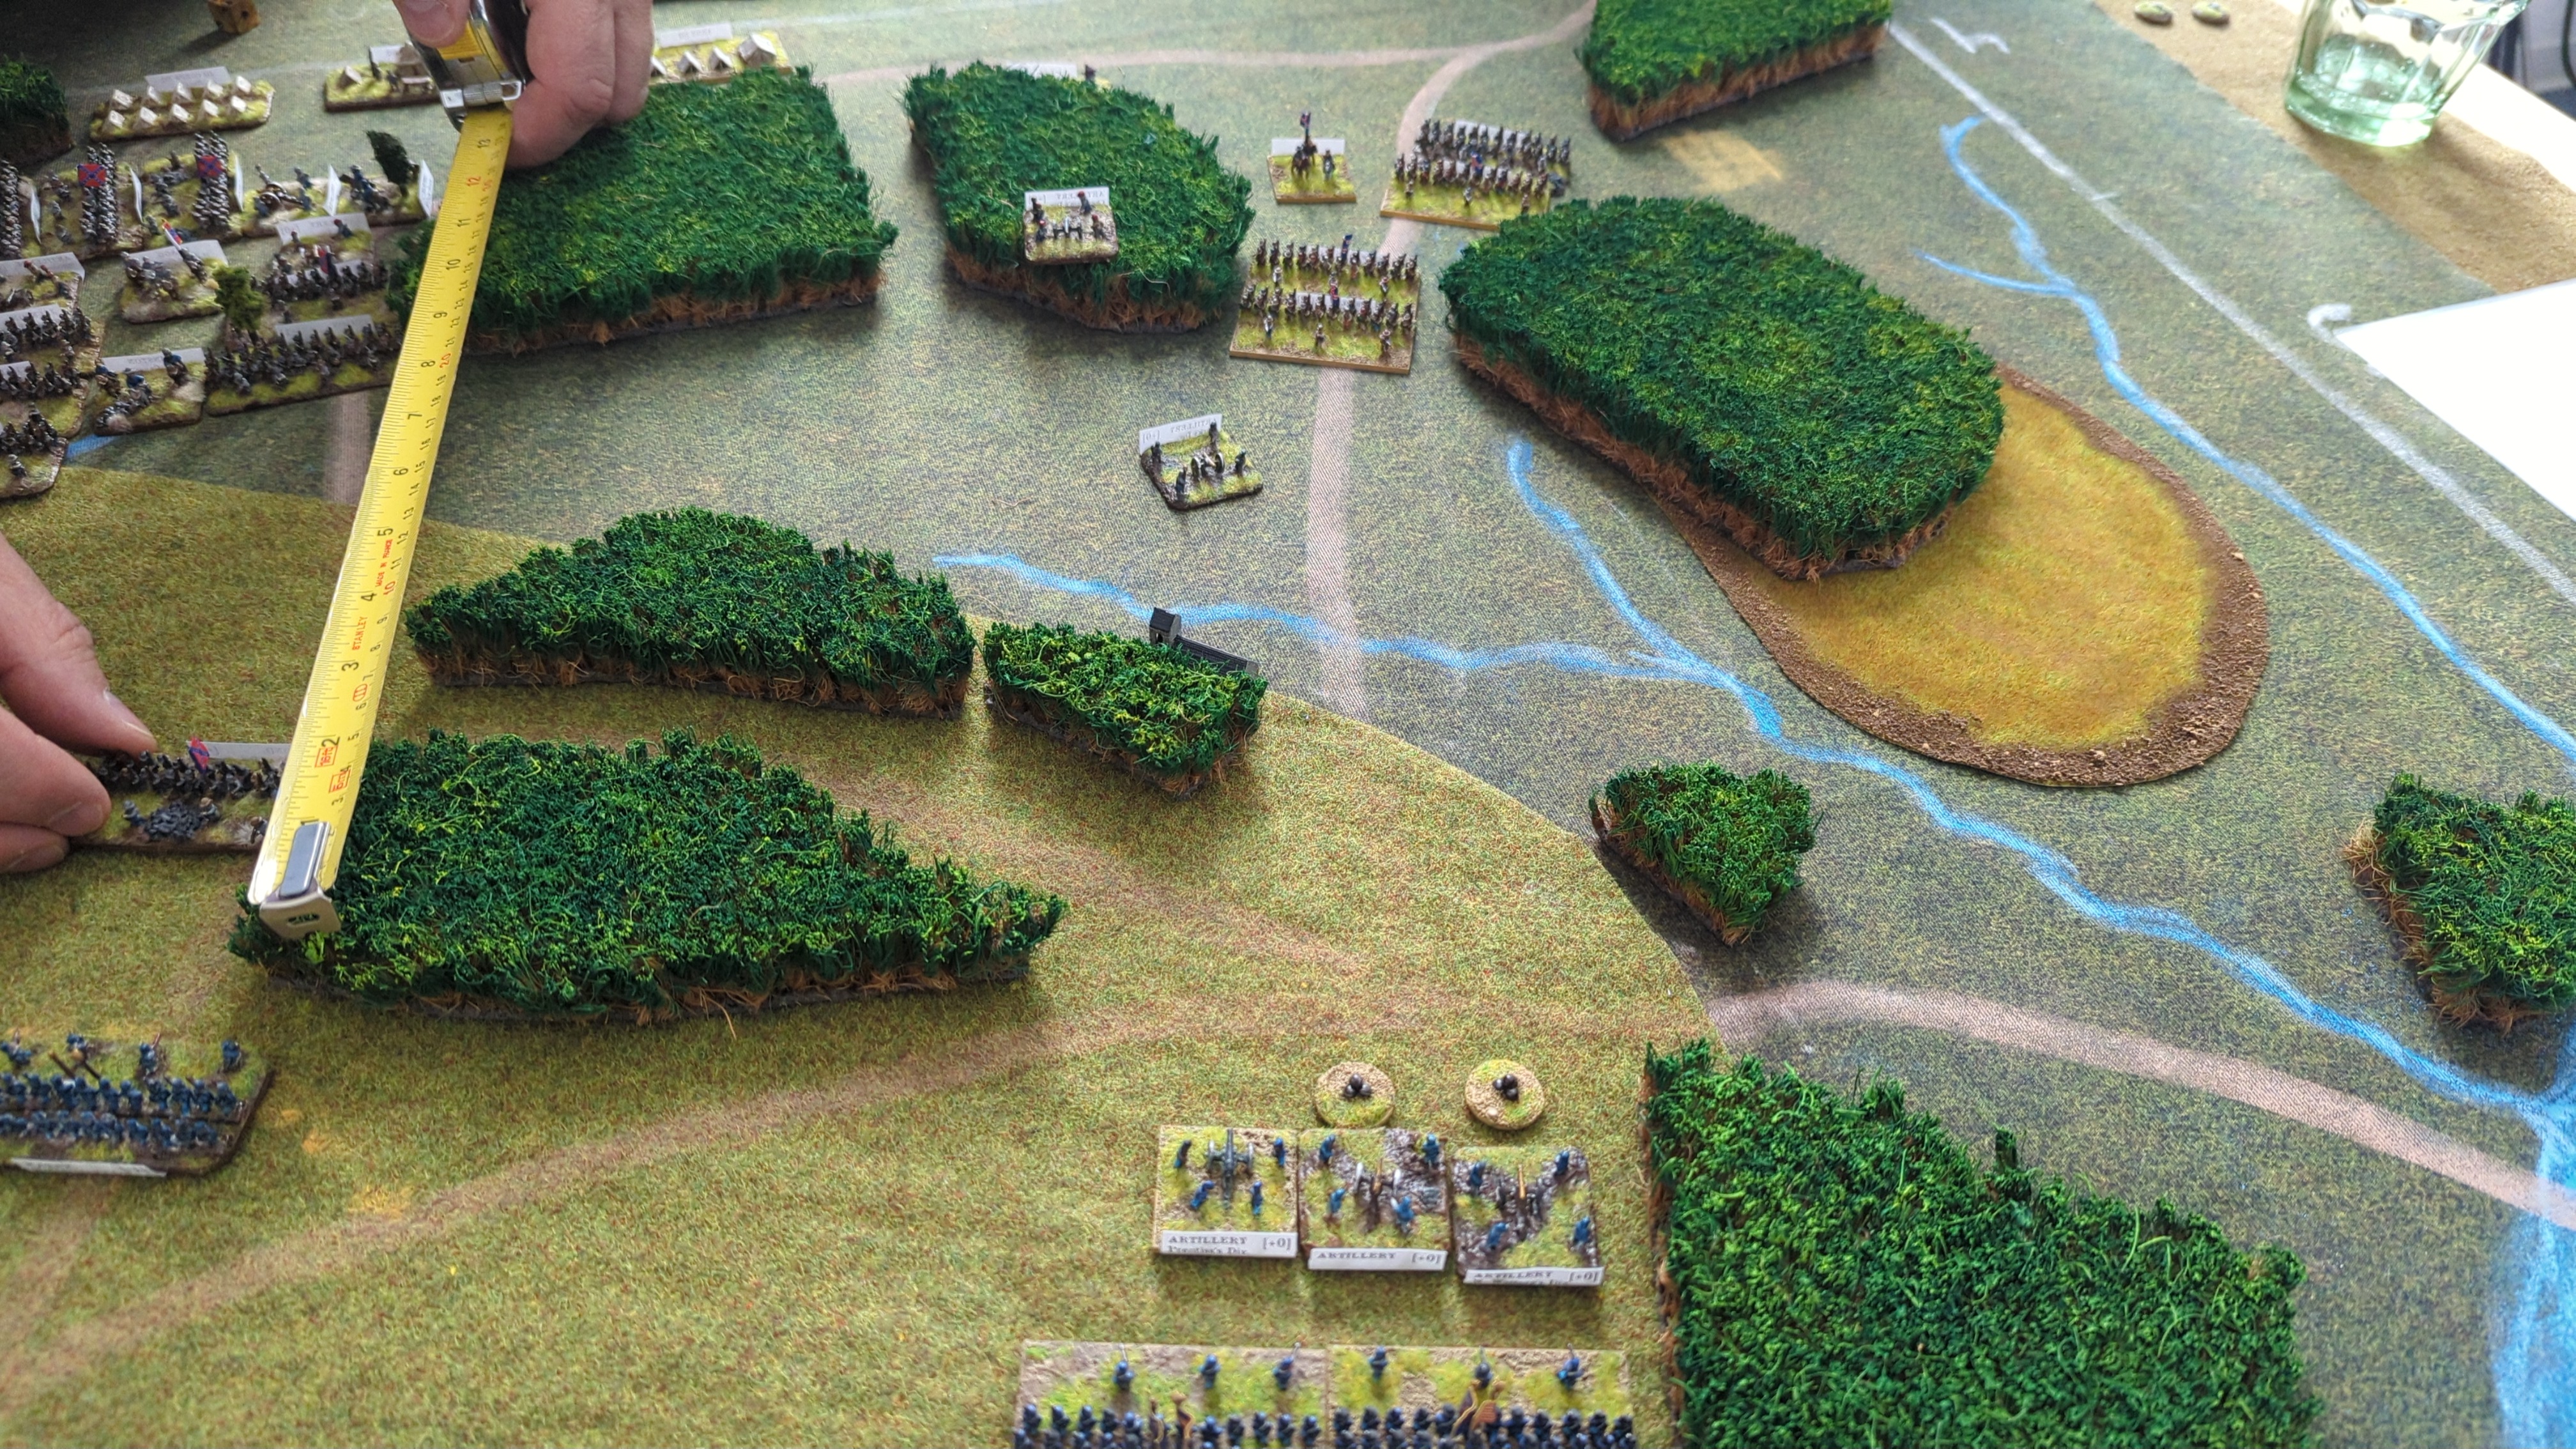
On the Union left flank, the interrupt fire did not stop Bragg's attacking Confederates.
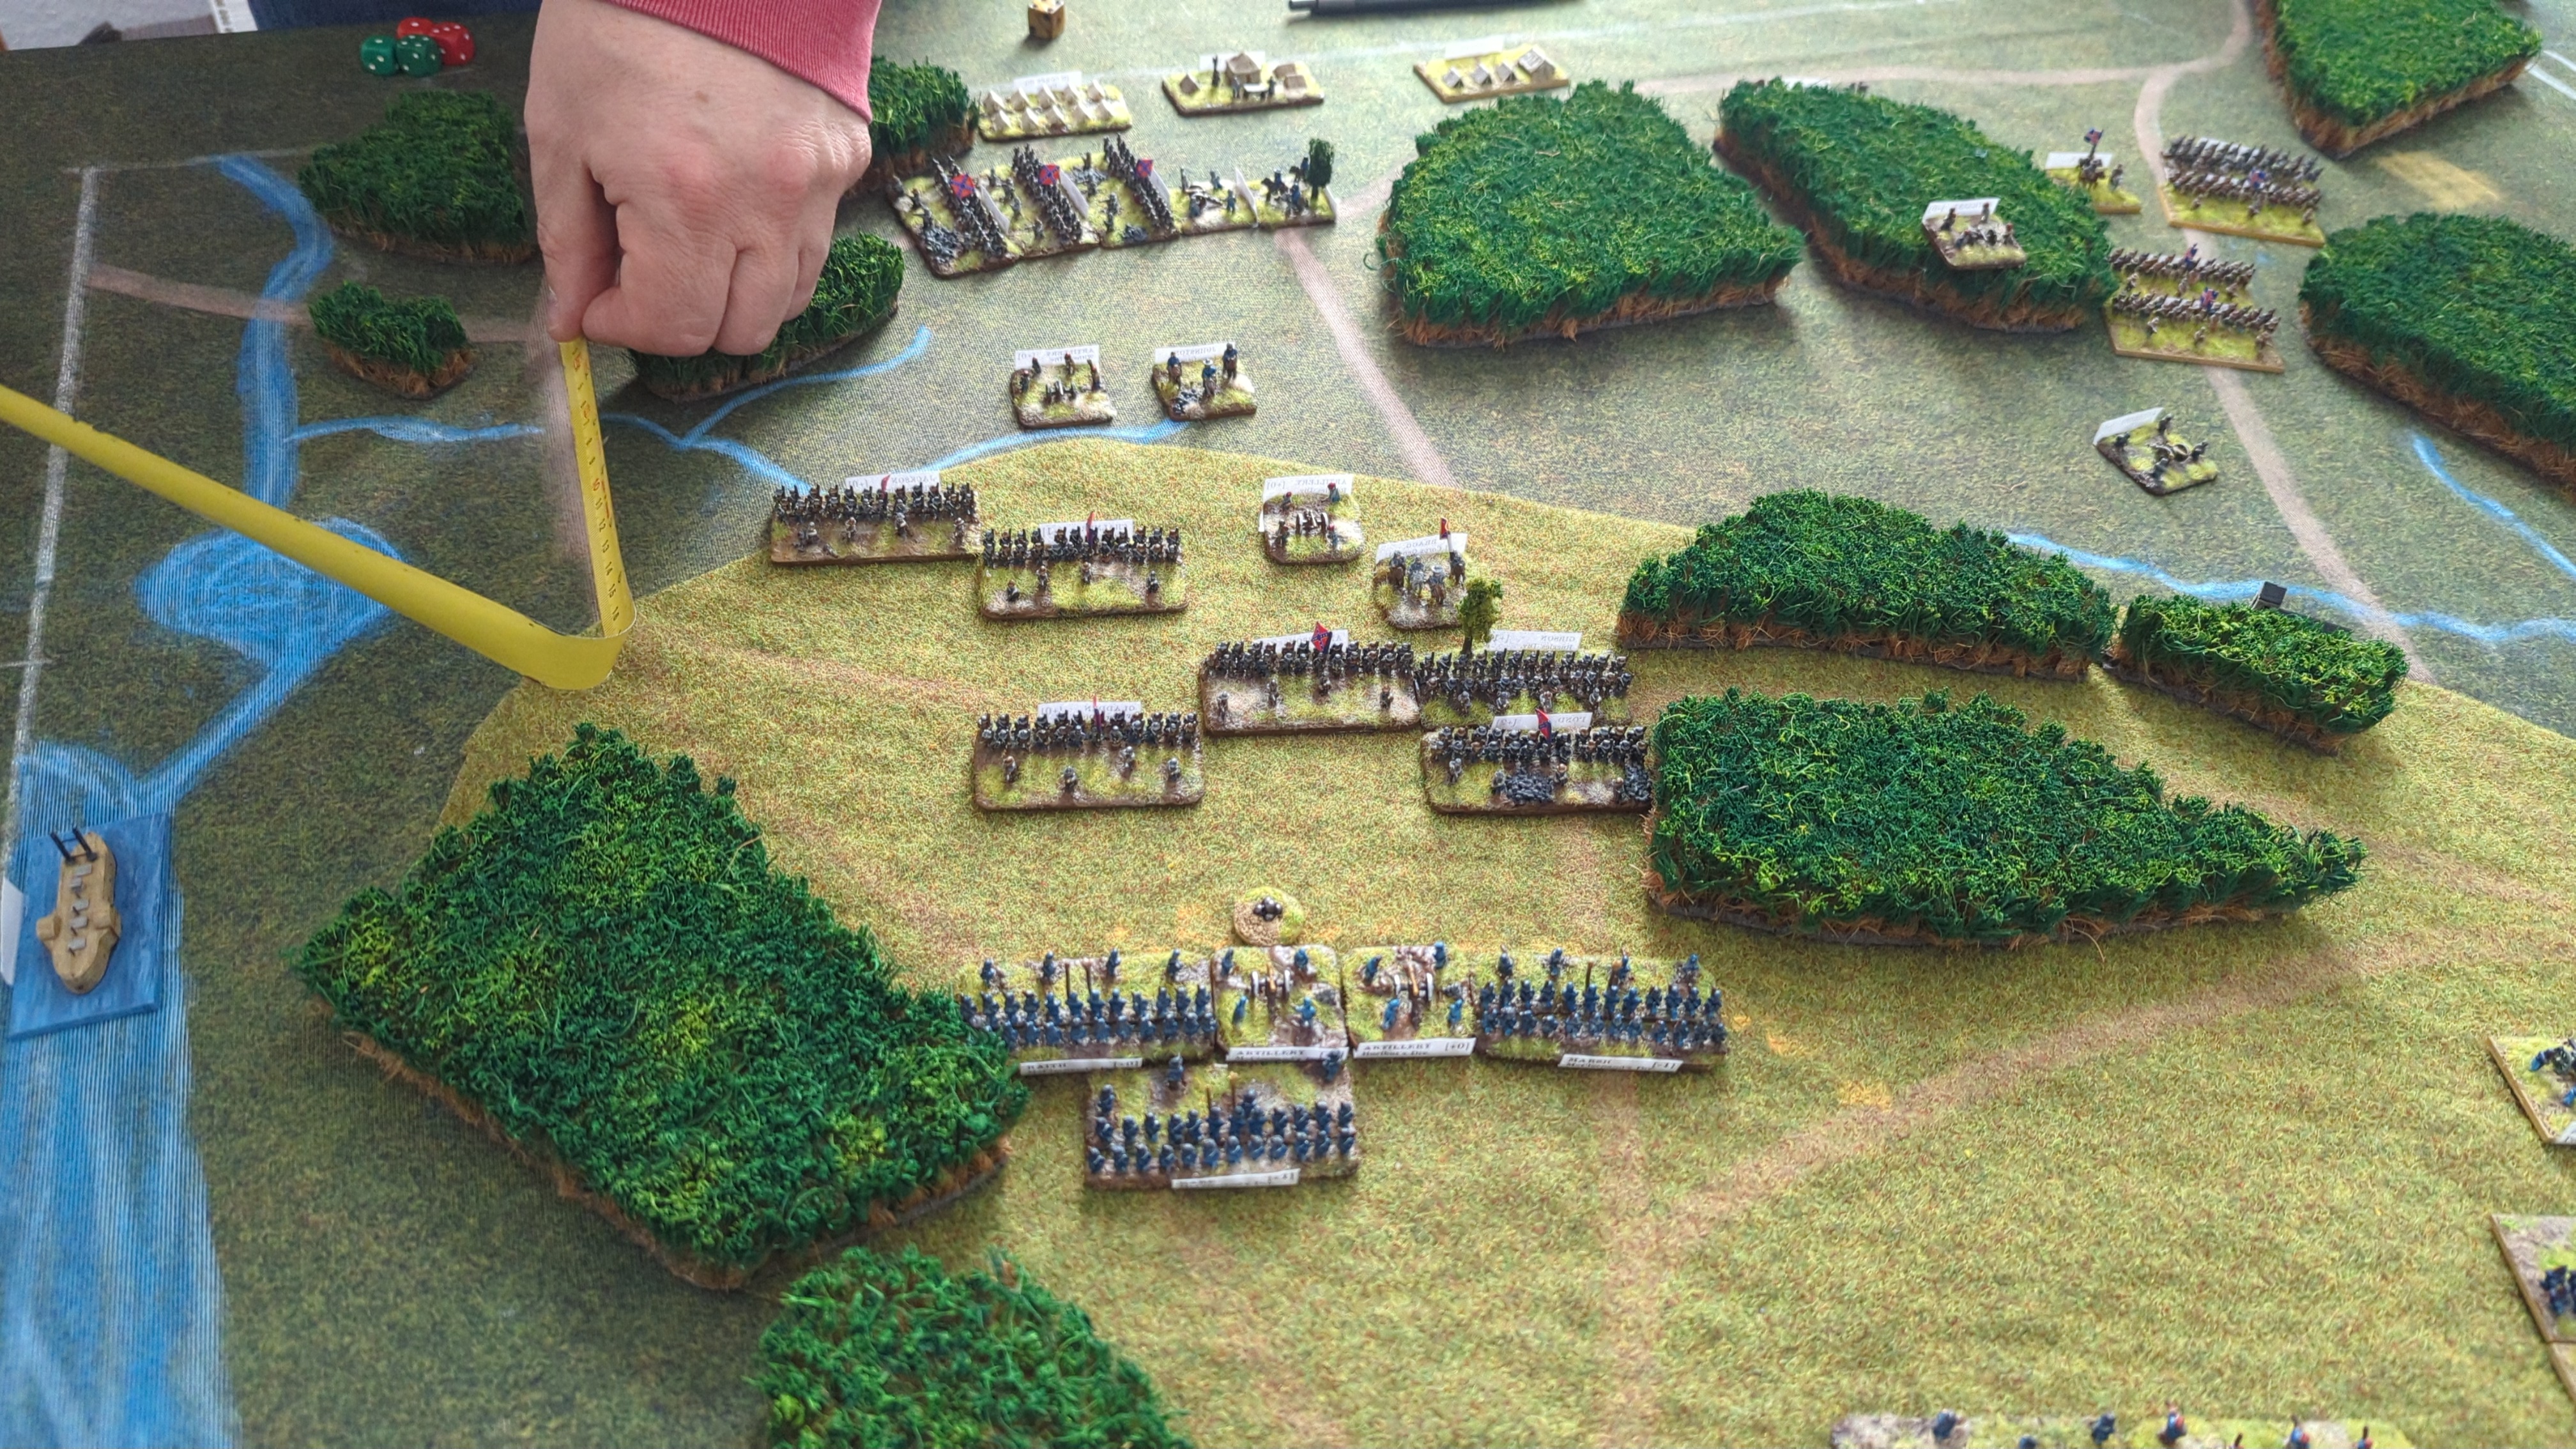
The Tyler moved forward to interrupt the Confederates trying to advance along the flank; its interrupt fire stopped one division.
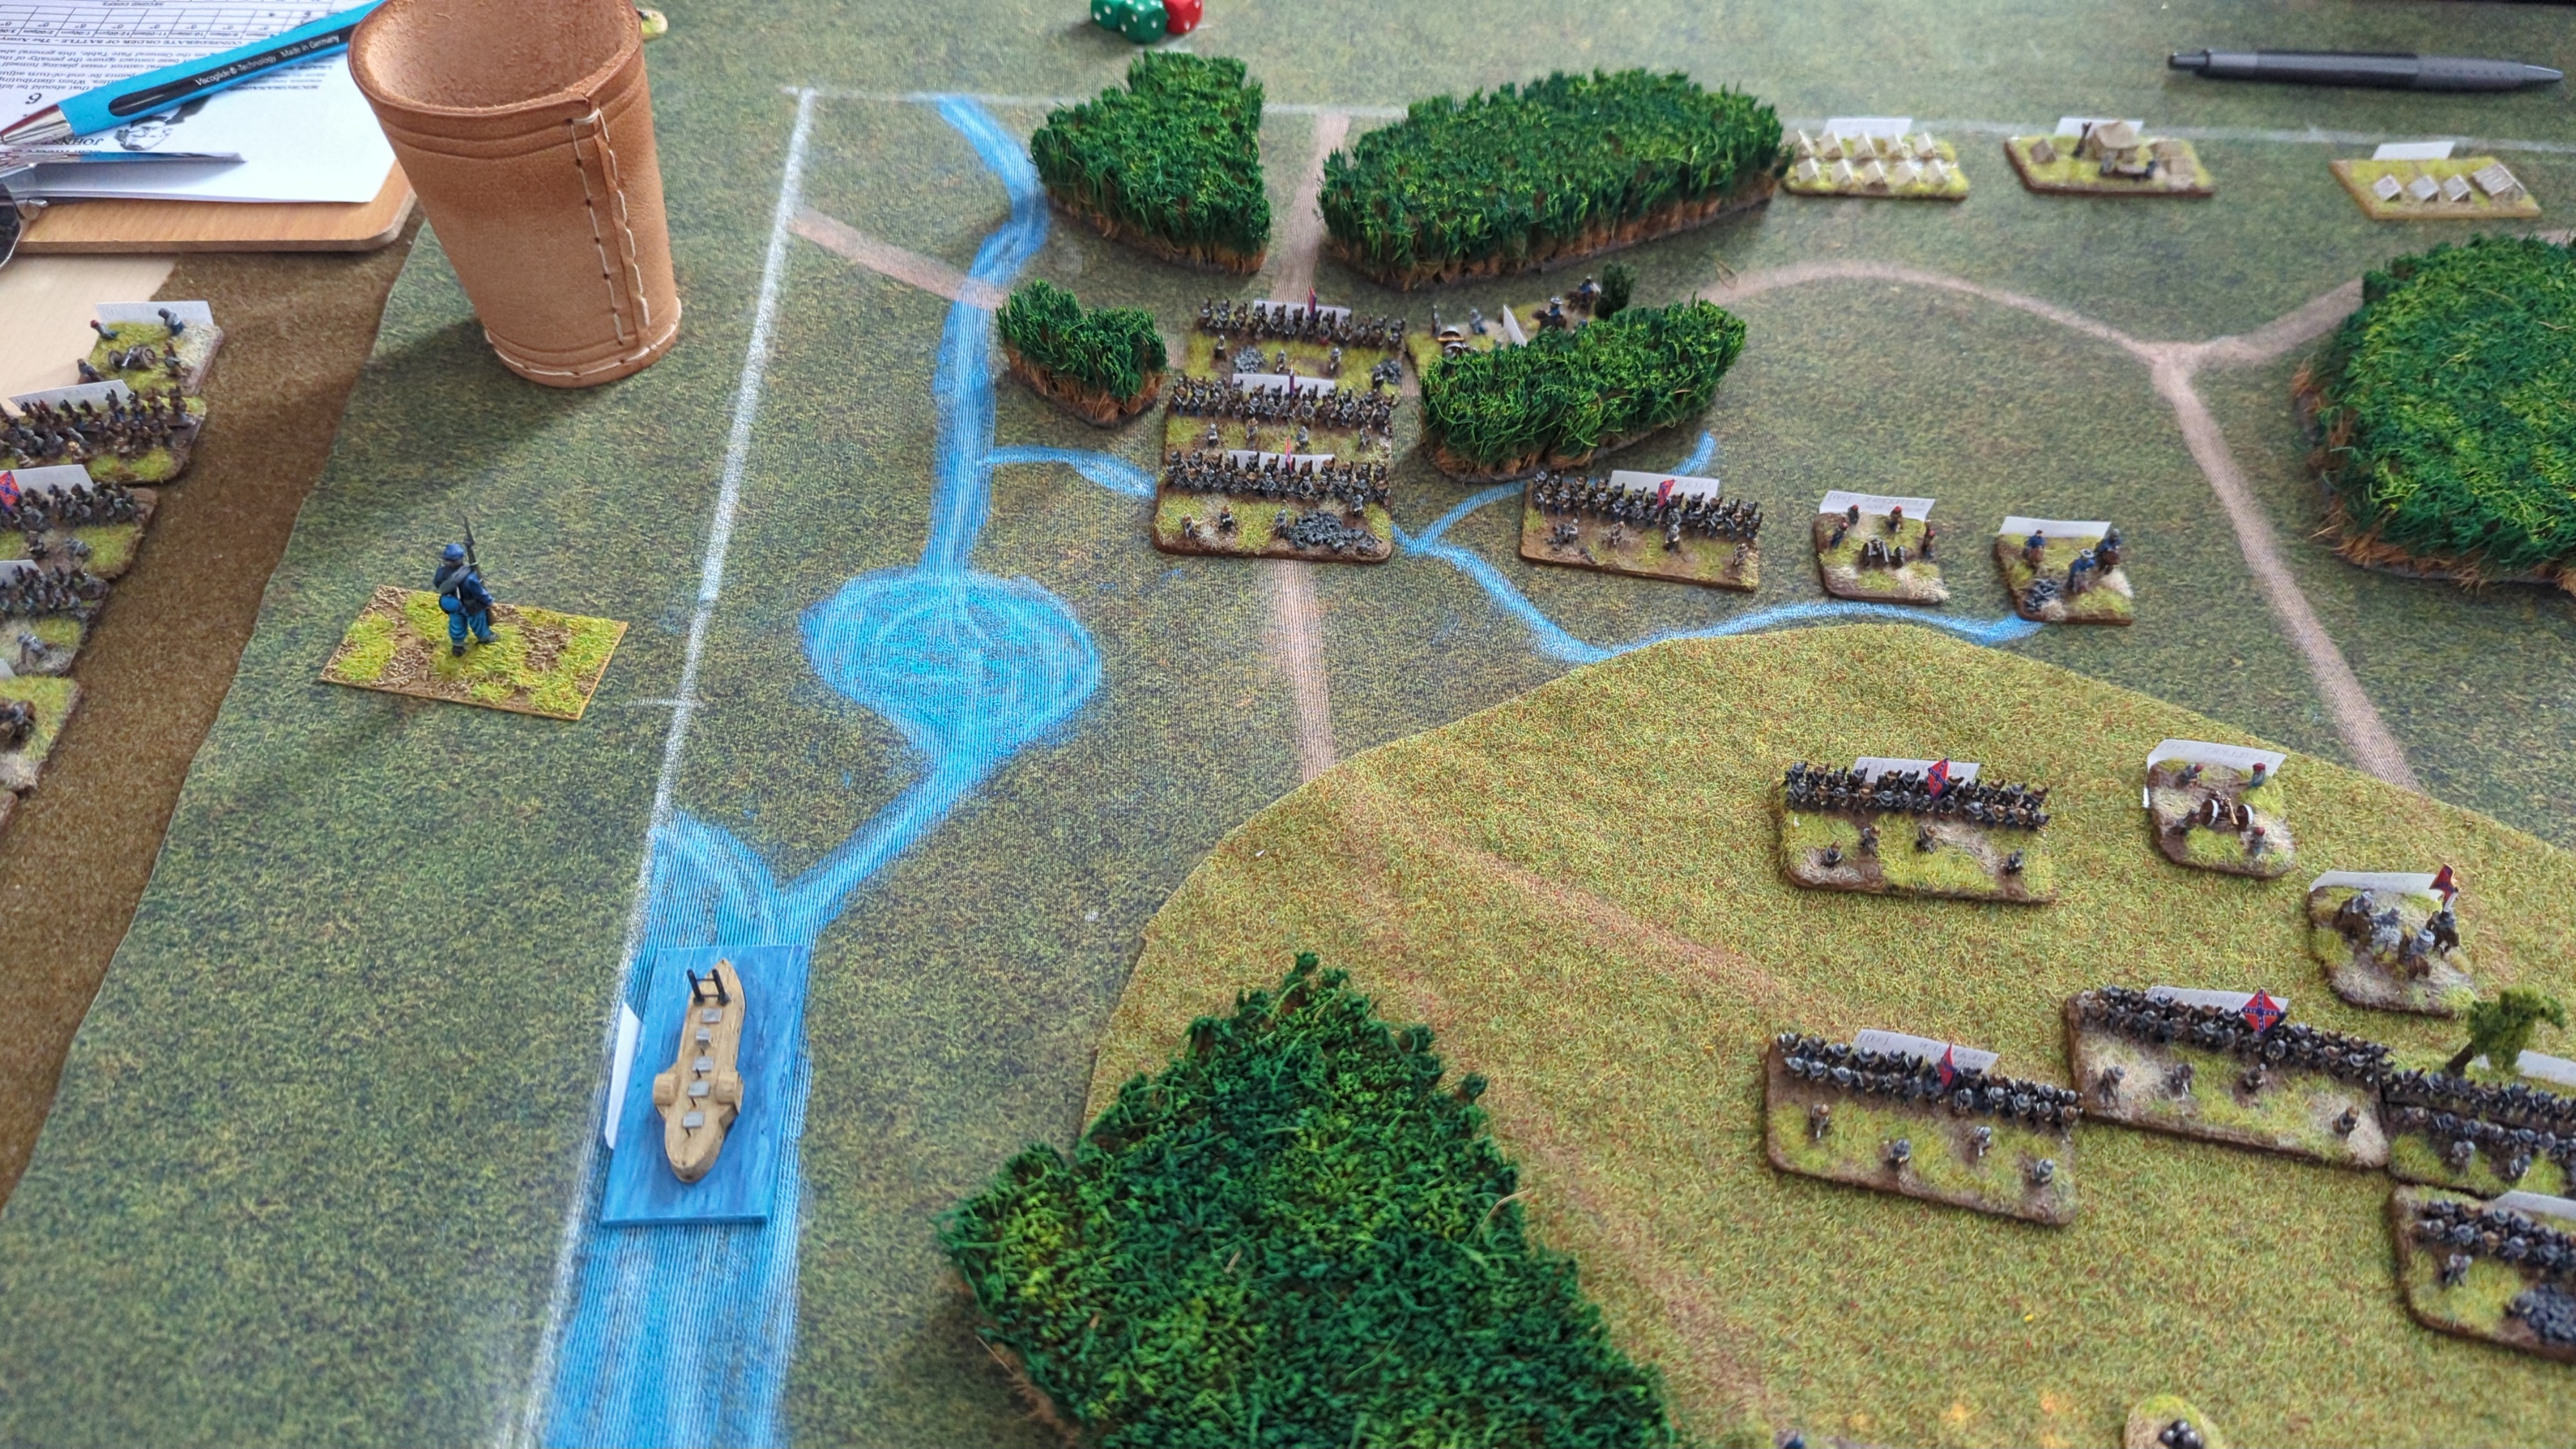
Counter-battery fire missed.
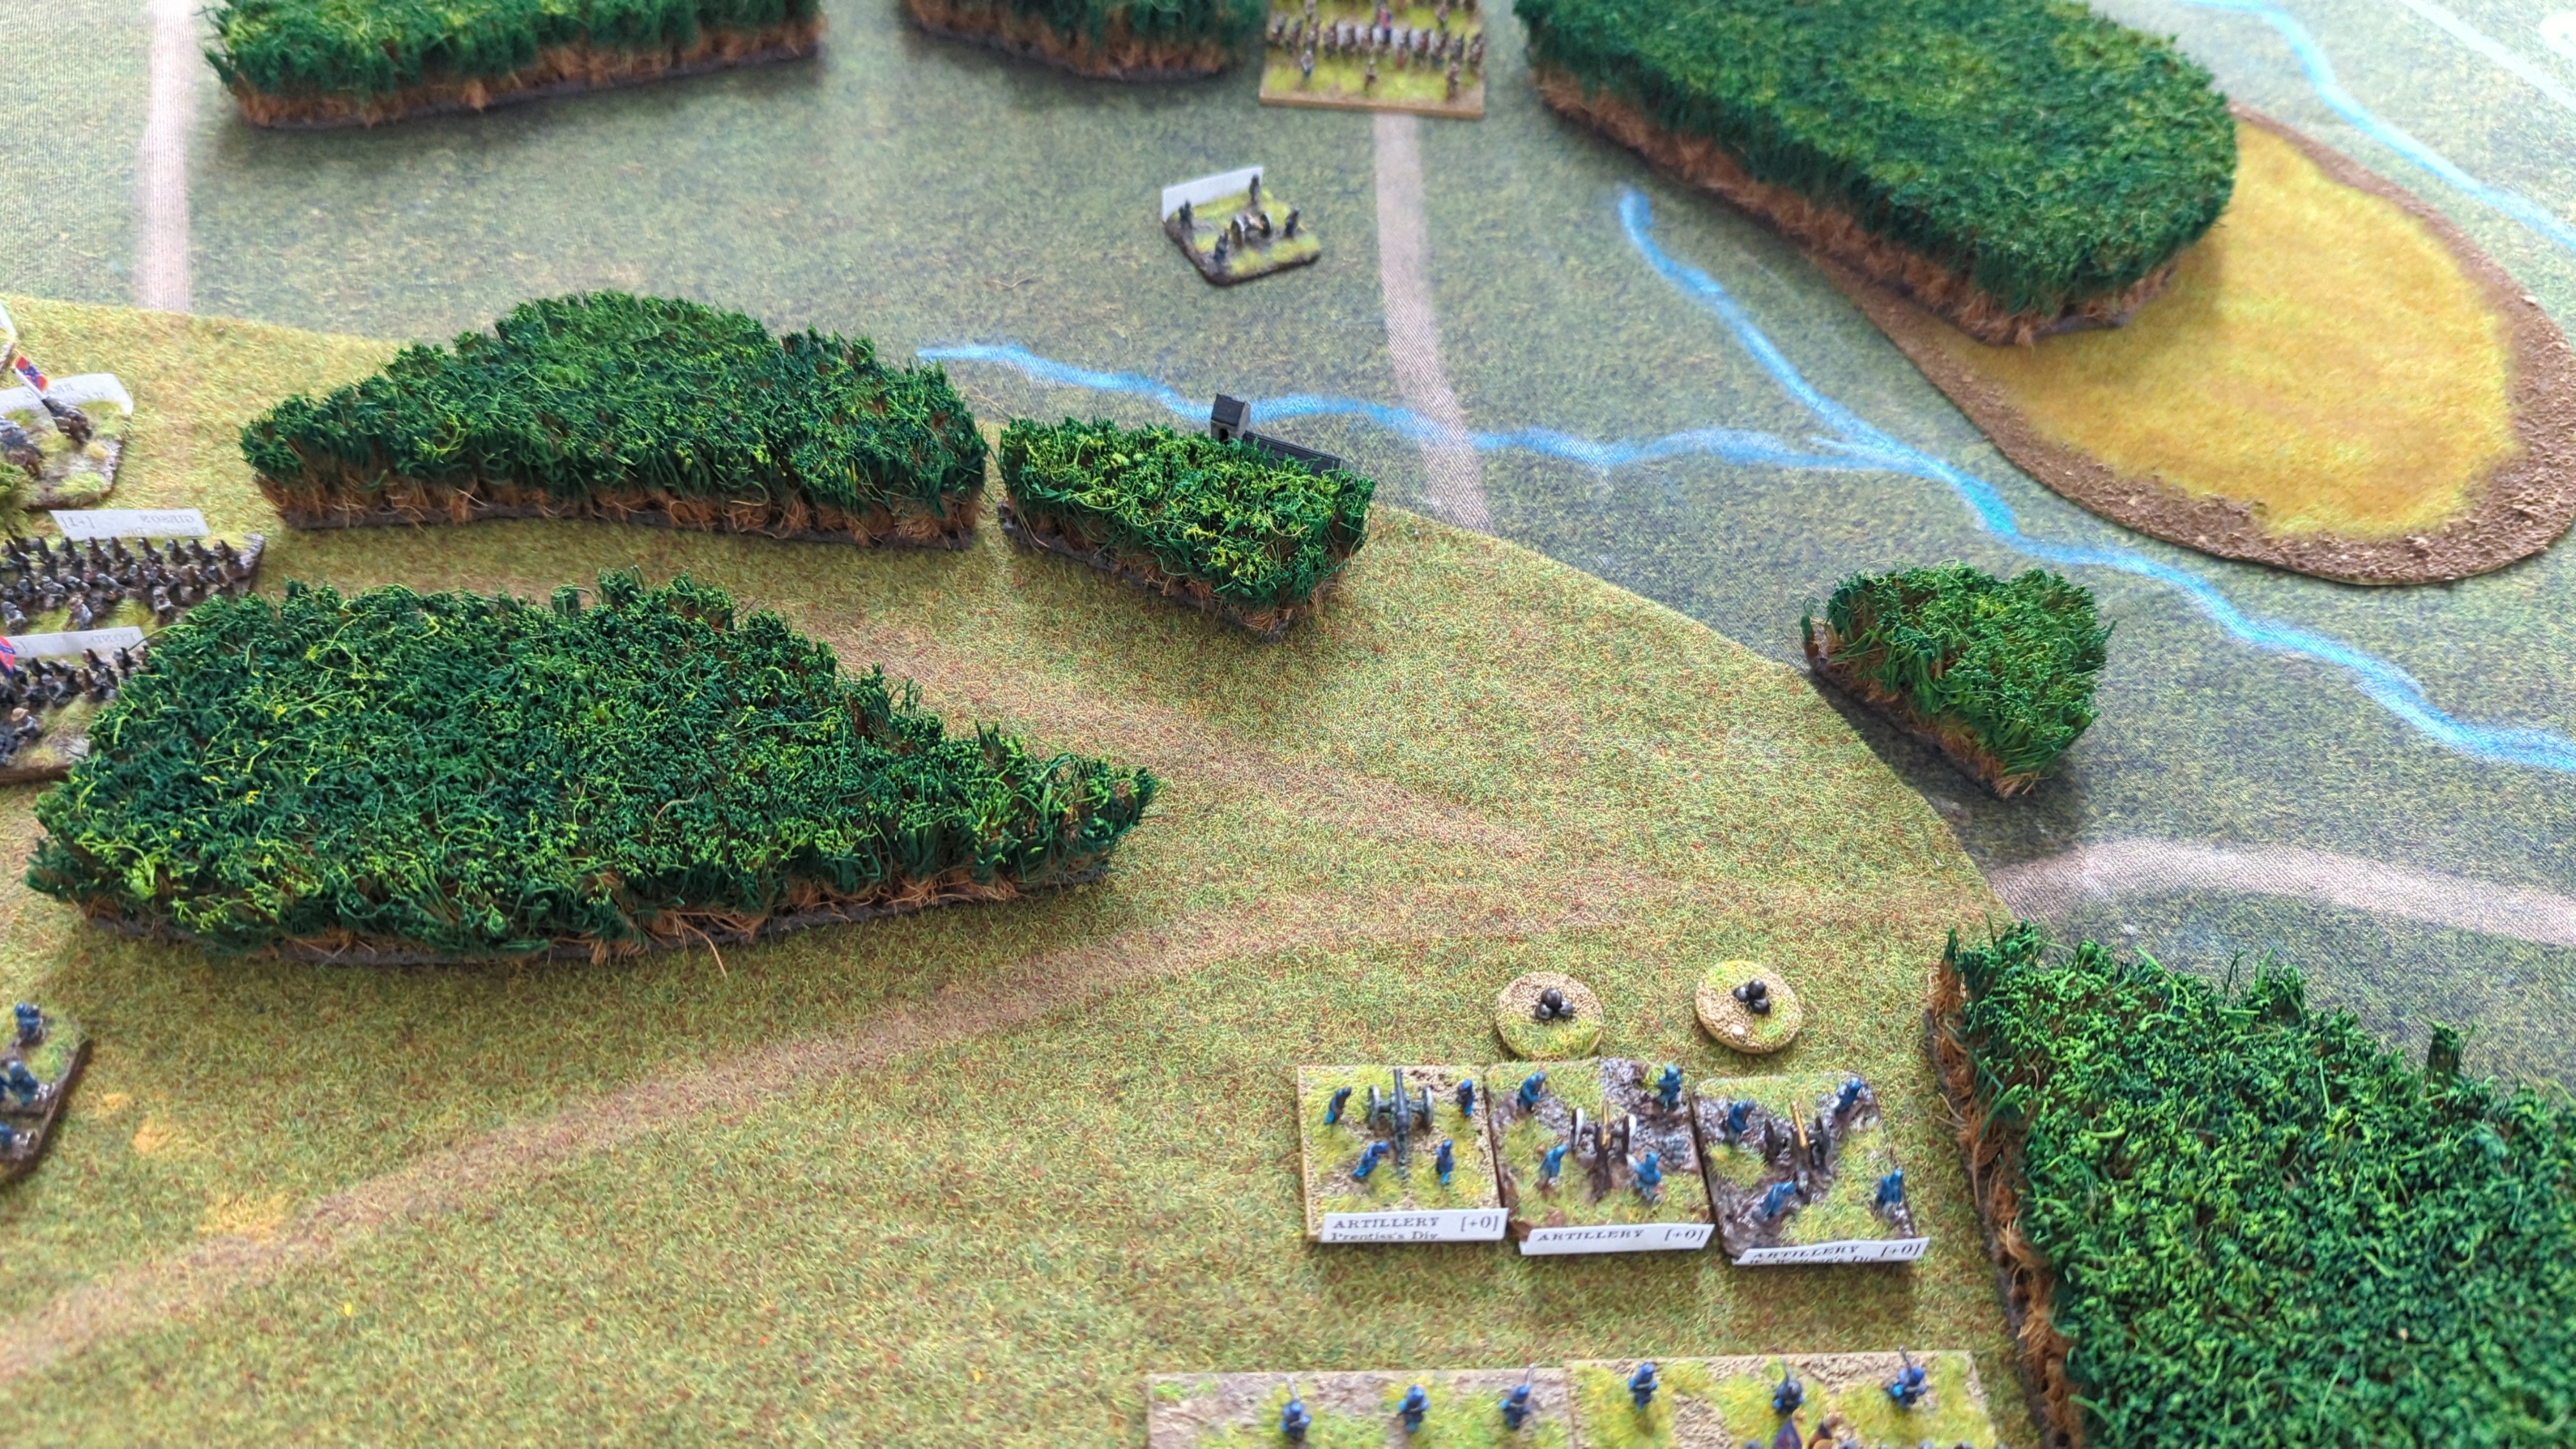
Rolled 4 and 3: 12 - 3 = 9.
Bid 2
Hurlbut's artillery caused two recoils, taken as fatigue.
Raith caused the same.
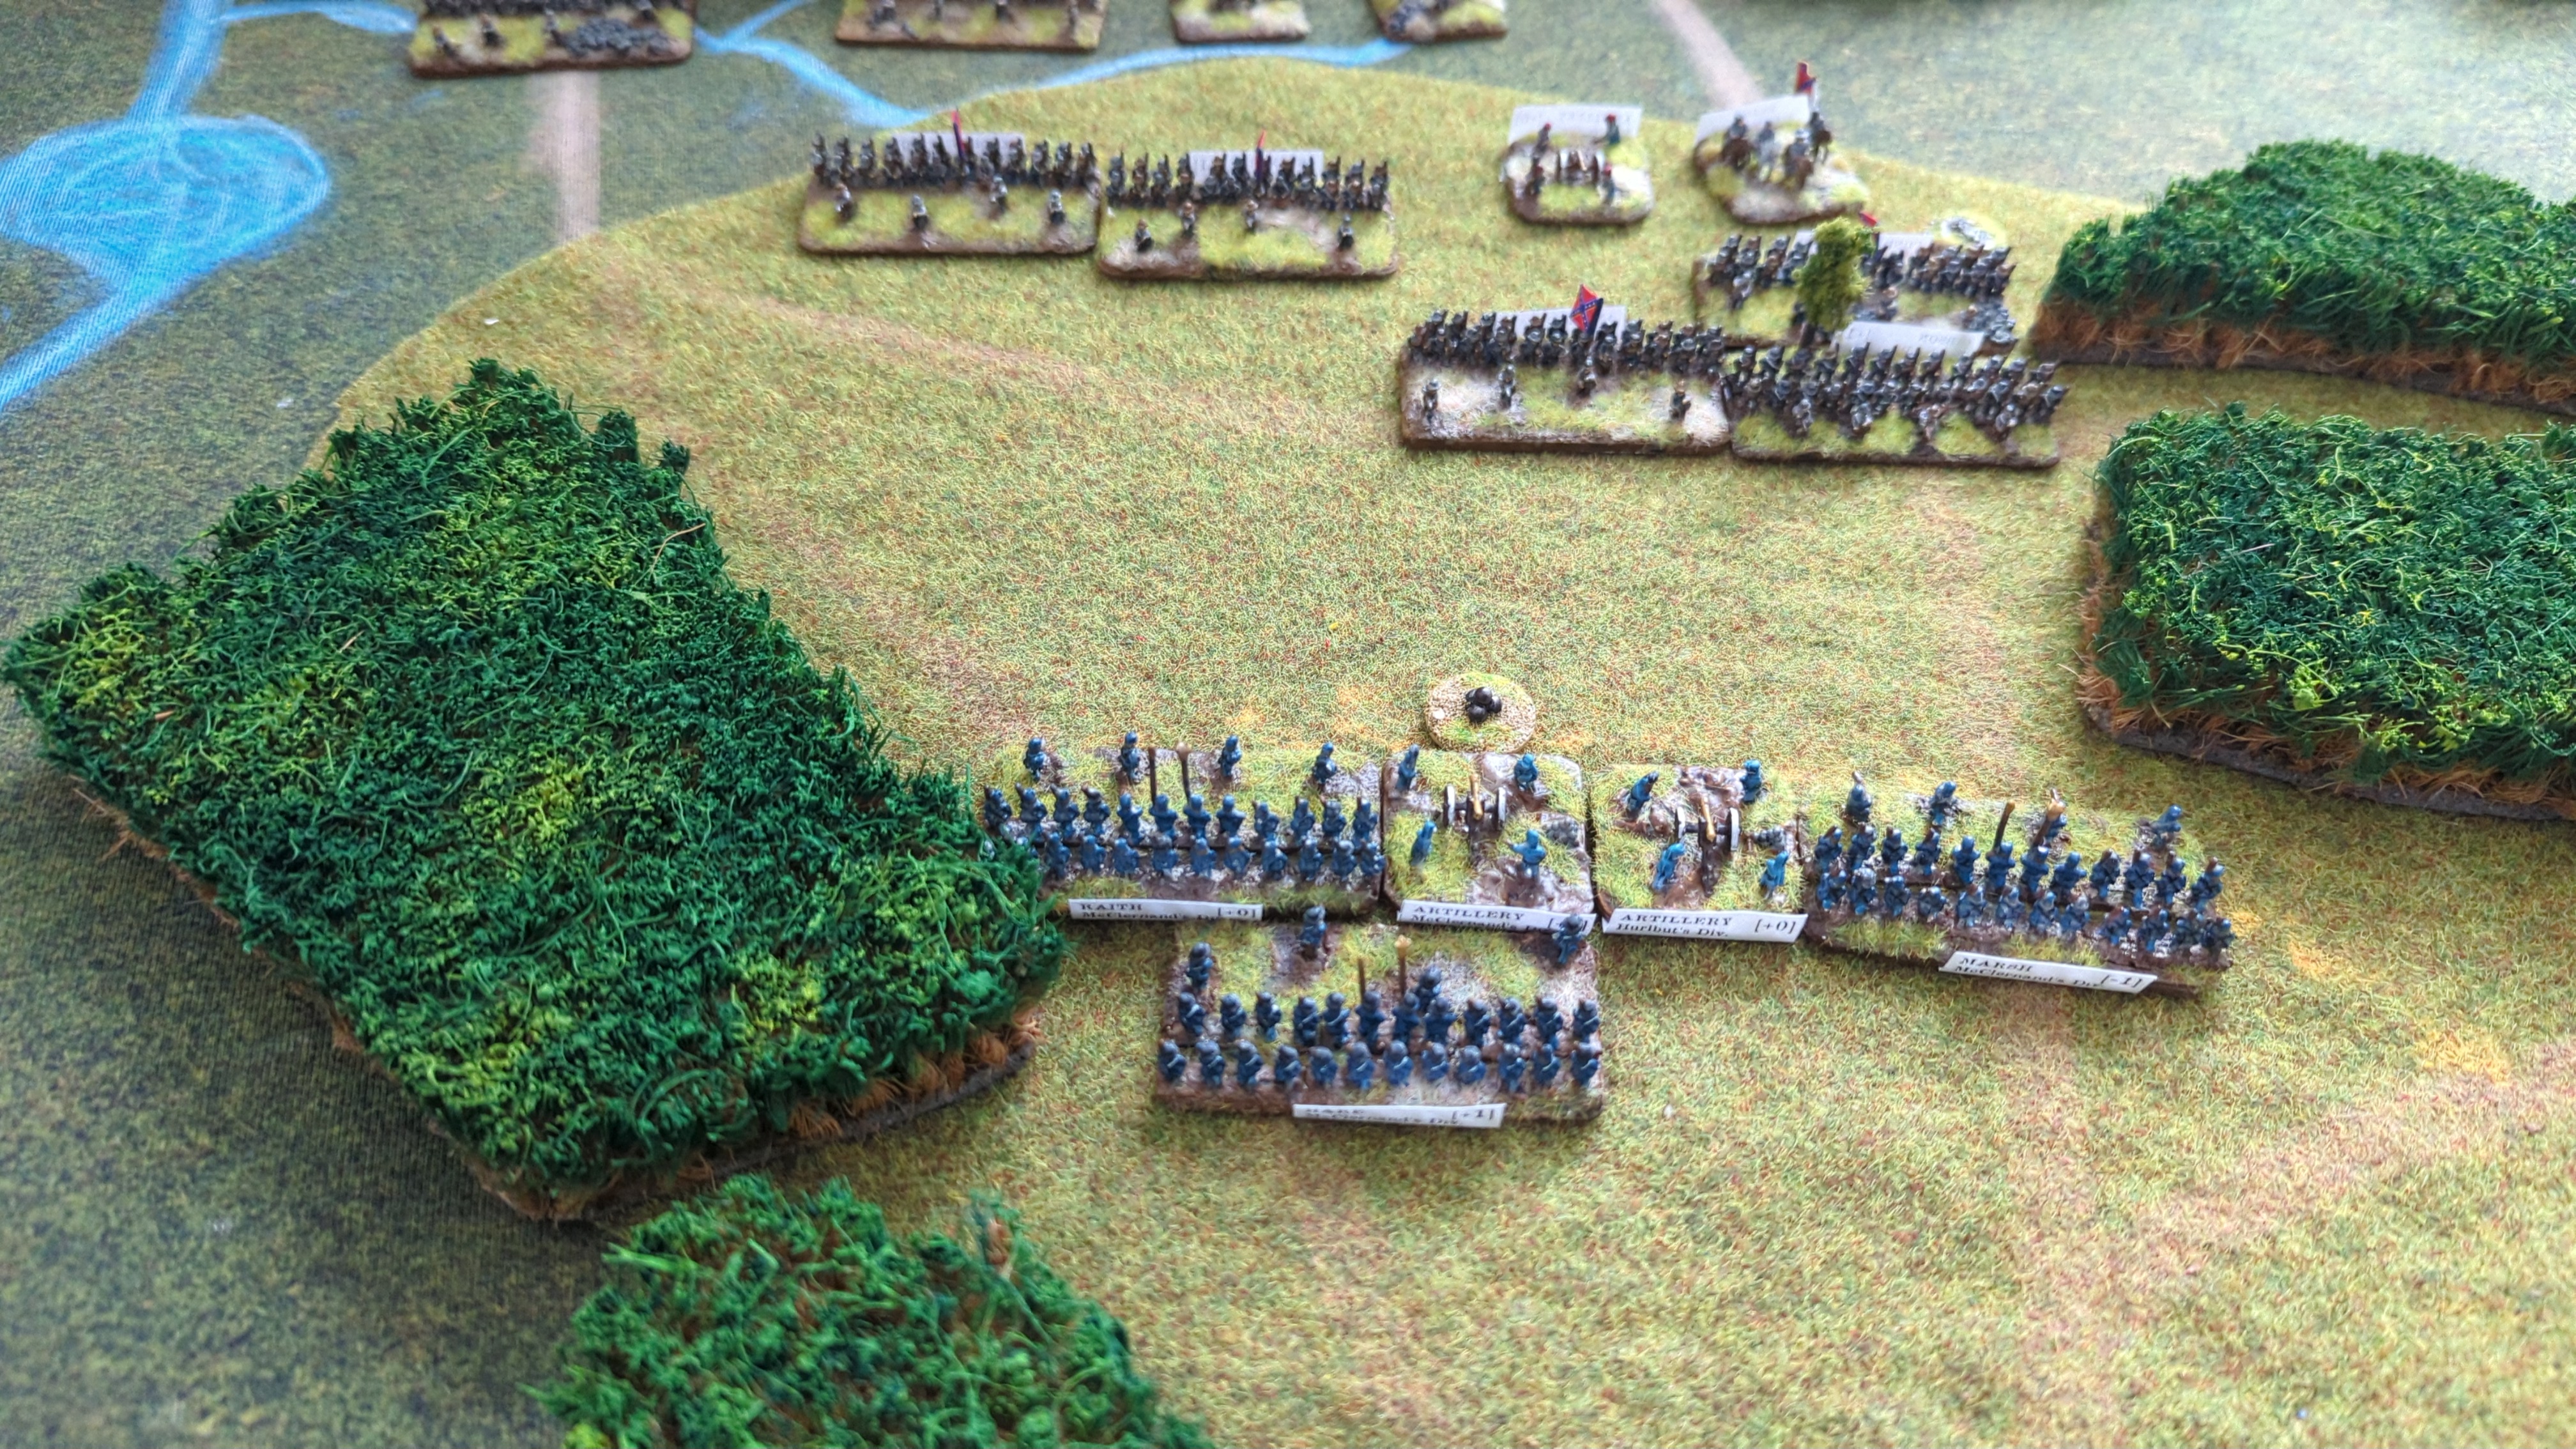
Rolled 6 and 4: 5.
Bid 1
Three interrupt fires missed.
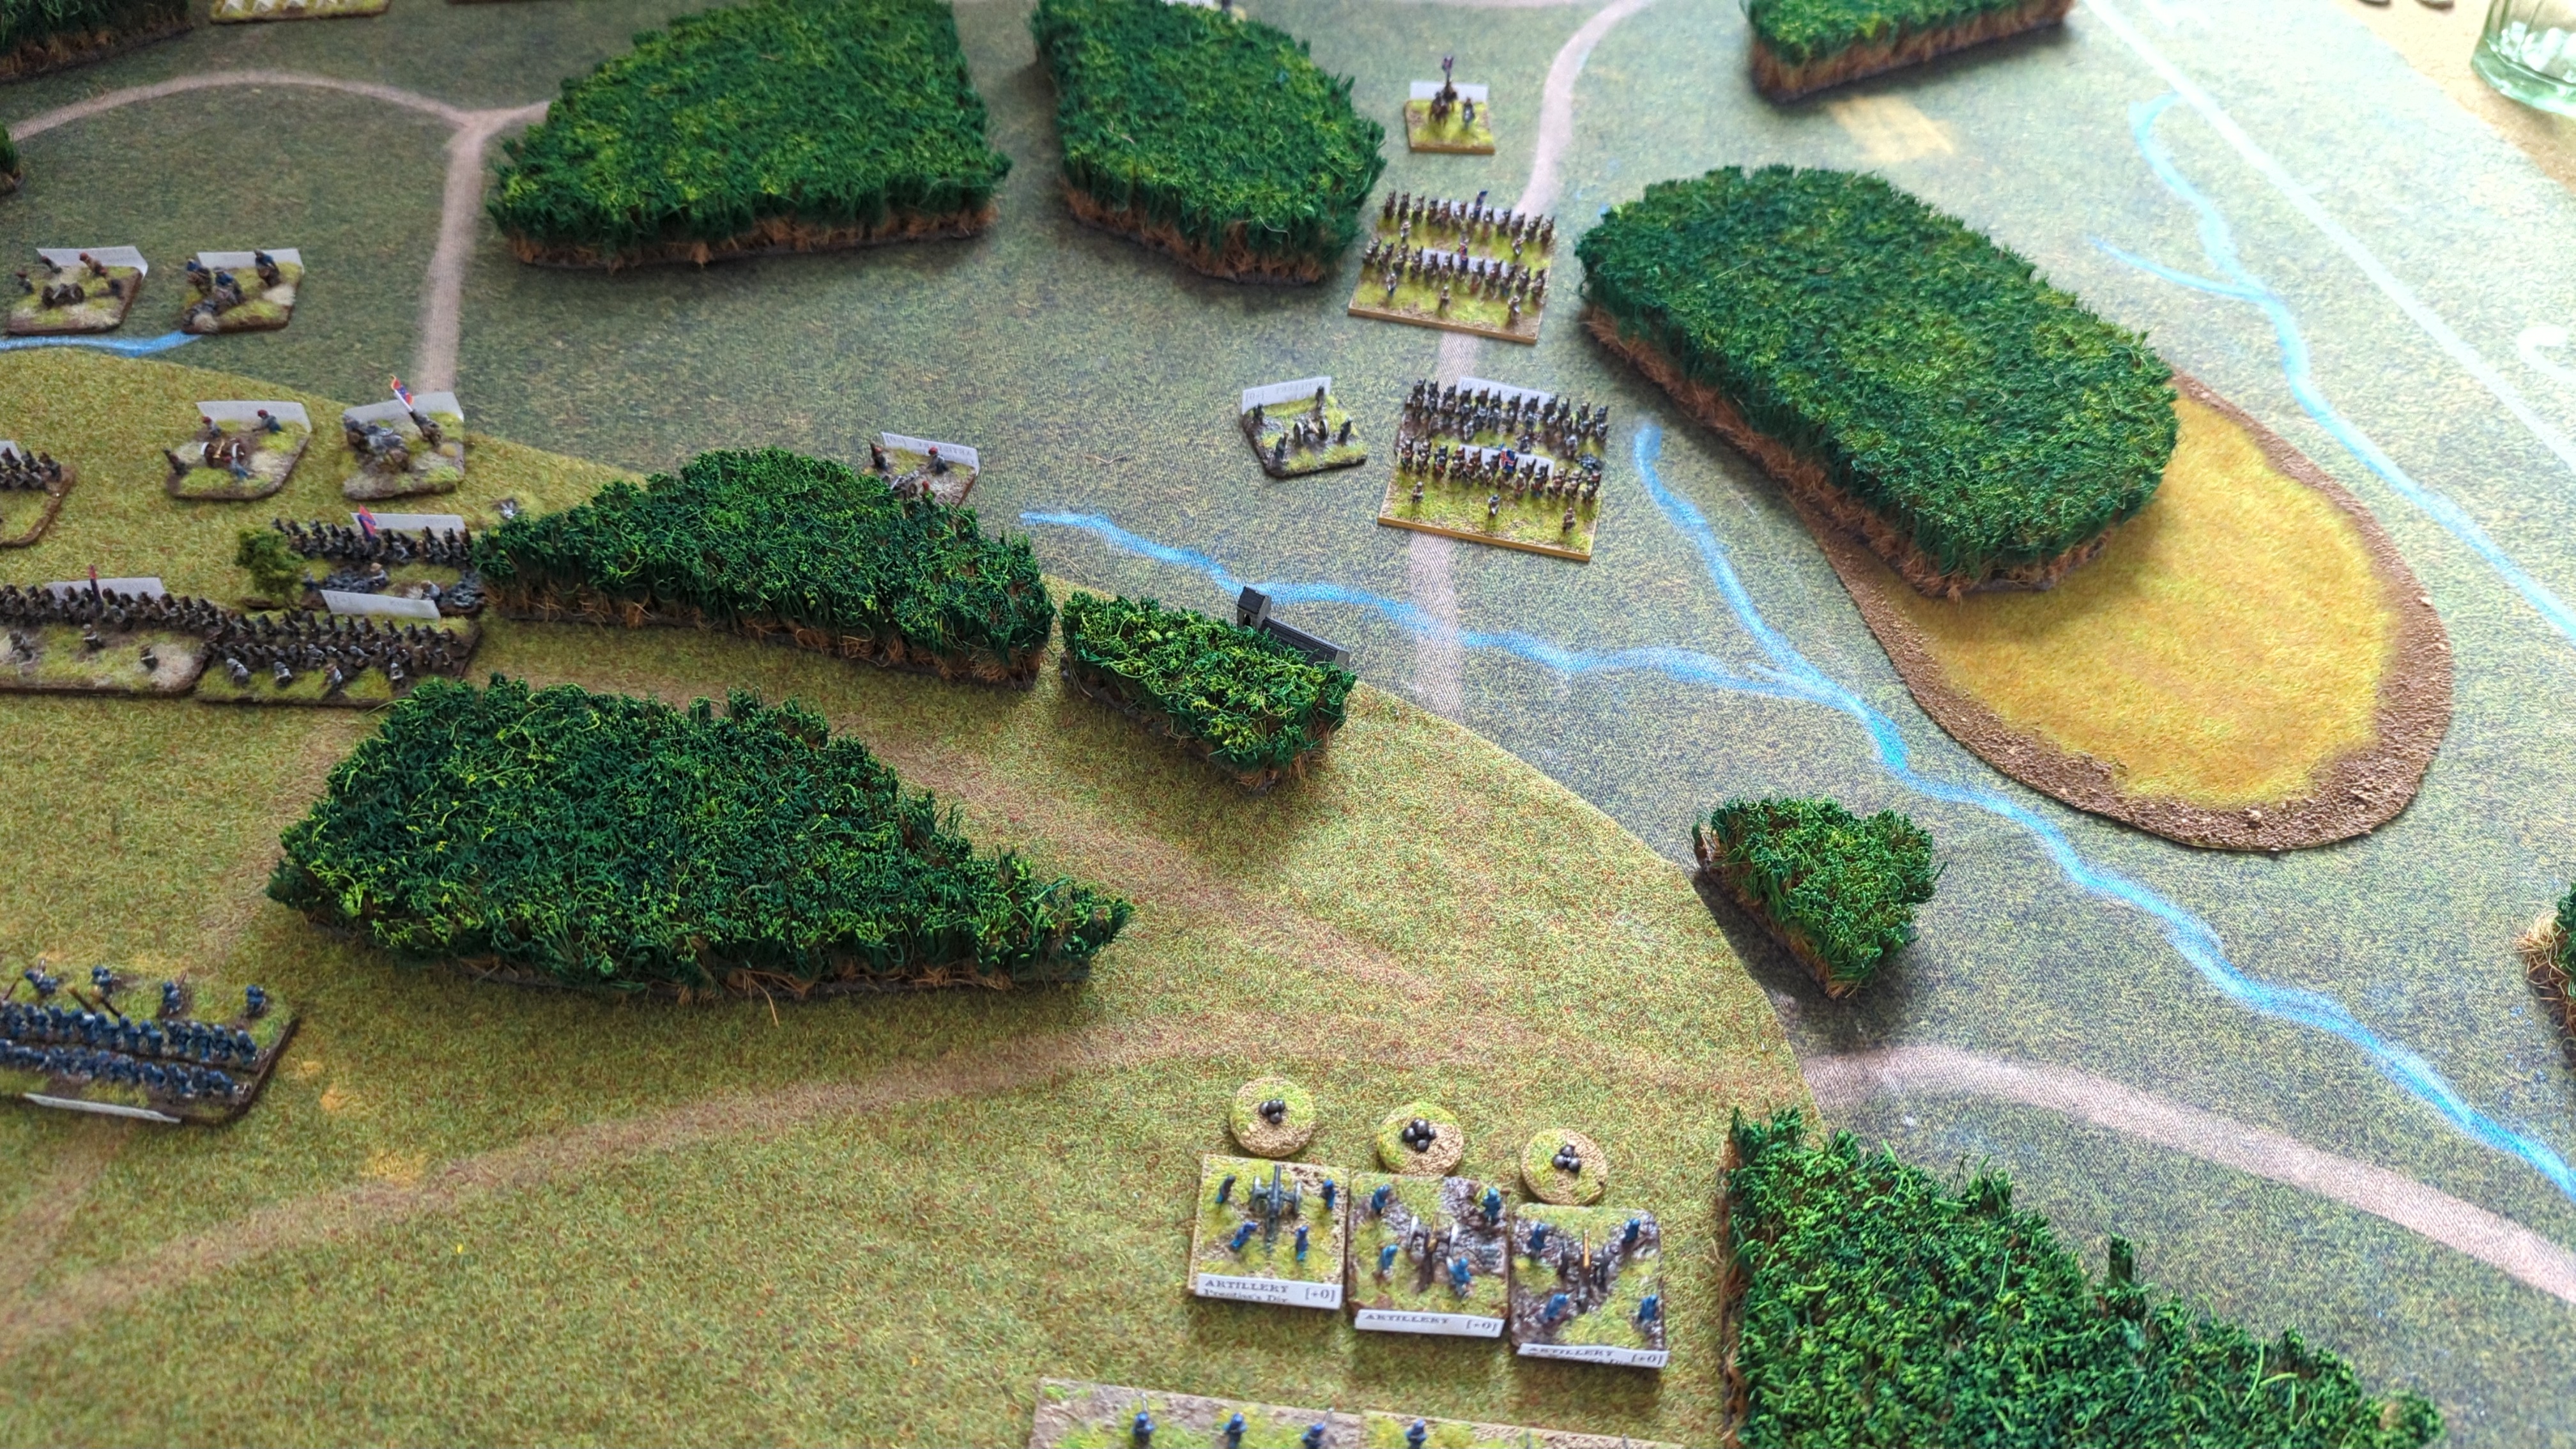
End of Turn Sequence
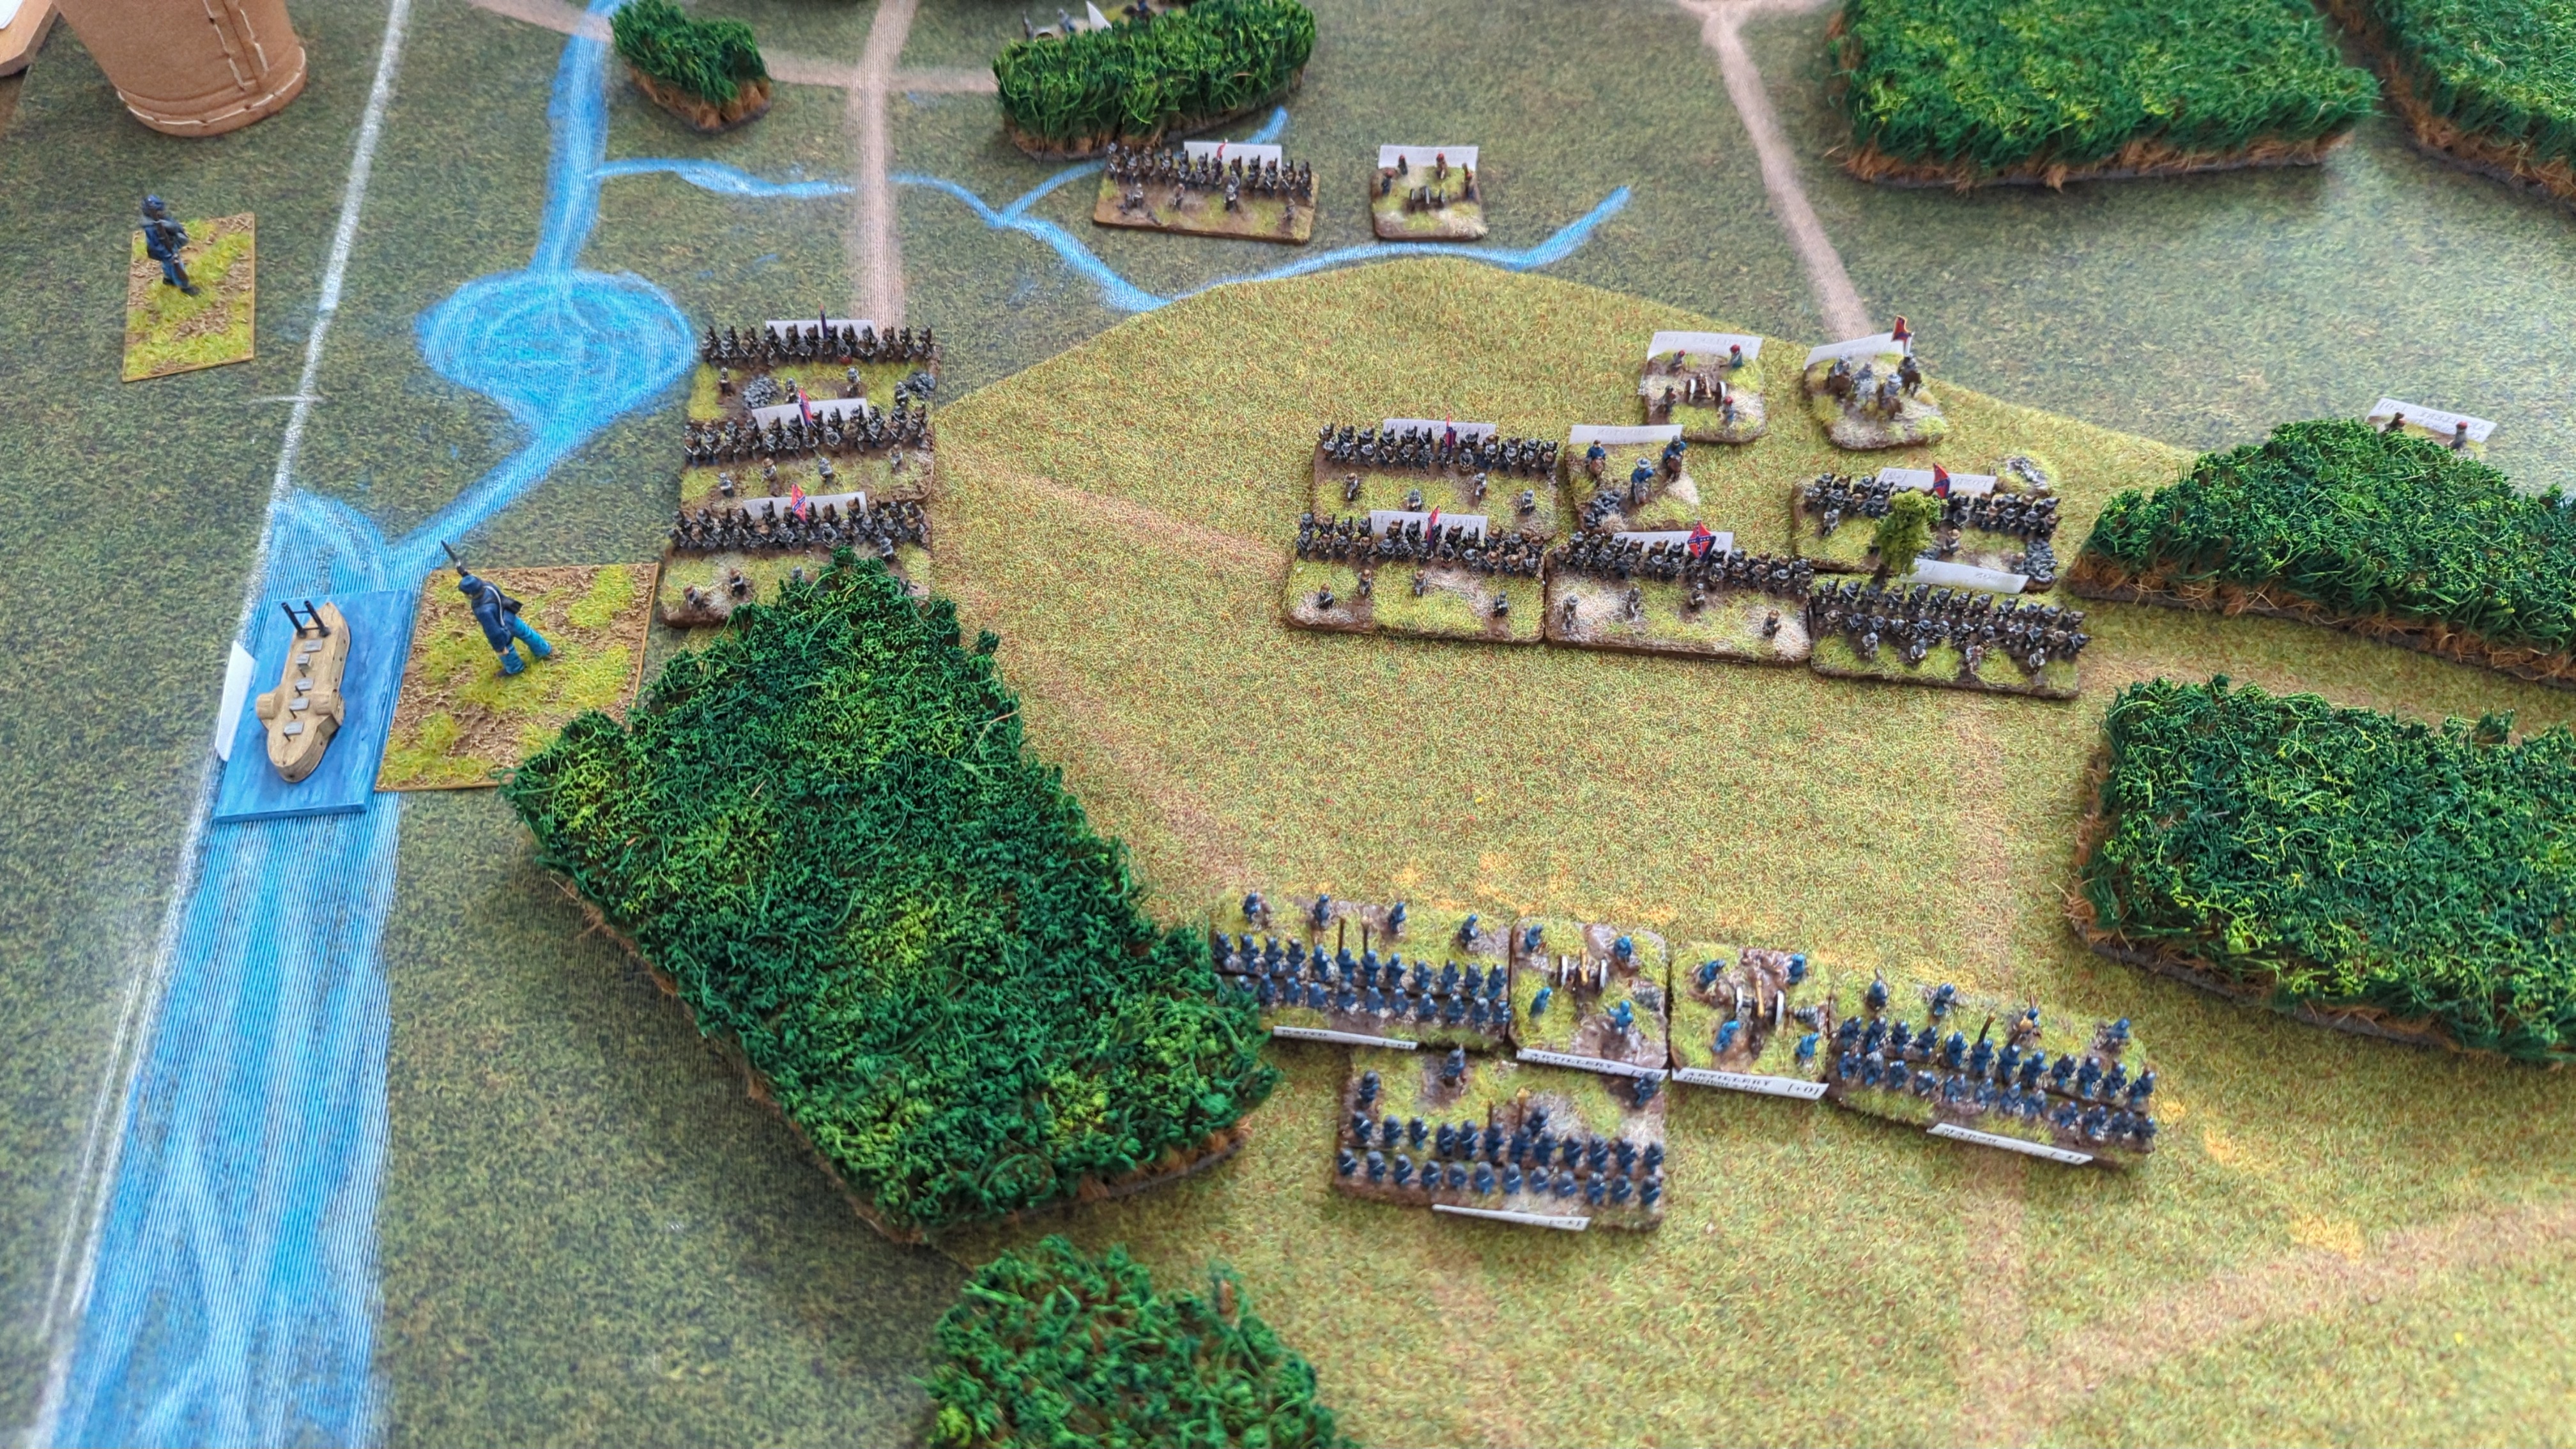
Reinforcements arrived.
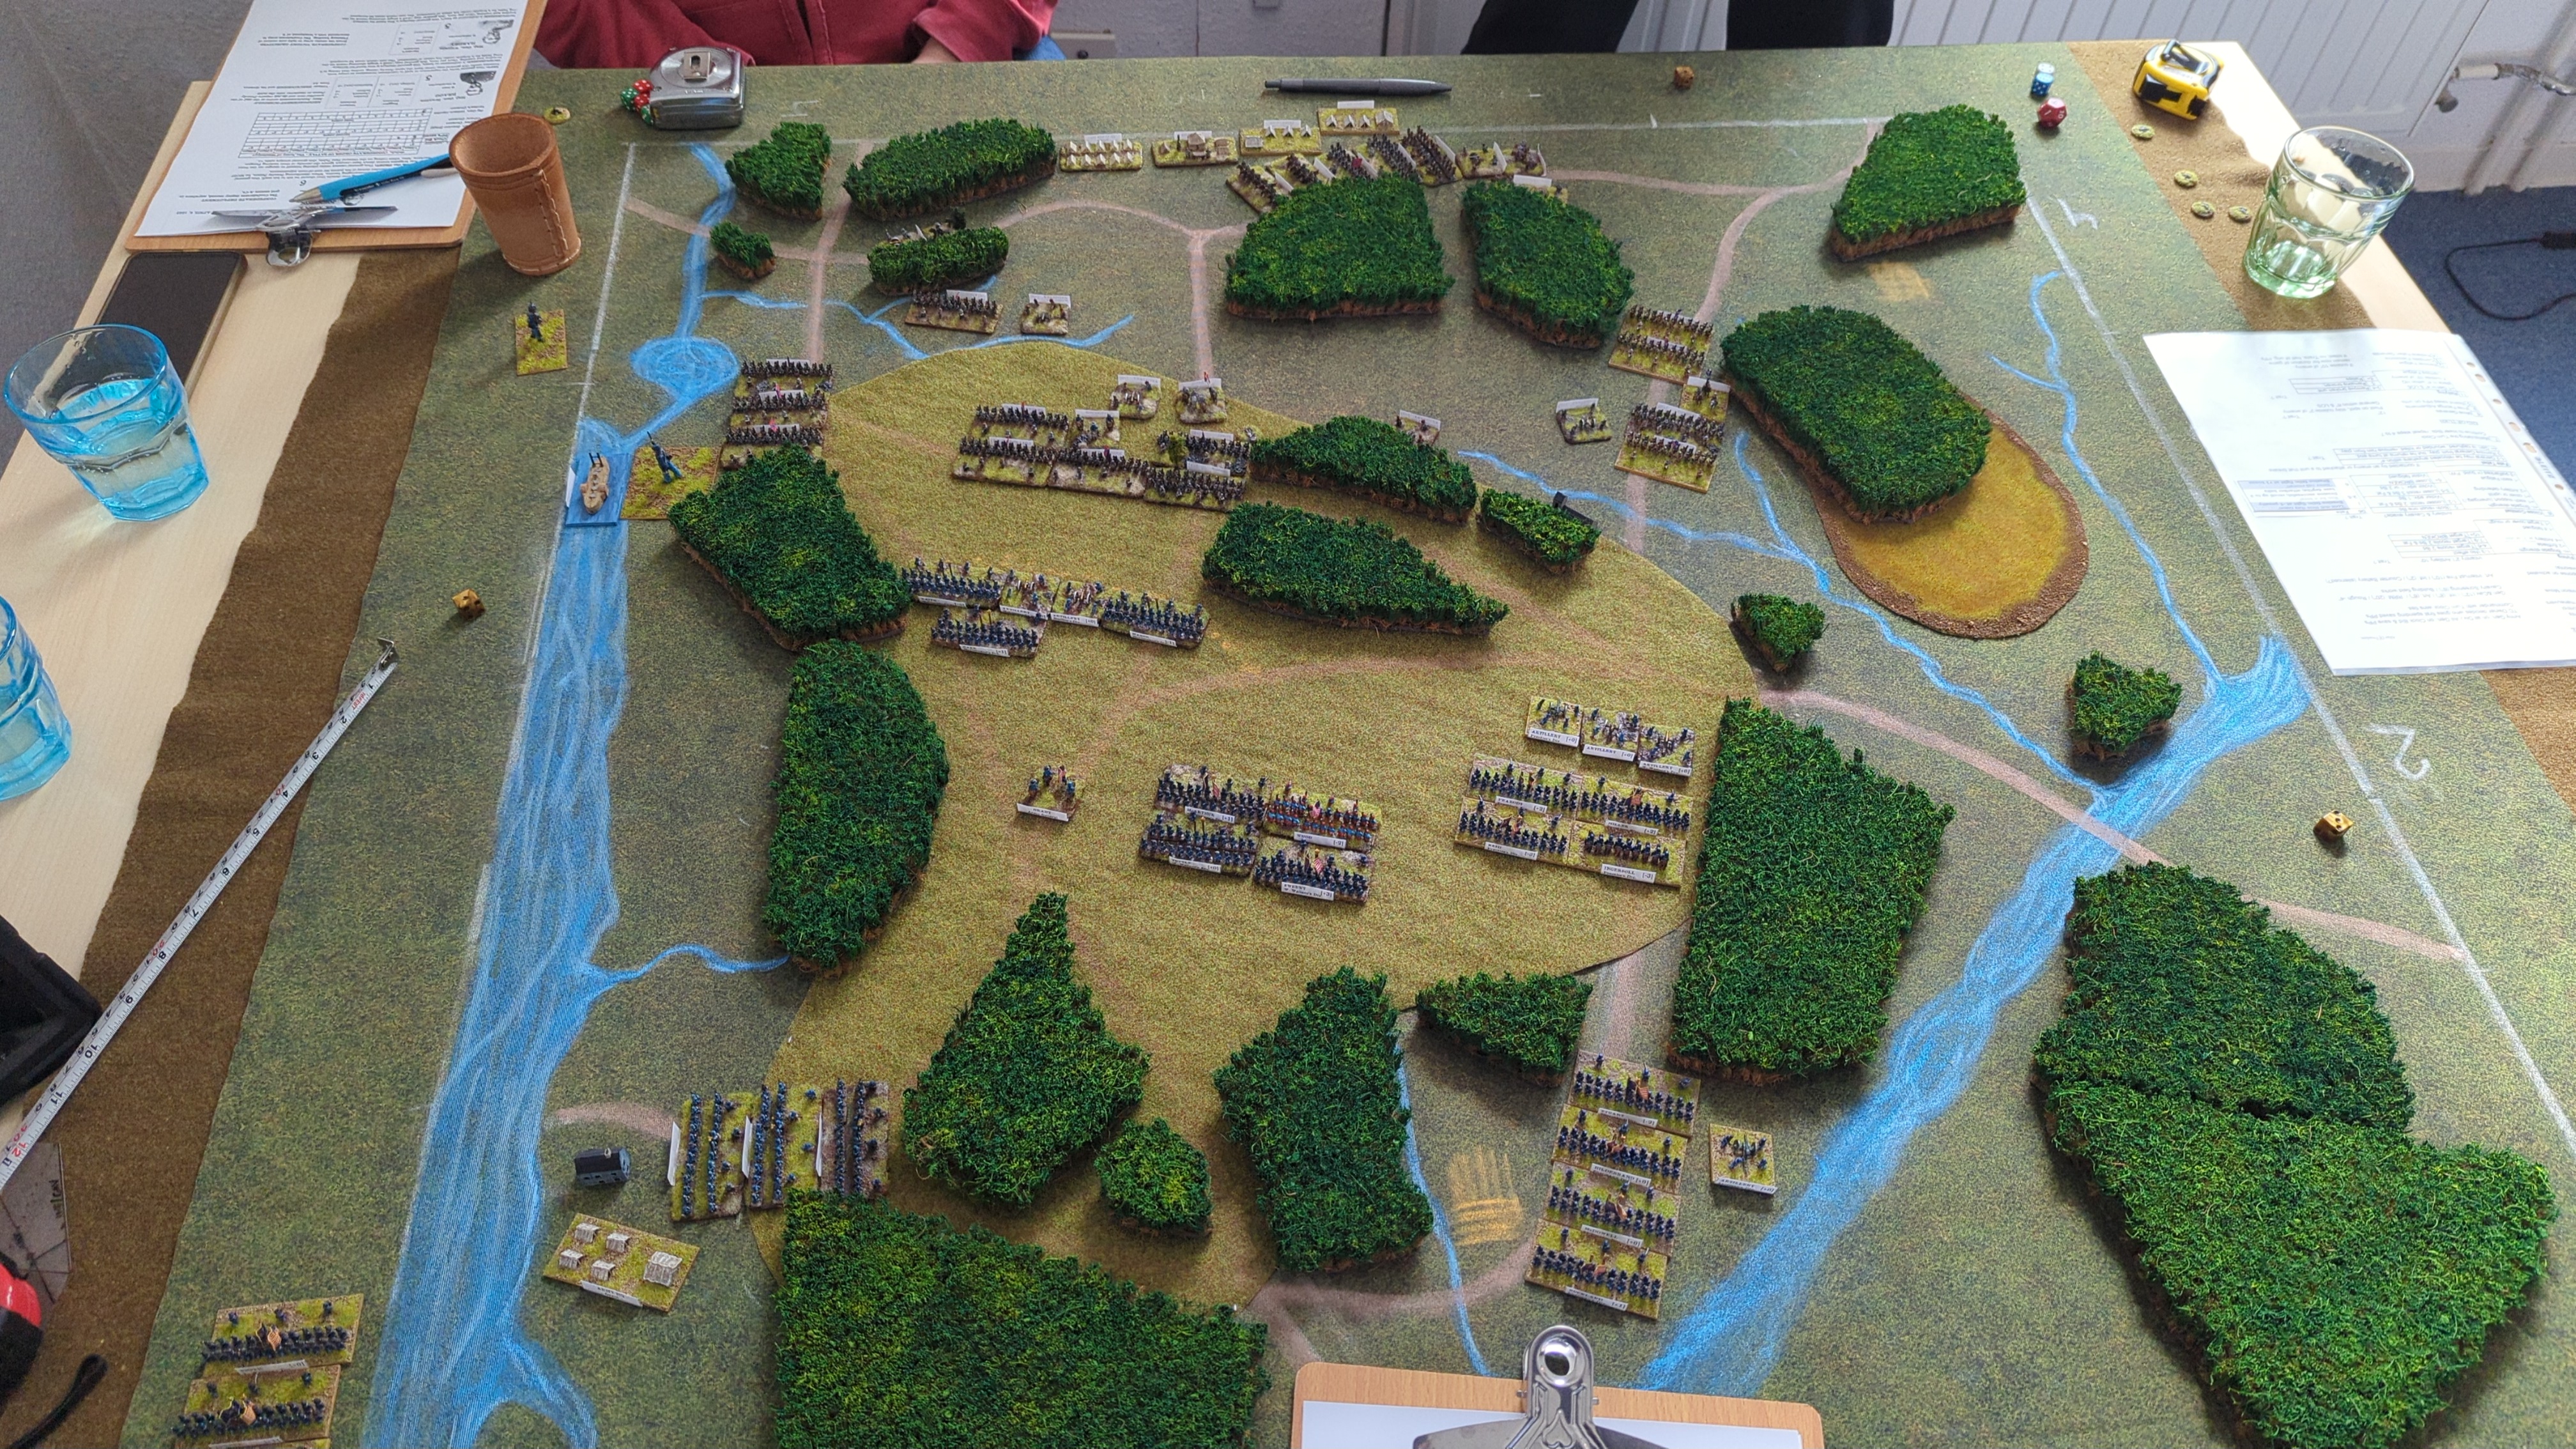
Turn 2
7 vs 6: the Confederates won.
The Tyler fired and moved, causing one recoil.
Bid 7
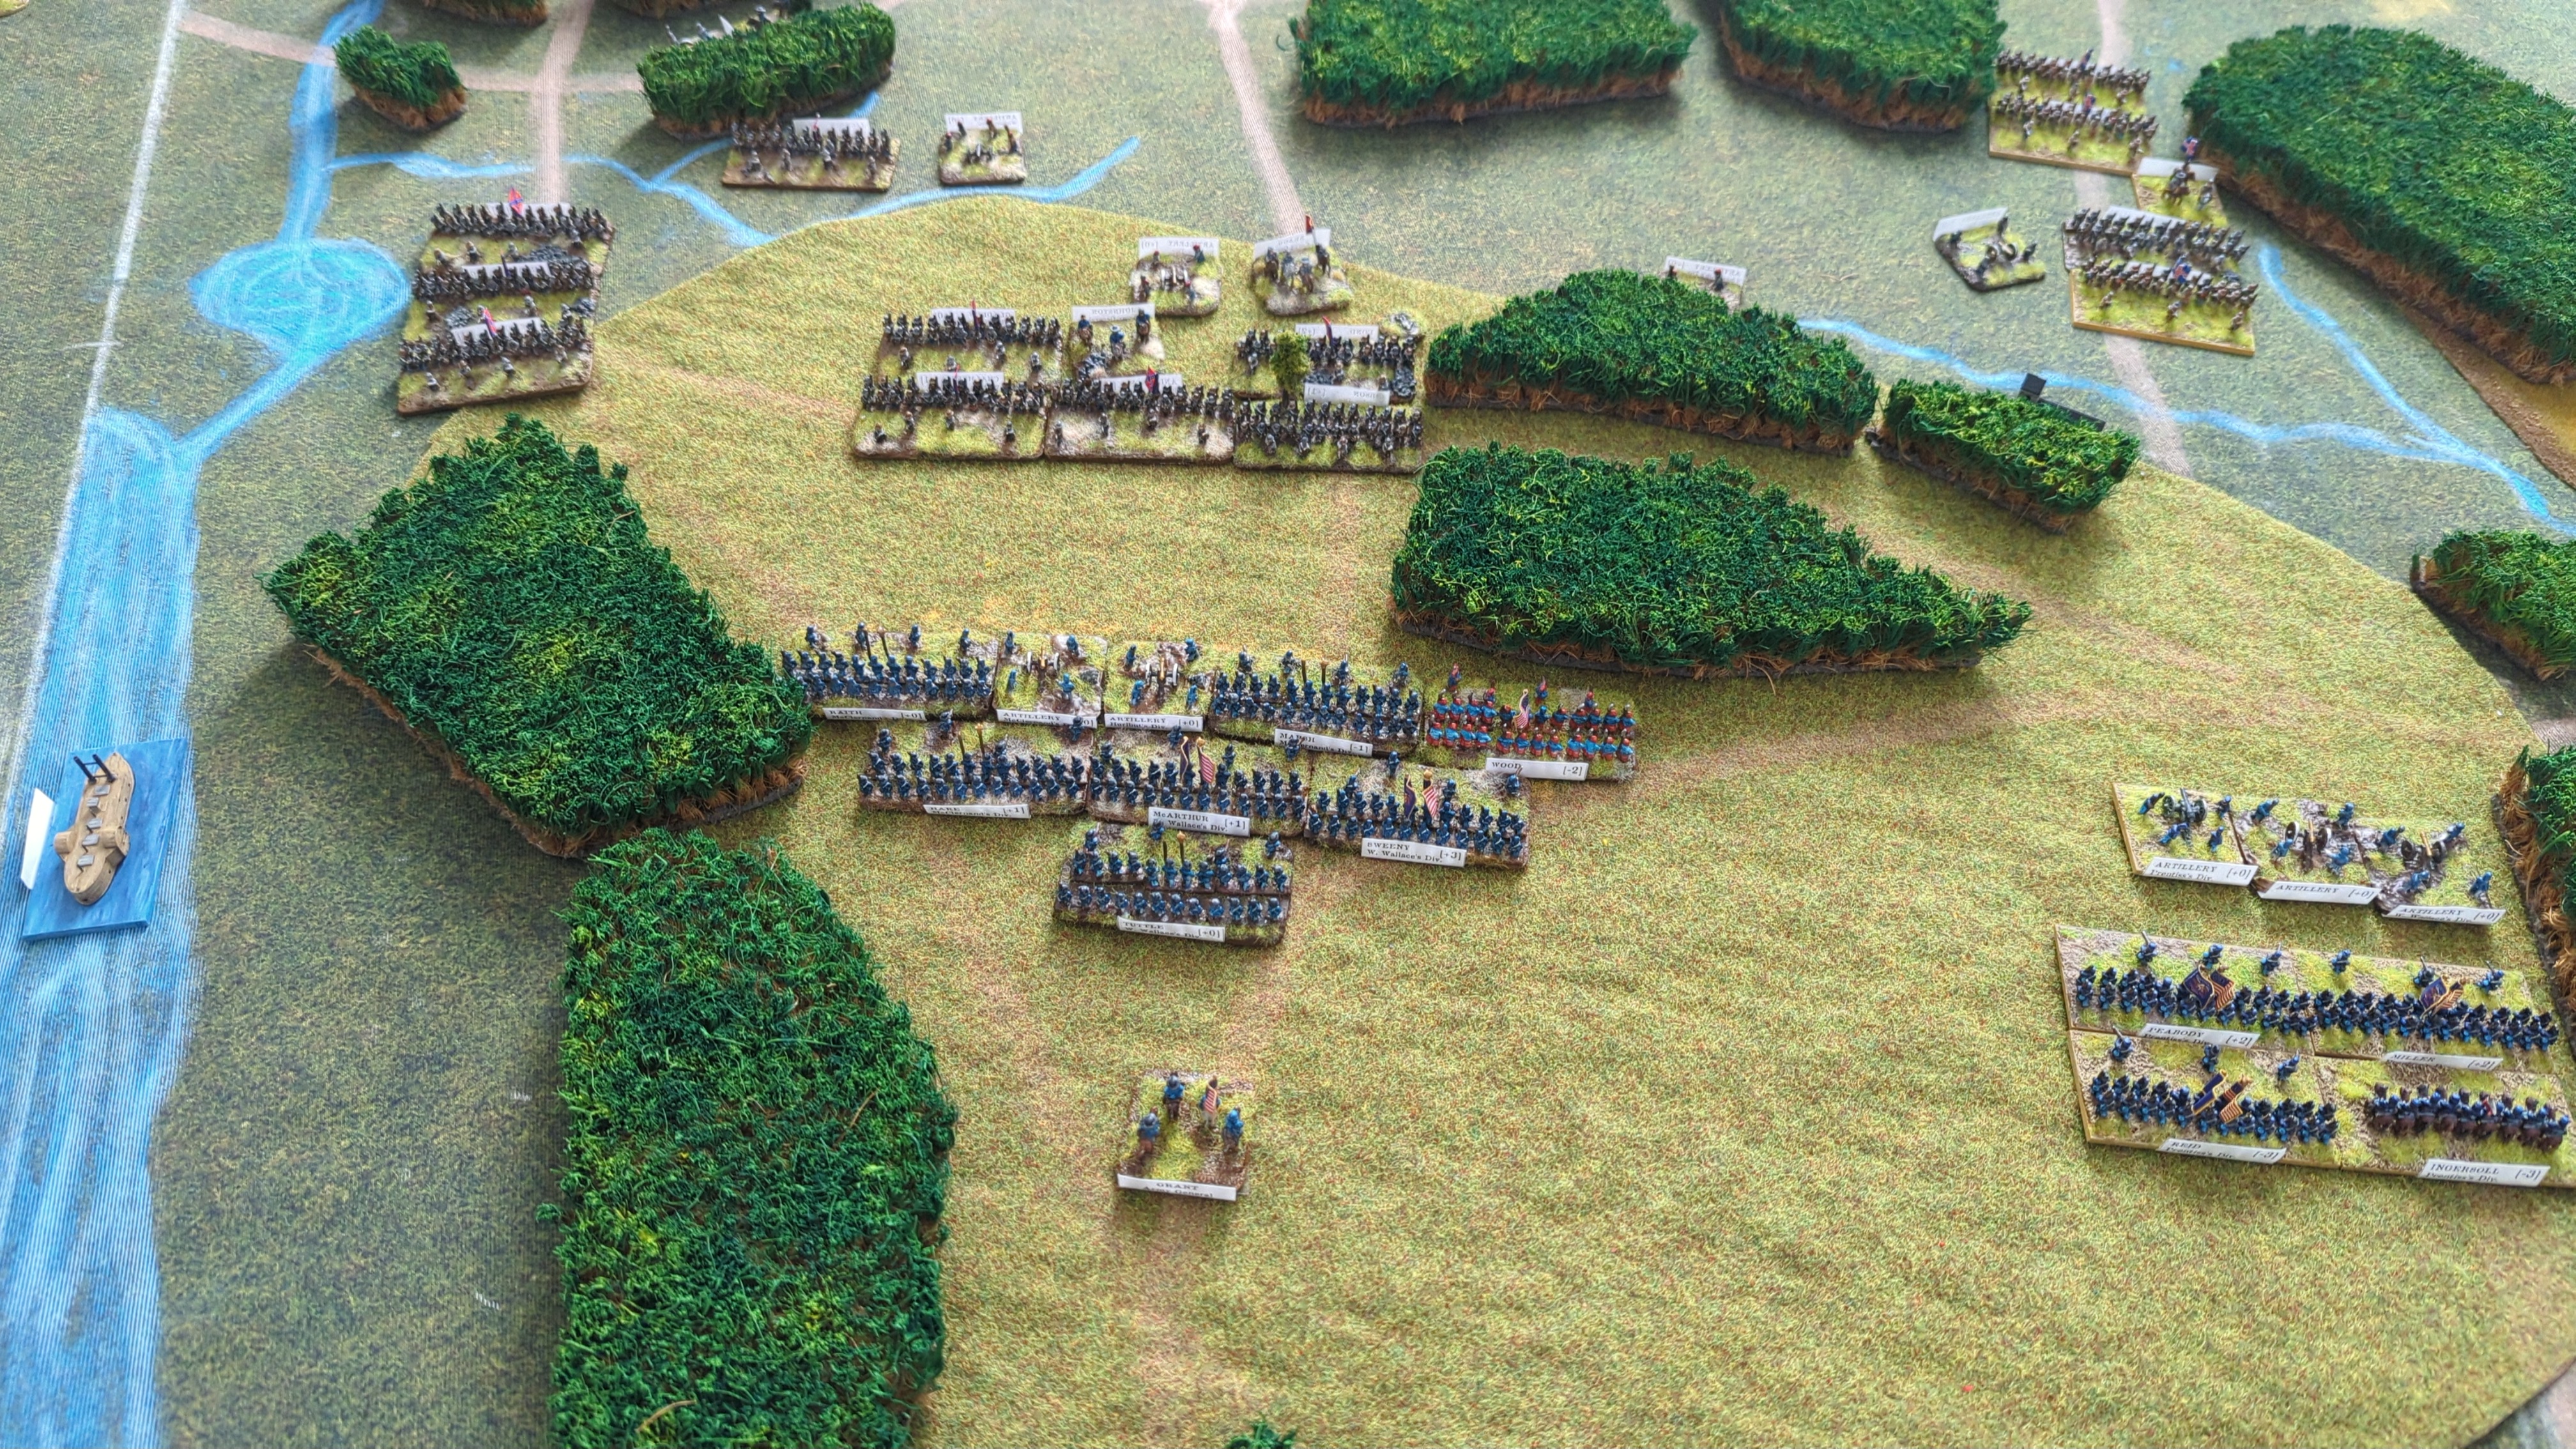
W. H. L. Wallace activated.
Rolled 3 and 3: 9.
Bid 4
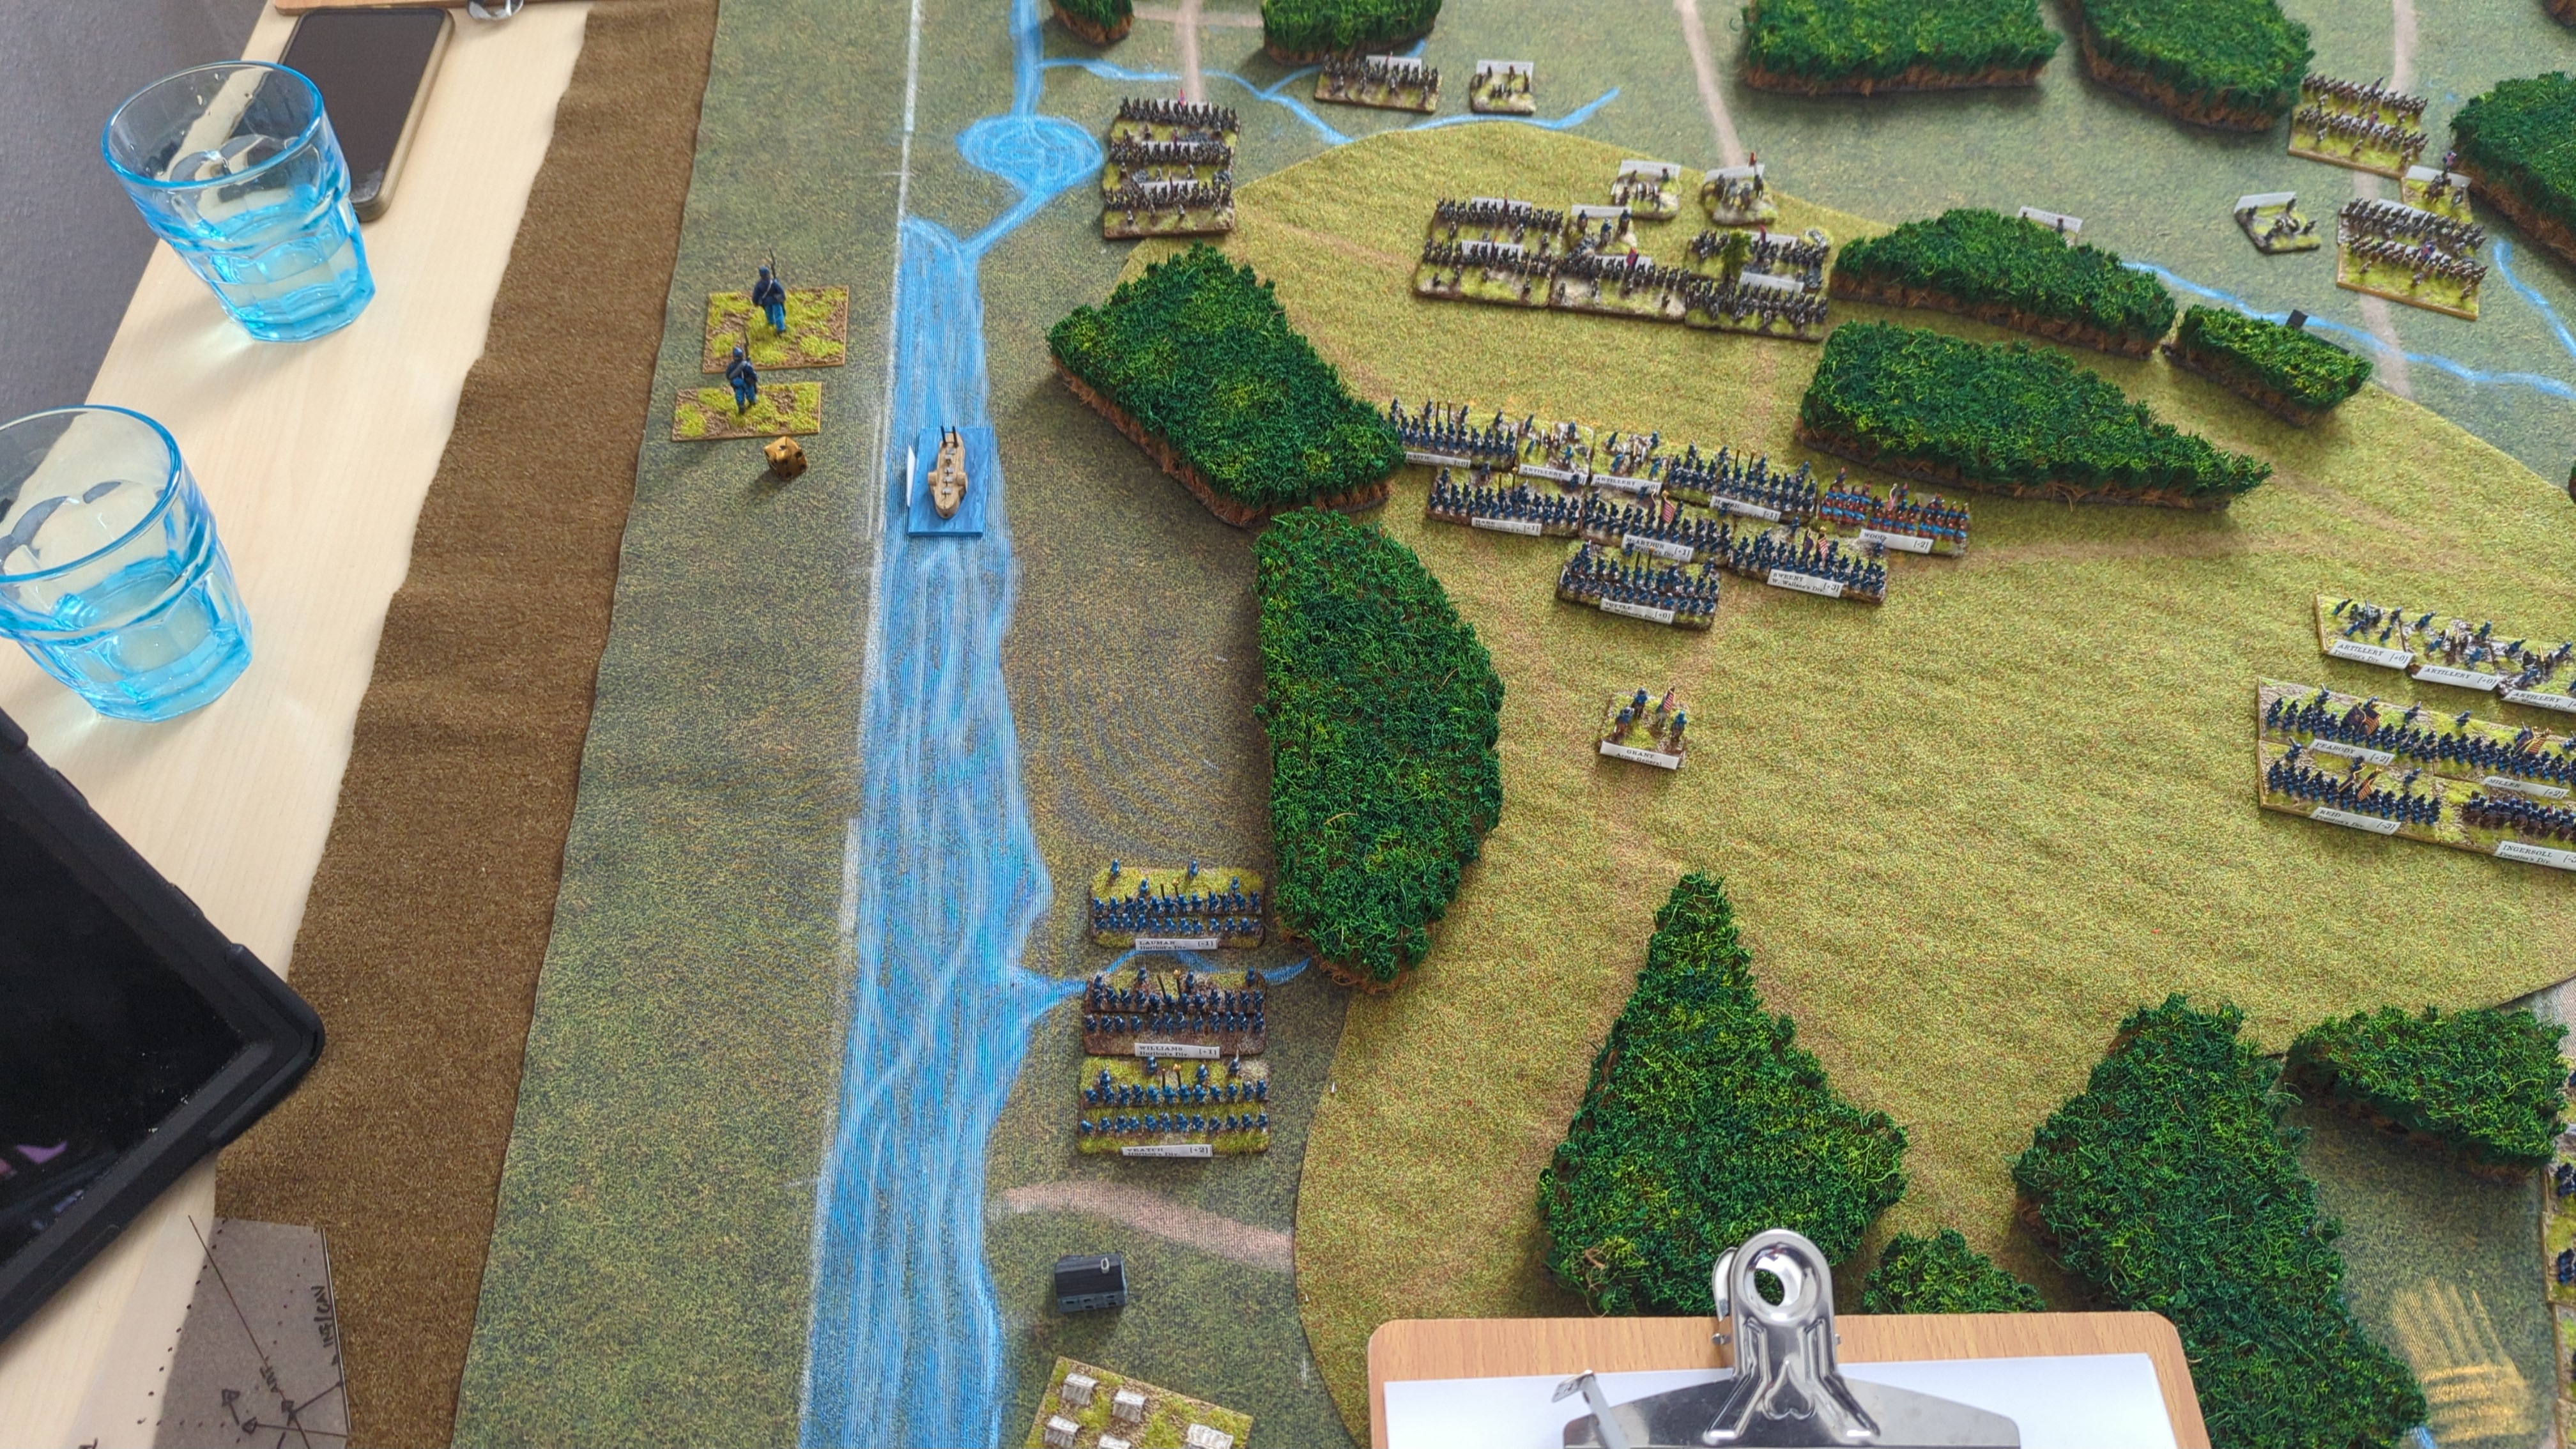
Rolled 5 and 3: 6.
Bid 3
Hardee activated.
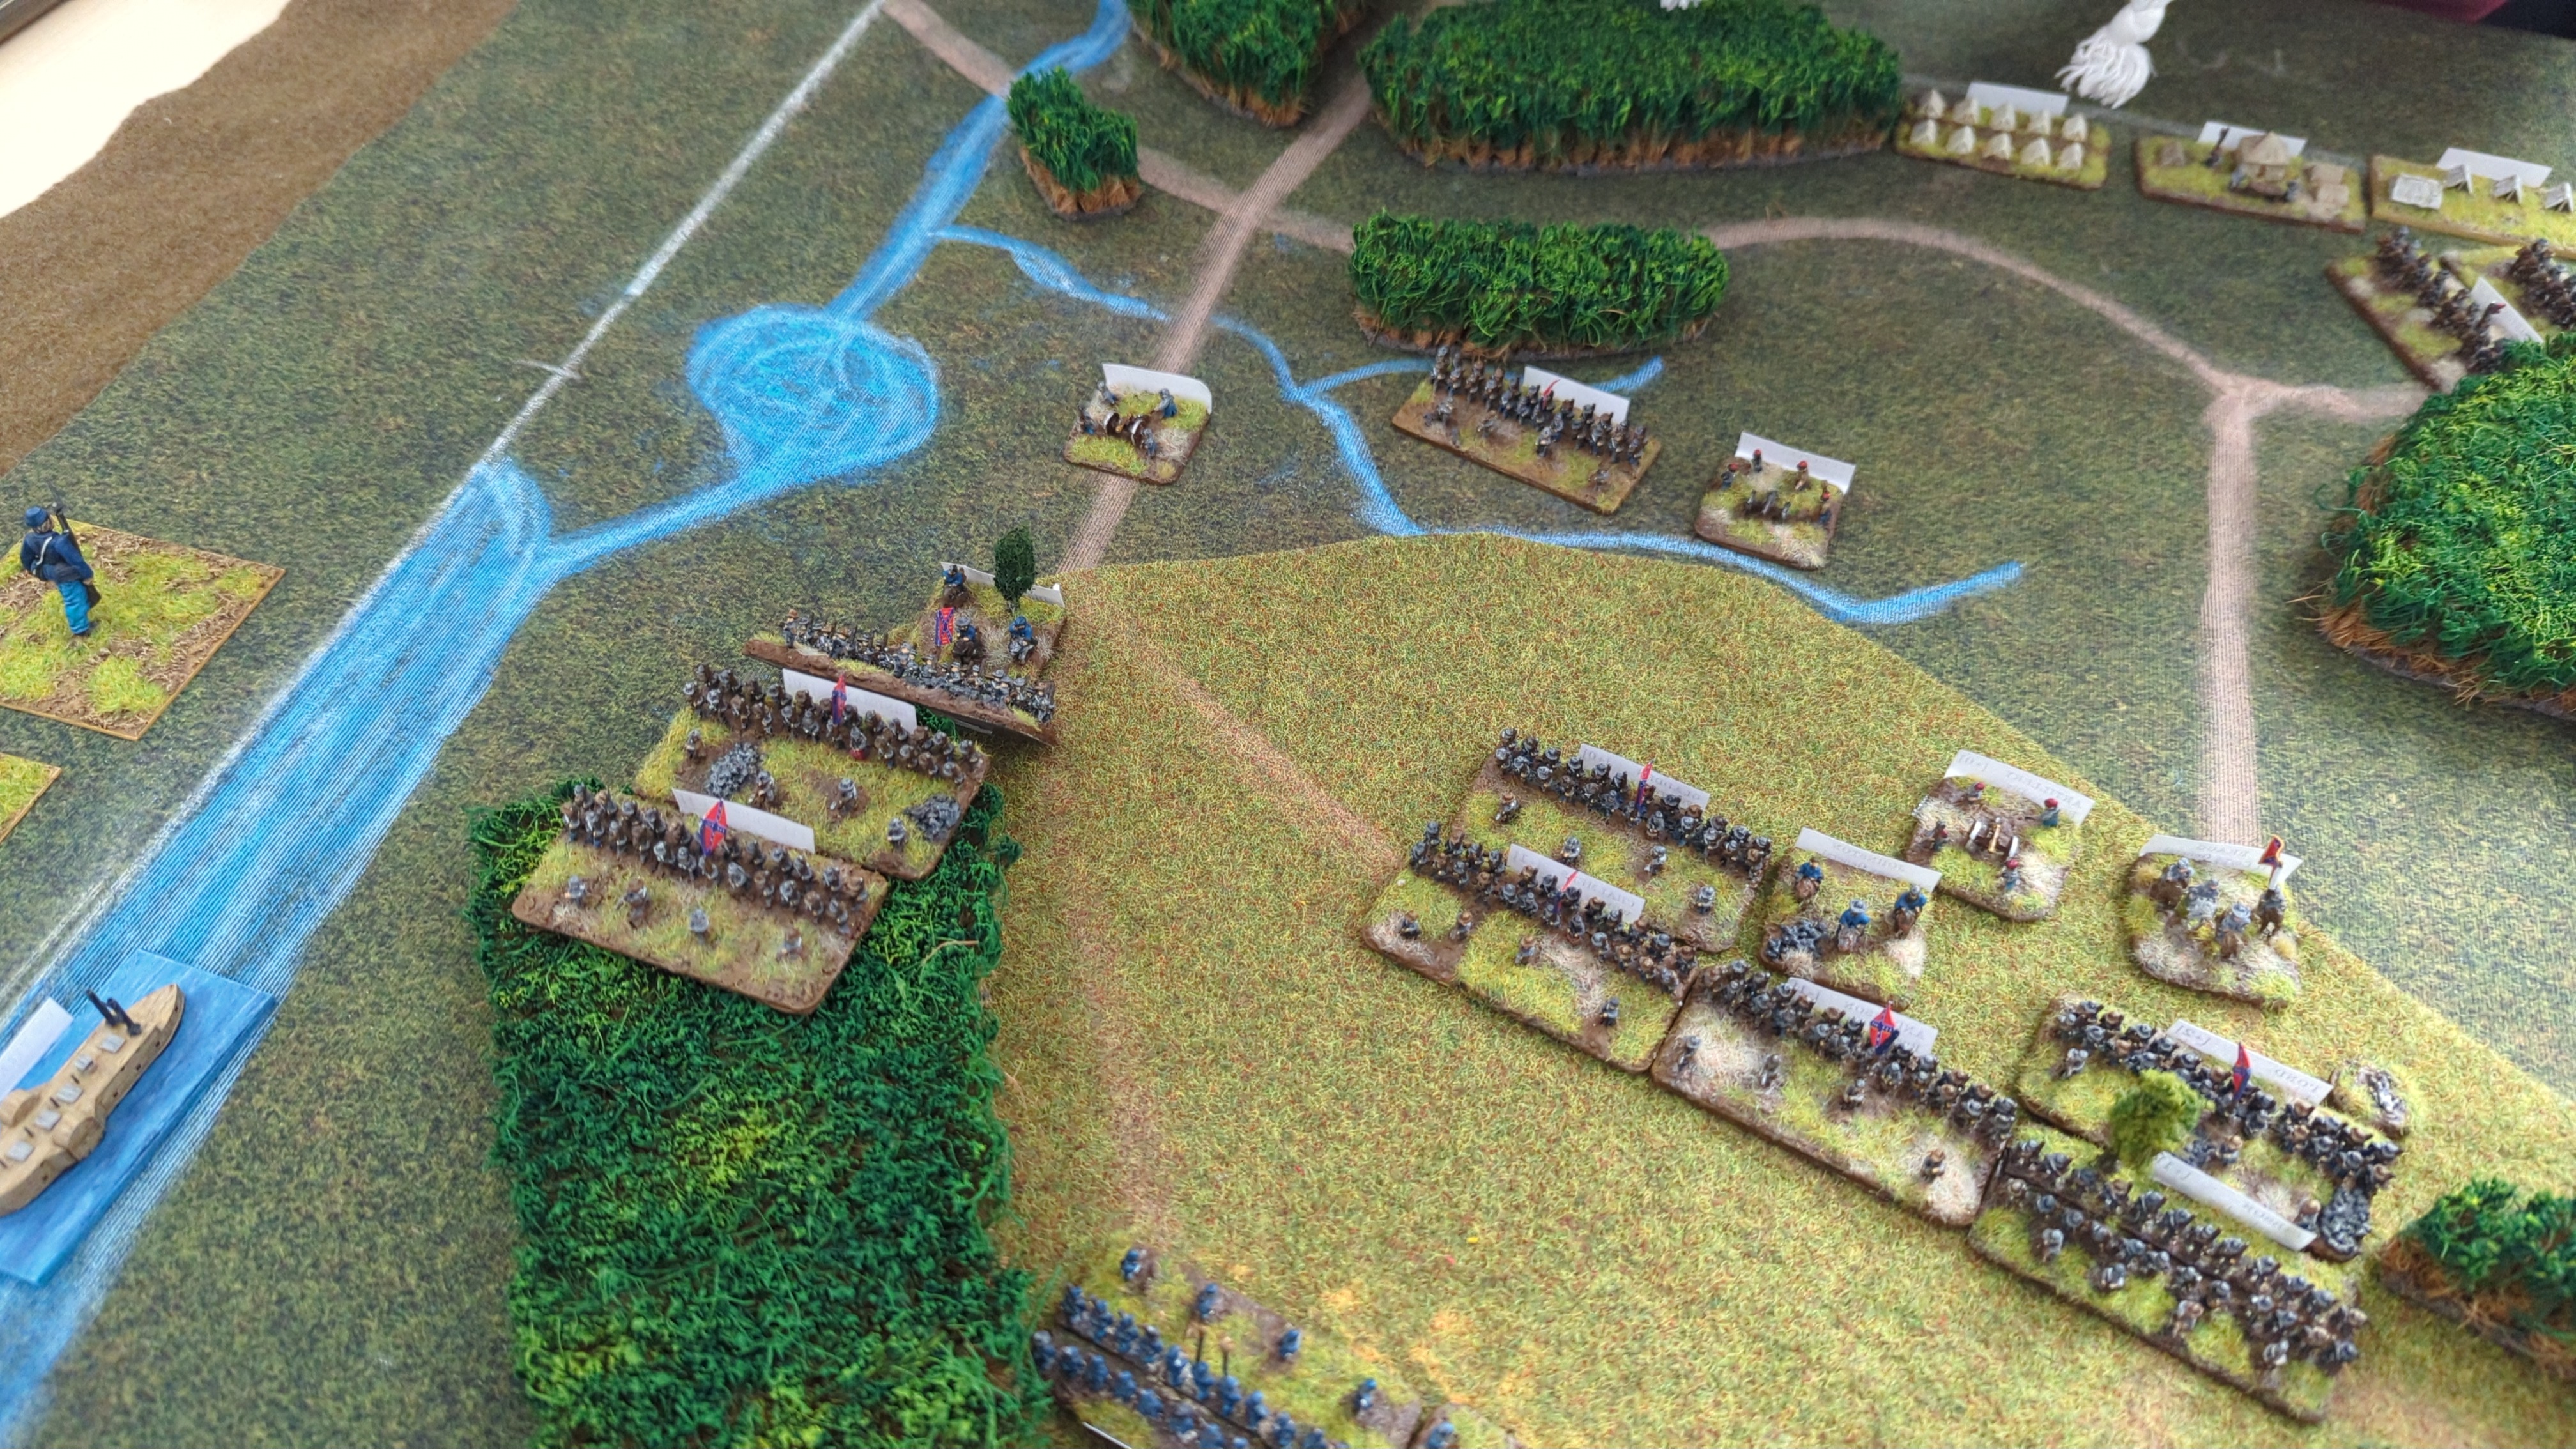
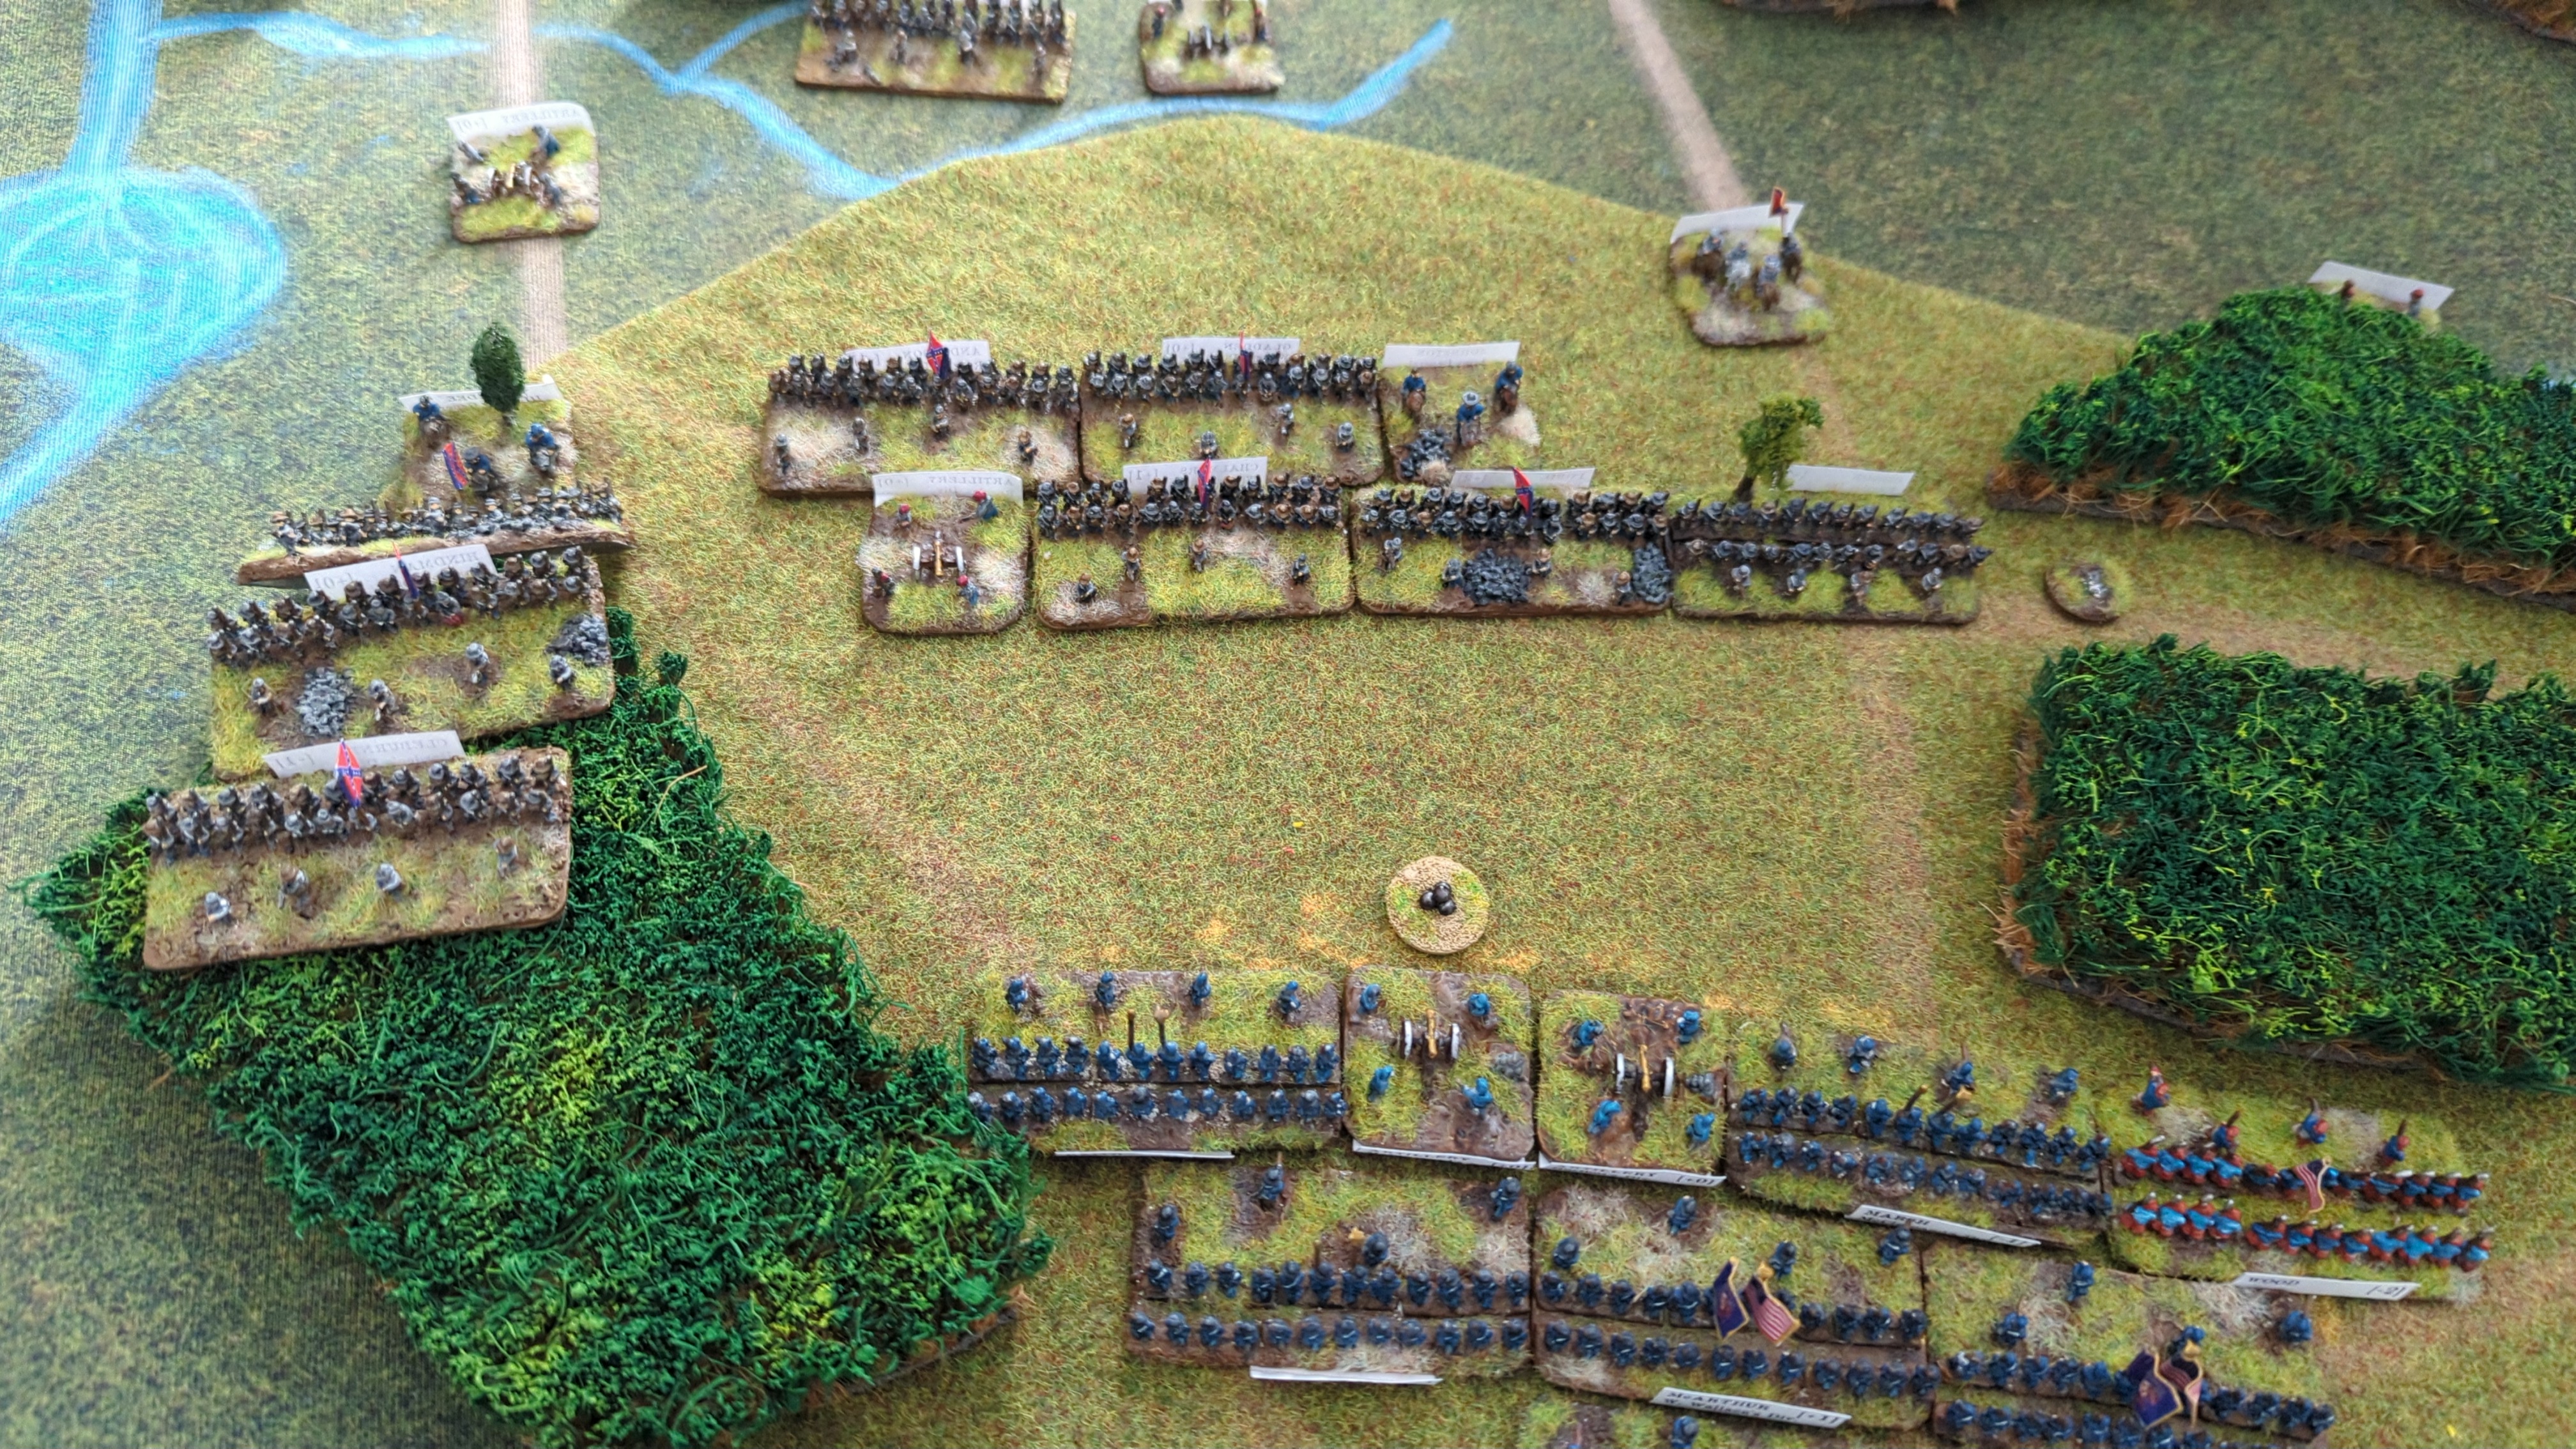
Interrupt failed.
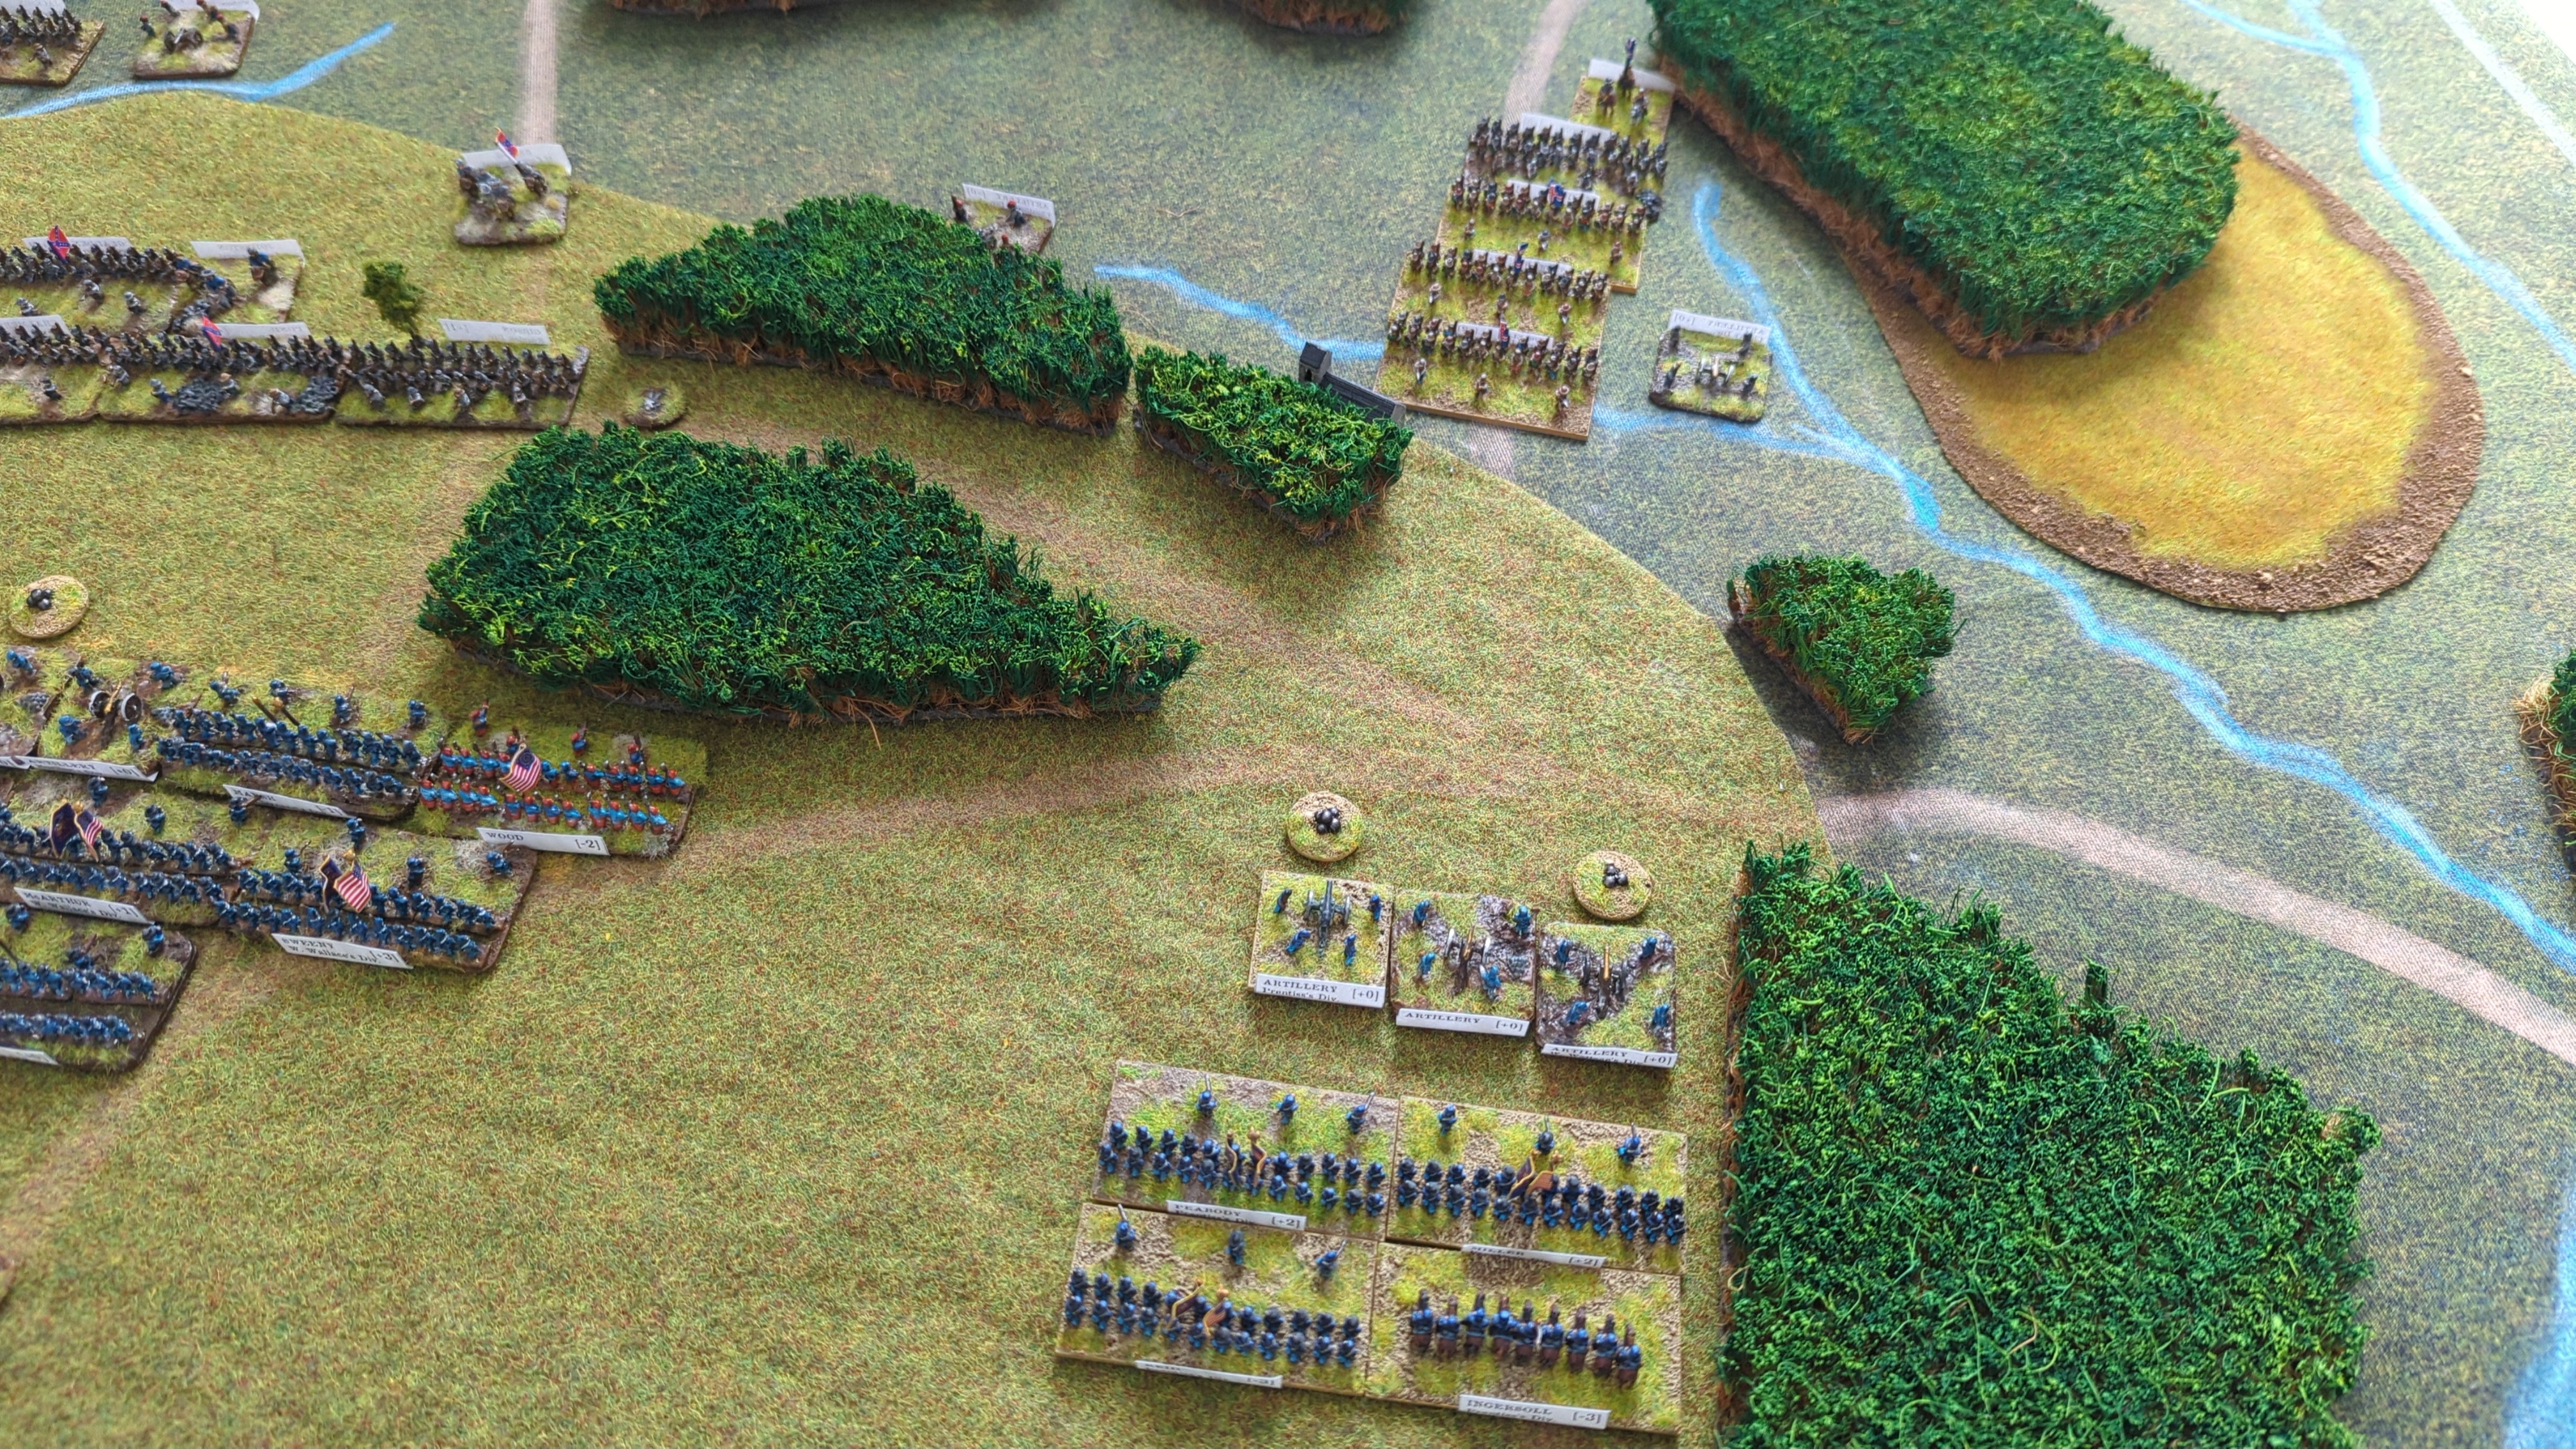
Two interrupts were successful. The artillery's counter-battery fire failed.
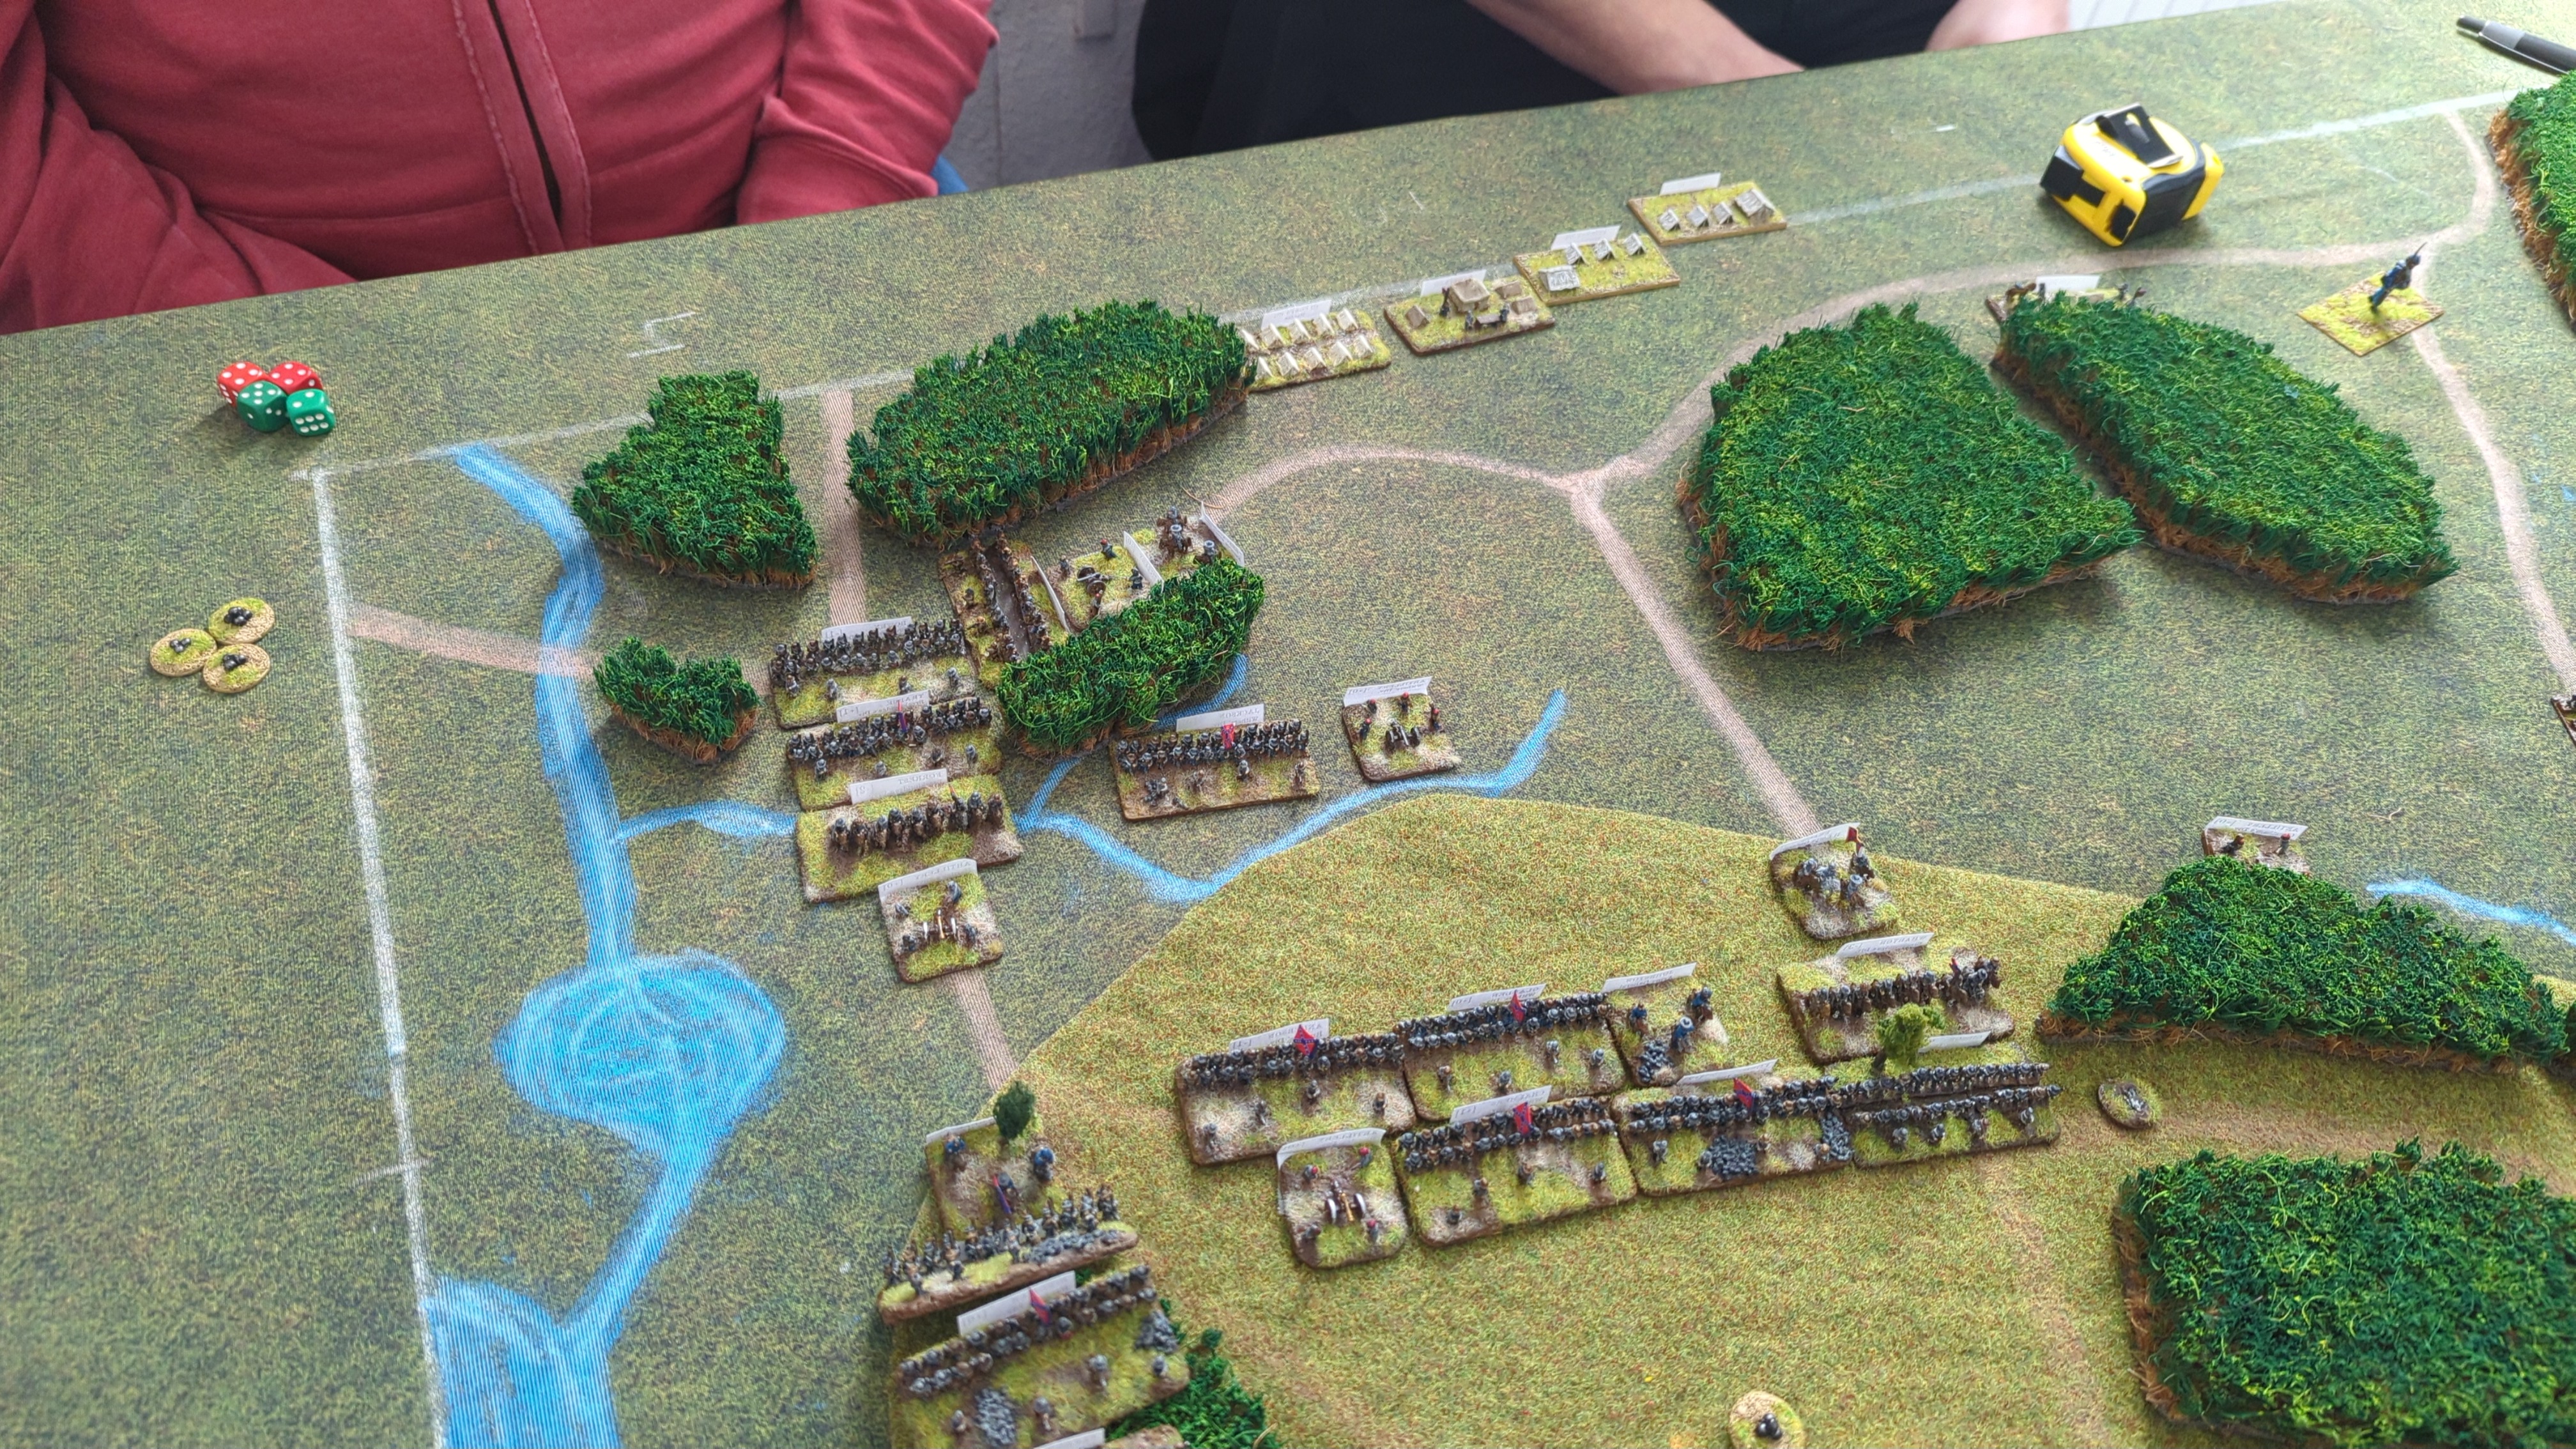
Rolled 5 and 1: 5.
Bid 2
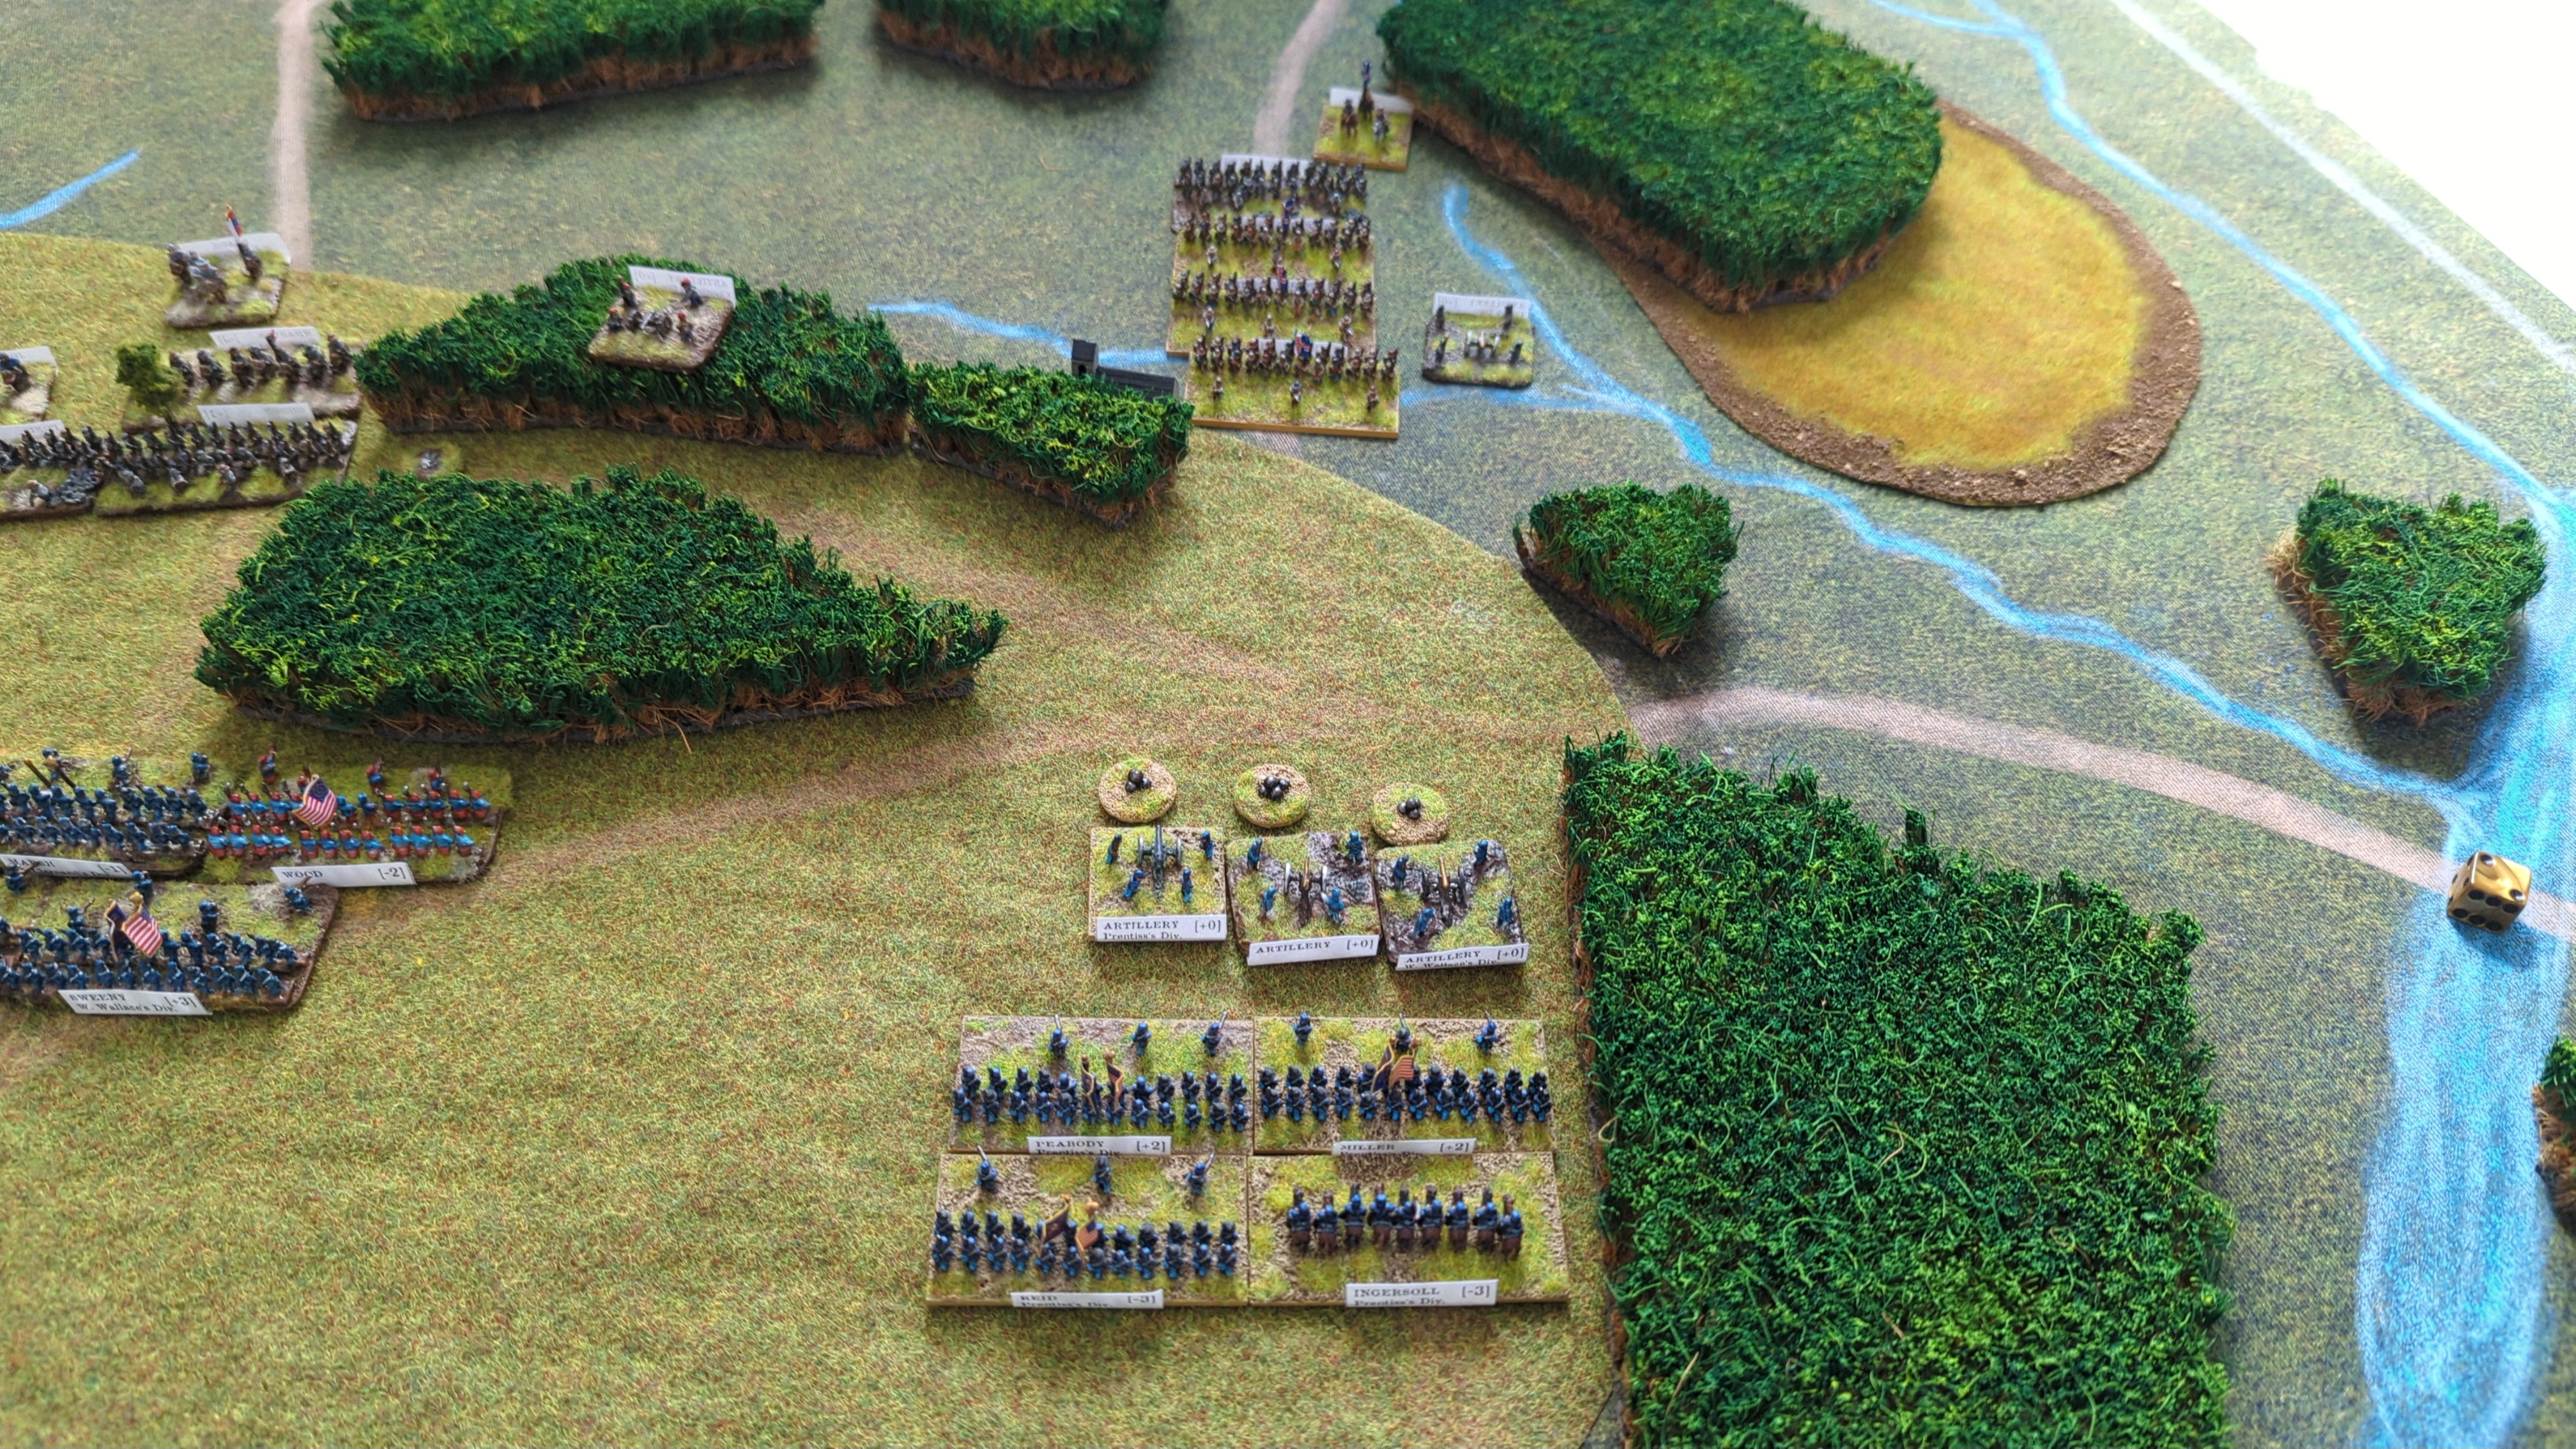
Two interrupts were successful.
End of Turn Sequence
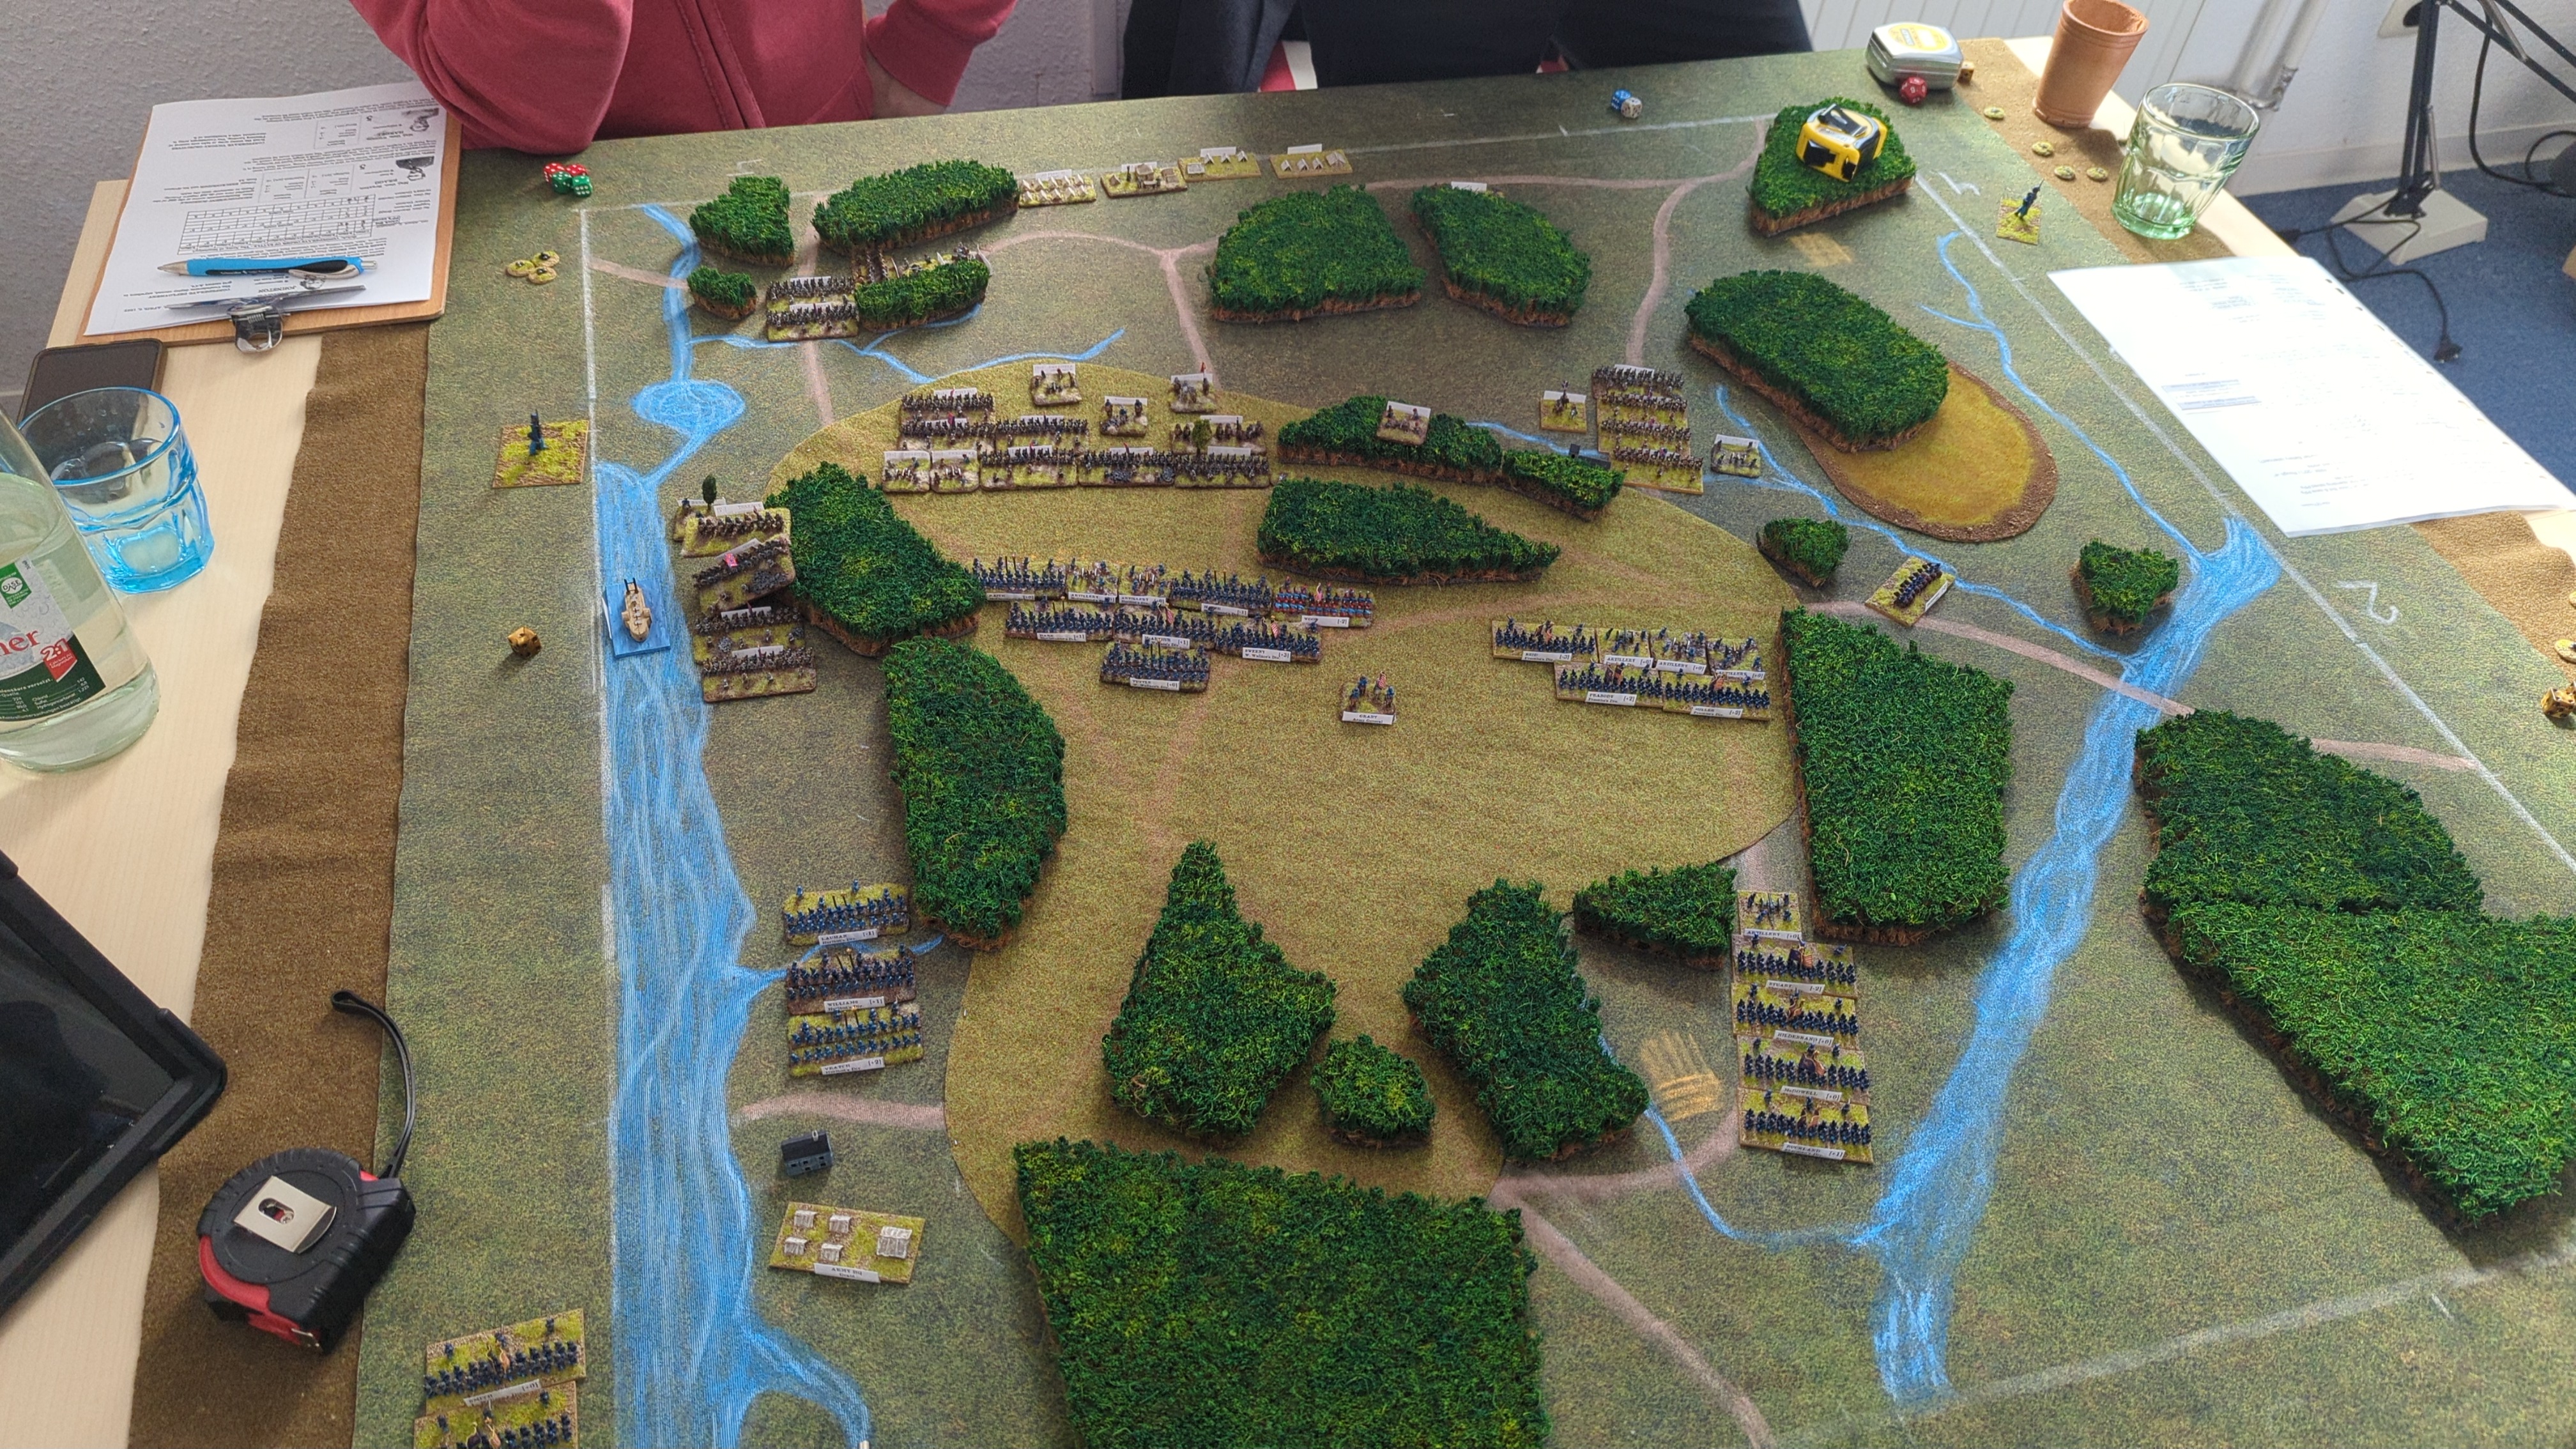
Turn 3
6 vs 2.
Bid 7
Wallace repositioned on the left flank, and the artillery fired: a successful counter-battery shot, plus another recoil.
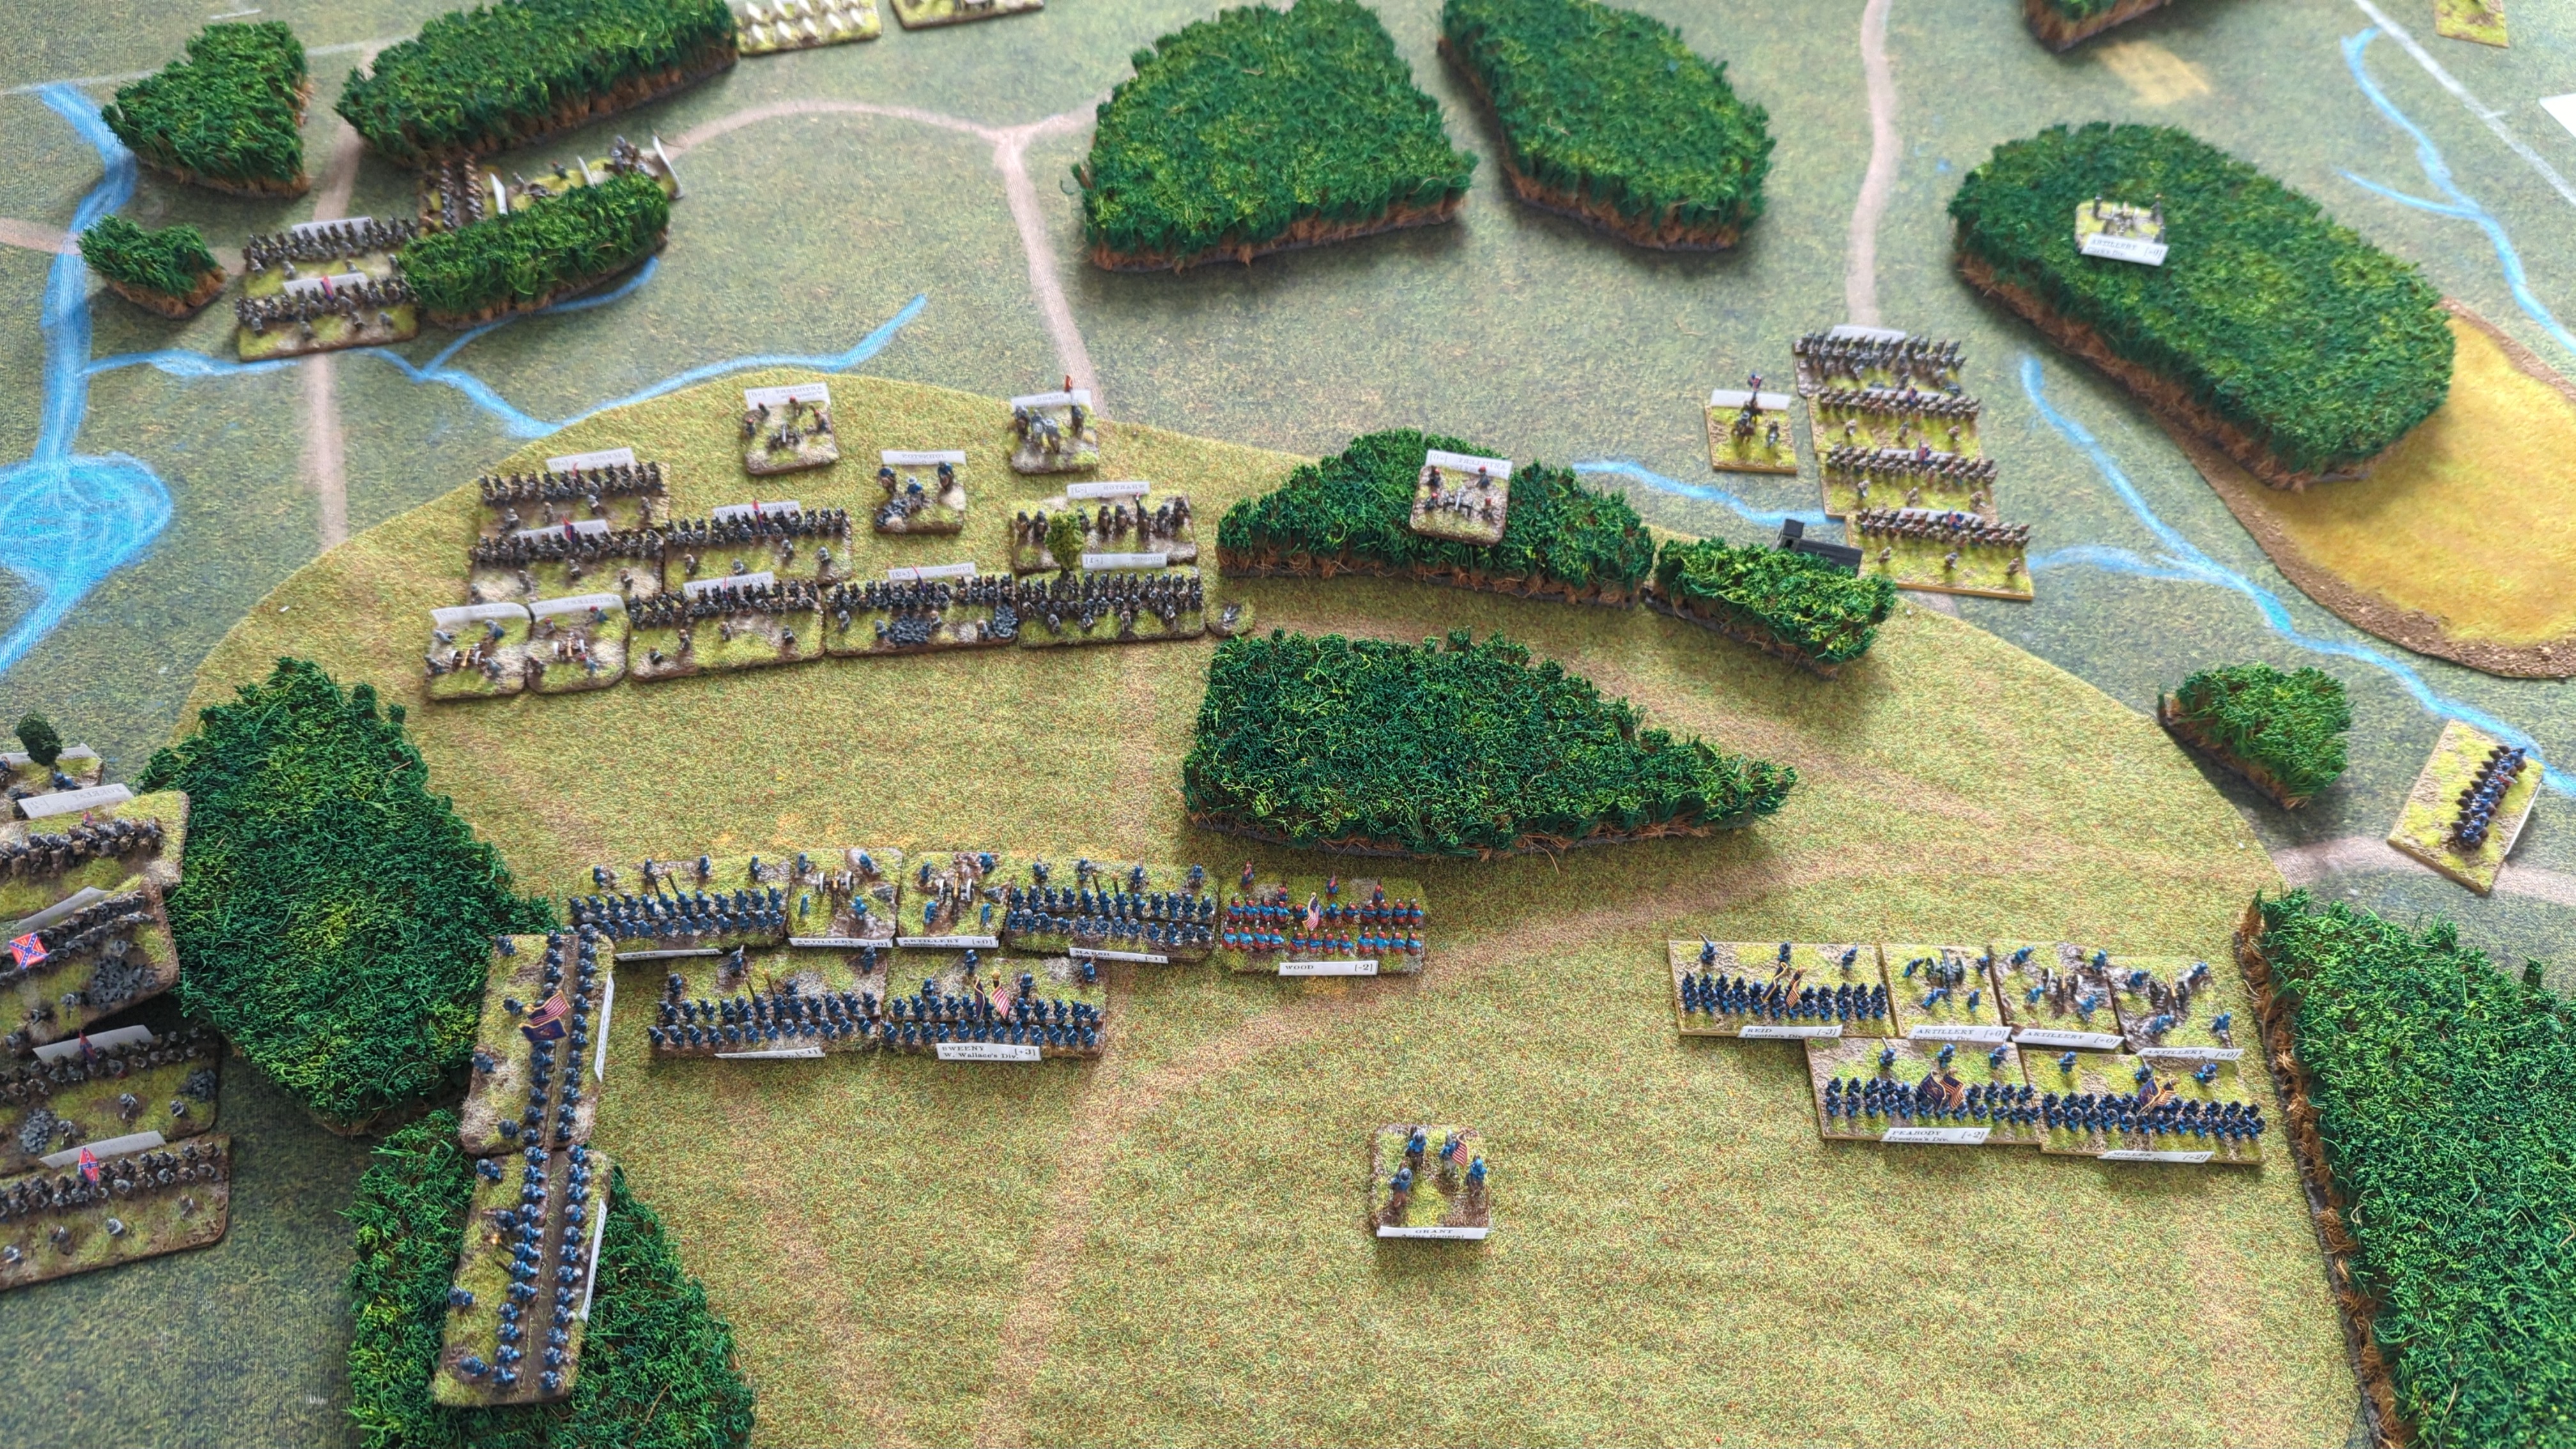
Rolled 2 and 1: 12 - 2 = 10.
Bid 5
Hardee activated.
The Tyler missed.
2 vs 0 for the Confederates.
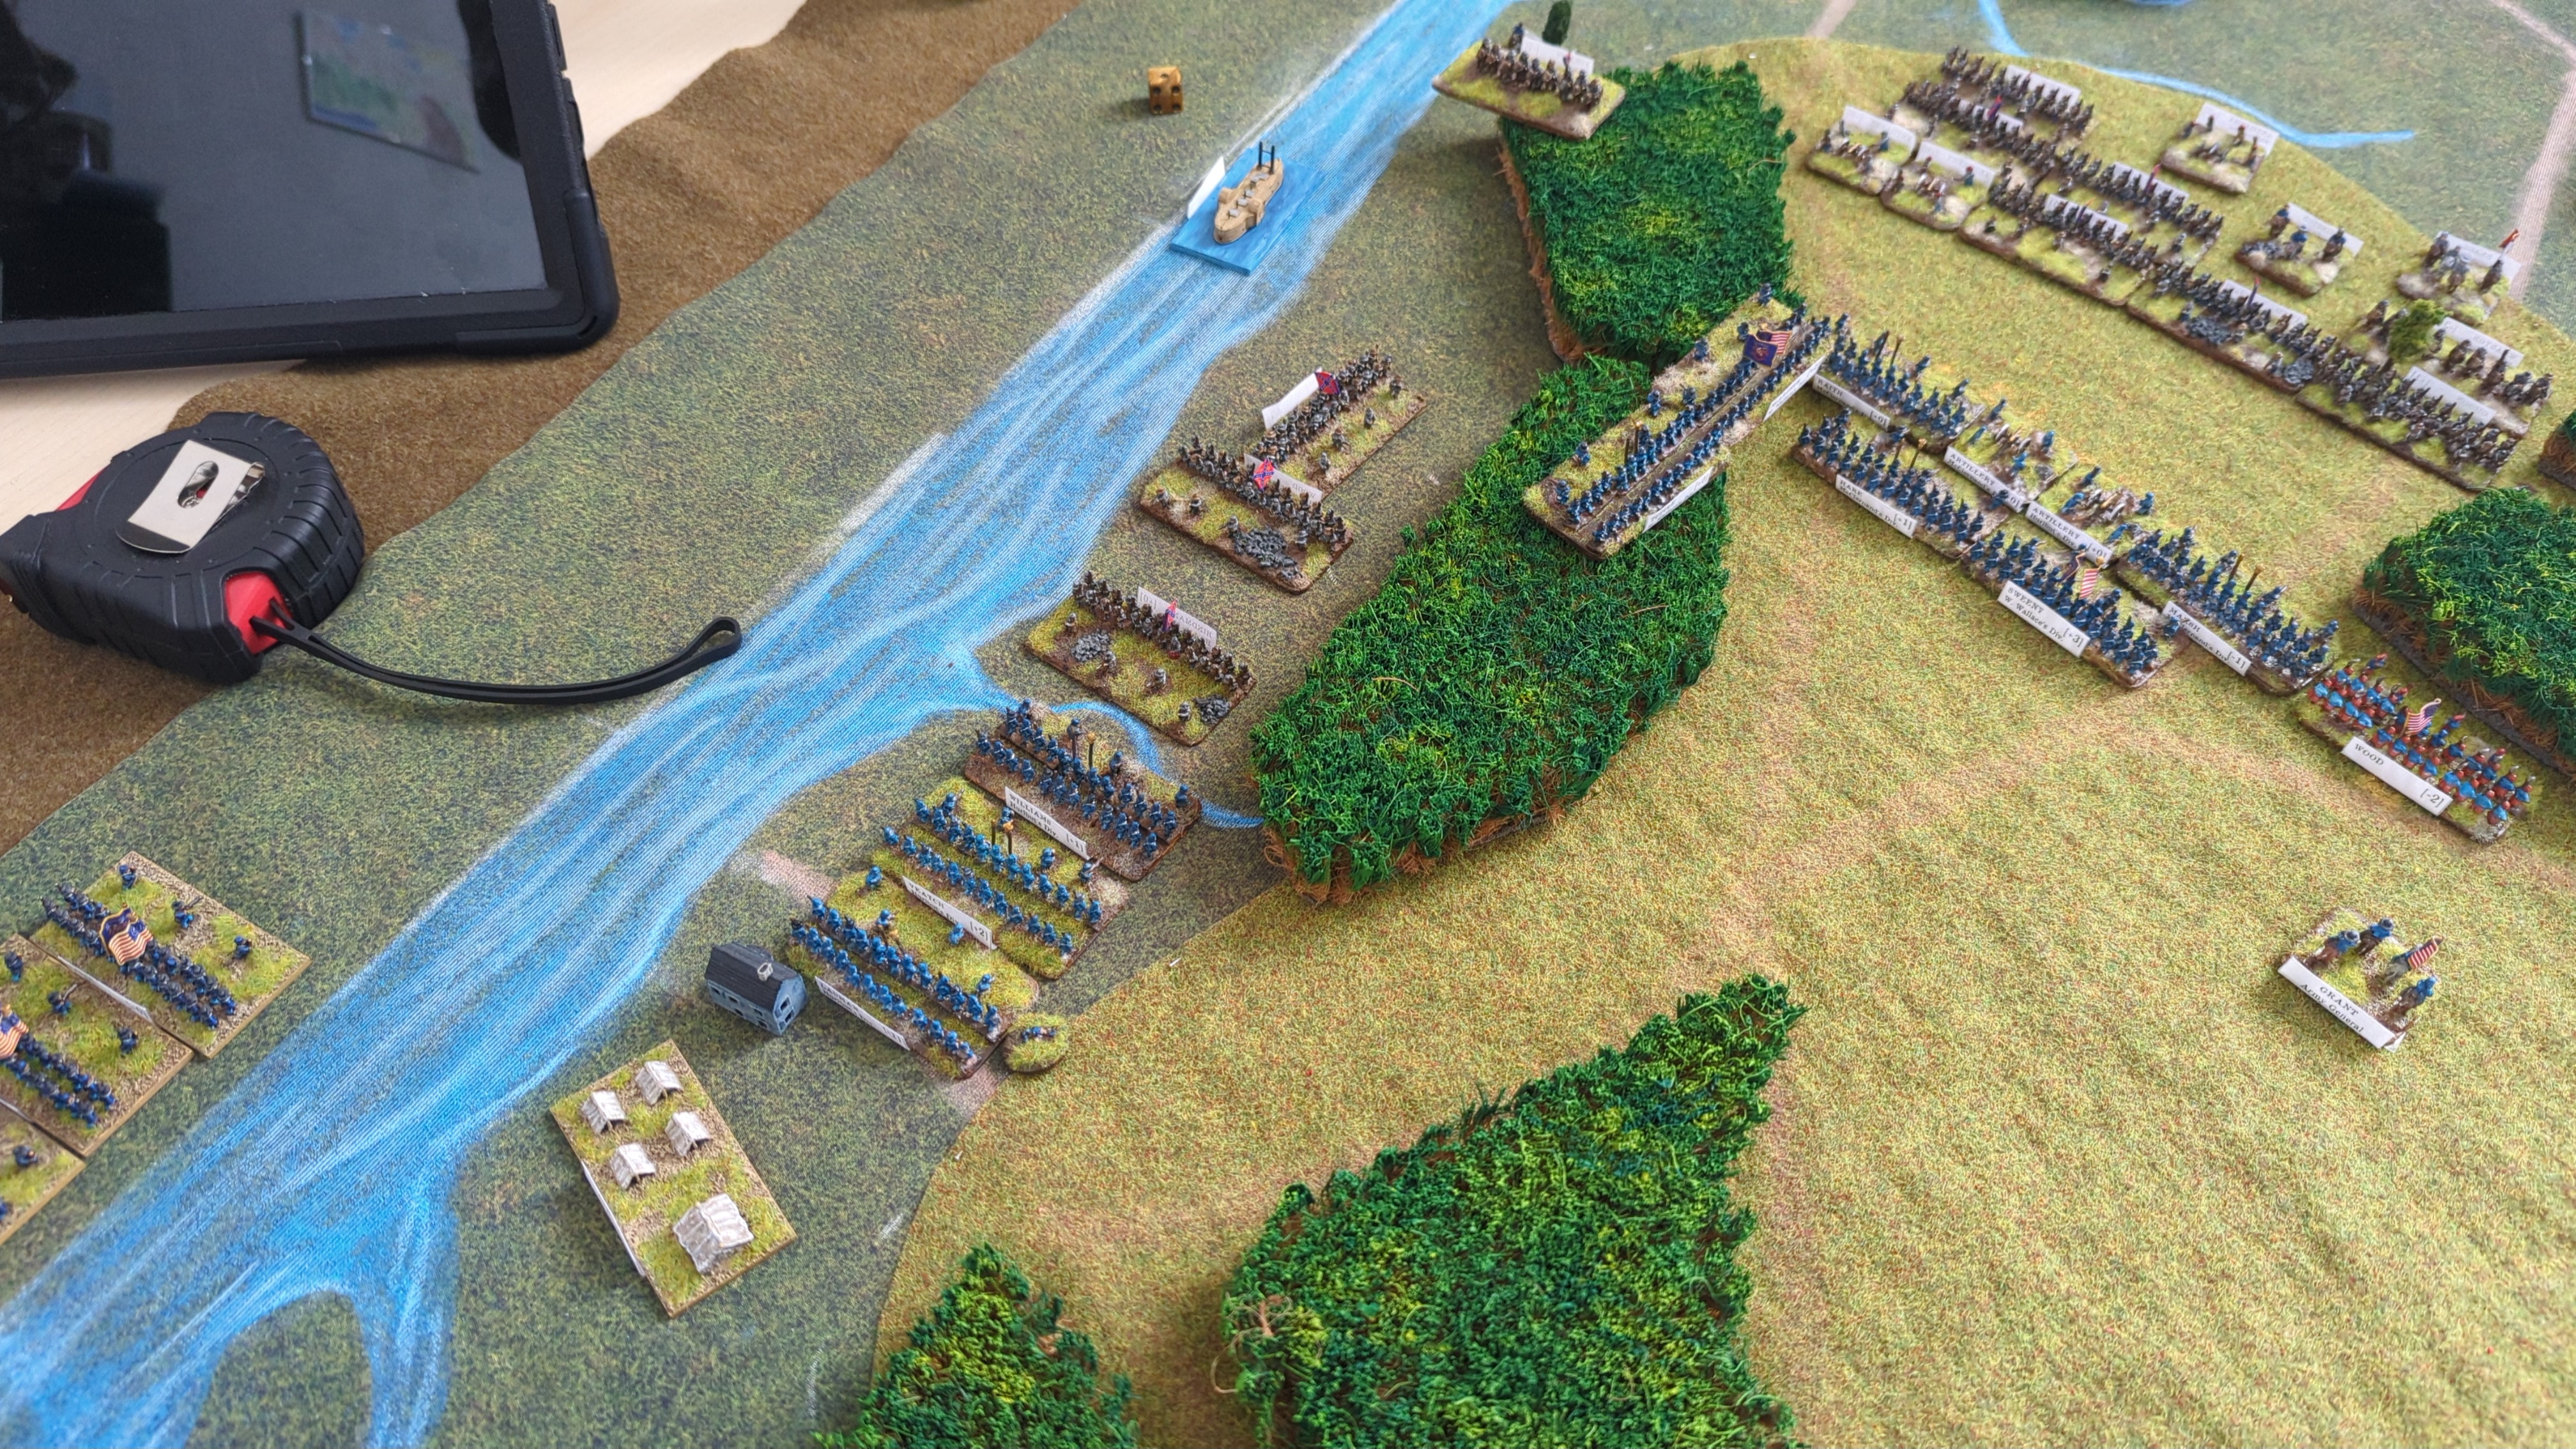
The artillery missed.
Rolled 4 and 5: 6.
Bid 4
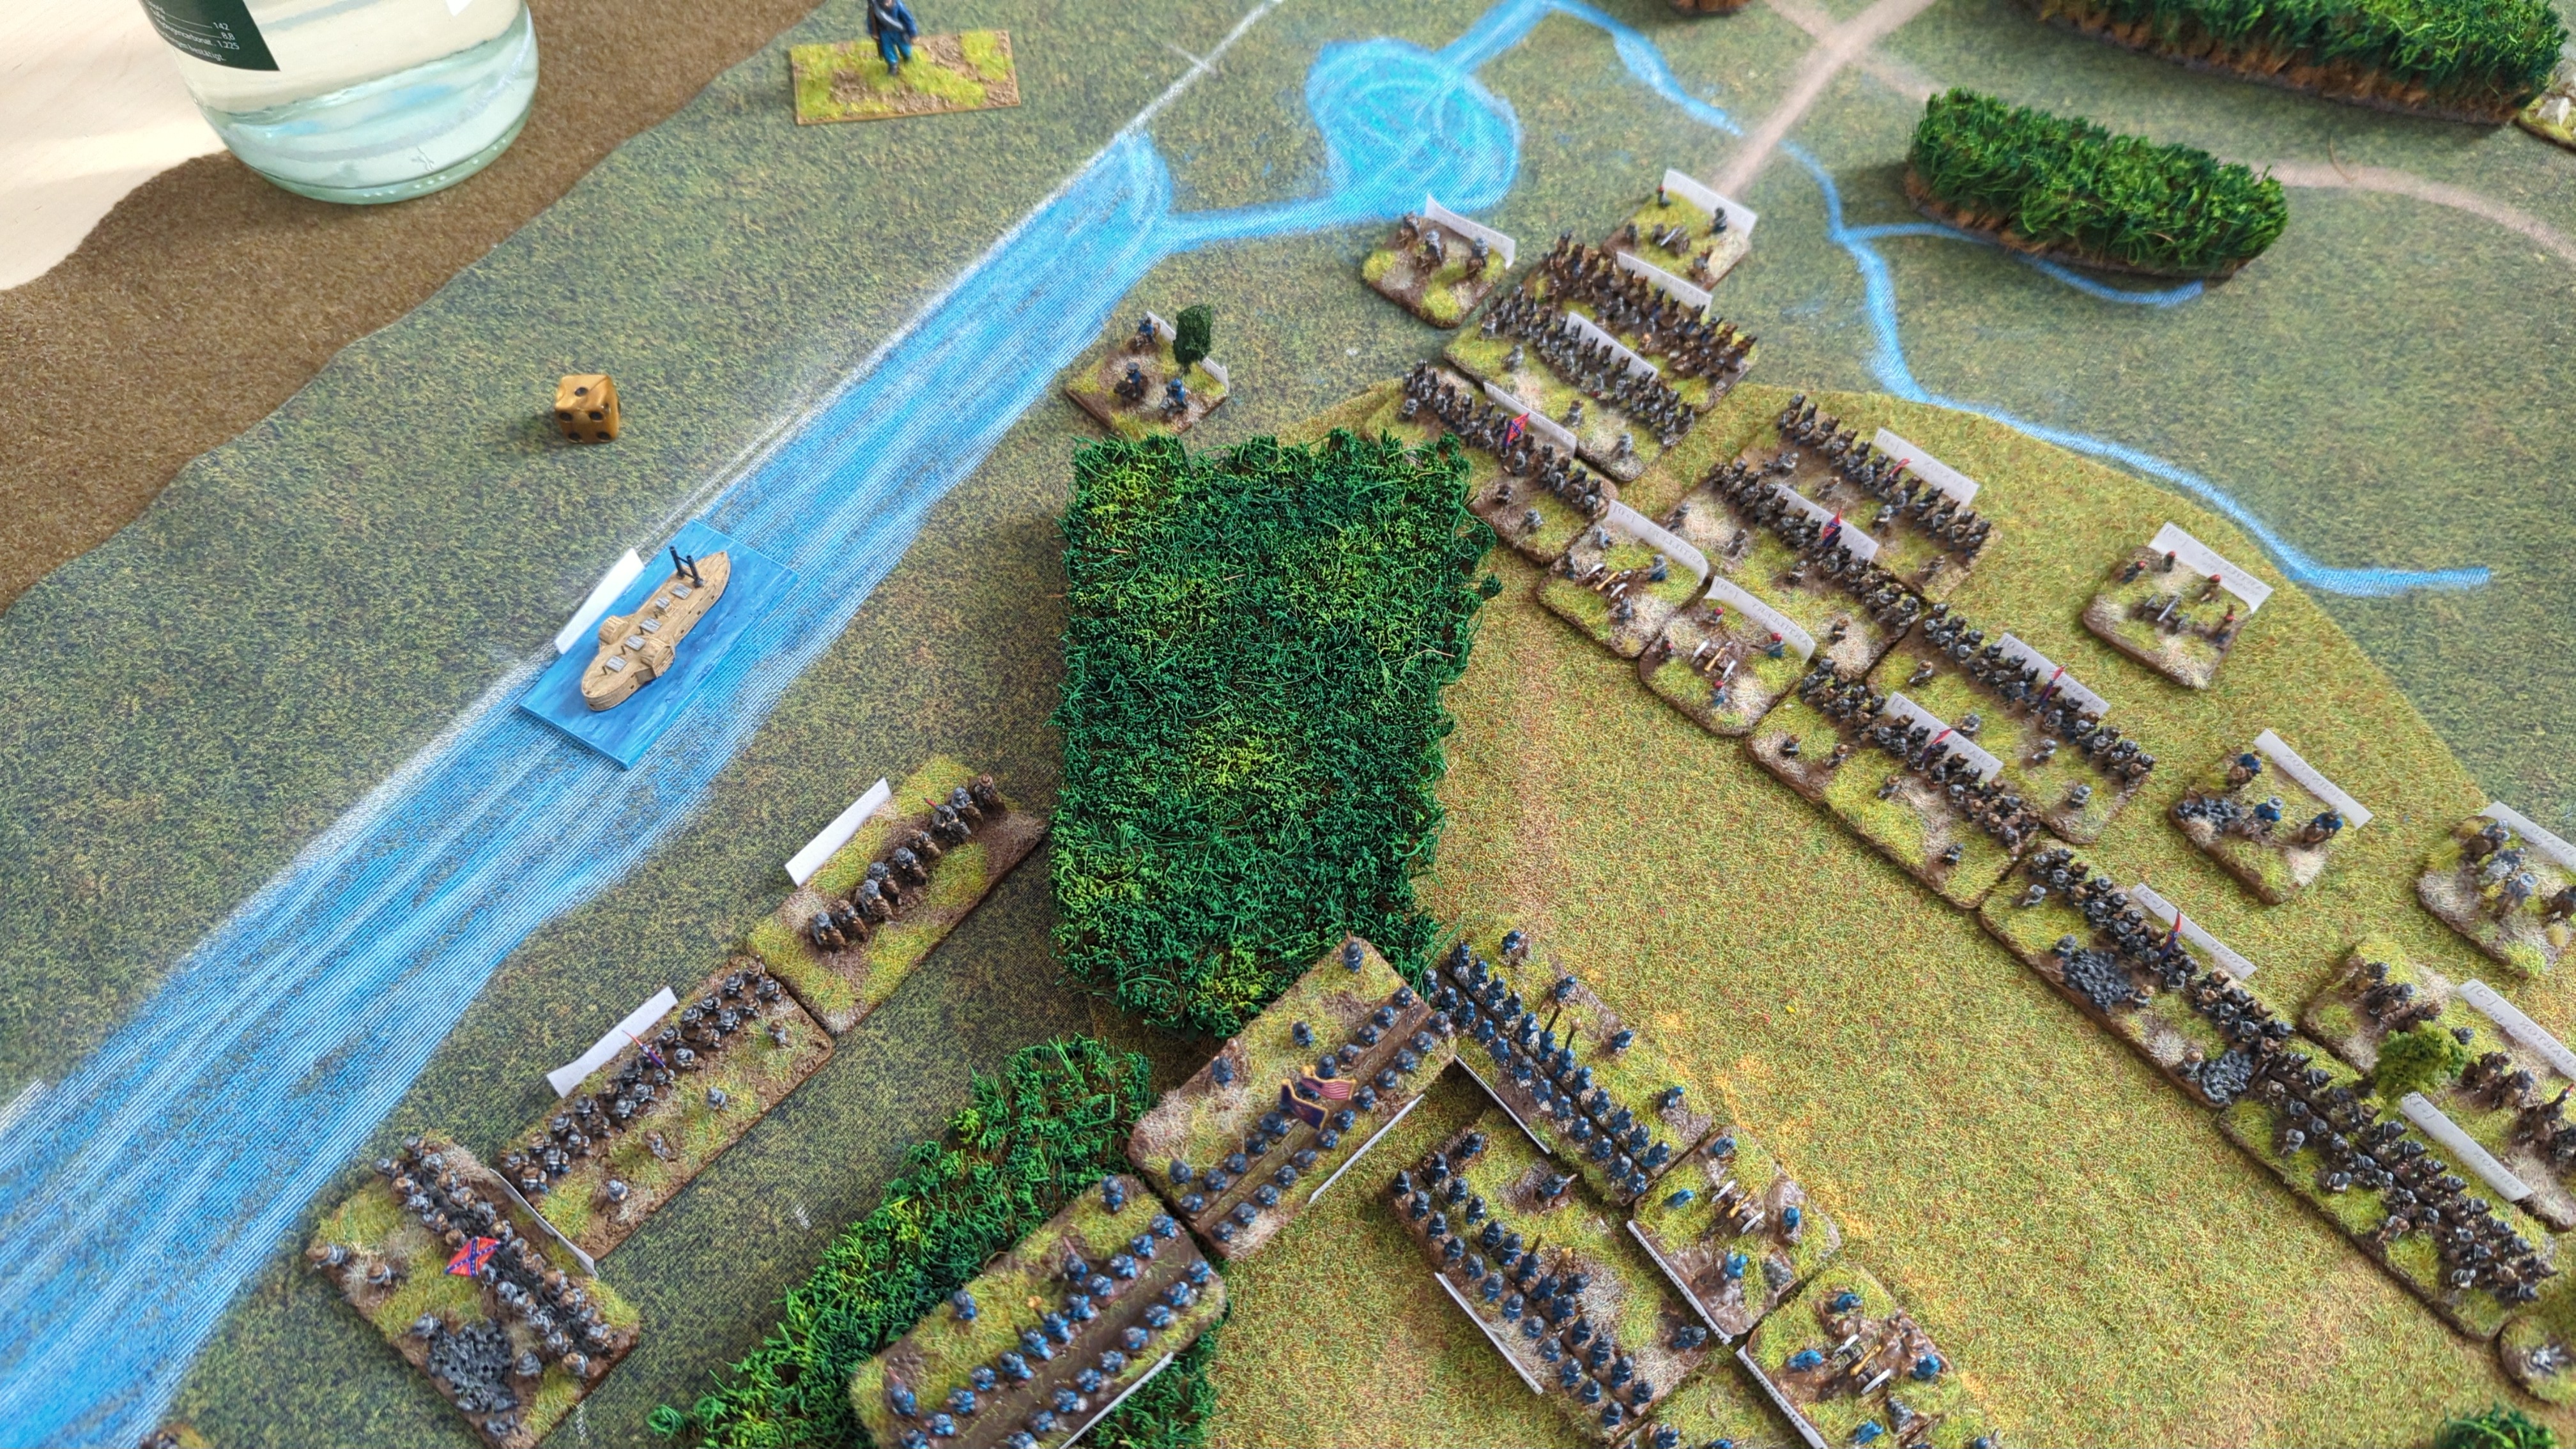
Rolled 5 and 3: 3.
Bid 3
On the Union side, Sherman and Hurlbut activated.
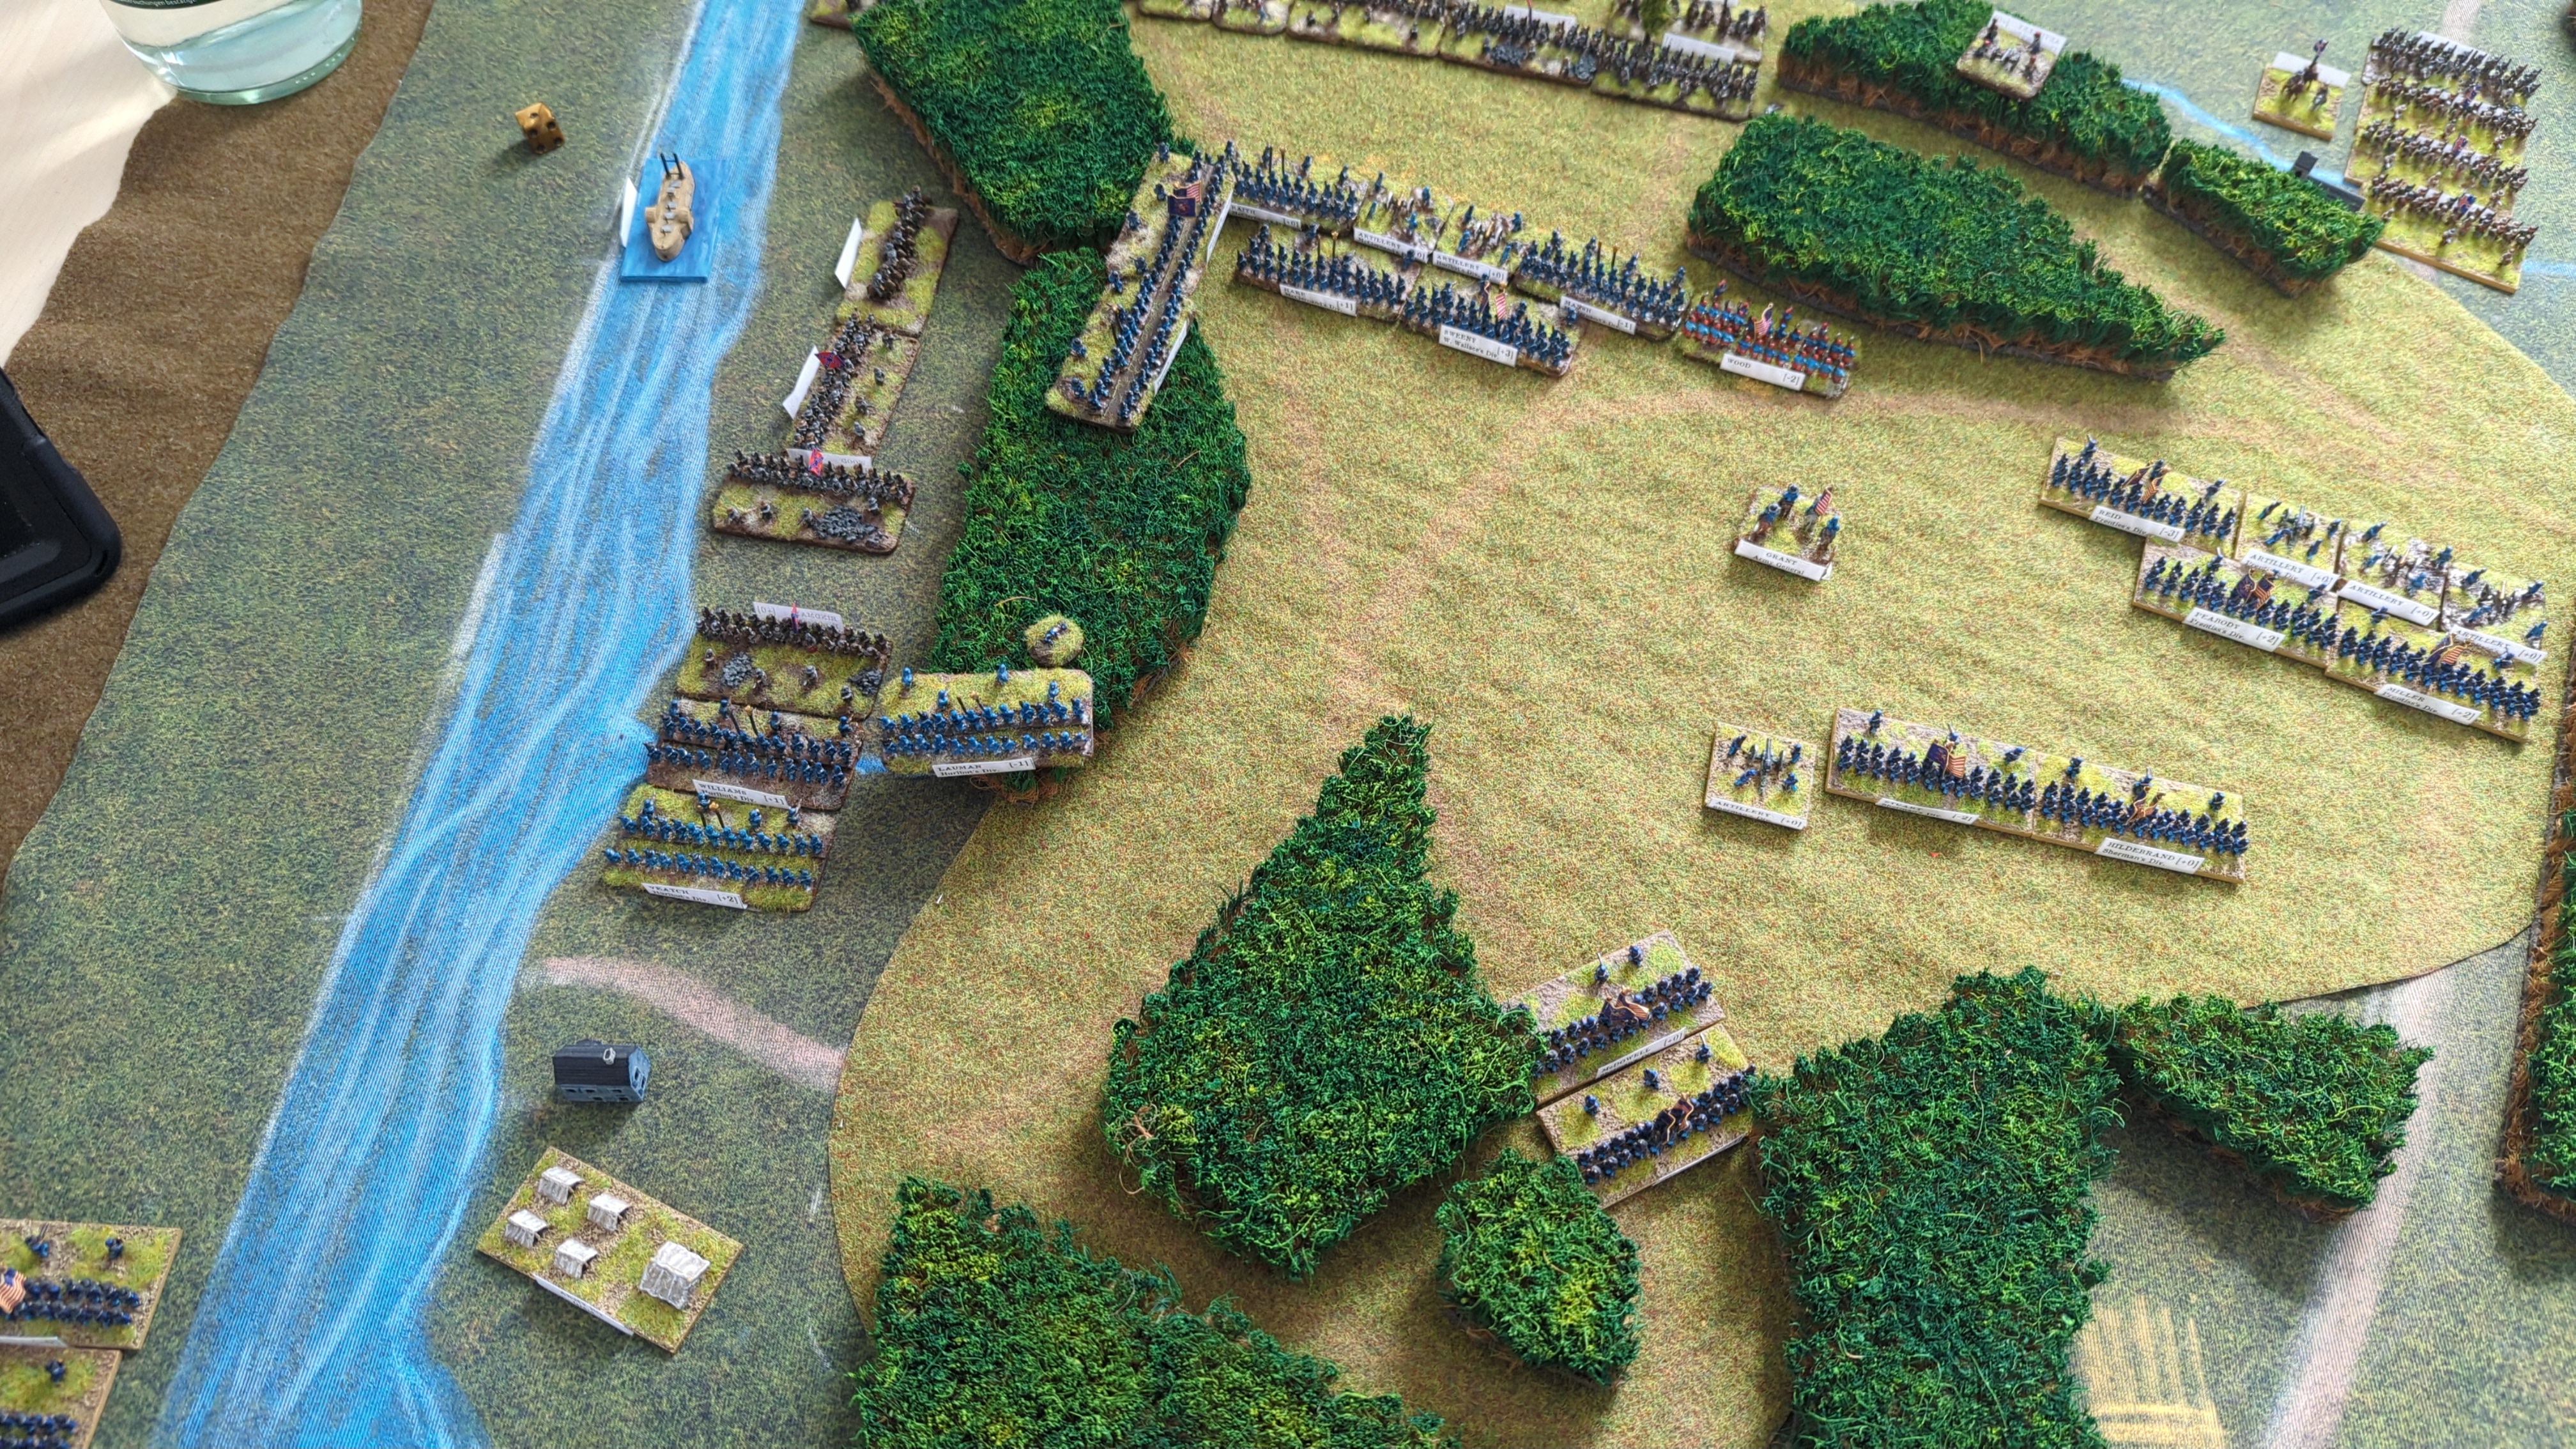
7 vs 1: Hindman was broken.
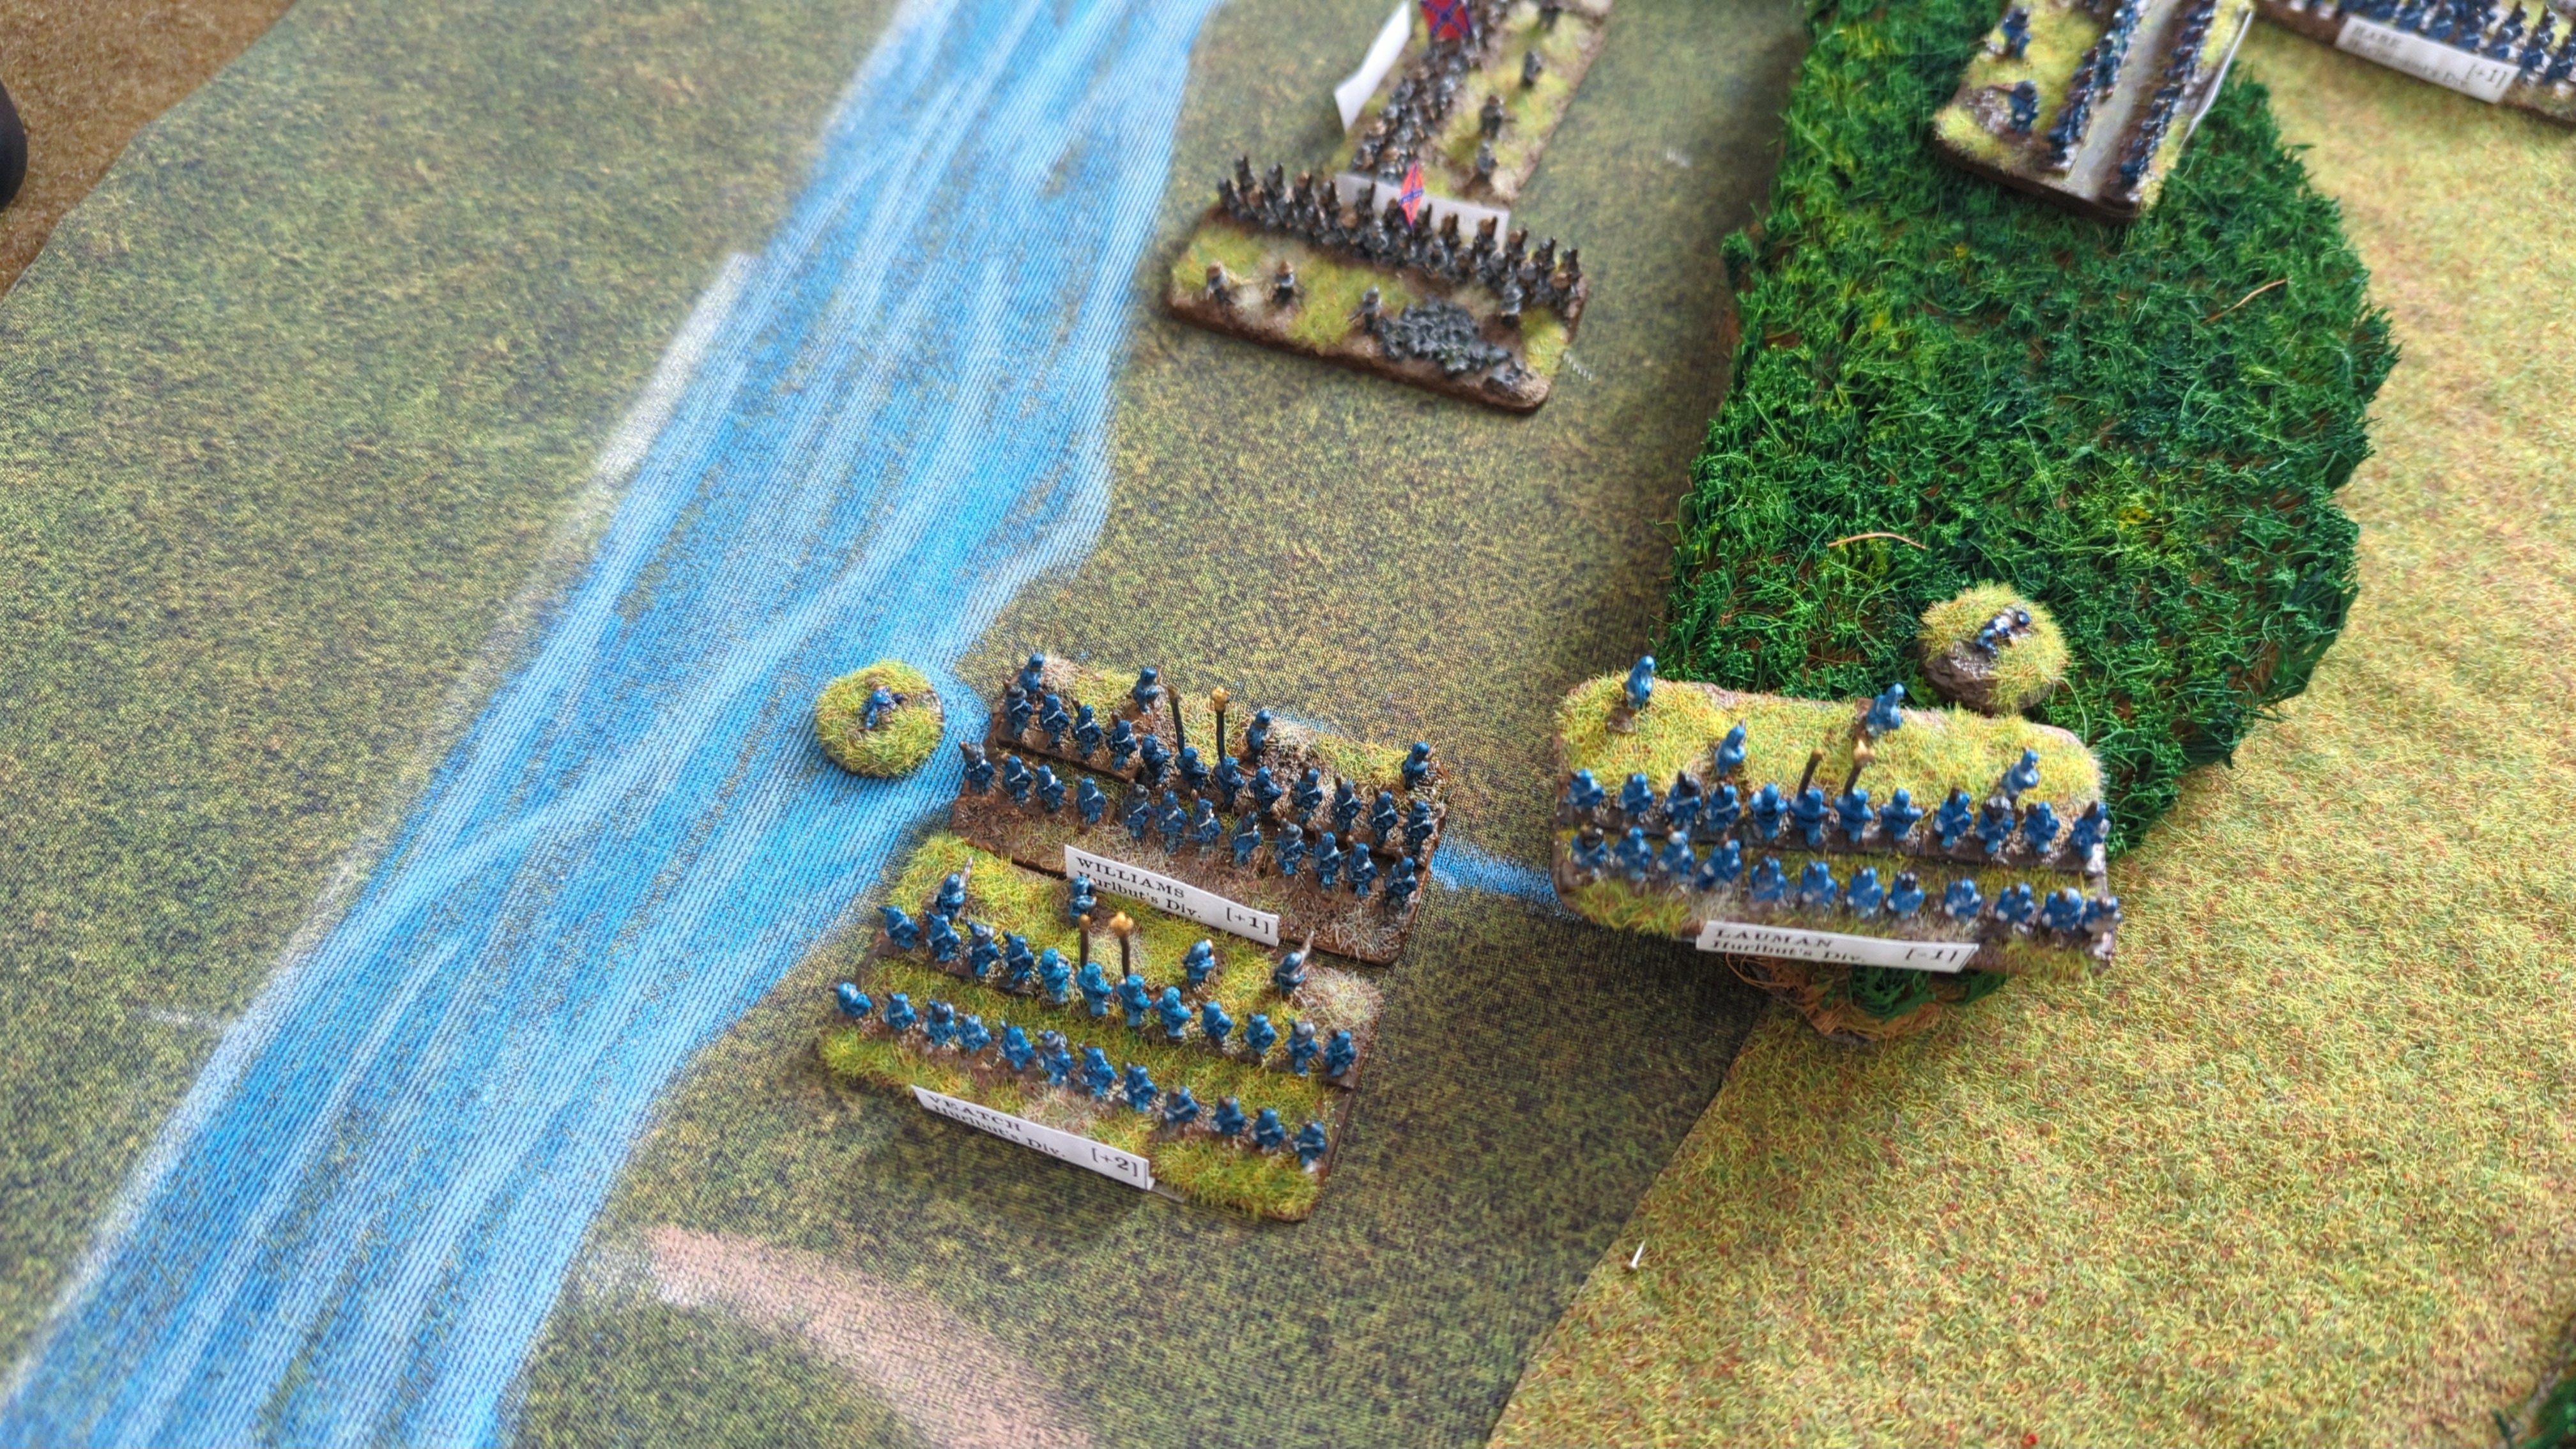
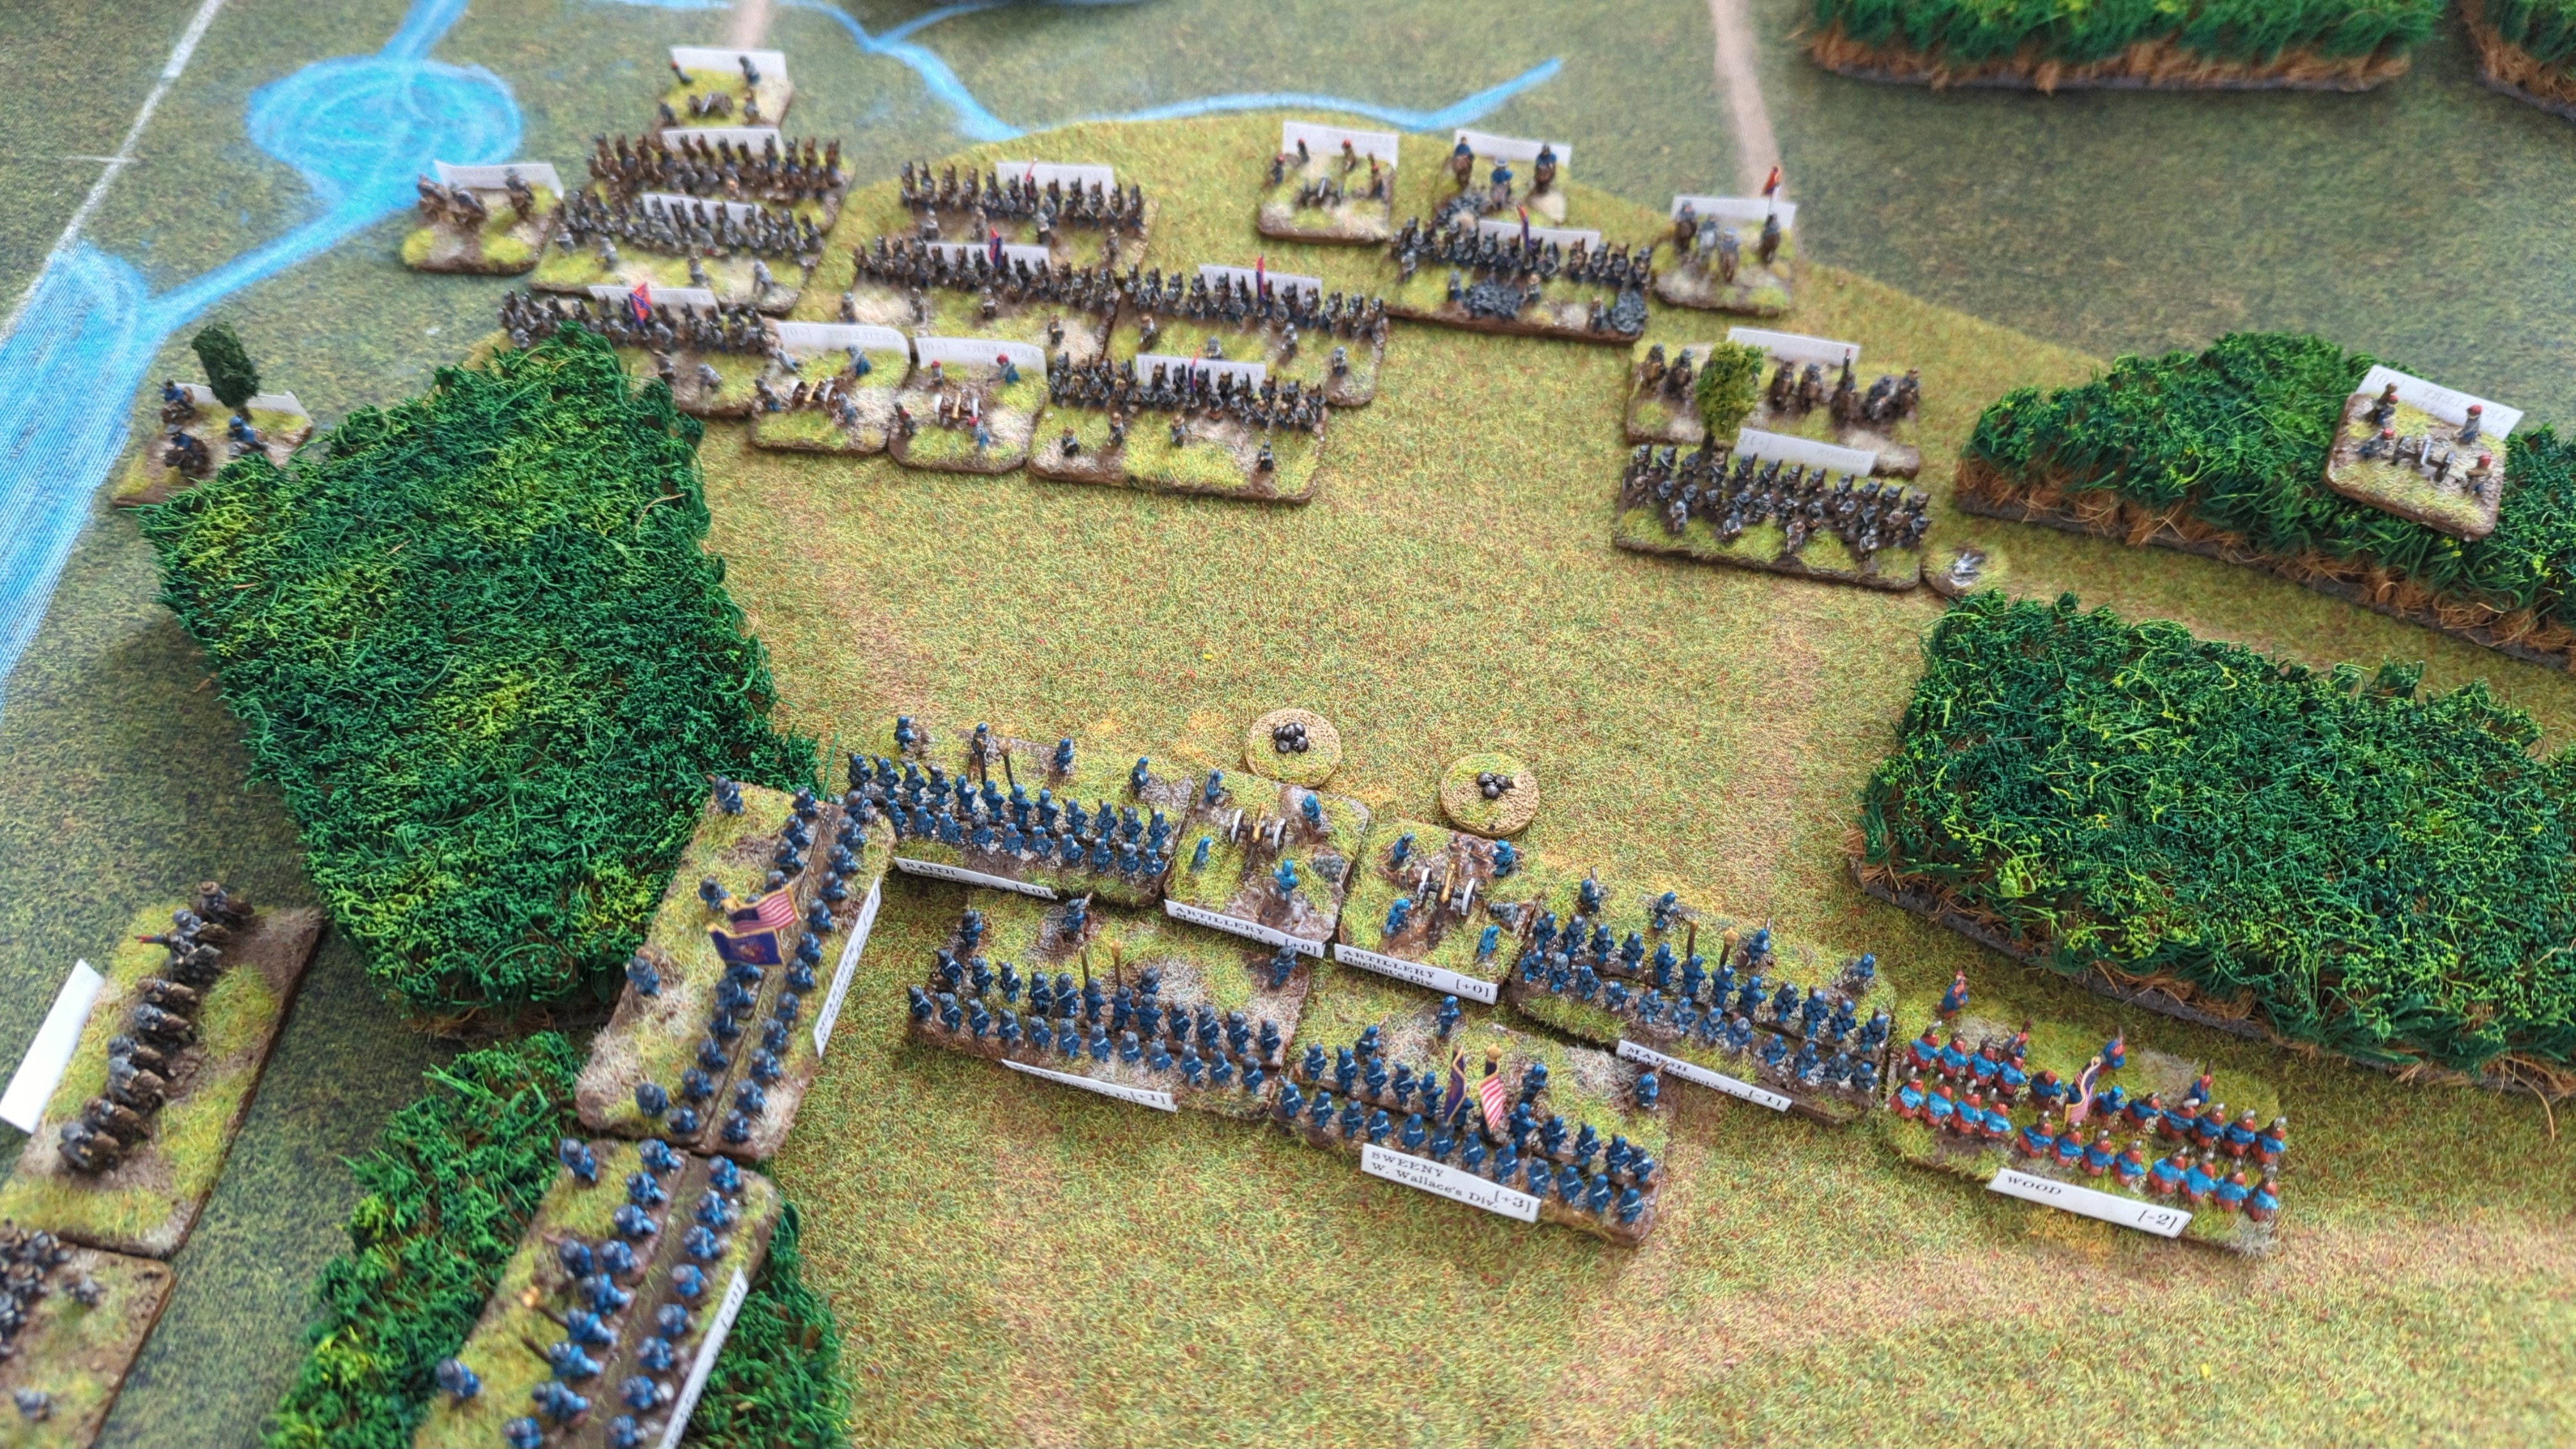
The artillery caused a recoil on the first attacker.
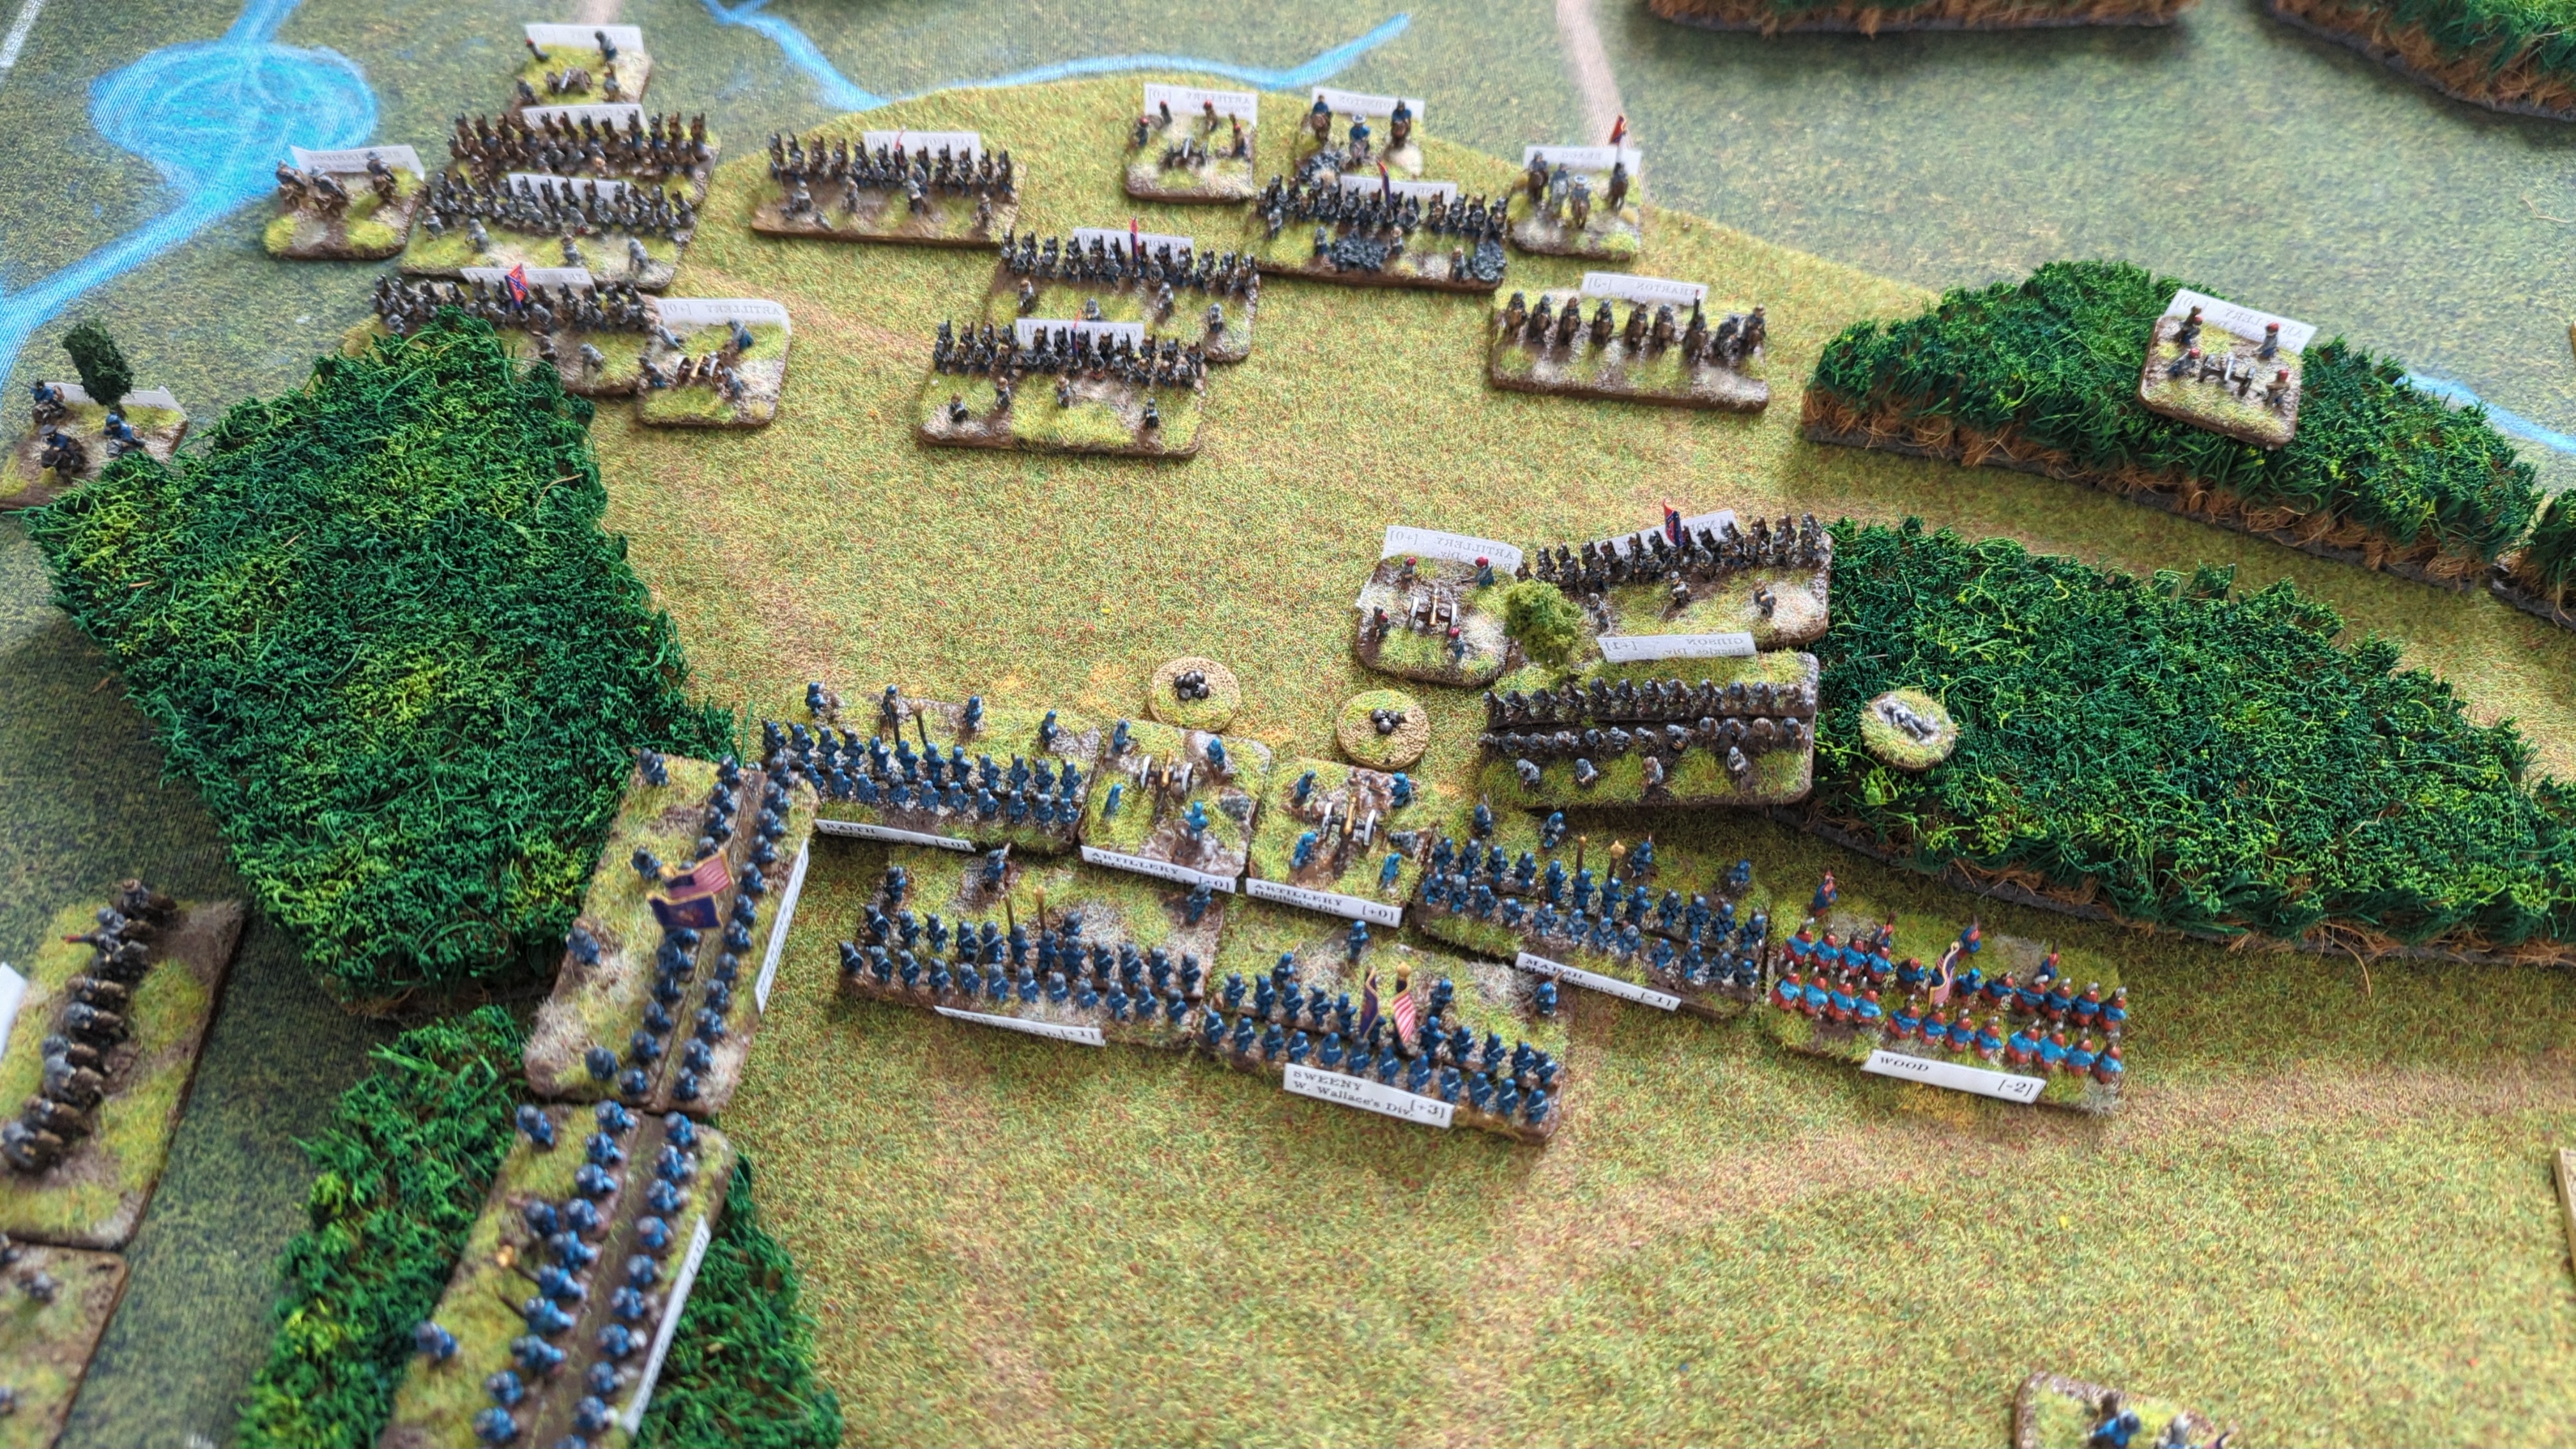
7 vs 4.
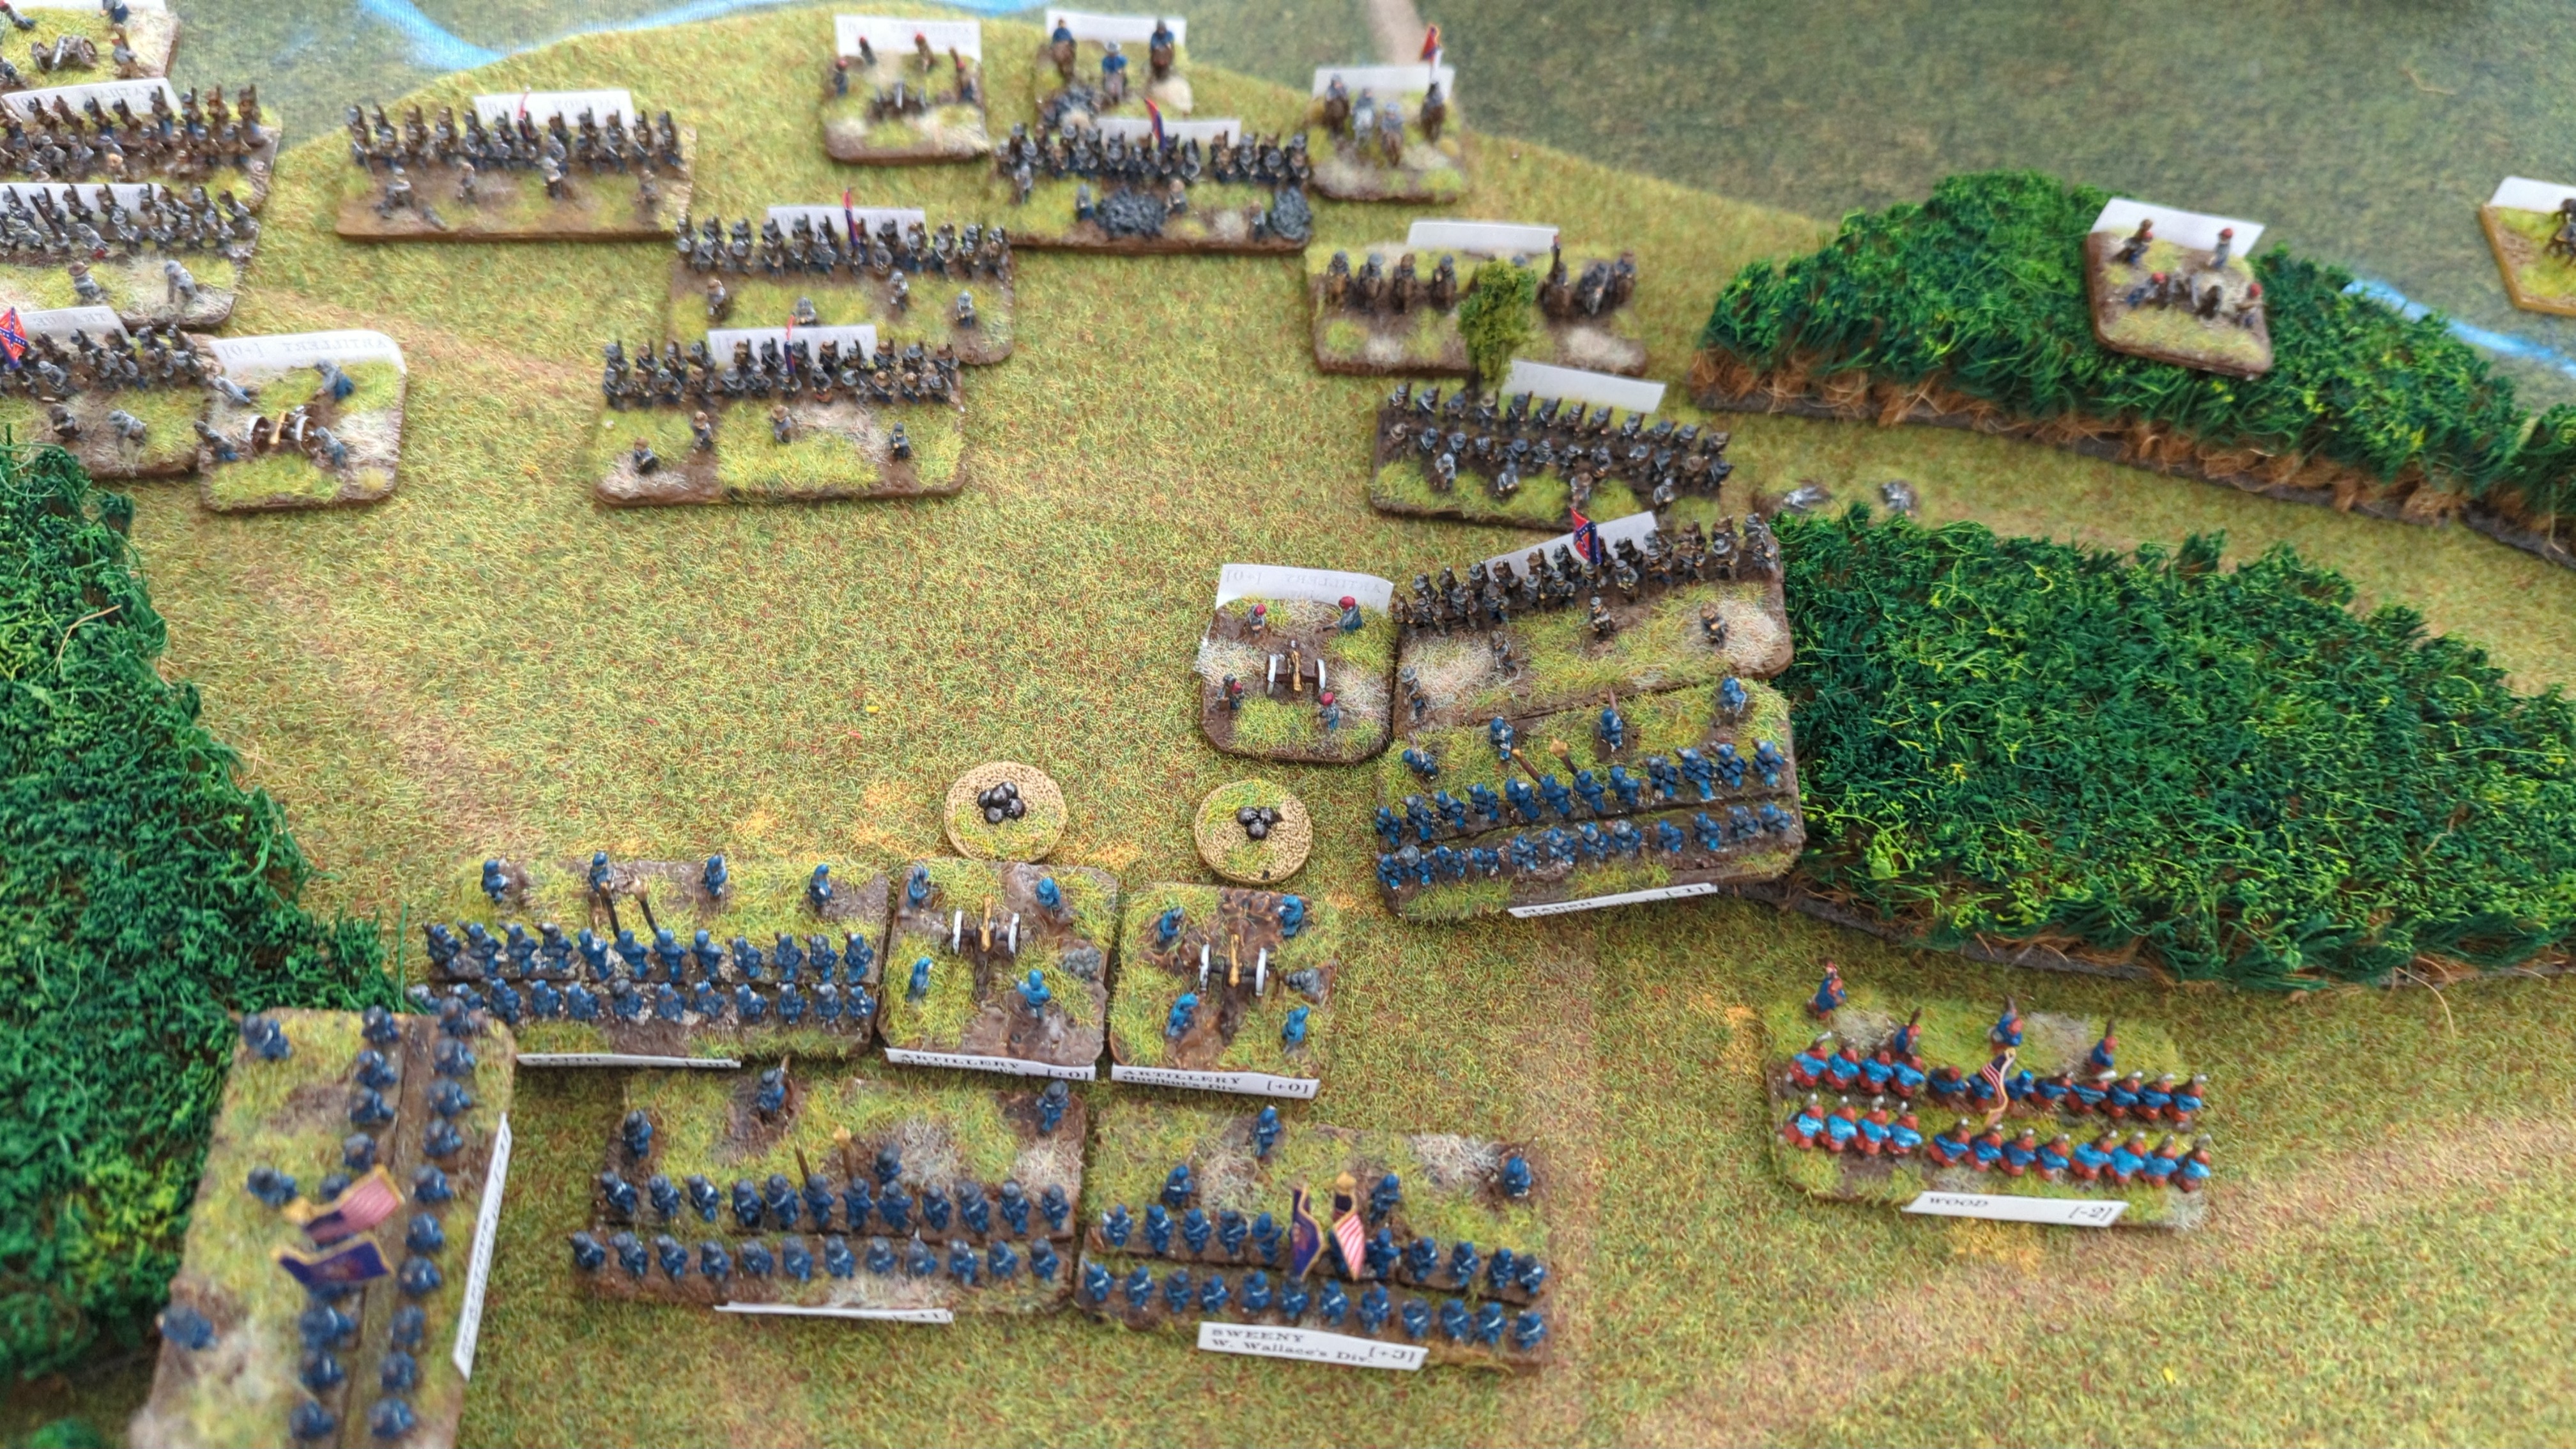
6 vs 5.
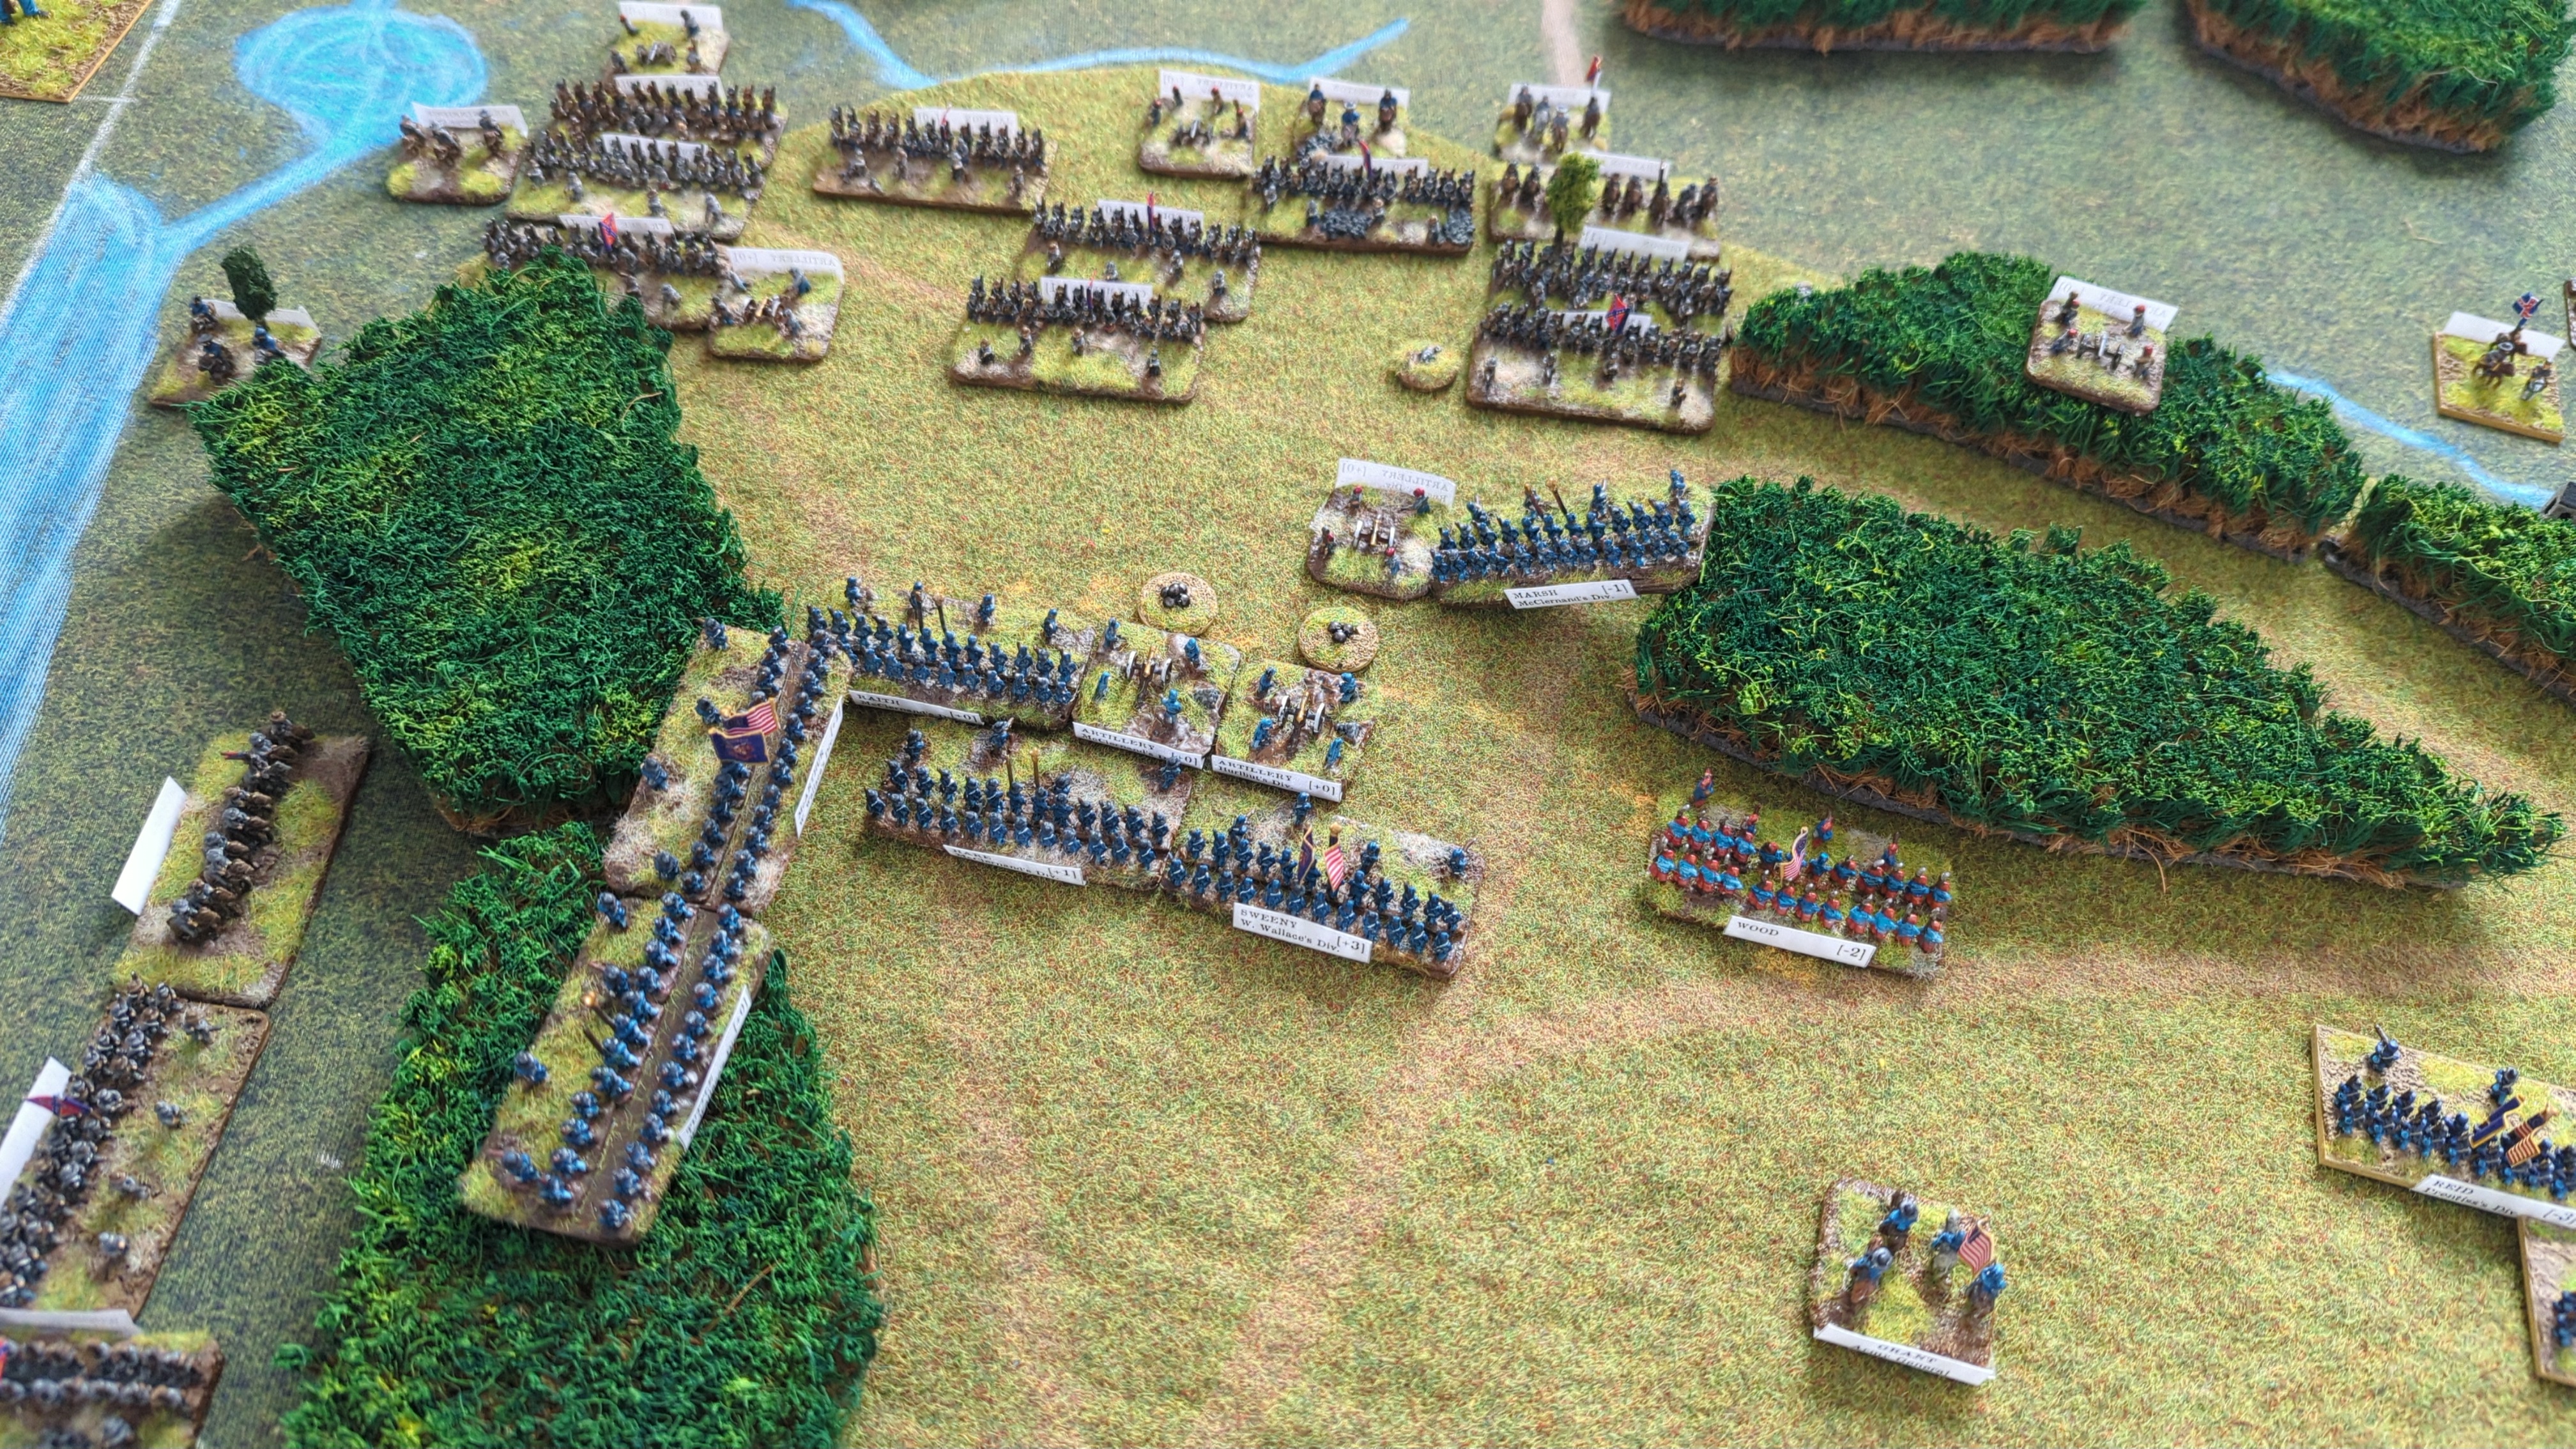
Rolled 6 and 2: clock = 1.
Bid 2
Reid moved to block the gap in the line, but was forced to recoil by interrupt fire.
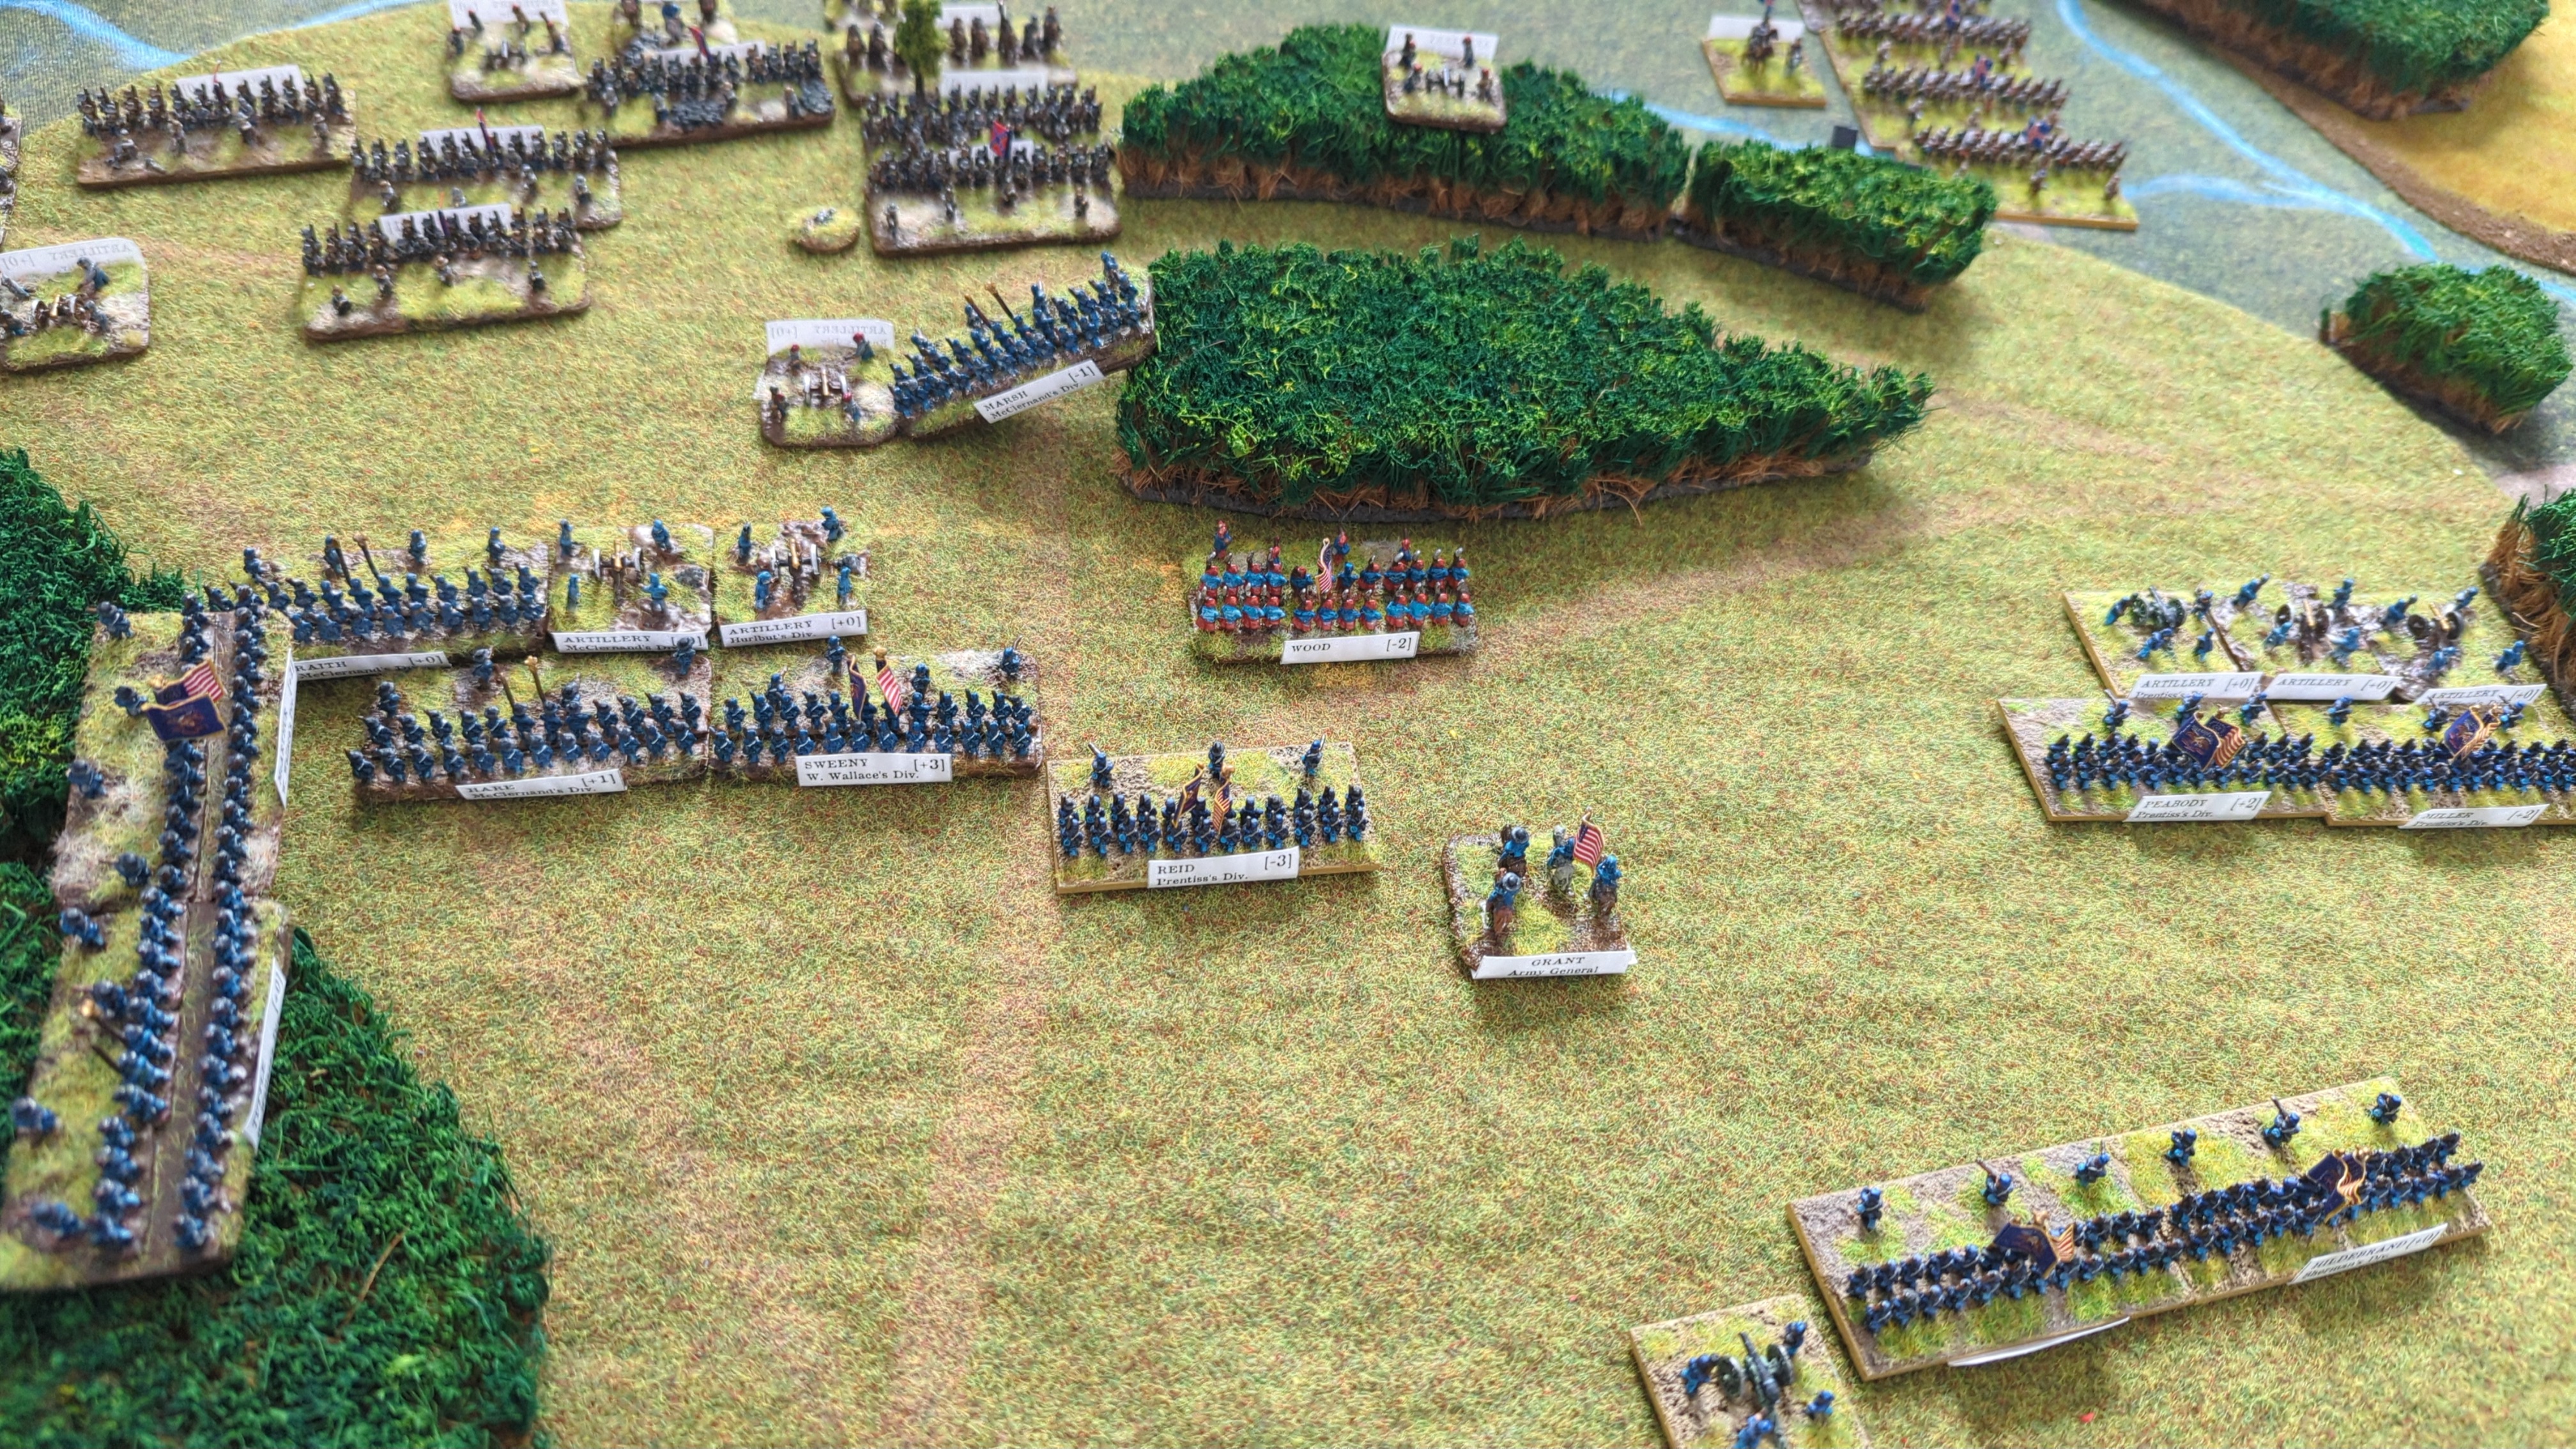
Artillery fire caused a recoil.
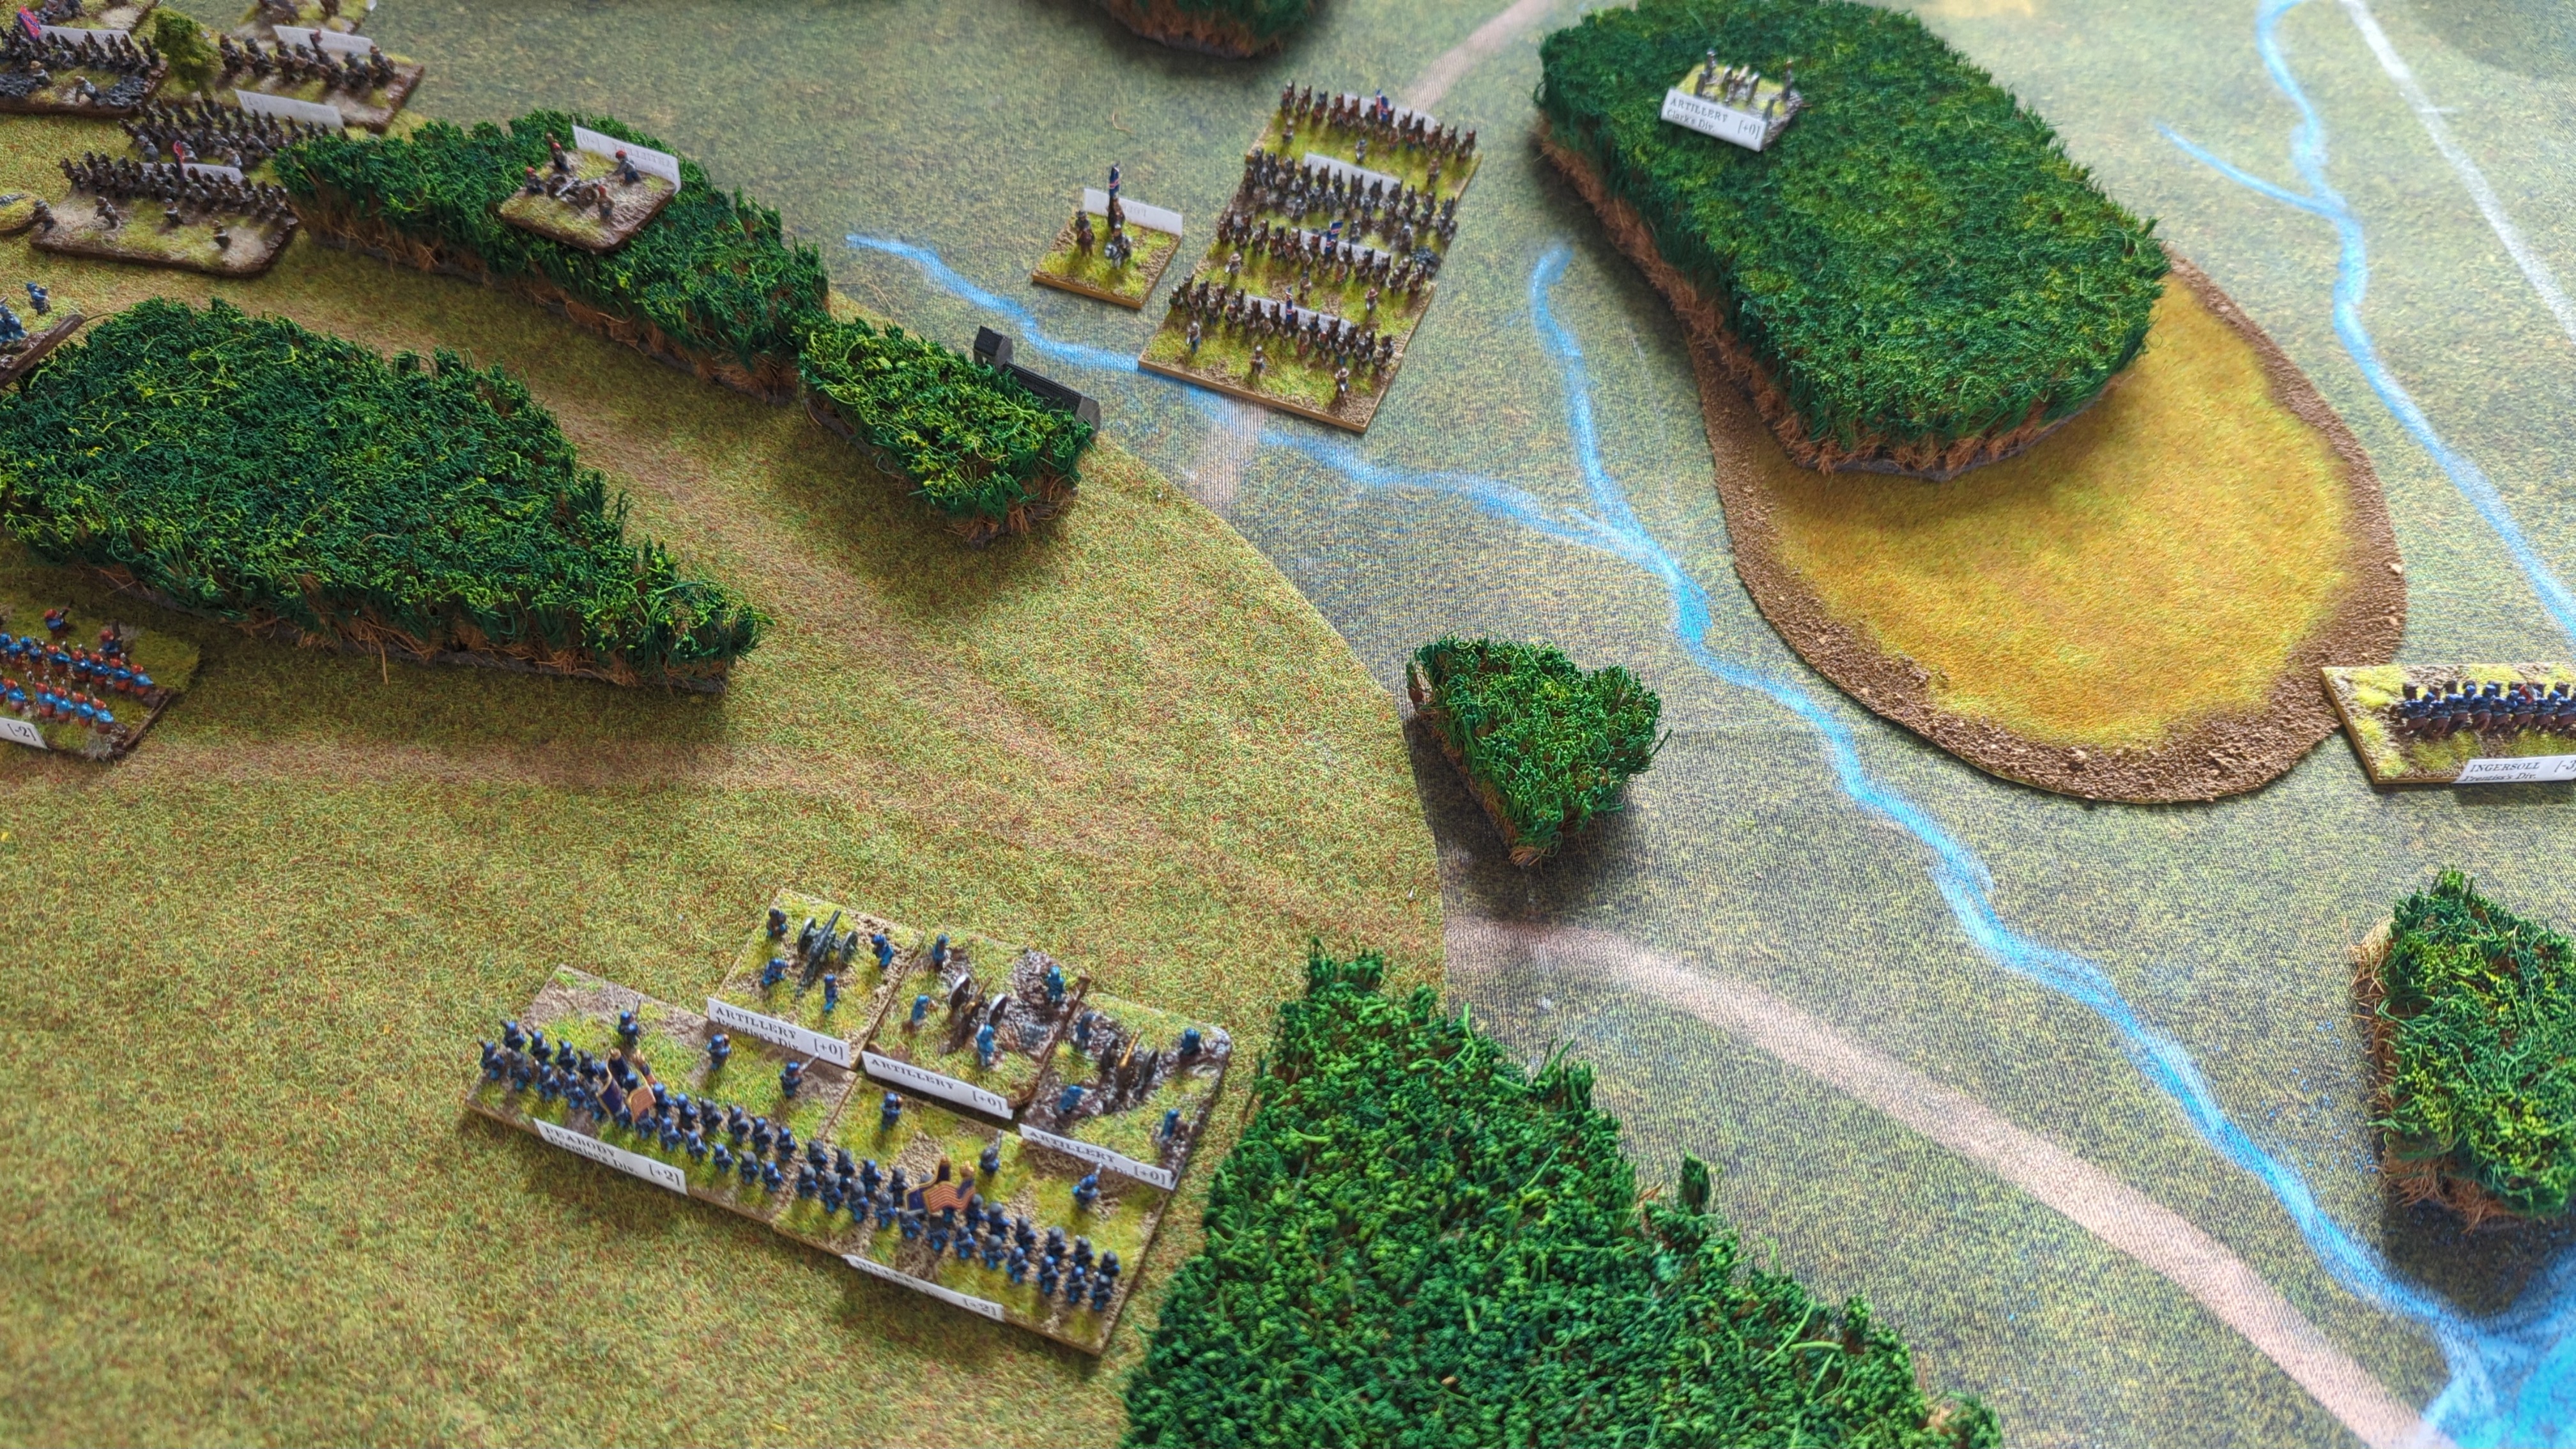
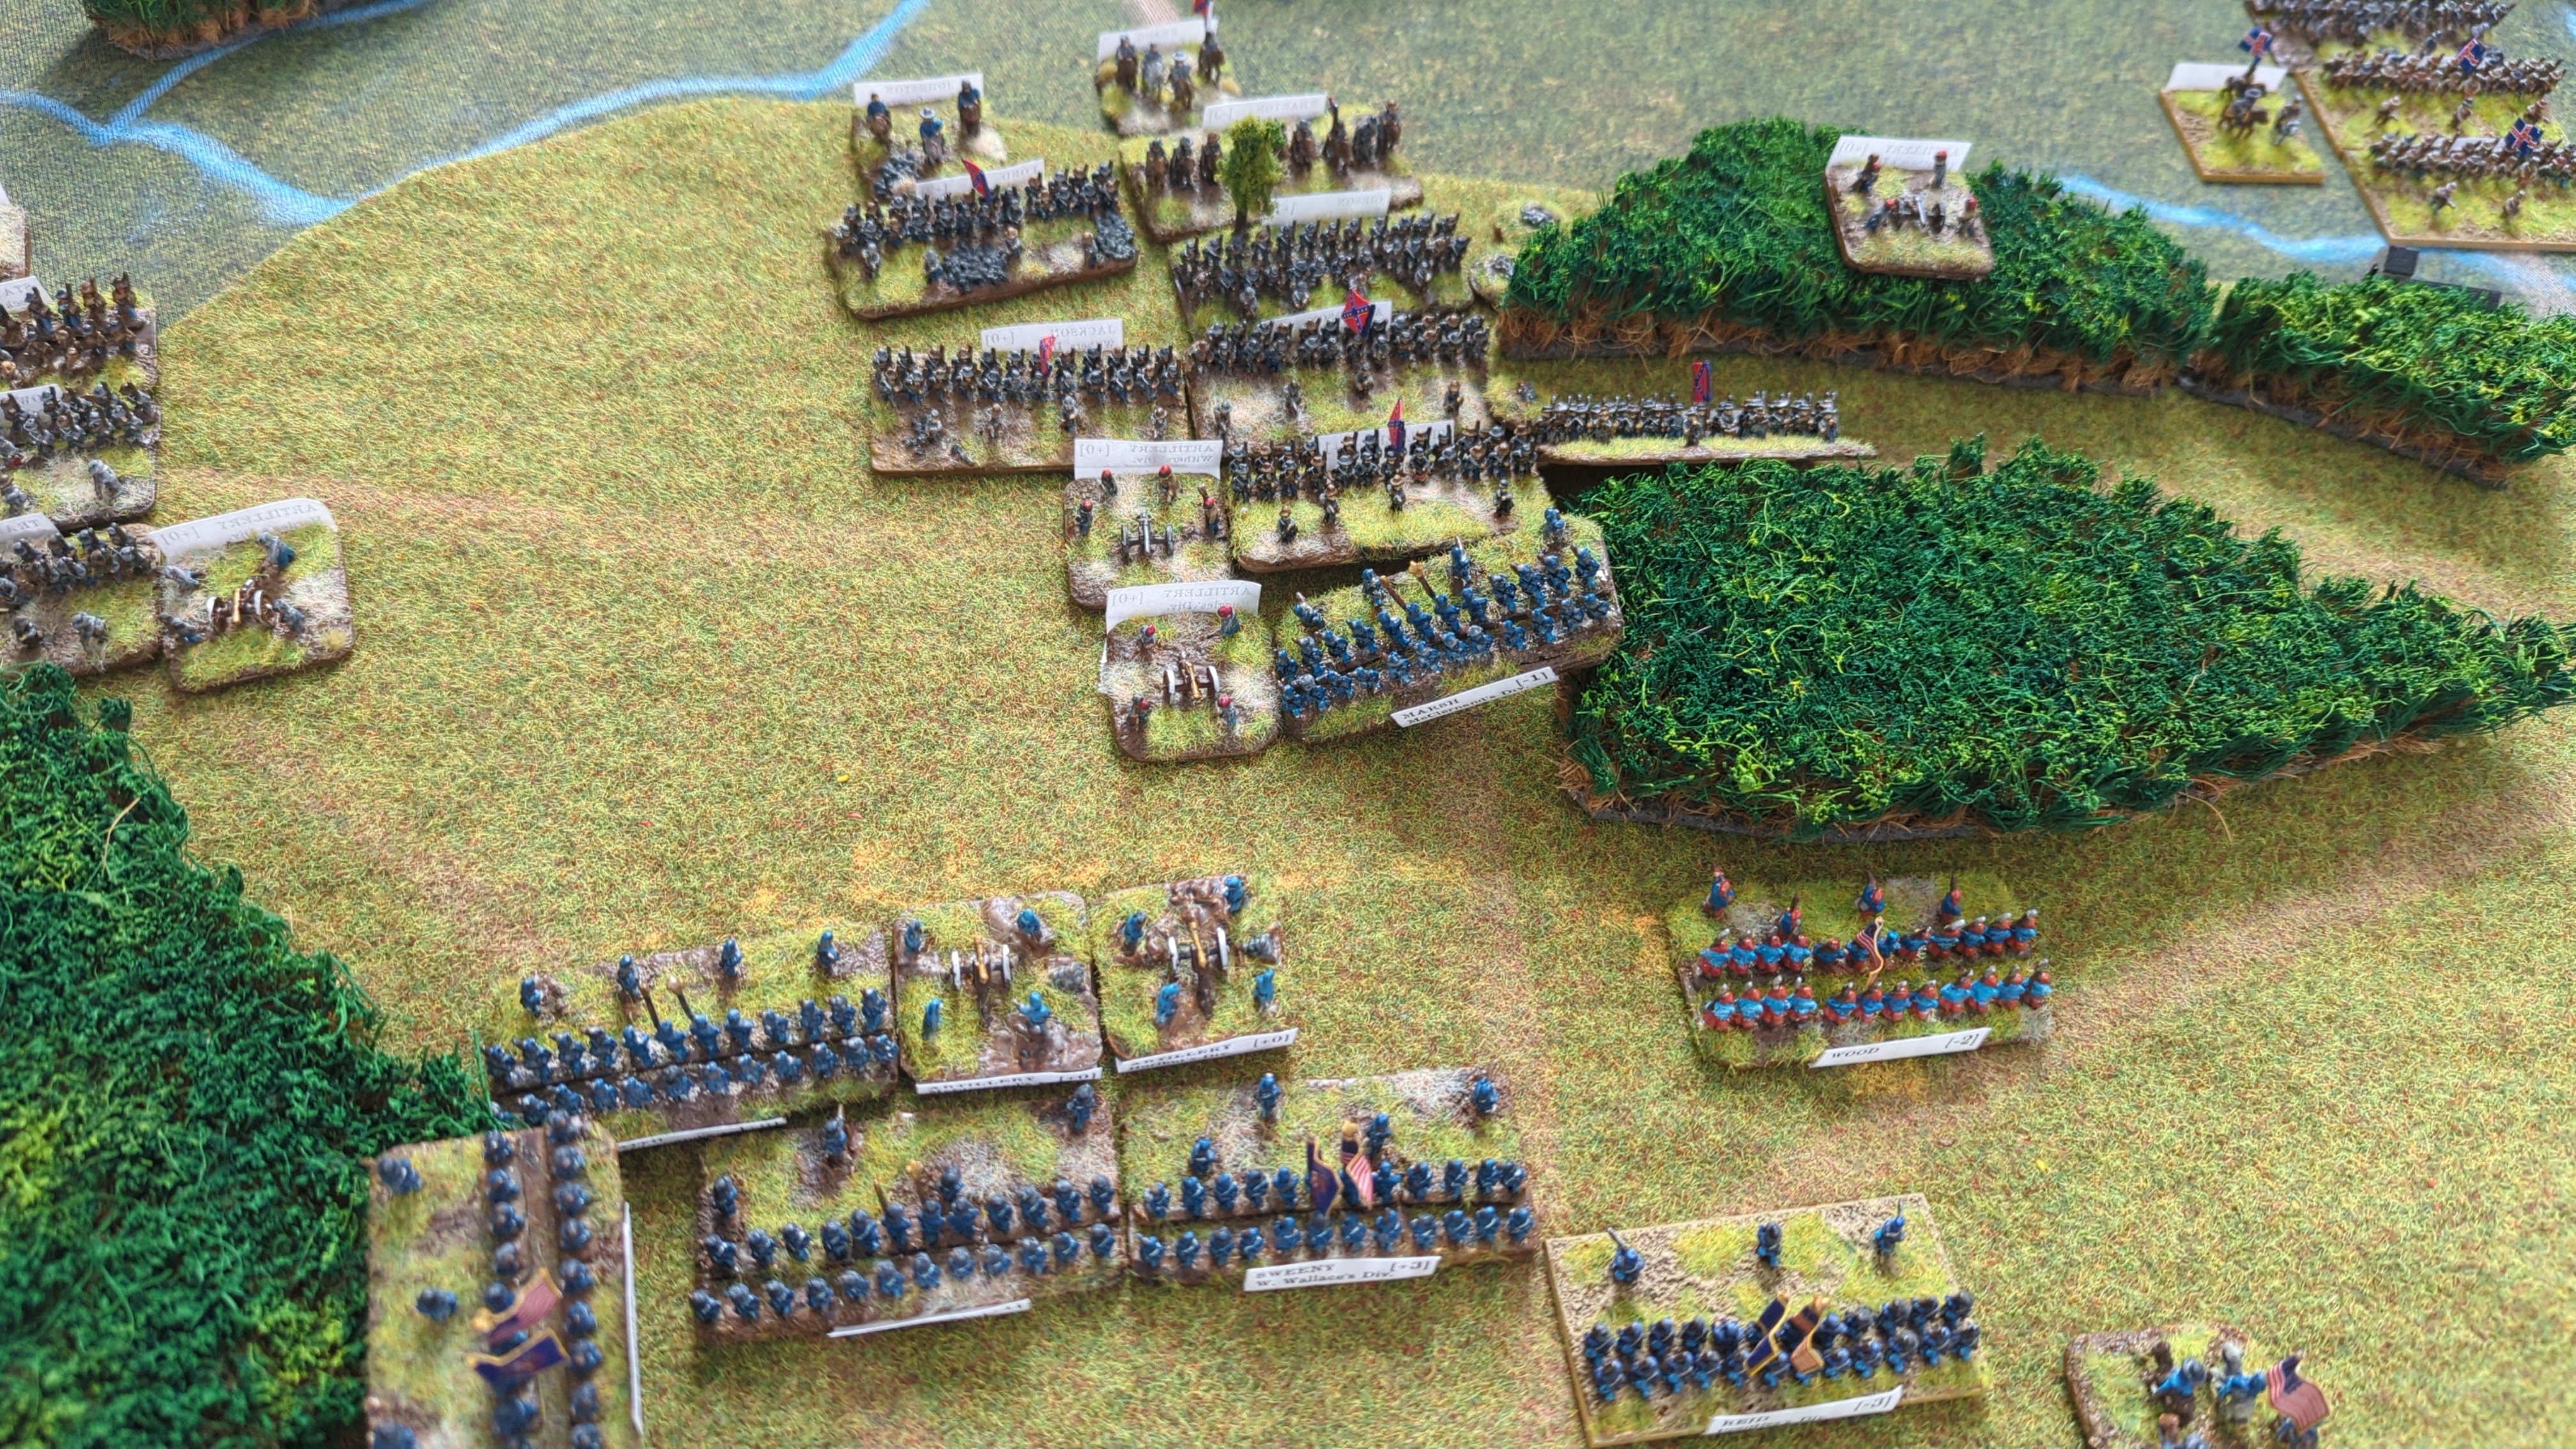
Defensive artillery fire on the enemy artillery caused two recoils and silenced it.
Artillery fire on the other battery had no result.
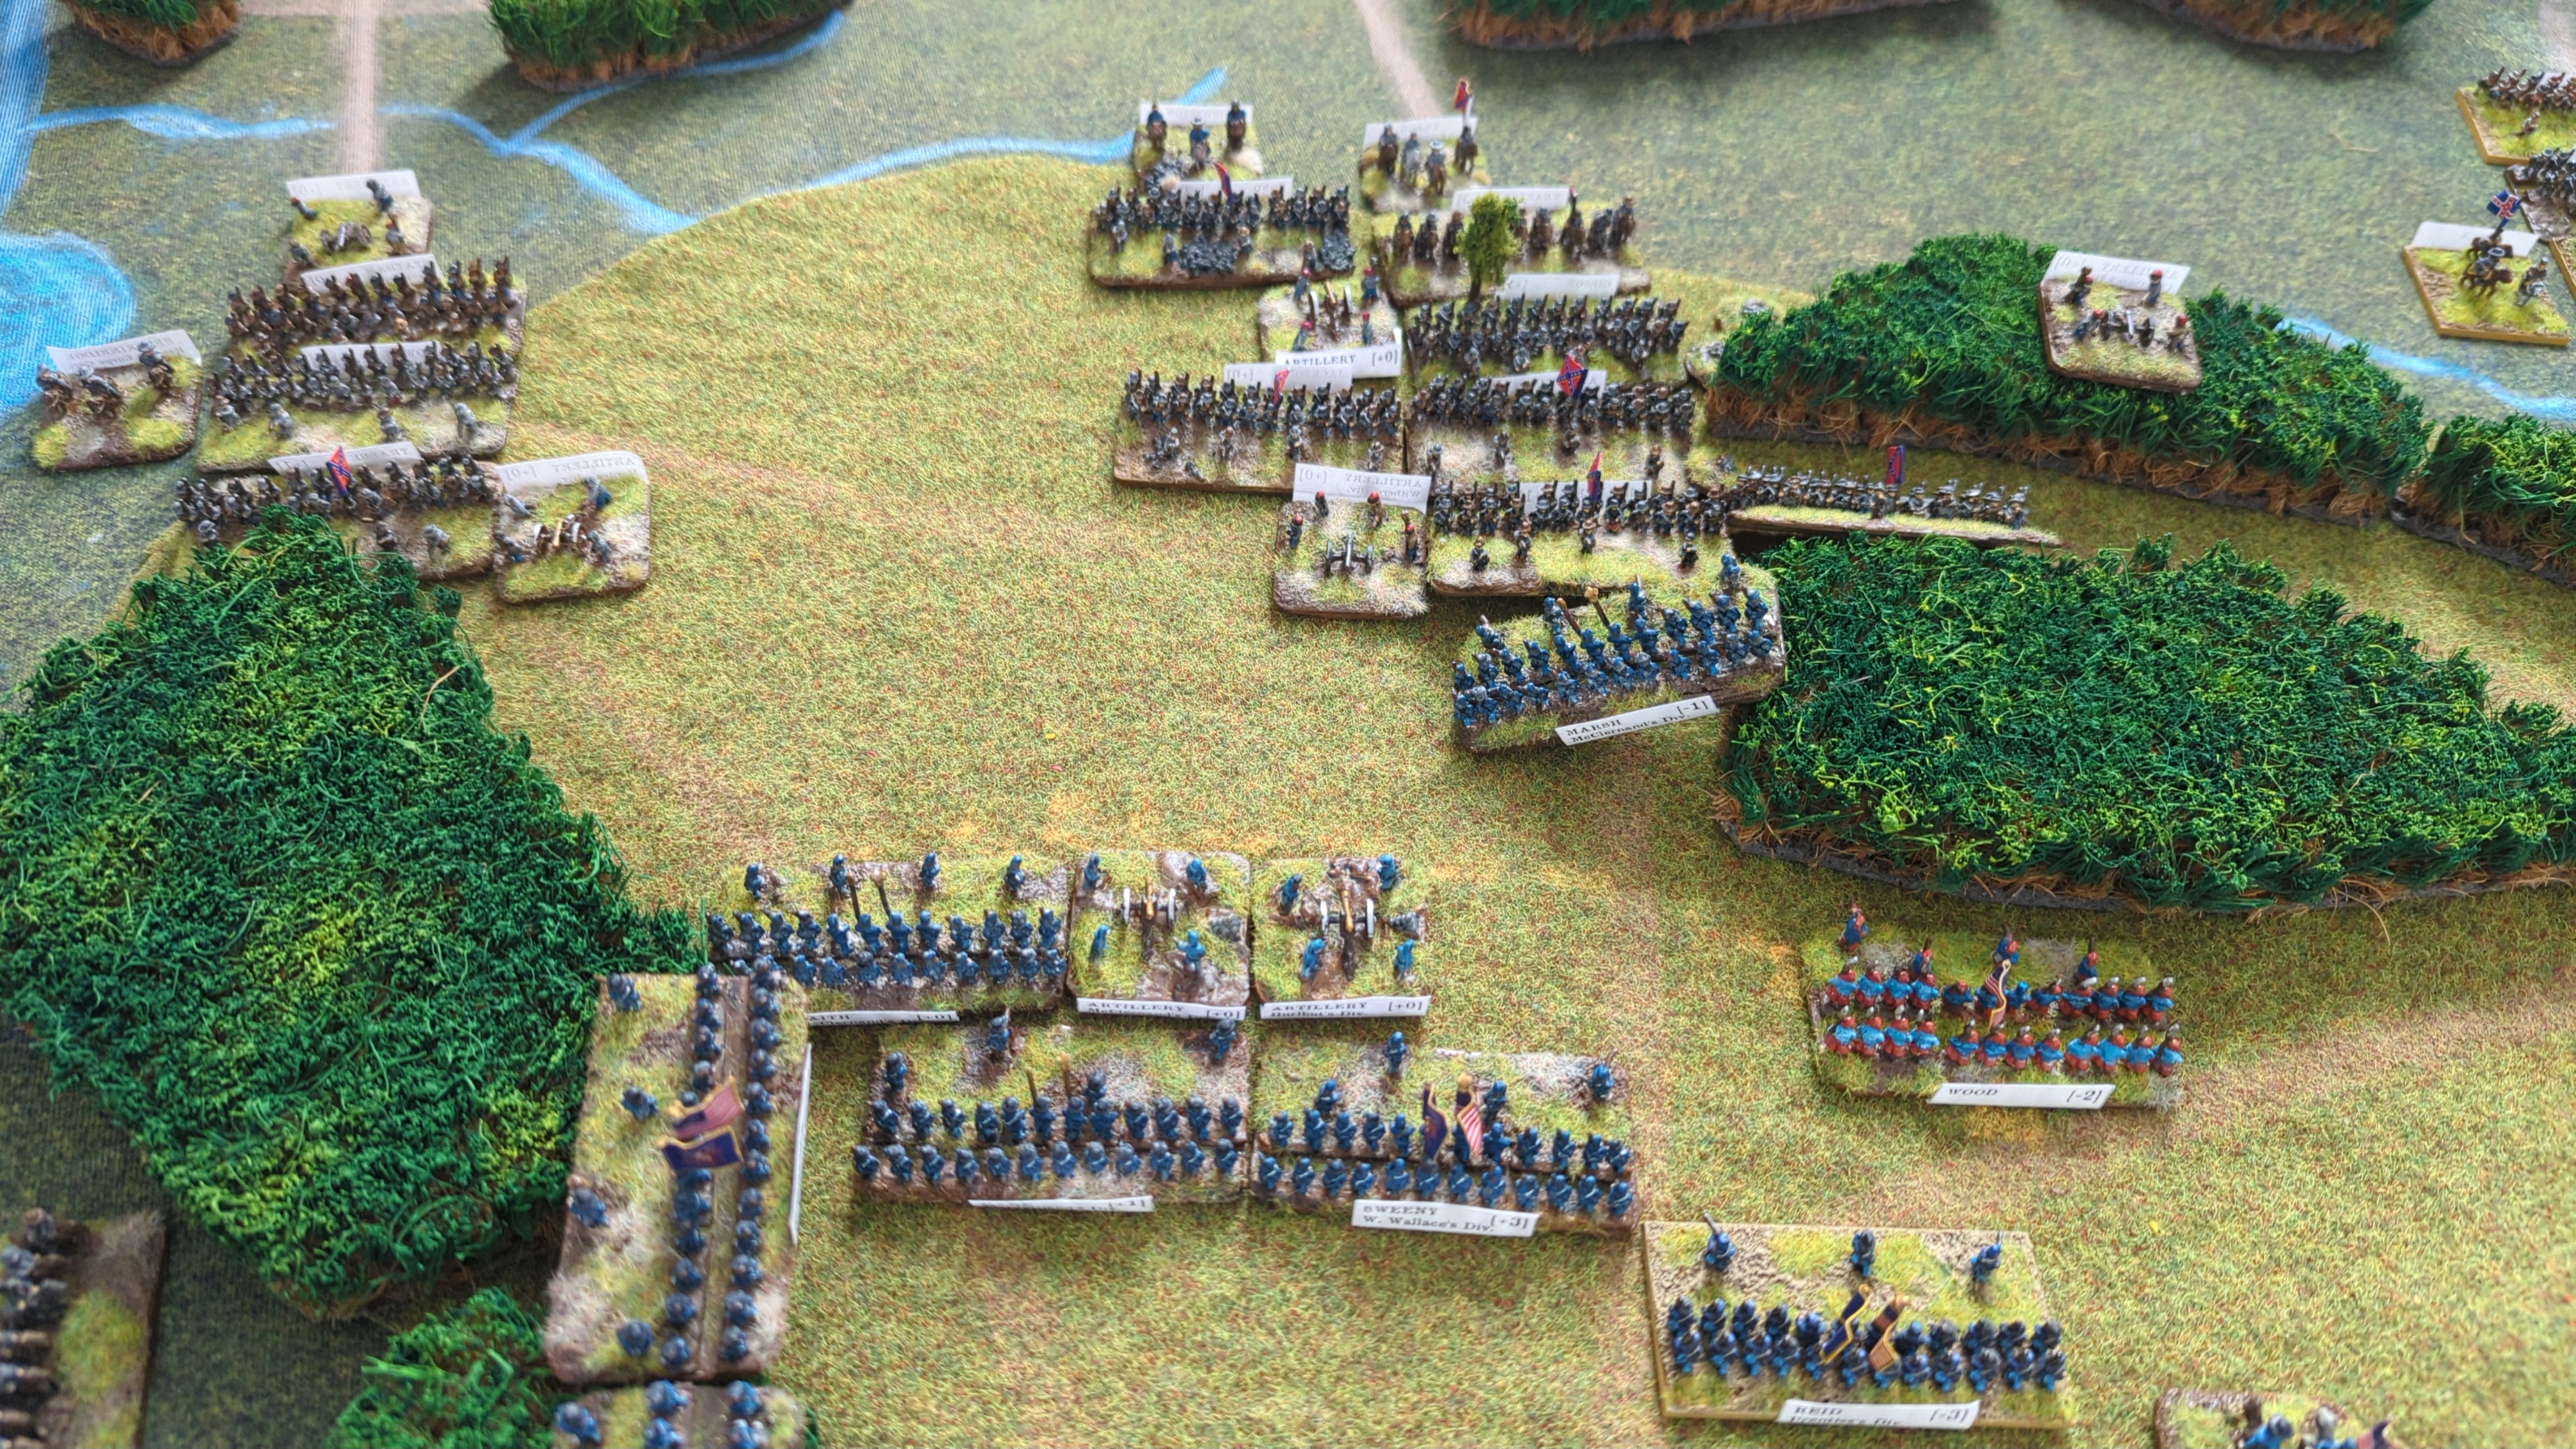
Marsh was broken.
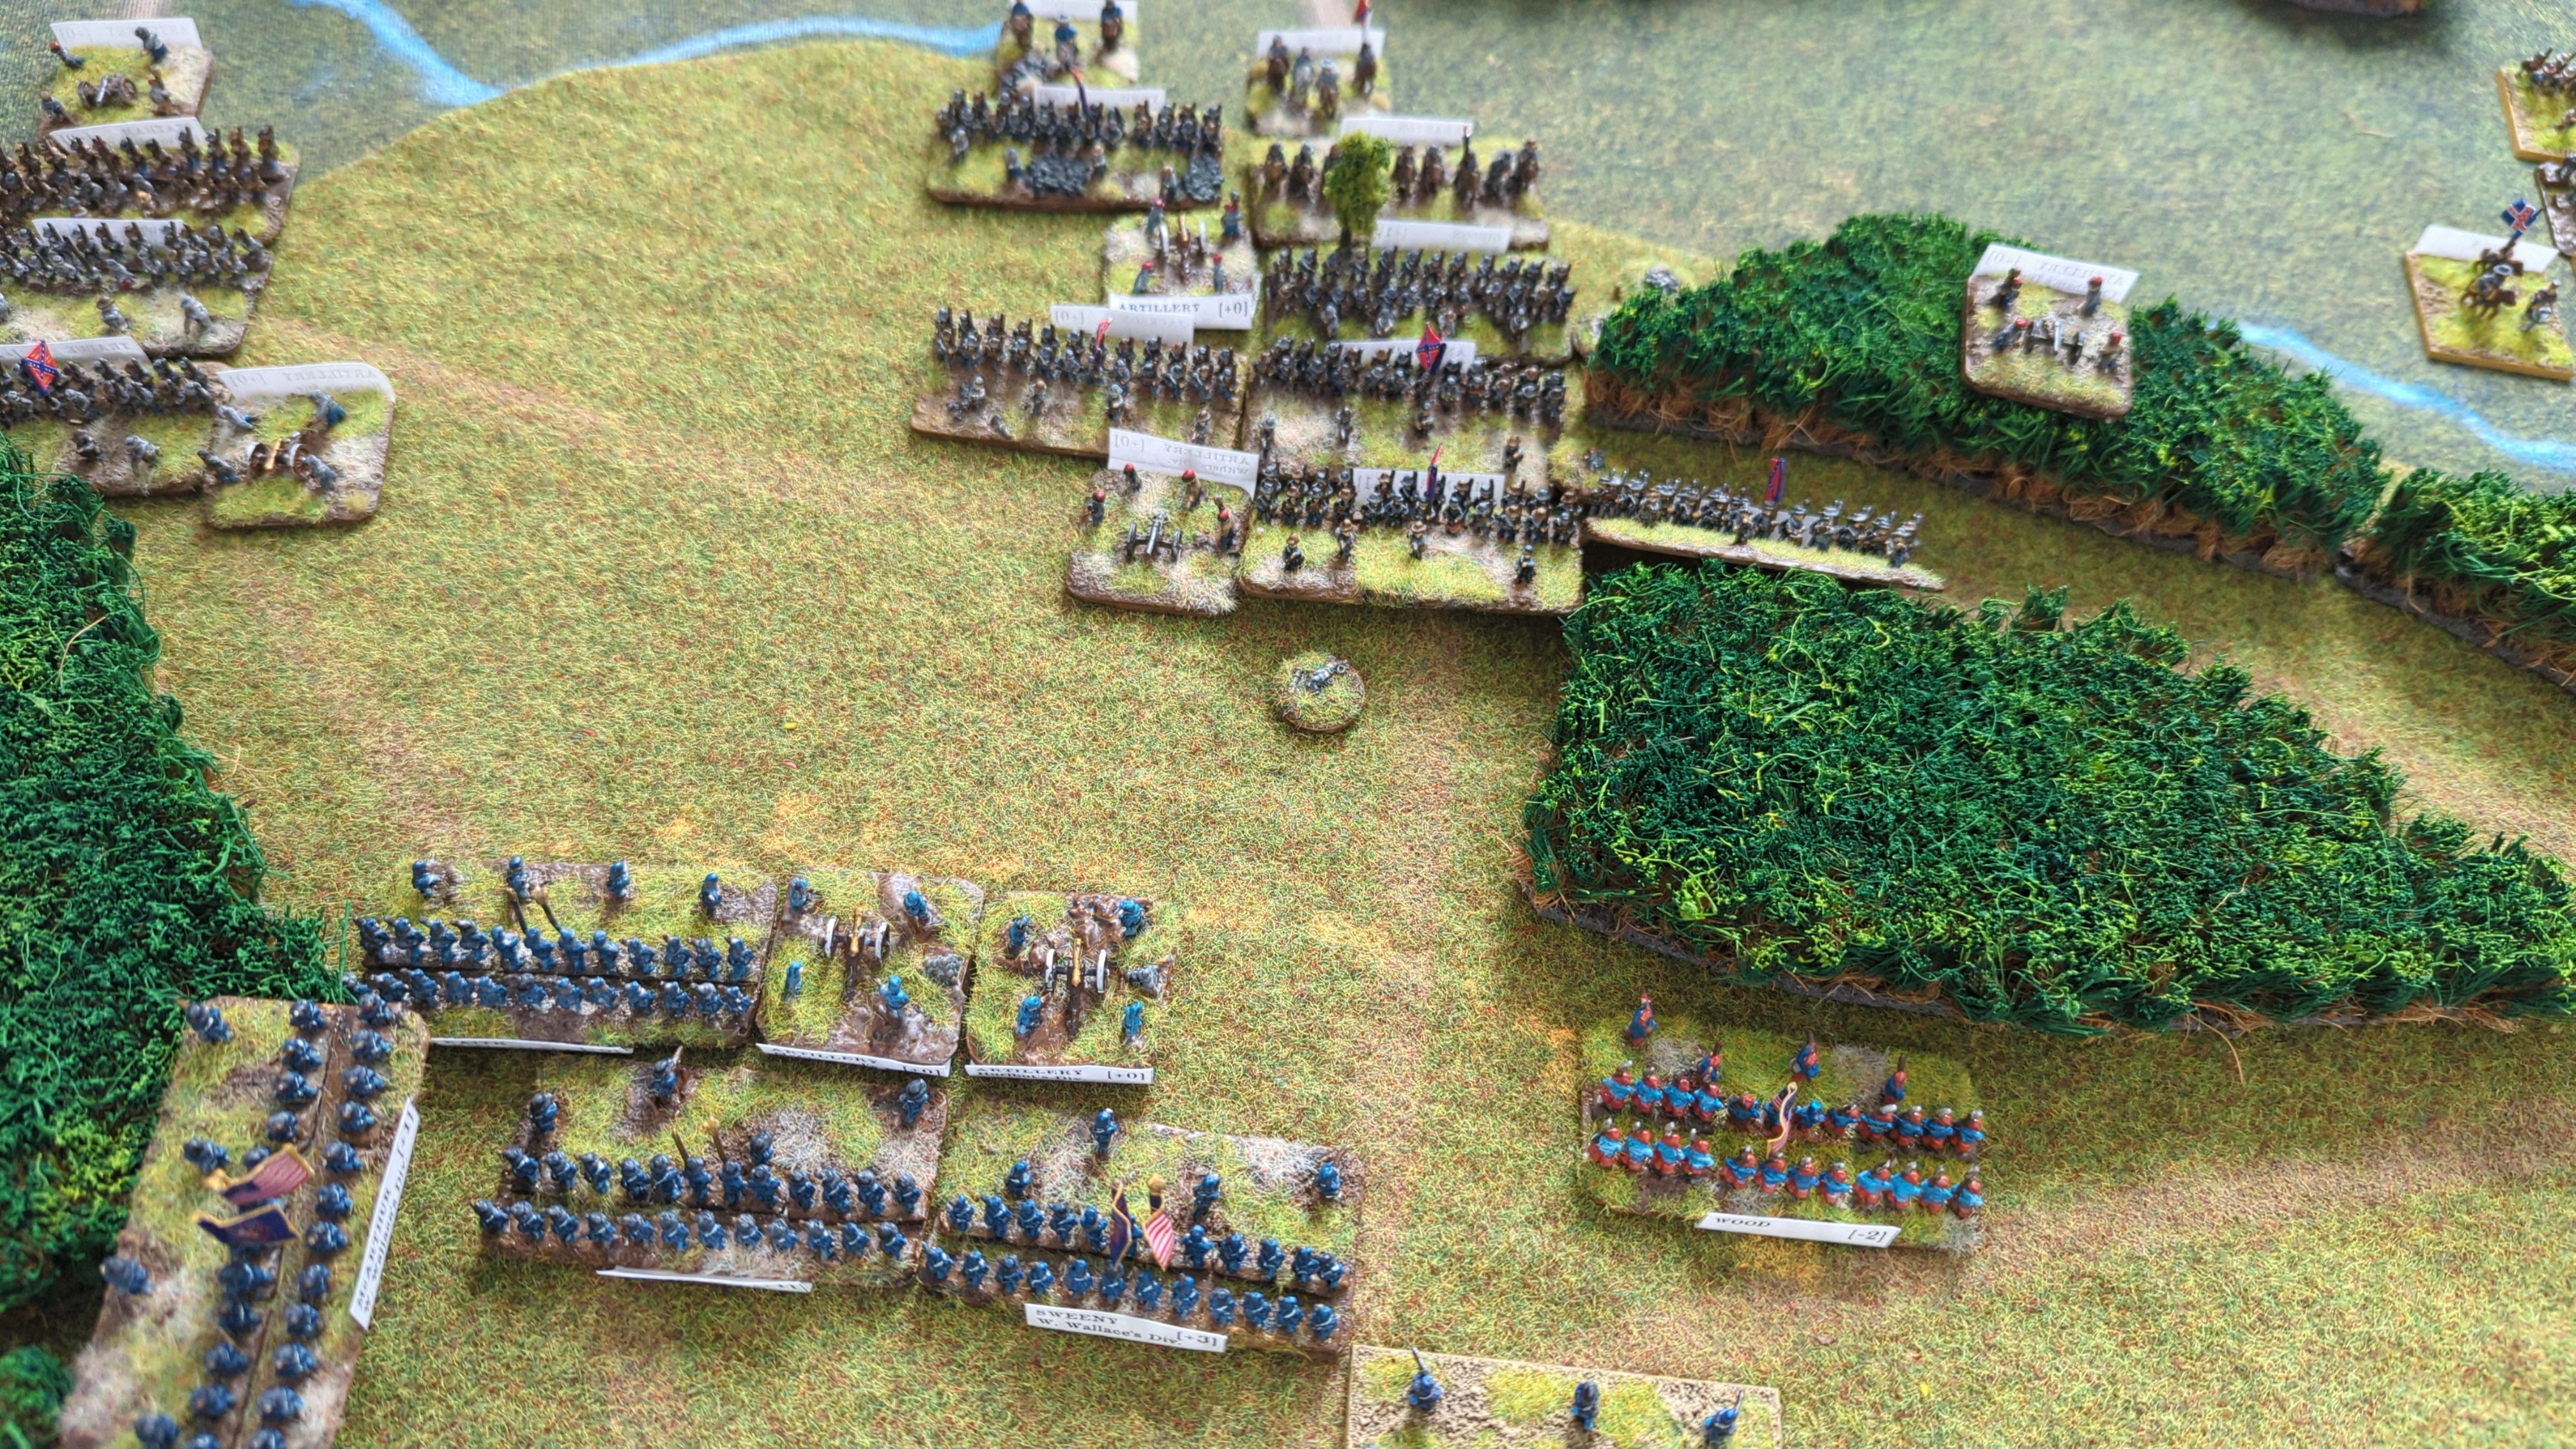
End of Turn Sequence
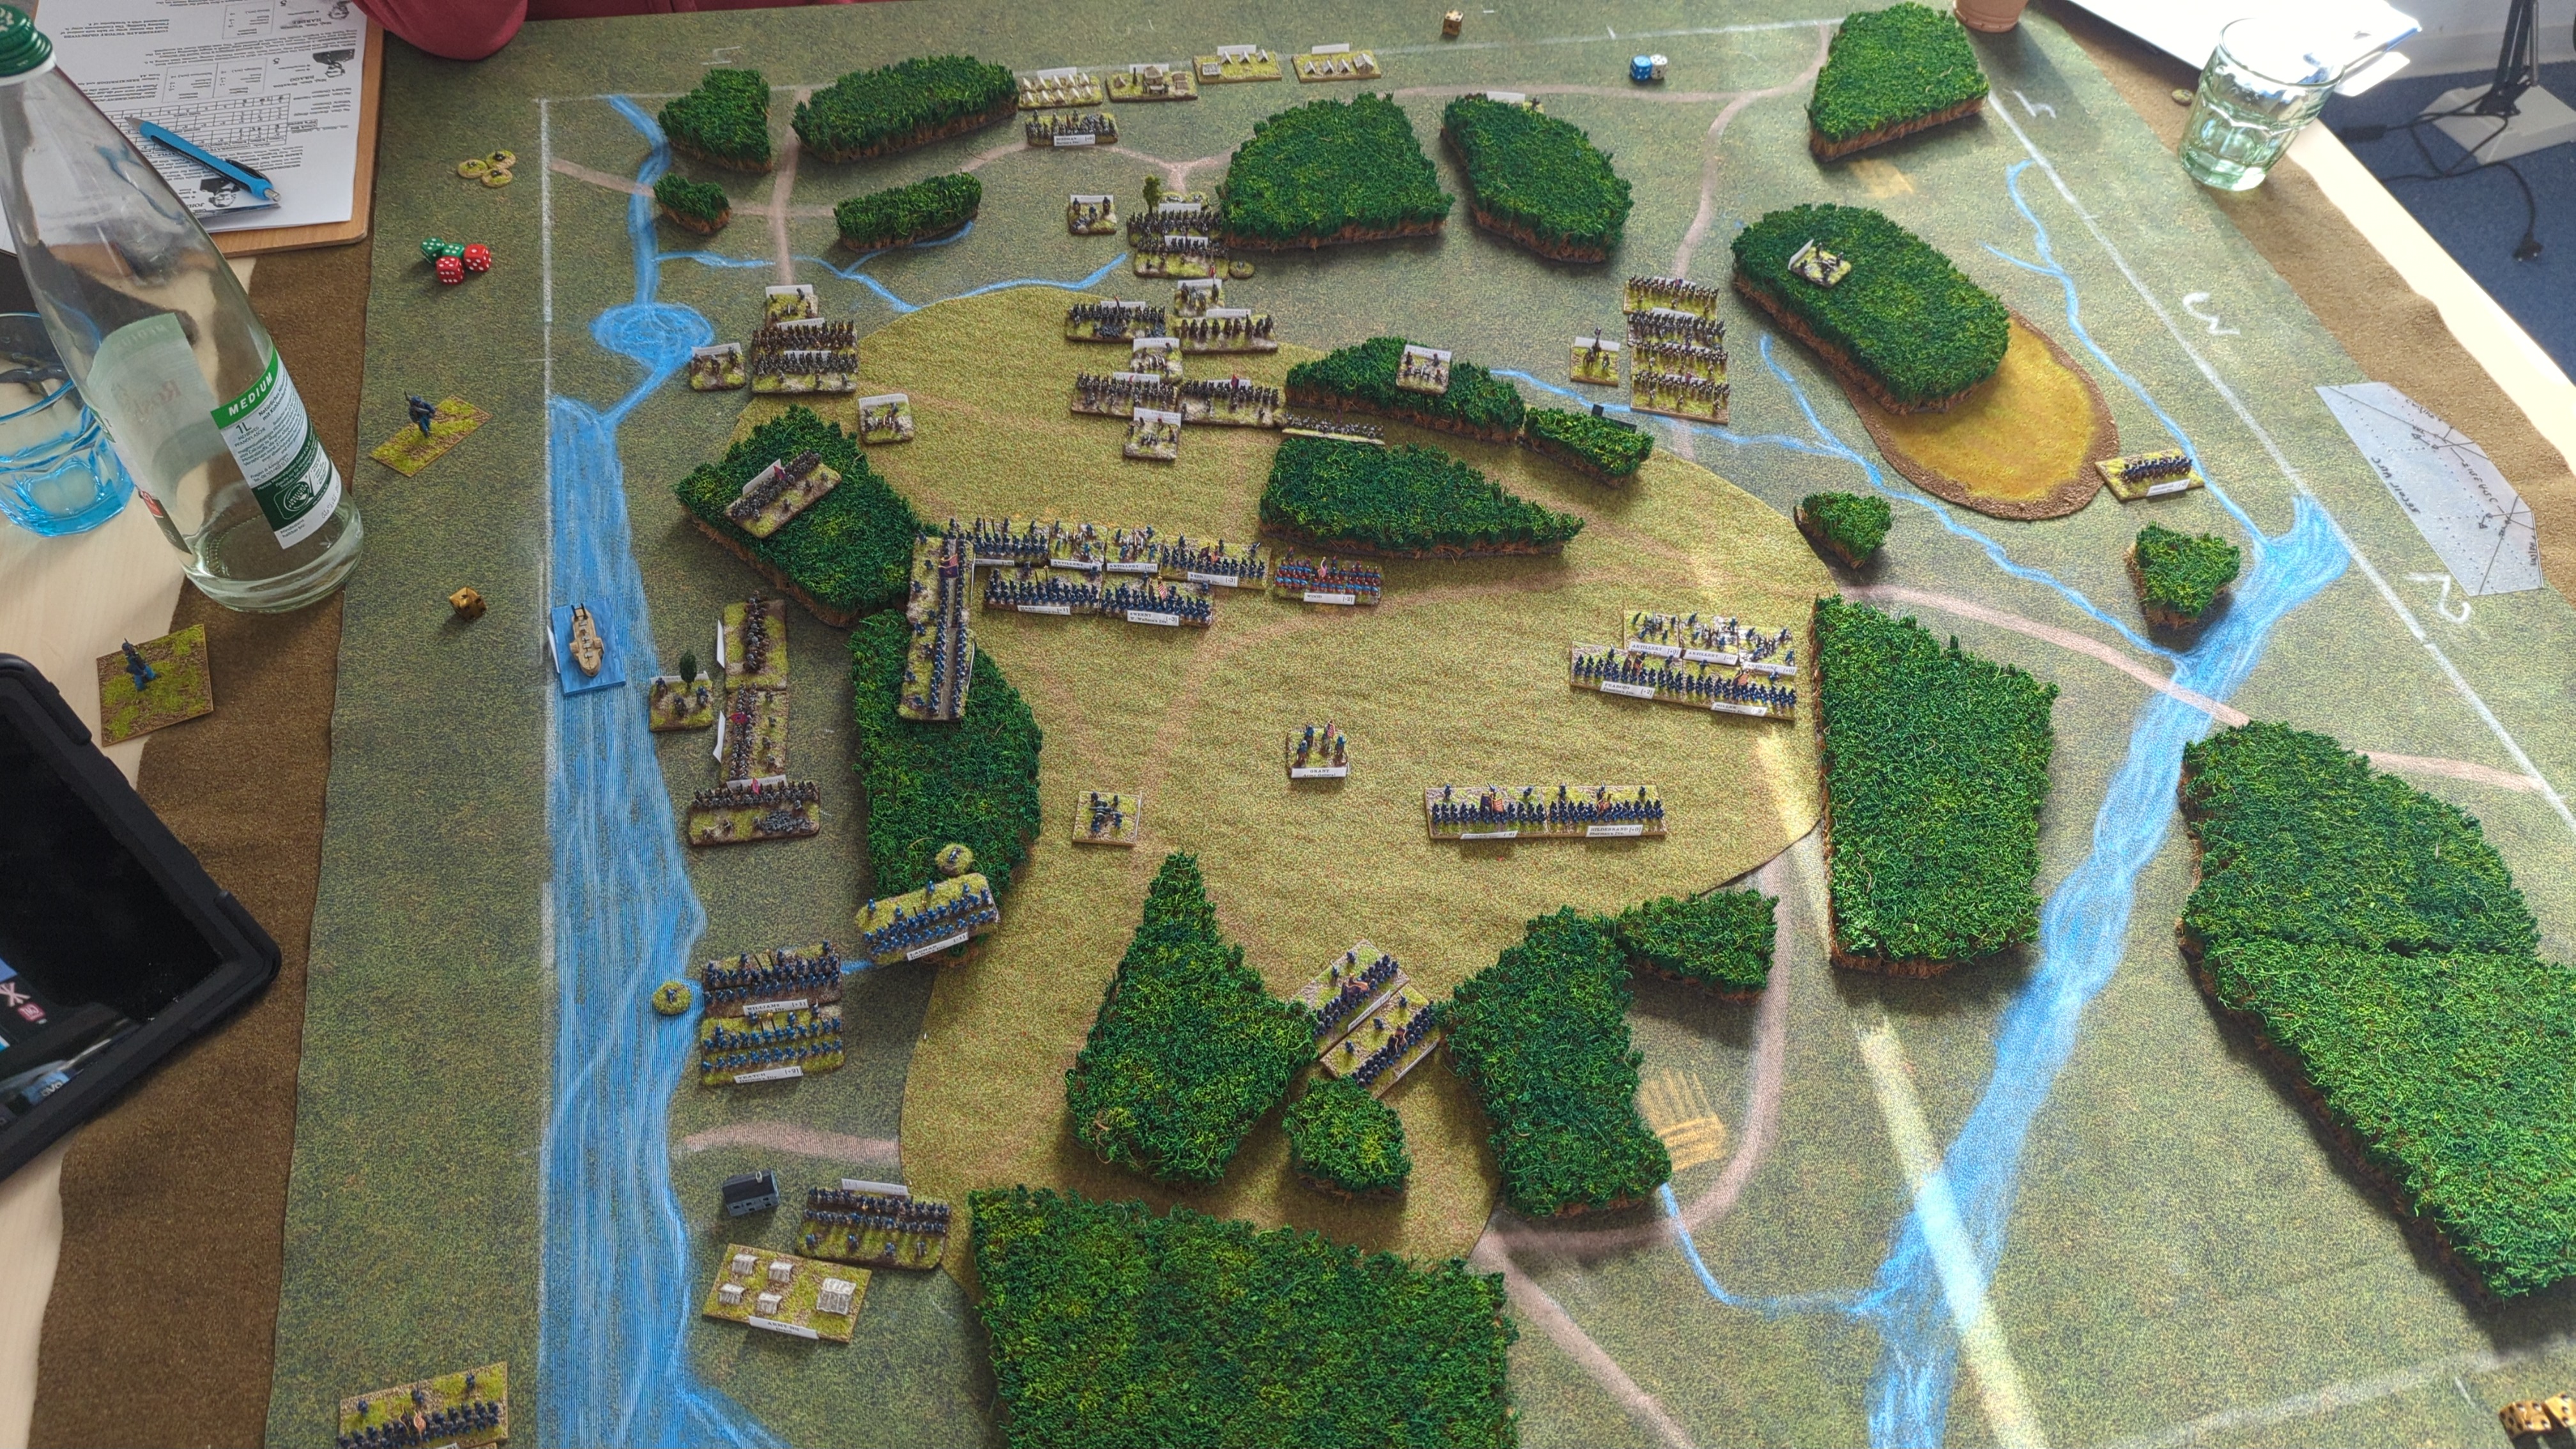
Reid plugged the line.
Marsh routed.
Turn 4
4 vs 5.
Bid 7
The Tyler fired on Cleburne.
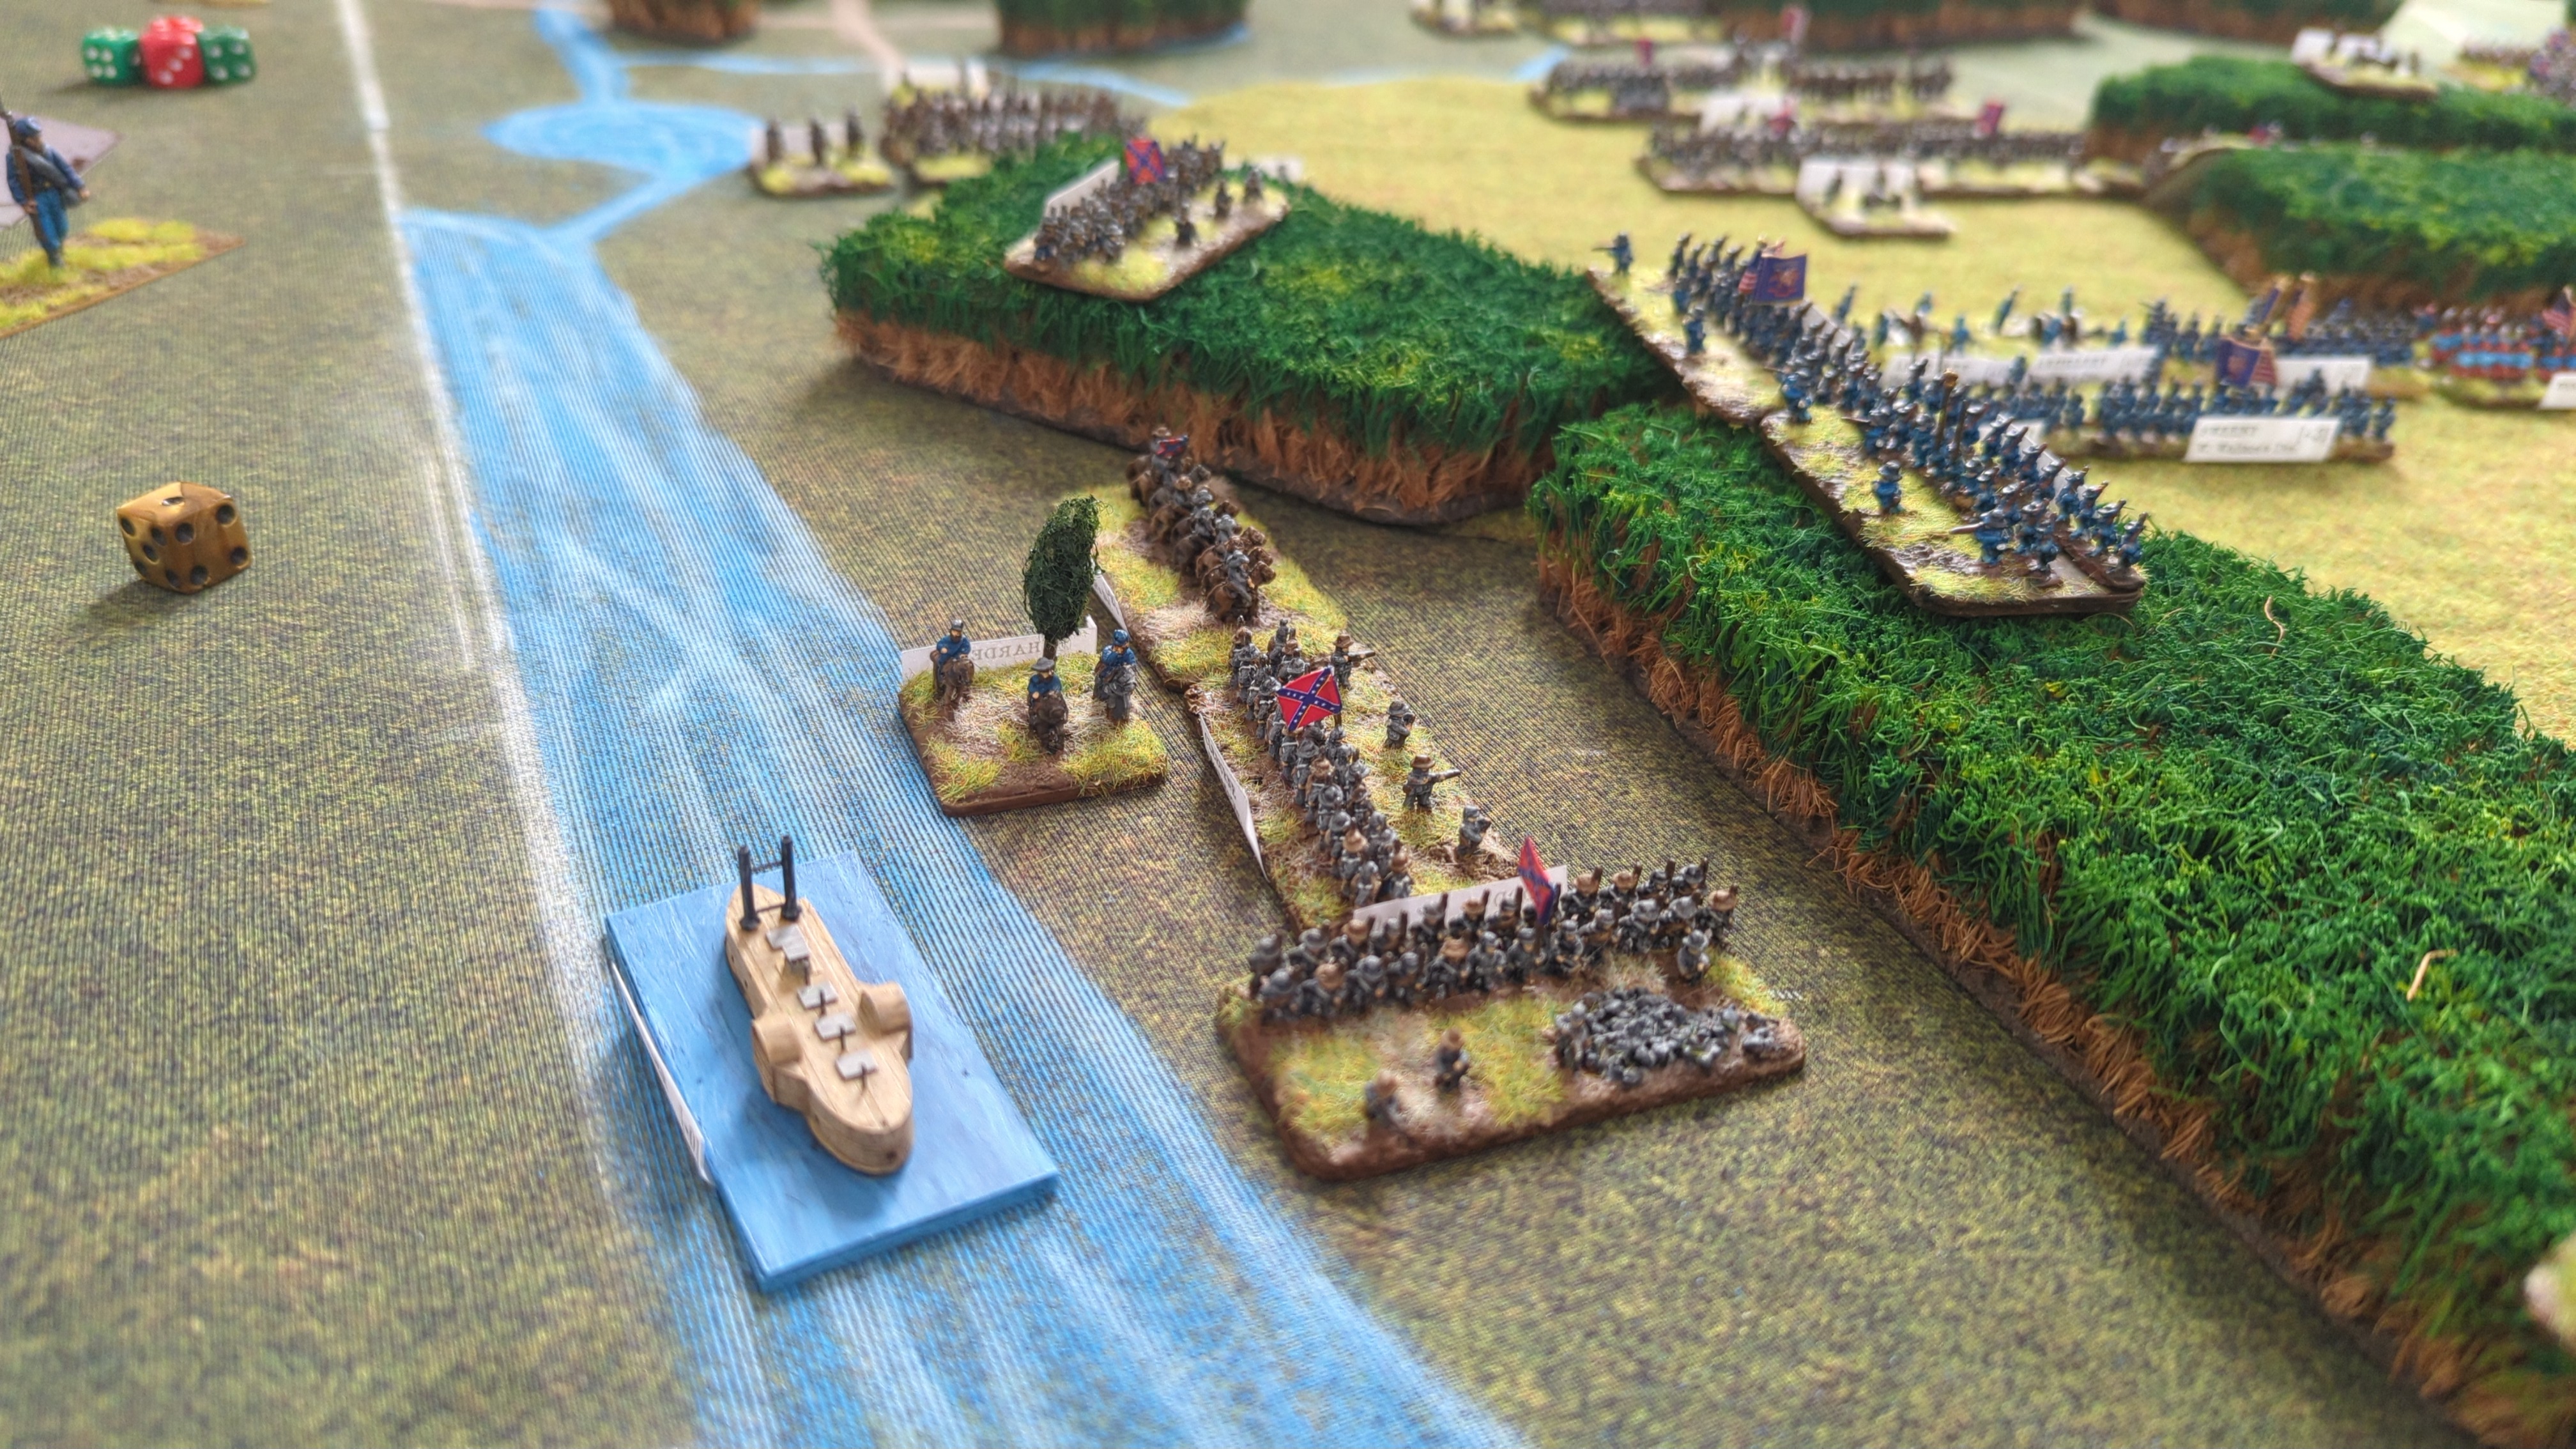
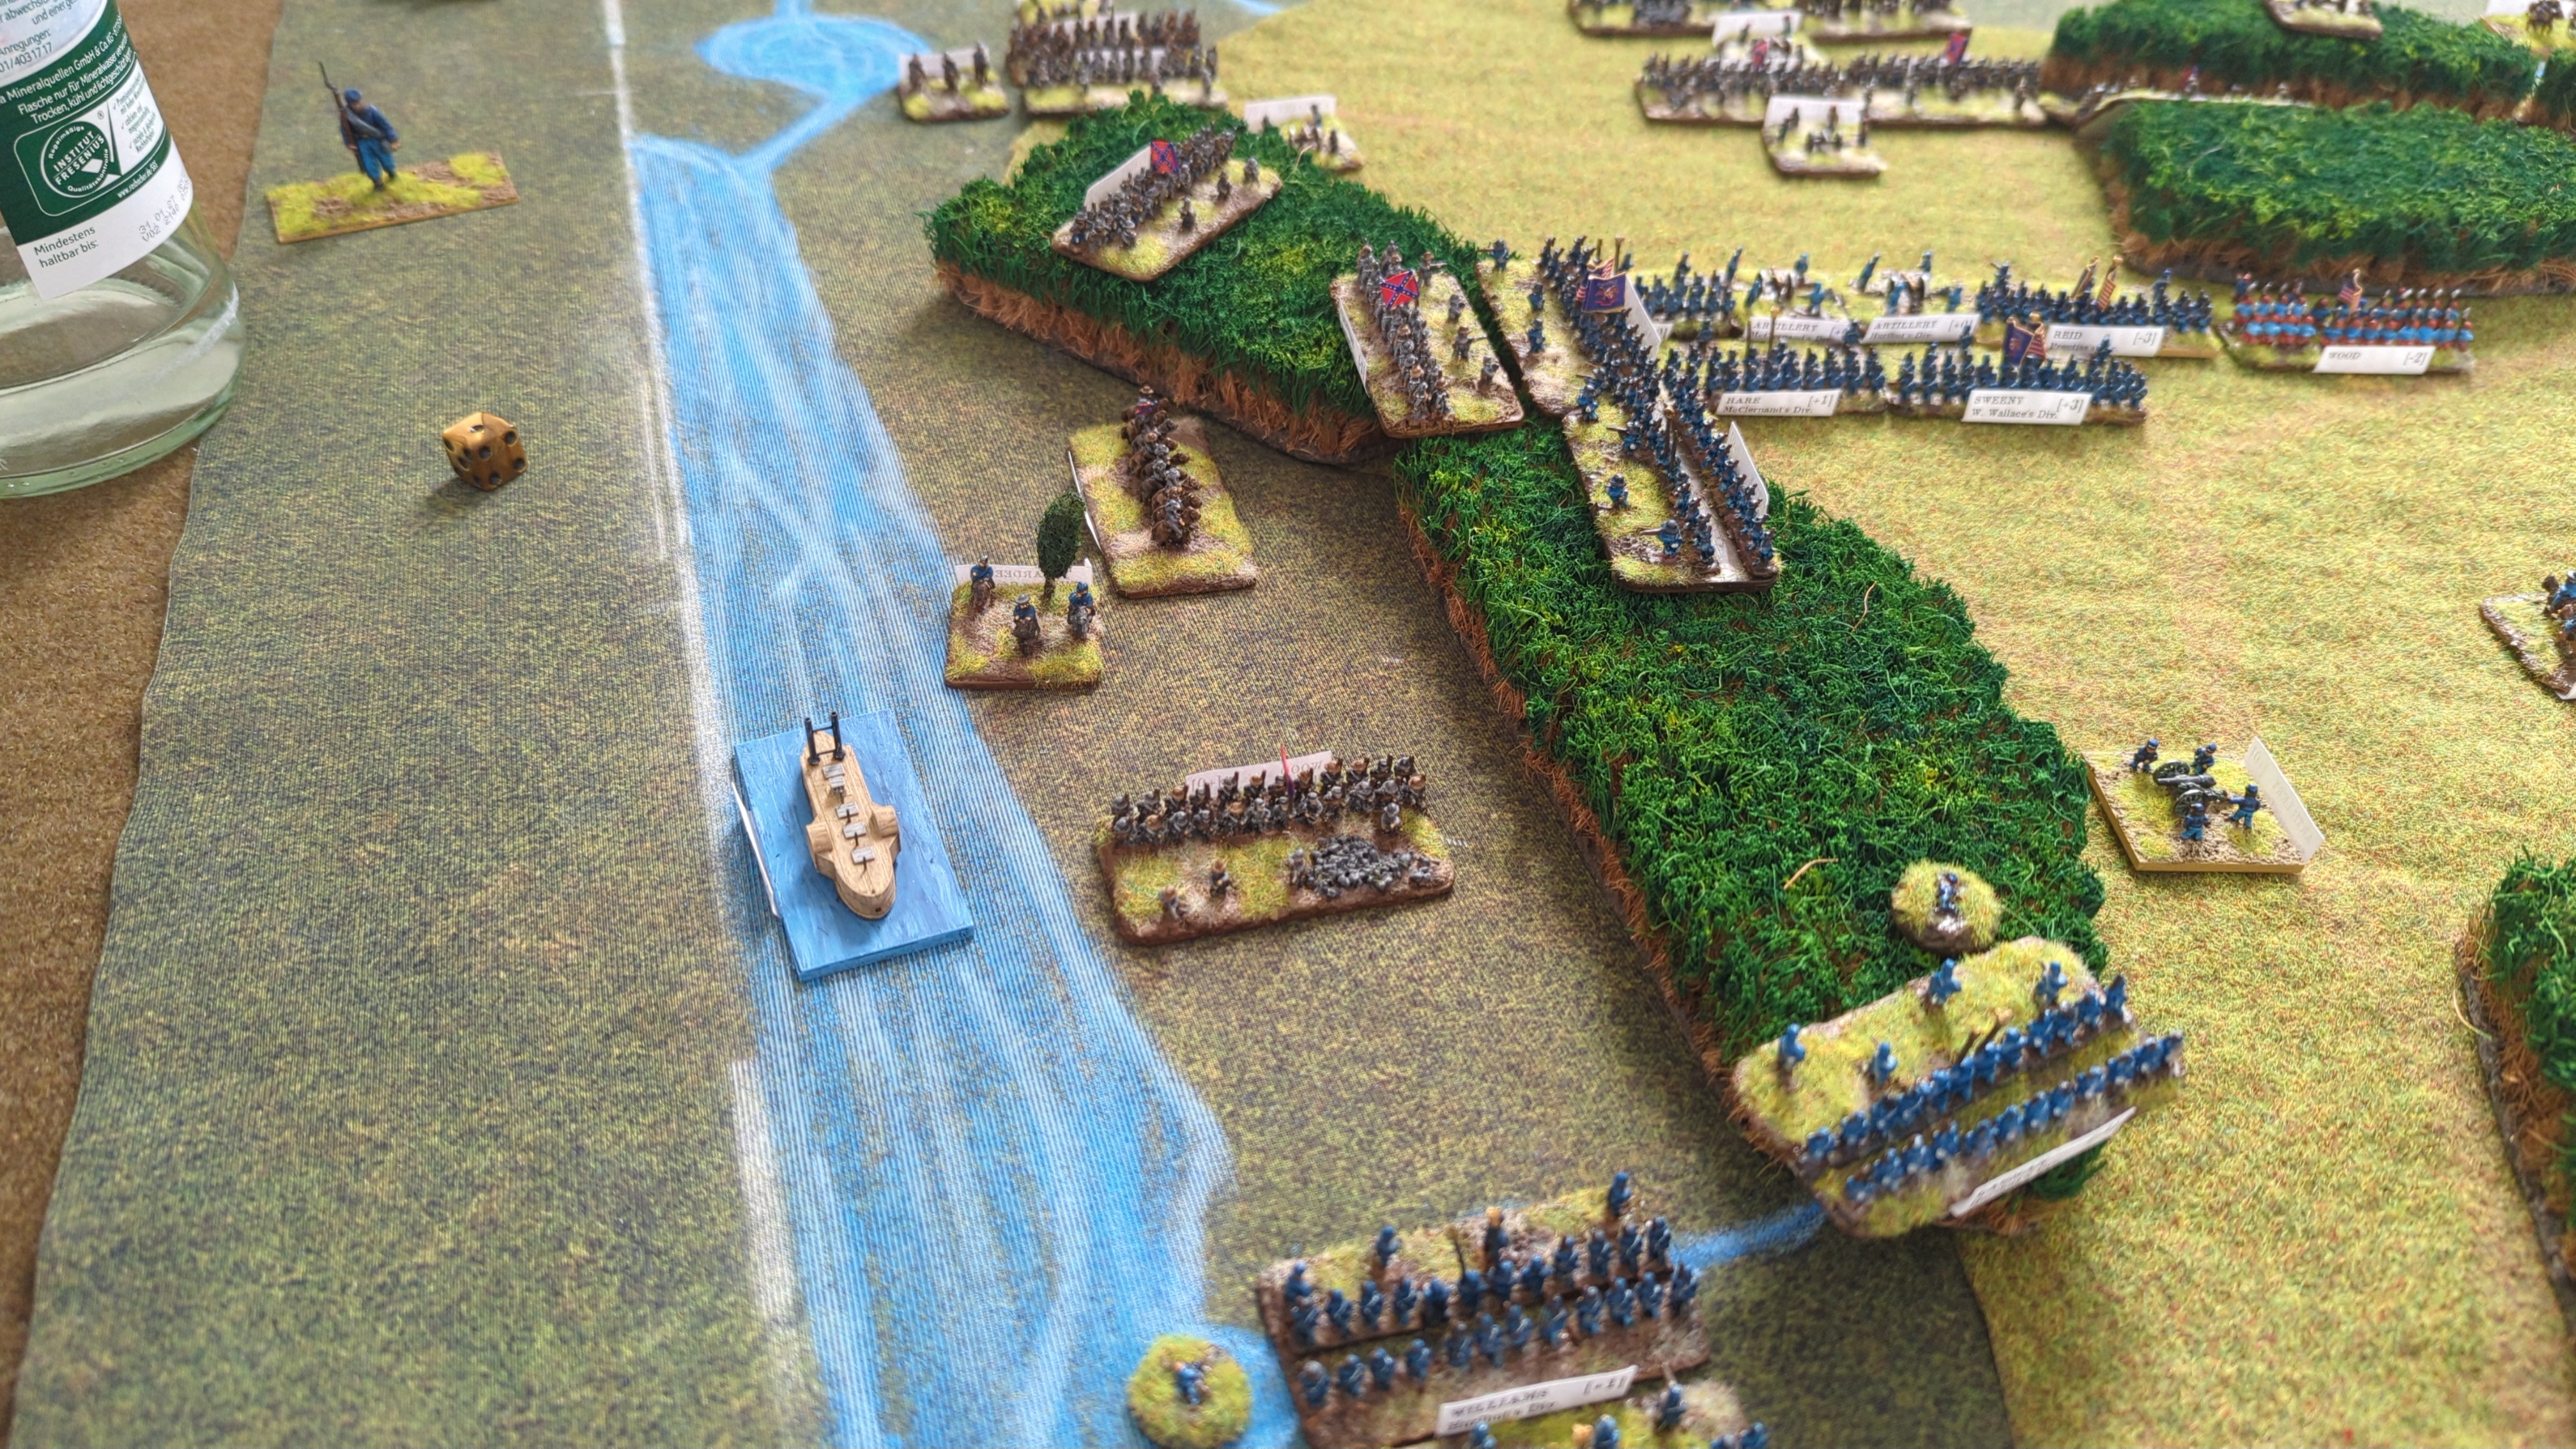
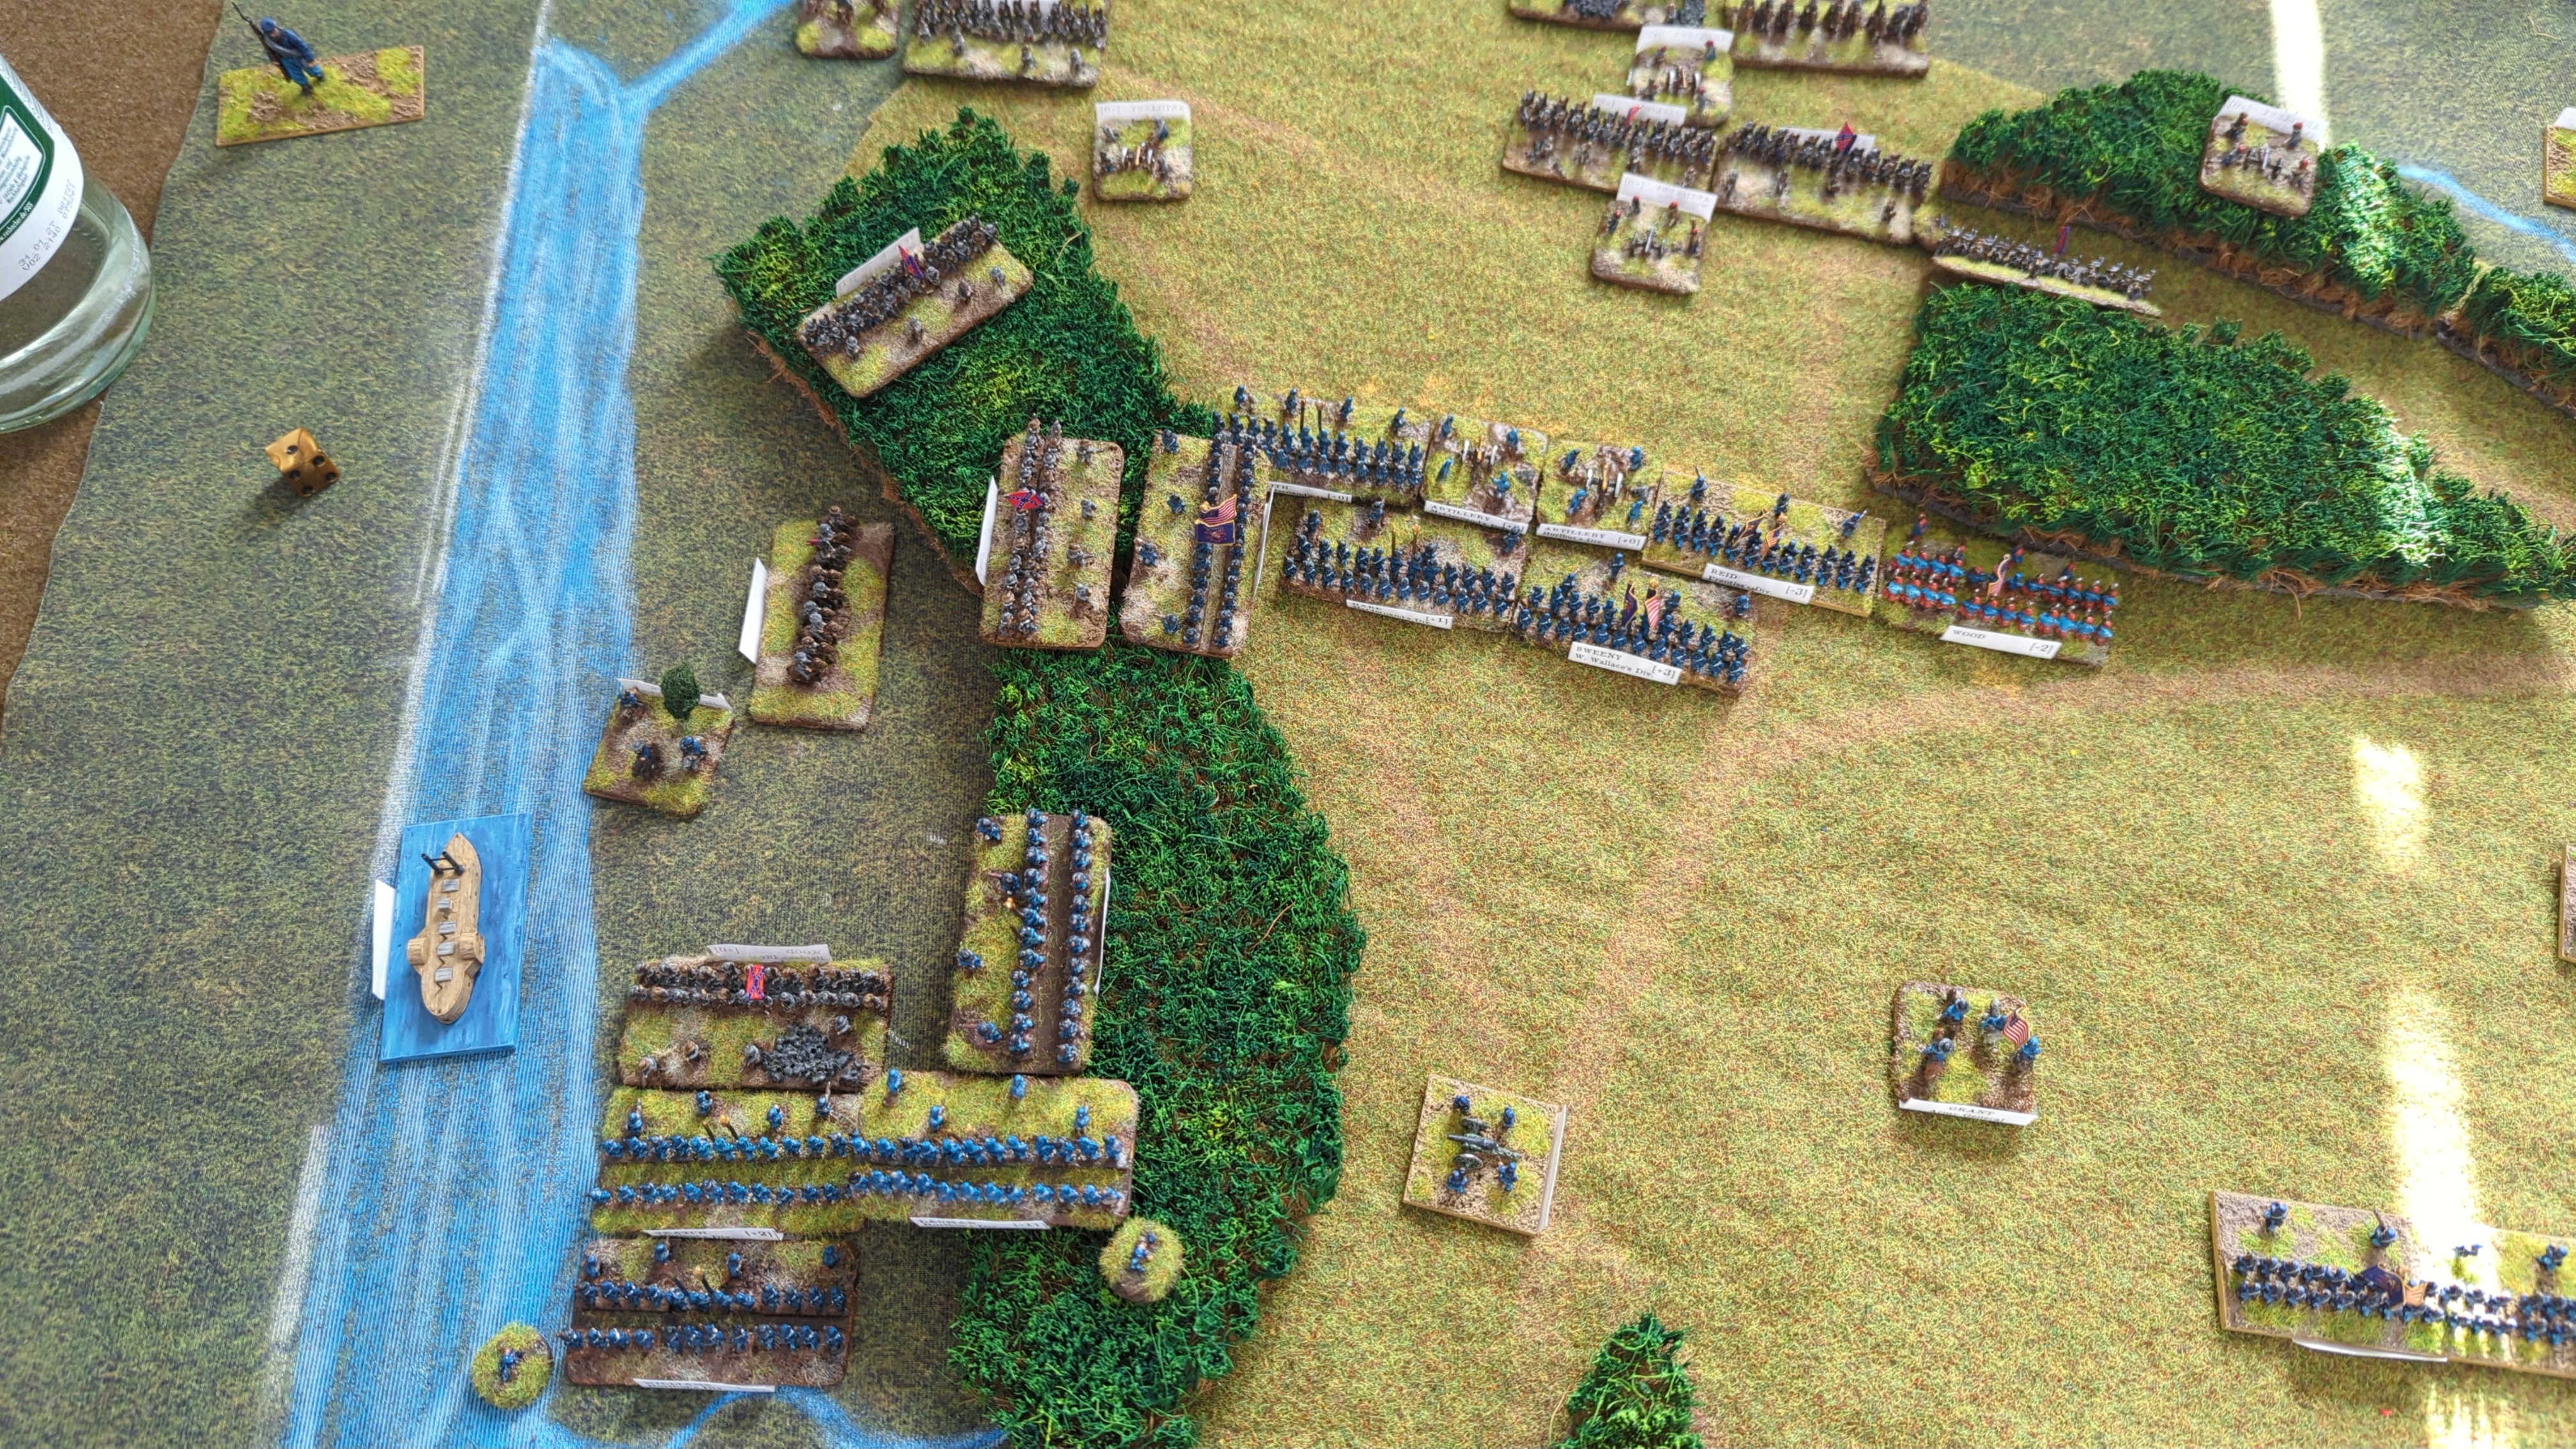
W. Wallace's counter-battery fire silenced the enemy guns and made an infantry column recoil.
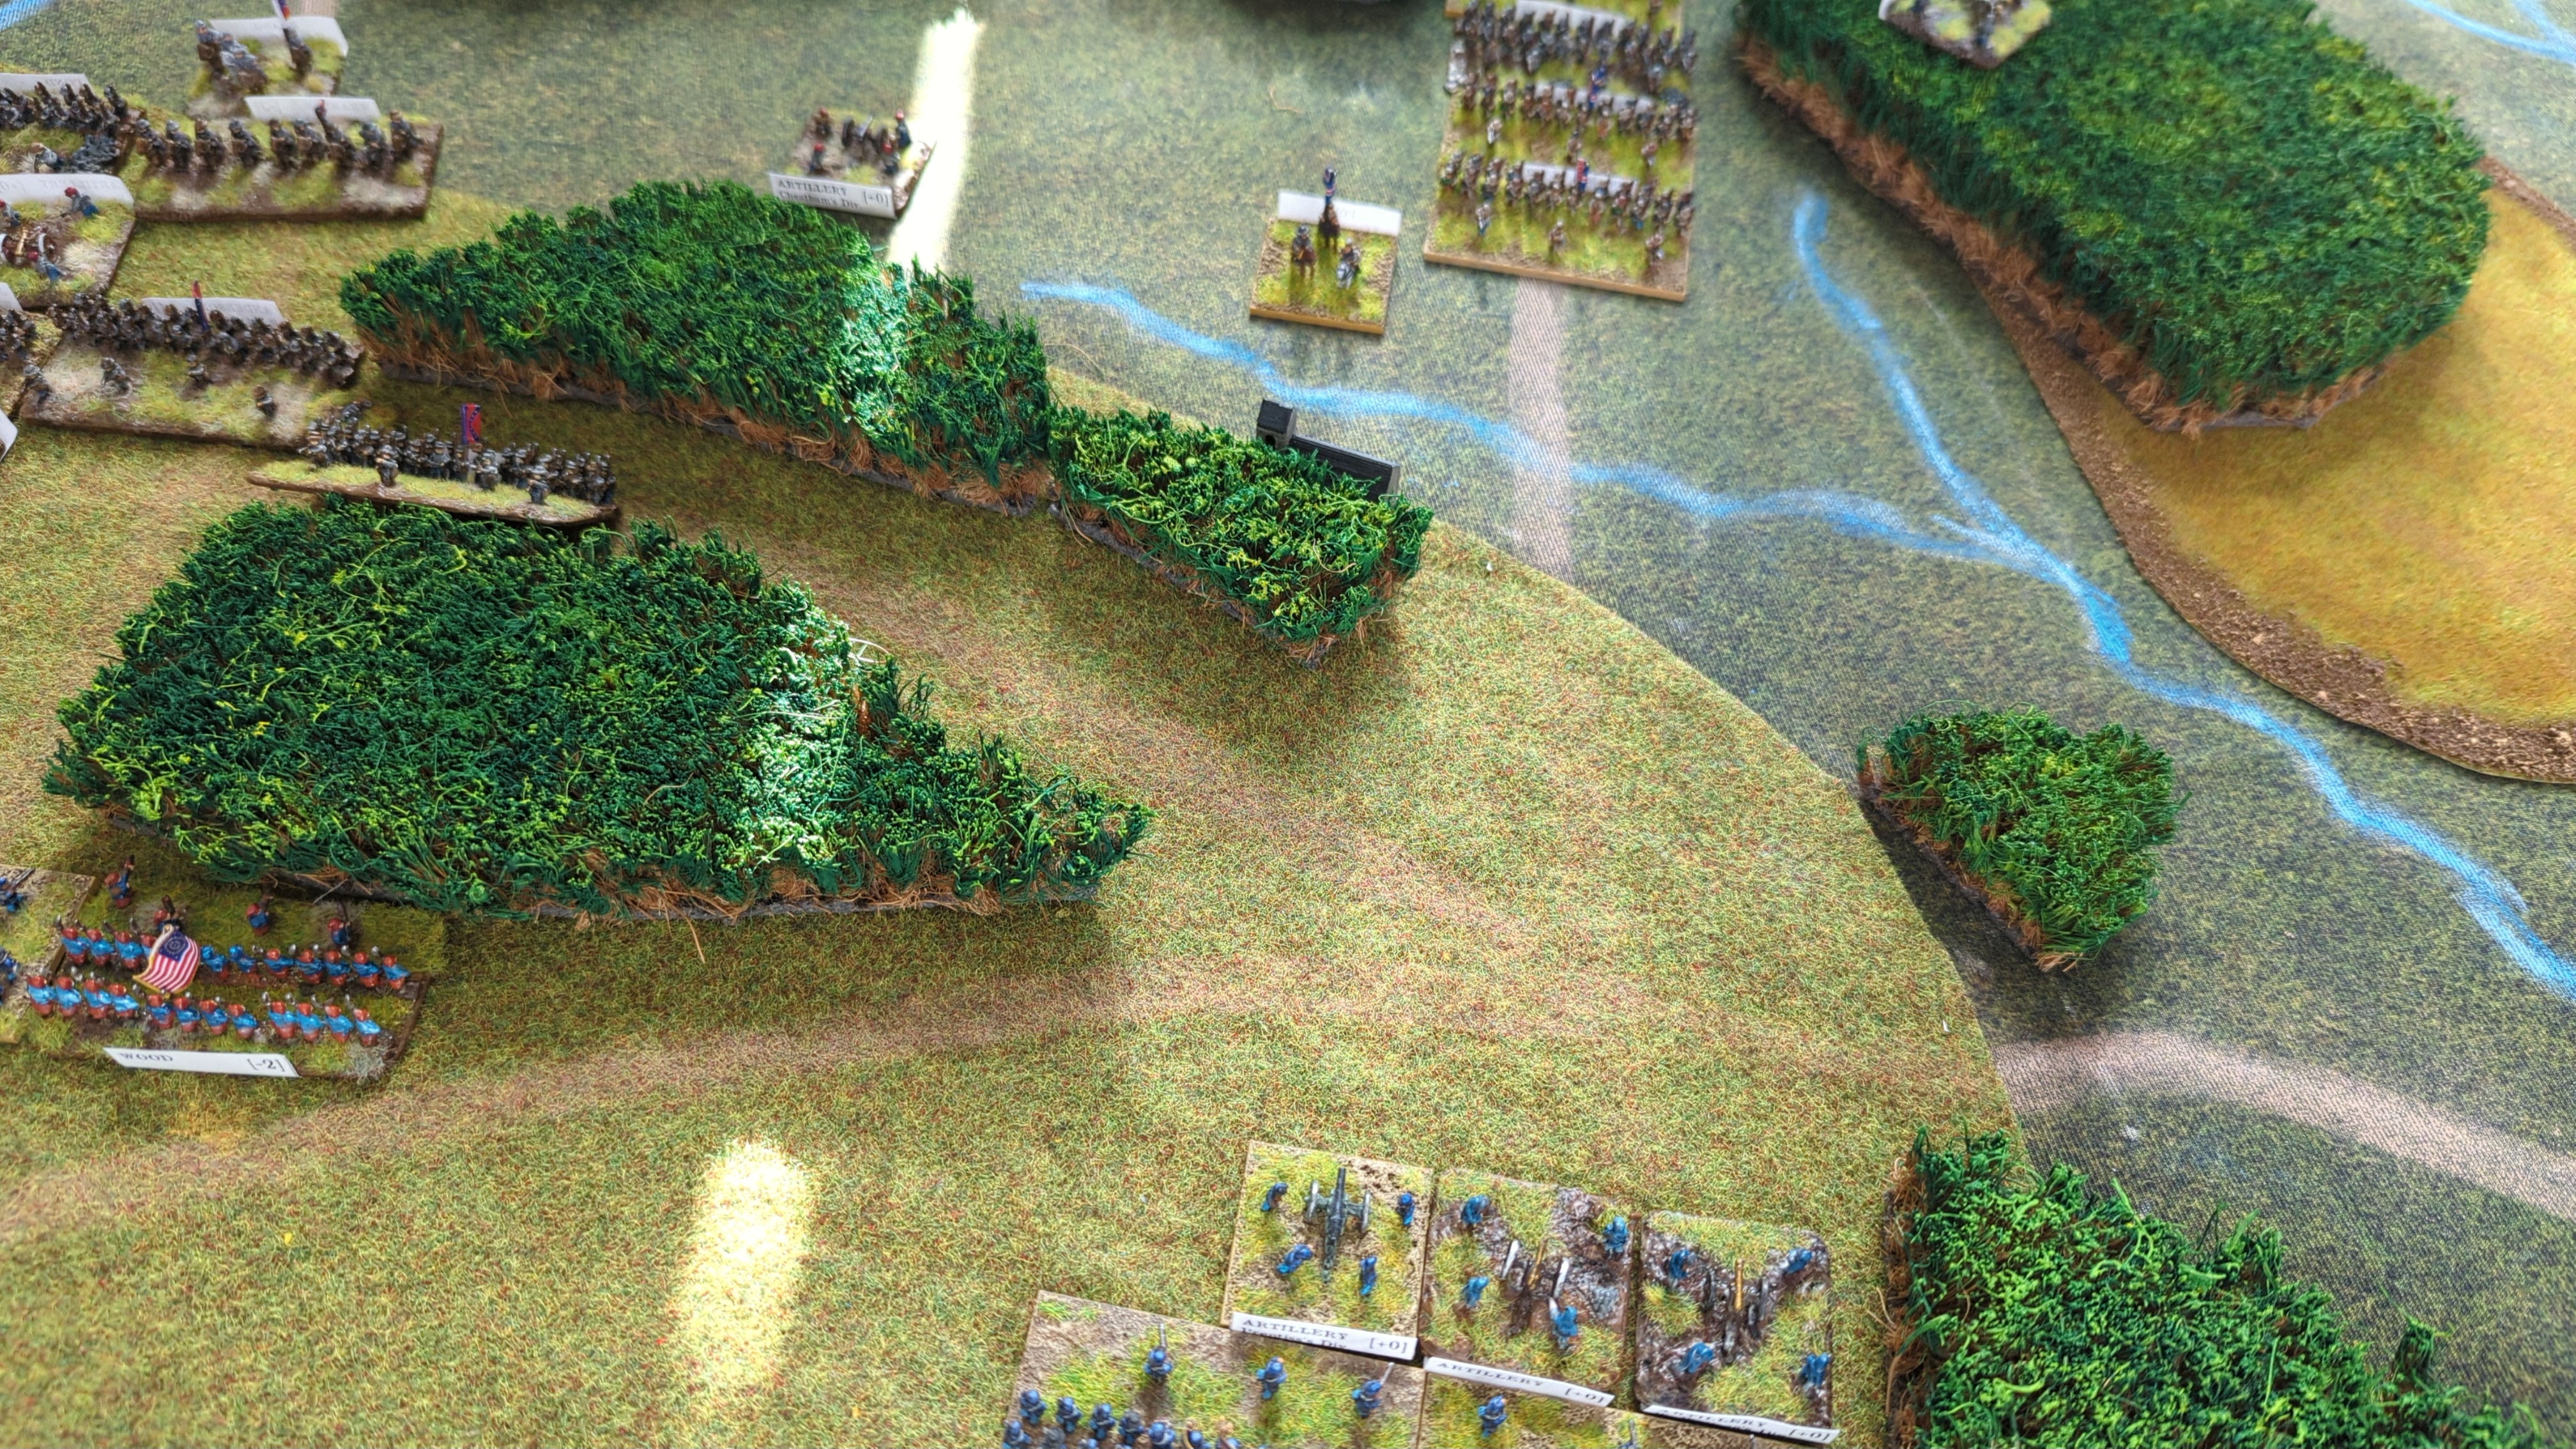
In the wood, the Confederates missed. The Union caused two recoils.
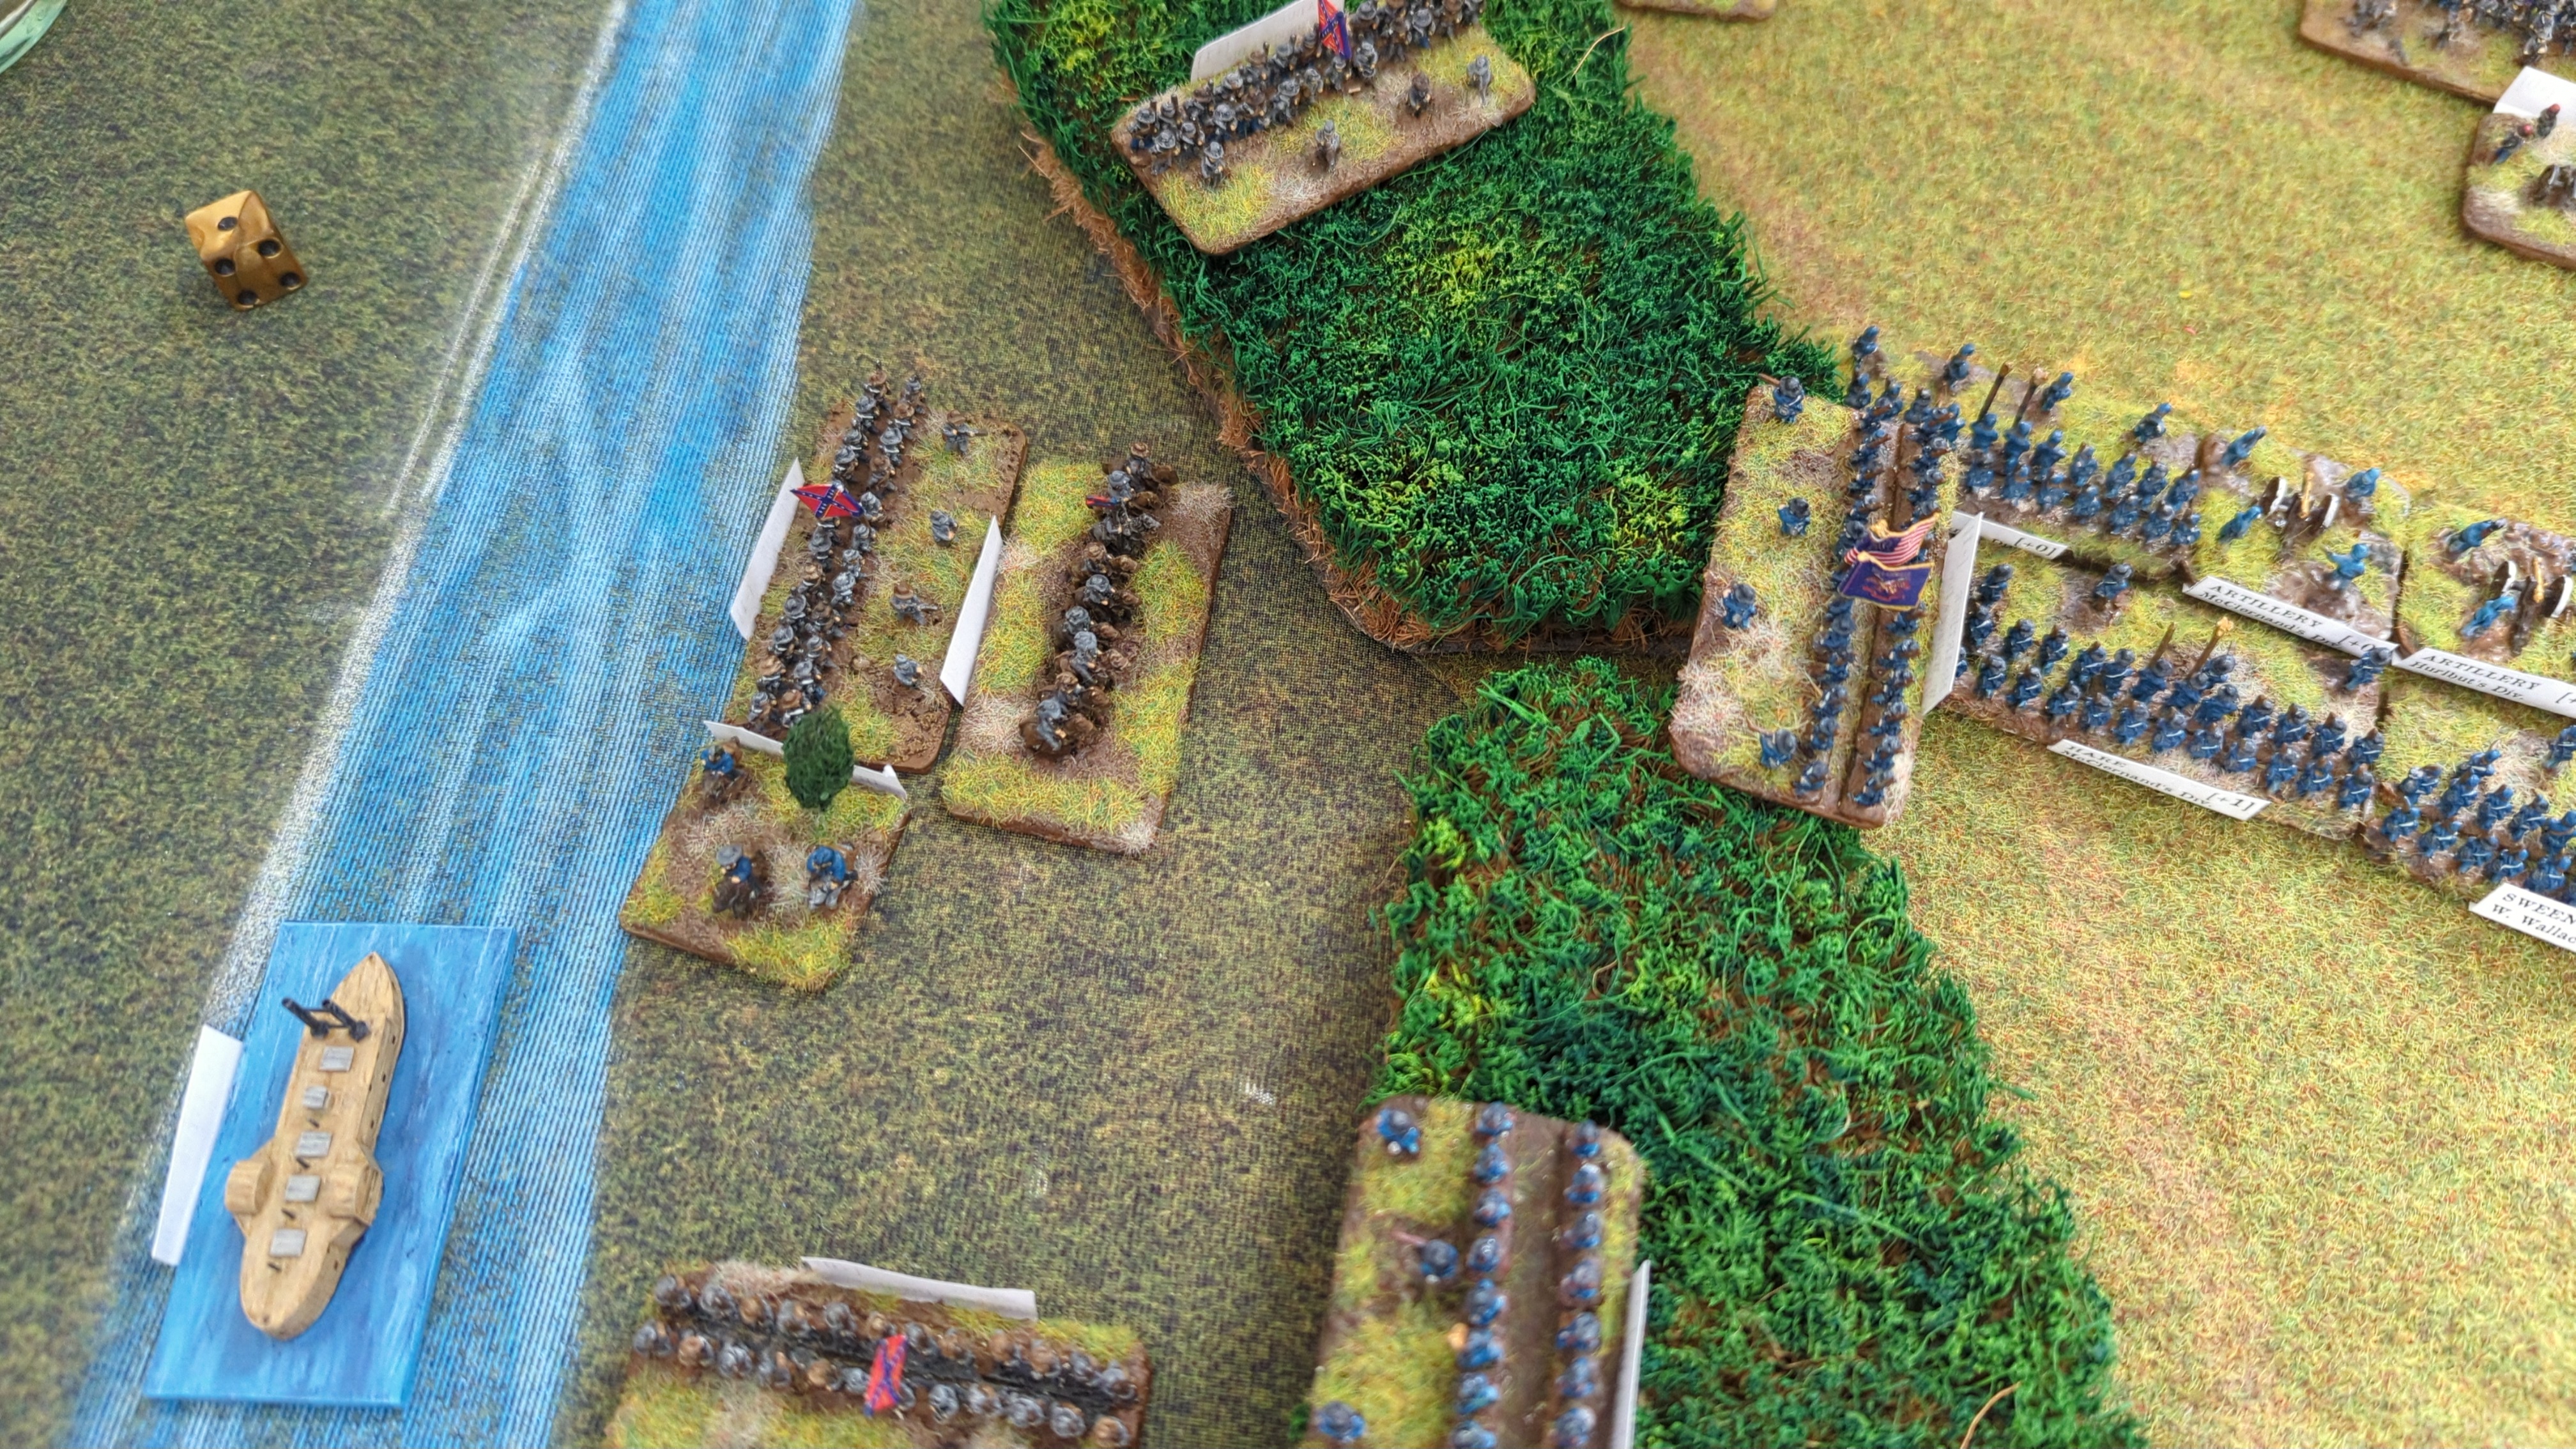
10 vs 1: the unit was broken.
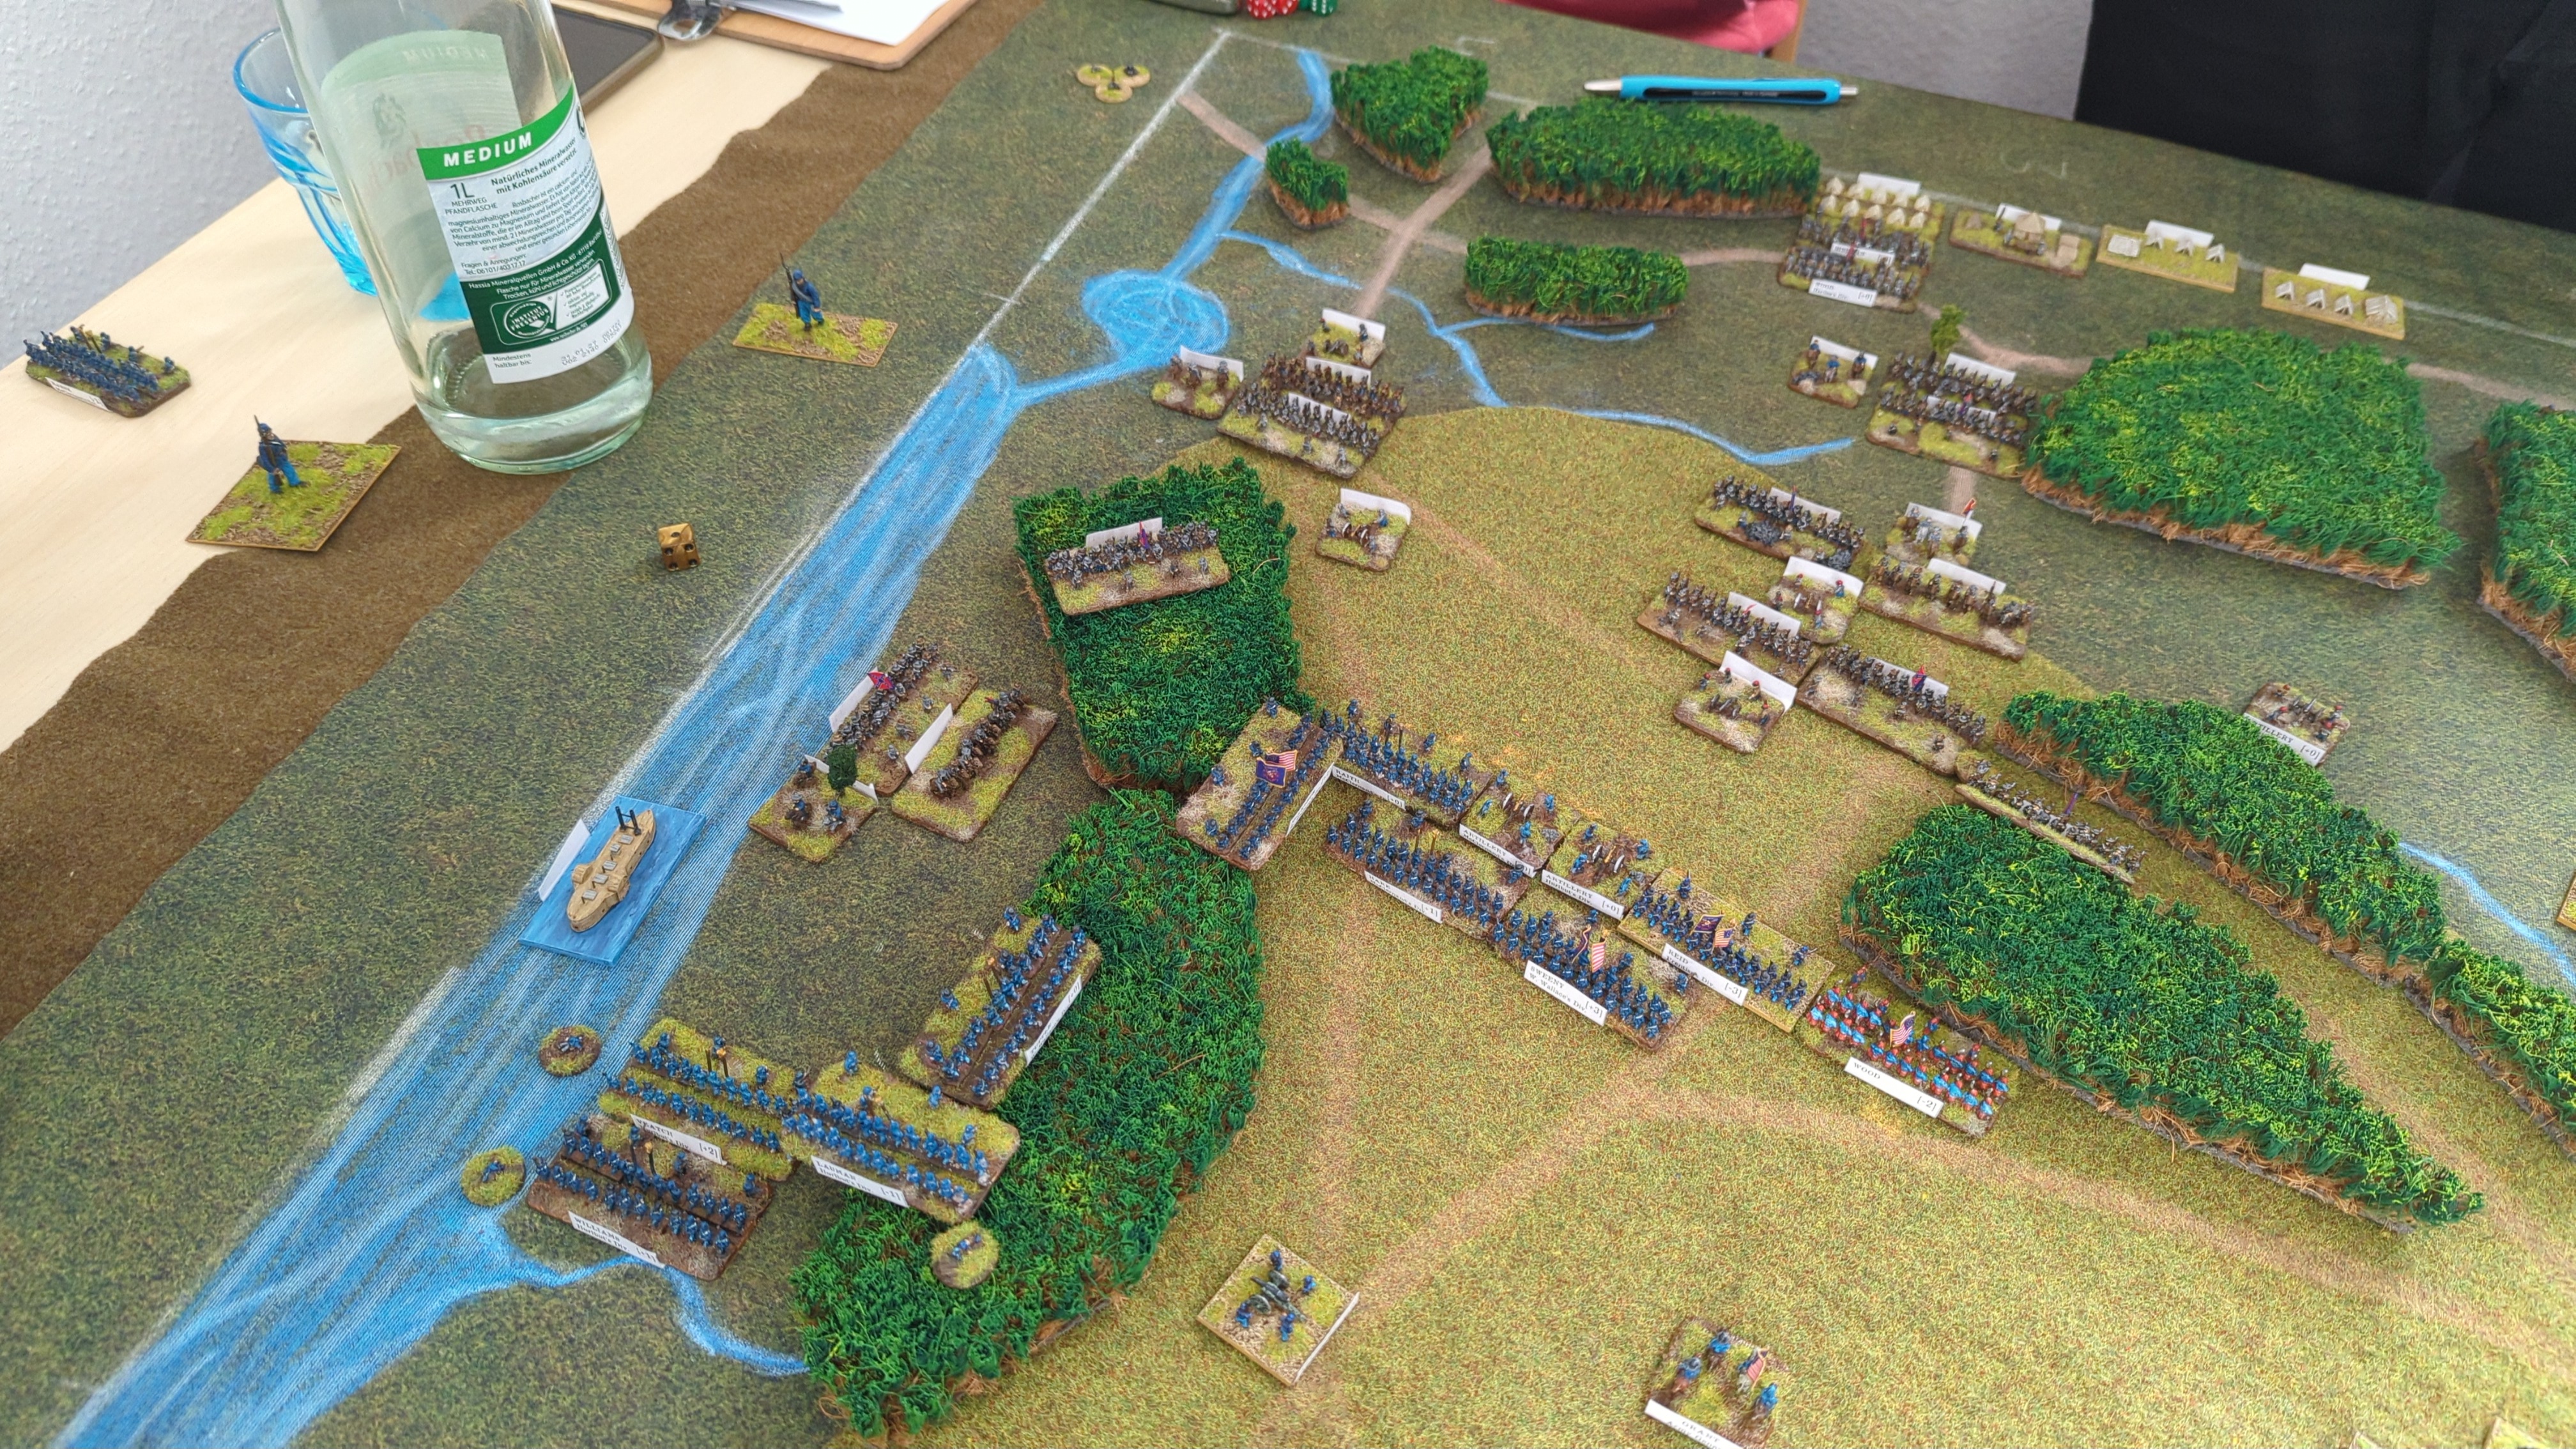
Rolled 5 and 3: 9.
Bid 4
The Confederates attacked; interrupt fire caused one recoil.
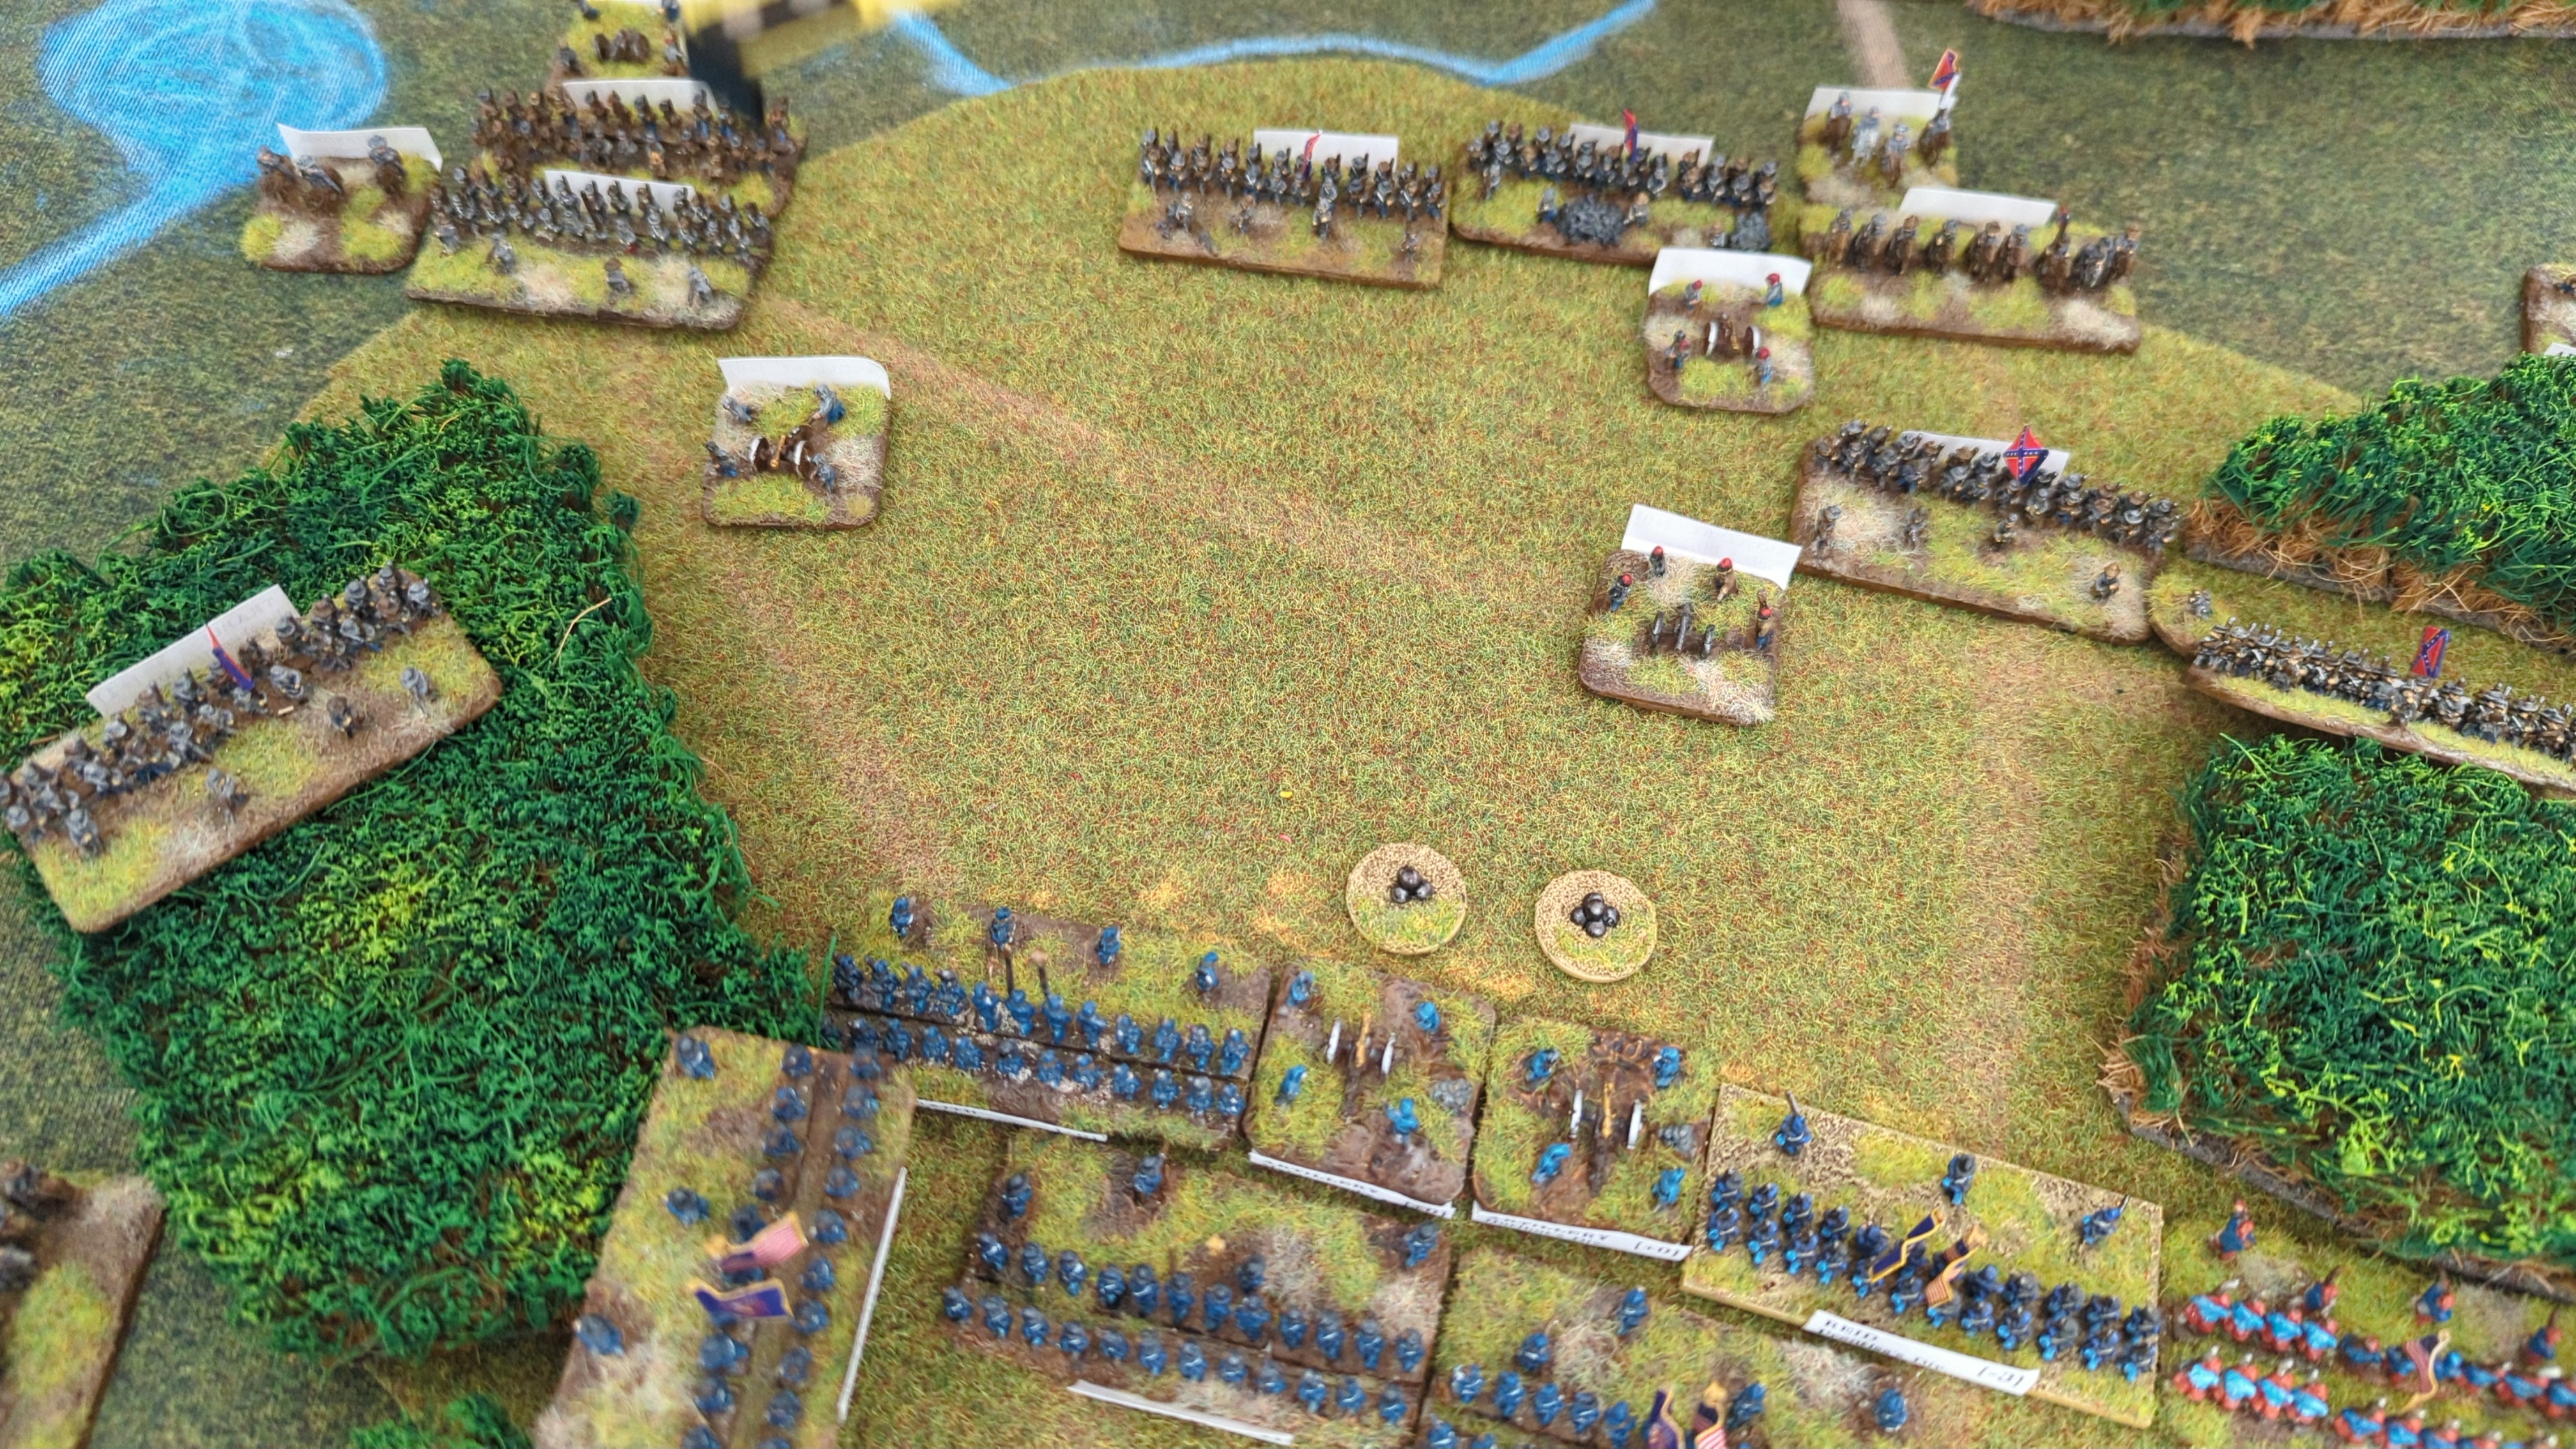
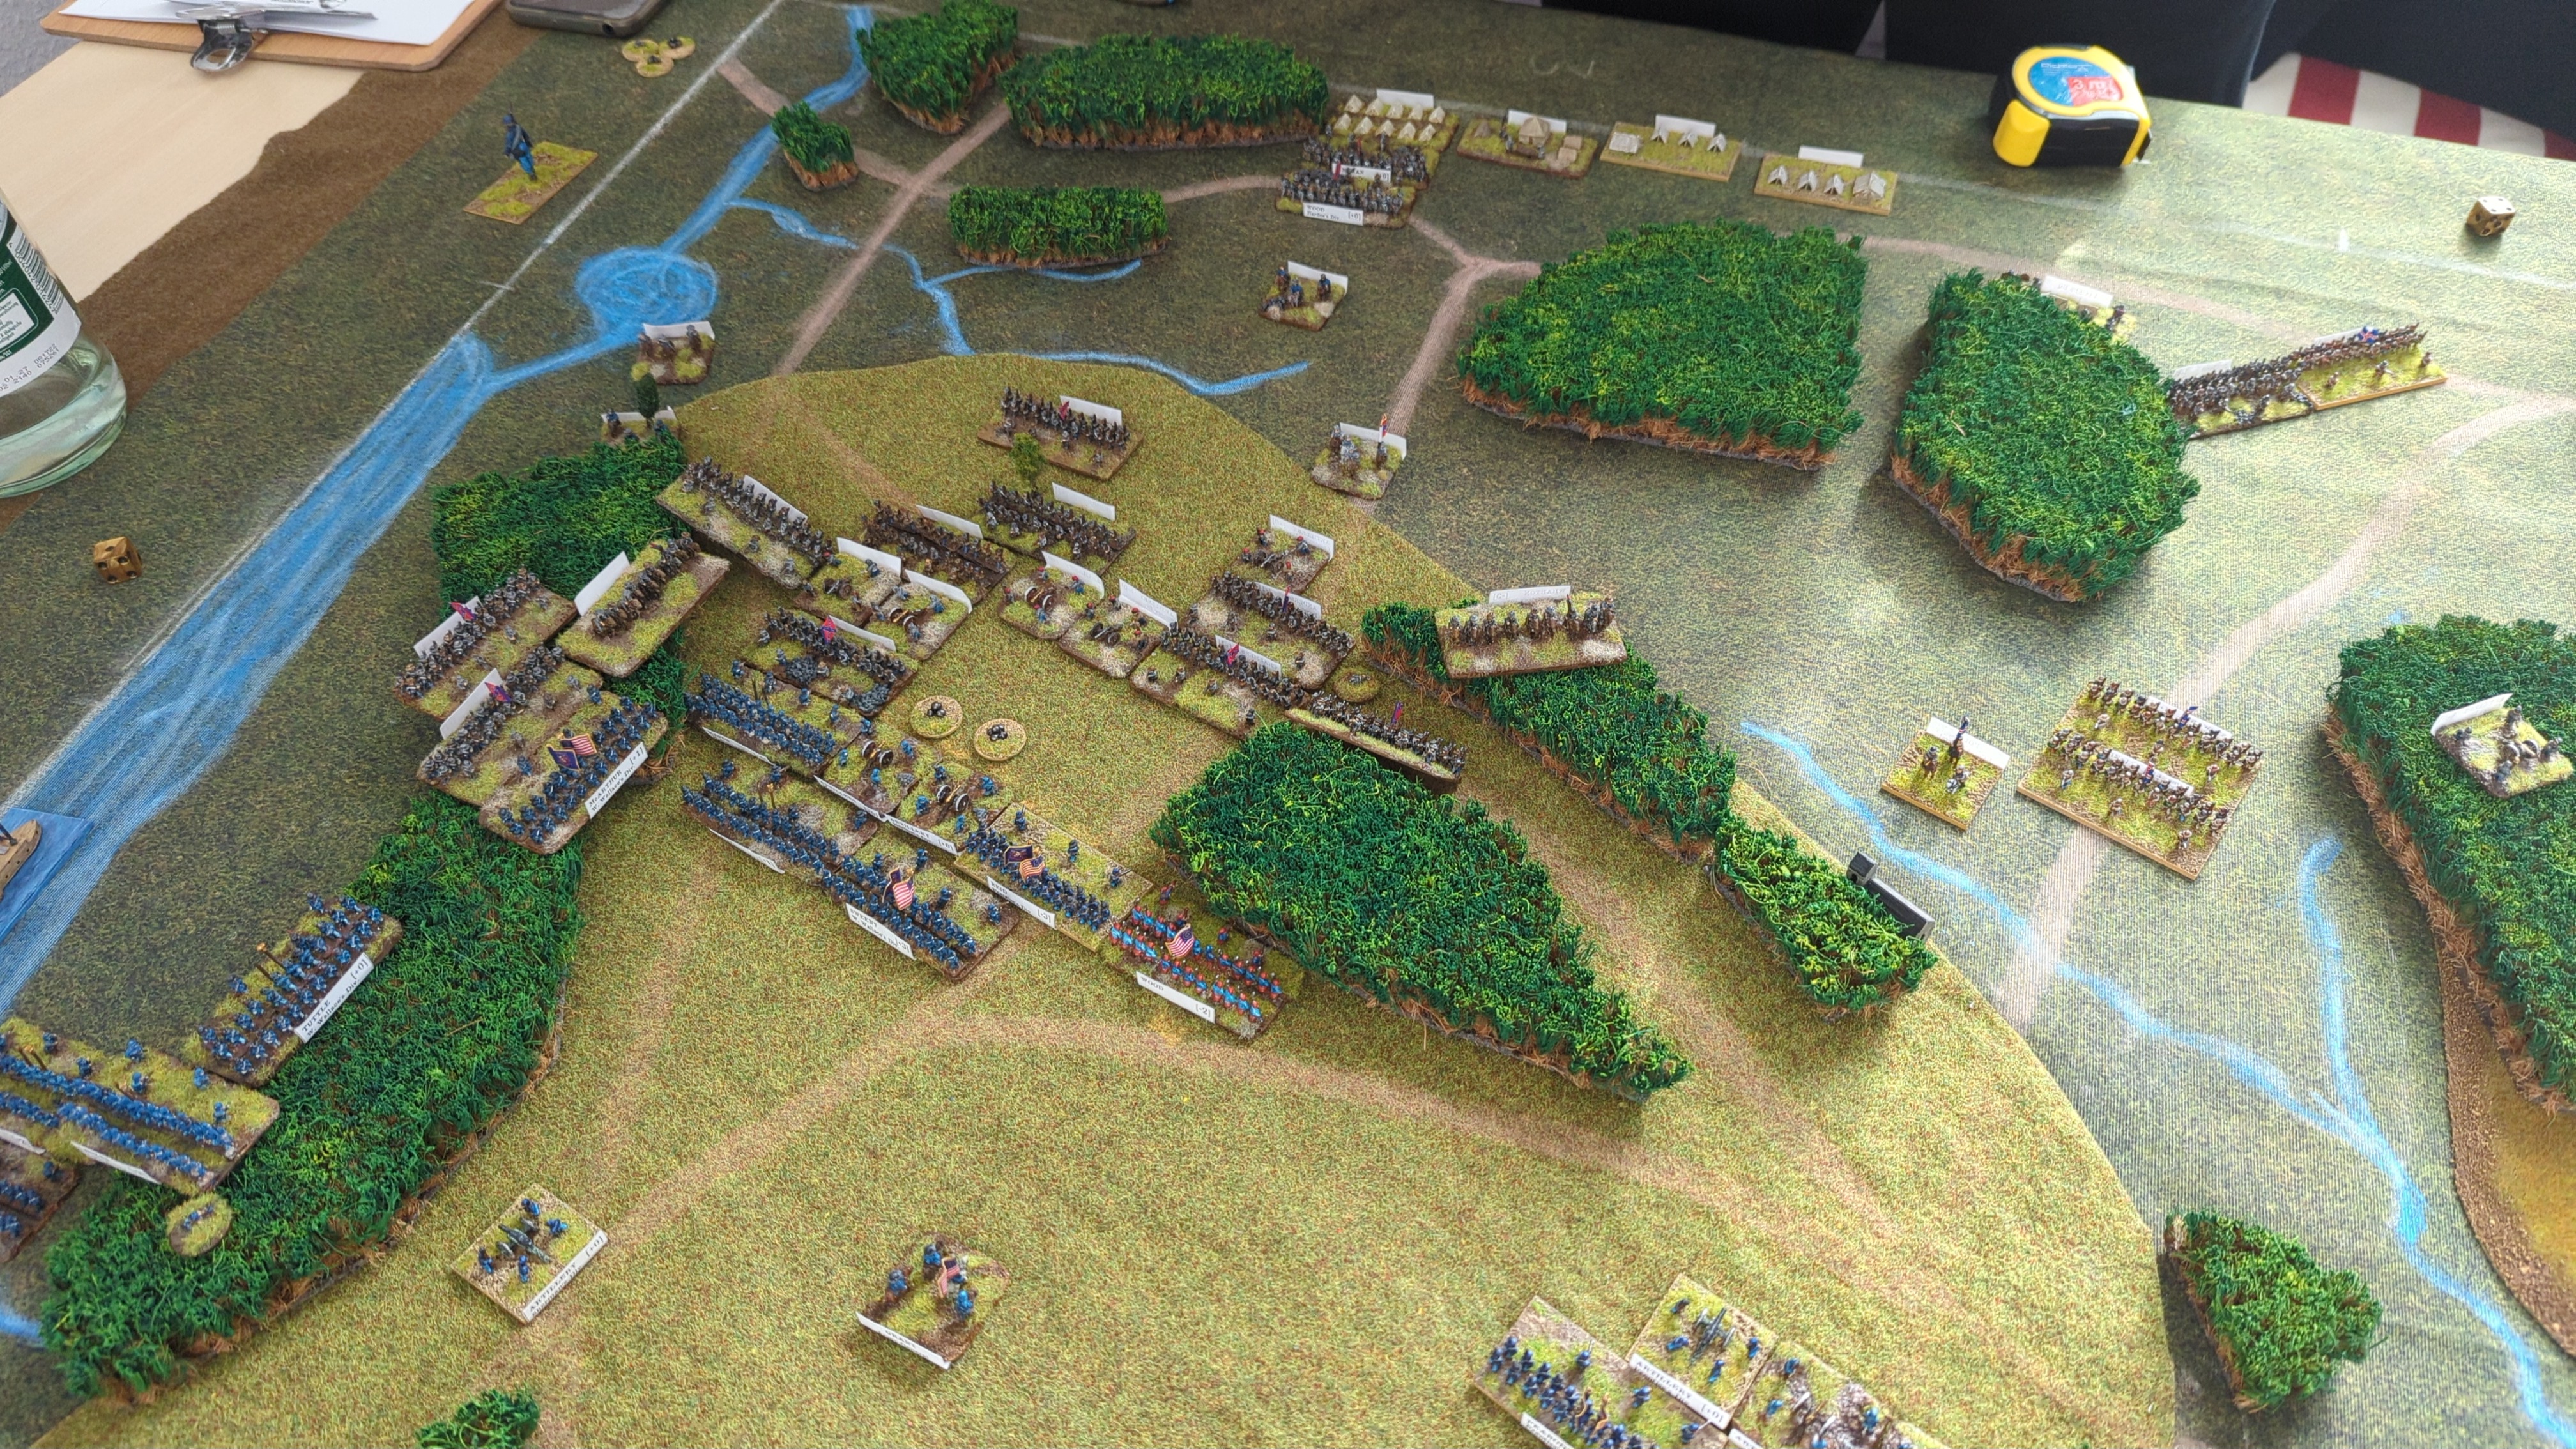
The counter-battery fire was successful.
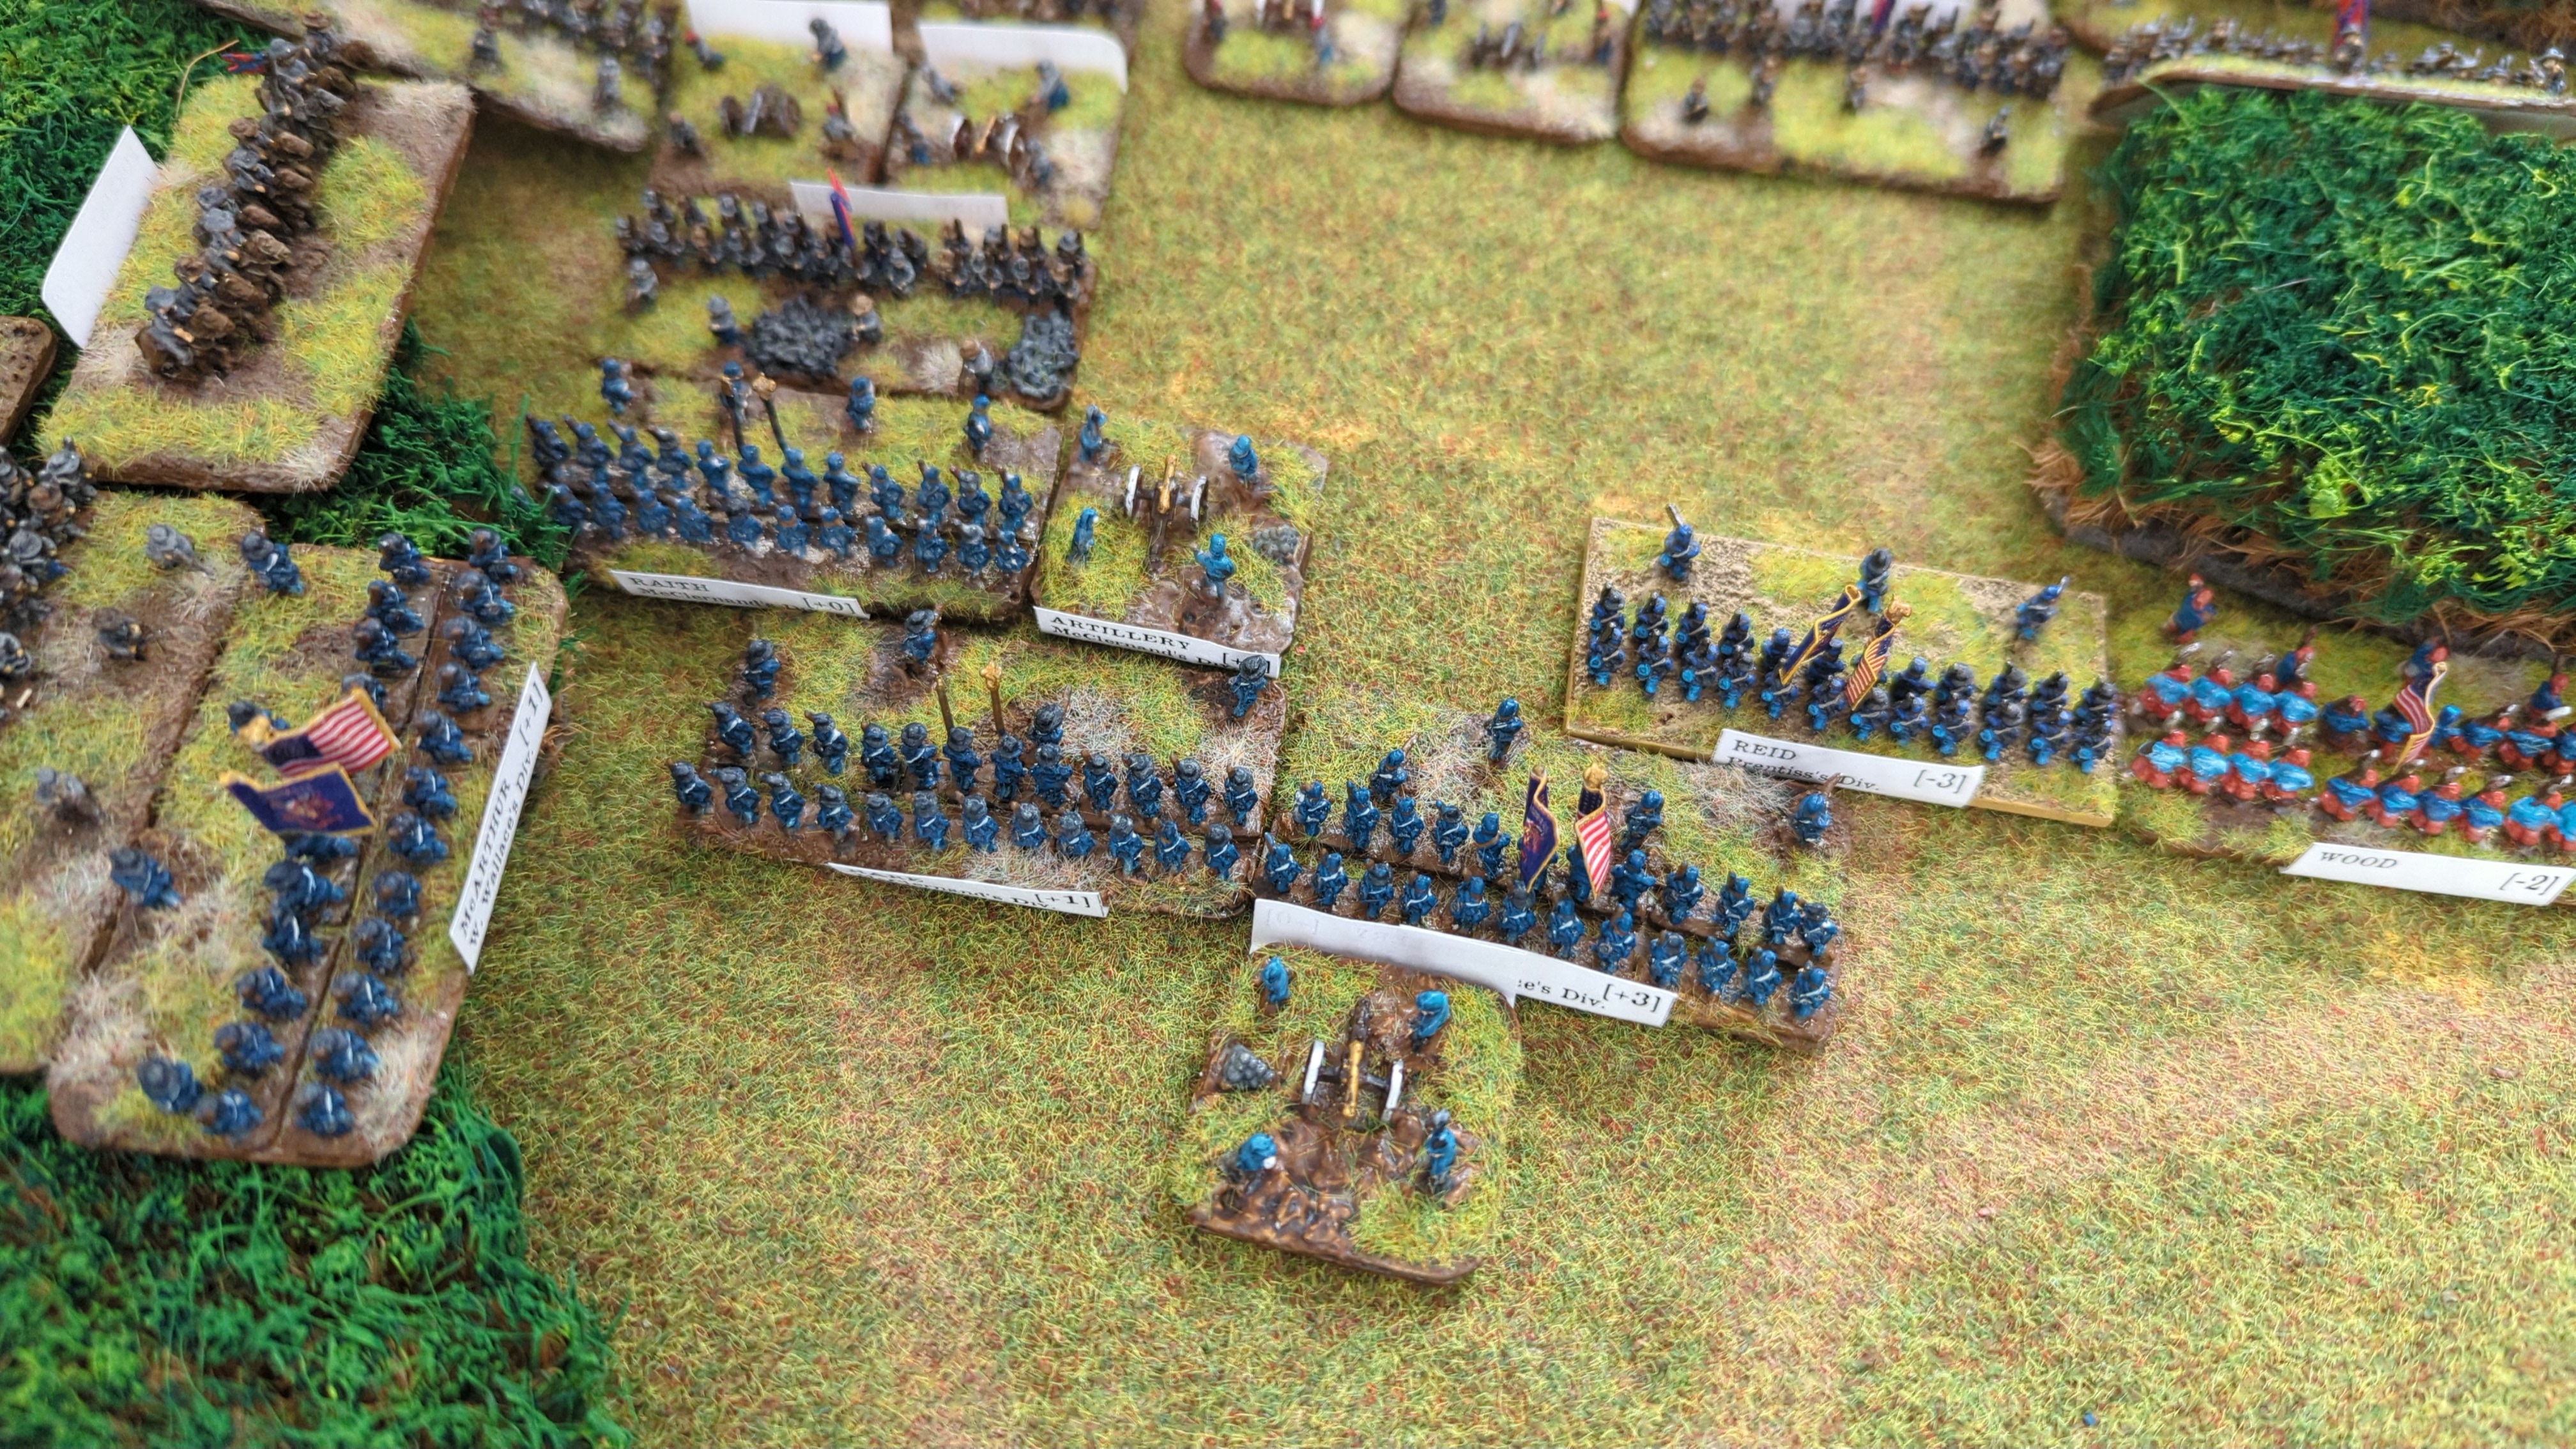
9 vs 7.
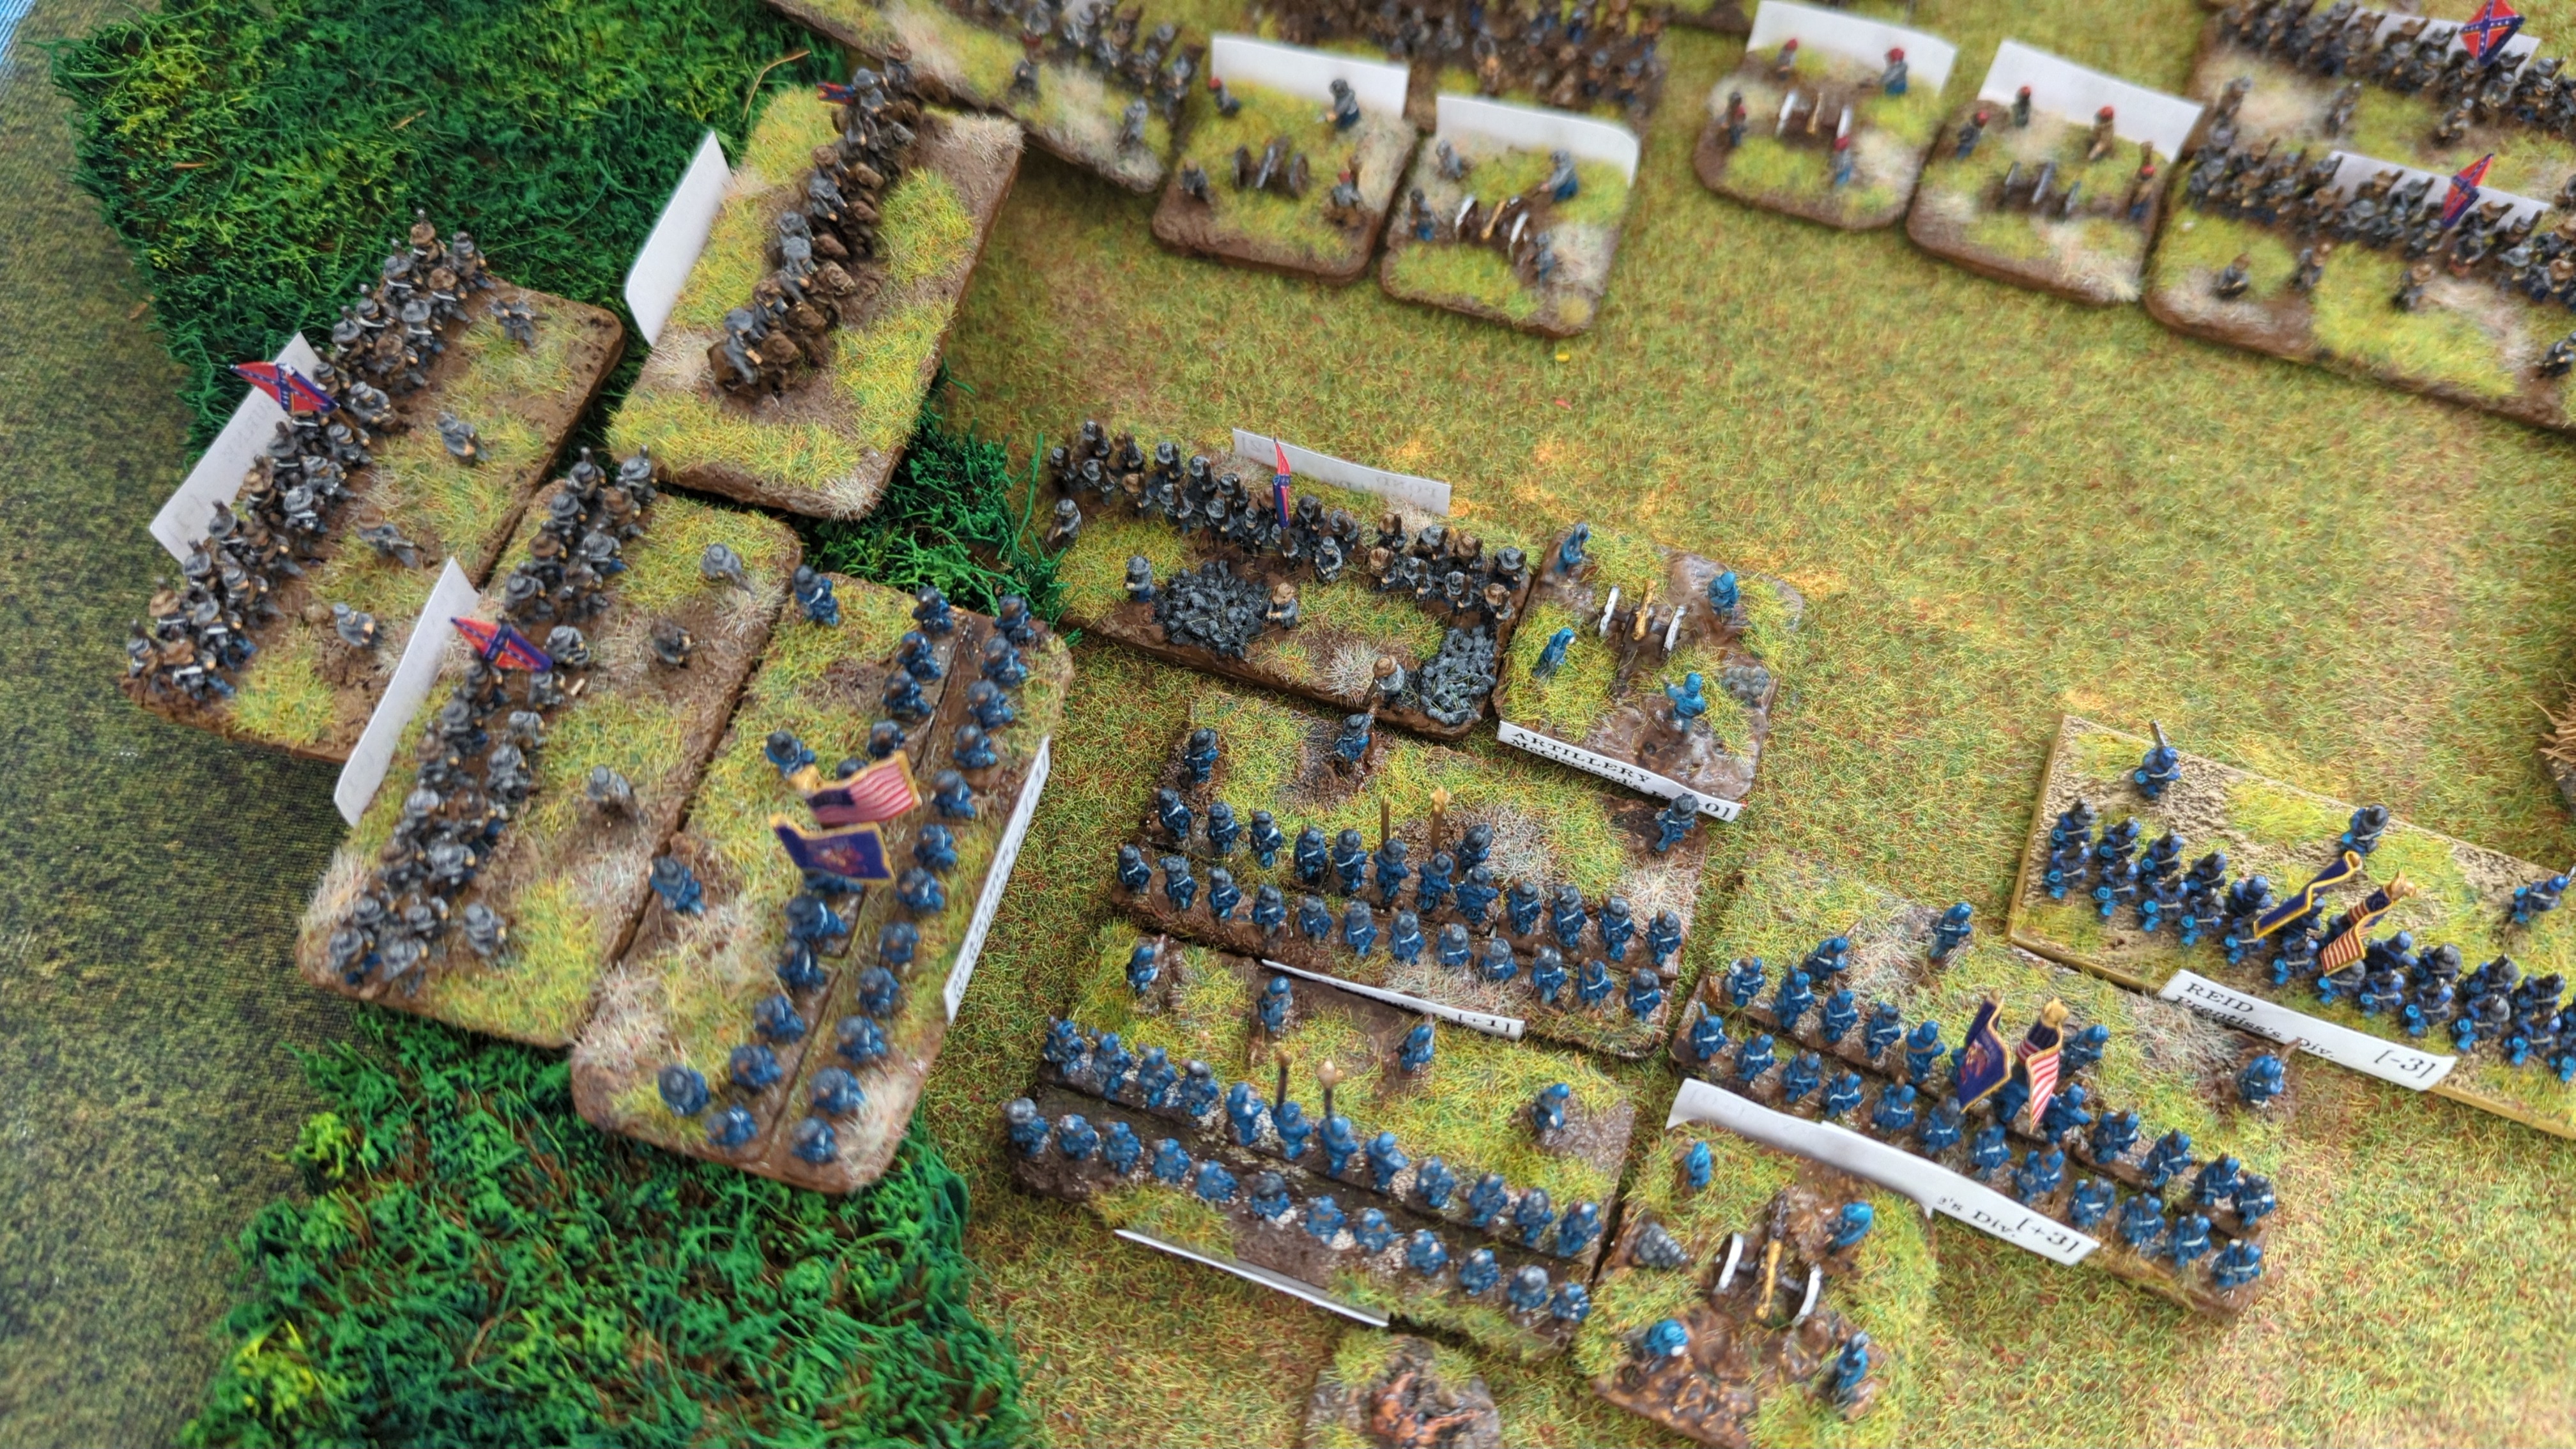
5 vs 4.
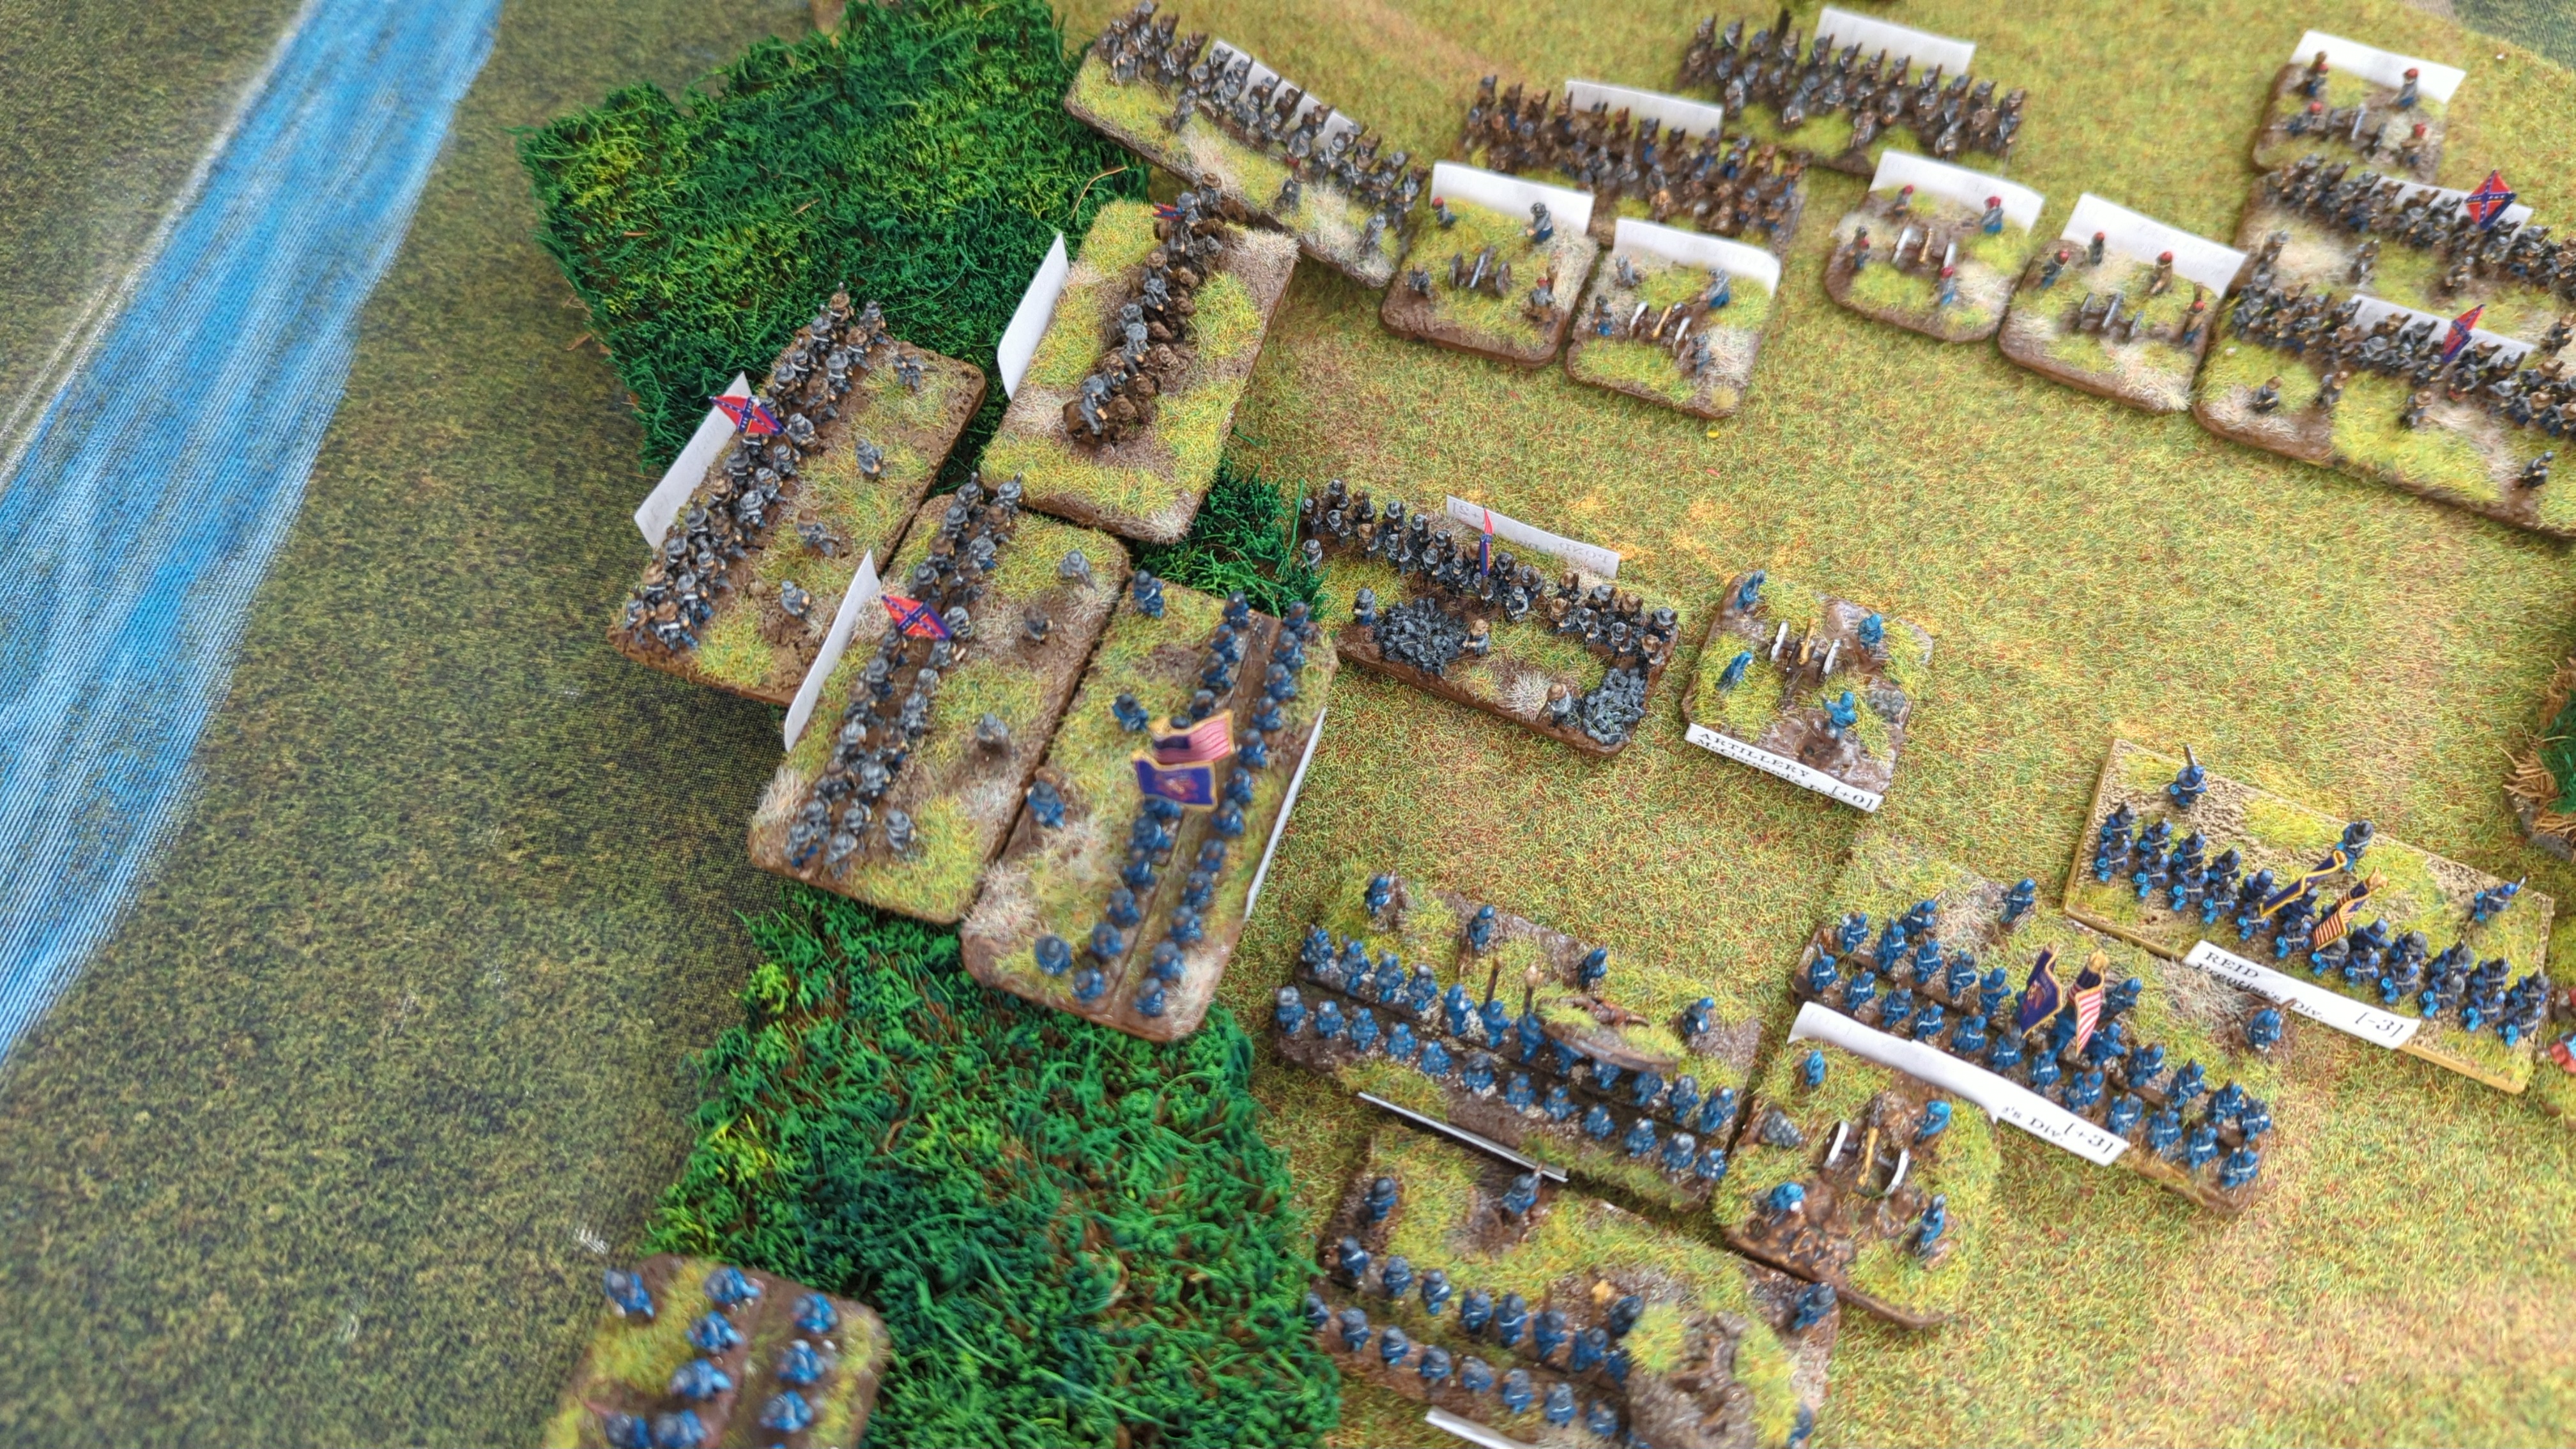
McArthur fought Trabue.
7 vs 6.
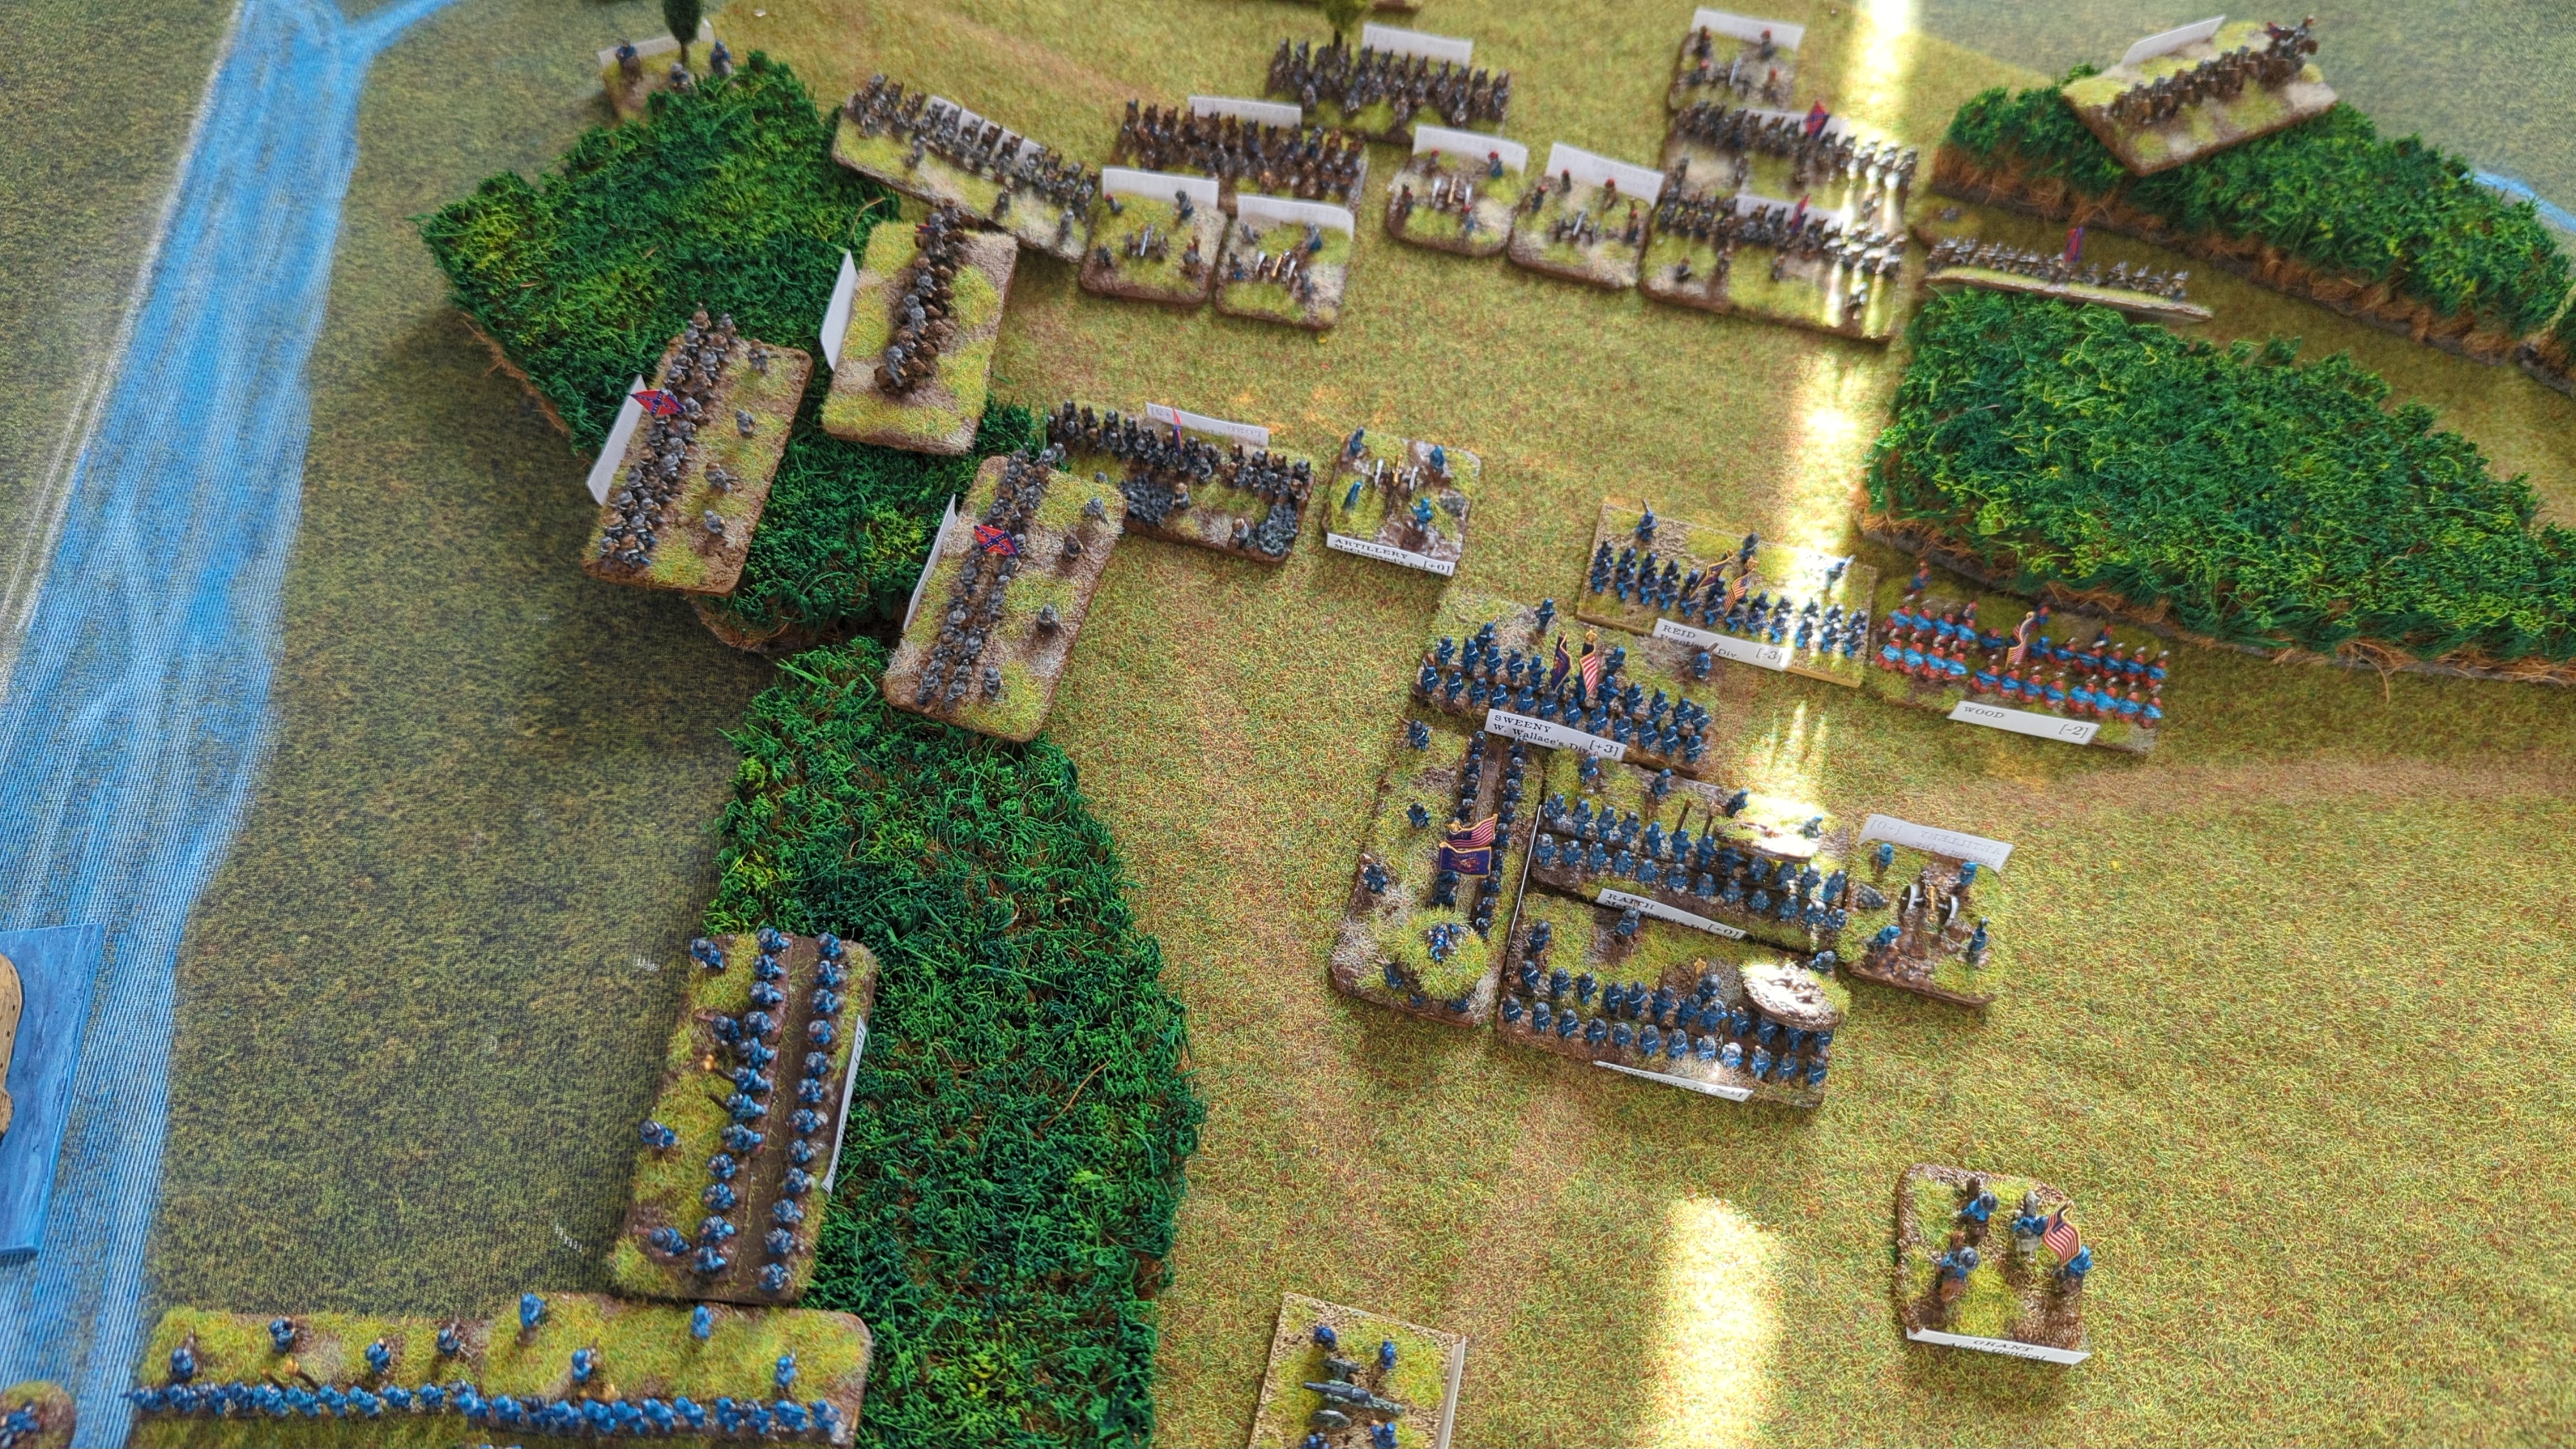
Rolled 5 and 3: 4.
Bid 3
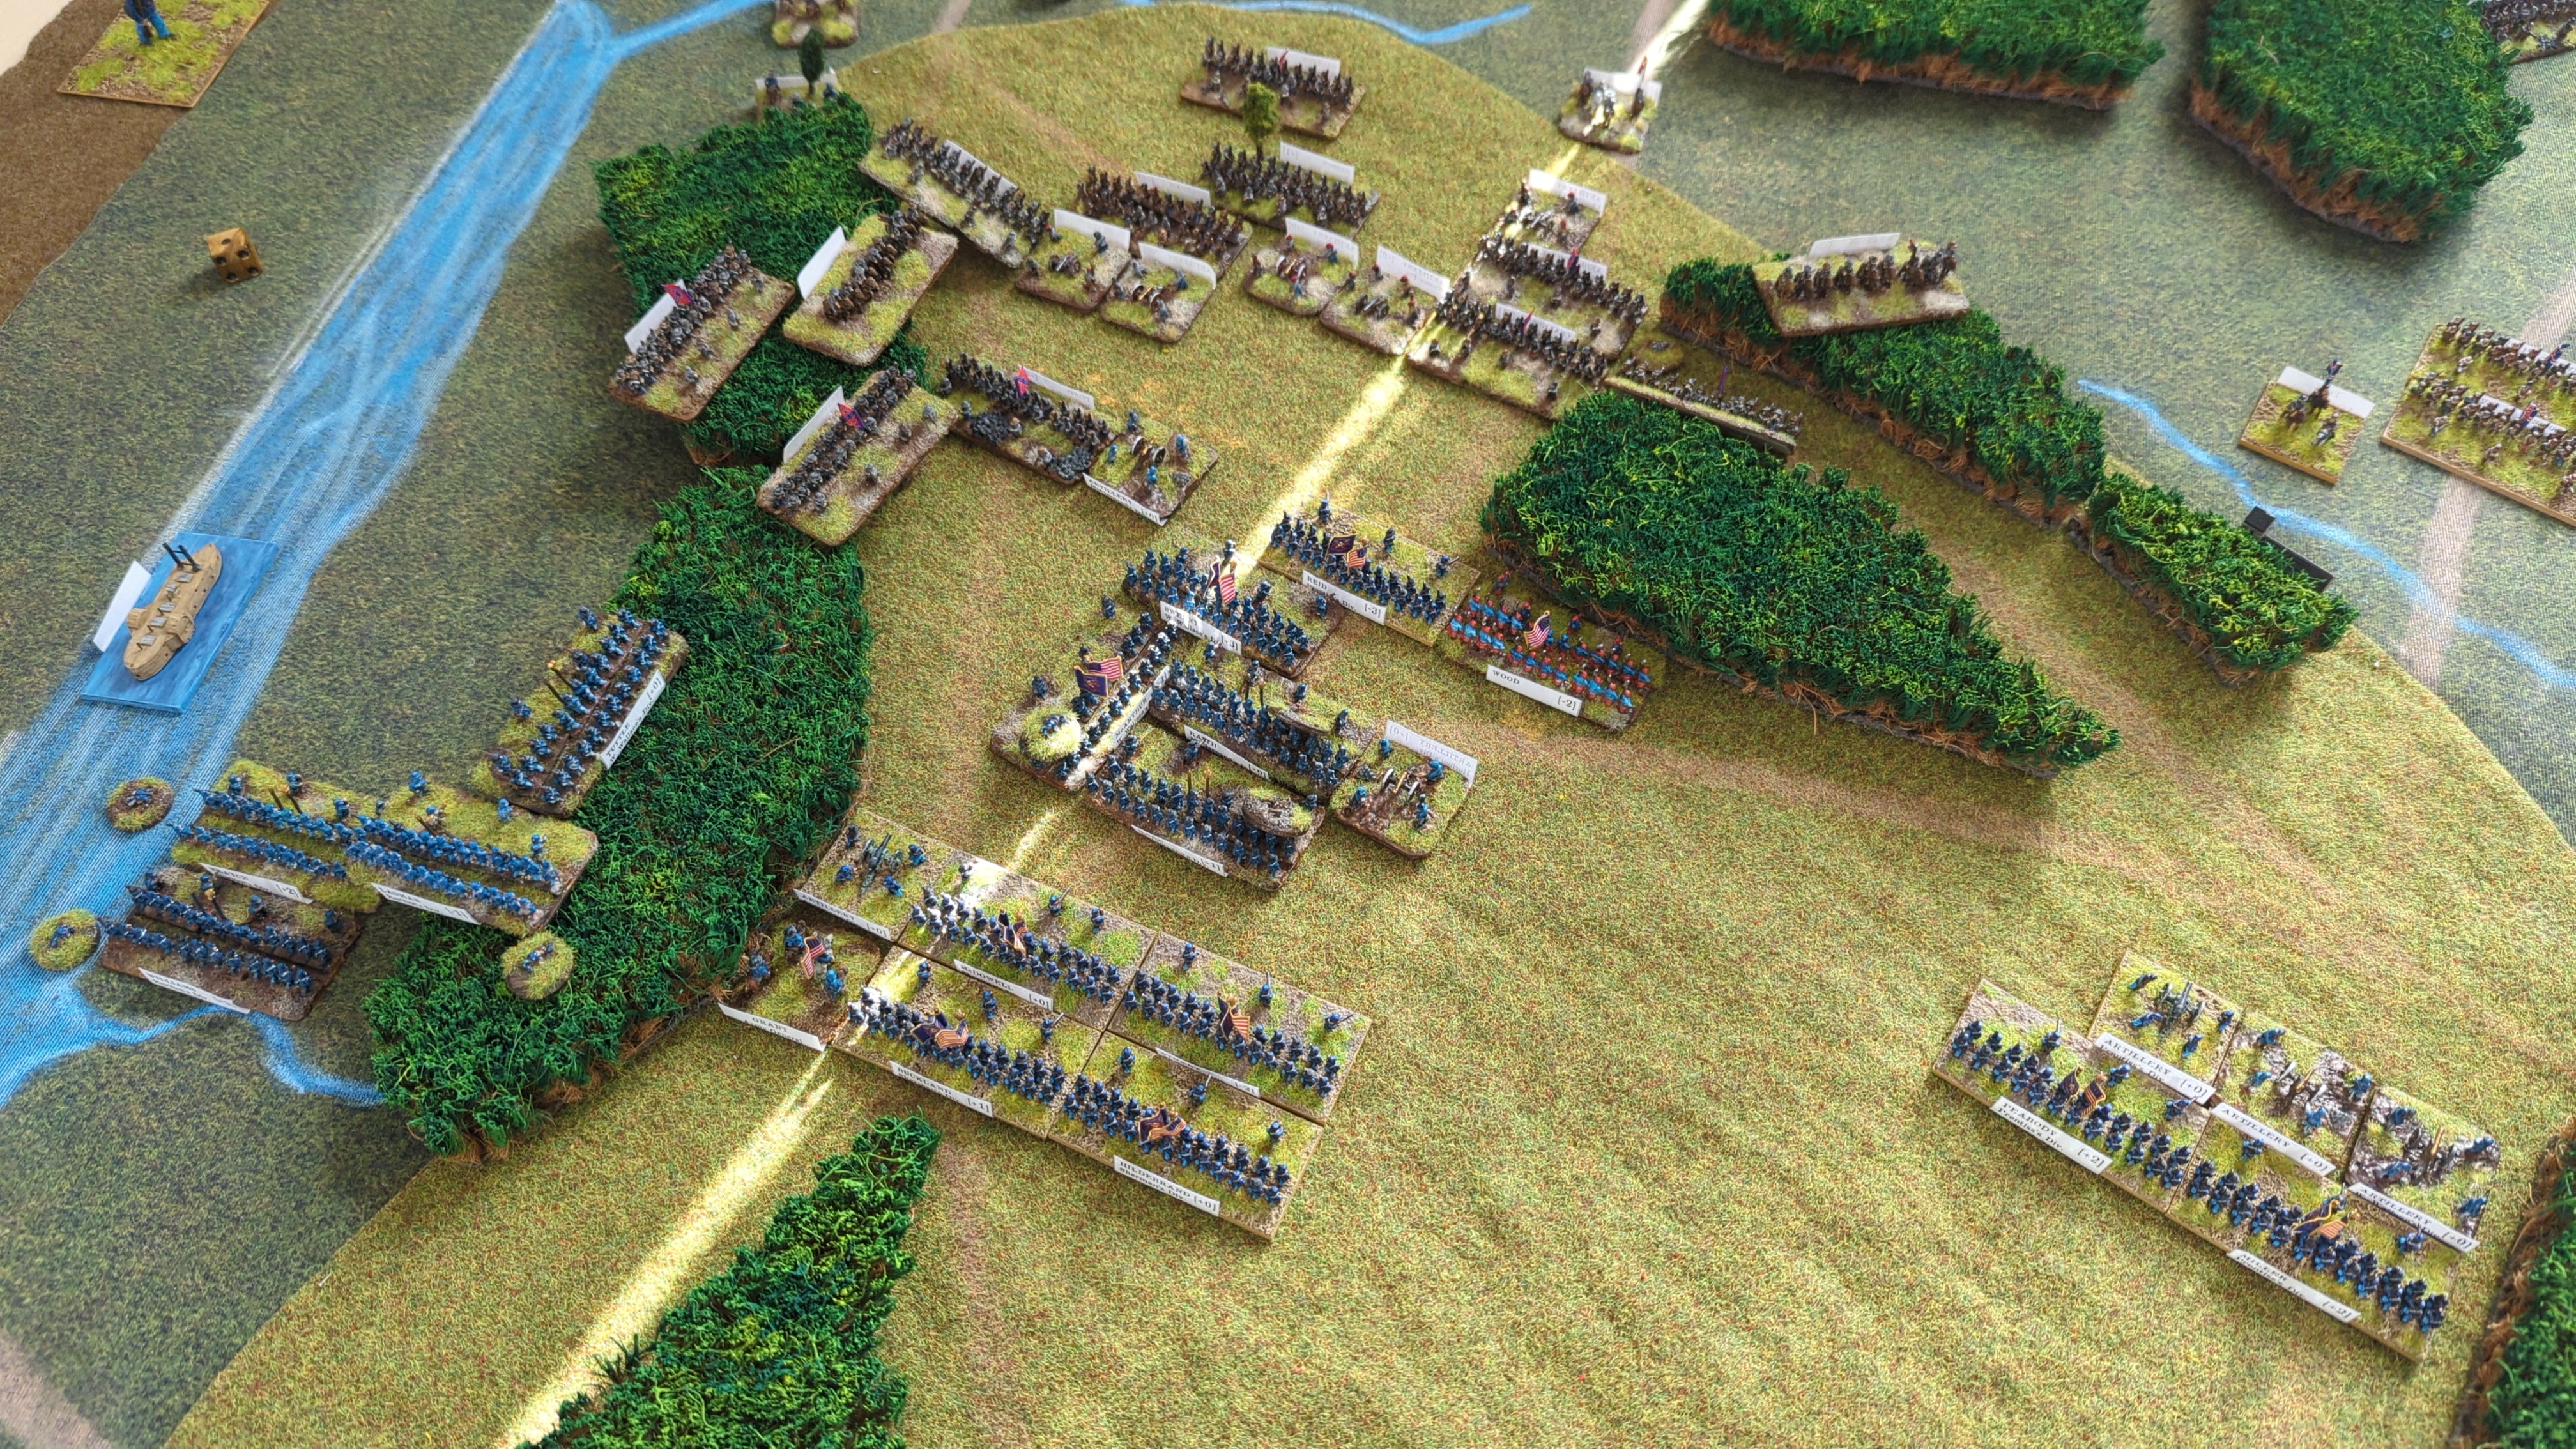
The artillery caused two recoils.
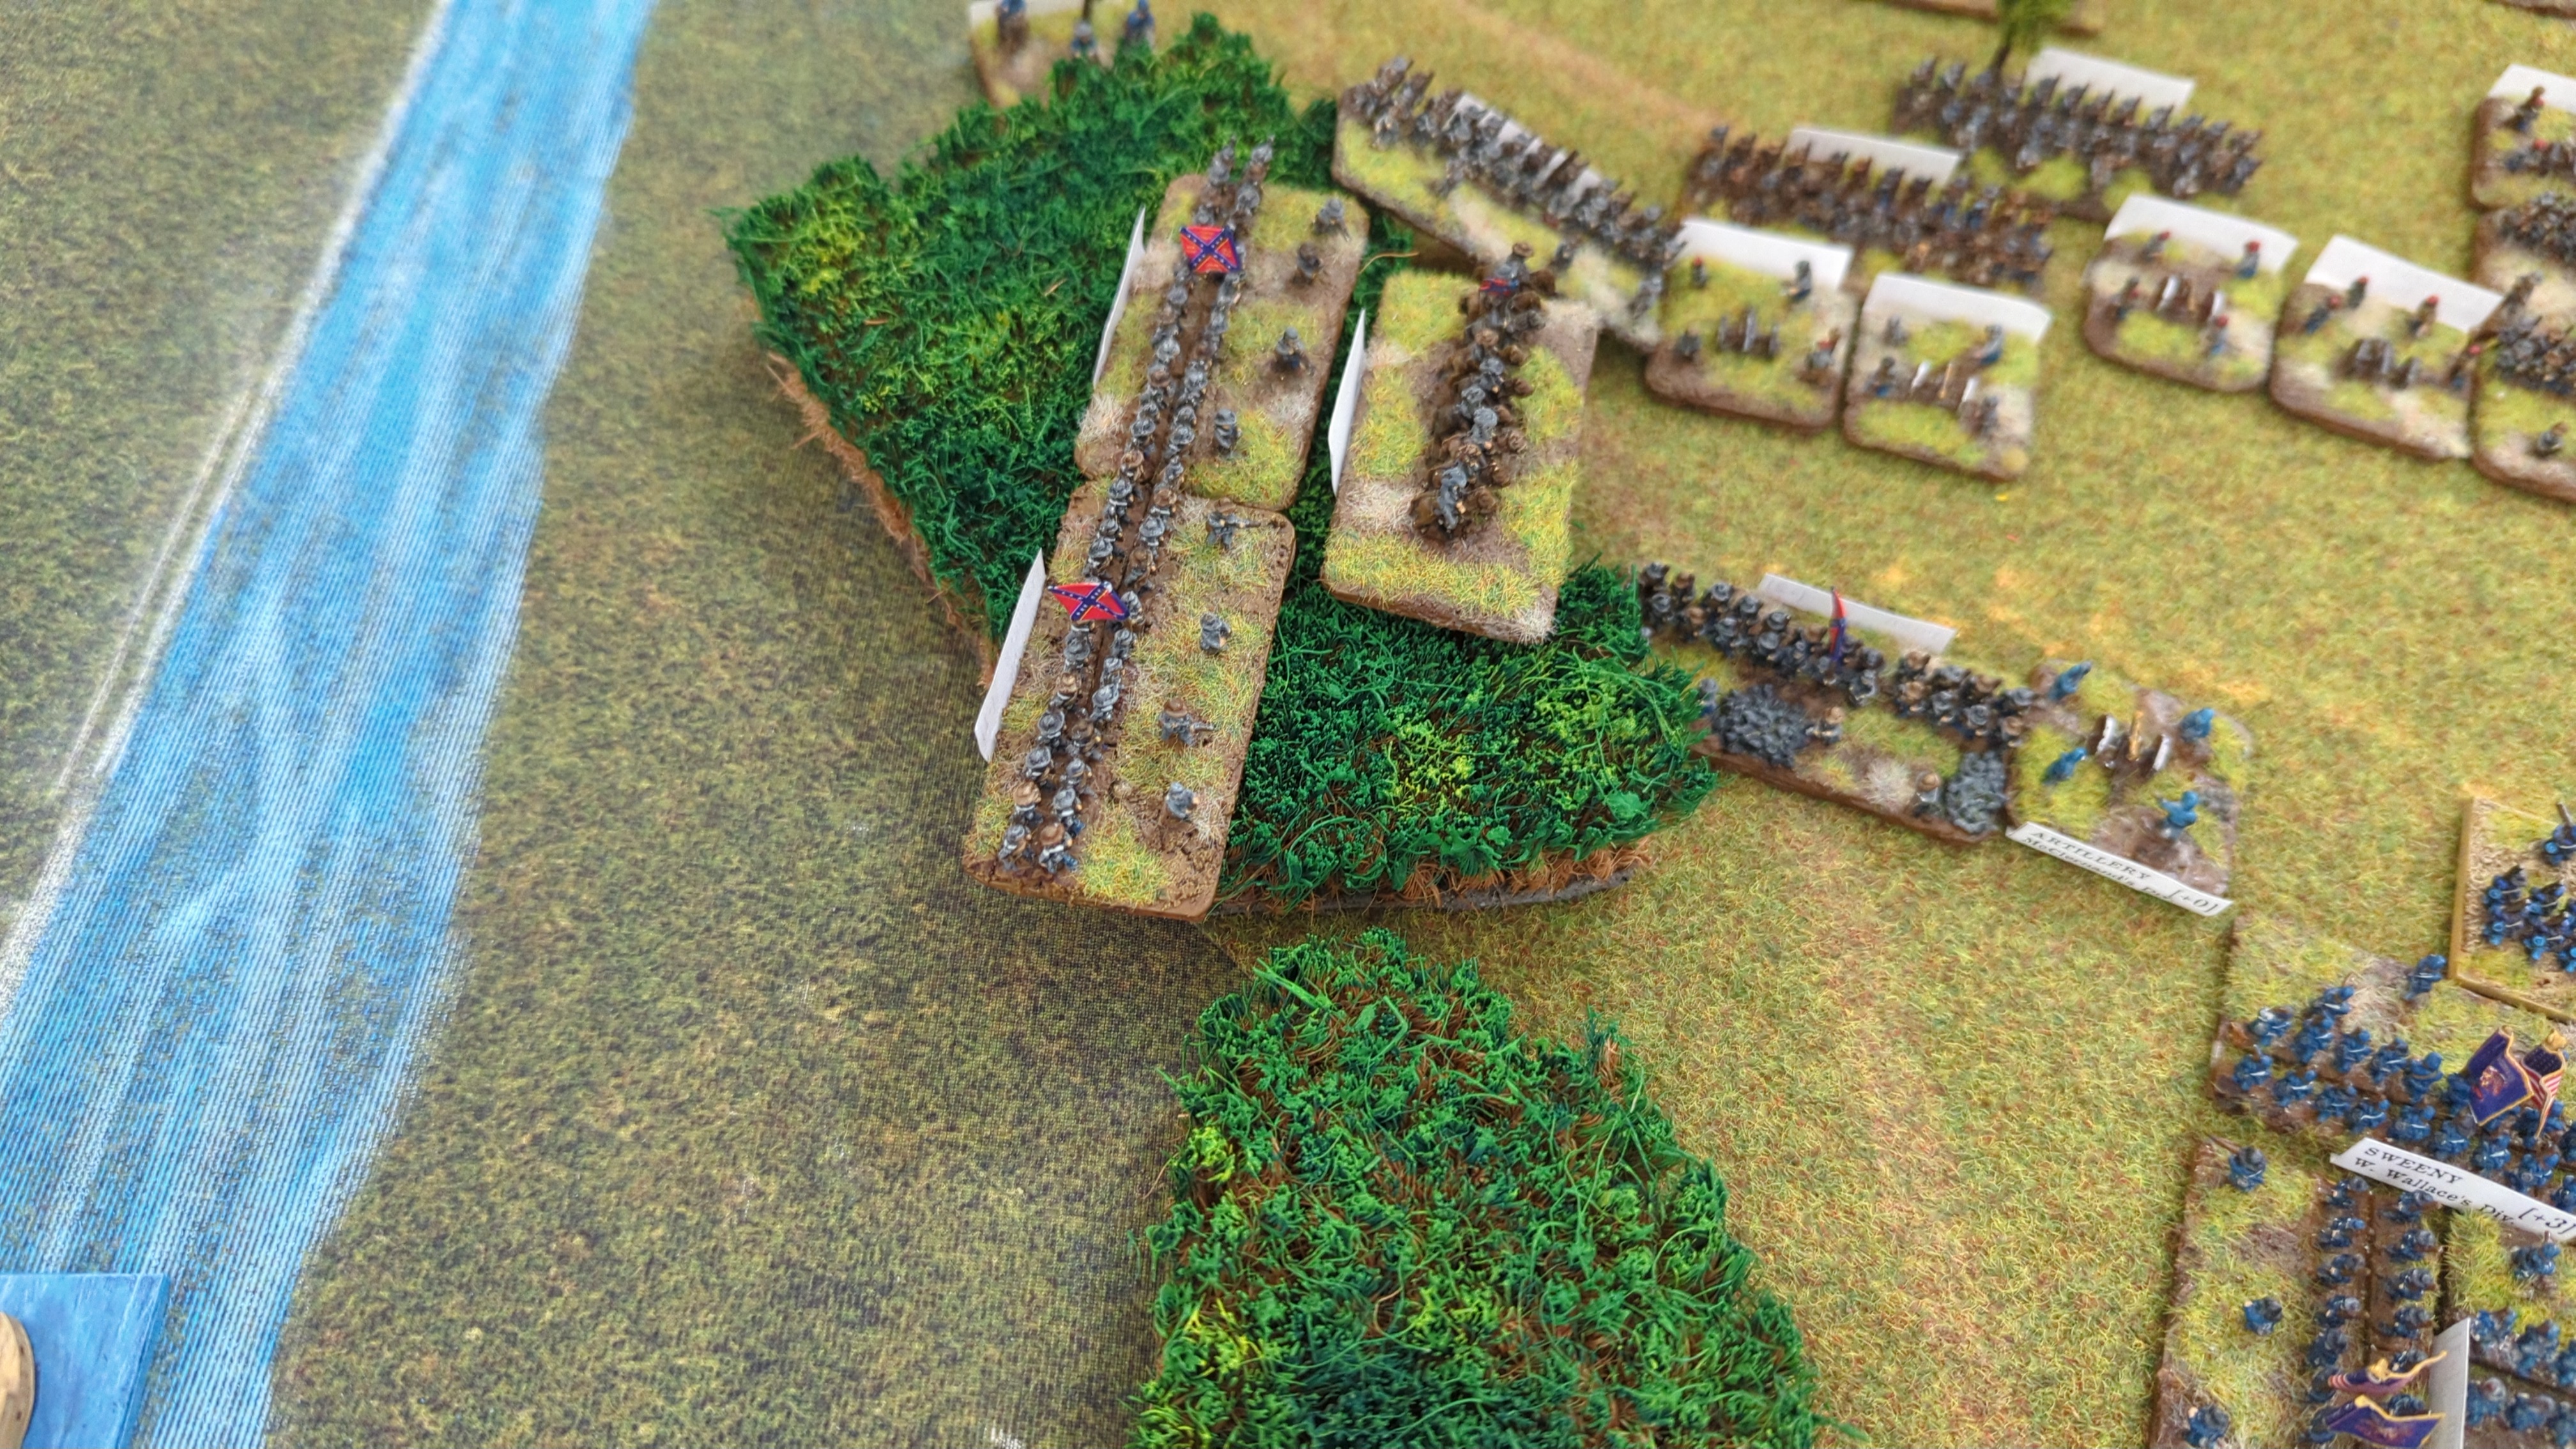
Rolled 5 and 2: 2.
Bid 2
Withers activated.
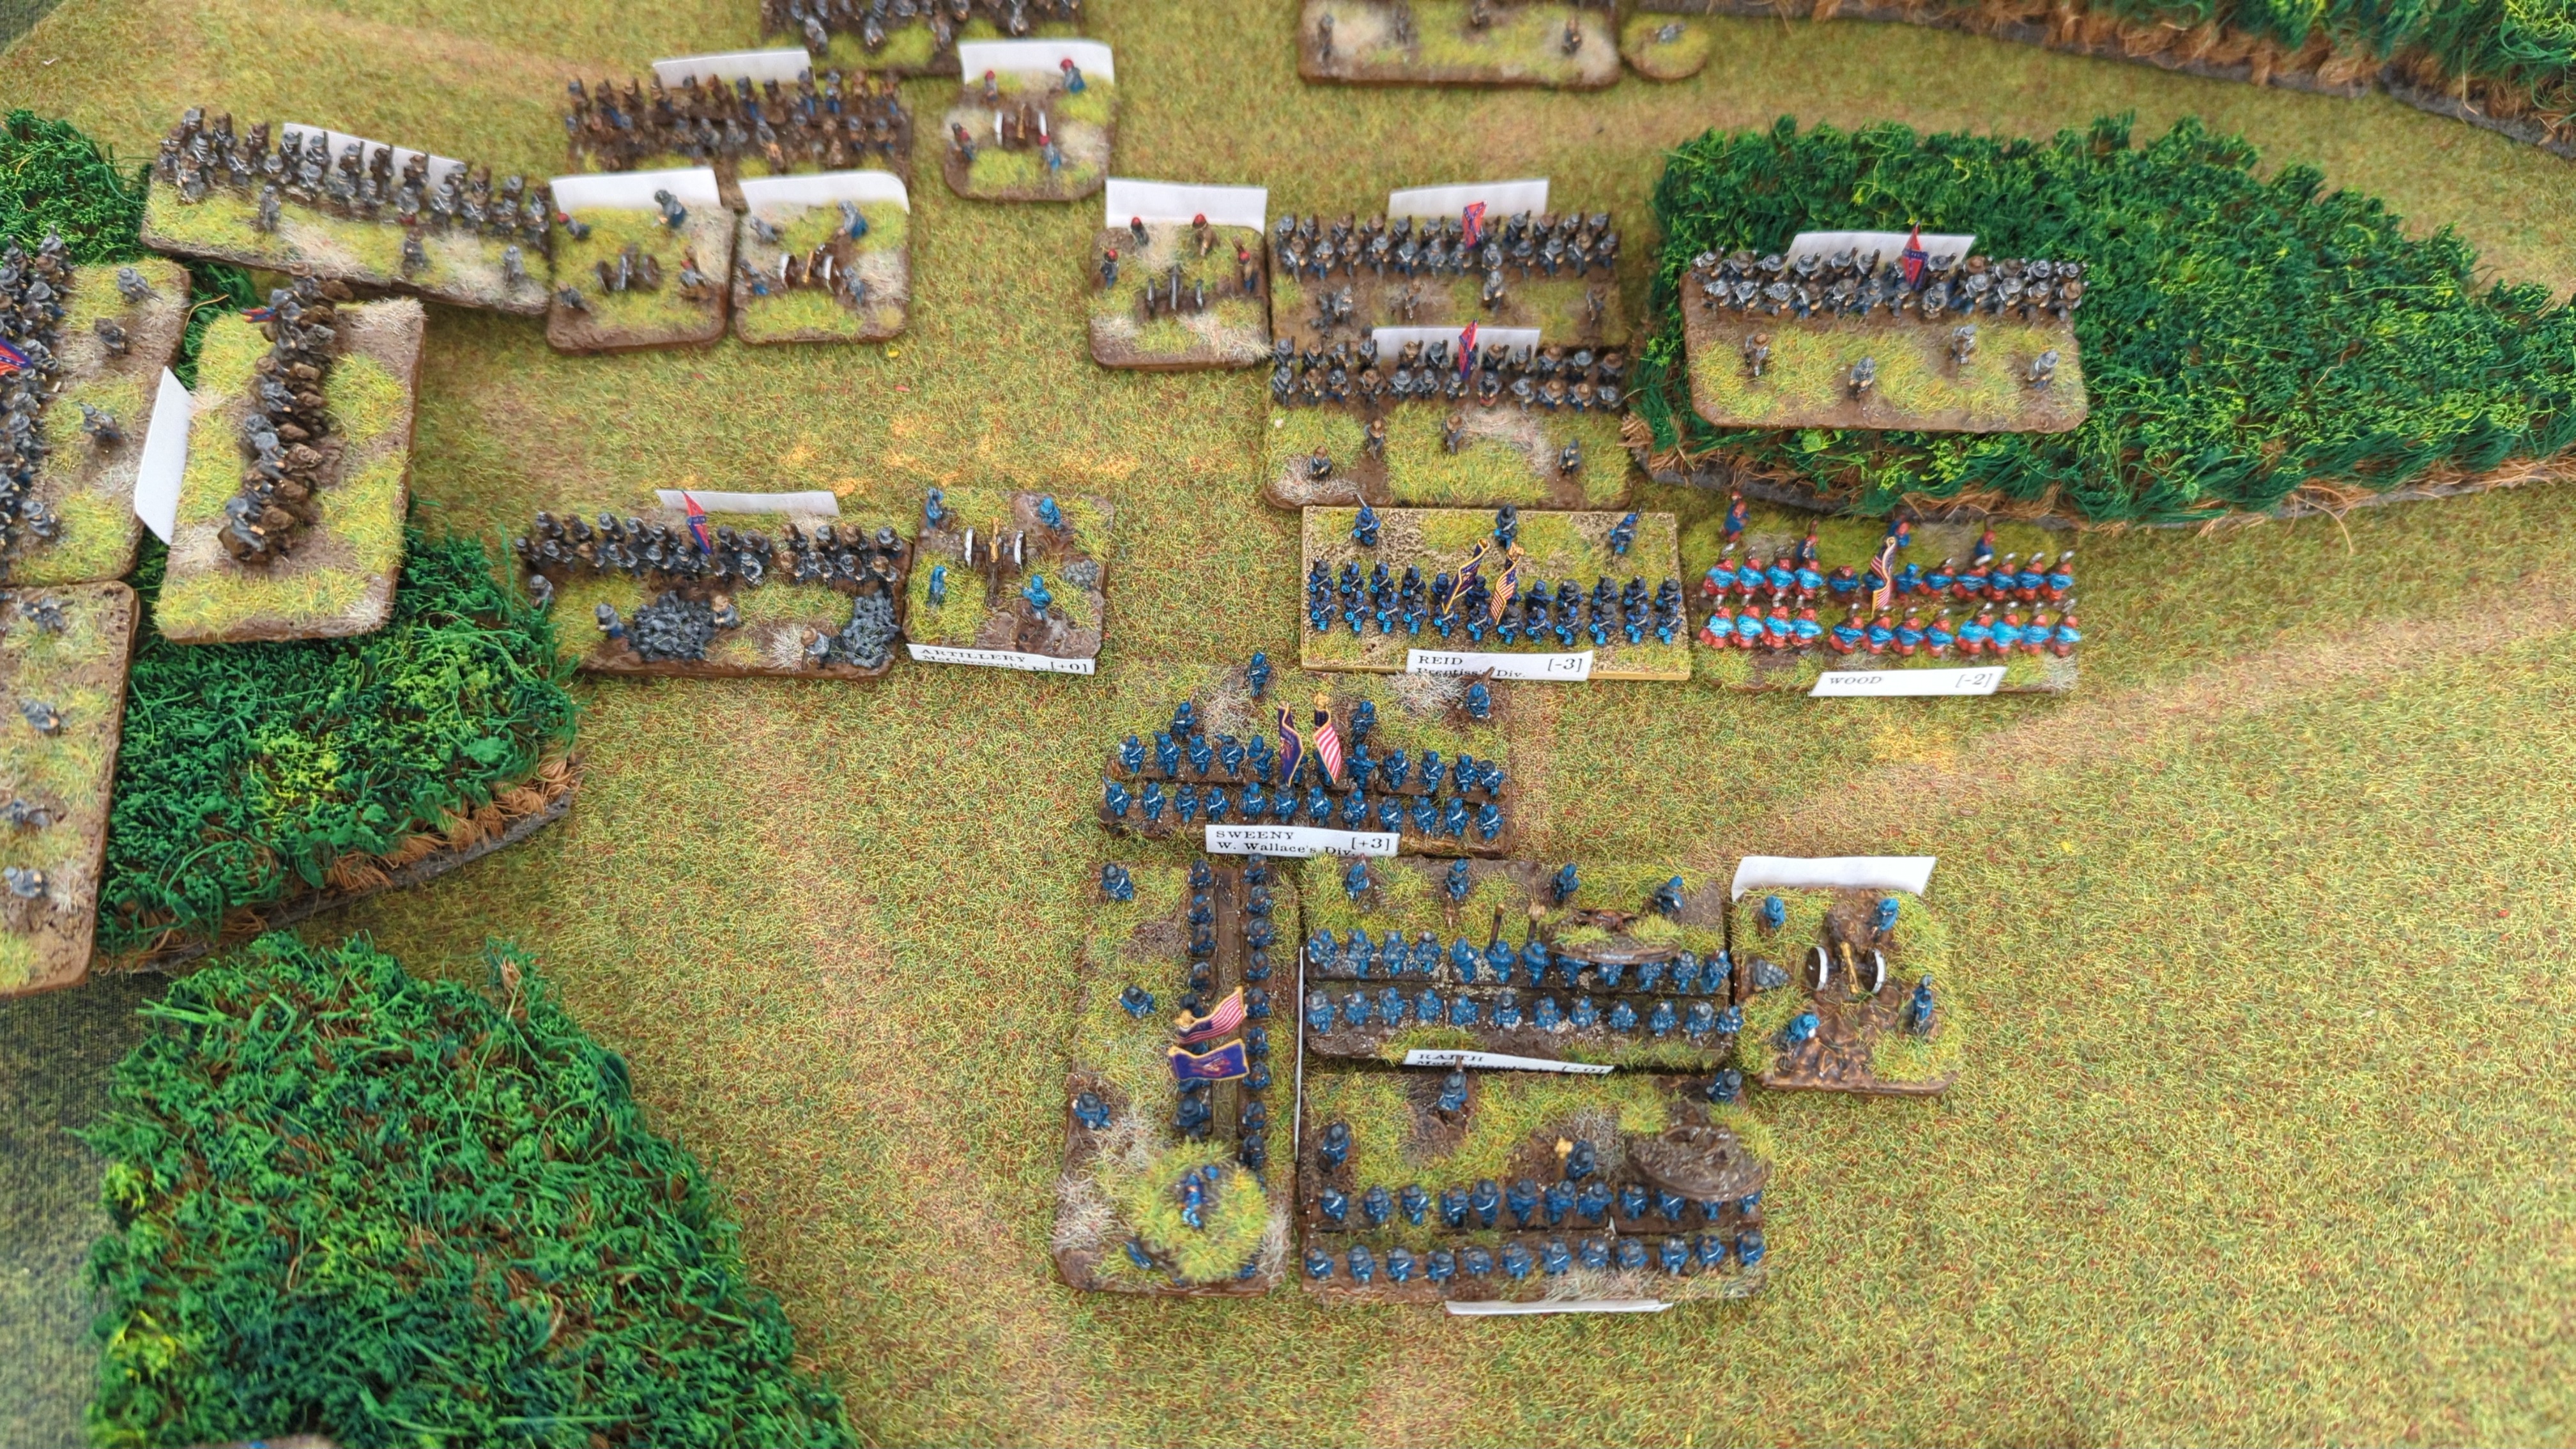
The interrupt failed.
9 vs 4.
It caused two recoils, and the enemy followed up into Sweeny.
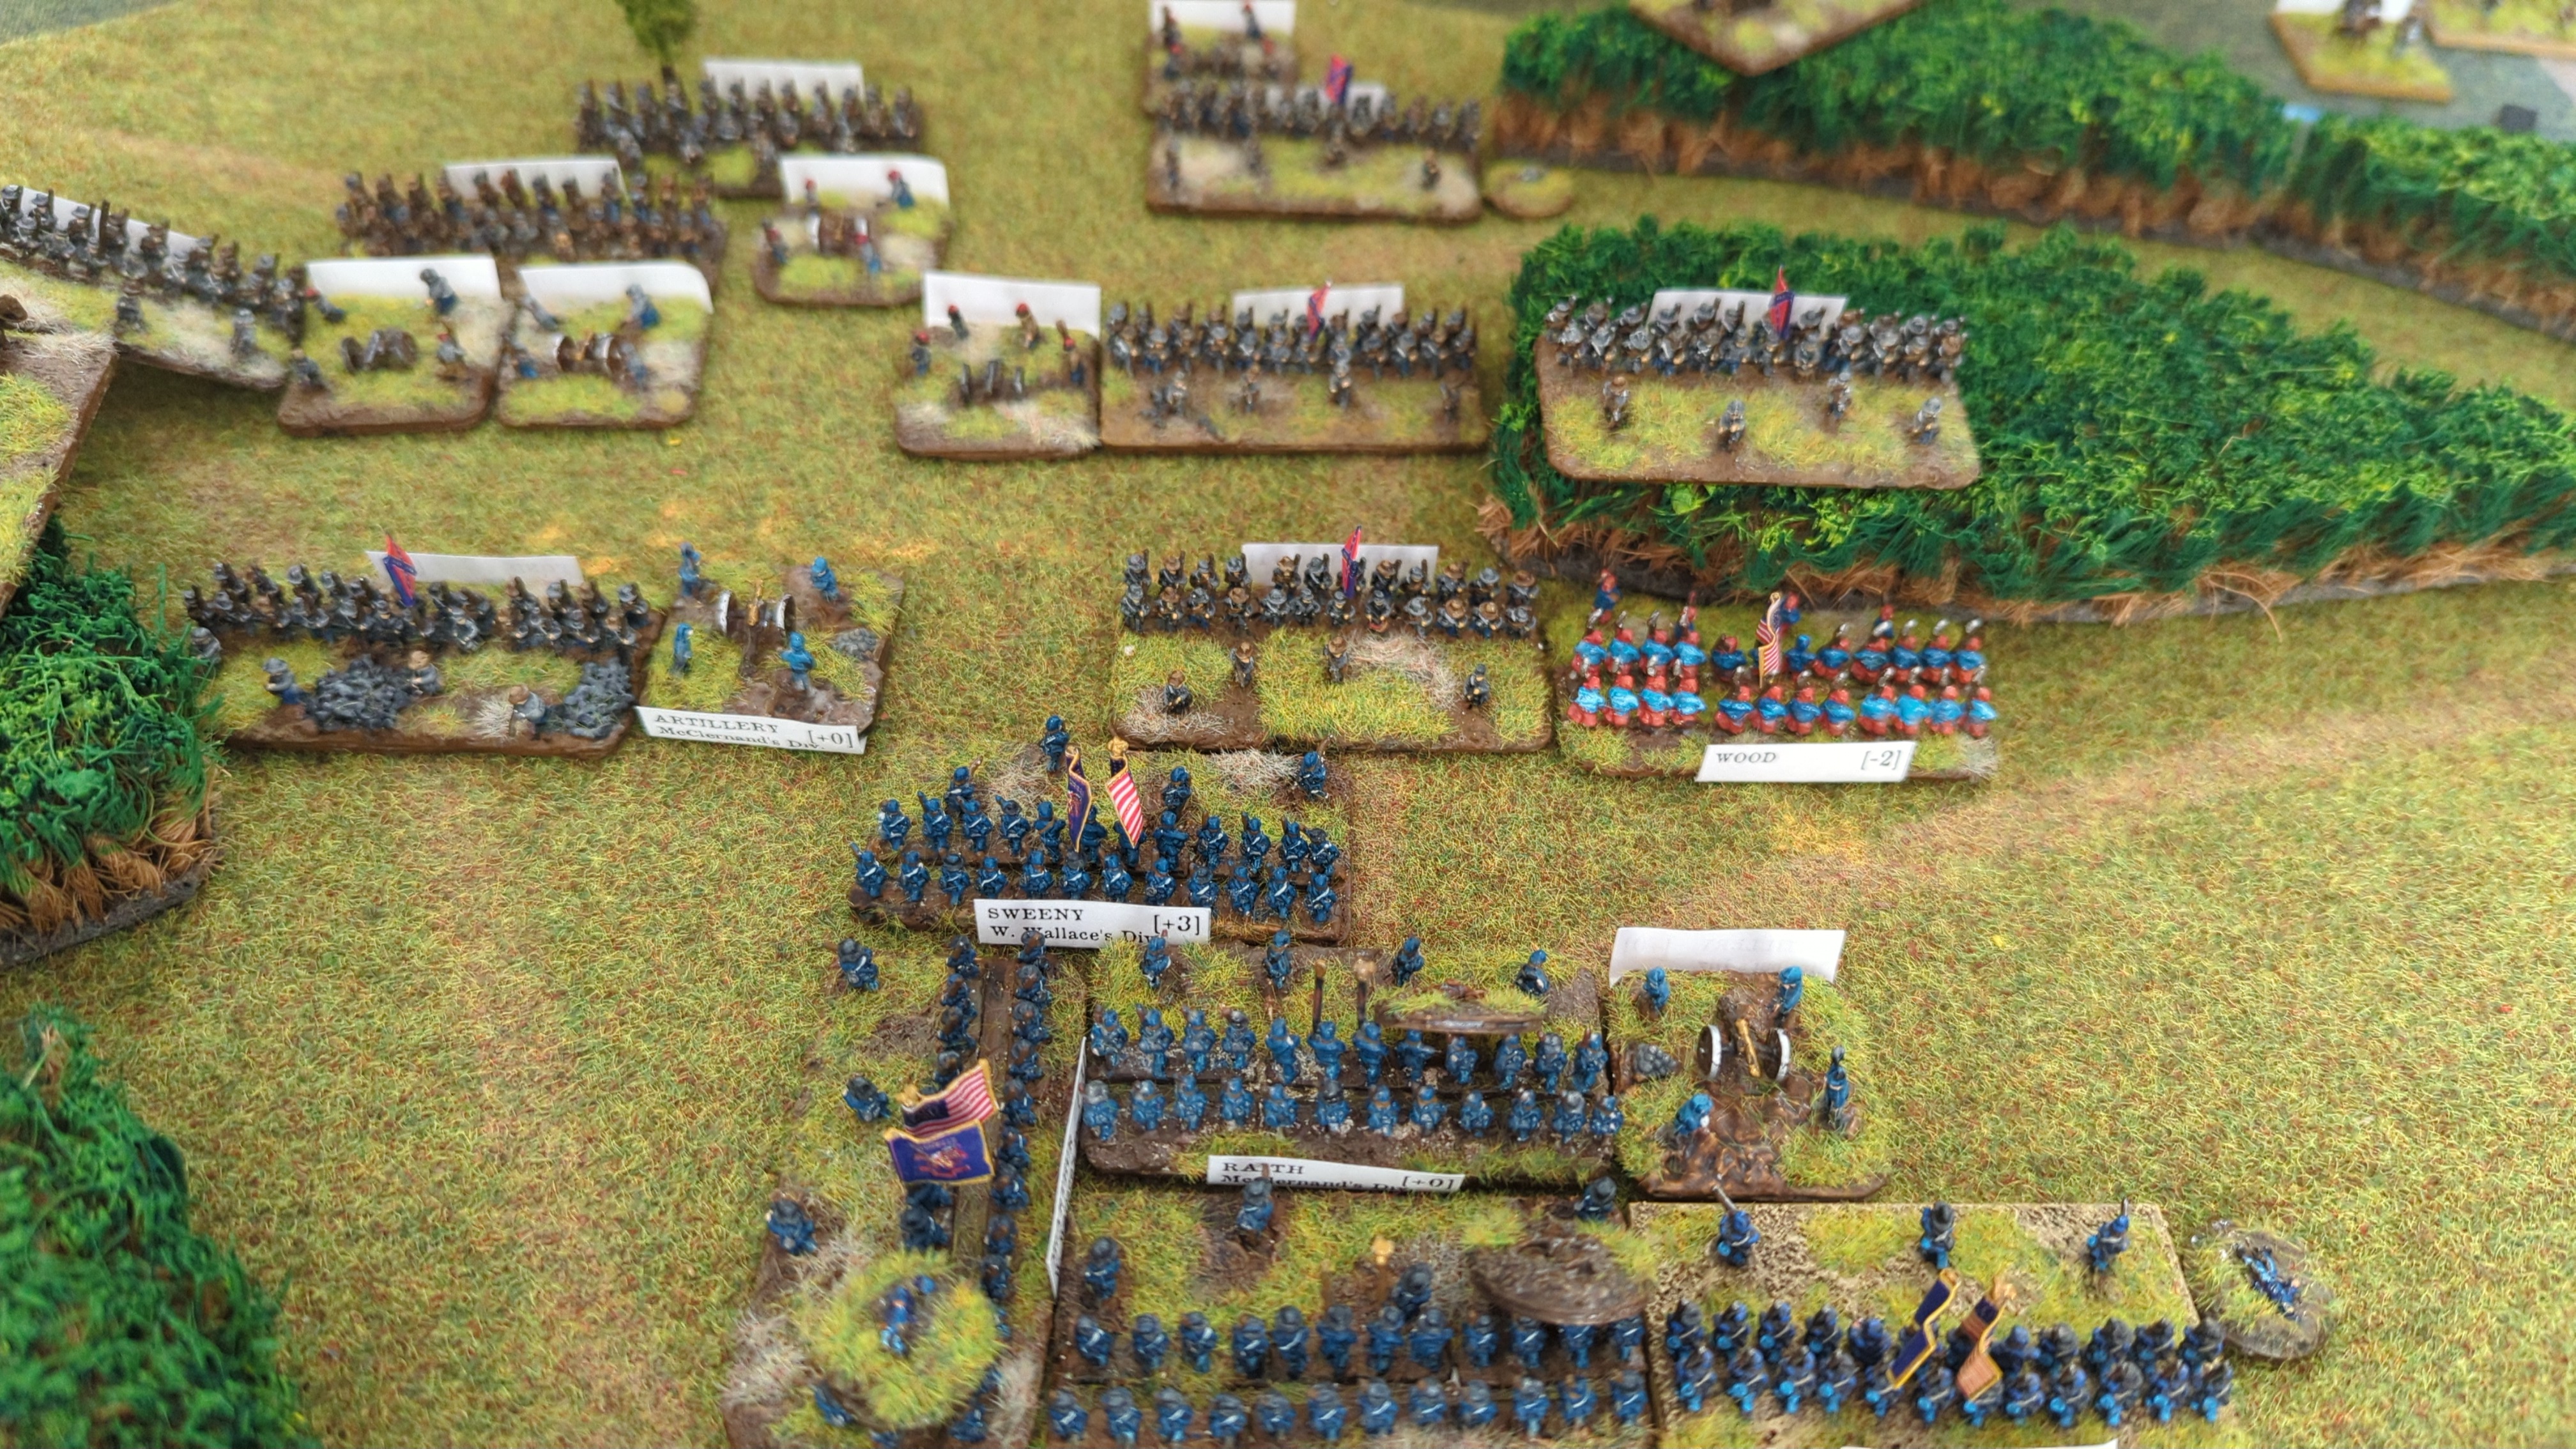
8 vs 2.
The Confederate unit was broken.
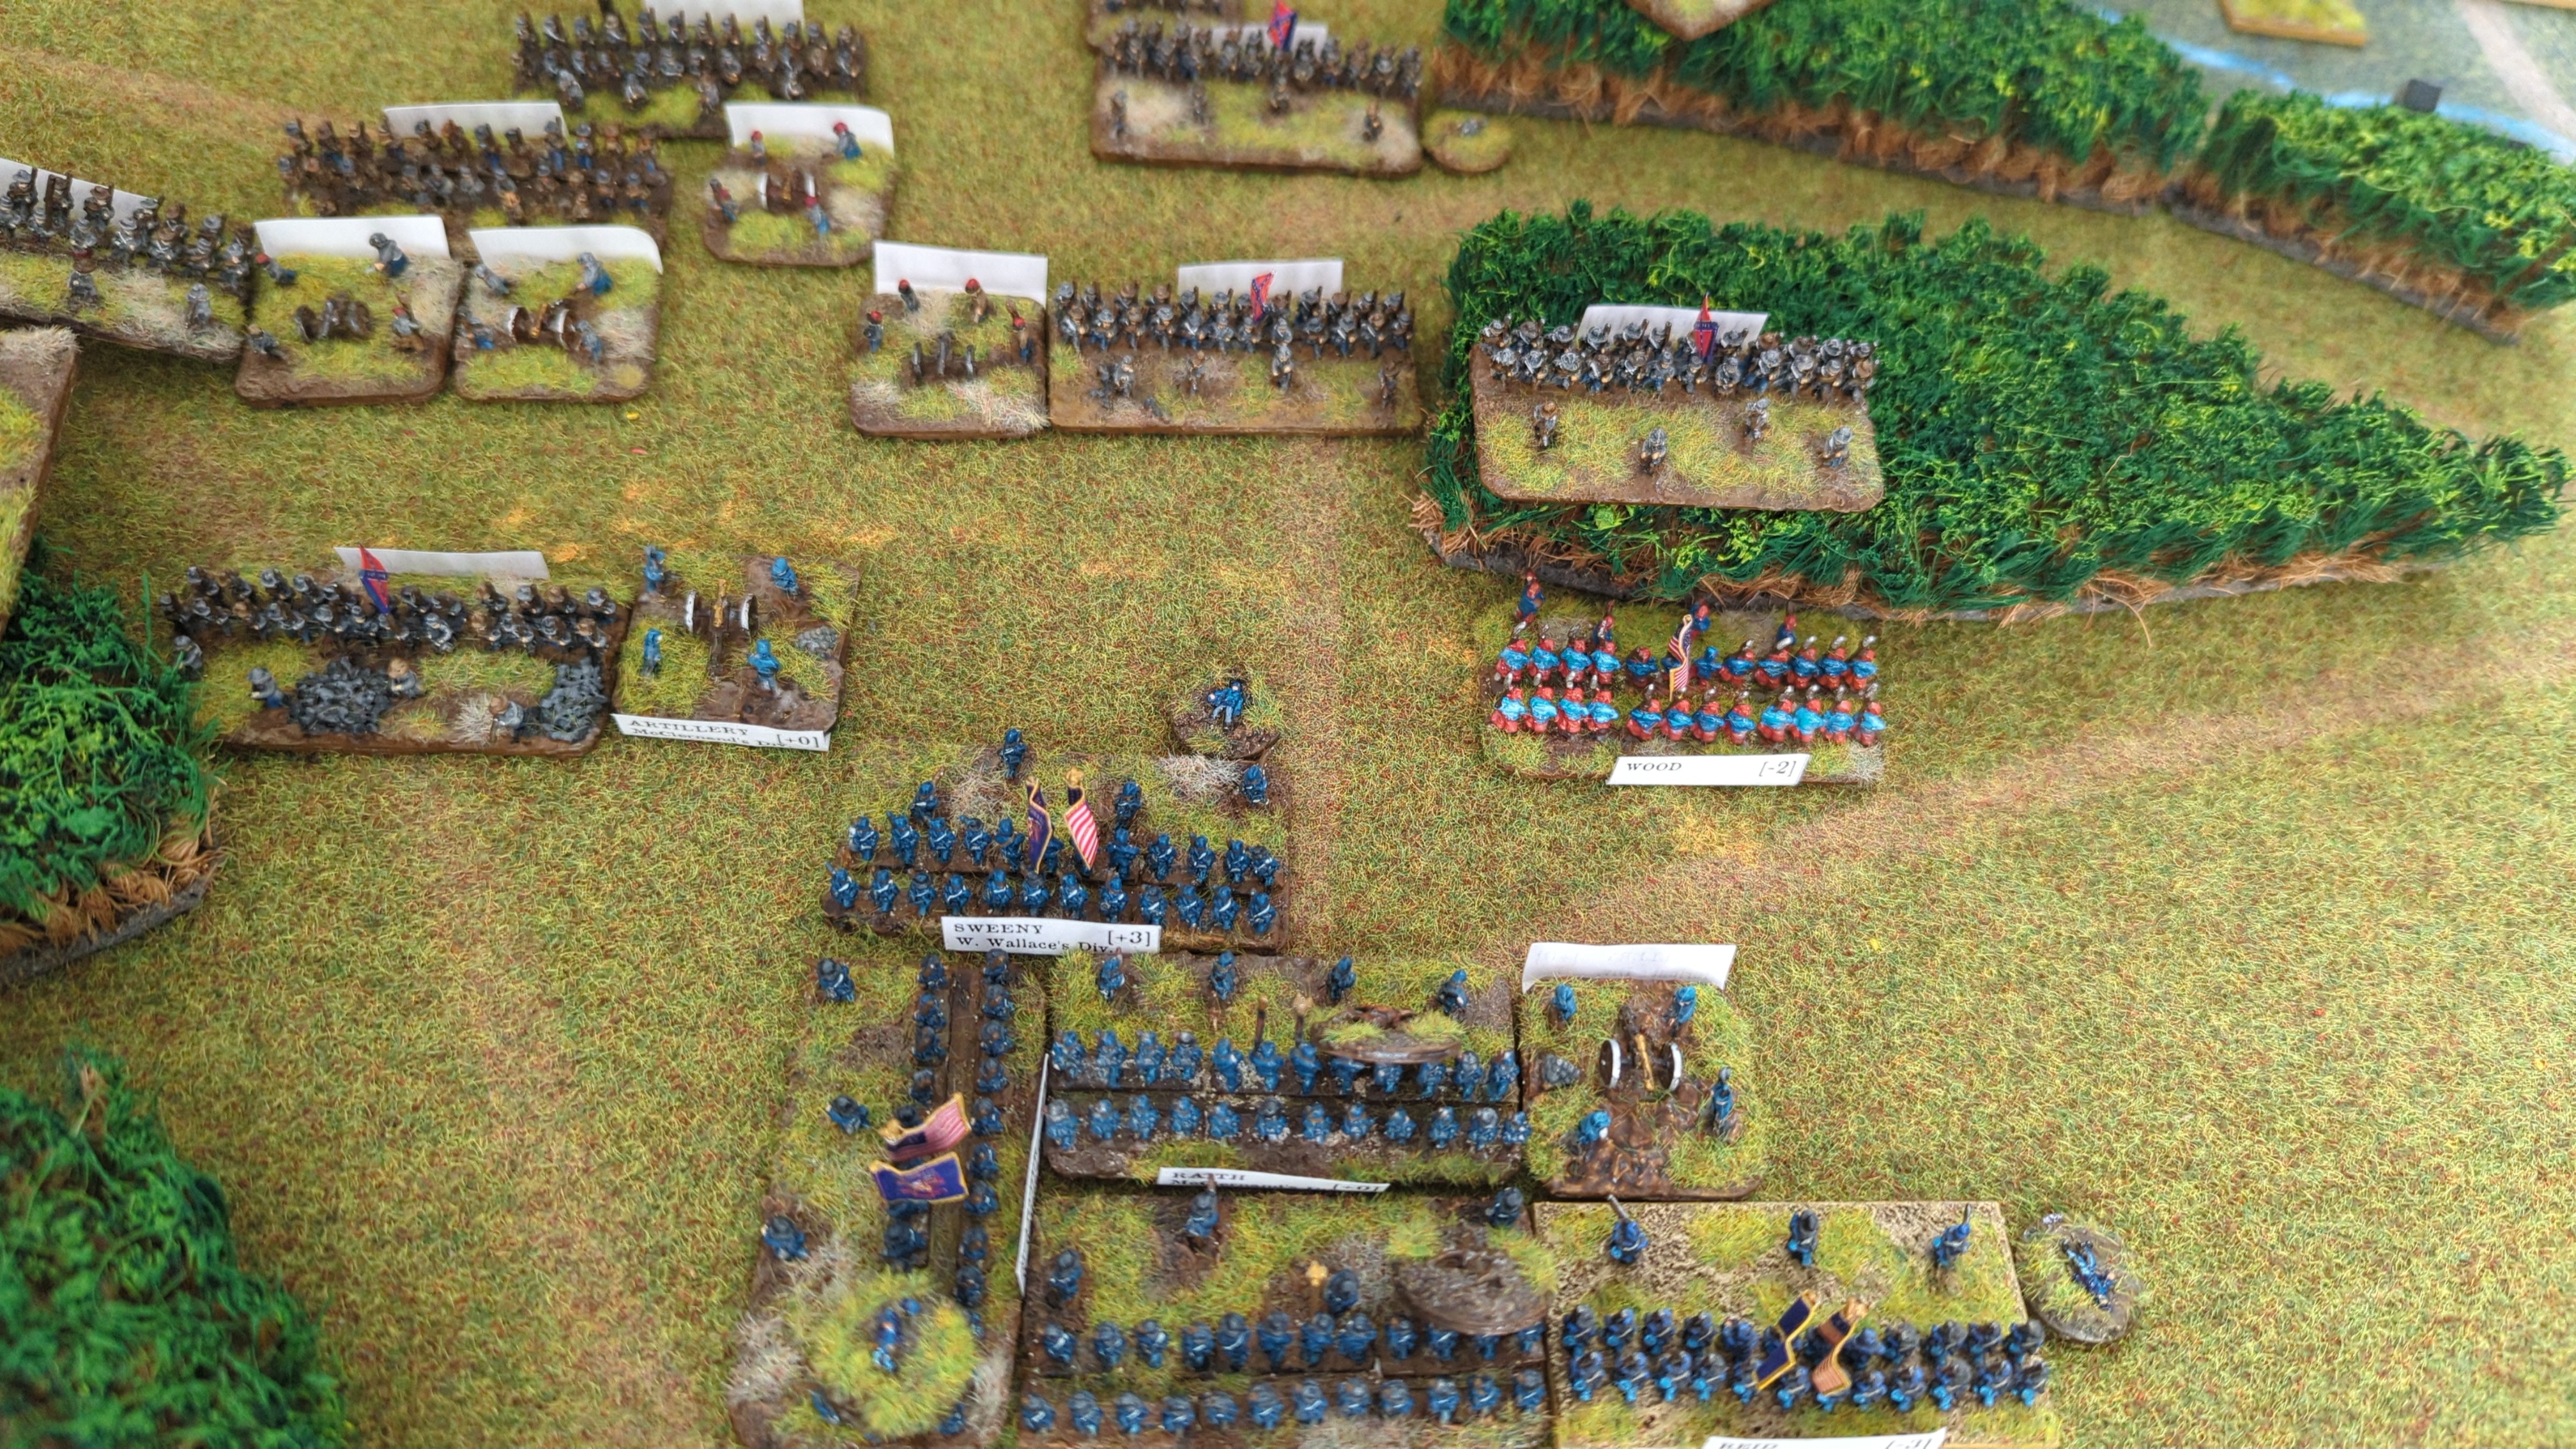
Wood's Zouaves were broken.
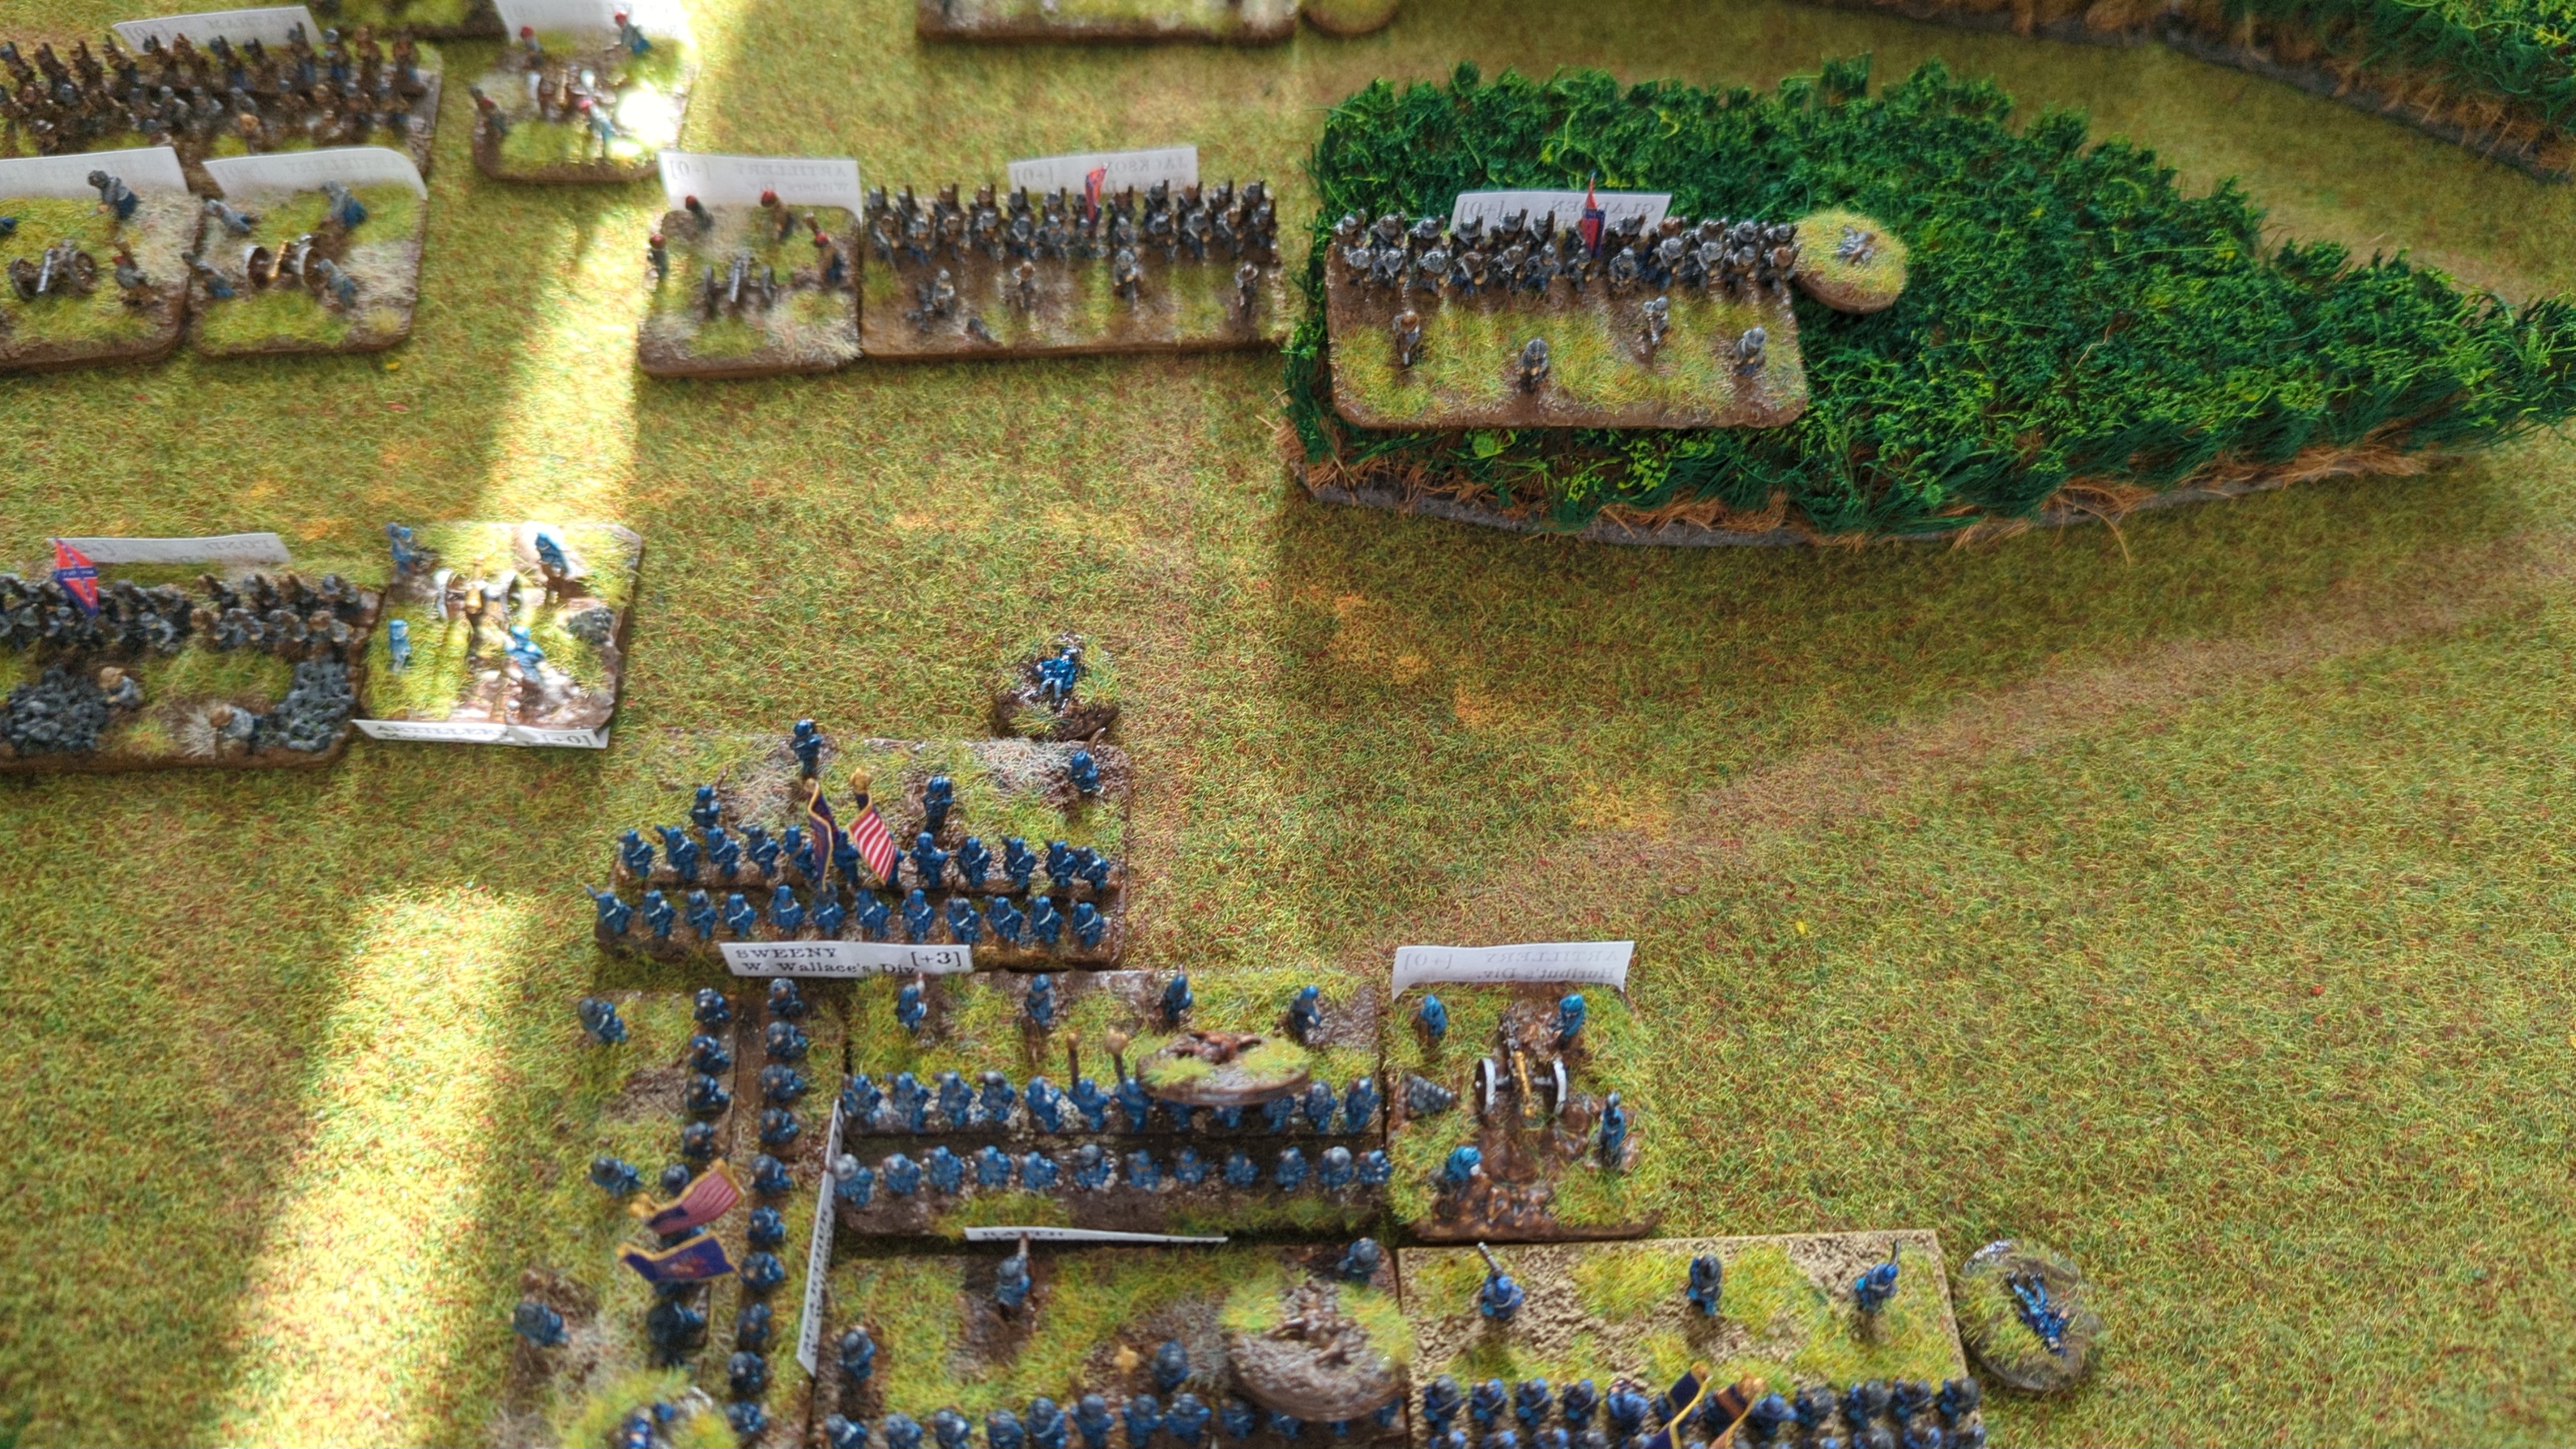
End of Turn Sequence
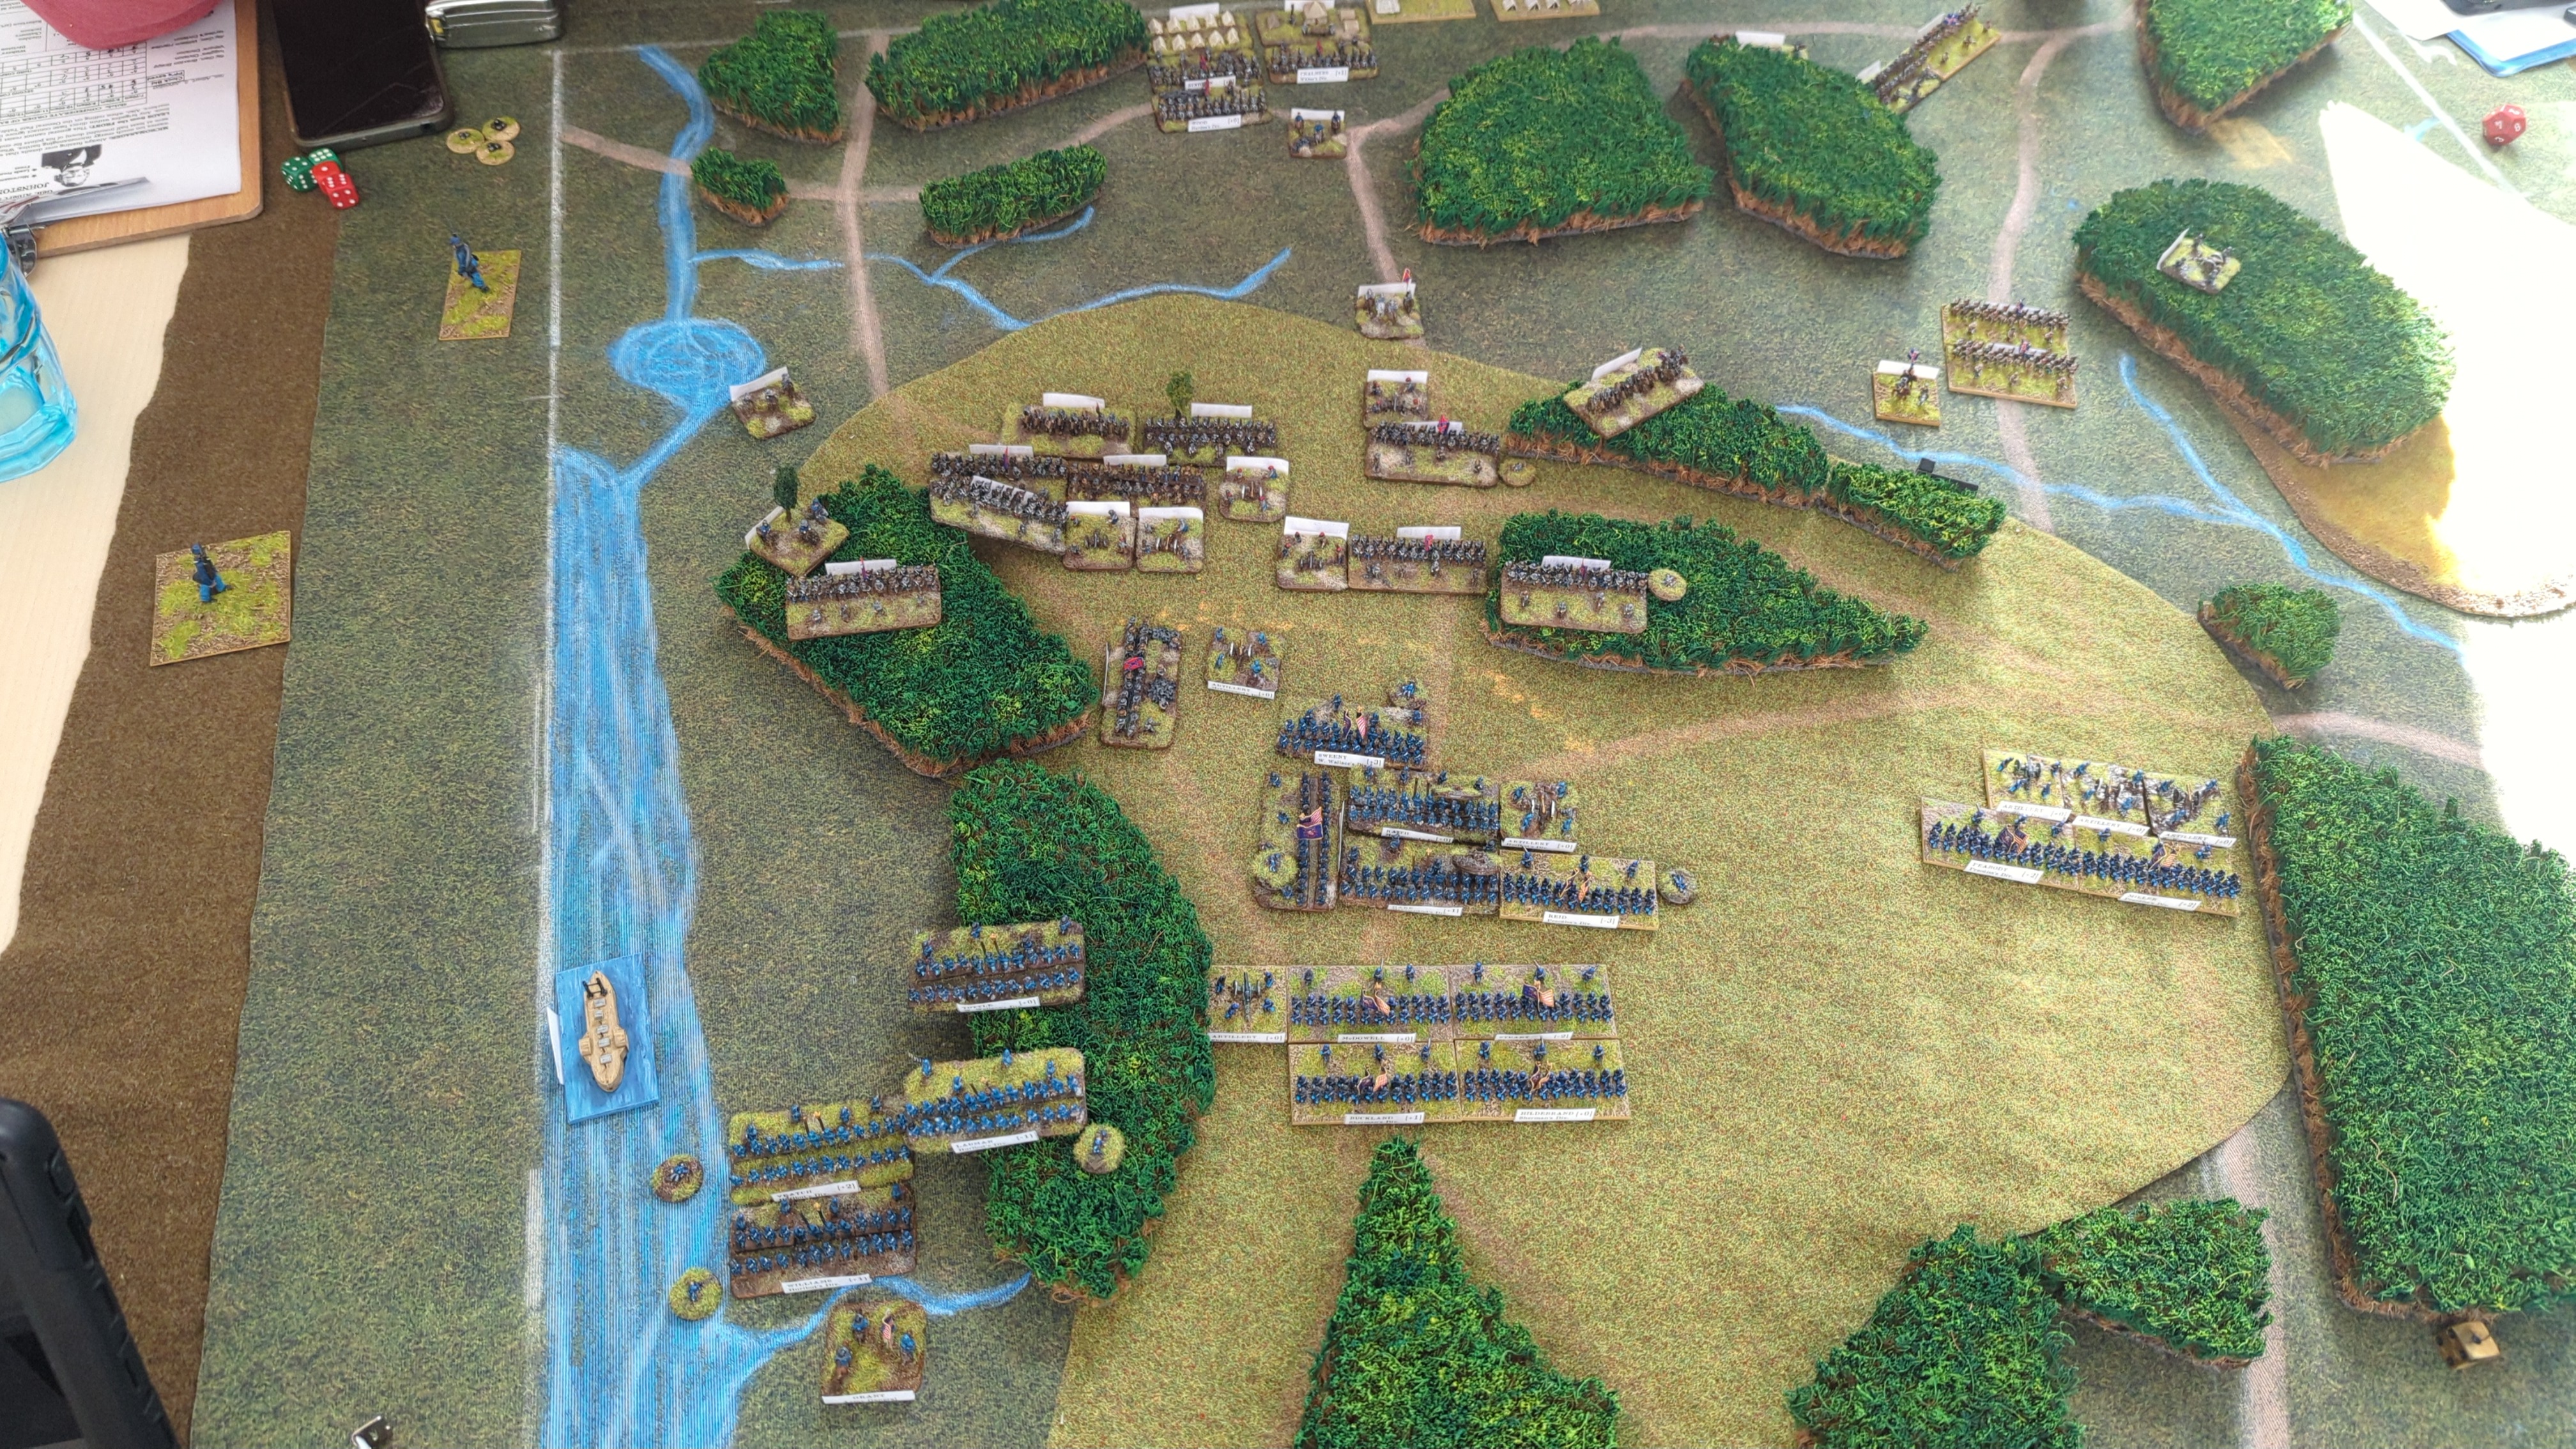
Wood's was still broken.
All units on the Confederate side routed.
Turn 5
7 vs 5: the Union got the clock.
Bid 7
Wallace retreated.
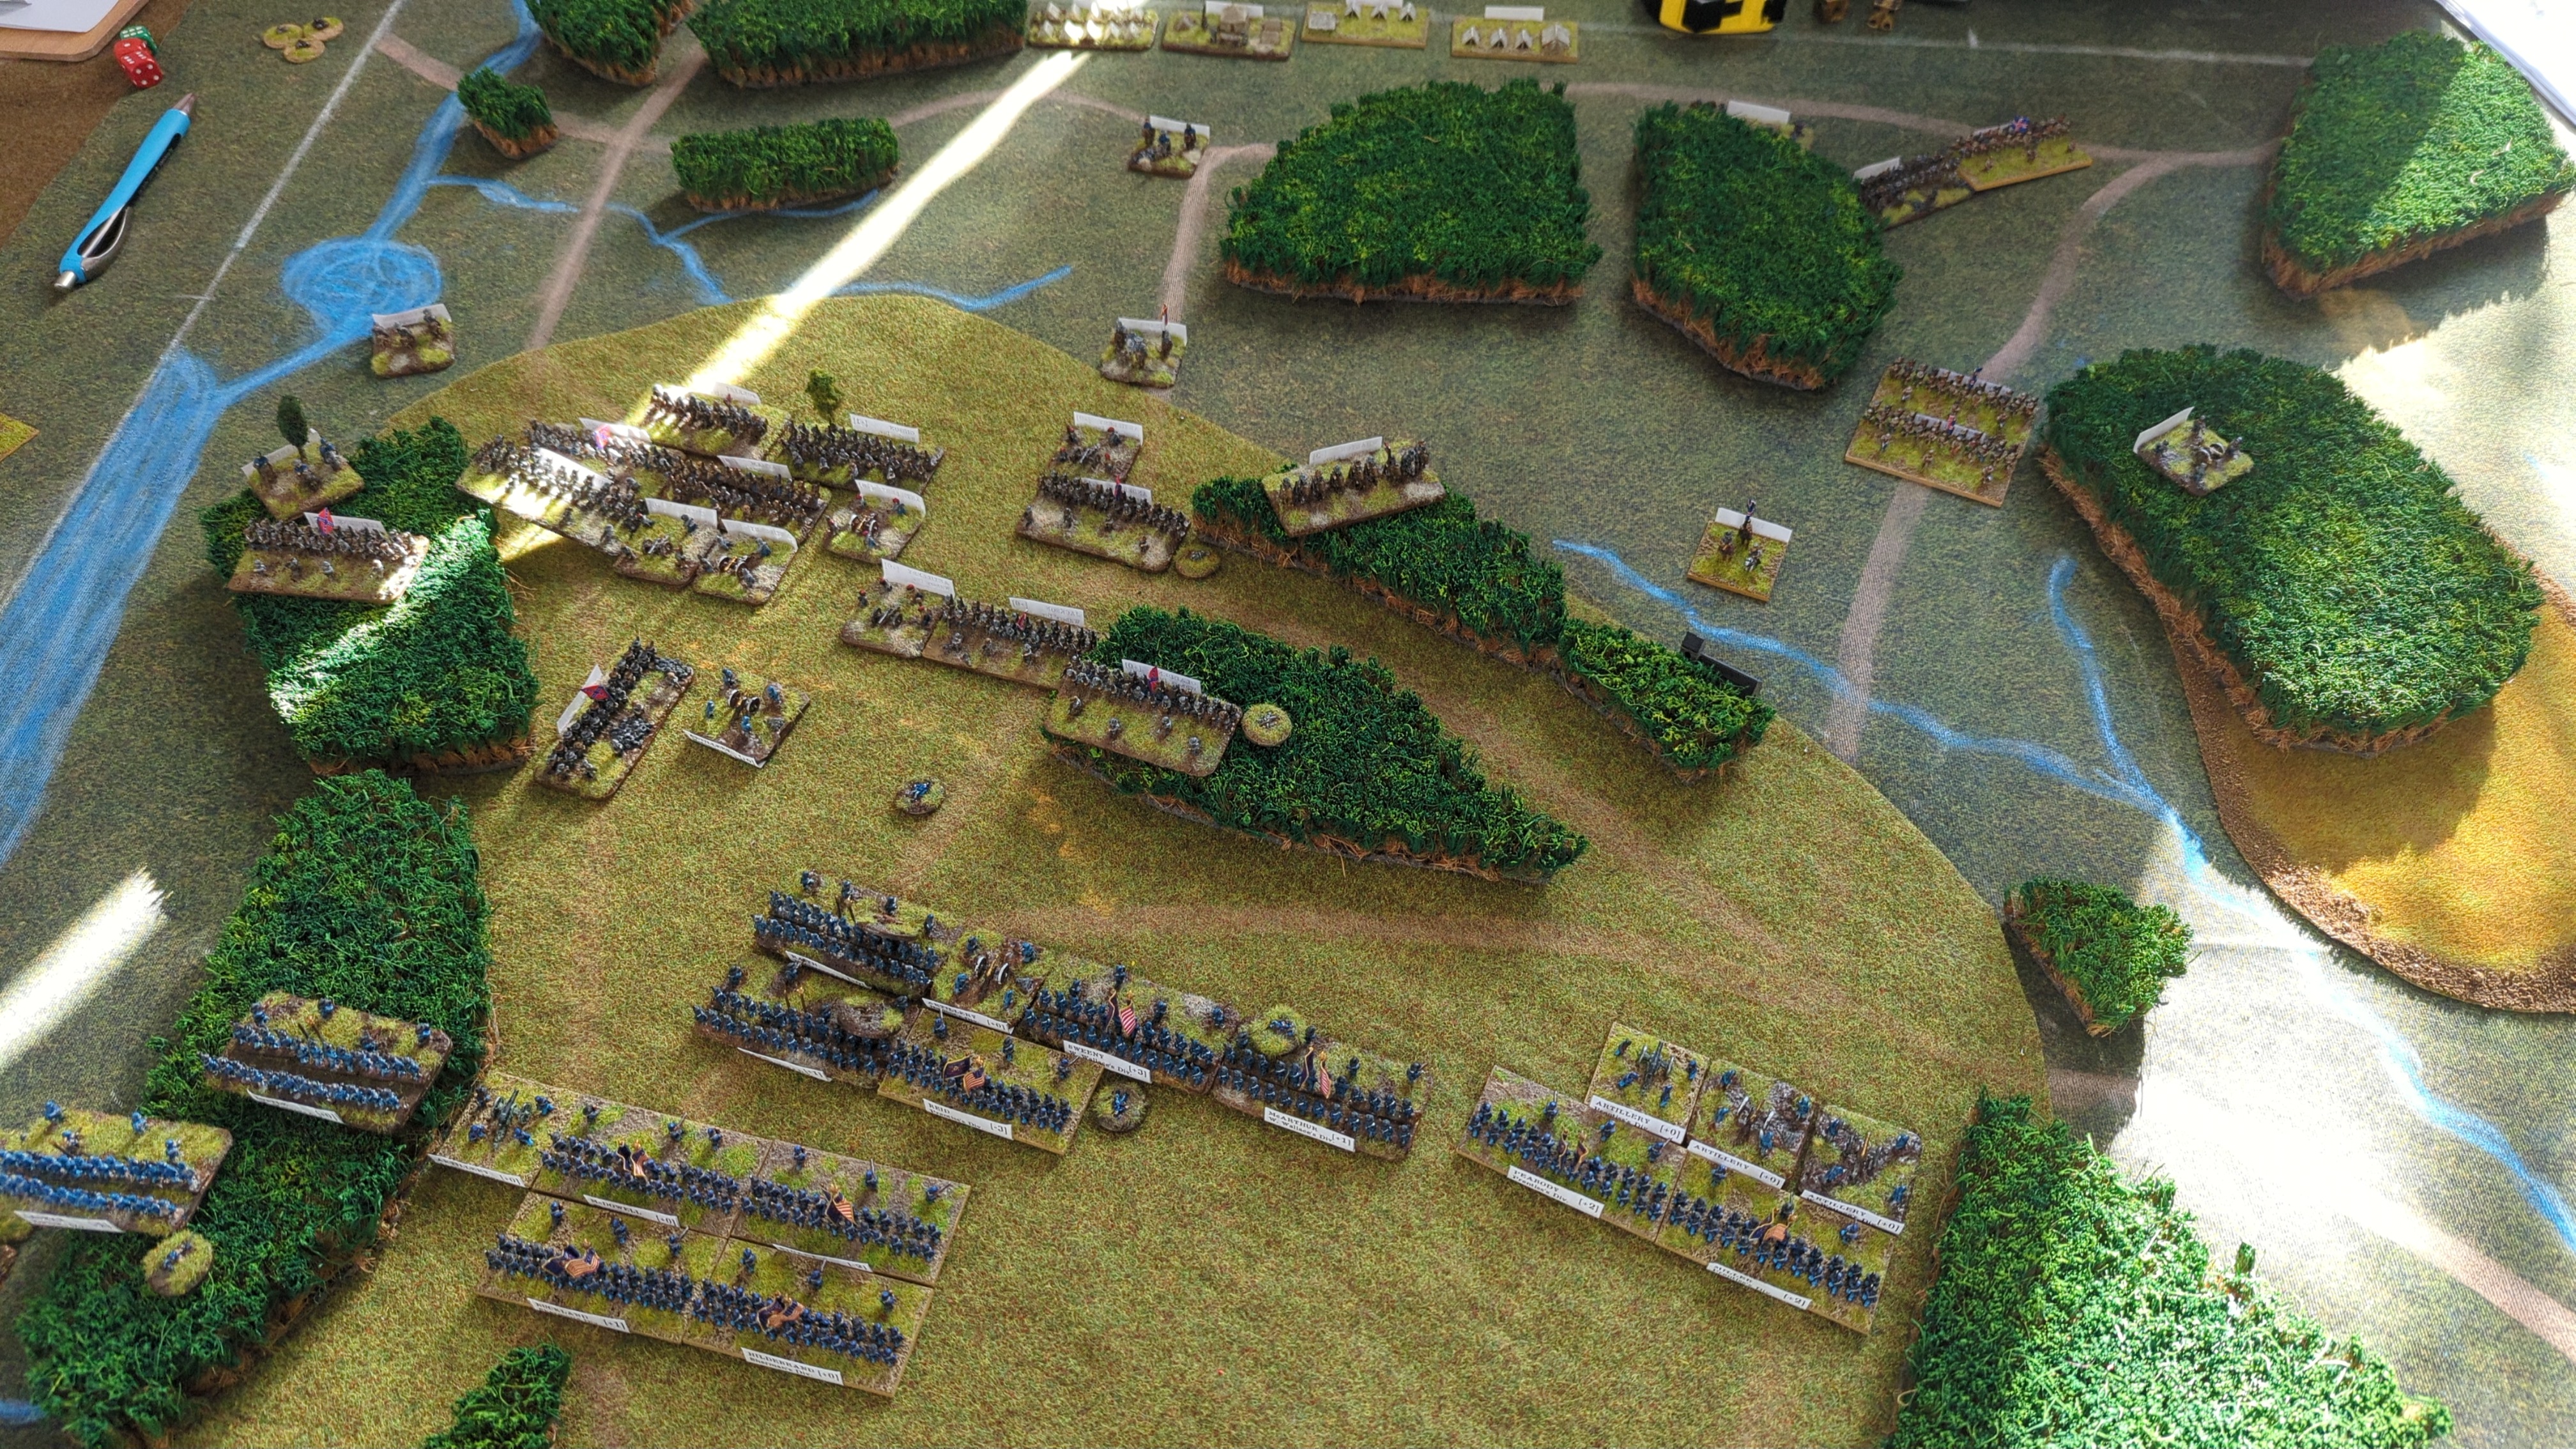
McClernand activated.
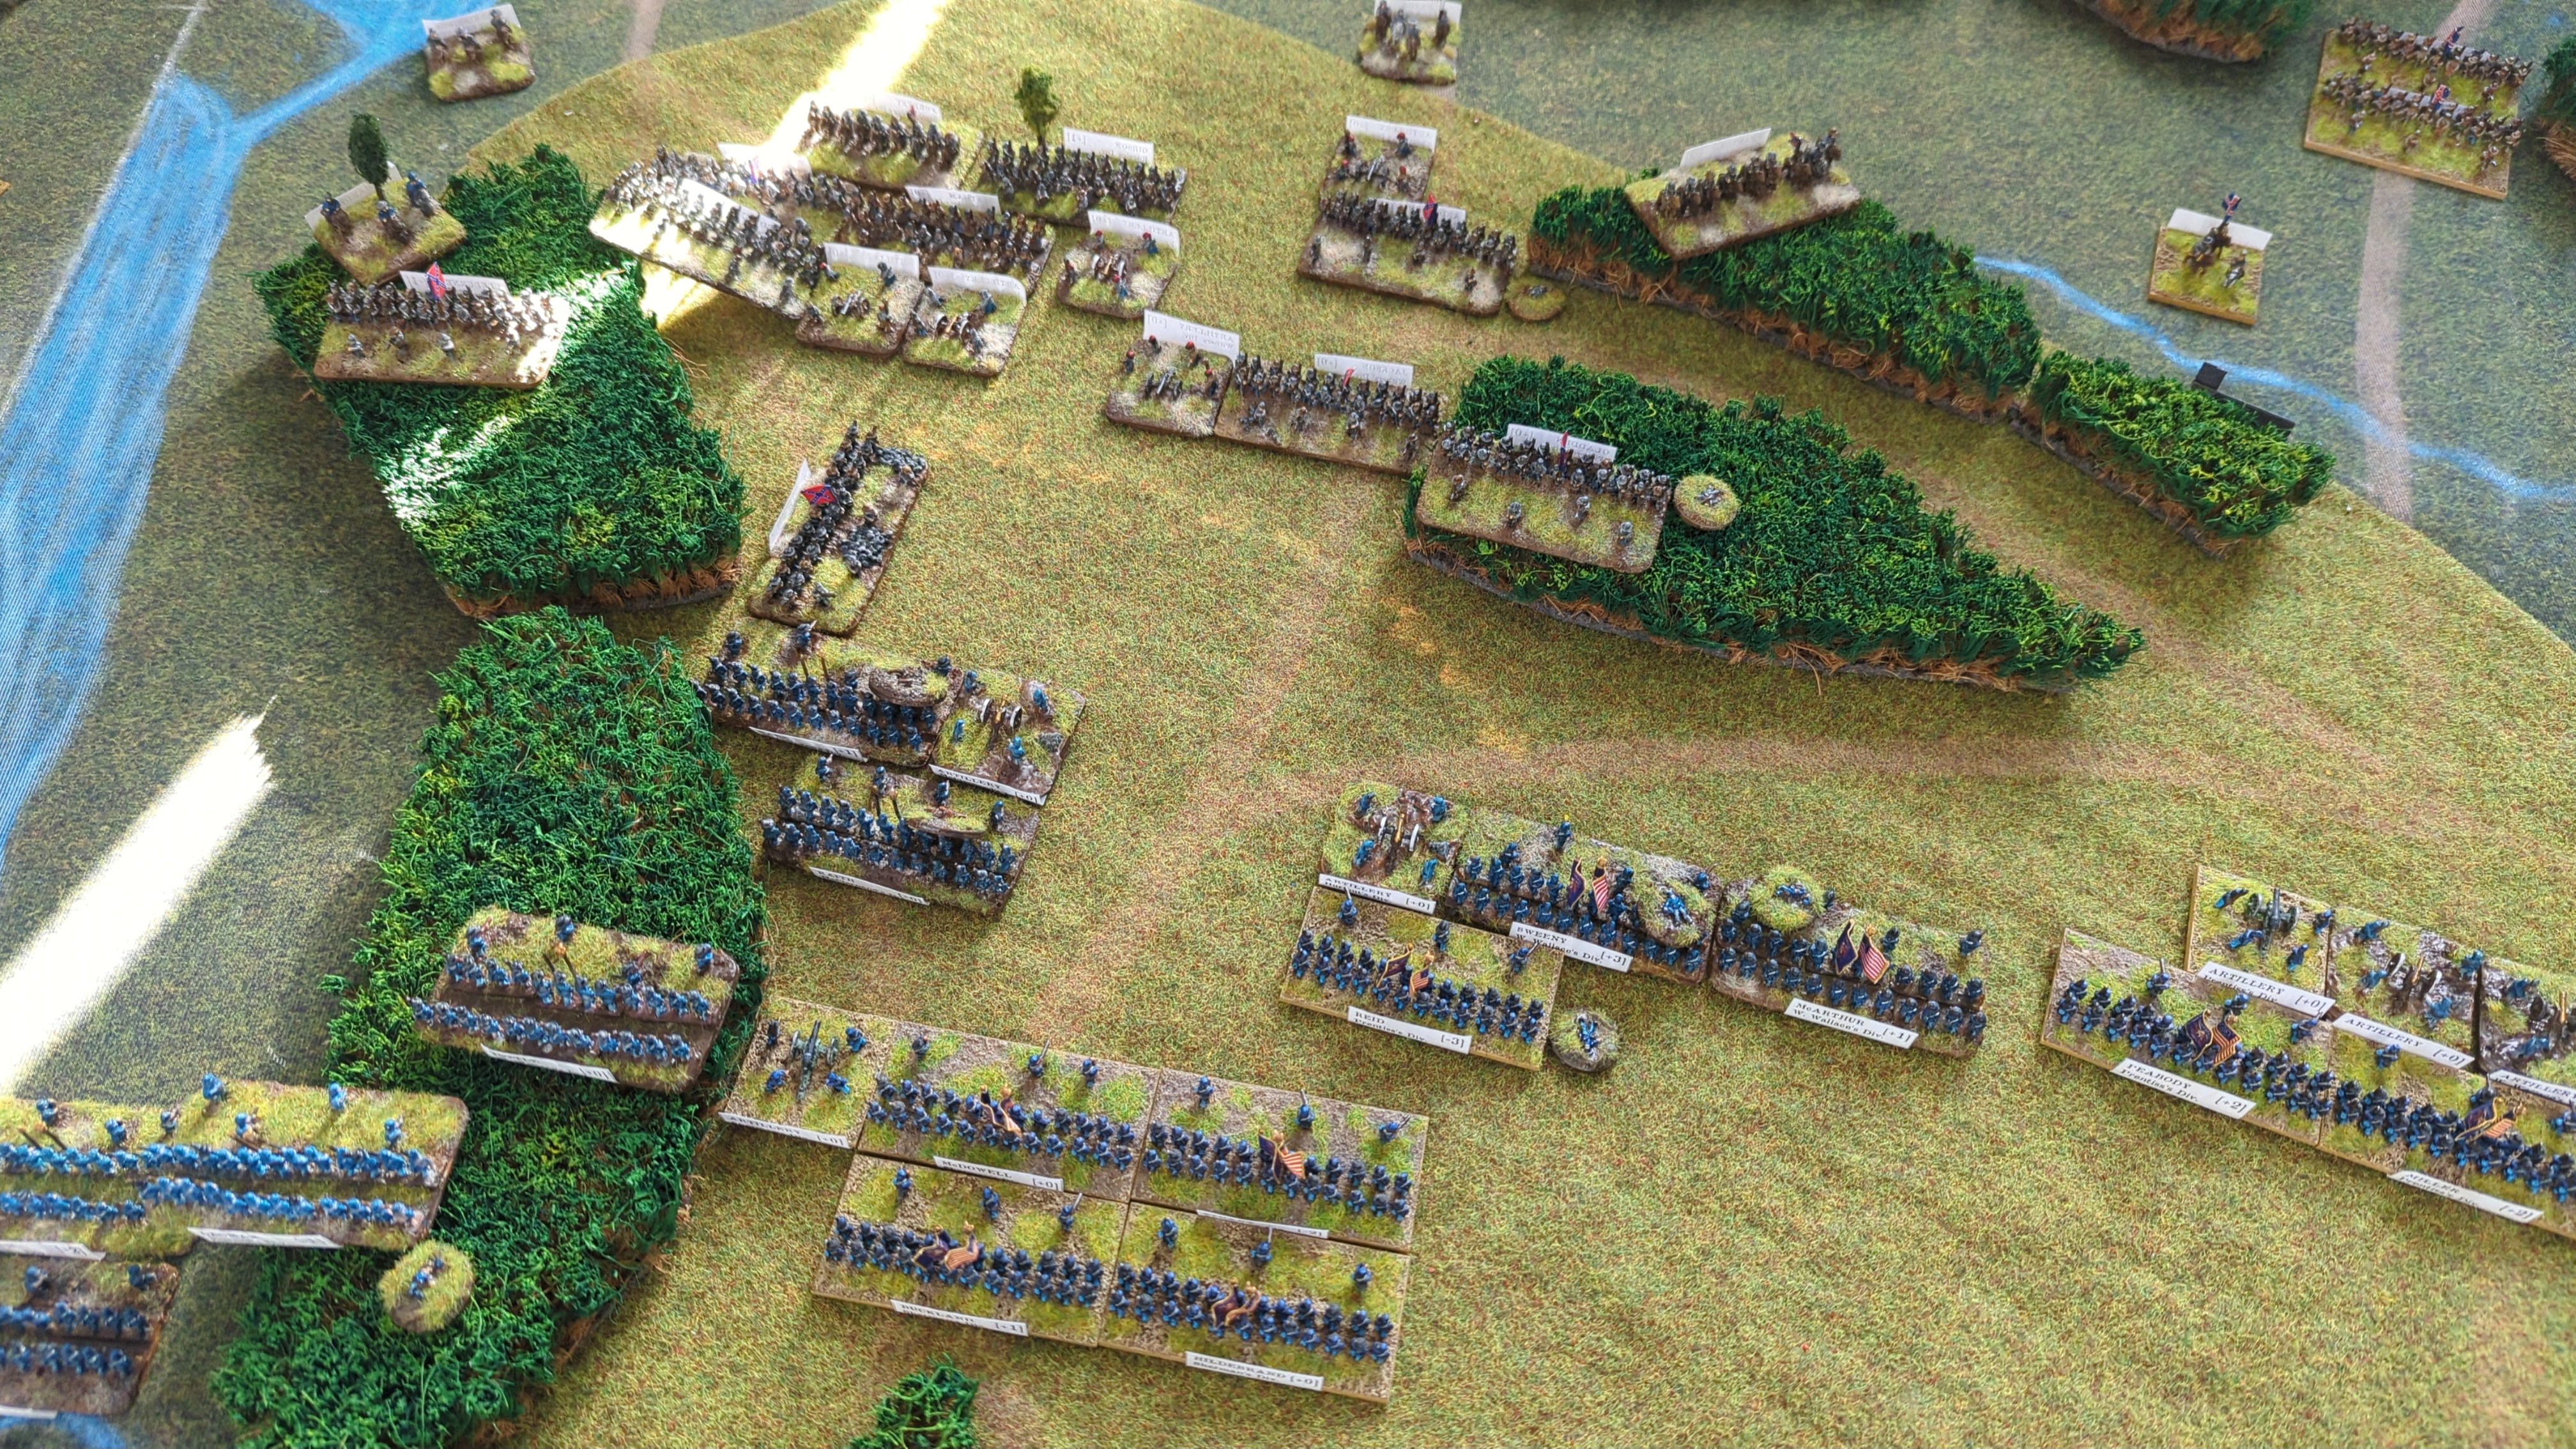
6 vs 5.
The Confederates recoiled.
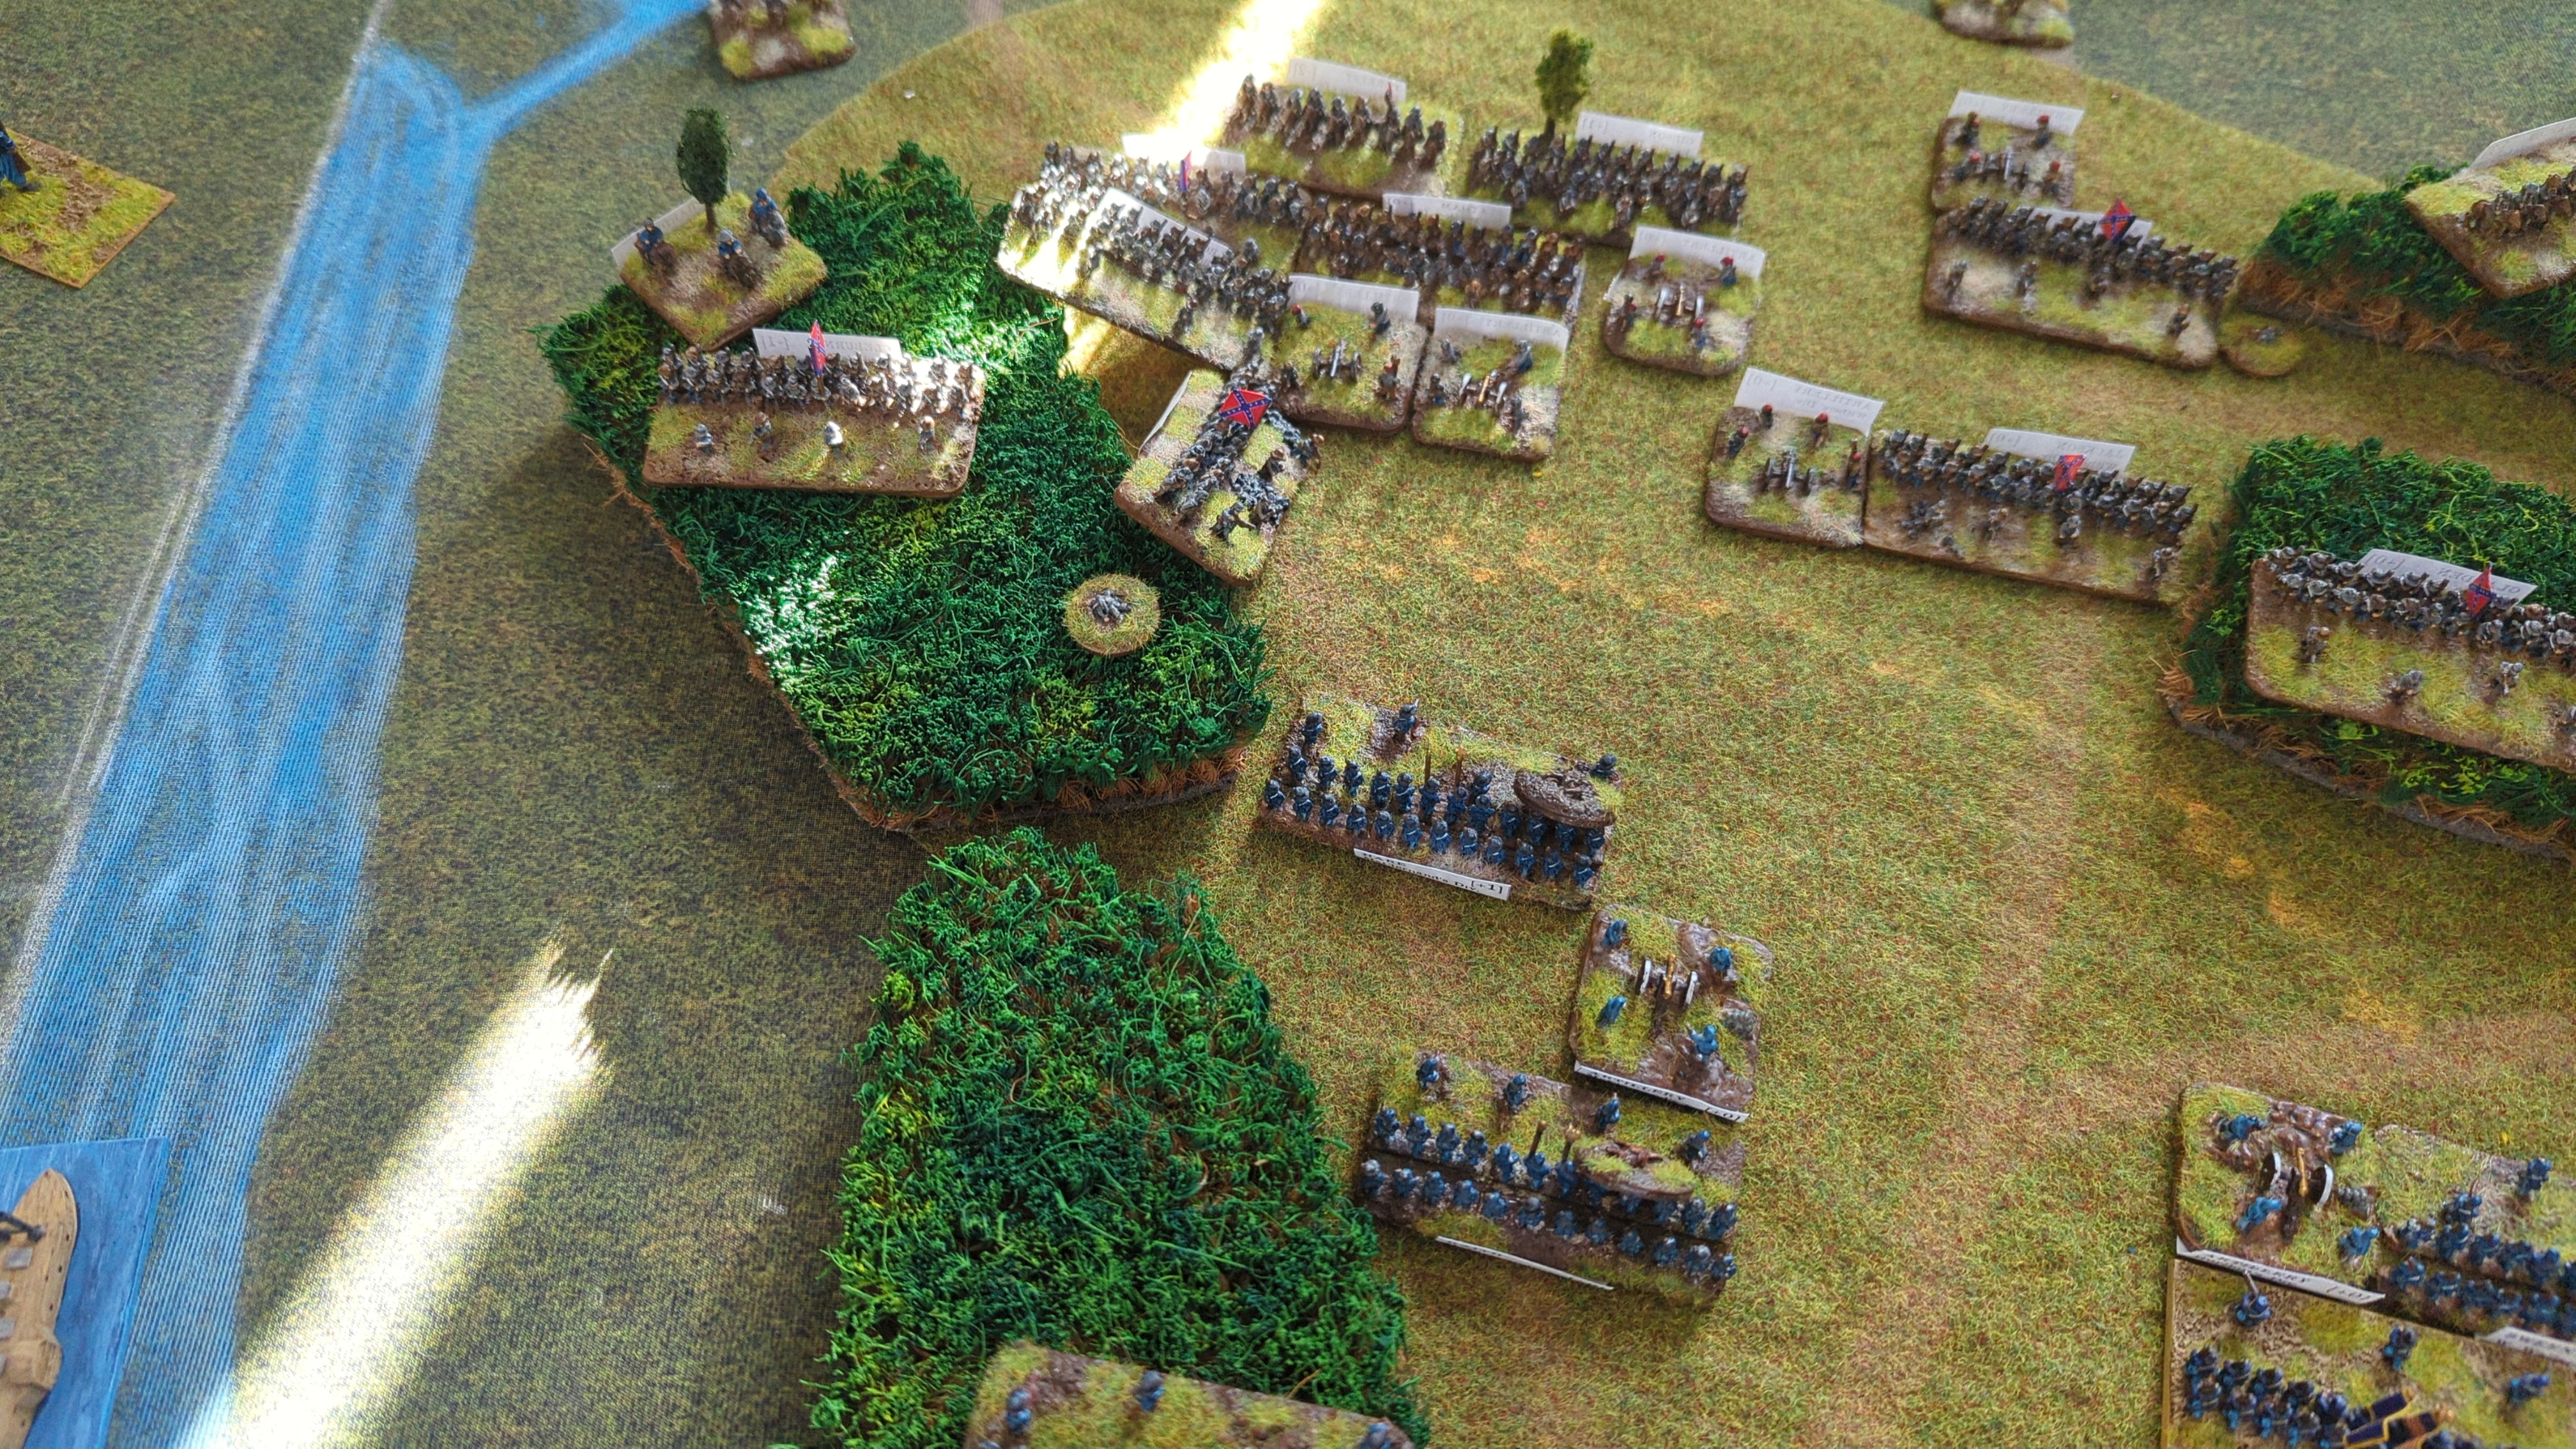
Rolled 6 and 3: 12 - 6 = 6.
Bid 4
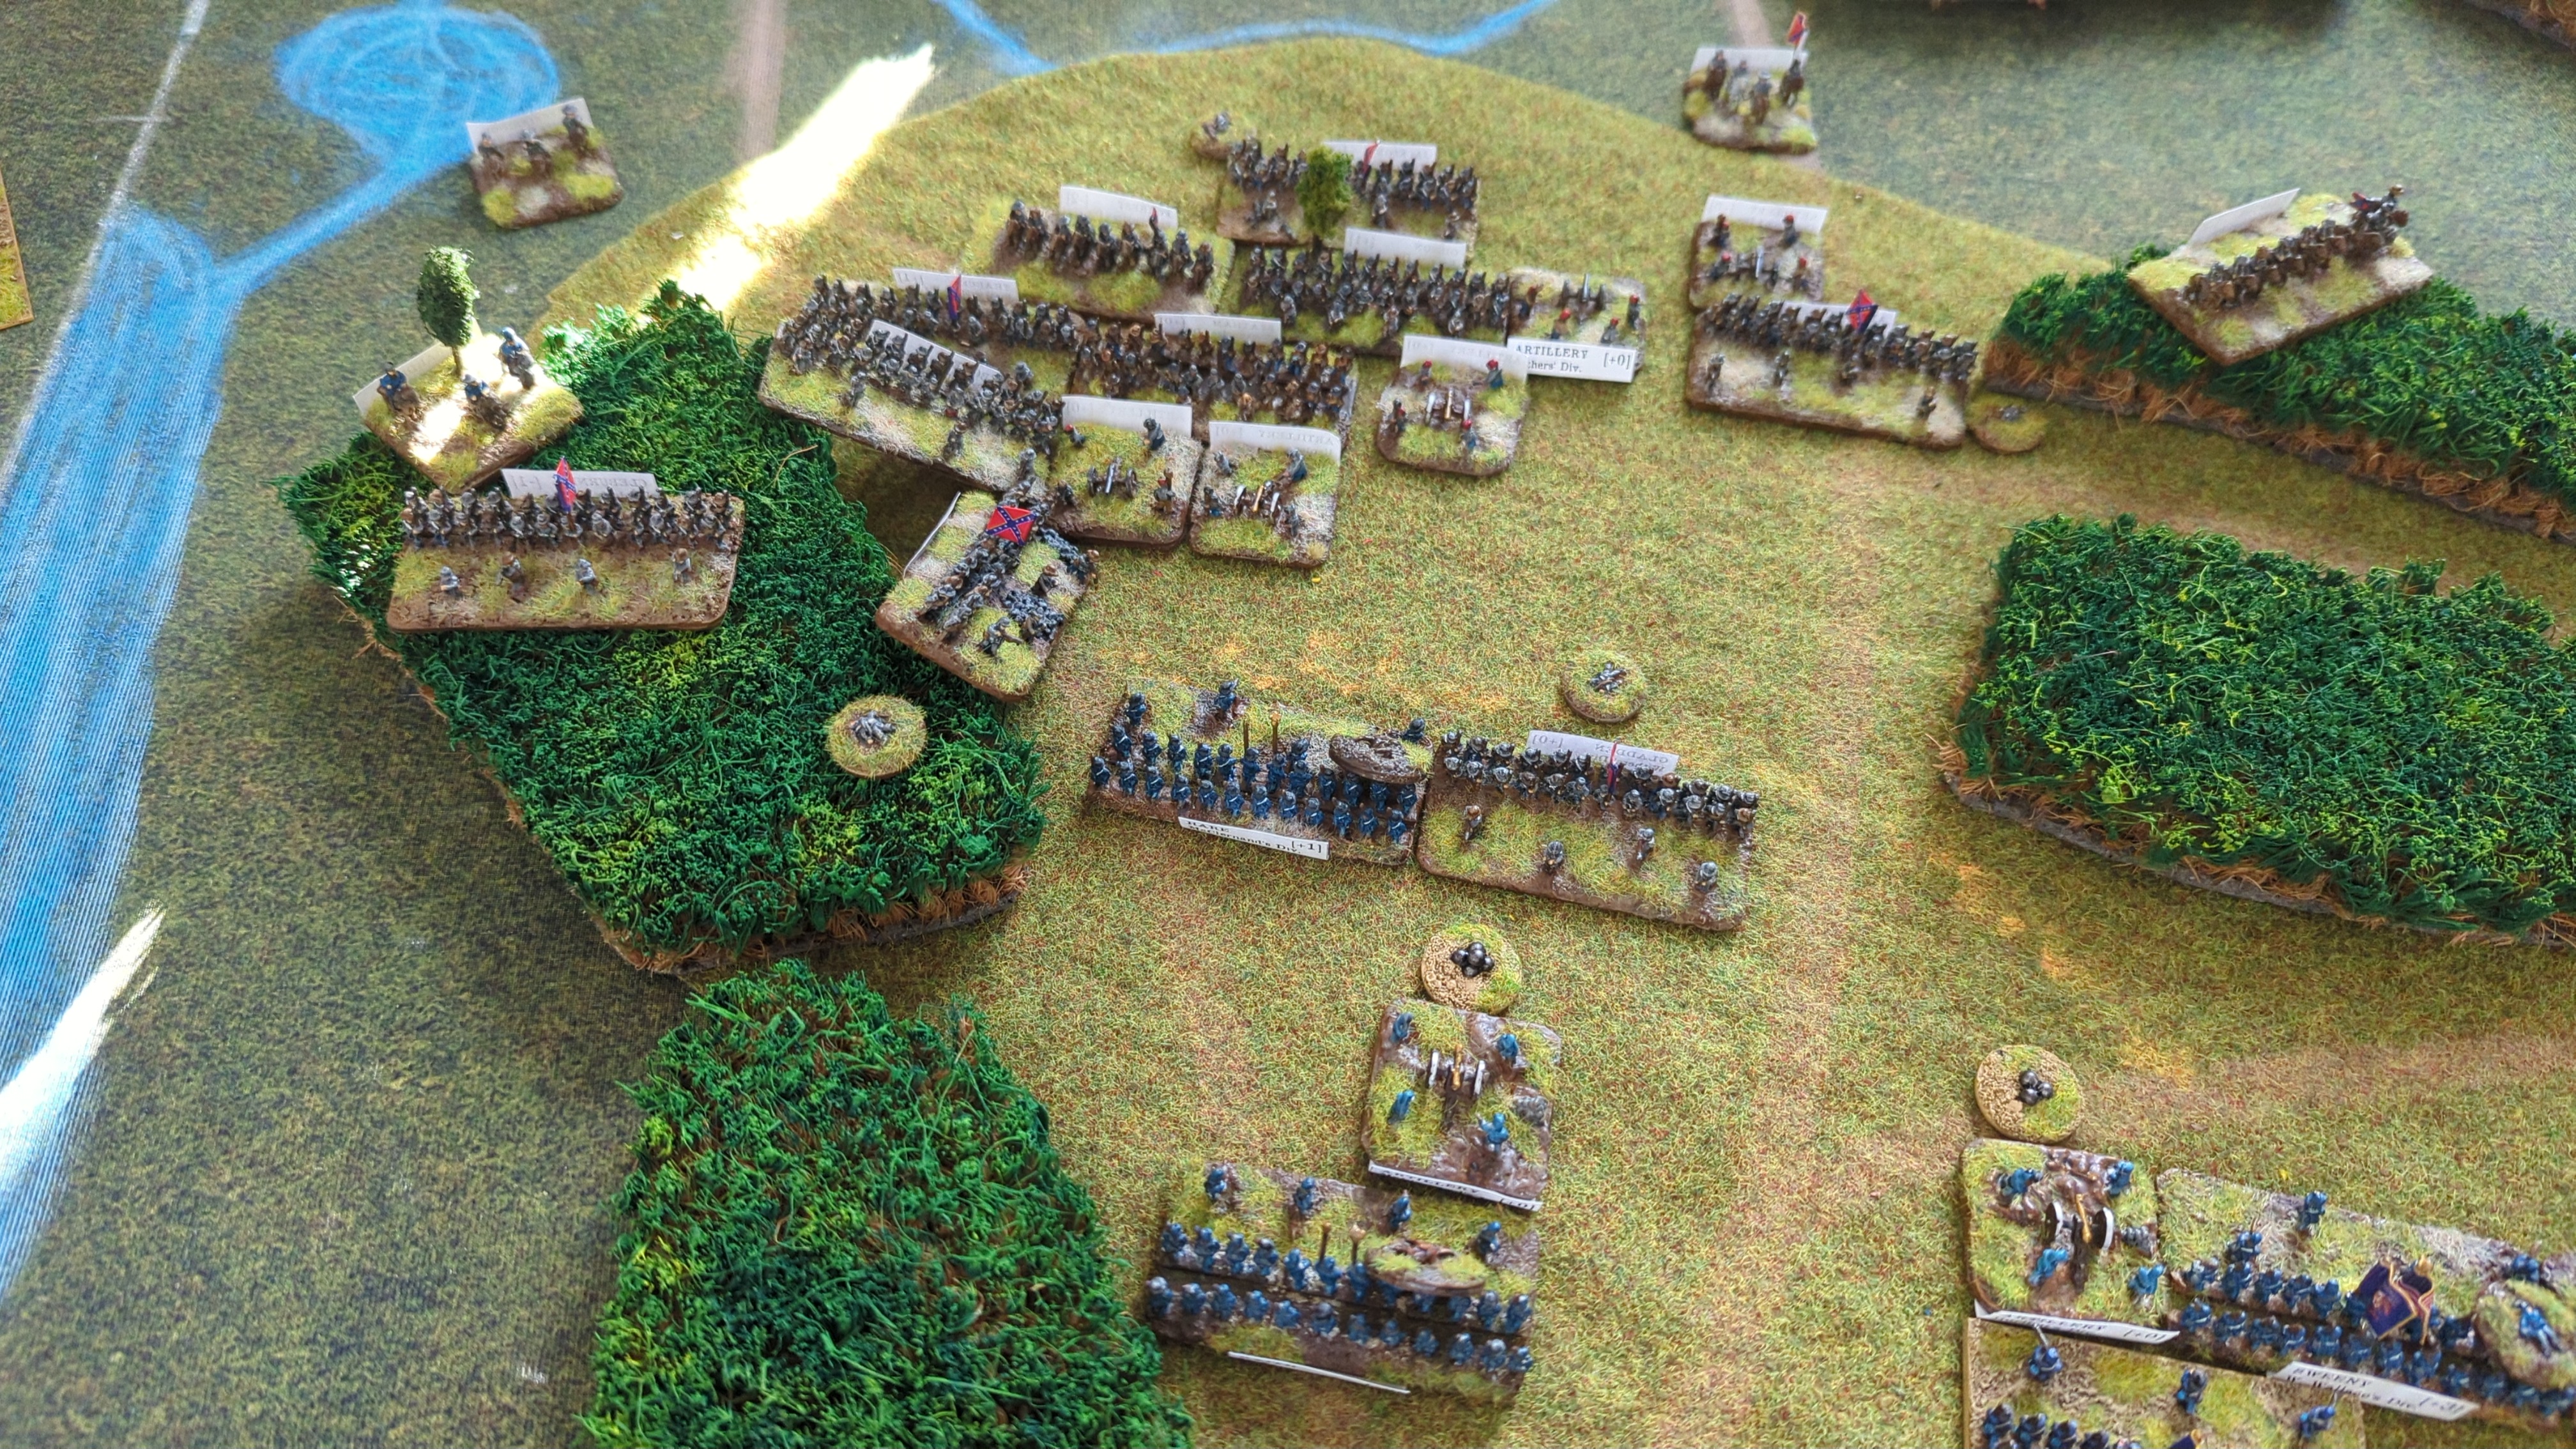
Withers and Clark activated.
The artillery fired interrupt fire and was silenced.
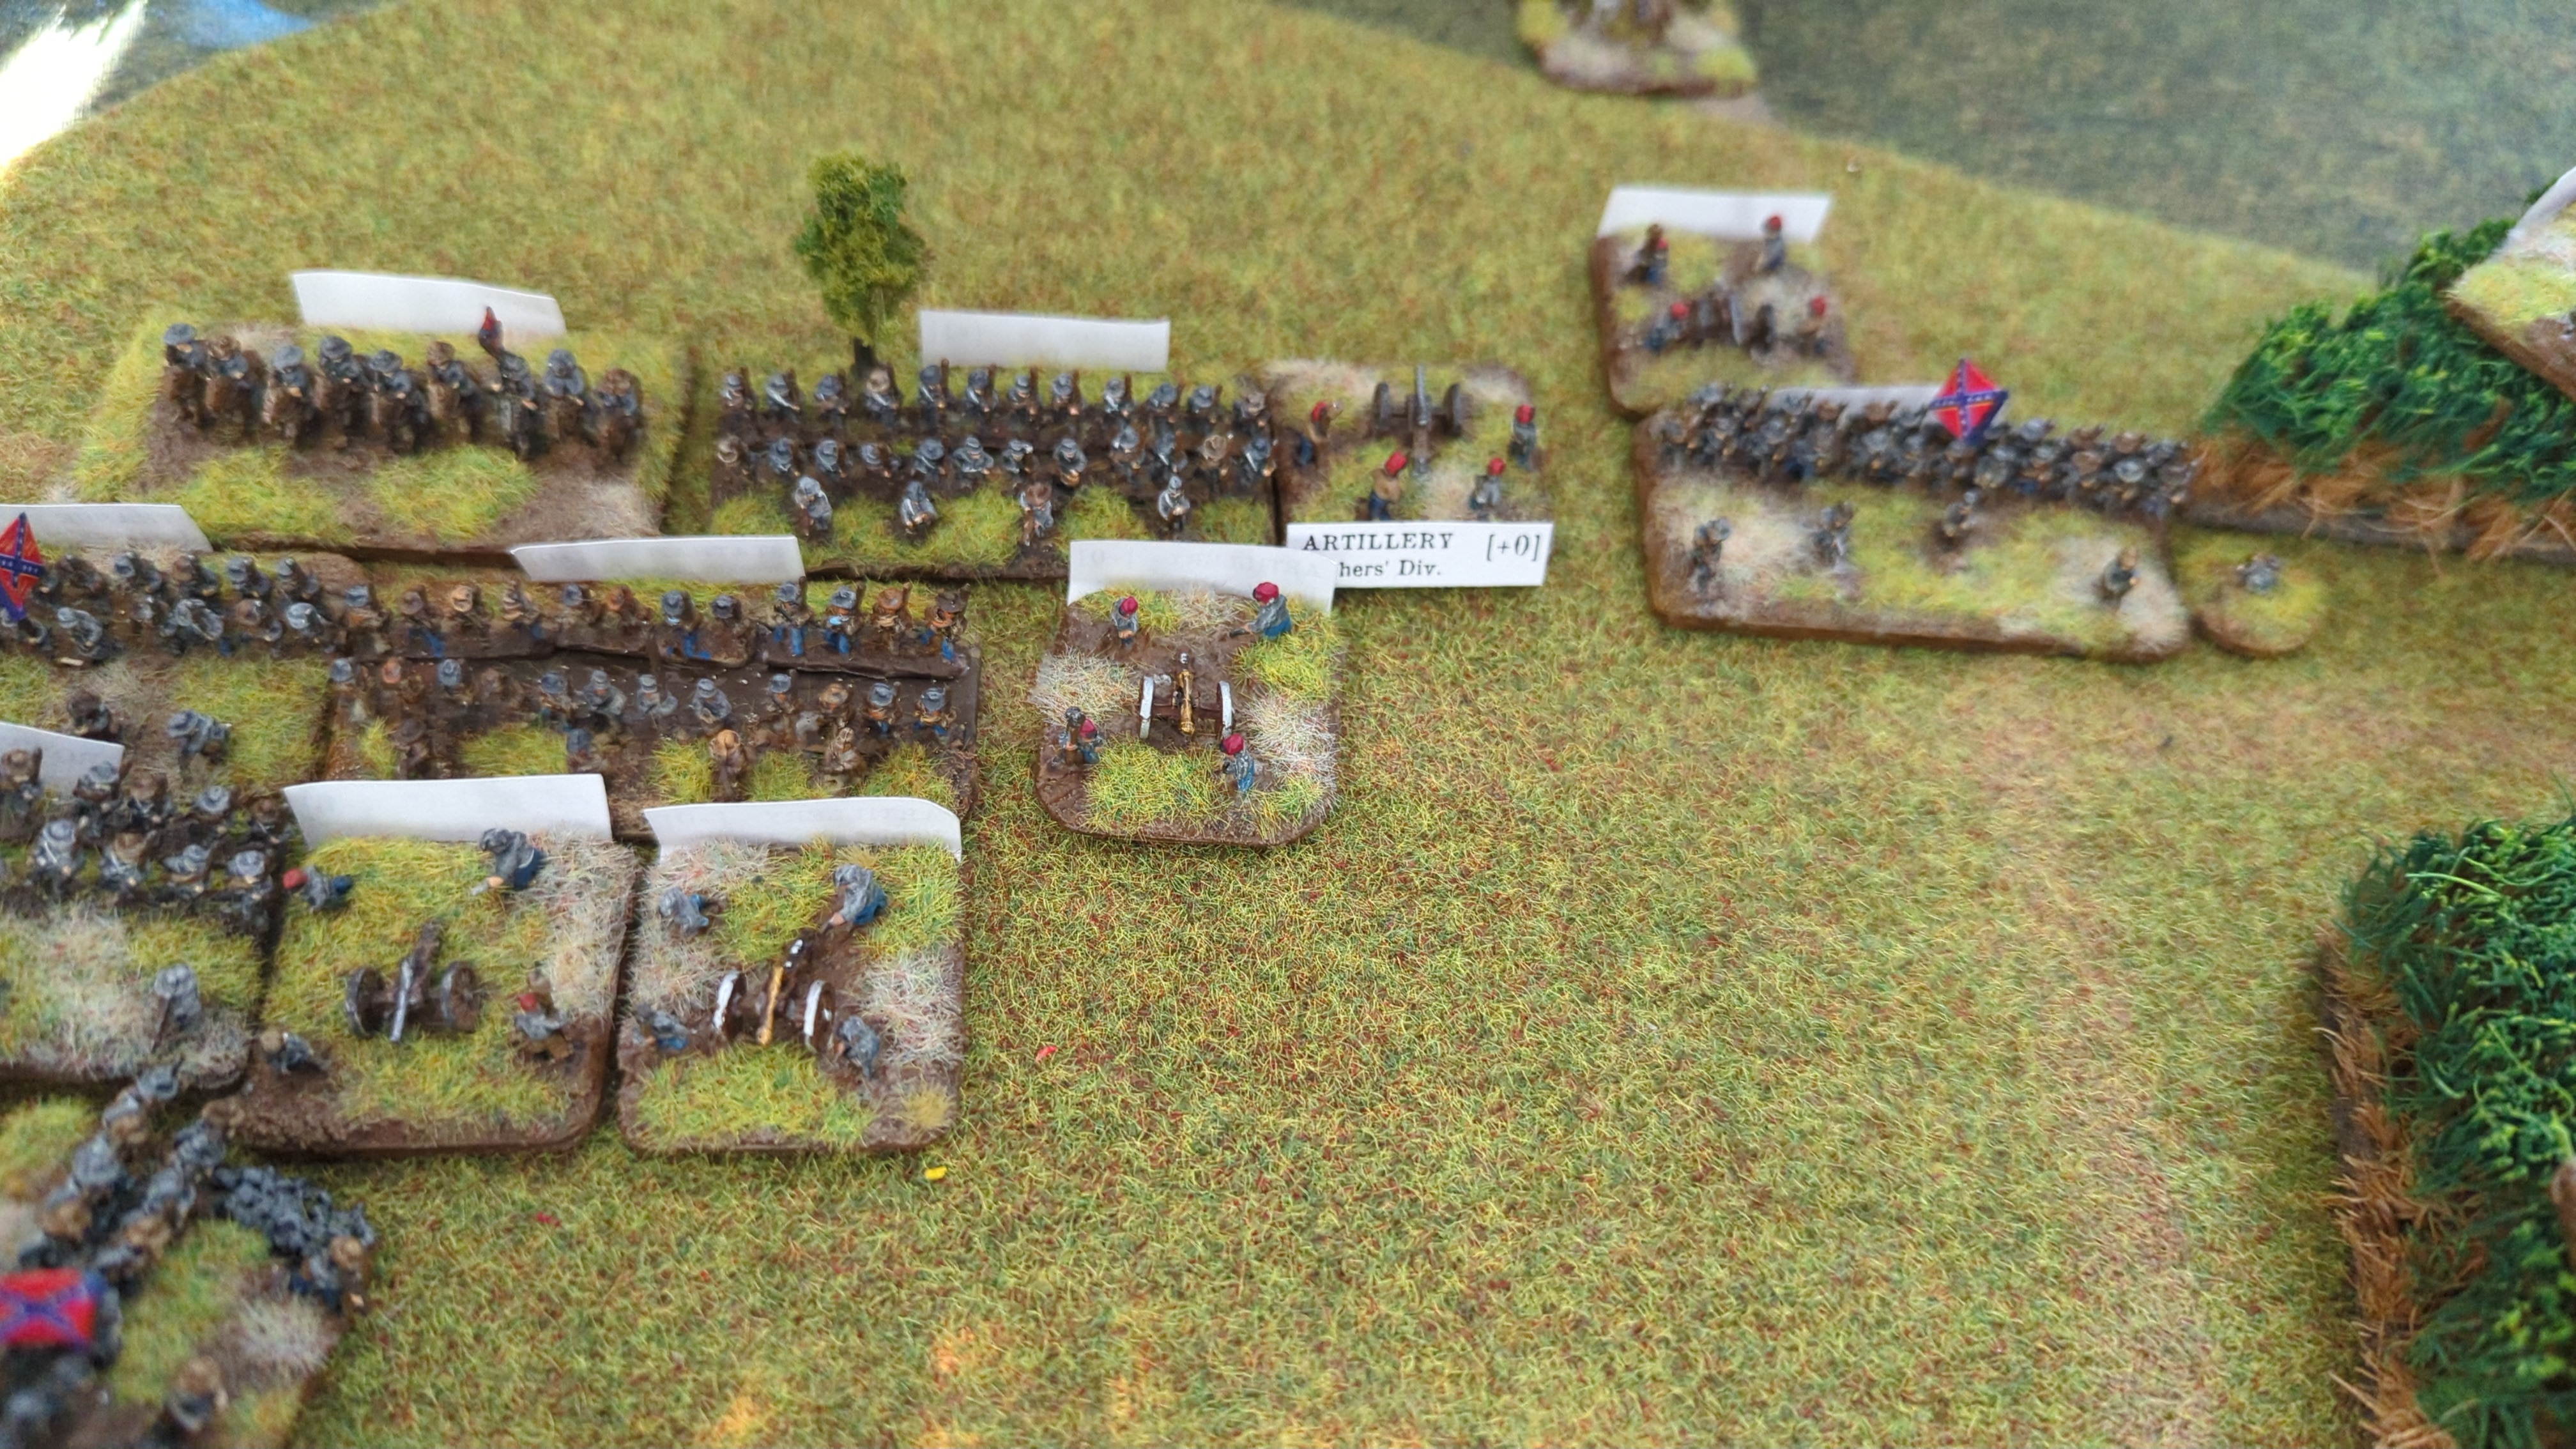
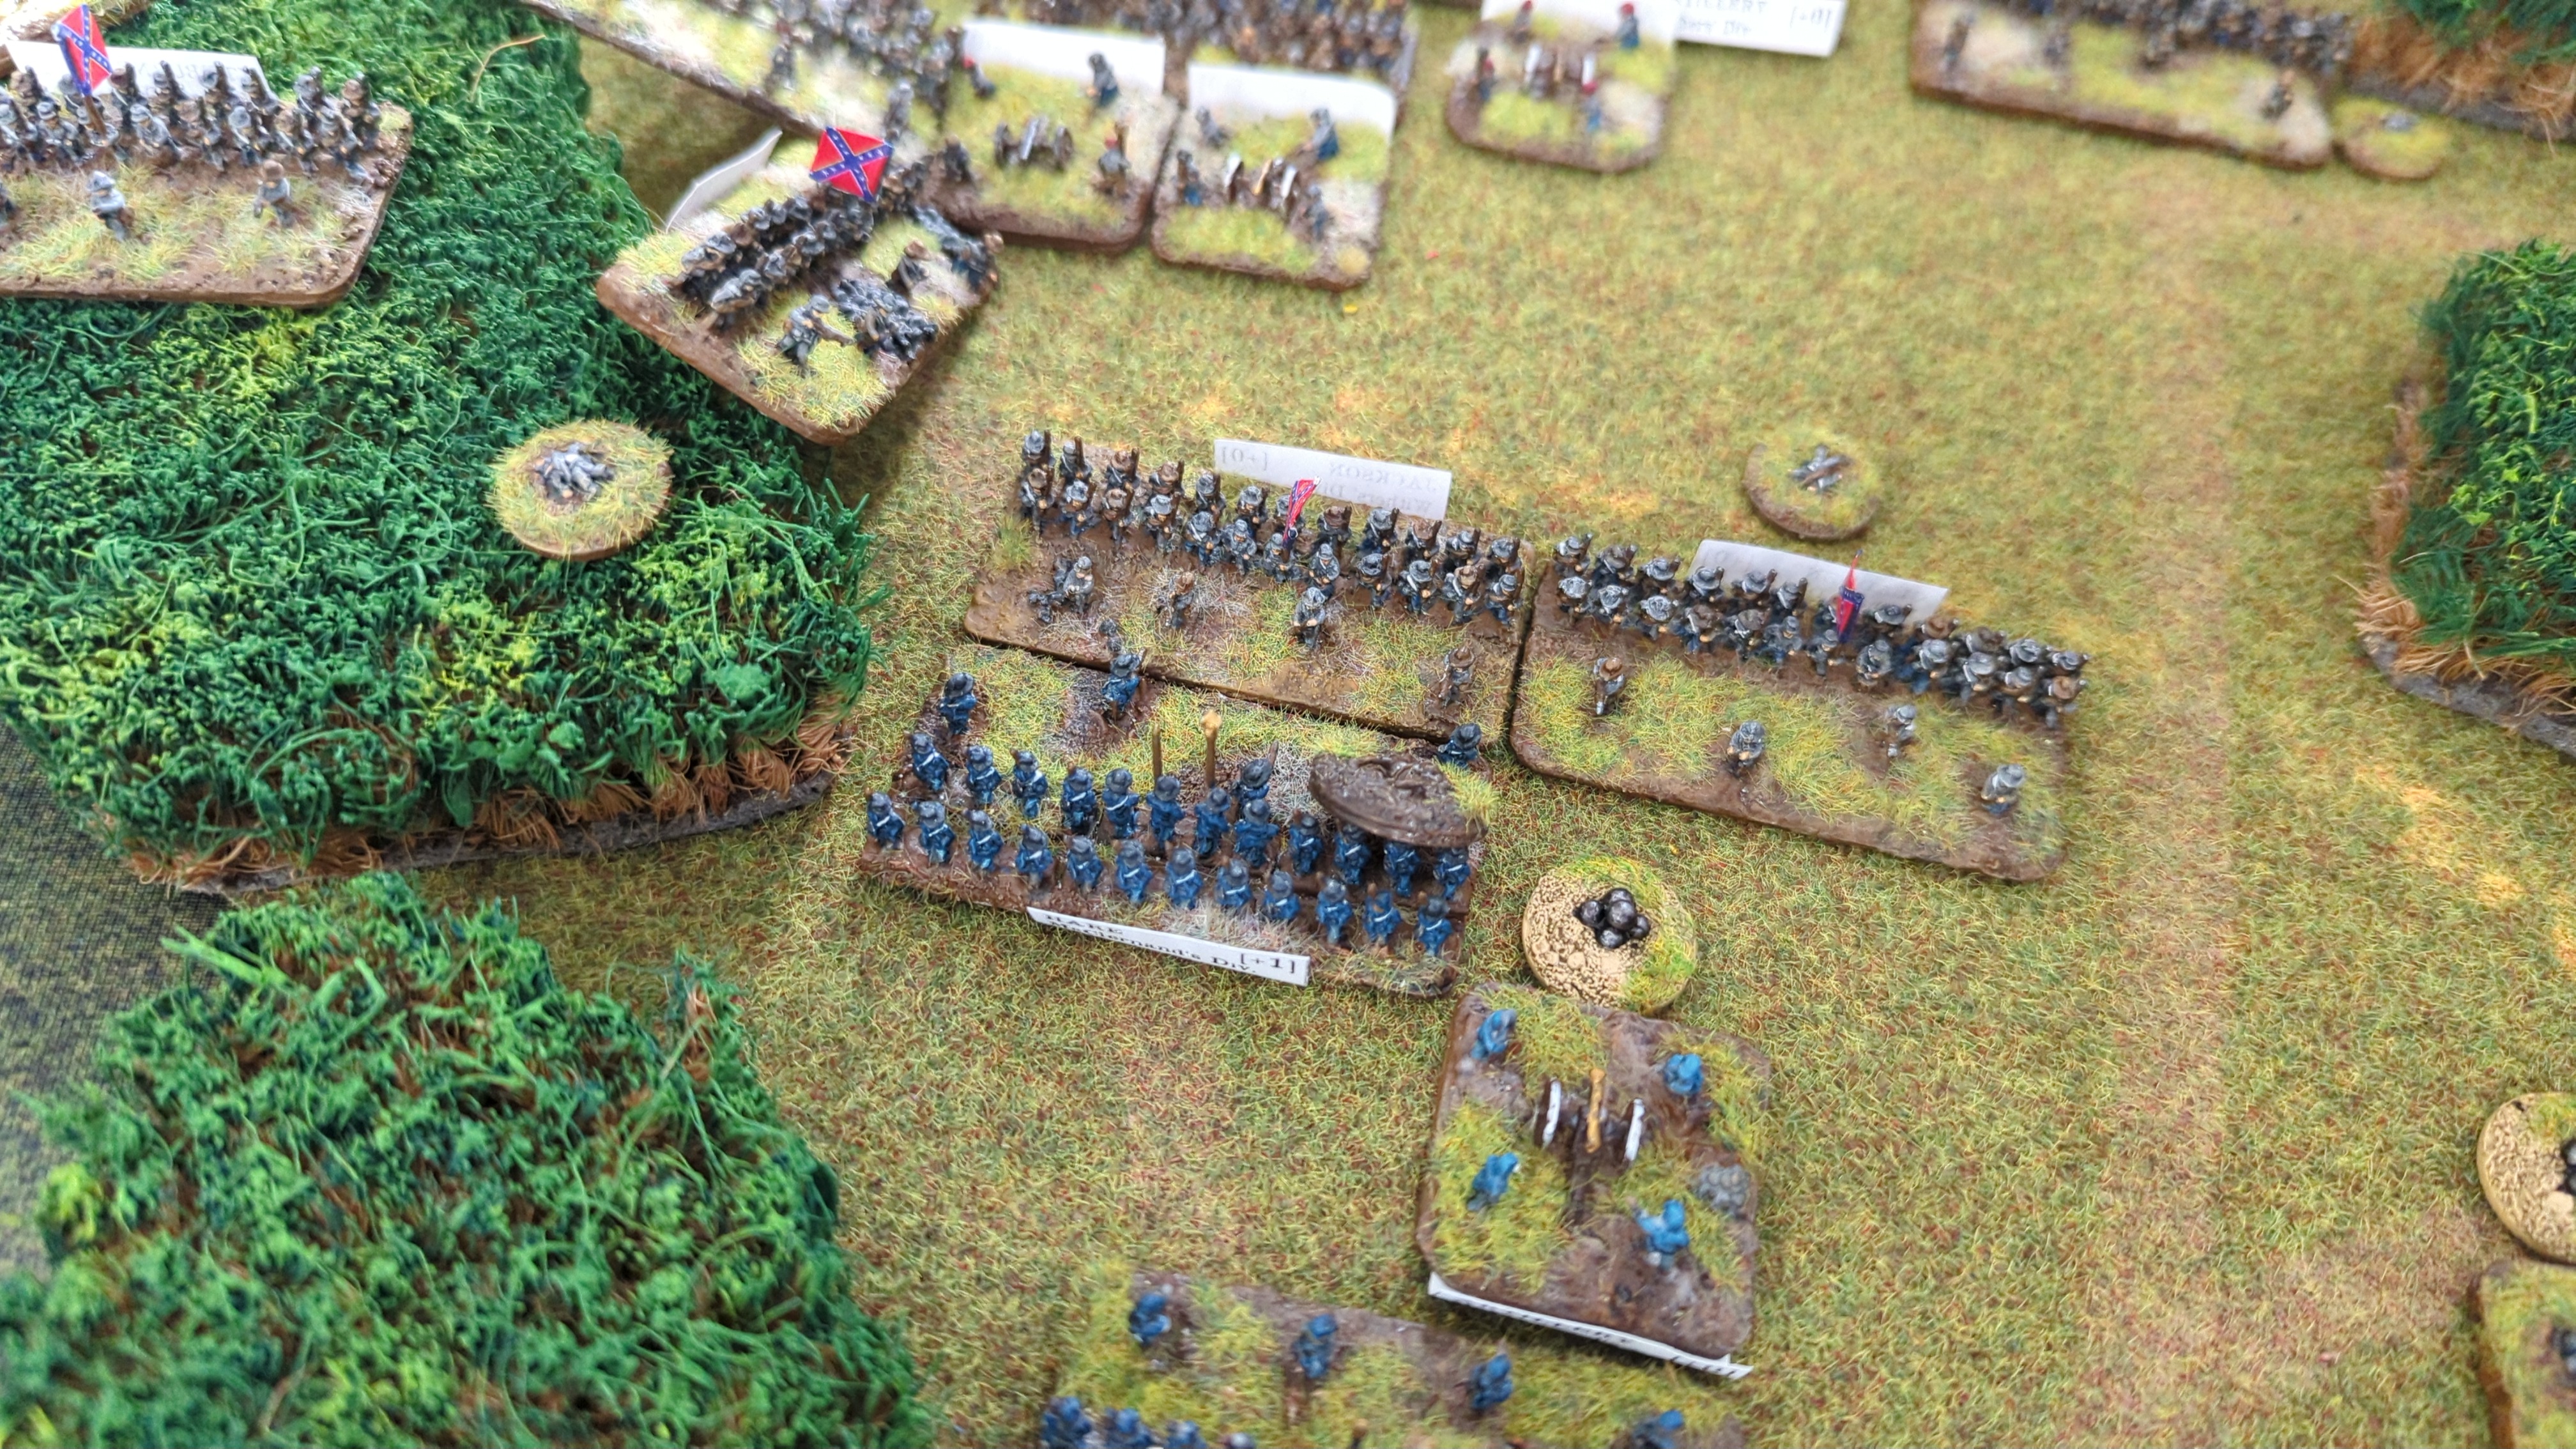
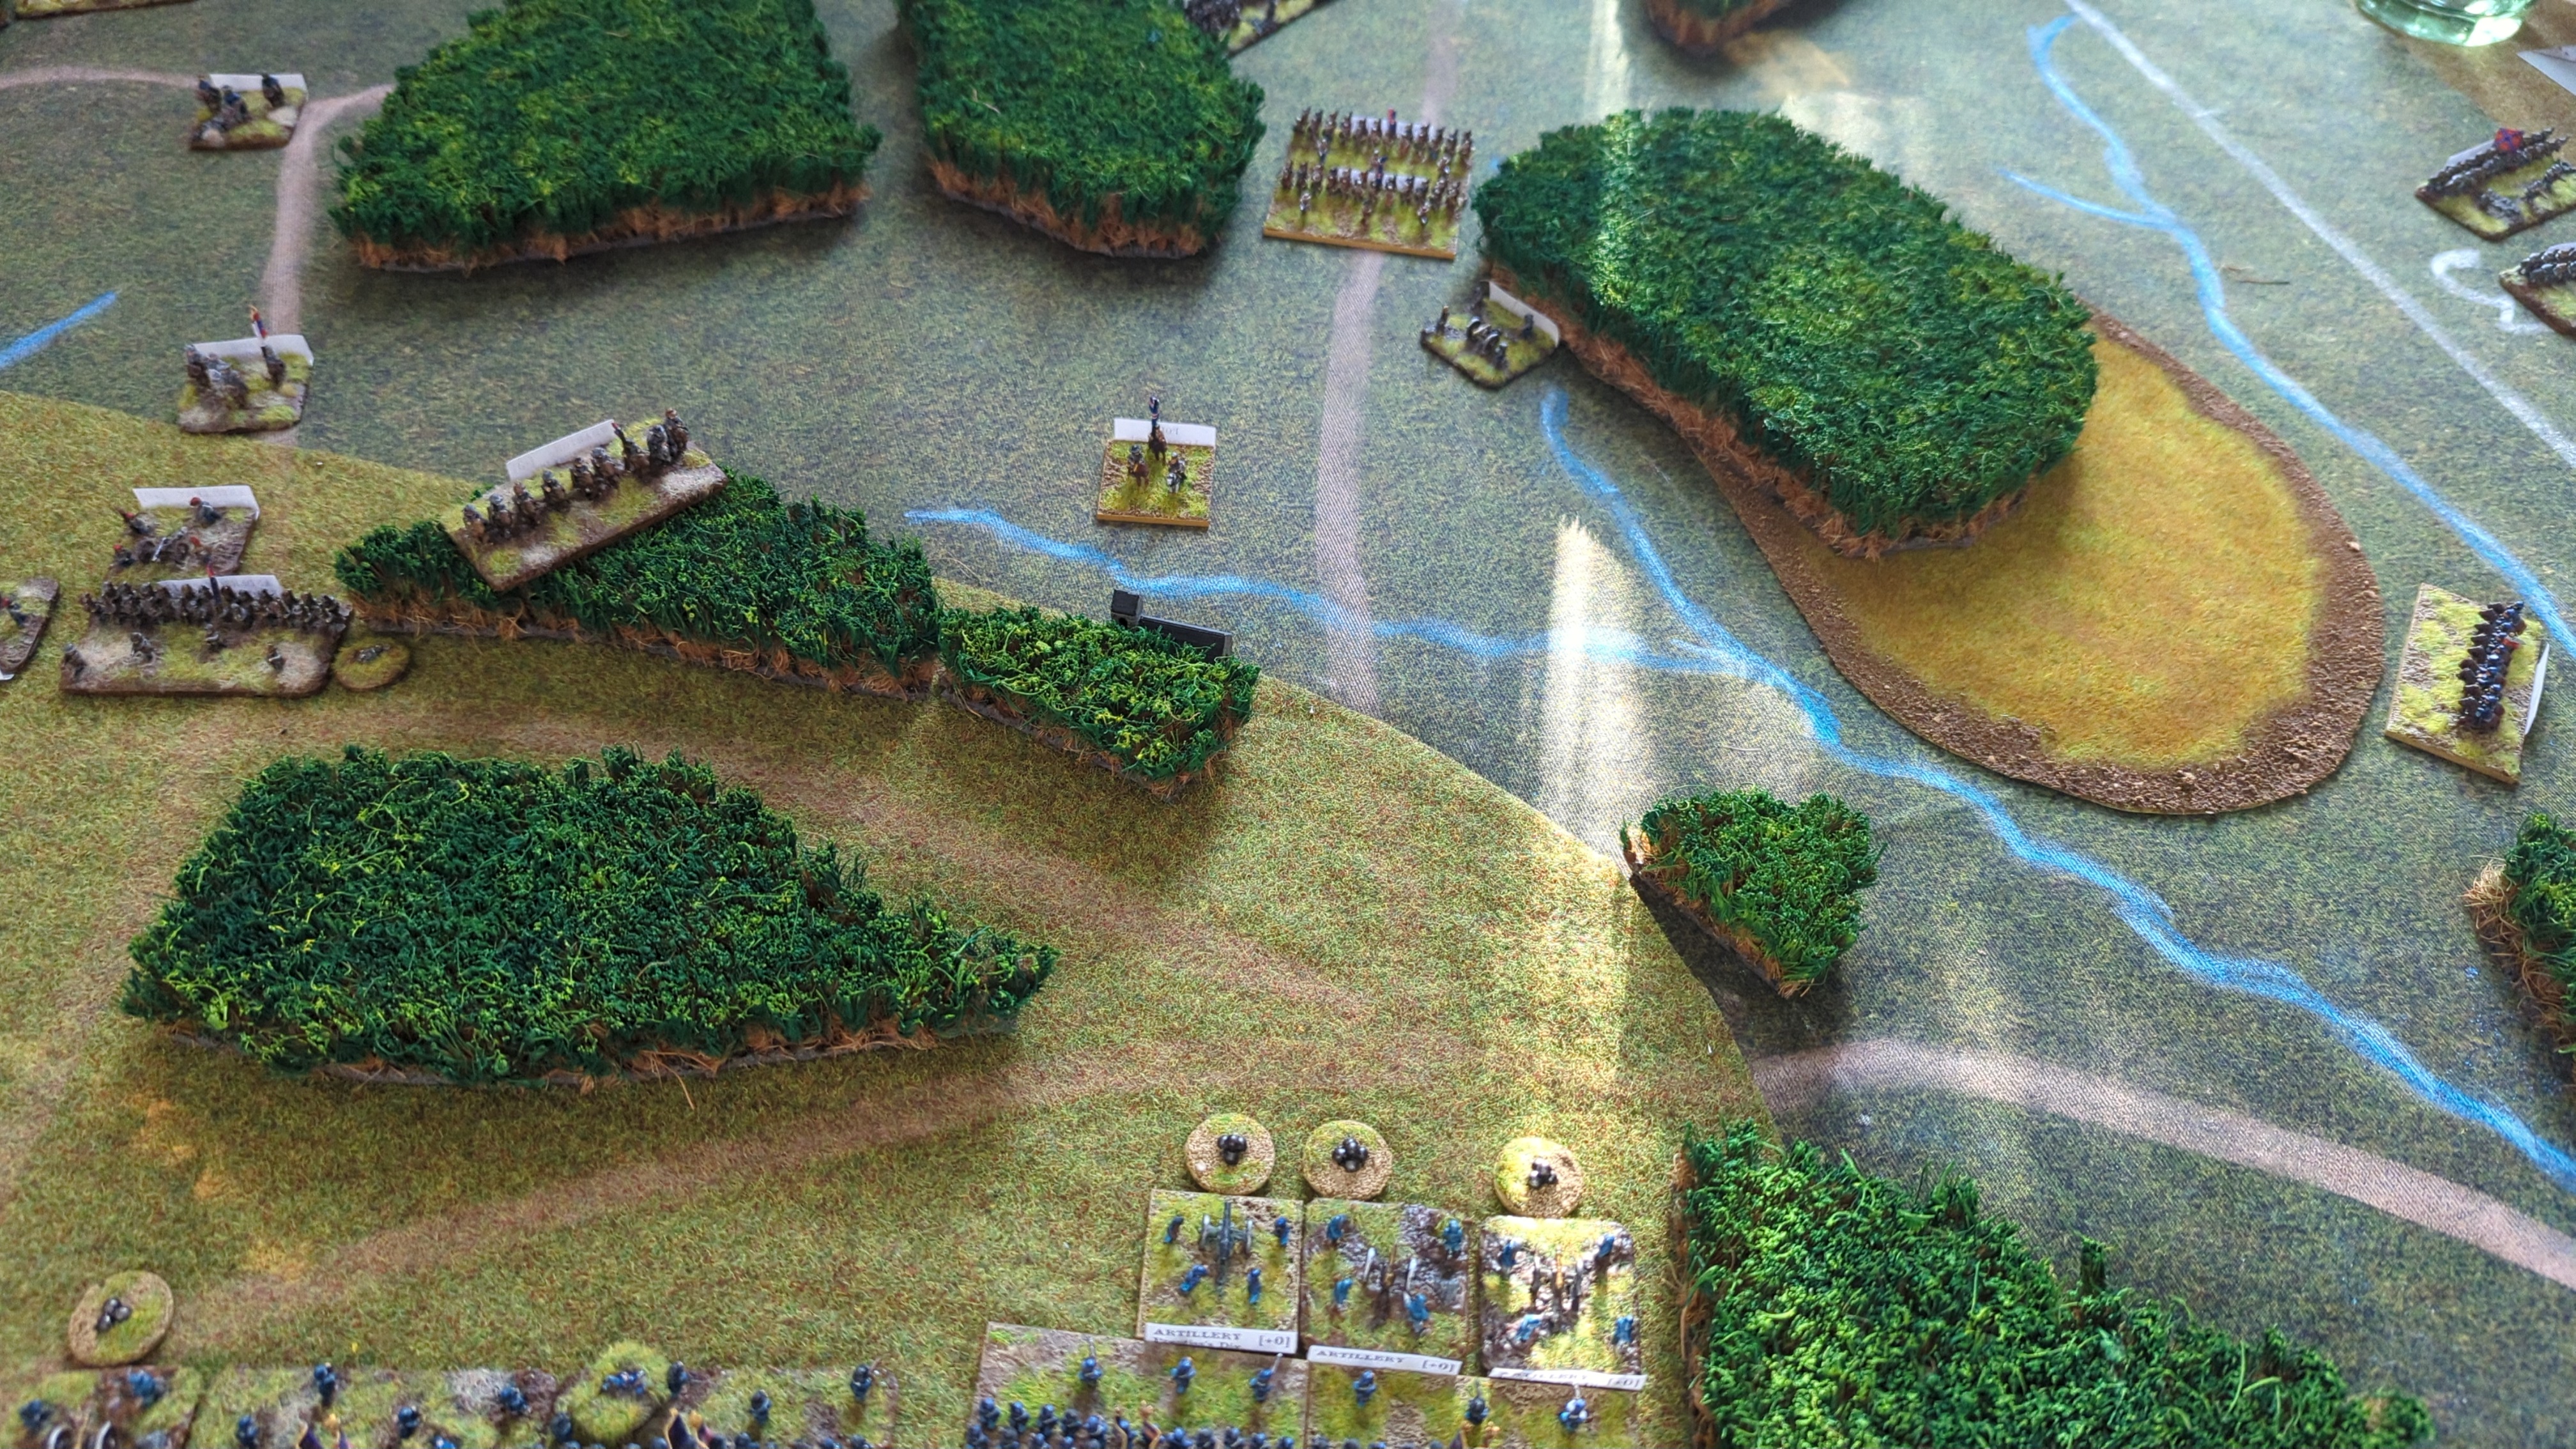
Both Confederate infantry units recoiled from the artillery's interrupt fire.
4 vs 3.
Rolled 6 and 6: 0.
End of Turn Sequence
Wood's was still broken.
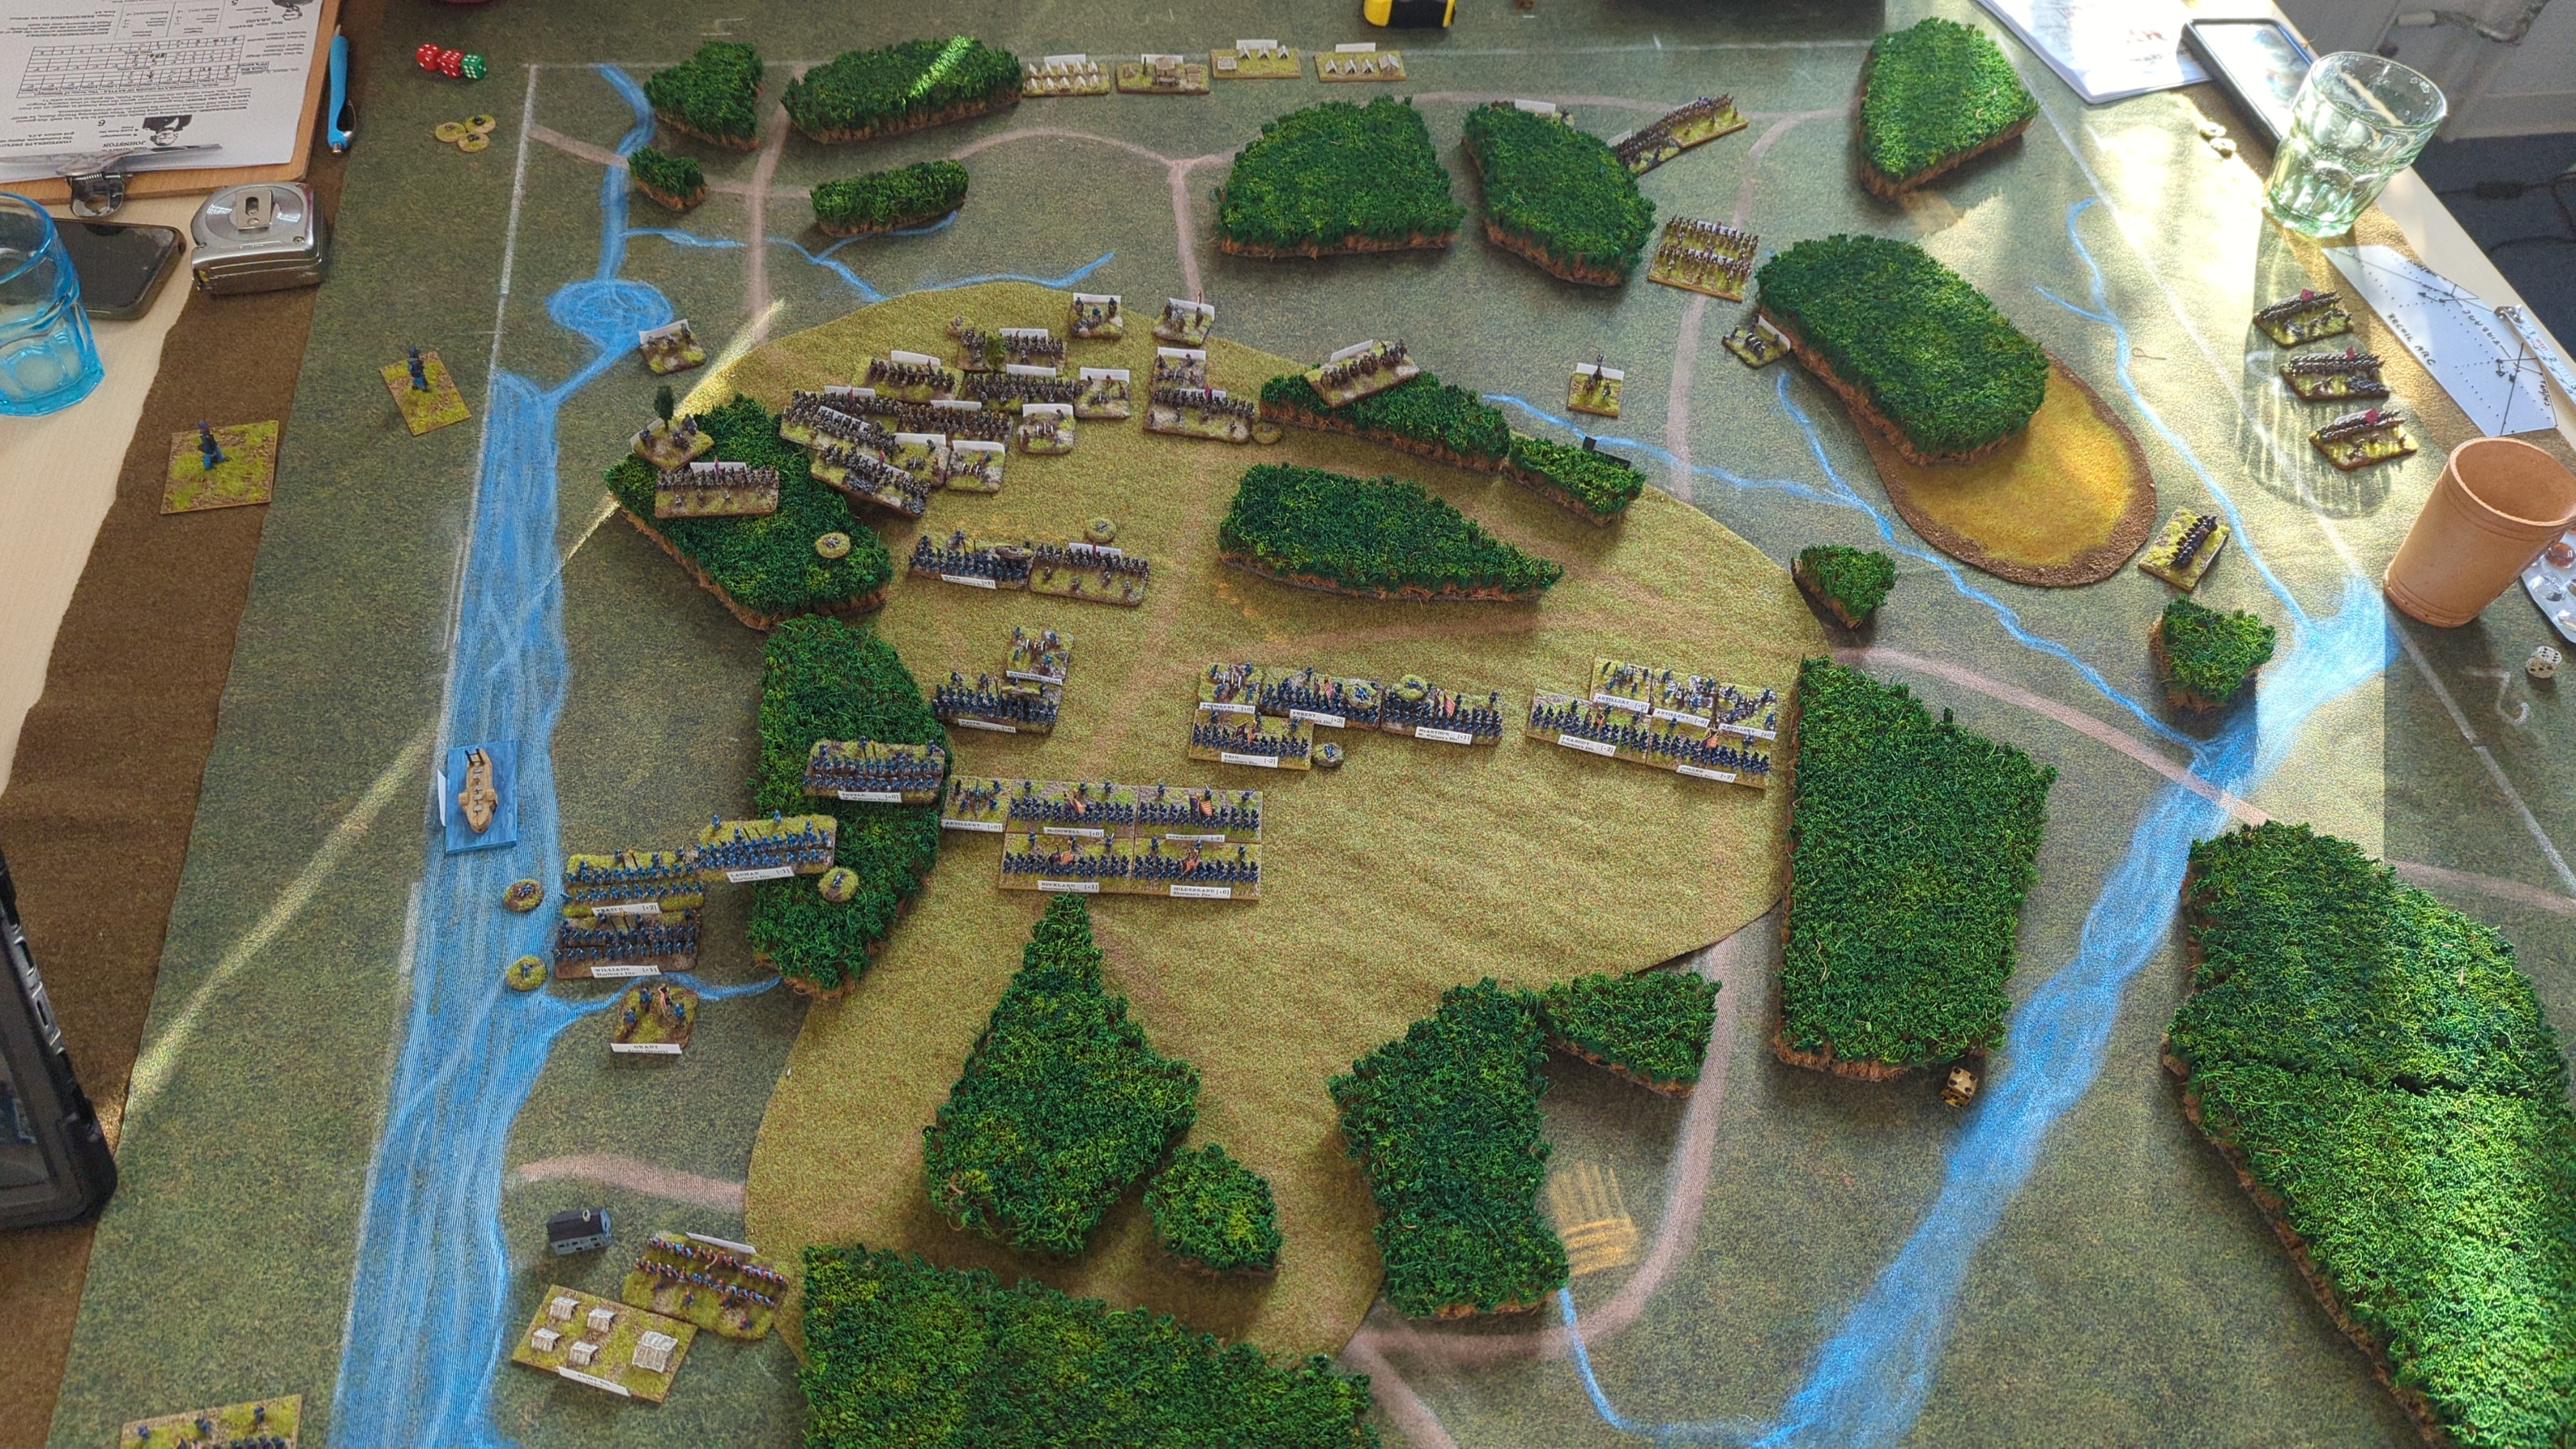
Turn 6
6 vs 5: the Union kept the watch.
Bid 6
McClernand activated.
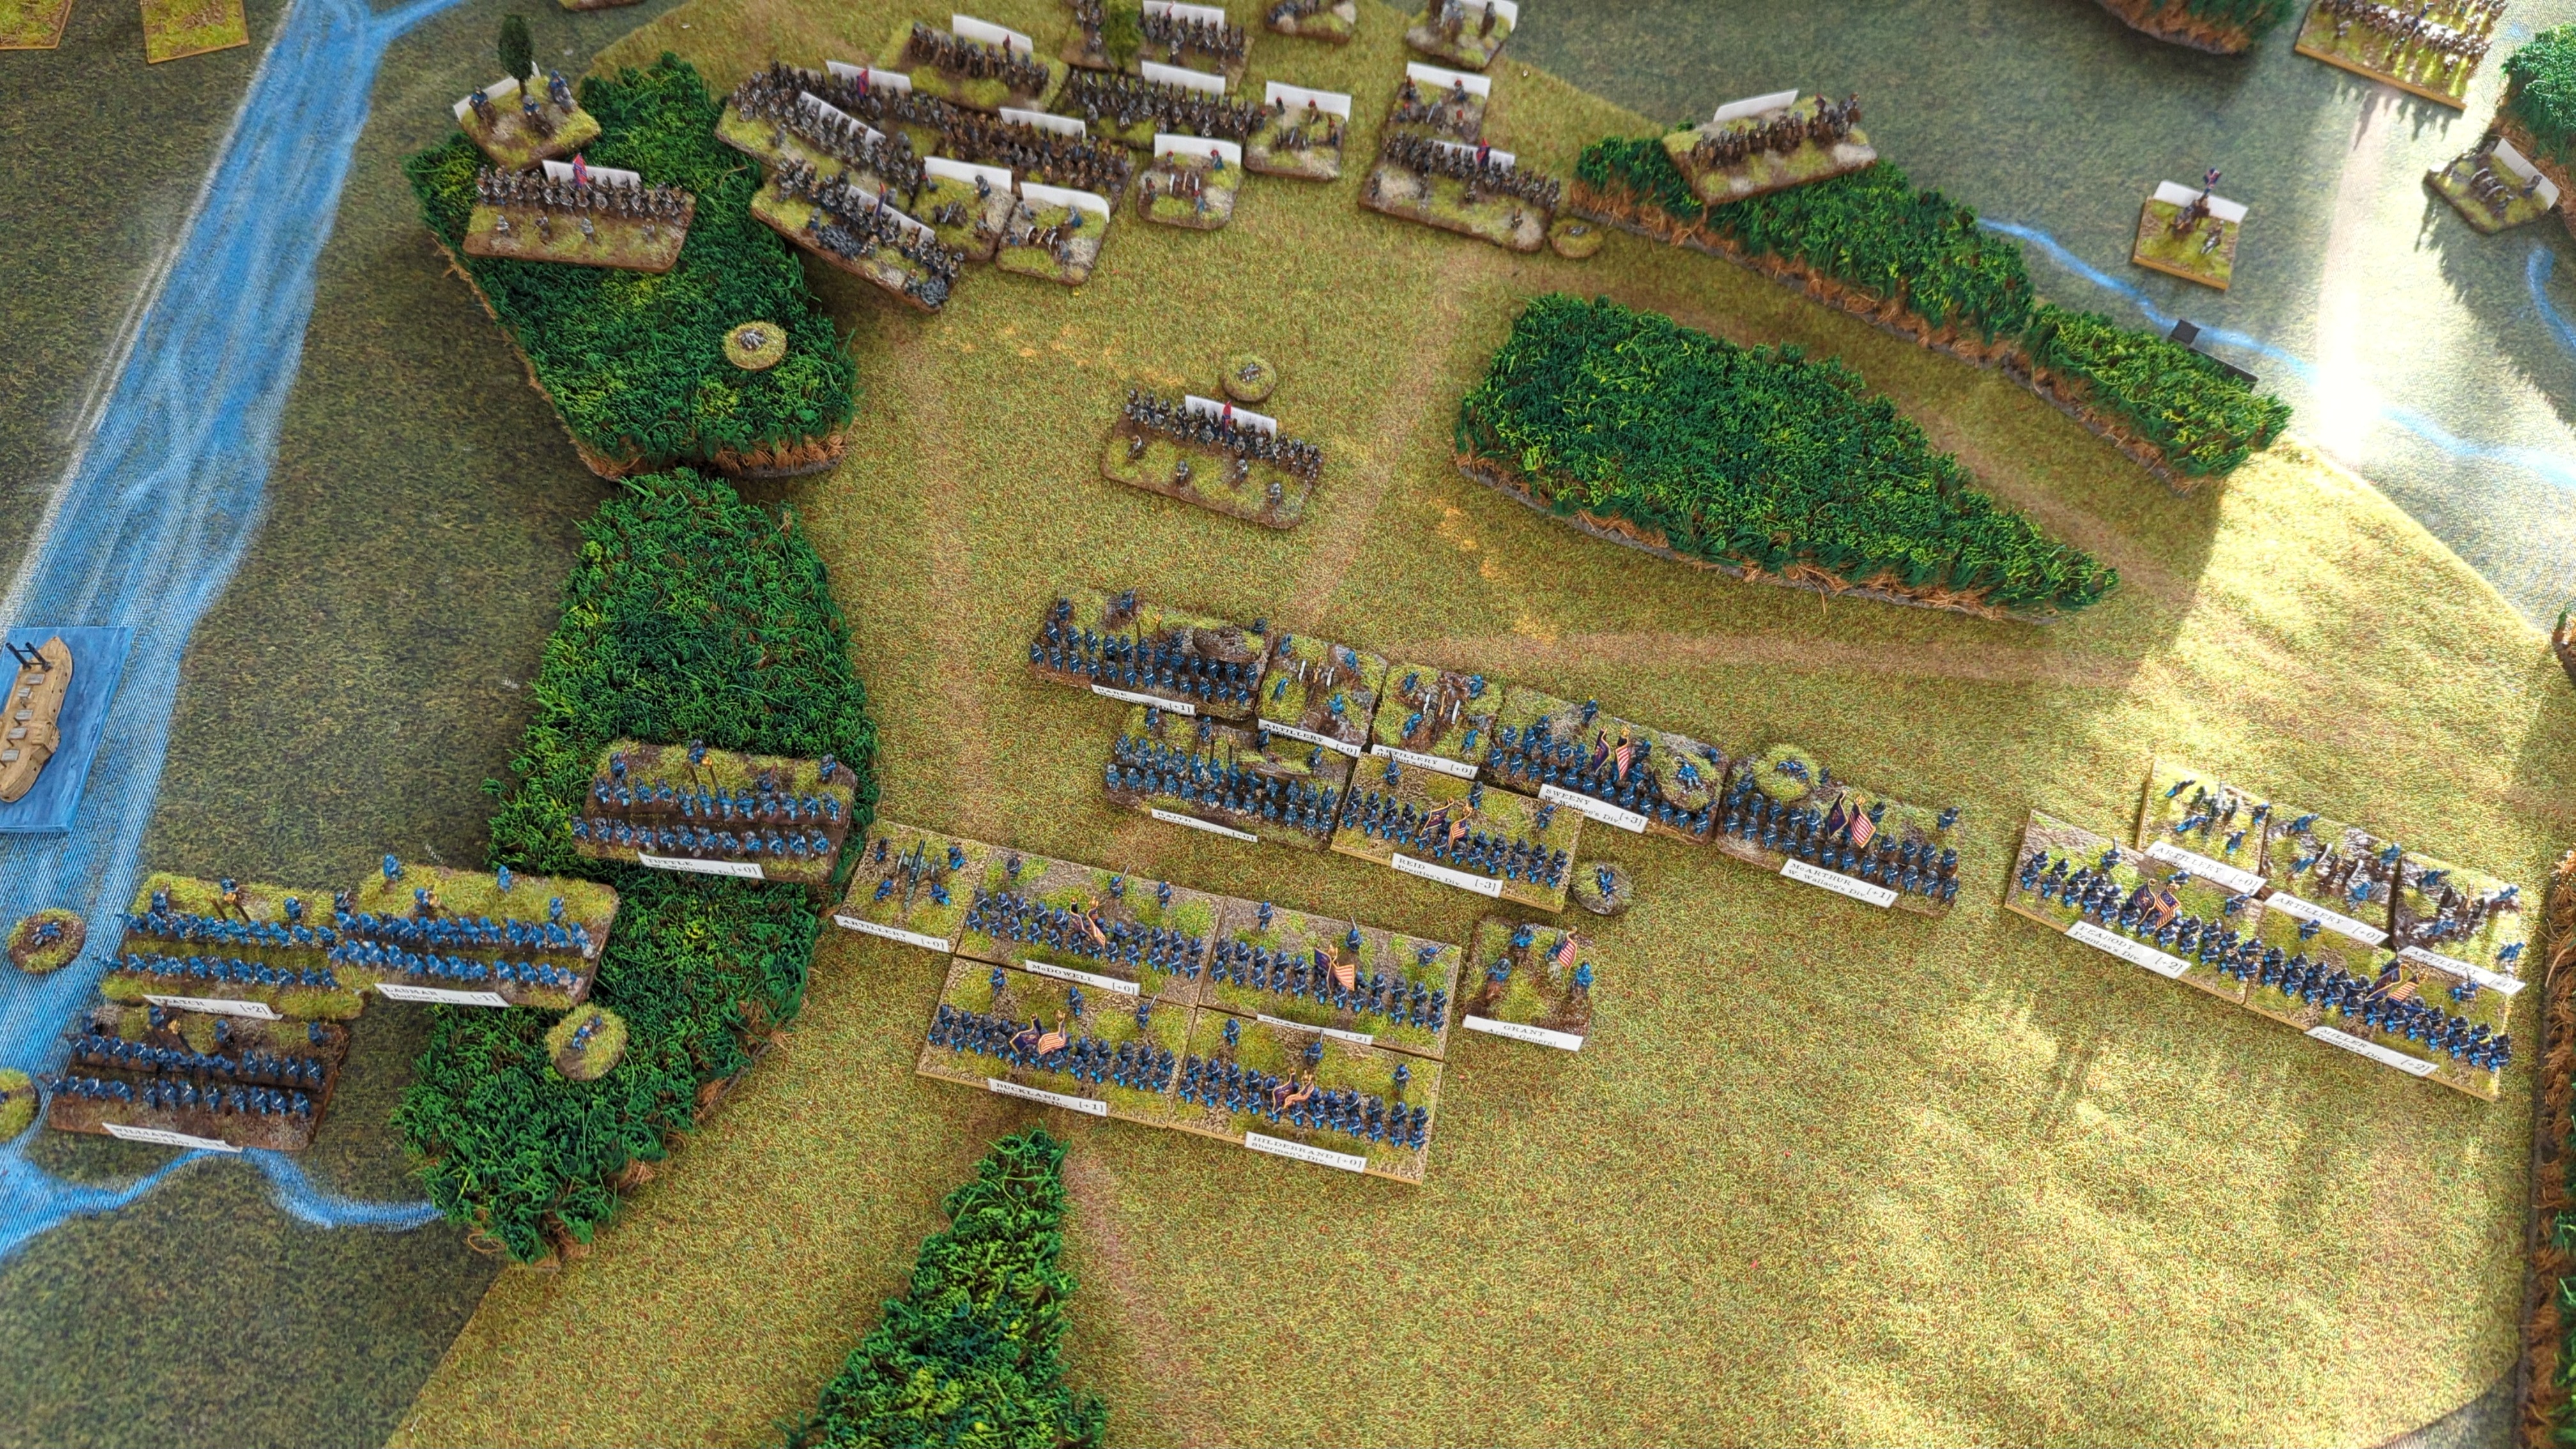
Rolled 6 and 4: 12 - 6 = 6.
Bid 4
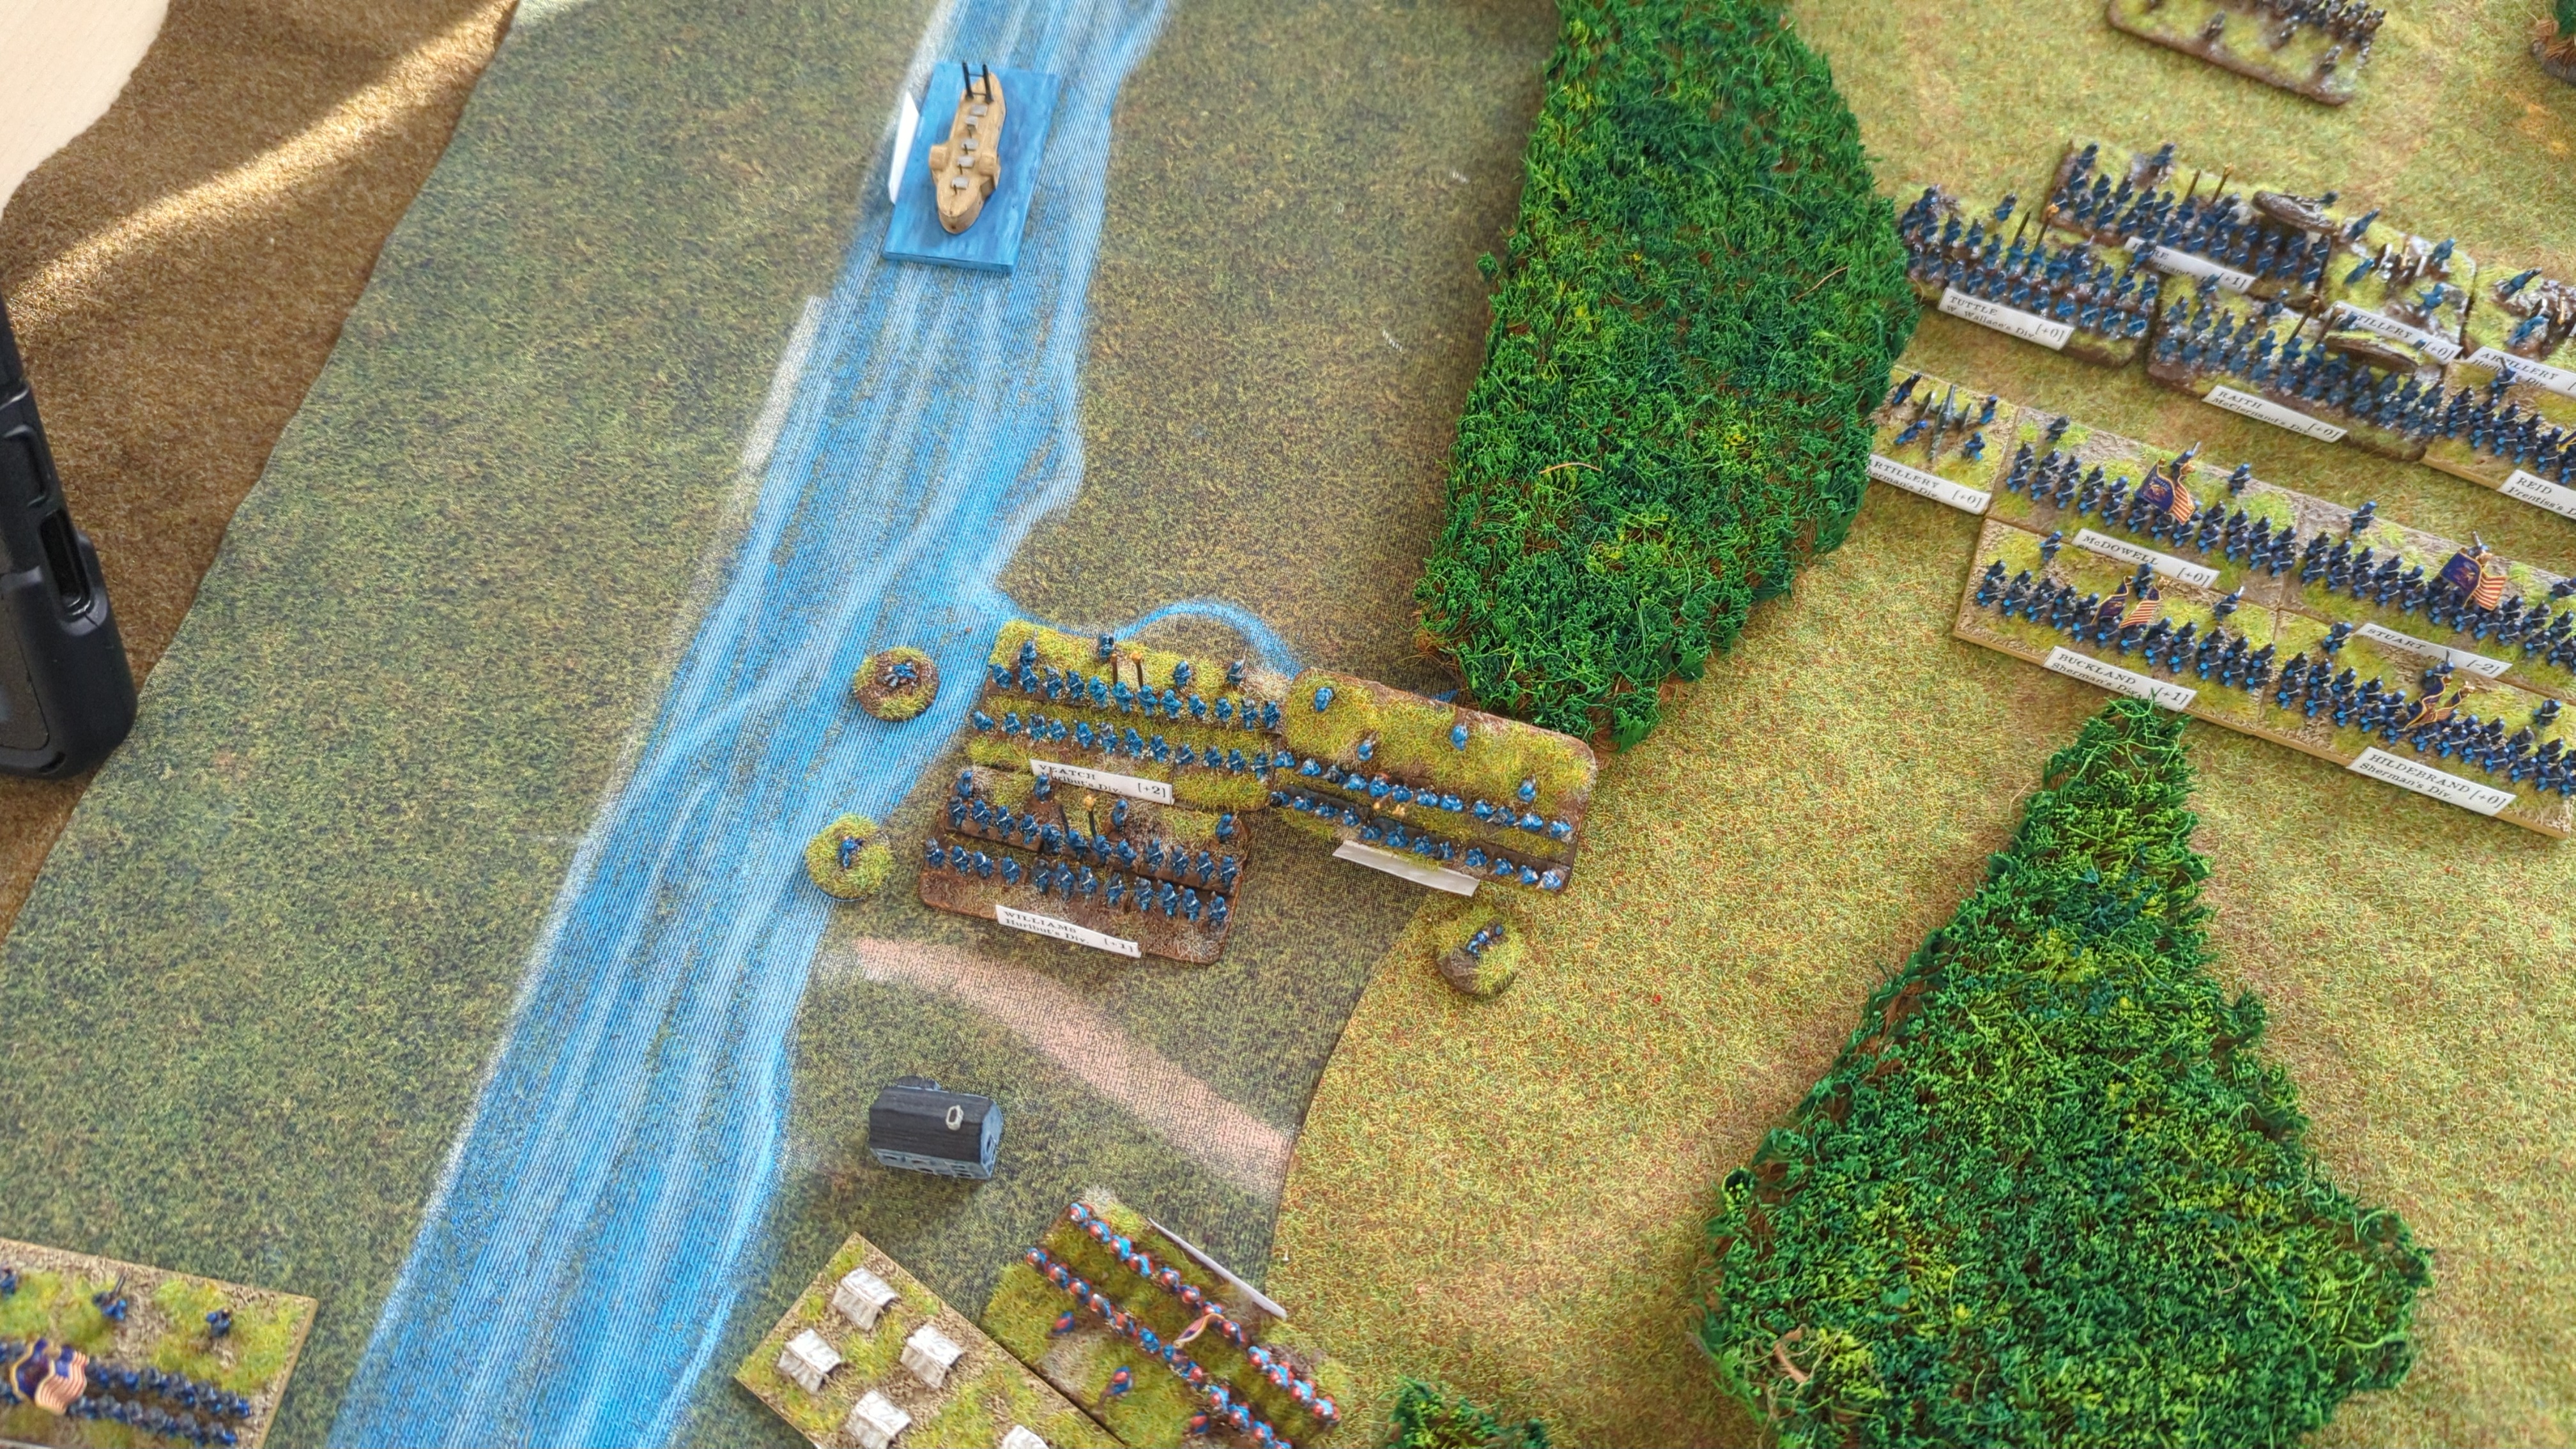
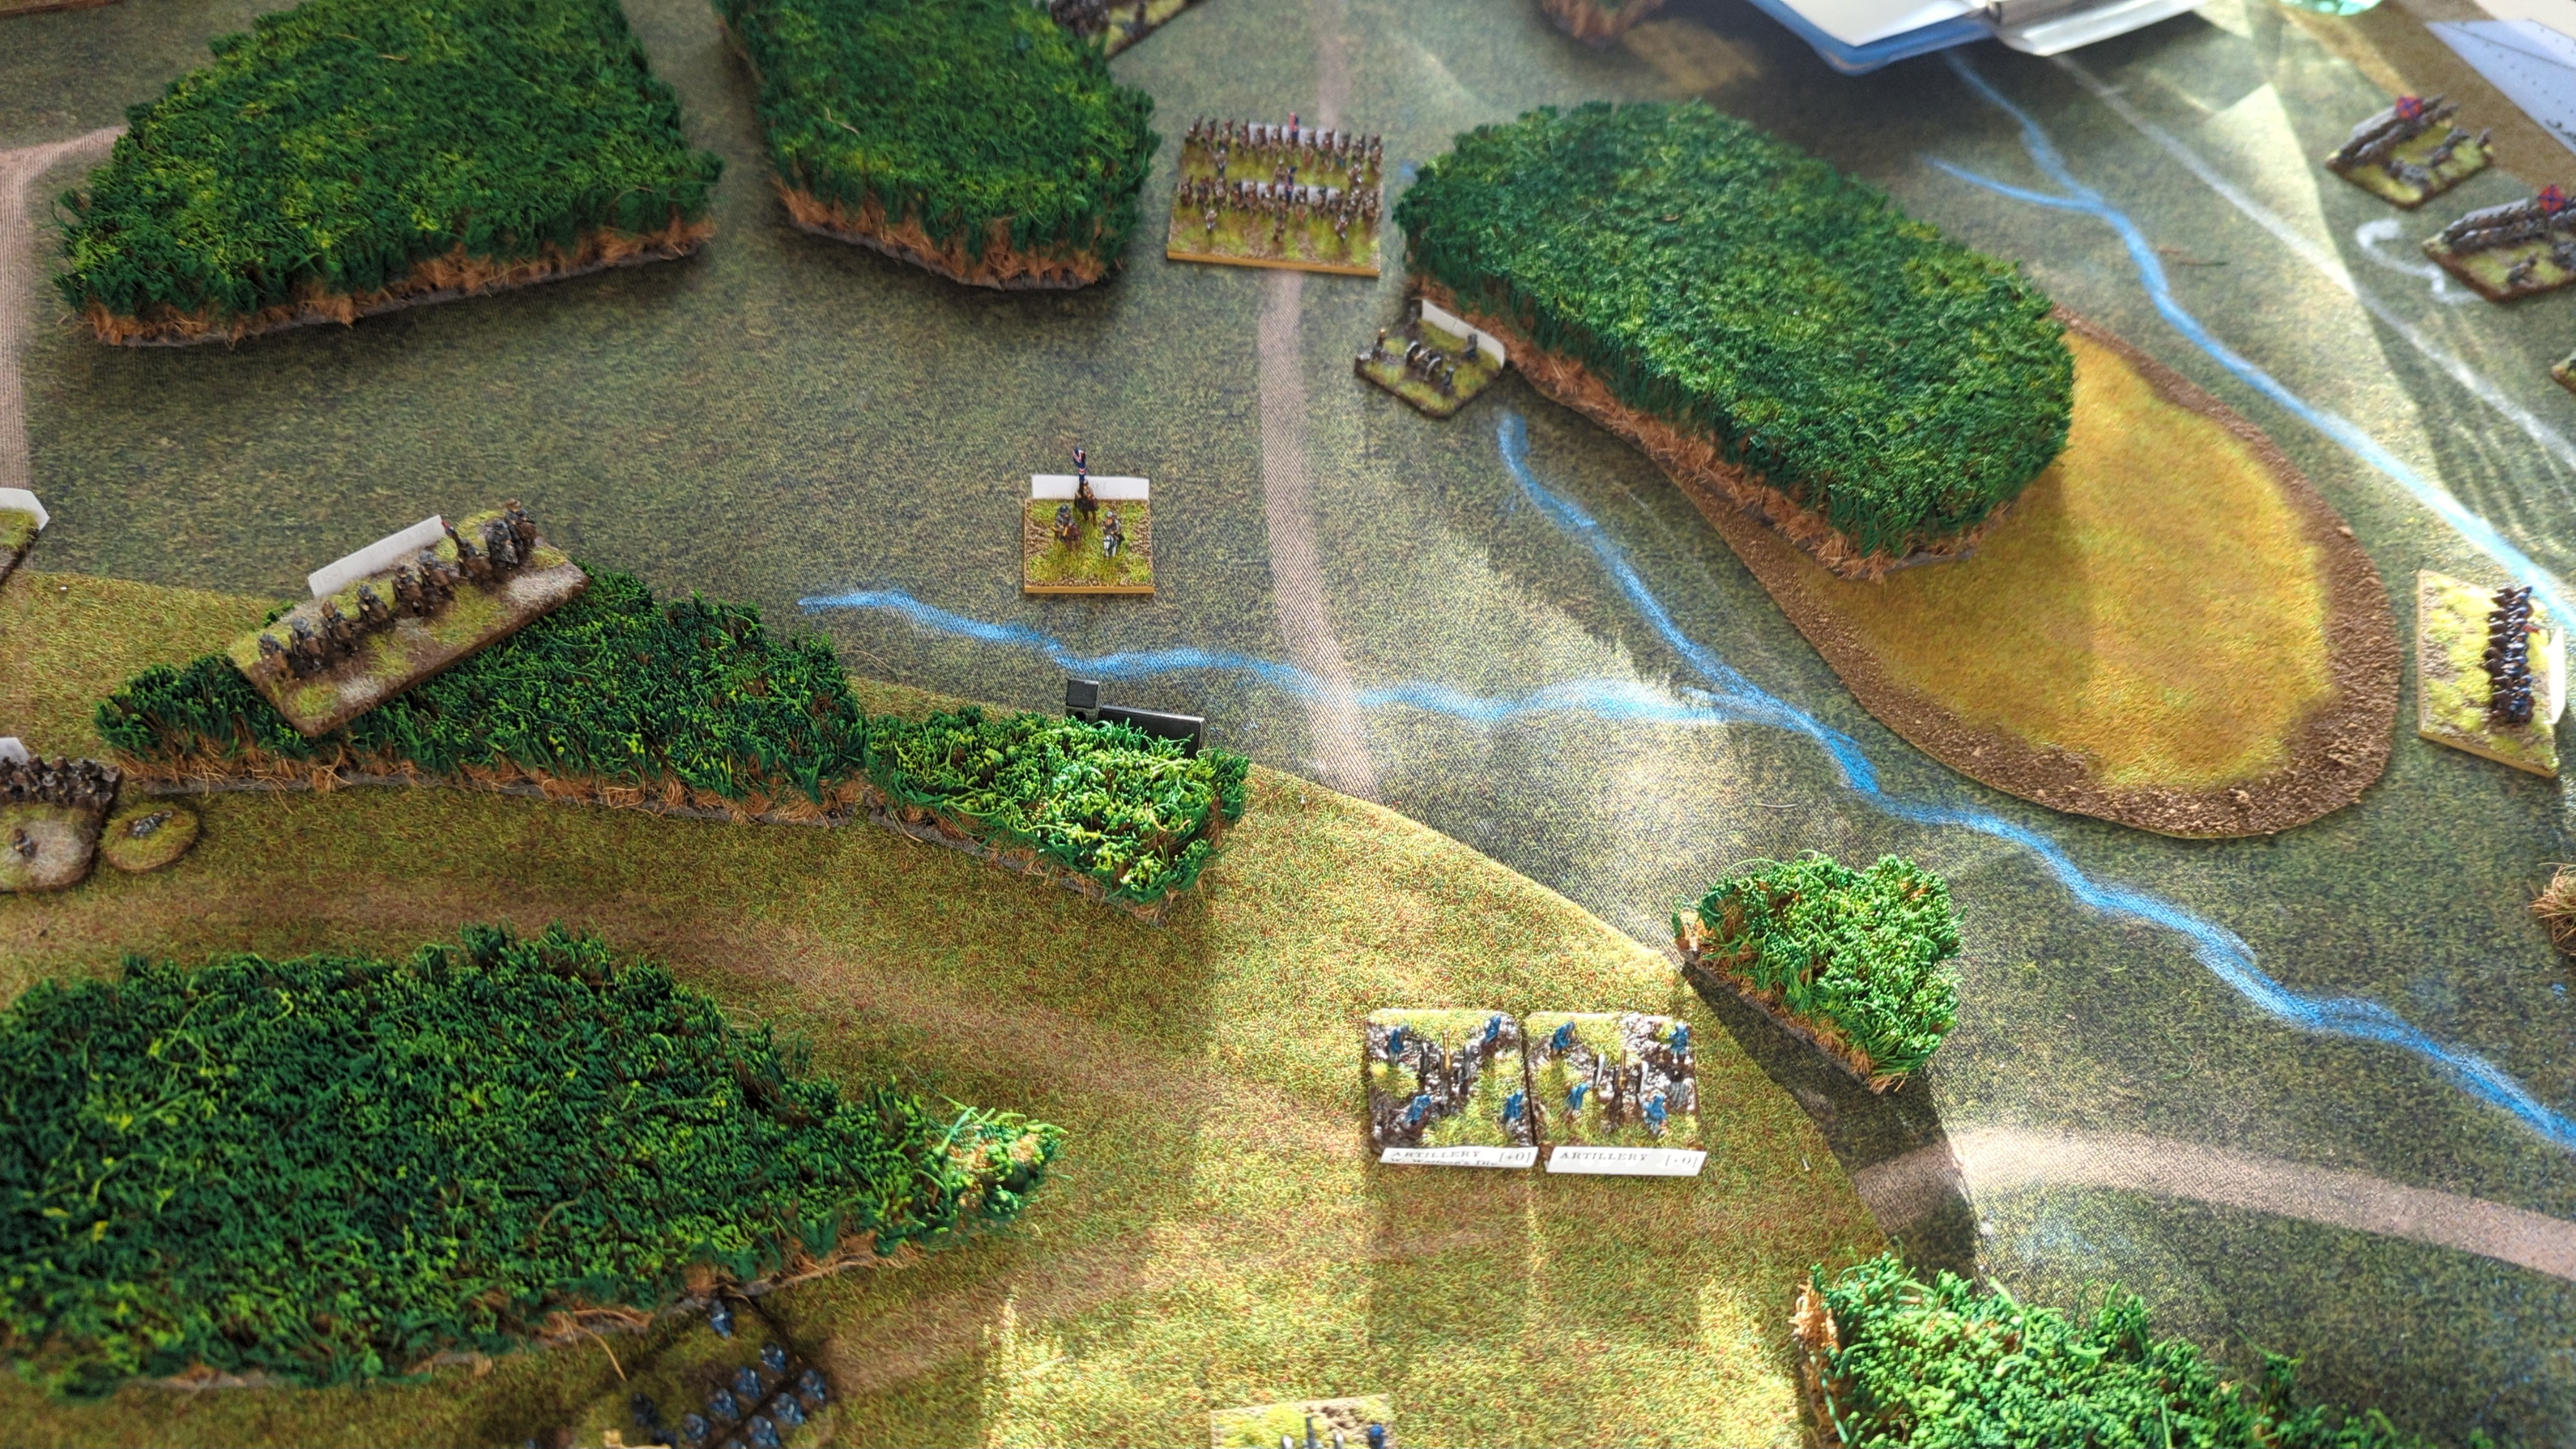
The enemy gun was silenced and recoiled.
Prentiss activated.
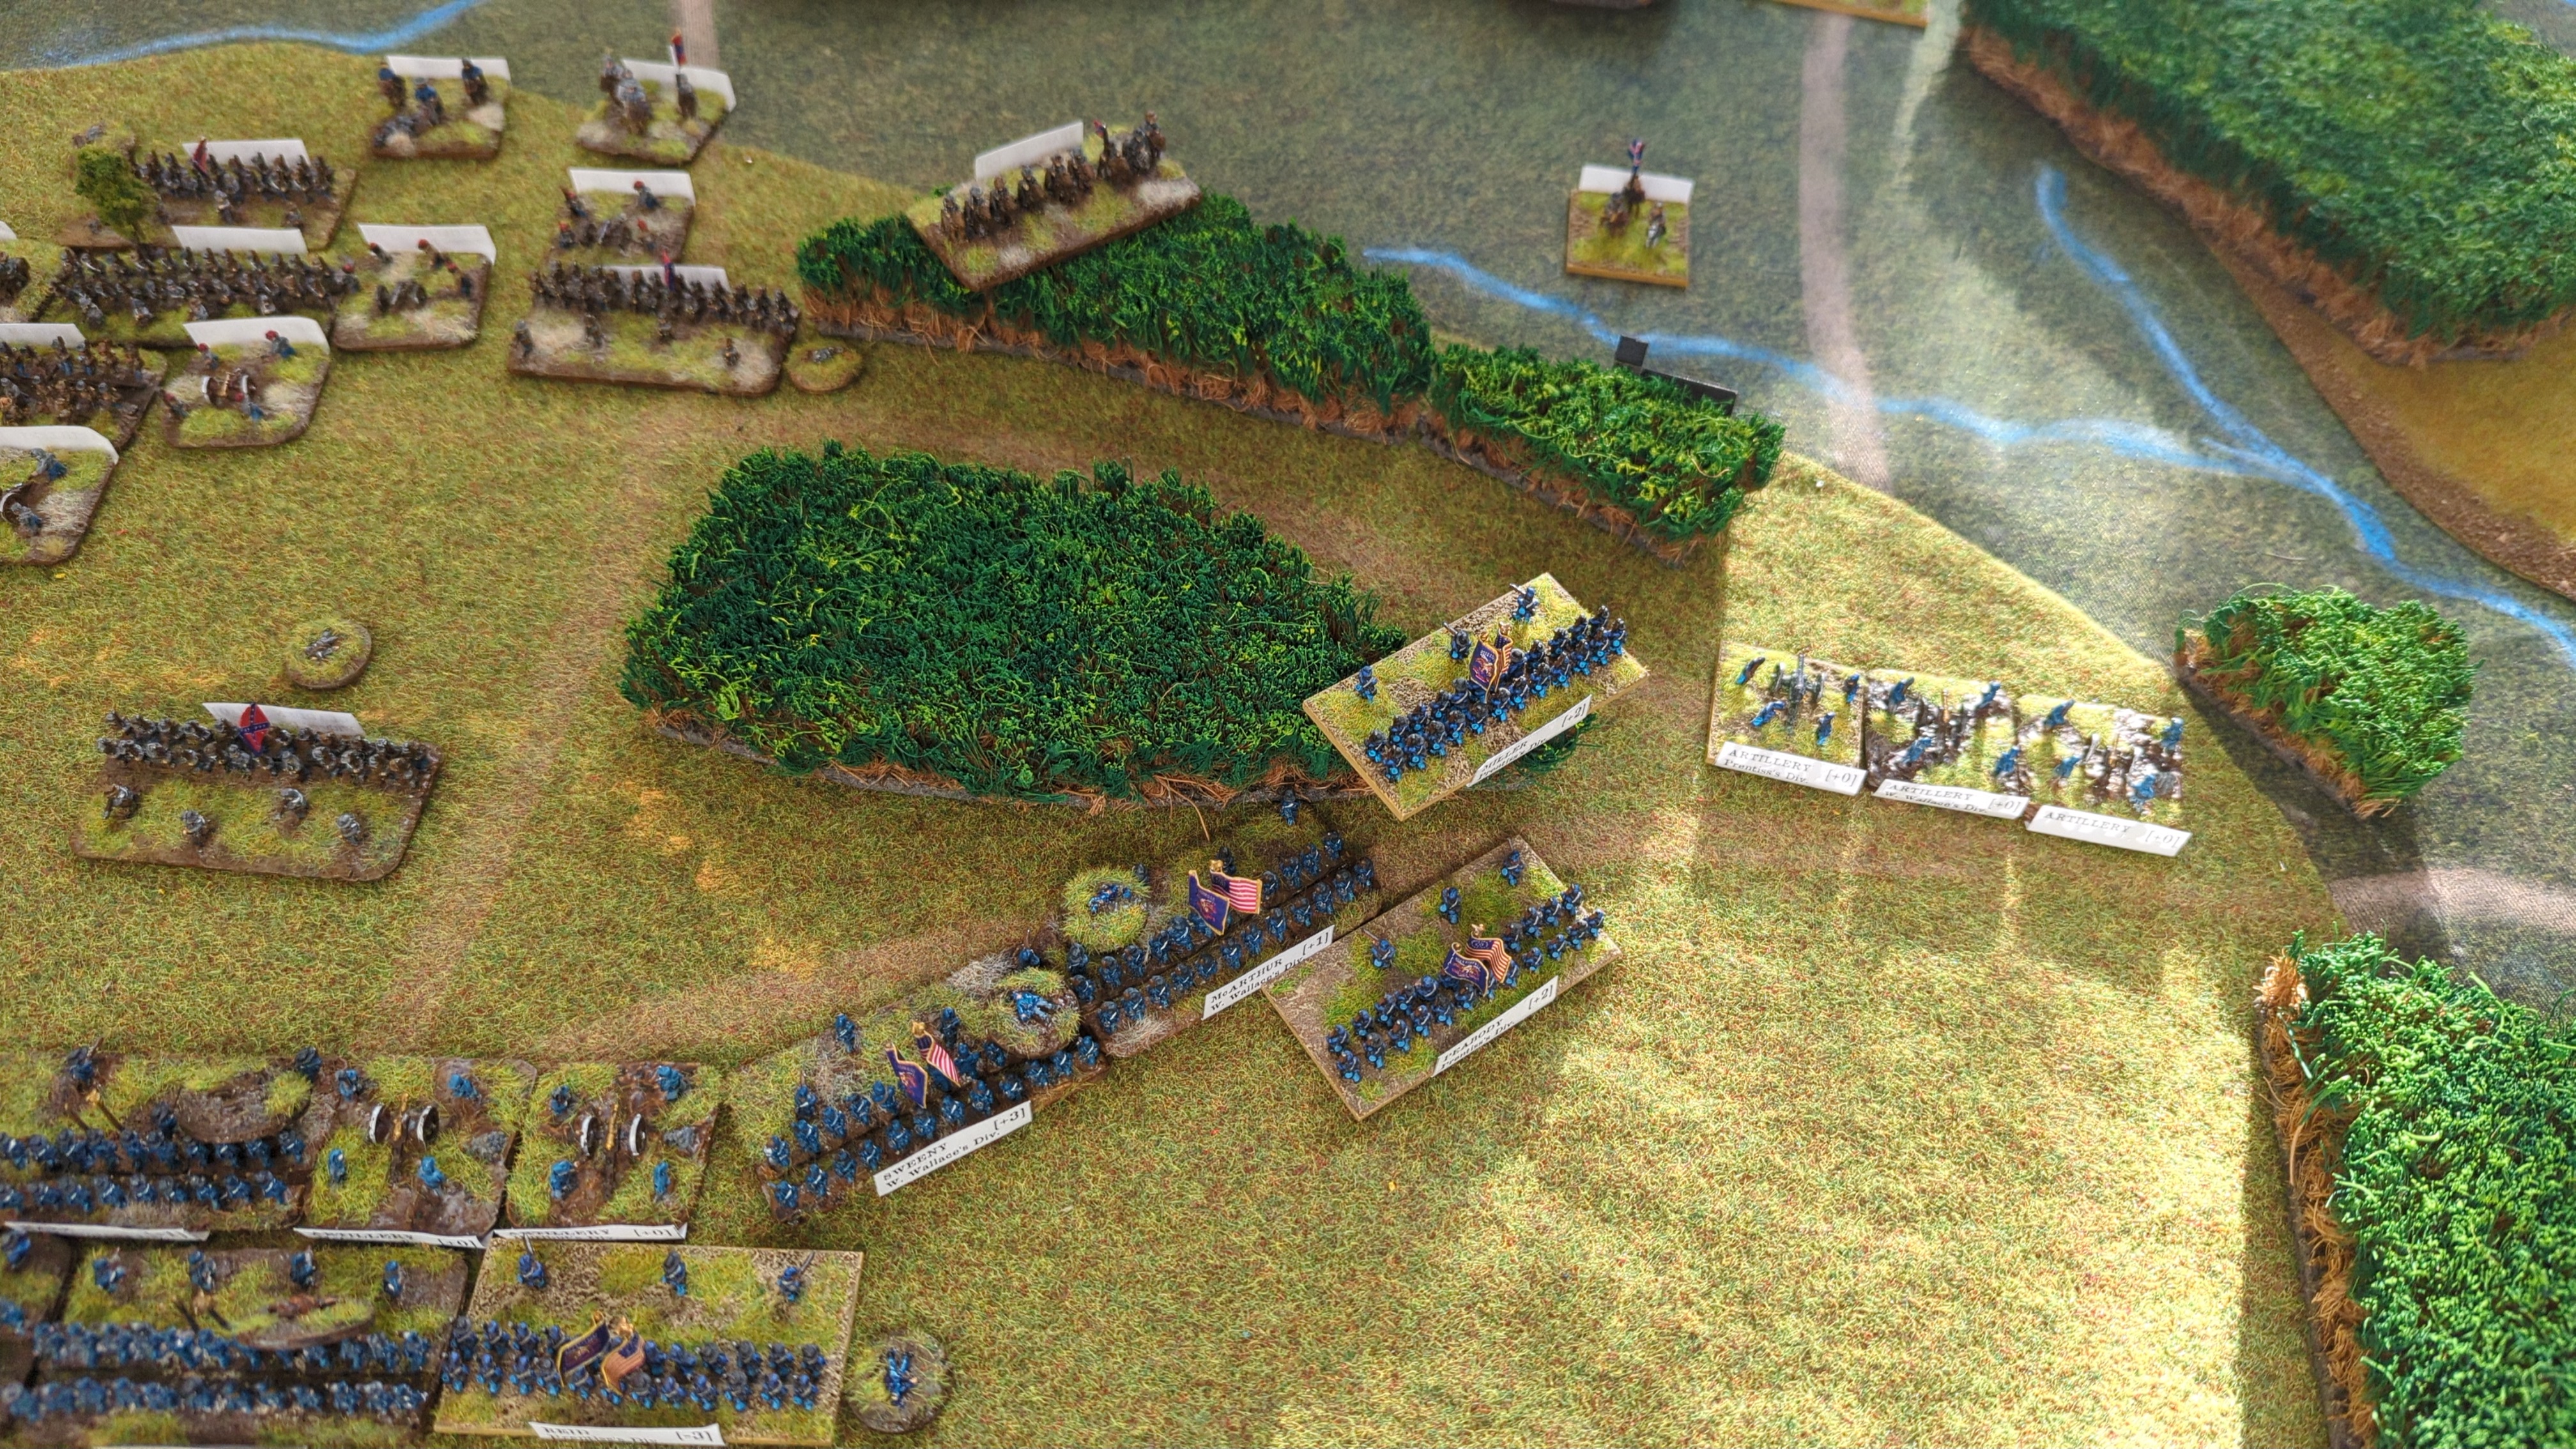
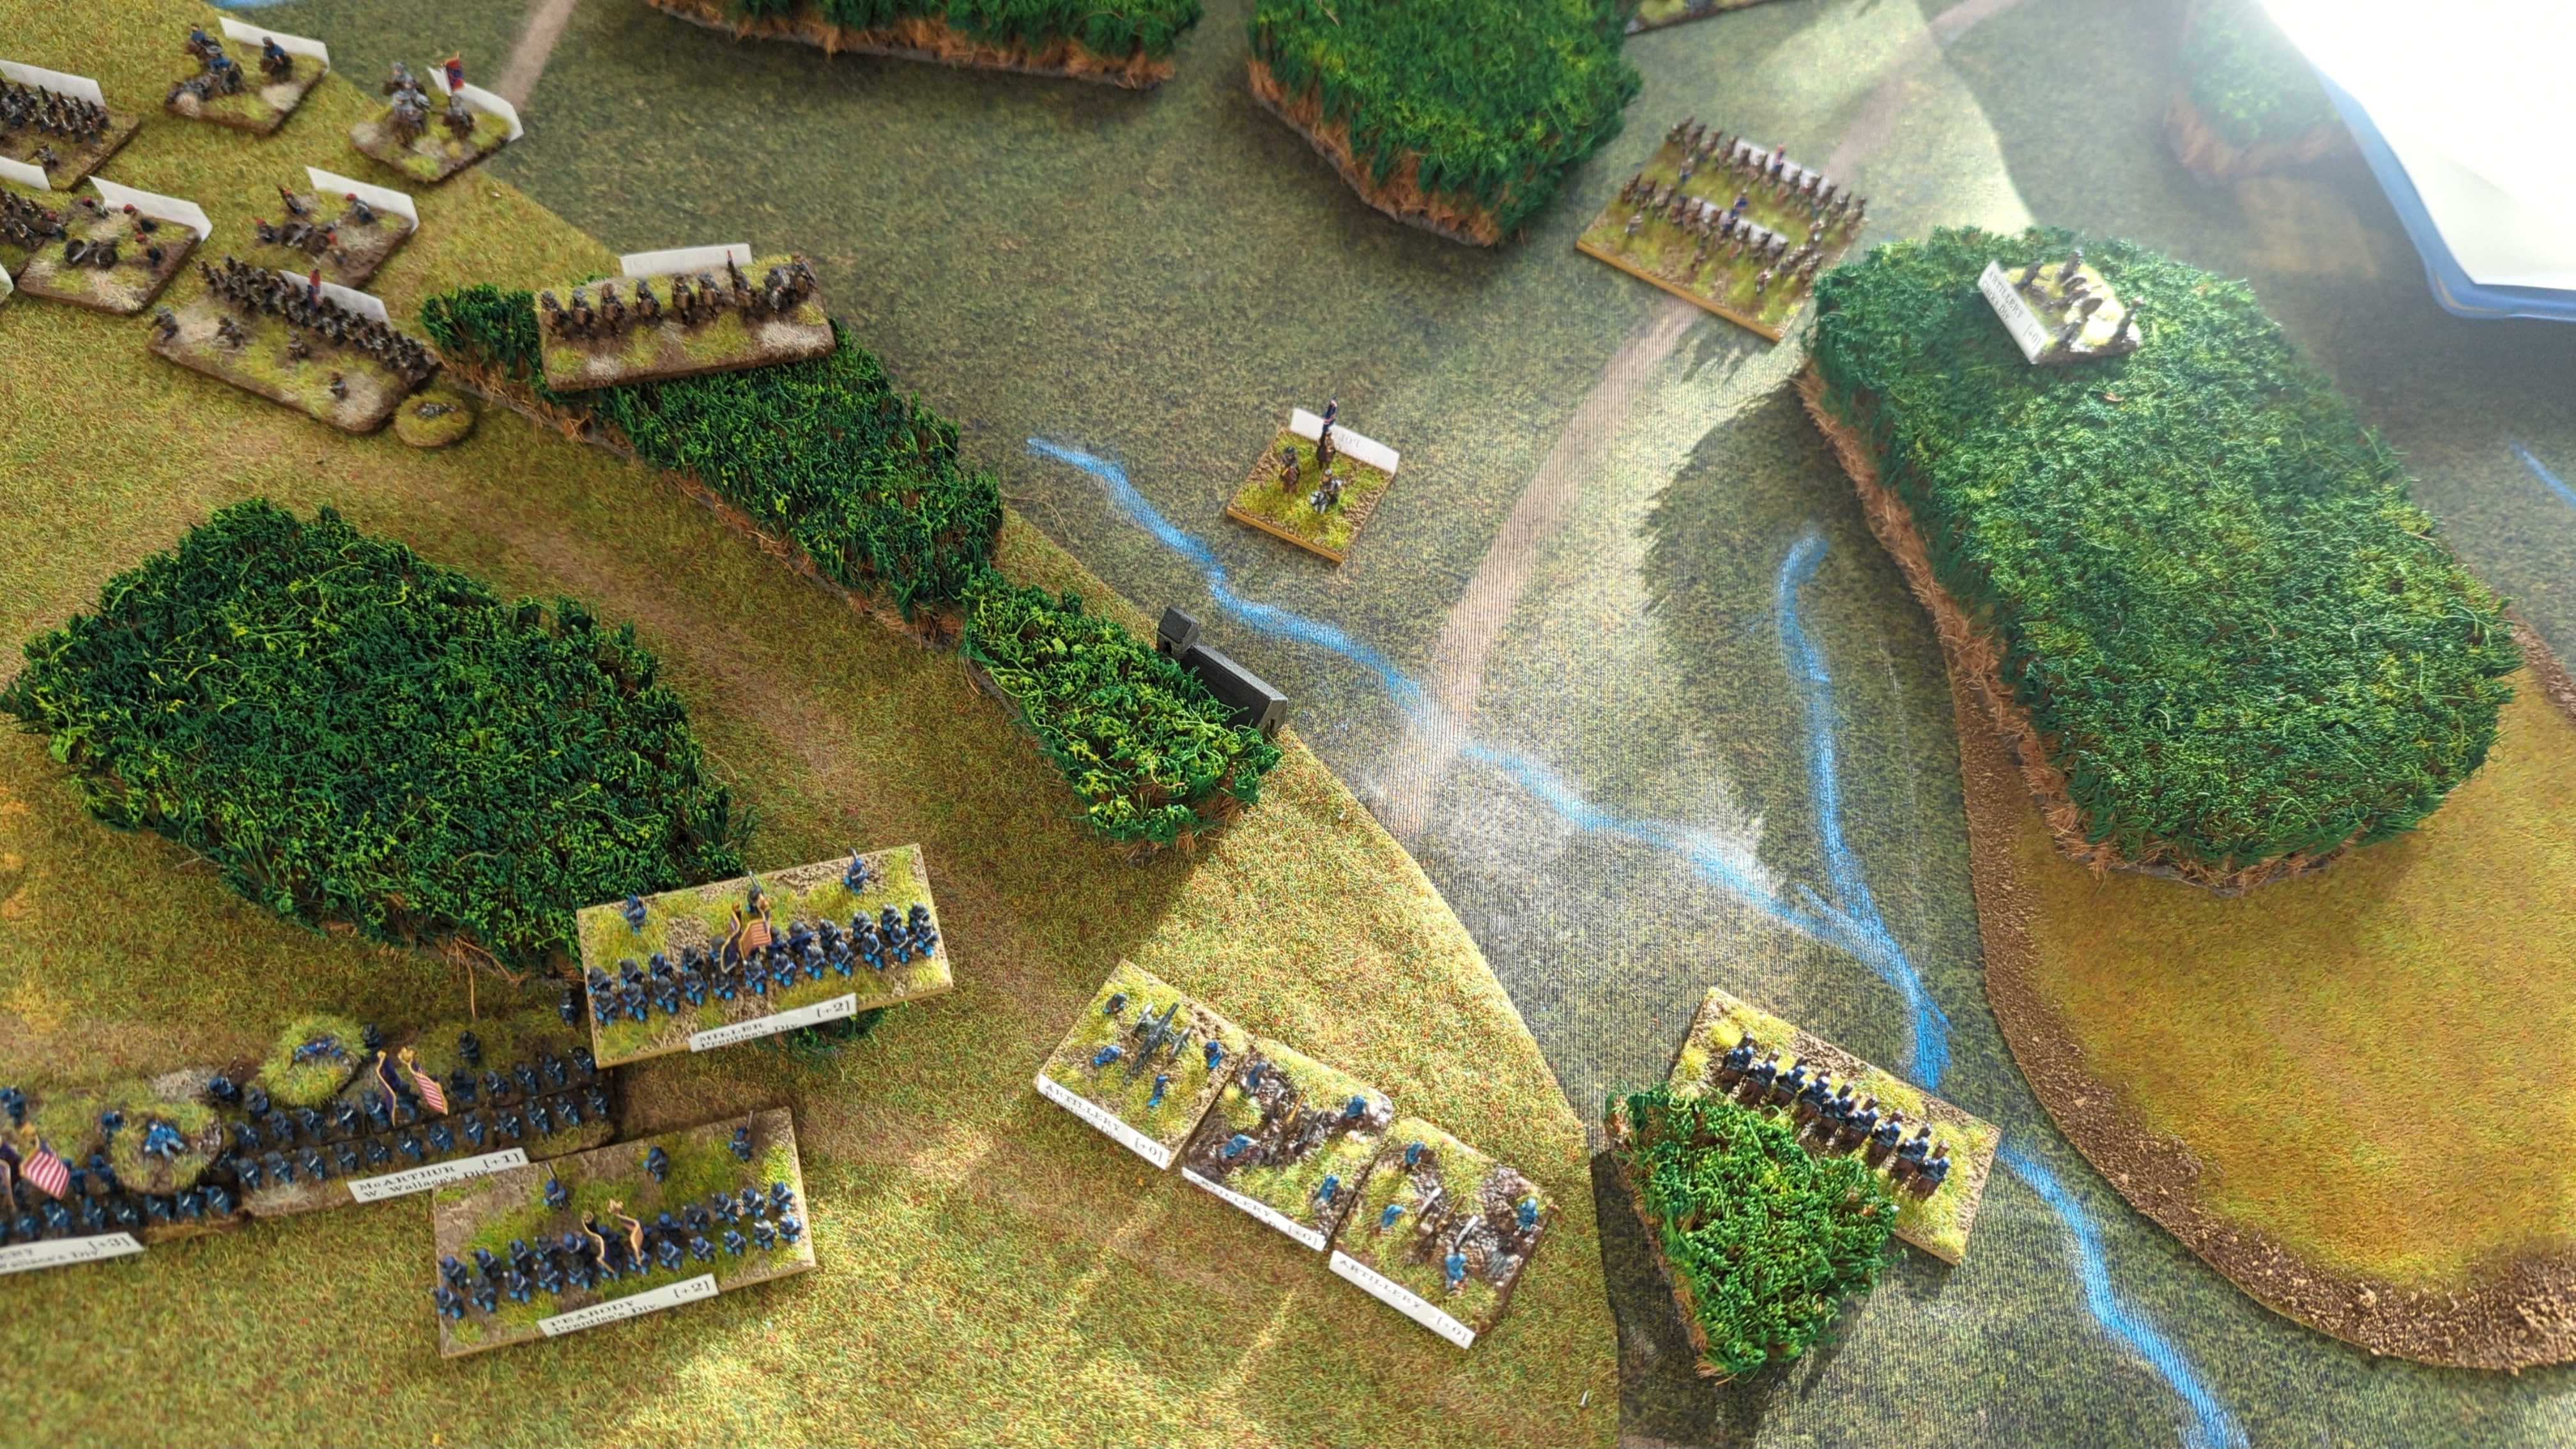
It caused one recoil.
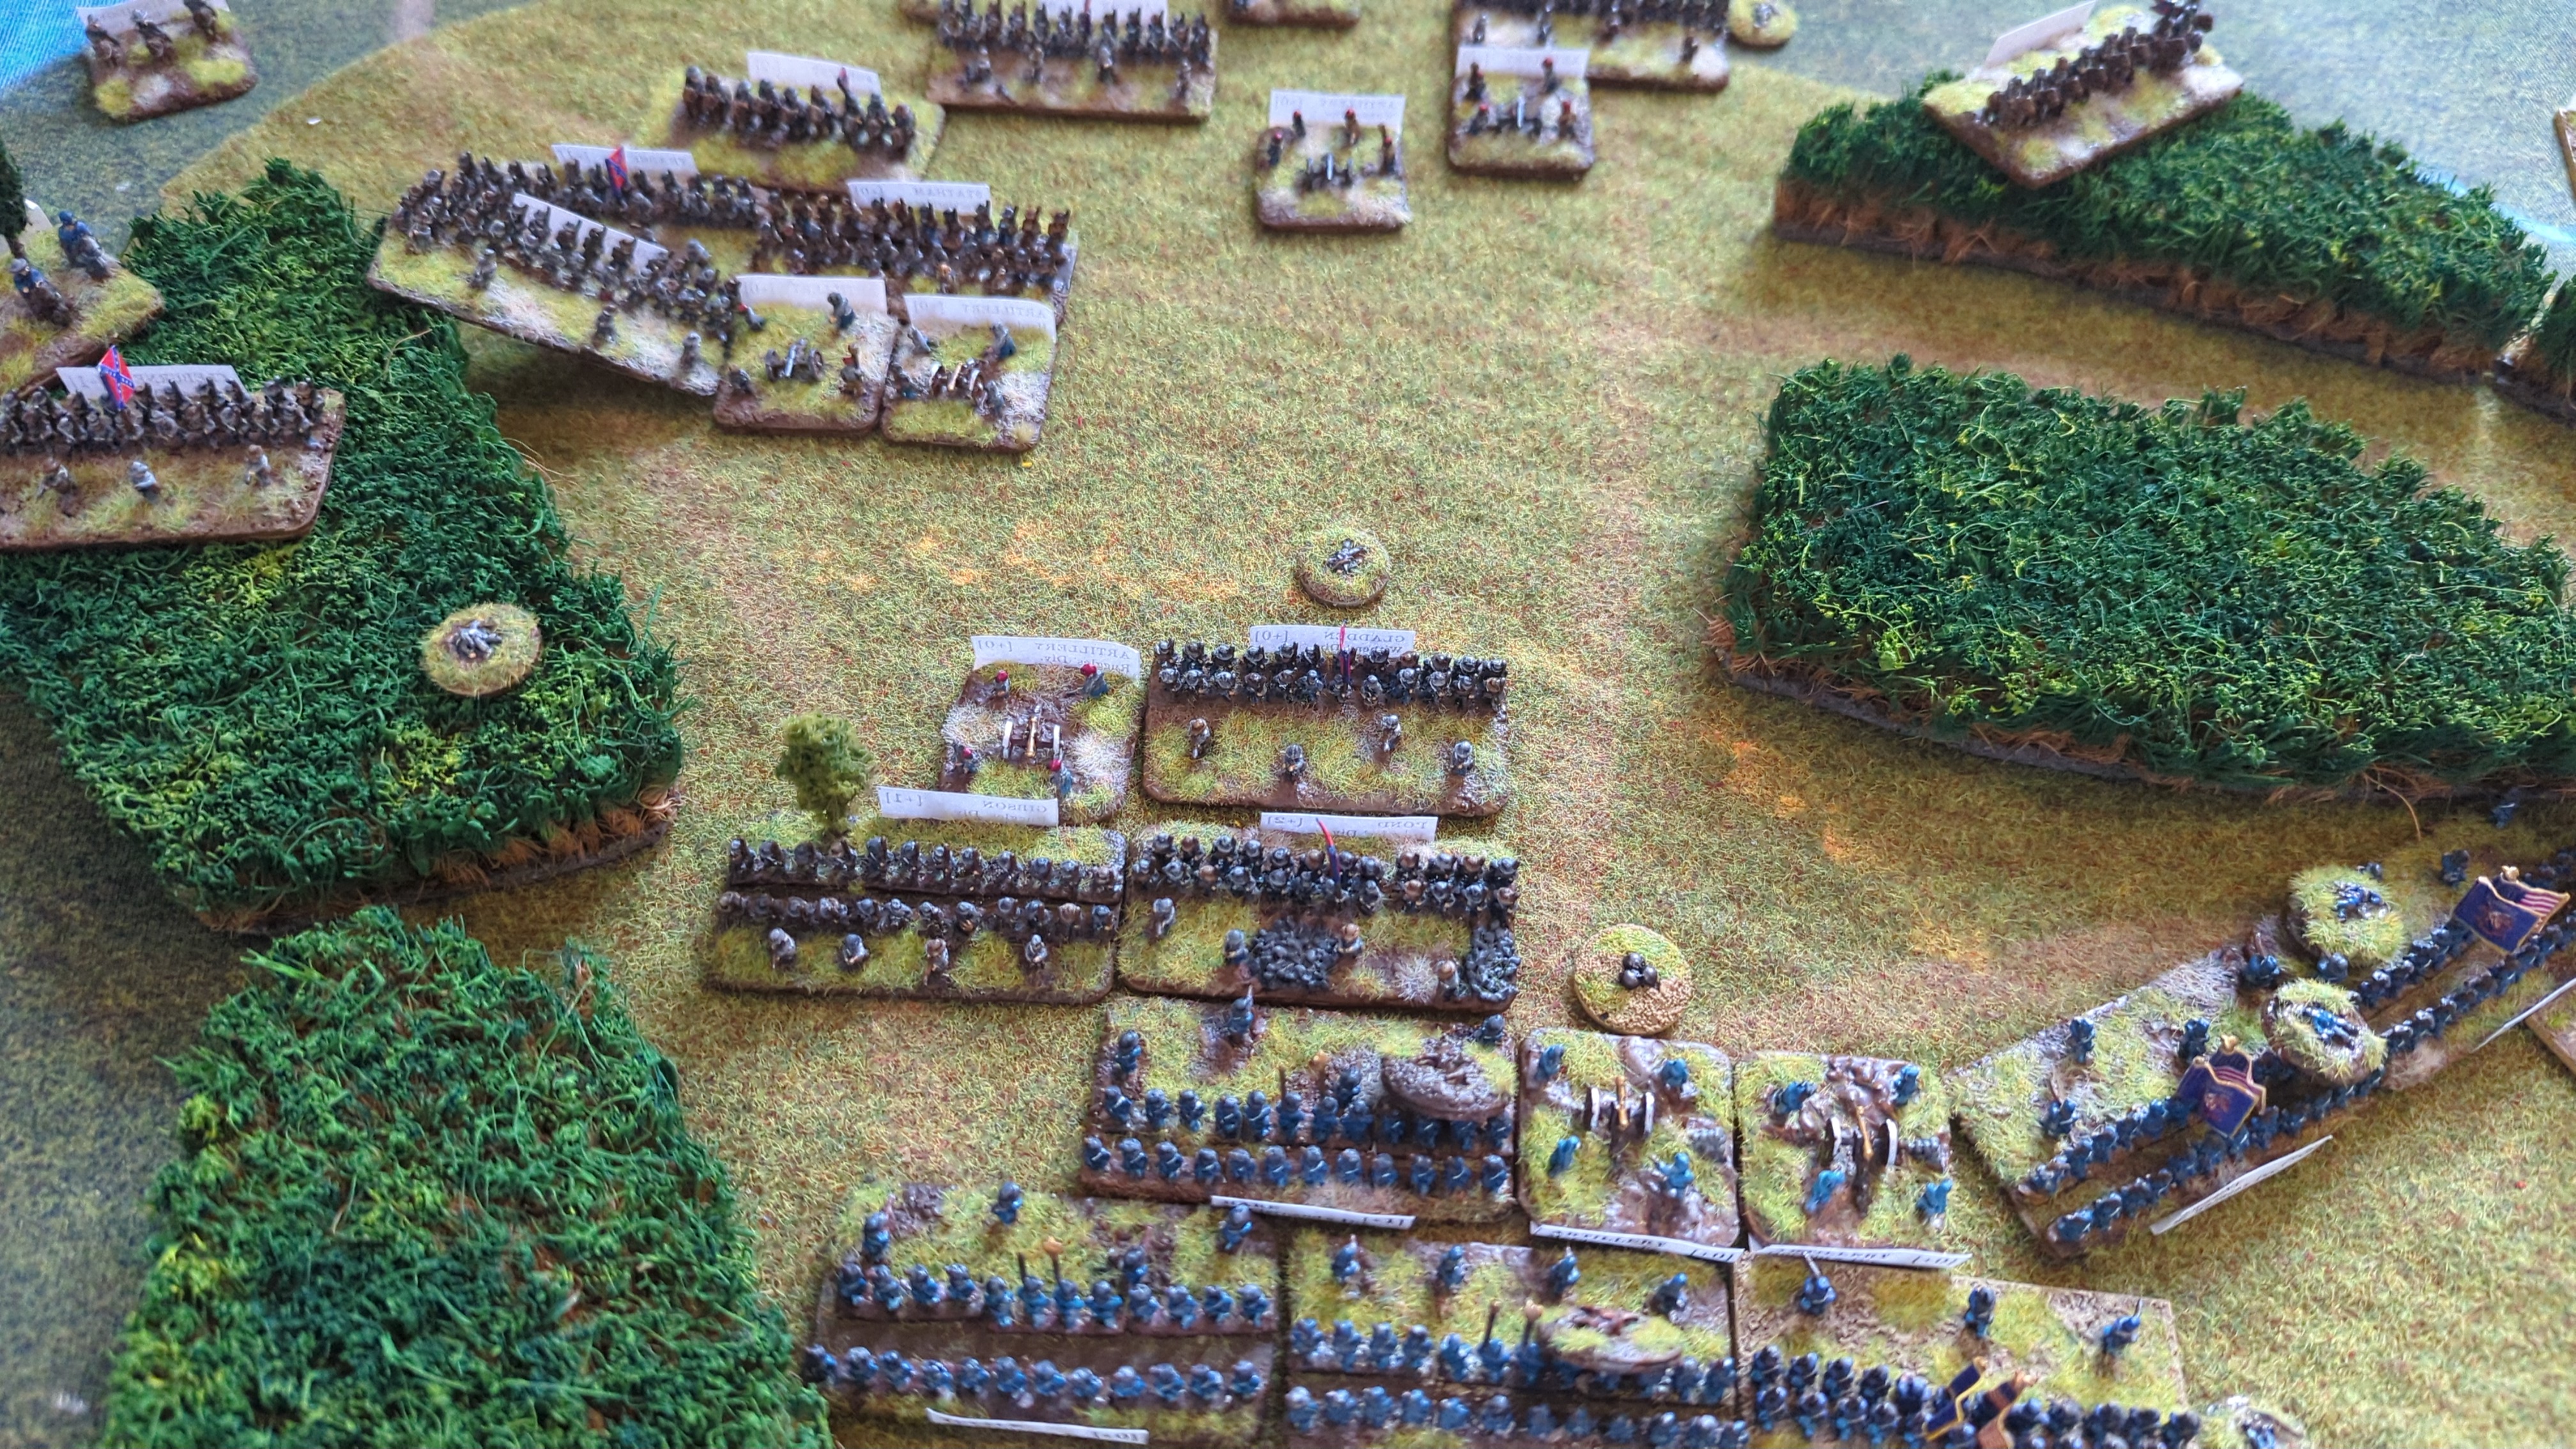
5 vs 7.
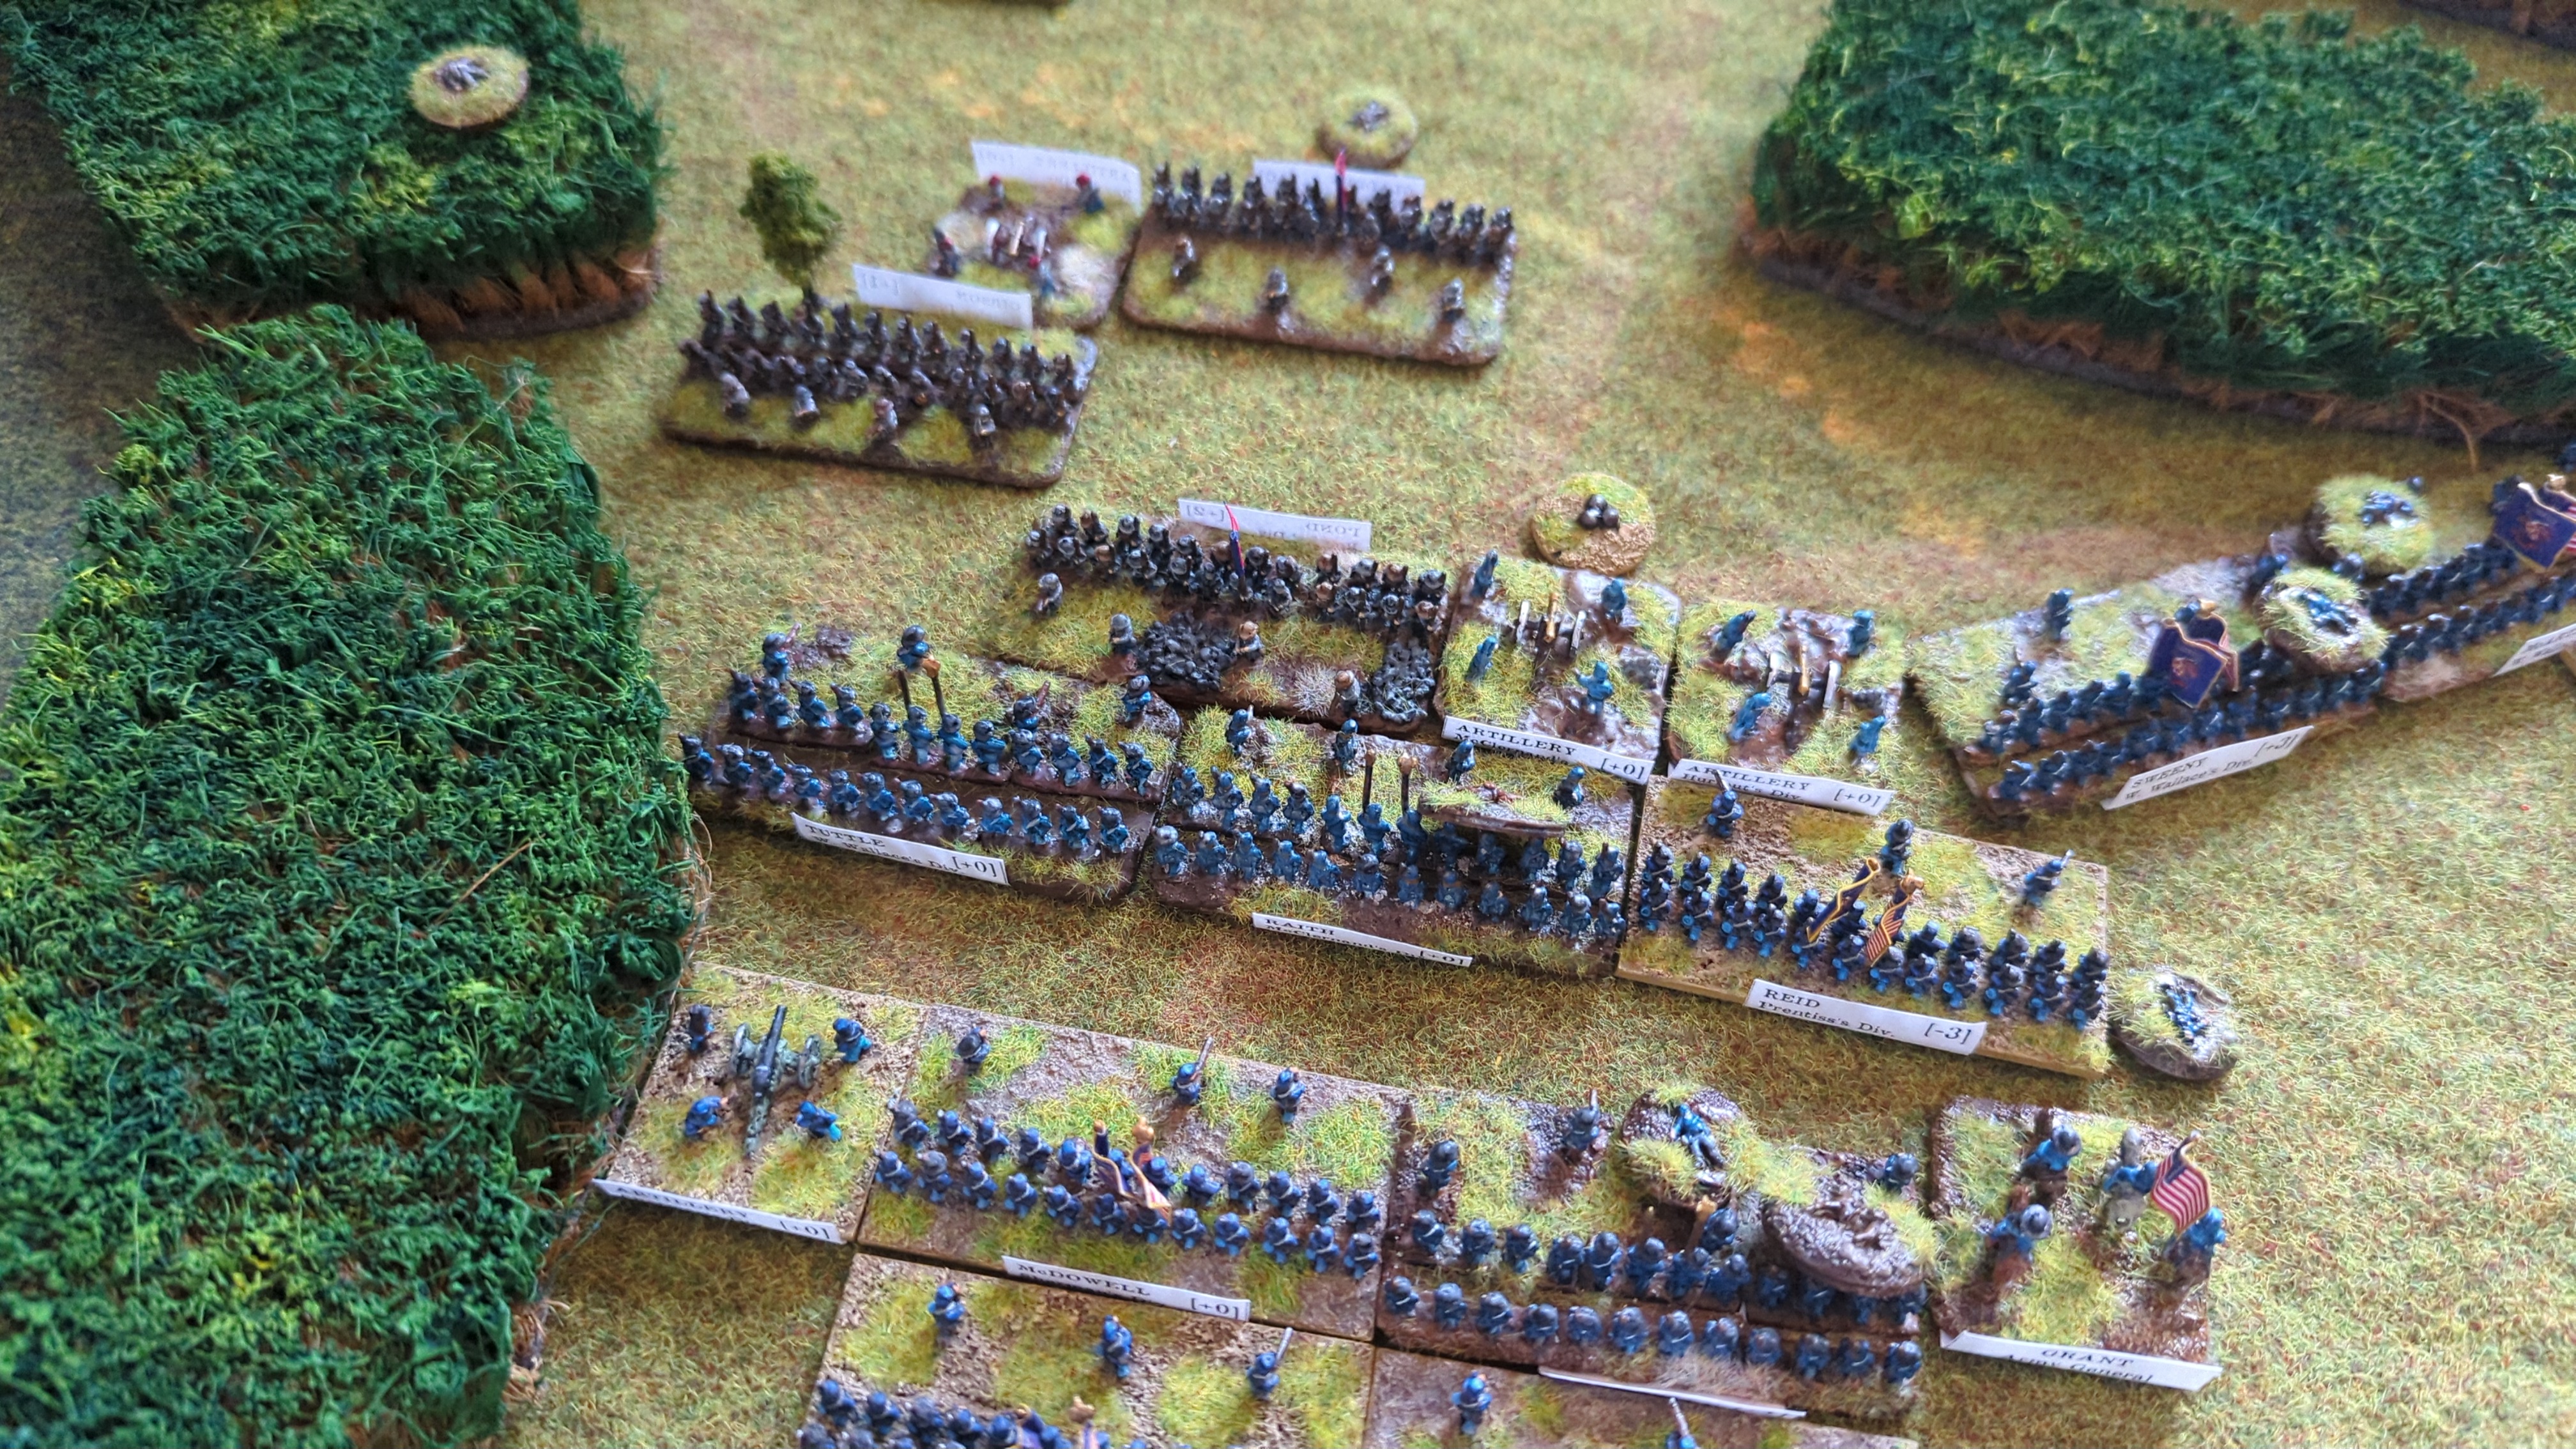
The Tyler missed the artillery on the main front.
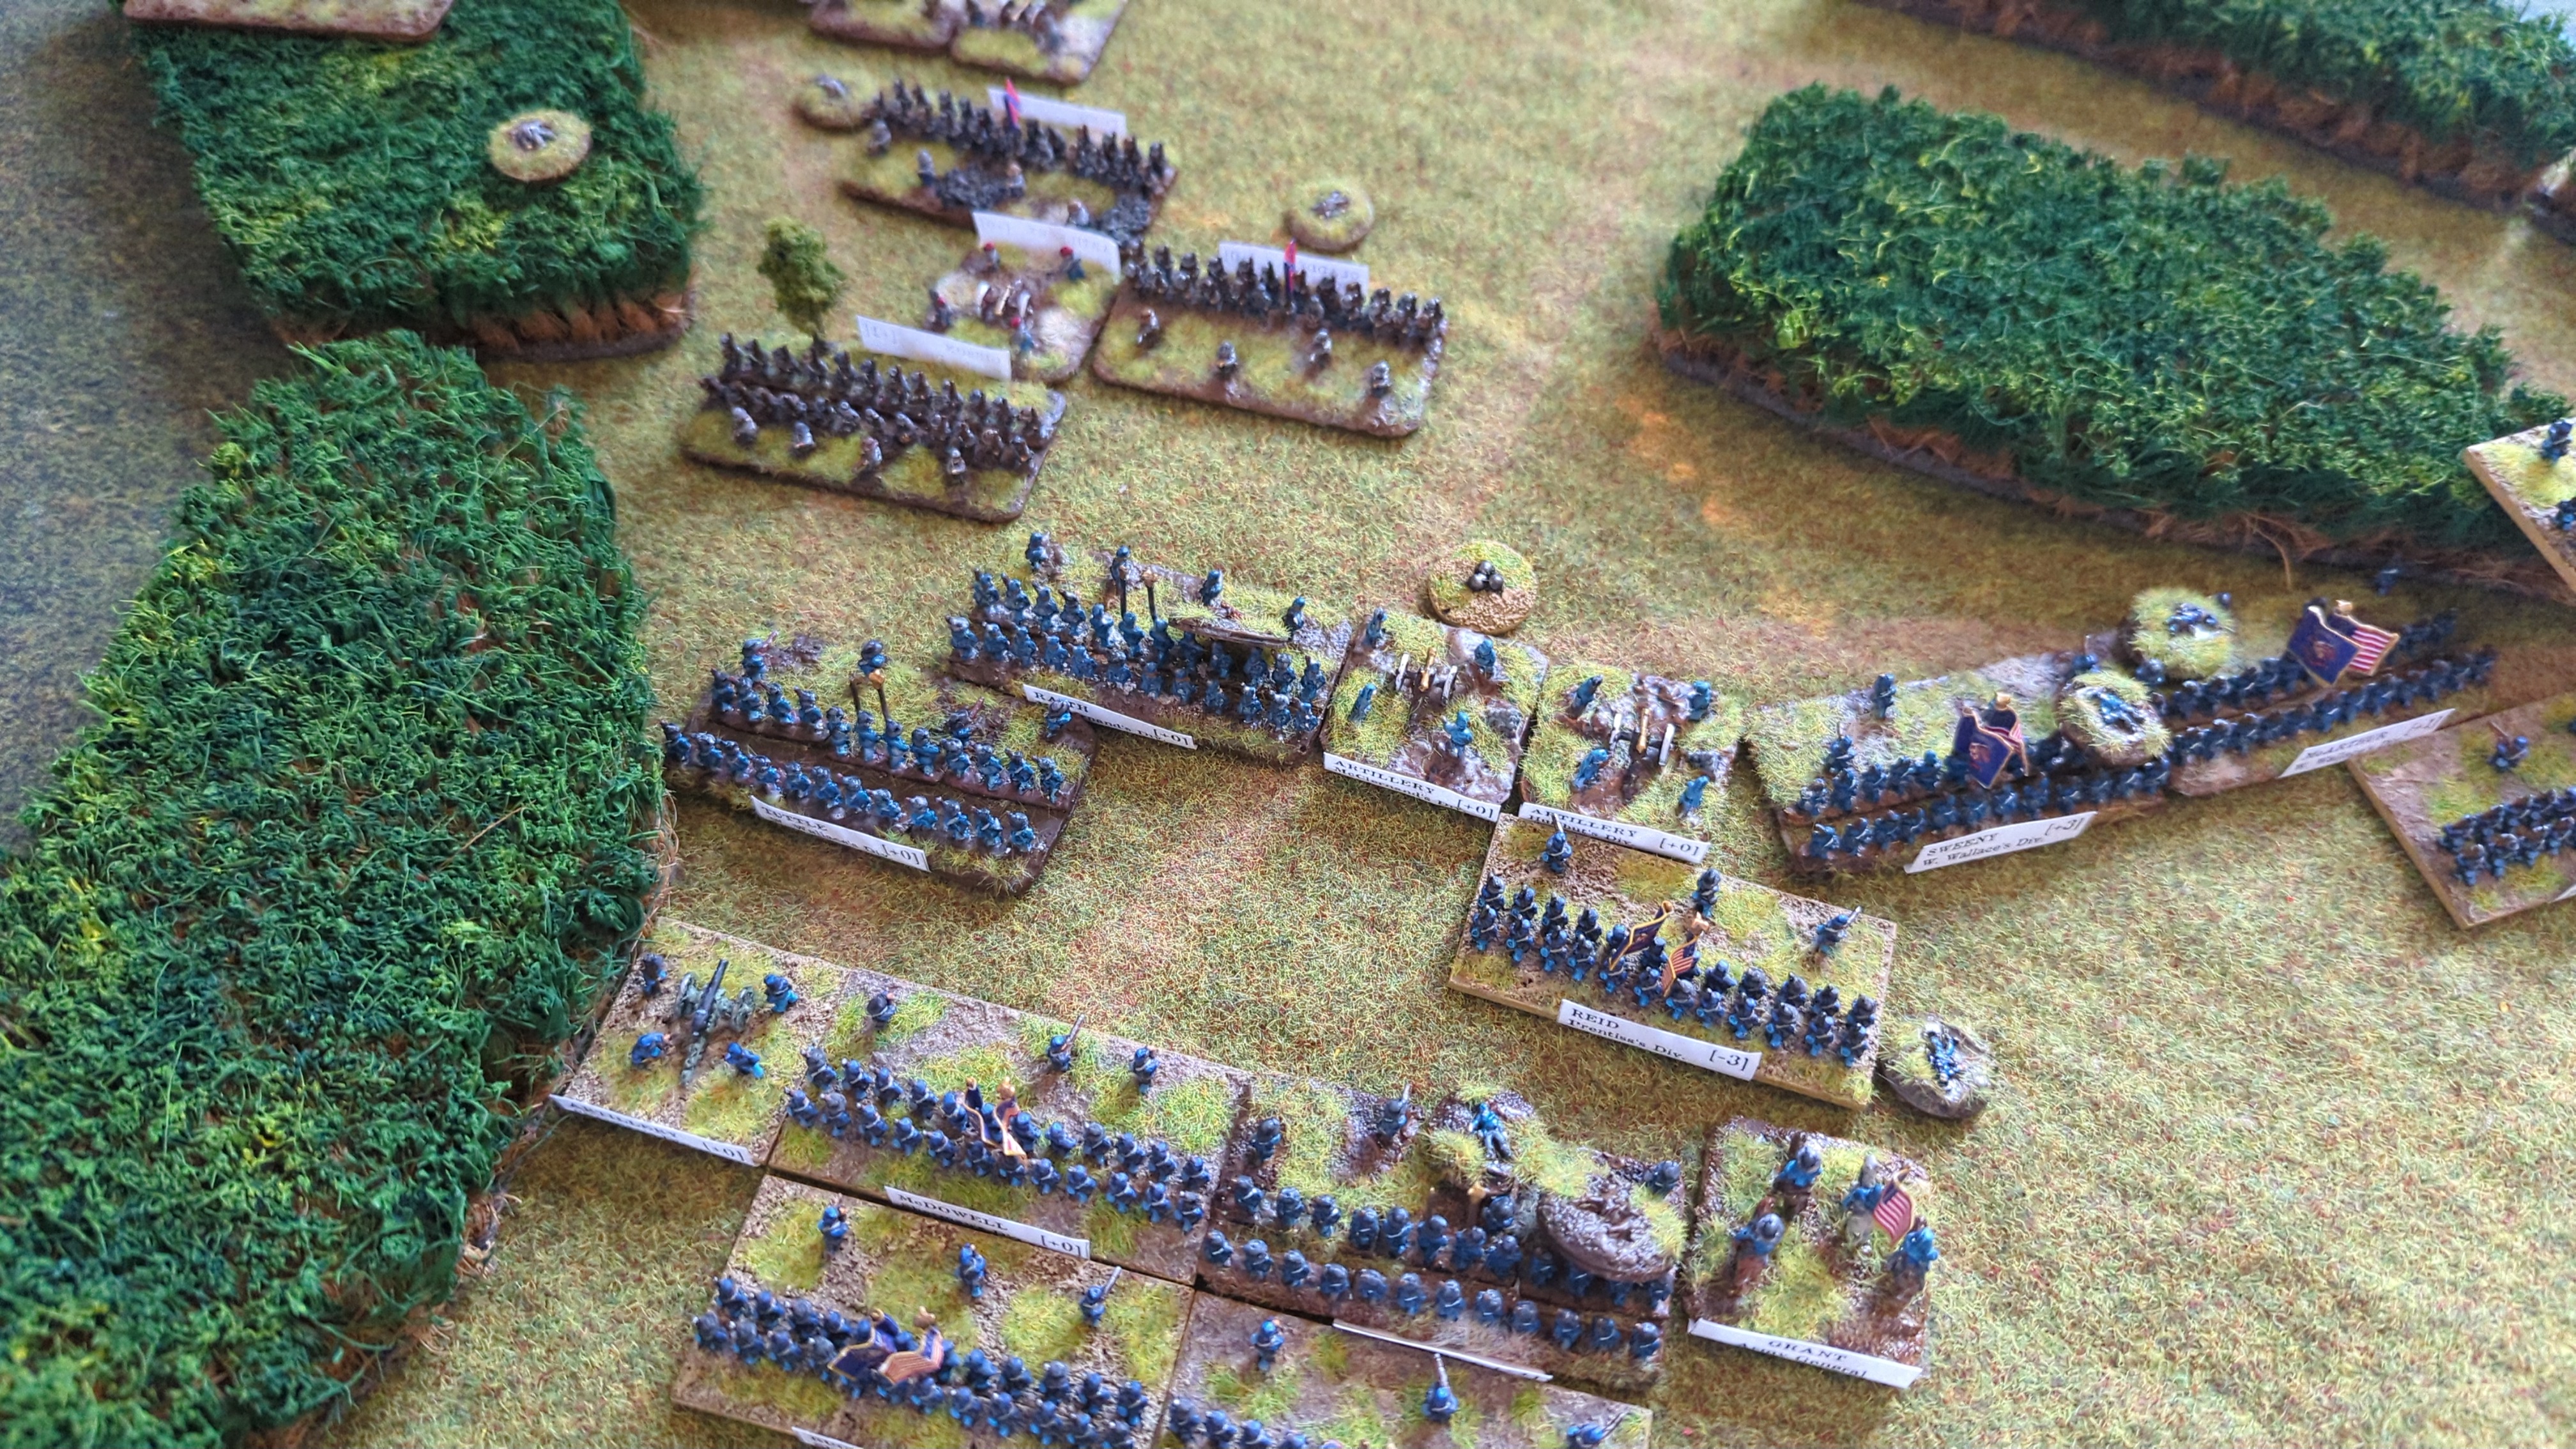
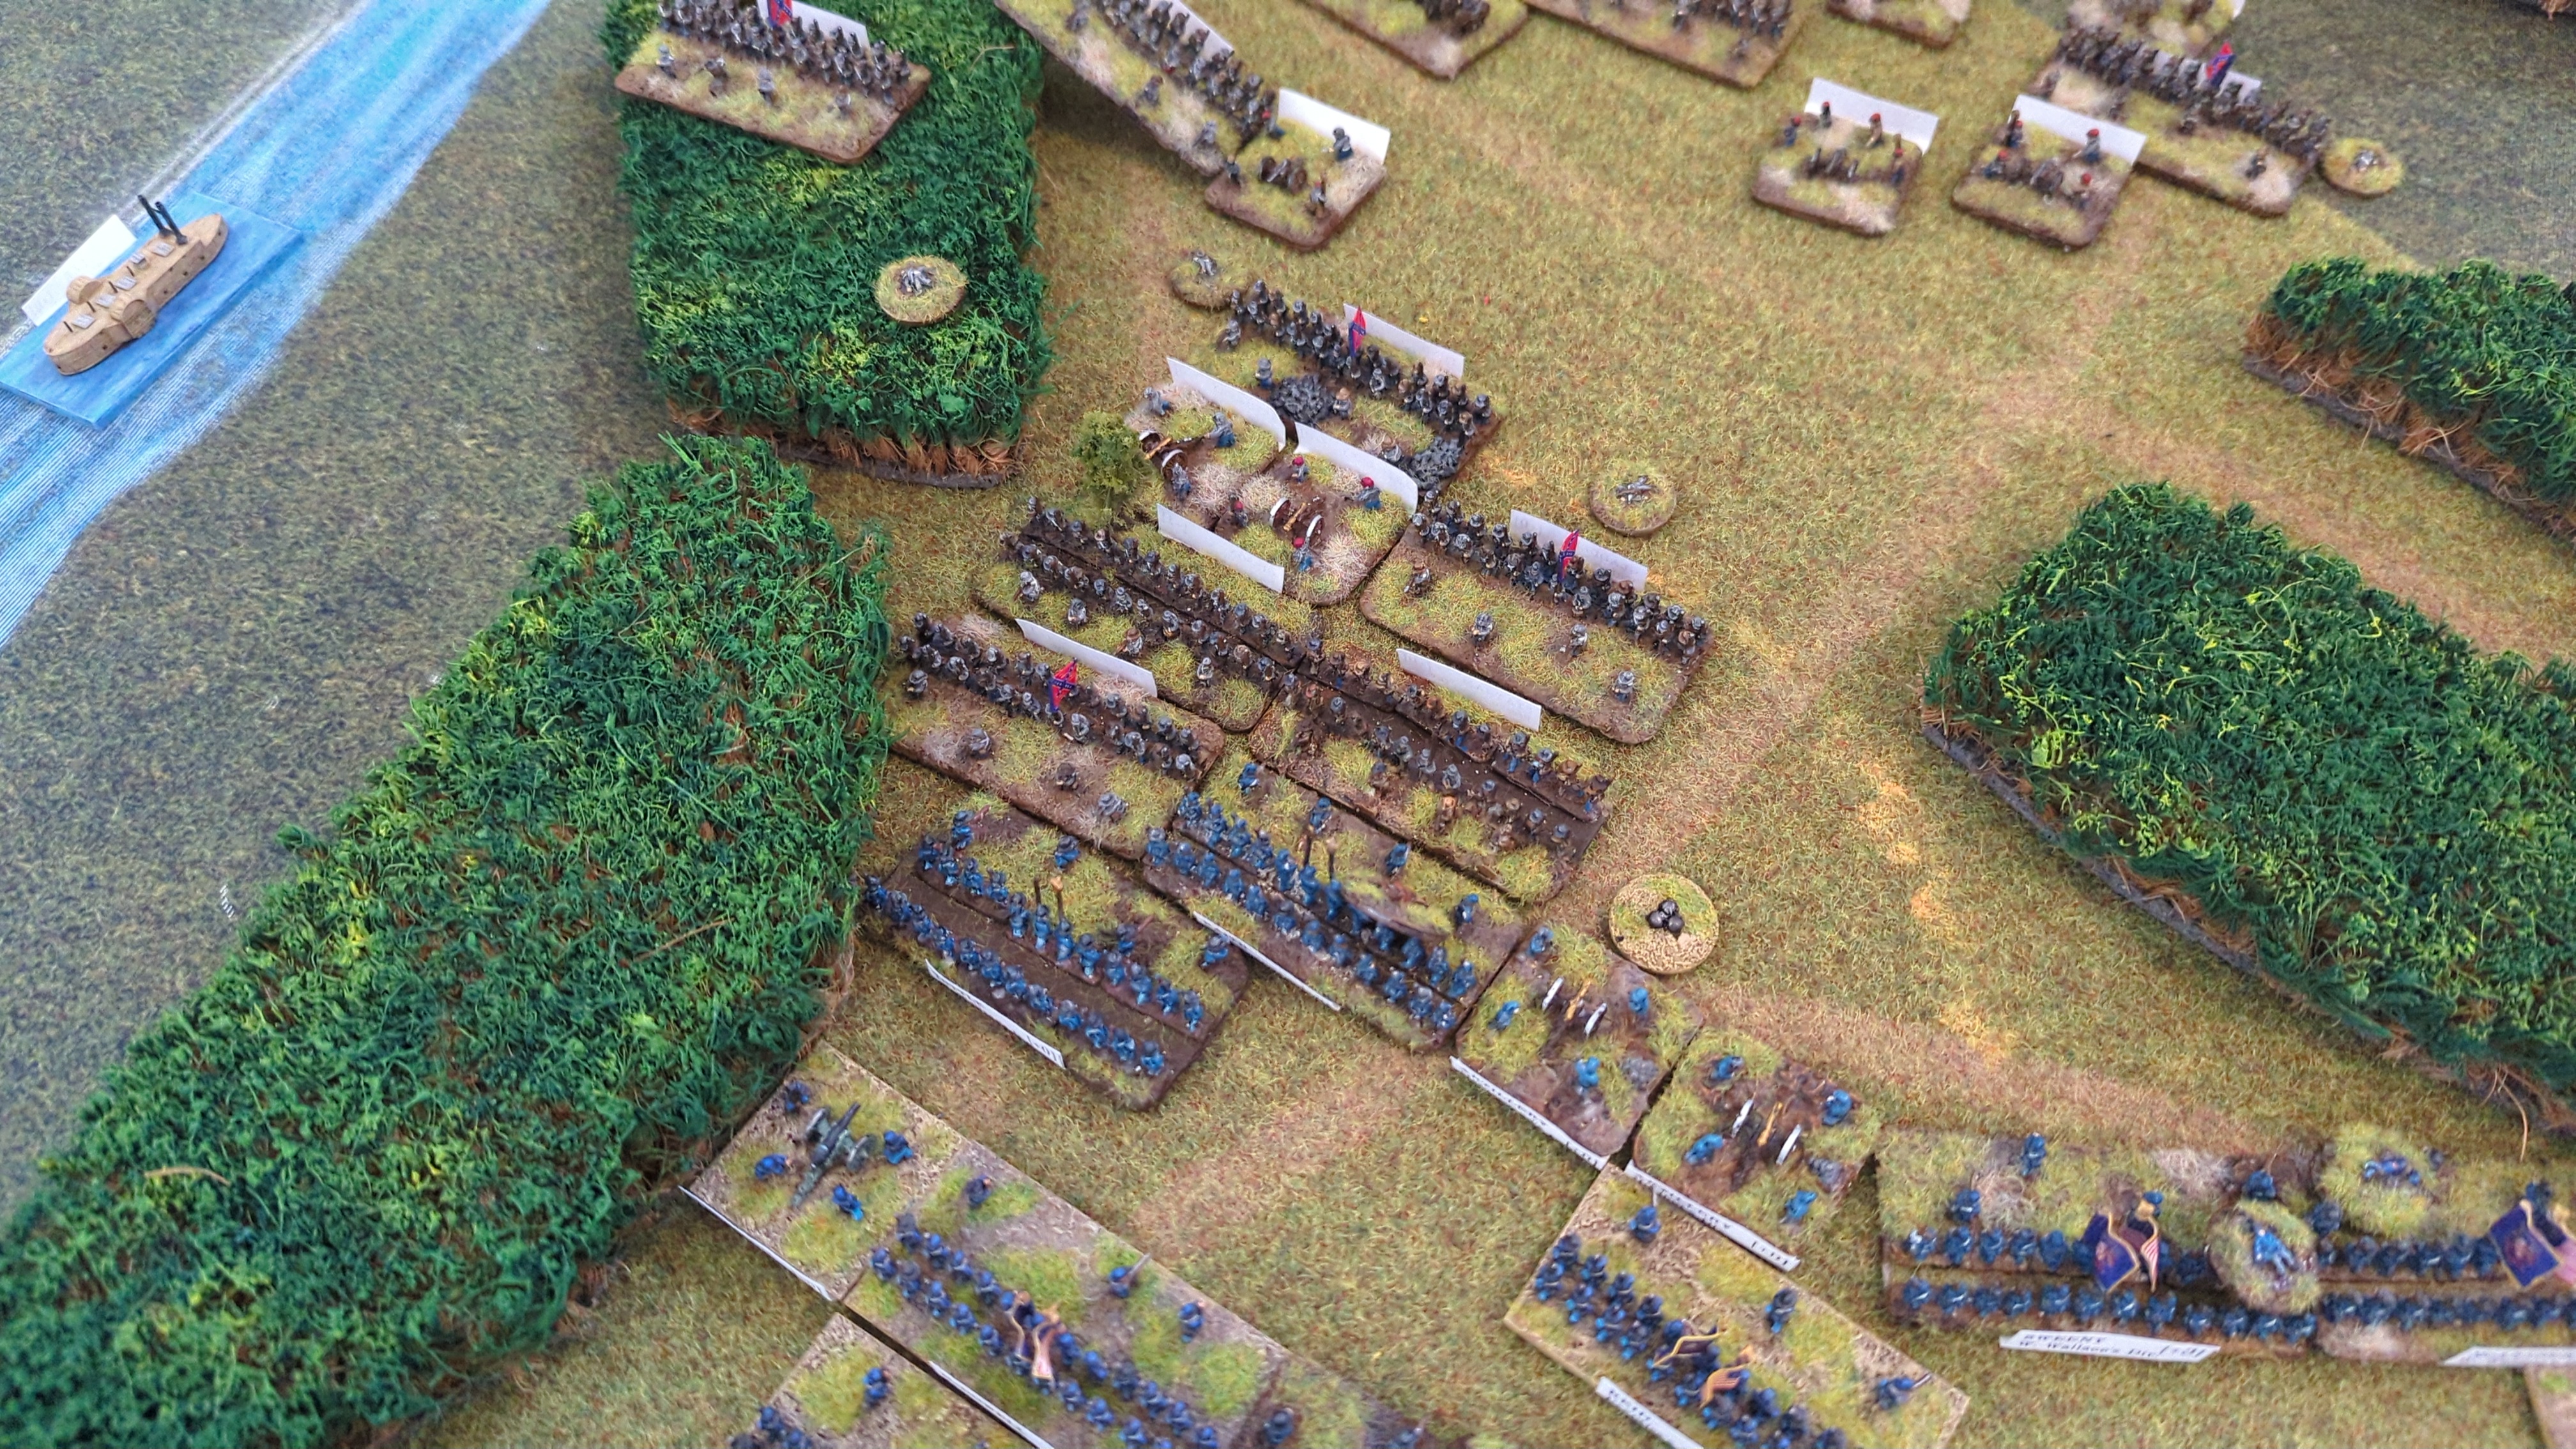
5 vs 4.
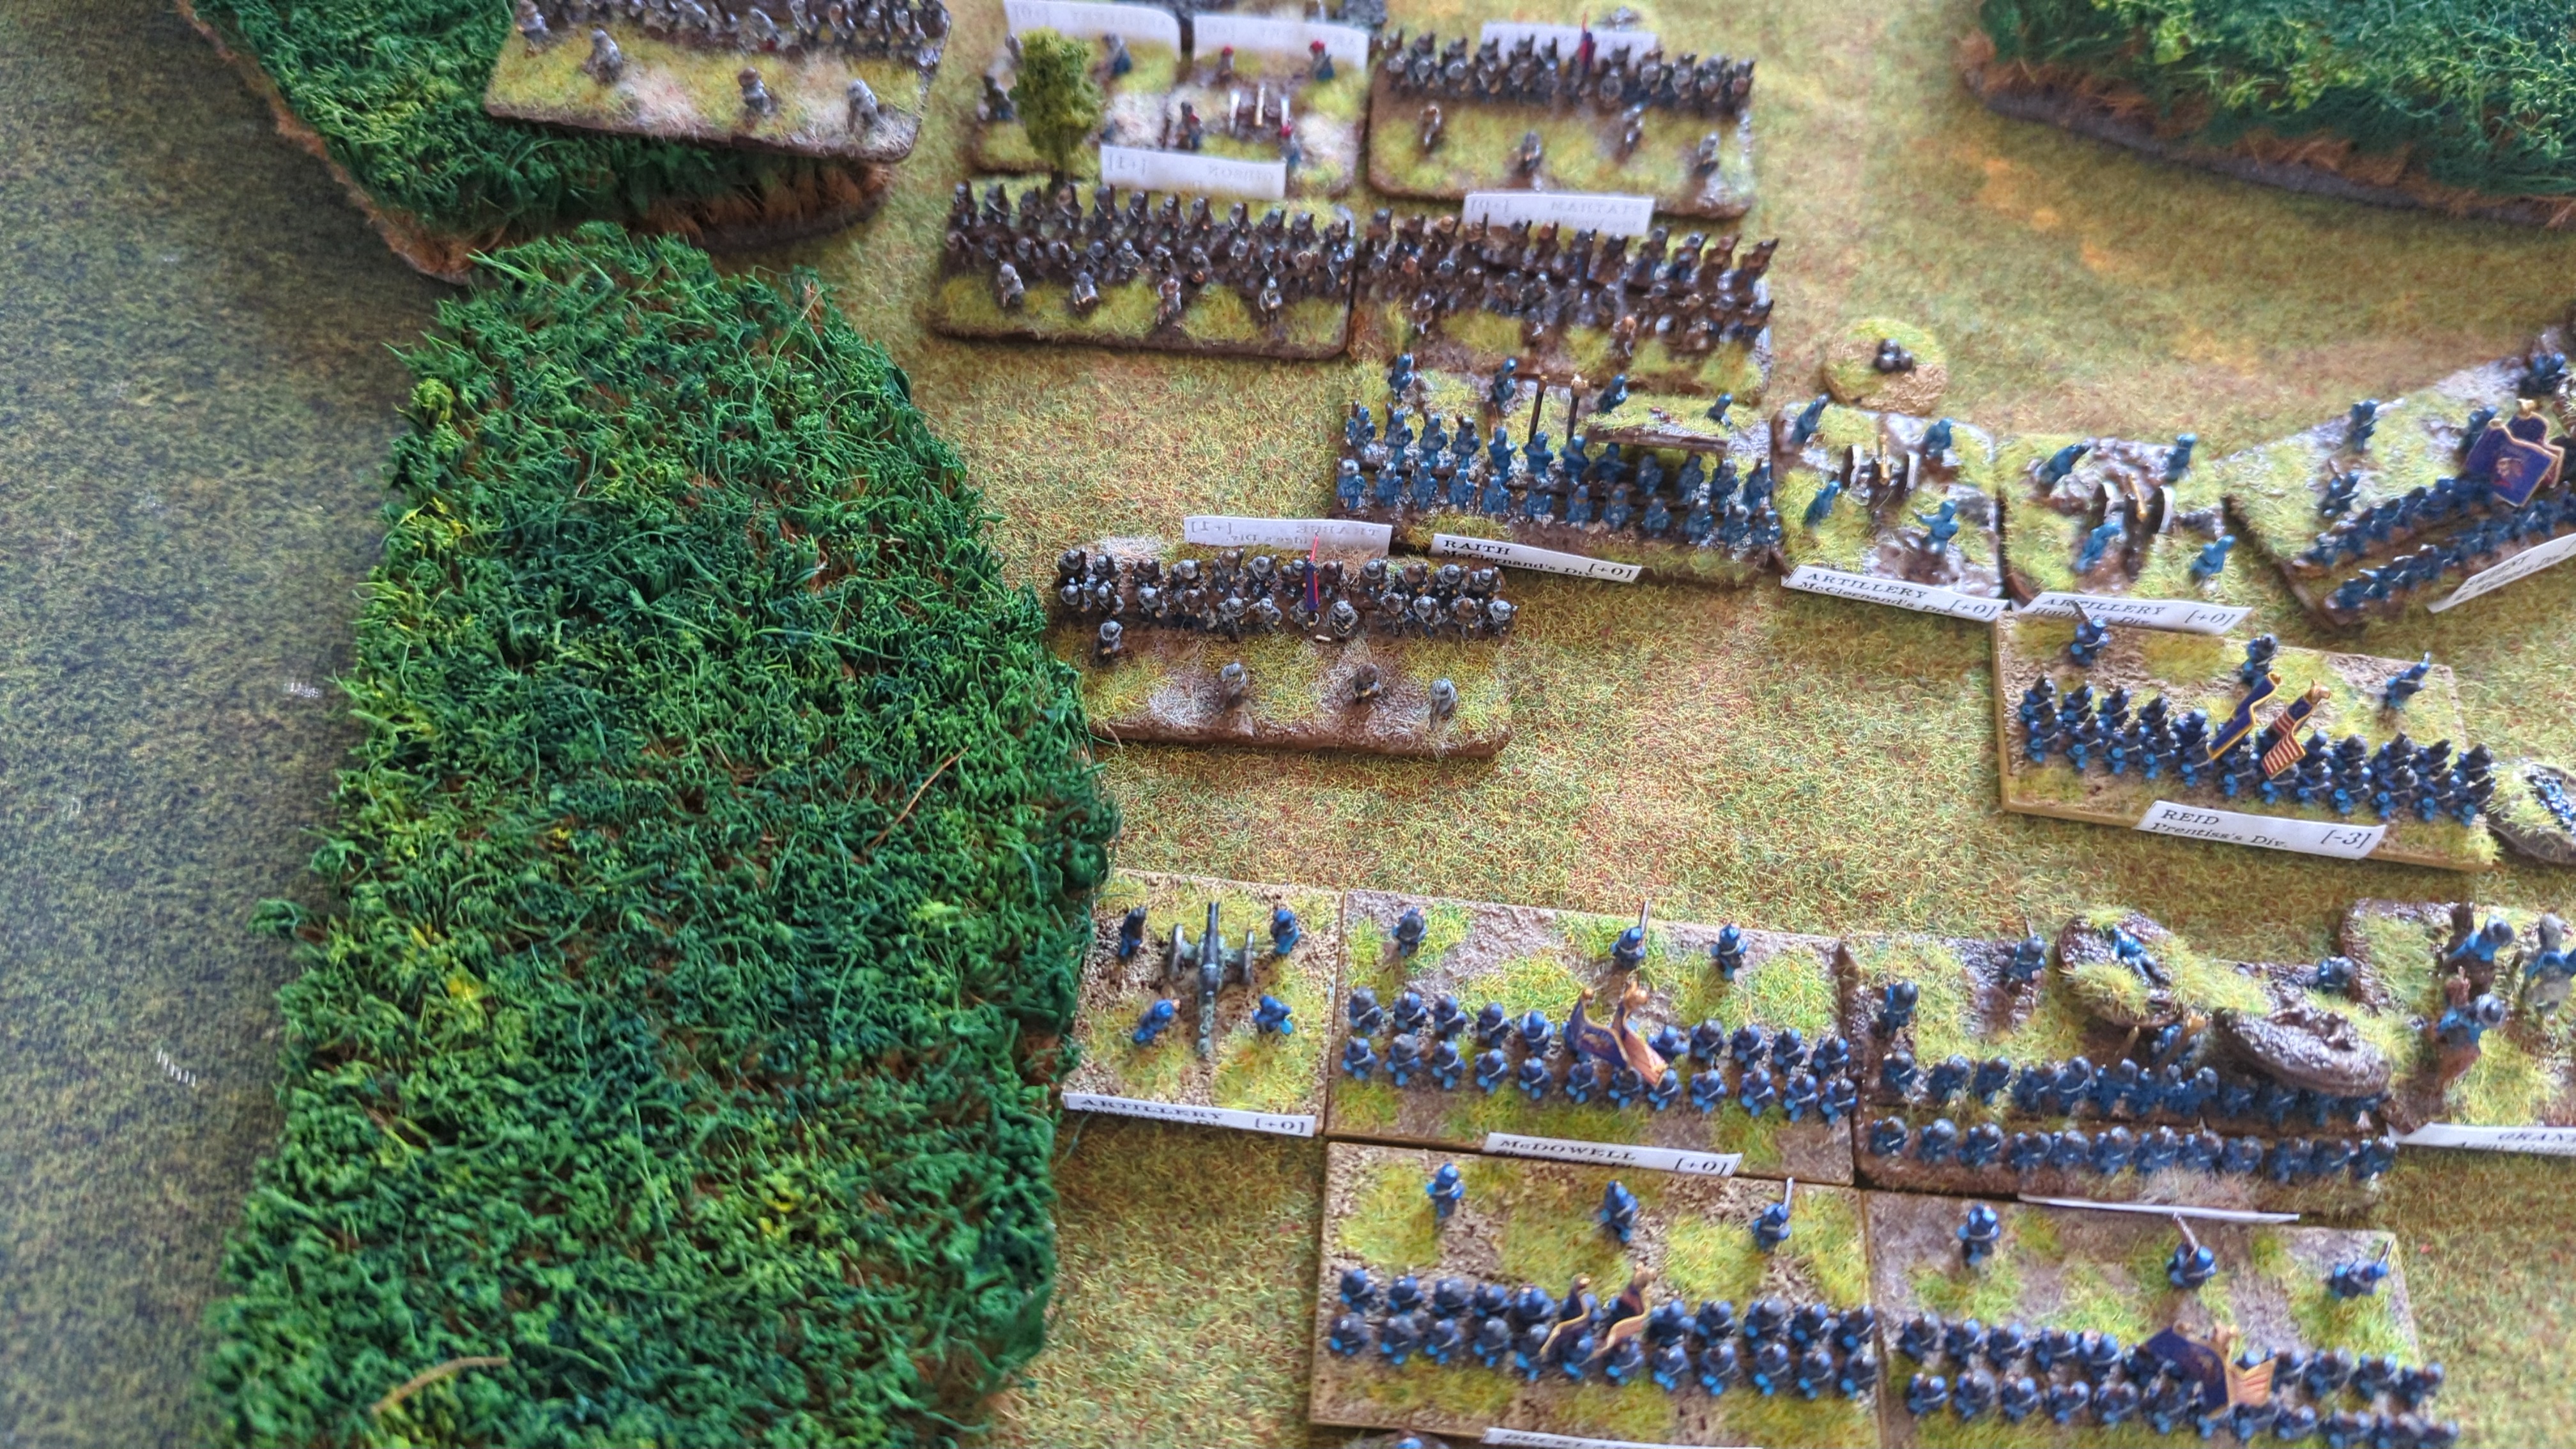
Rolled 5 and 1: 1.
Bid 3
The artillery moved to the edge of the wood and was sent back by interrupt fire.
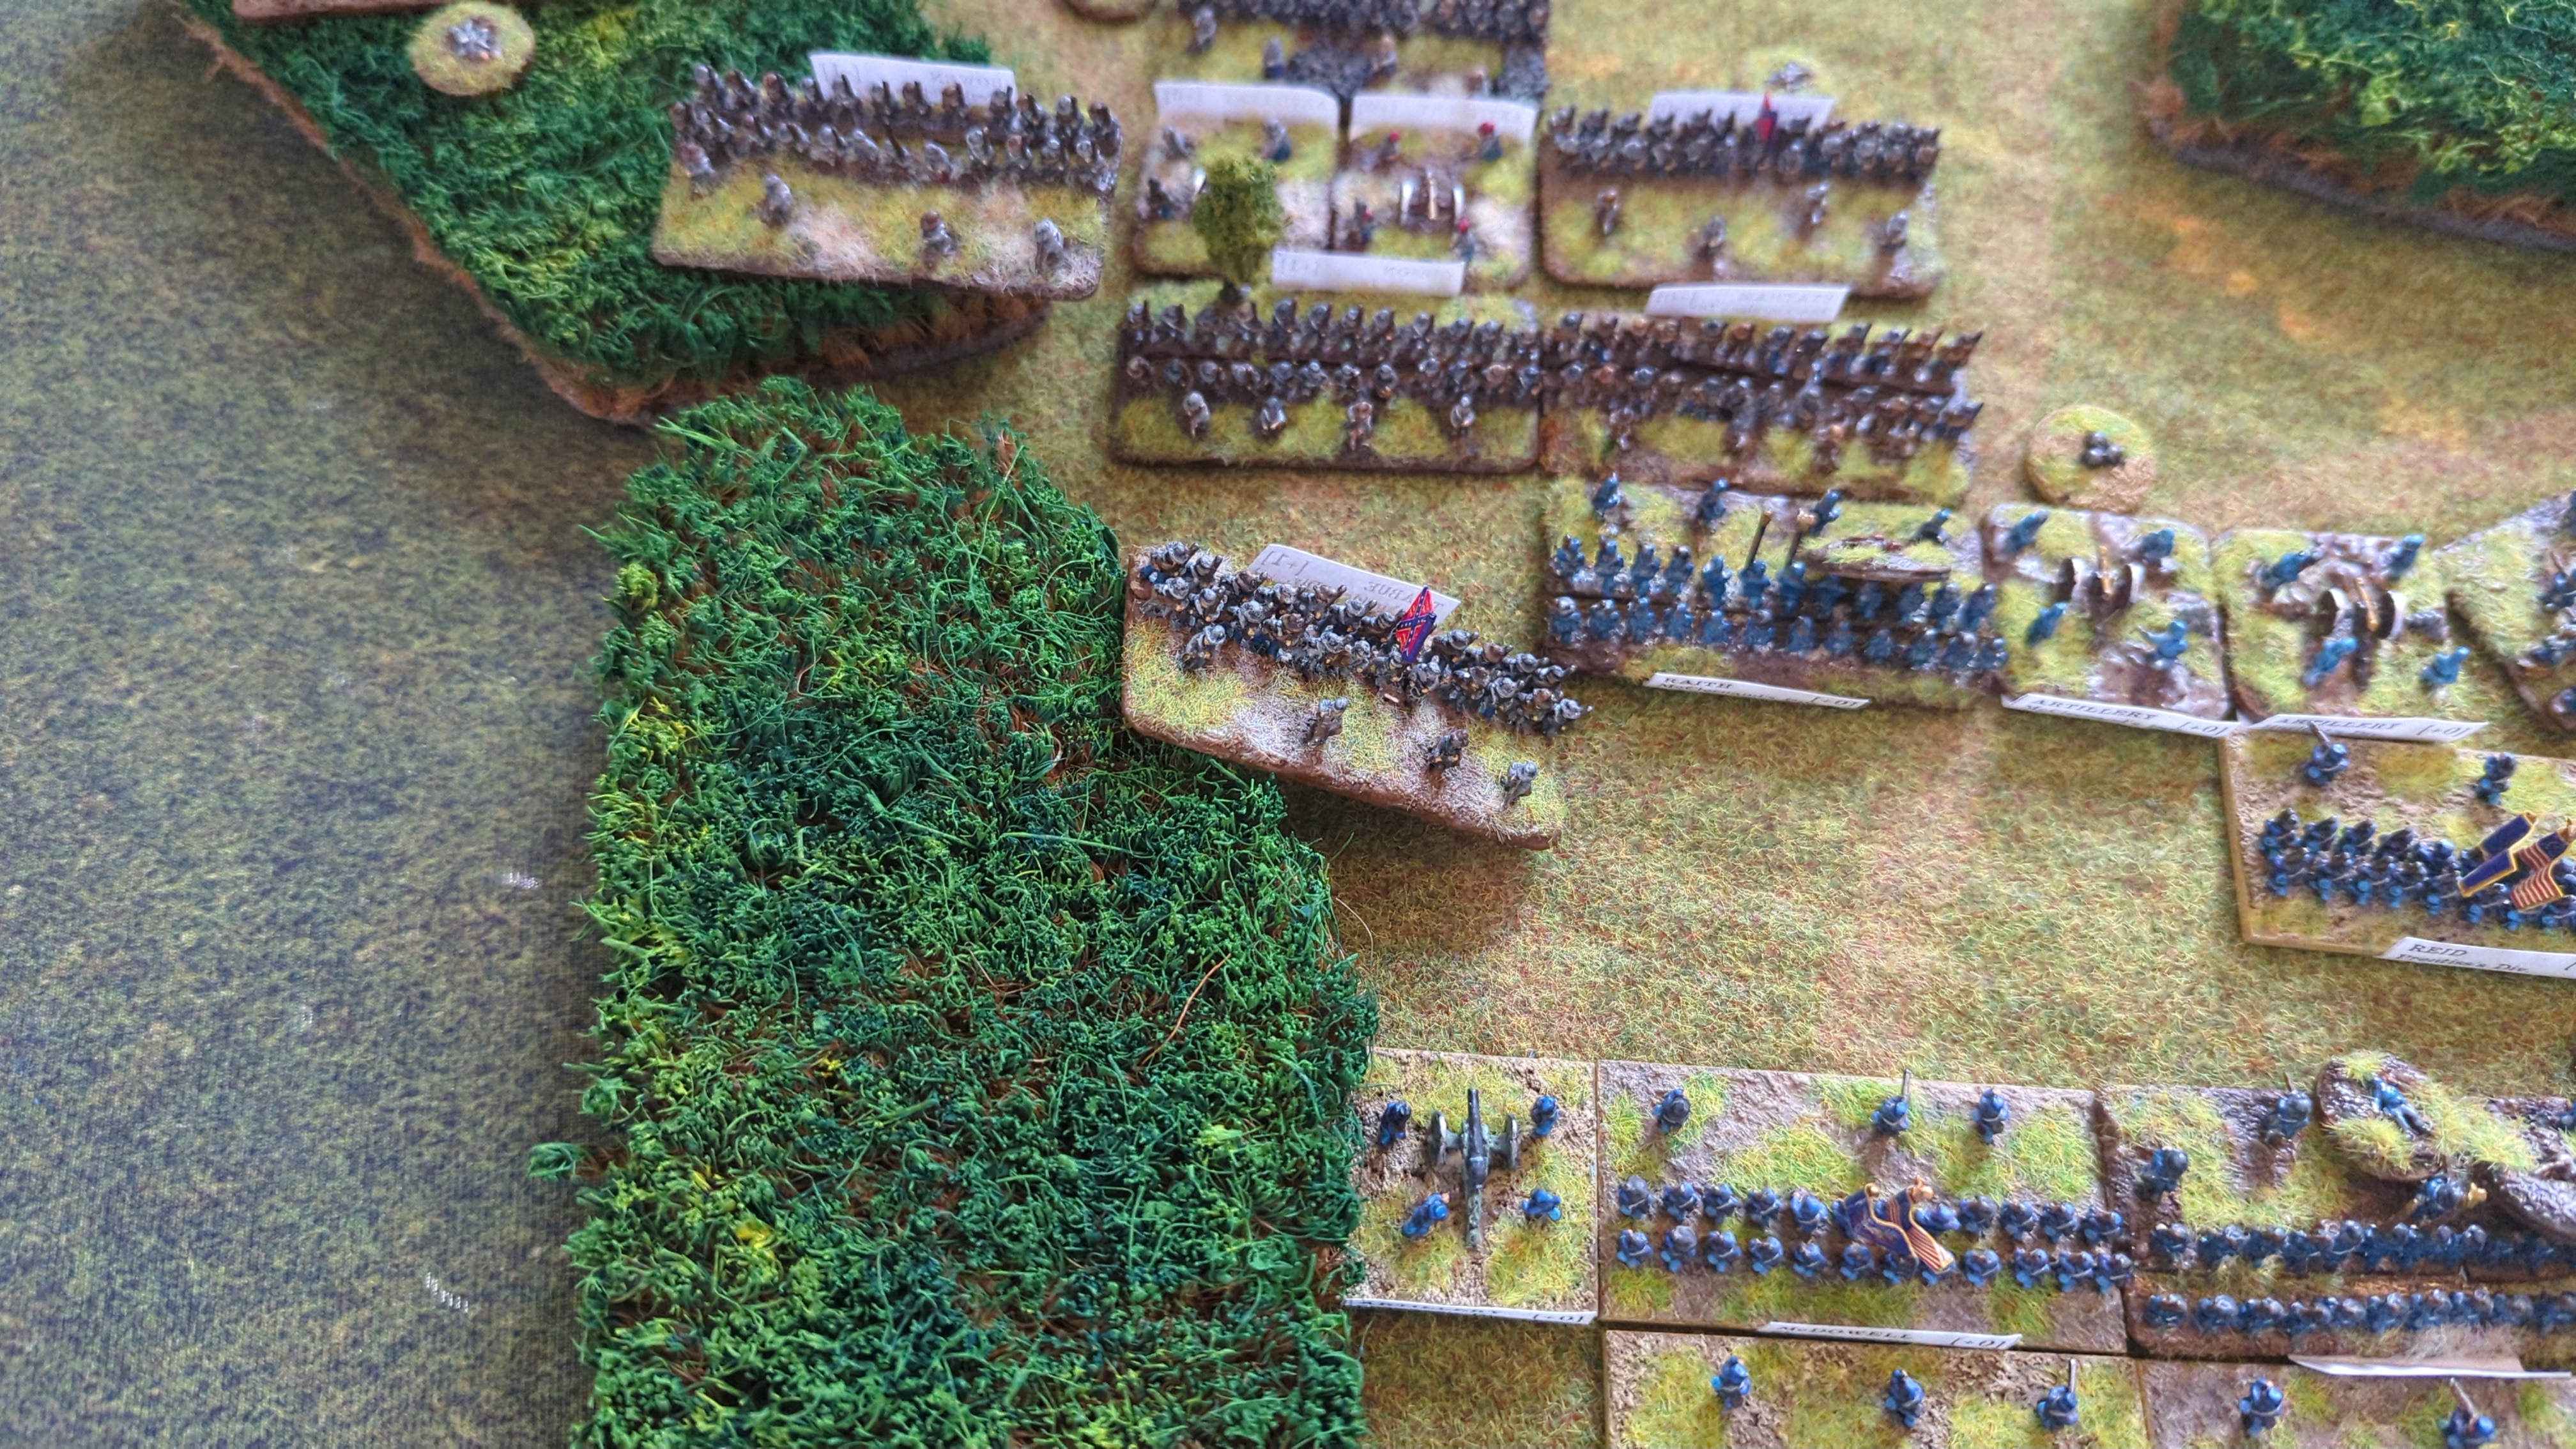
End of Turn Sequence
Wood's routed.
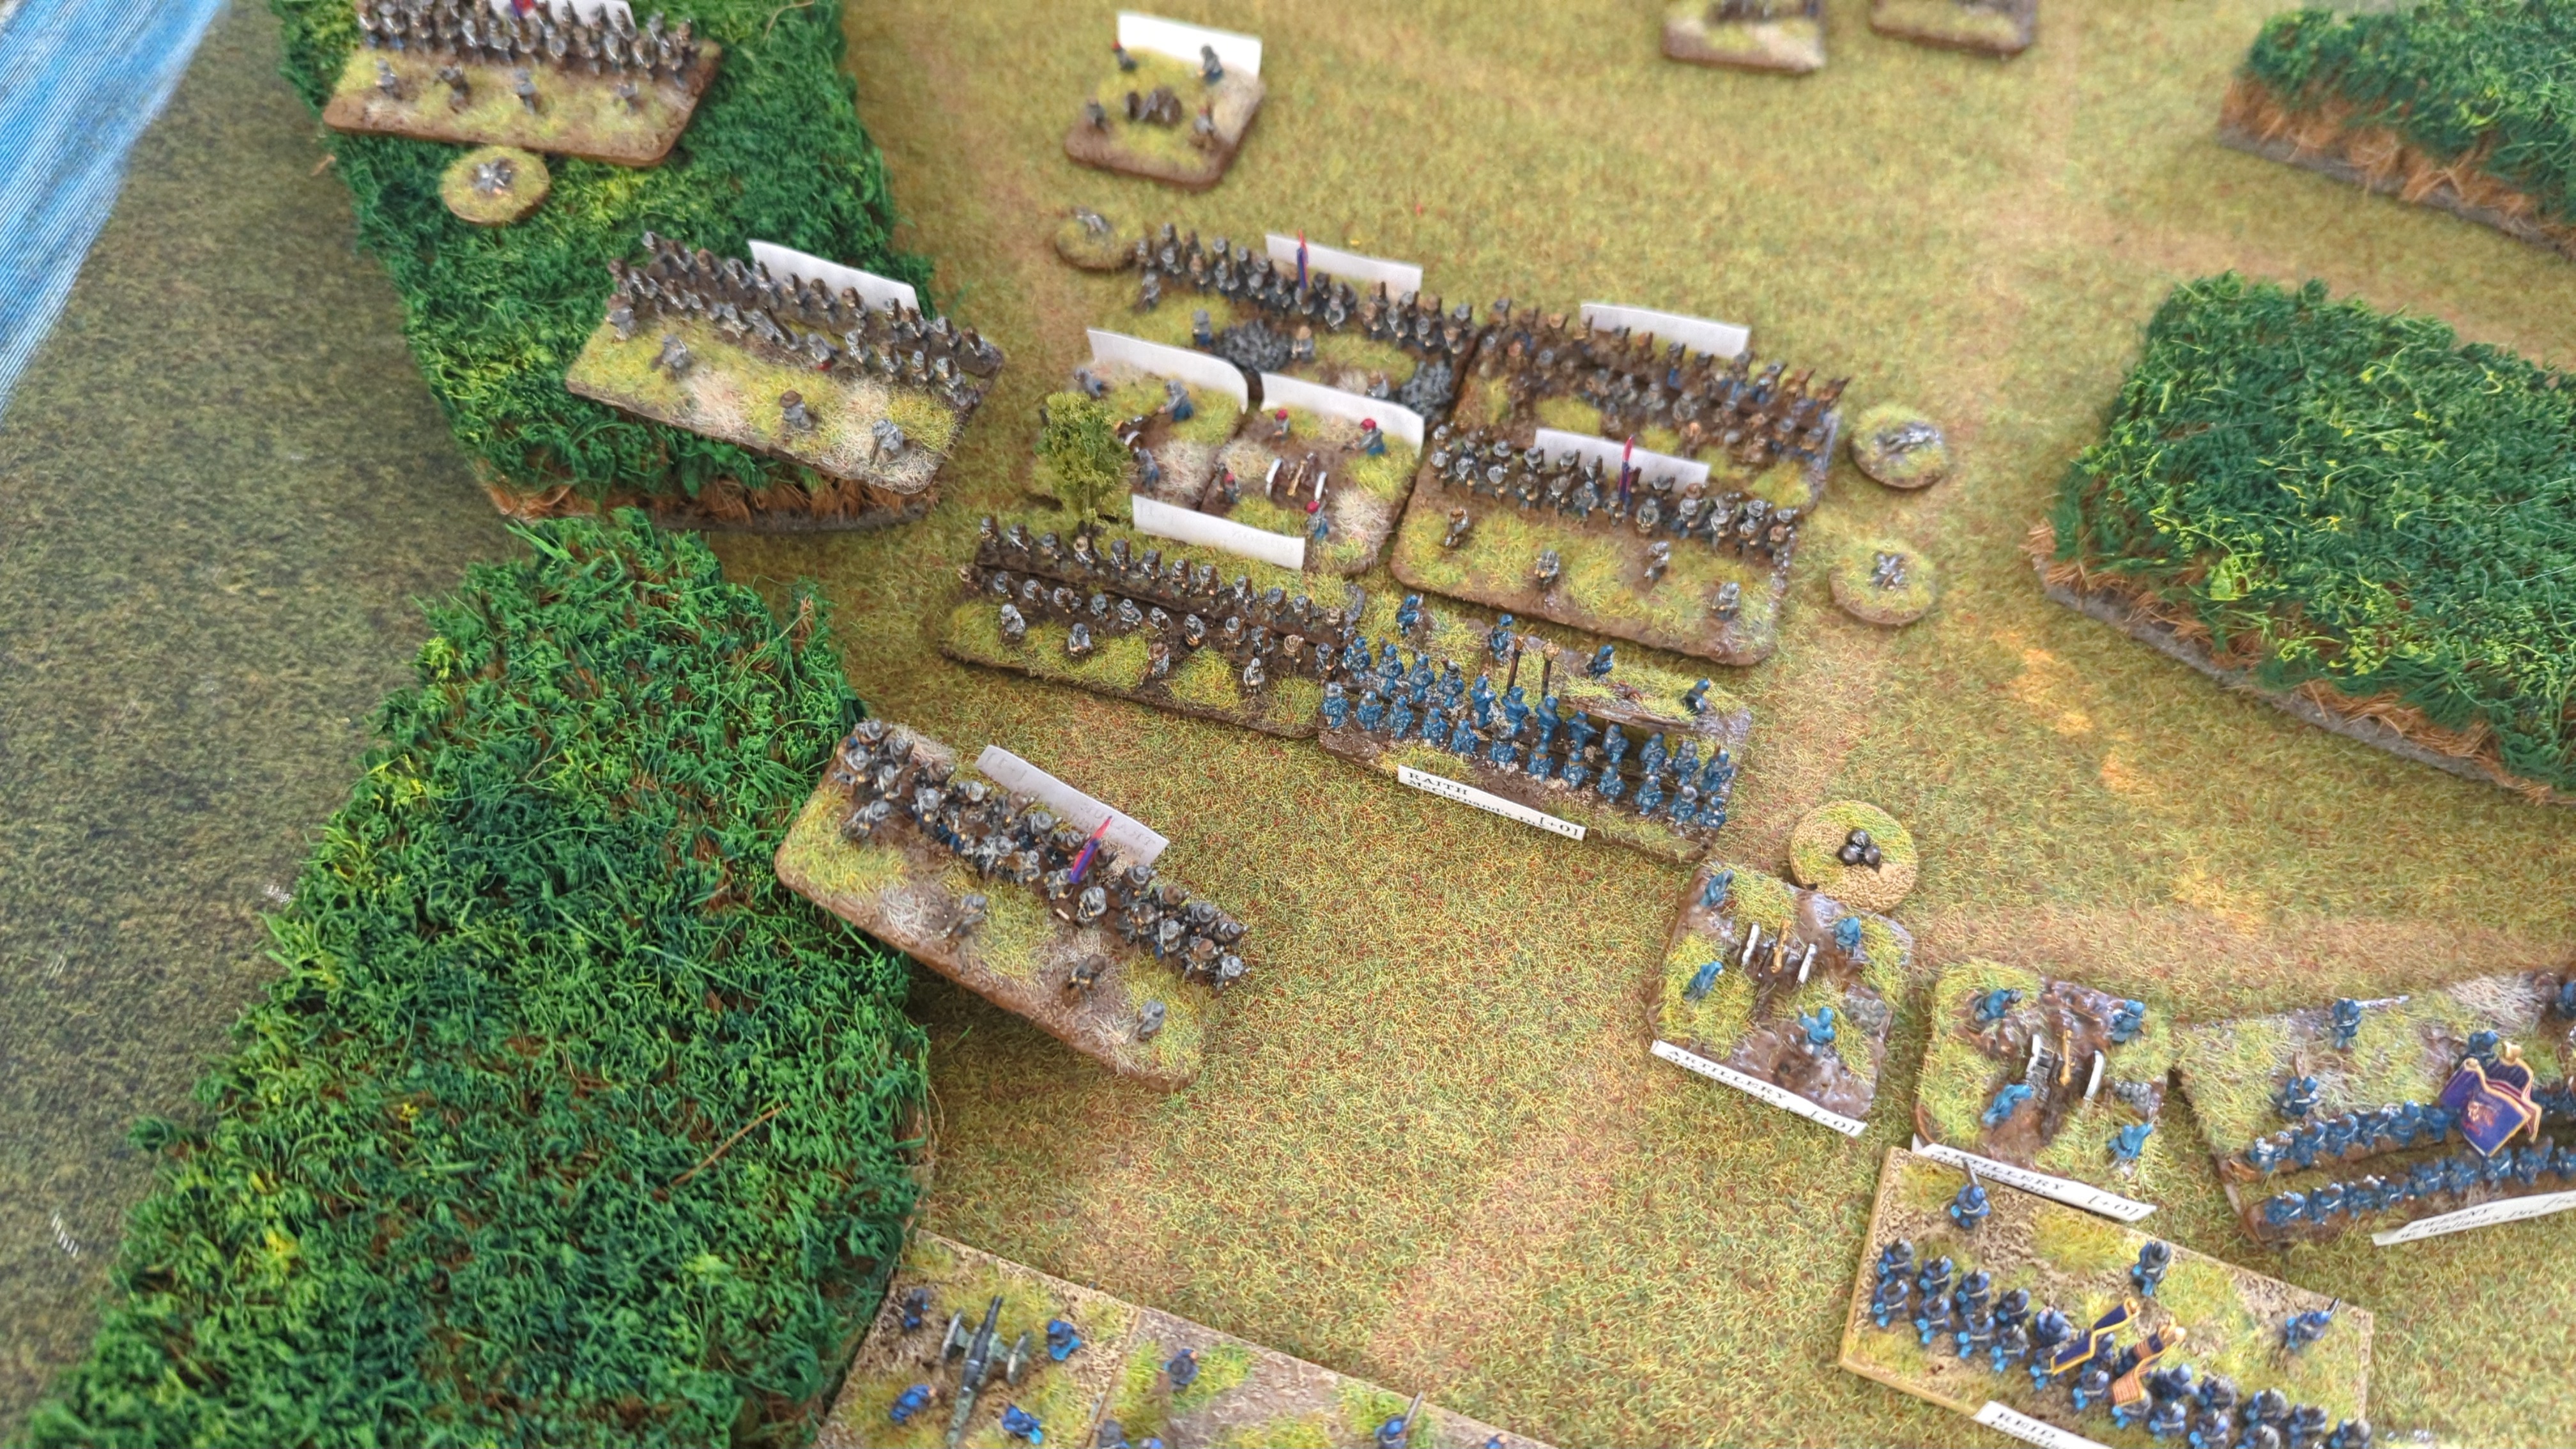
Turn 7
7 vs 1: the Confederates got the watch.
Bid 6
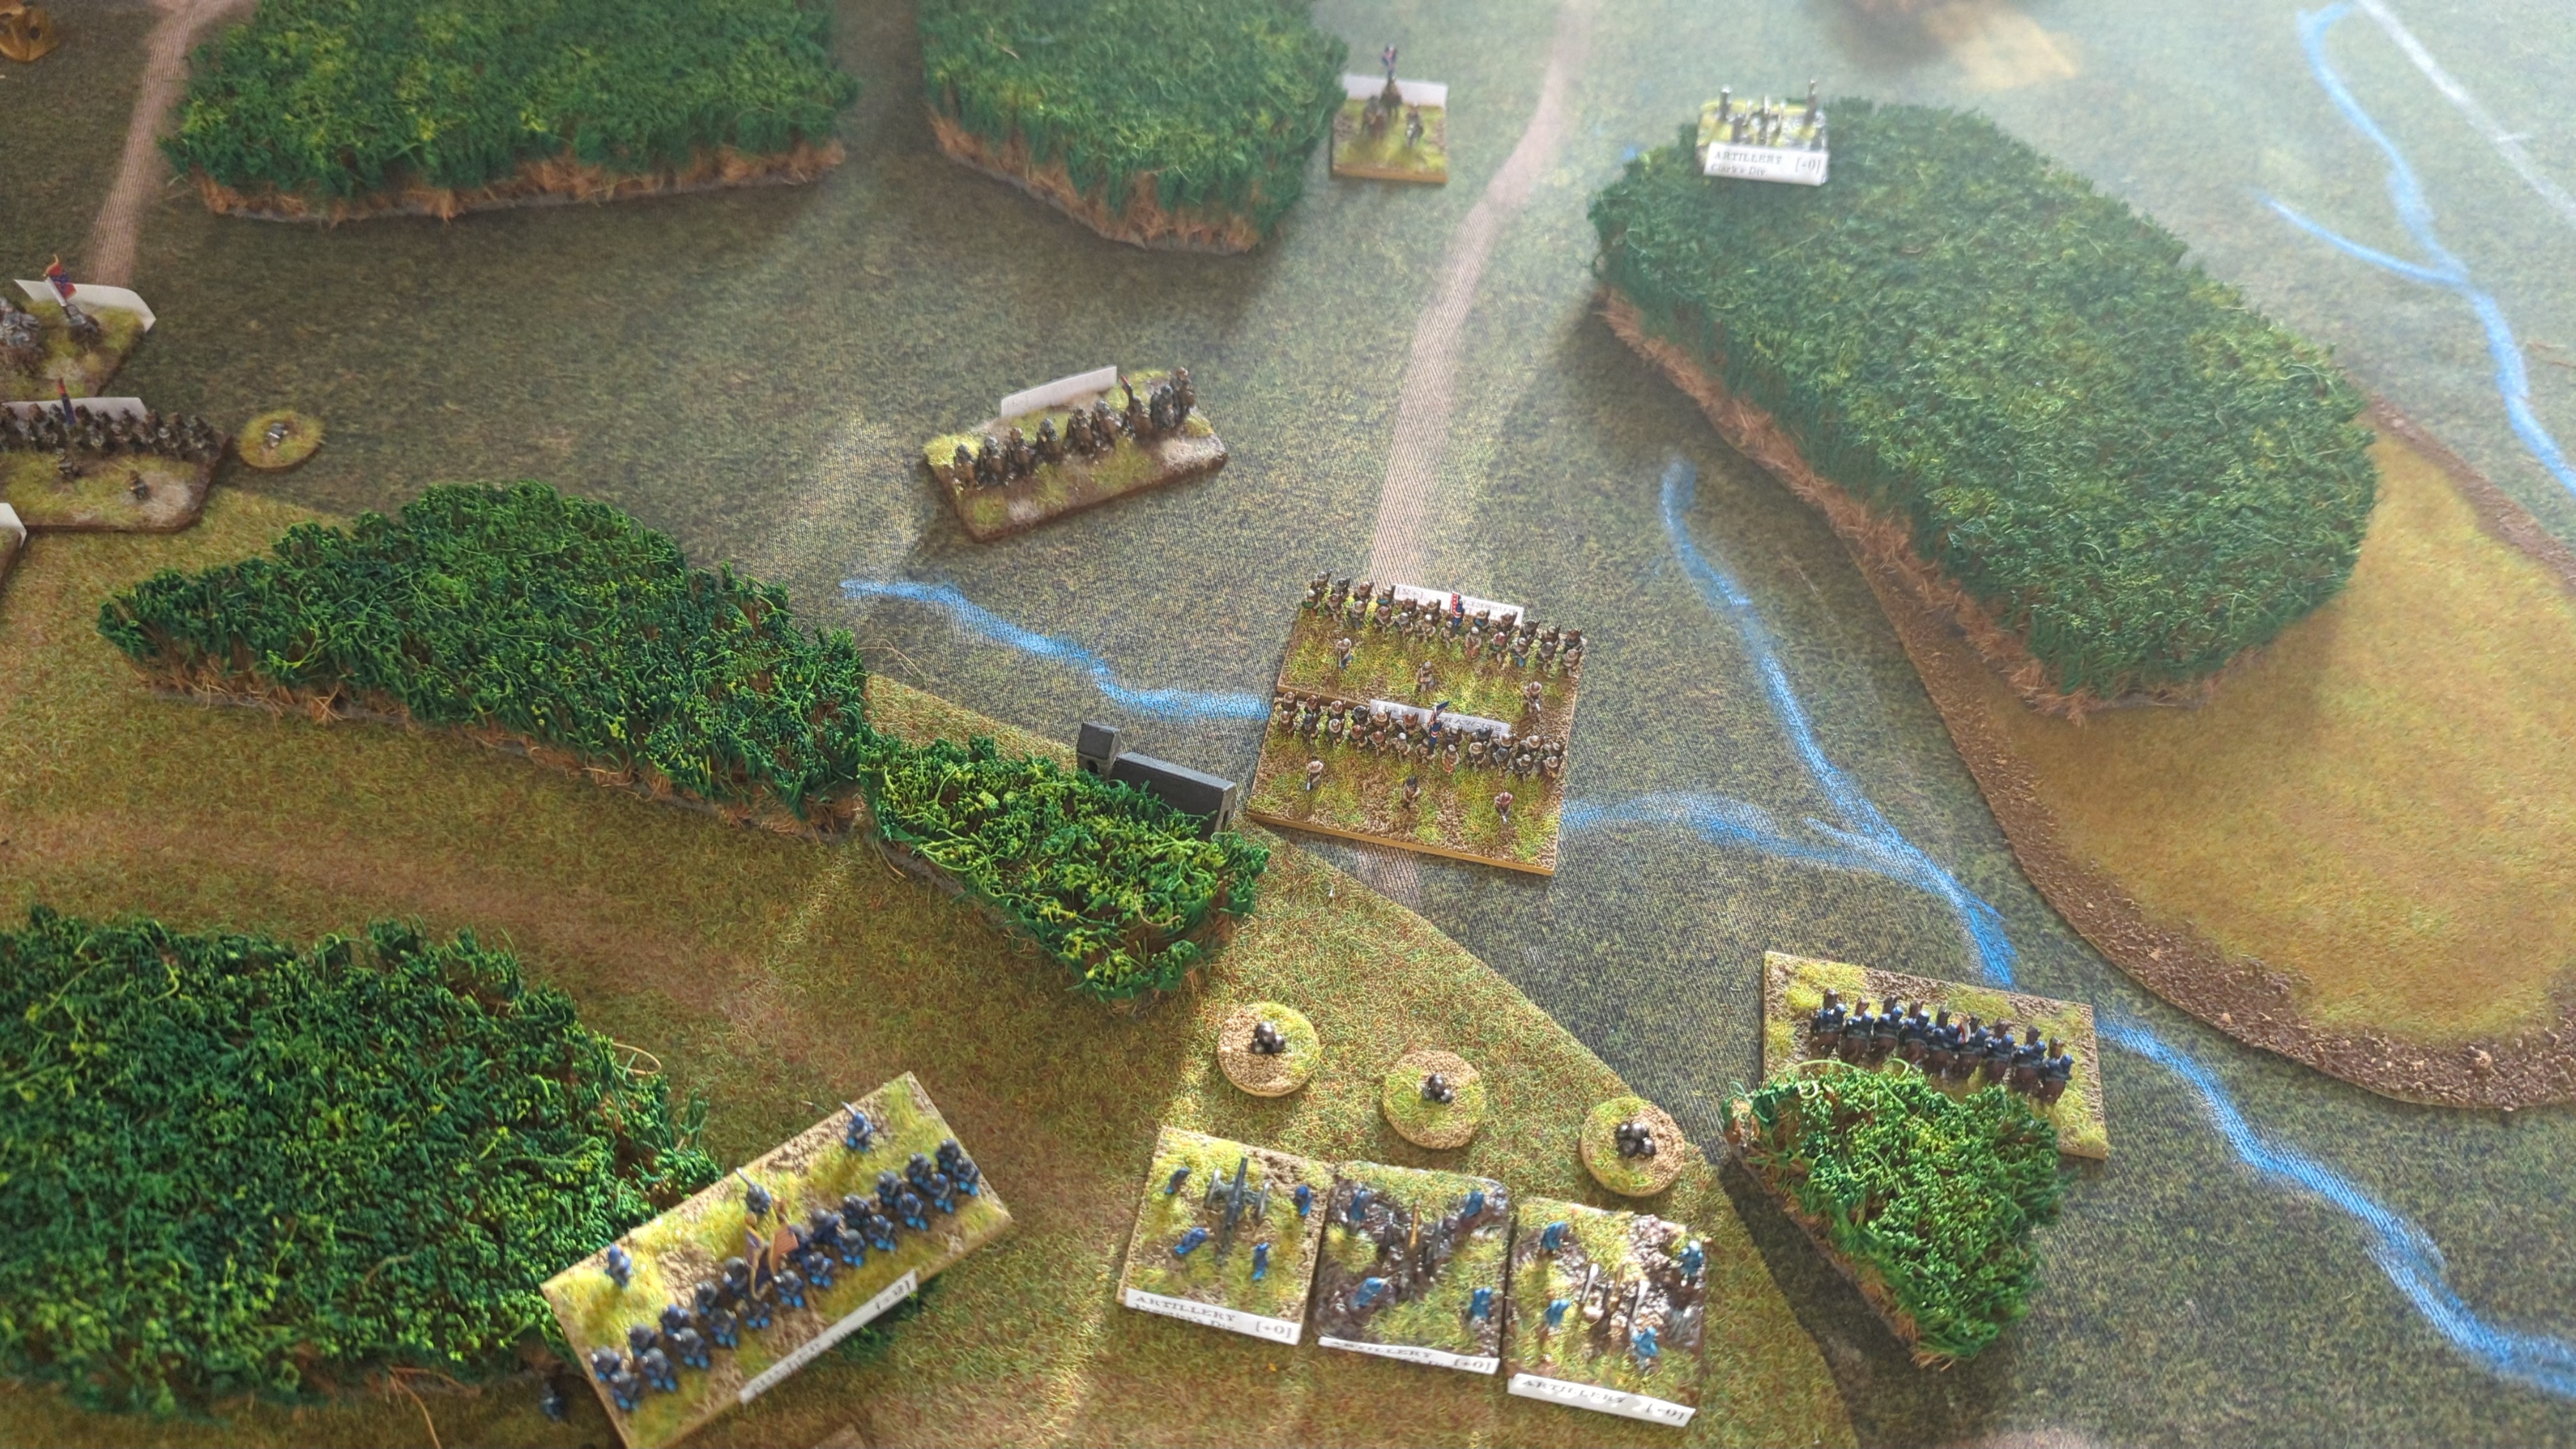
Canister fire rolled 9, causing two recoils and one fatigue.
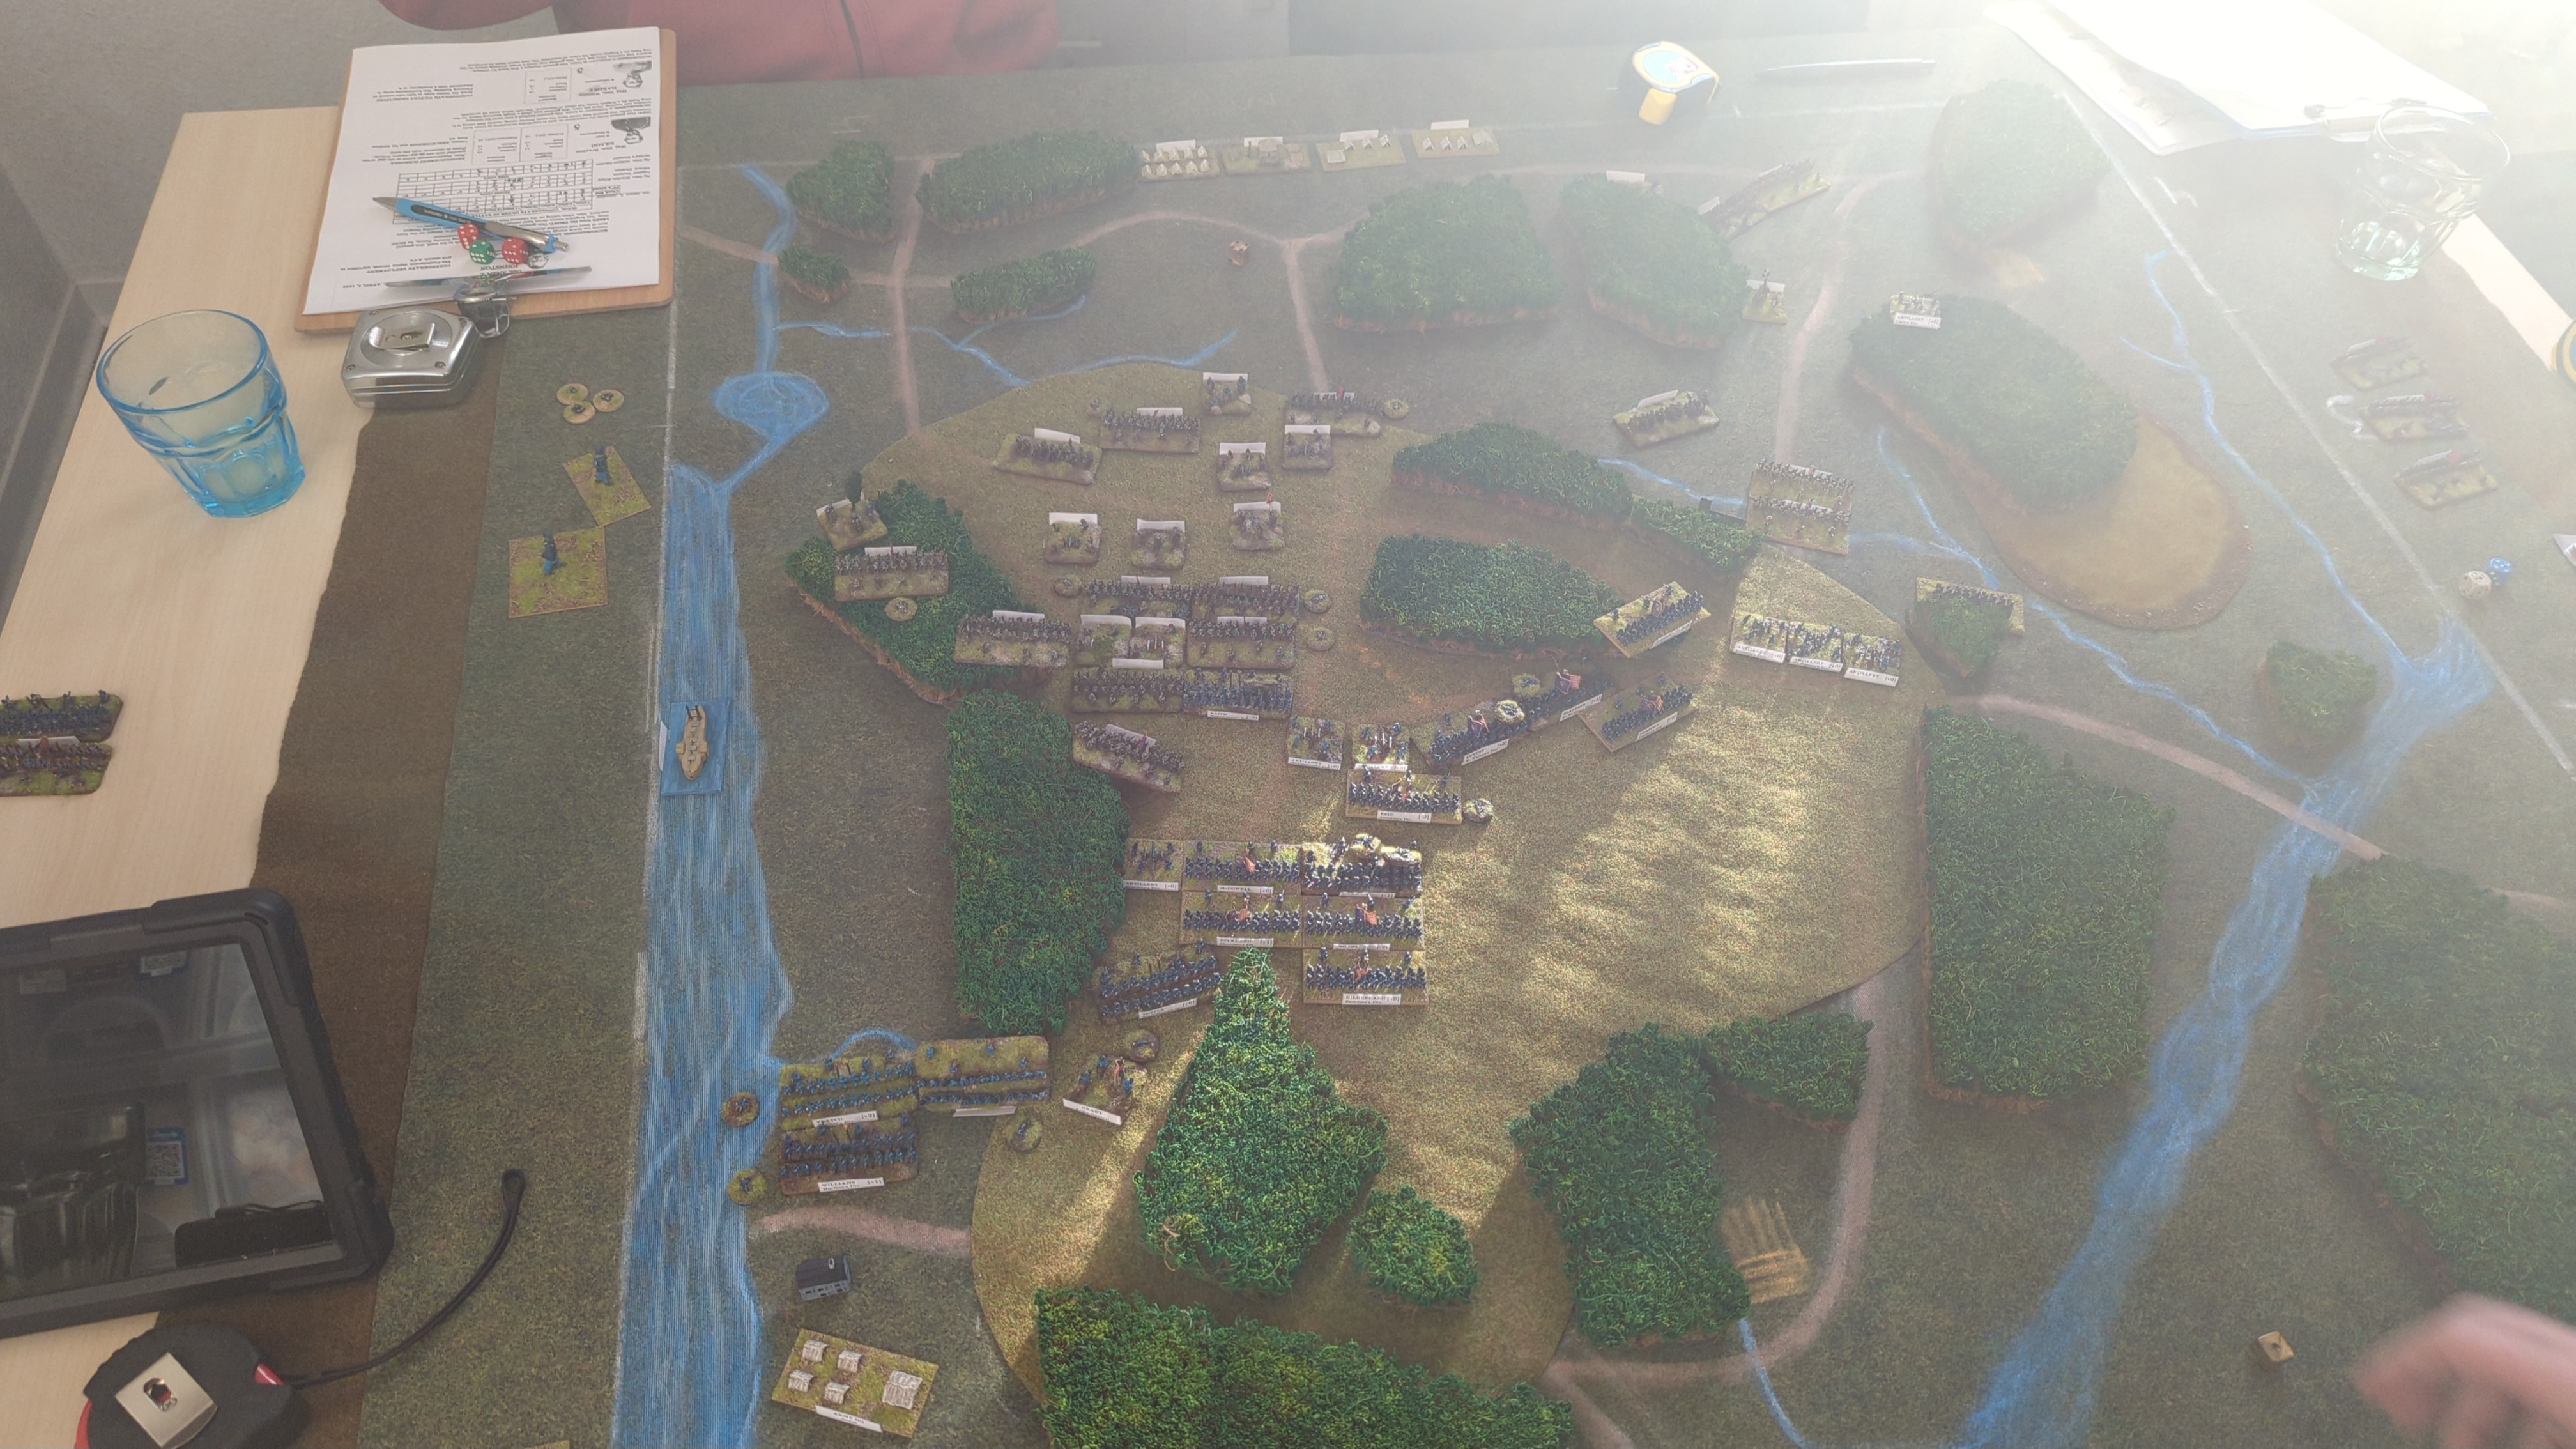
The artillery made both enemy units recoil.
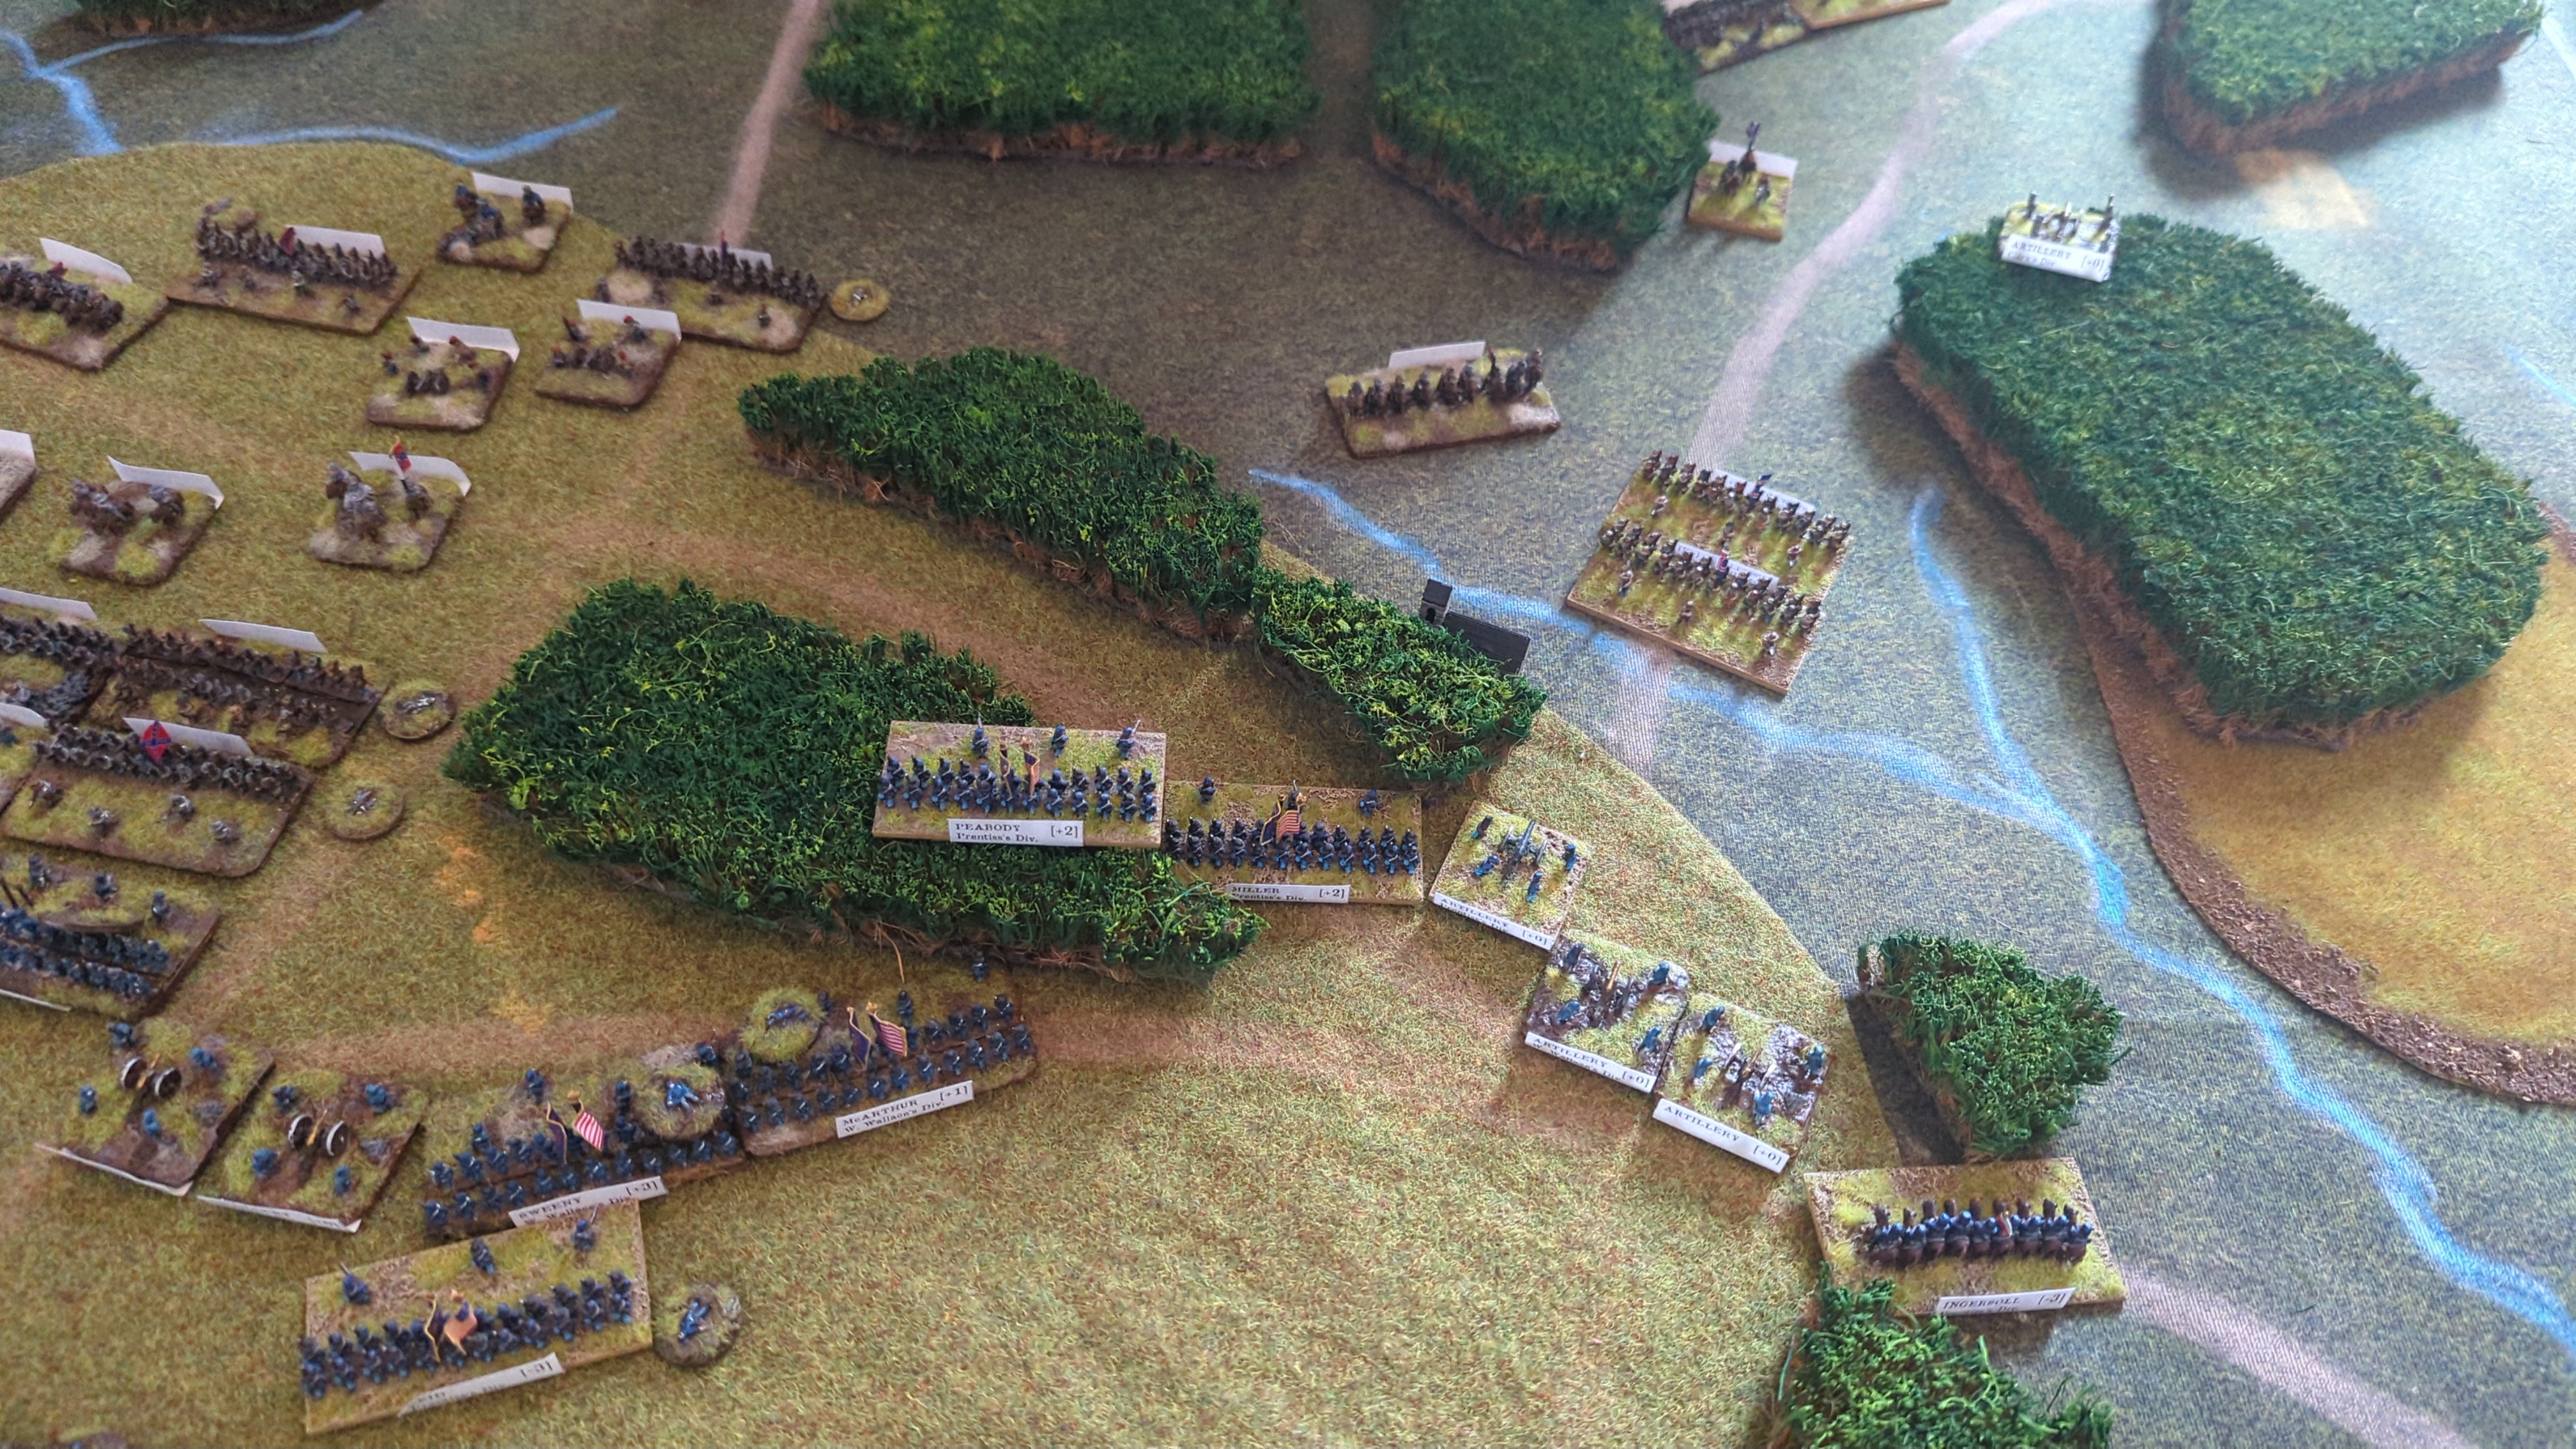
Rolled 5 and 2: 10.
Bid 5
The USS Tyler caused one recoil.
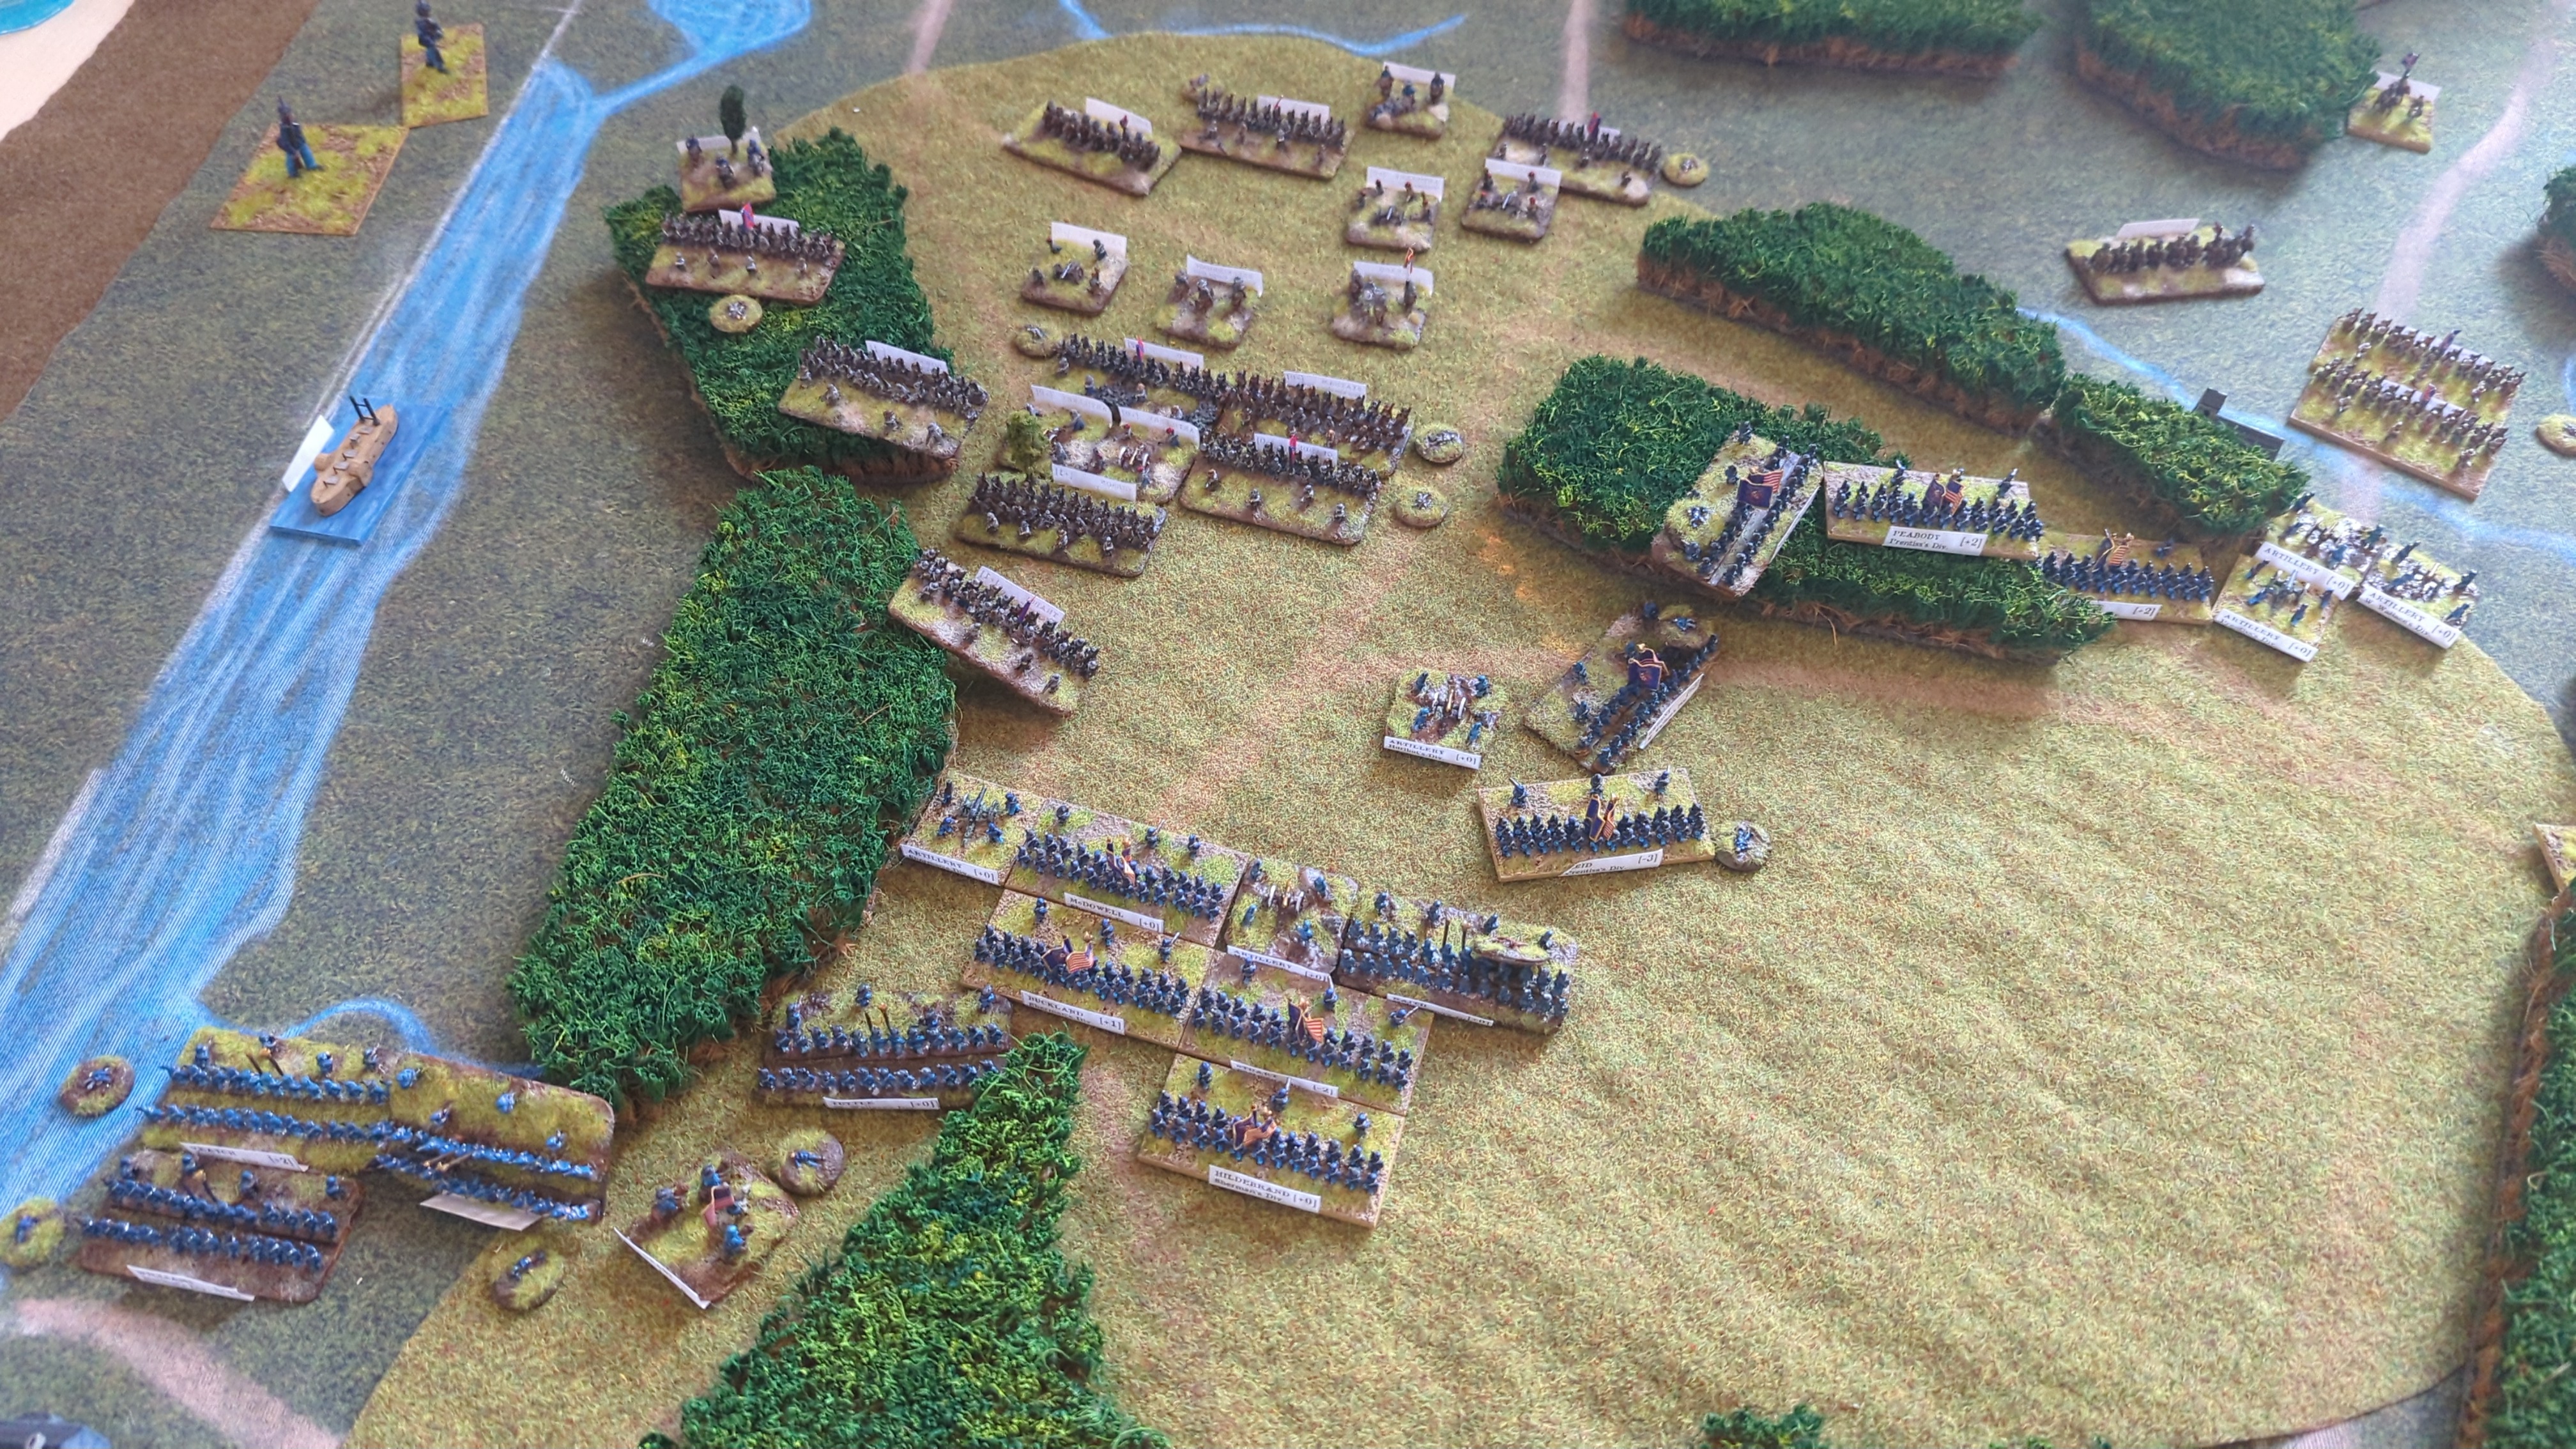
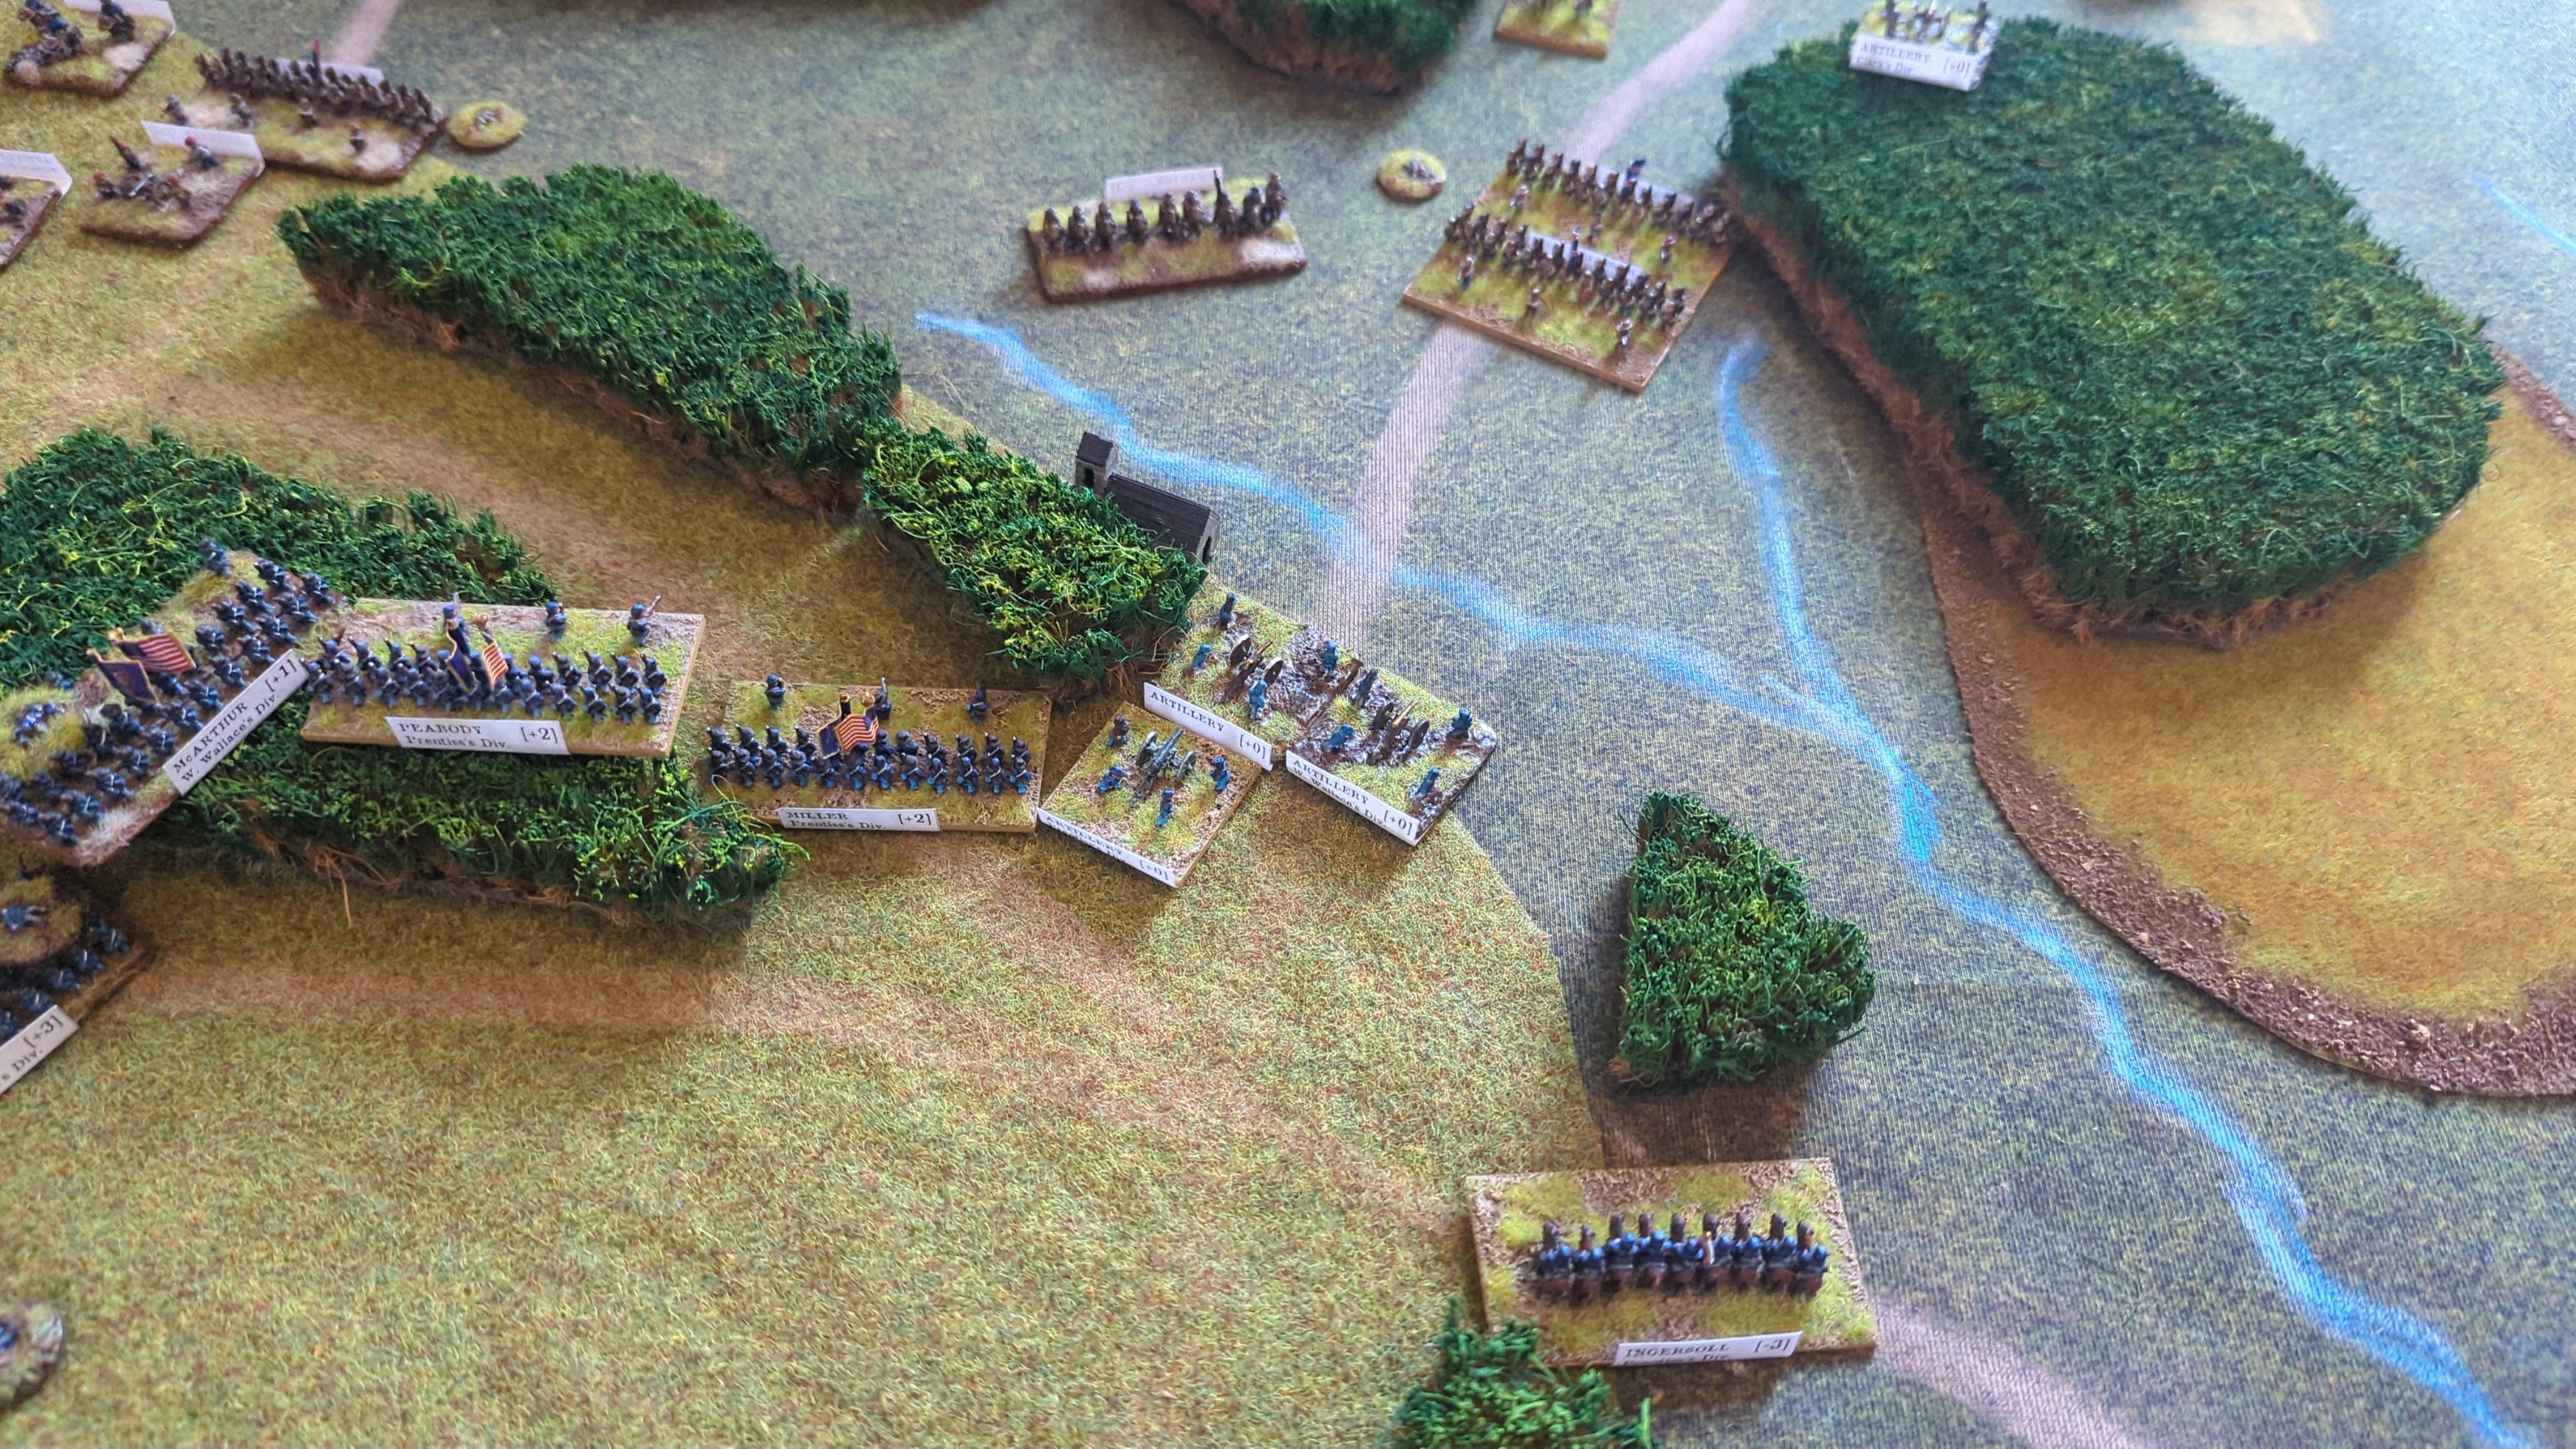
Rolled 5 and 4 (result not noted).
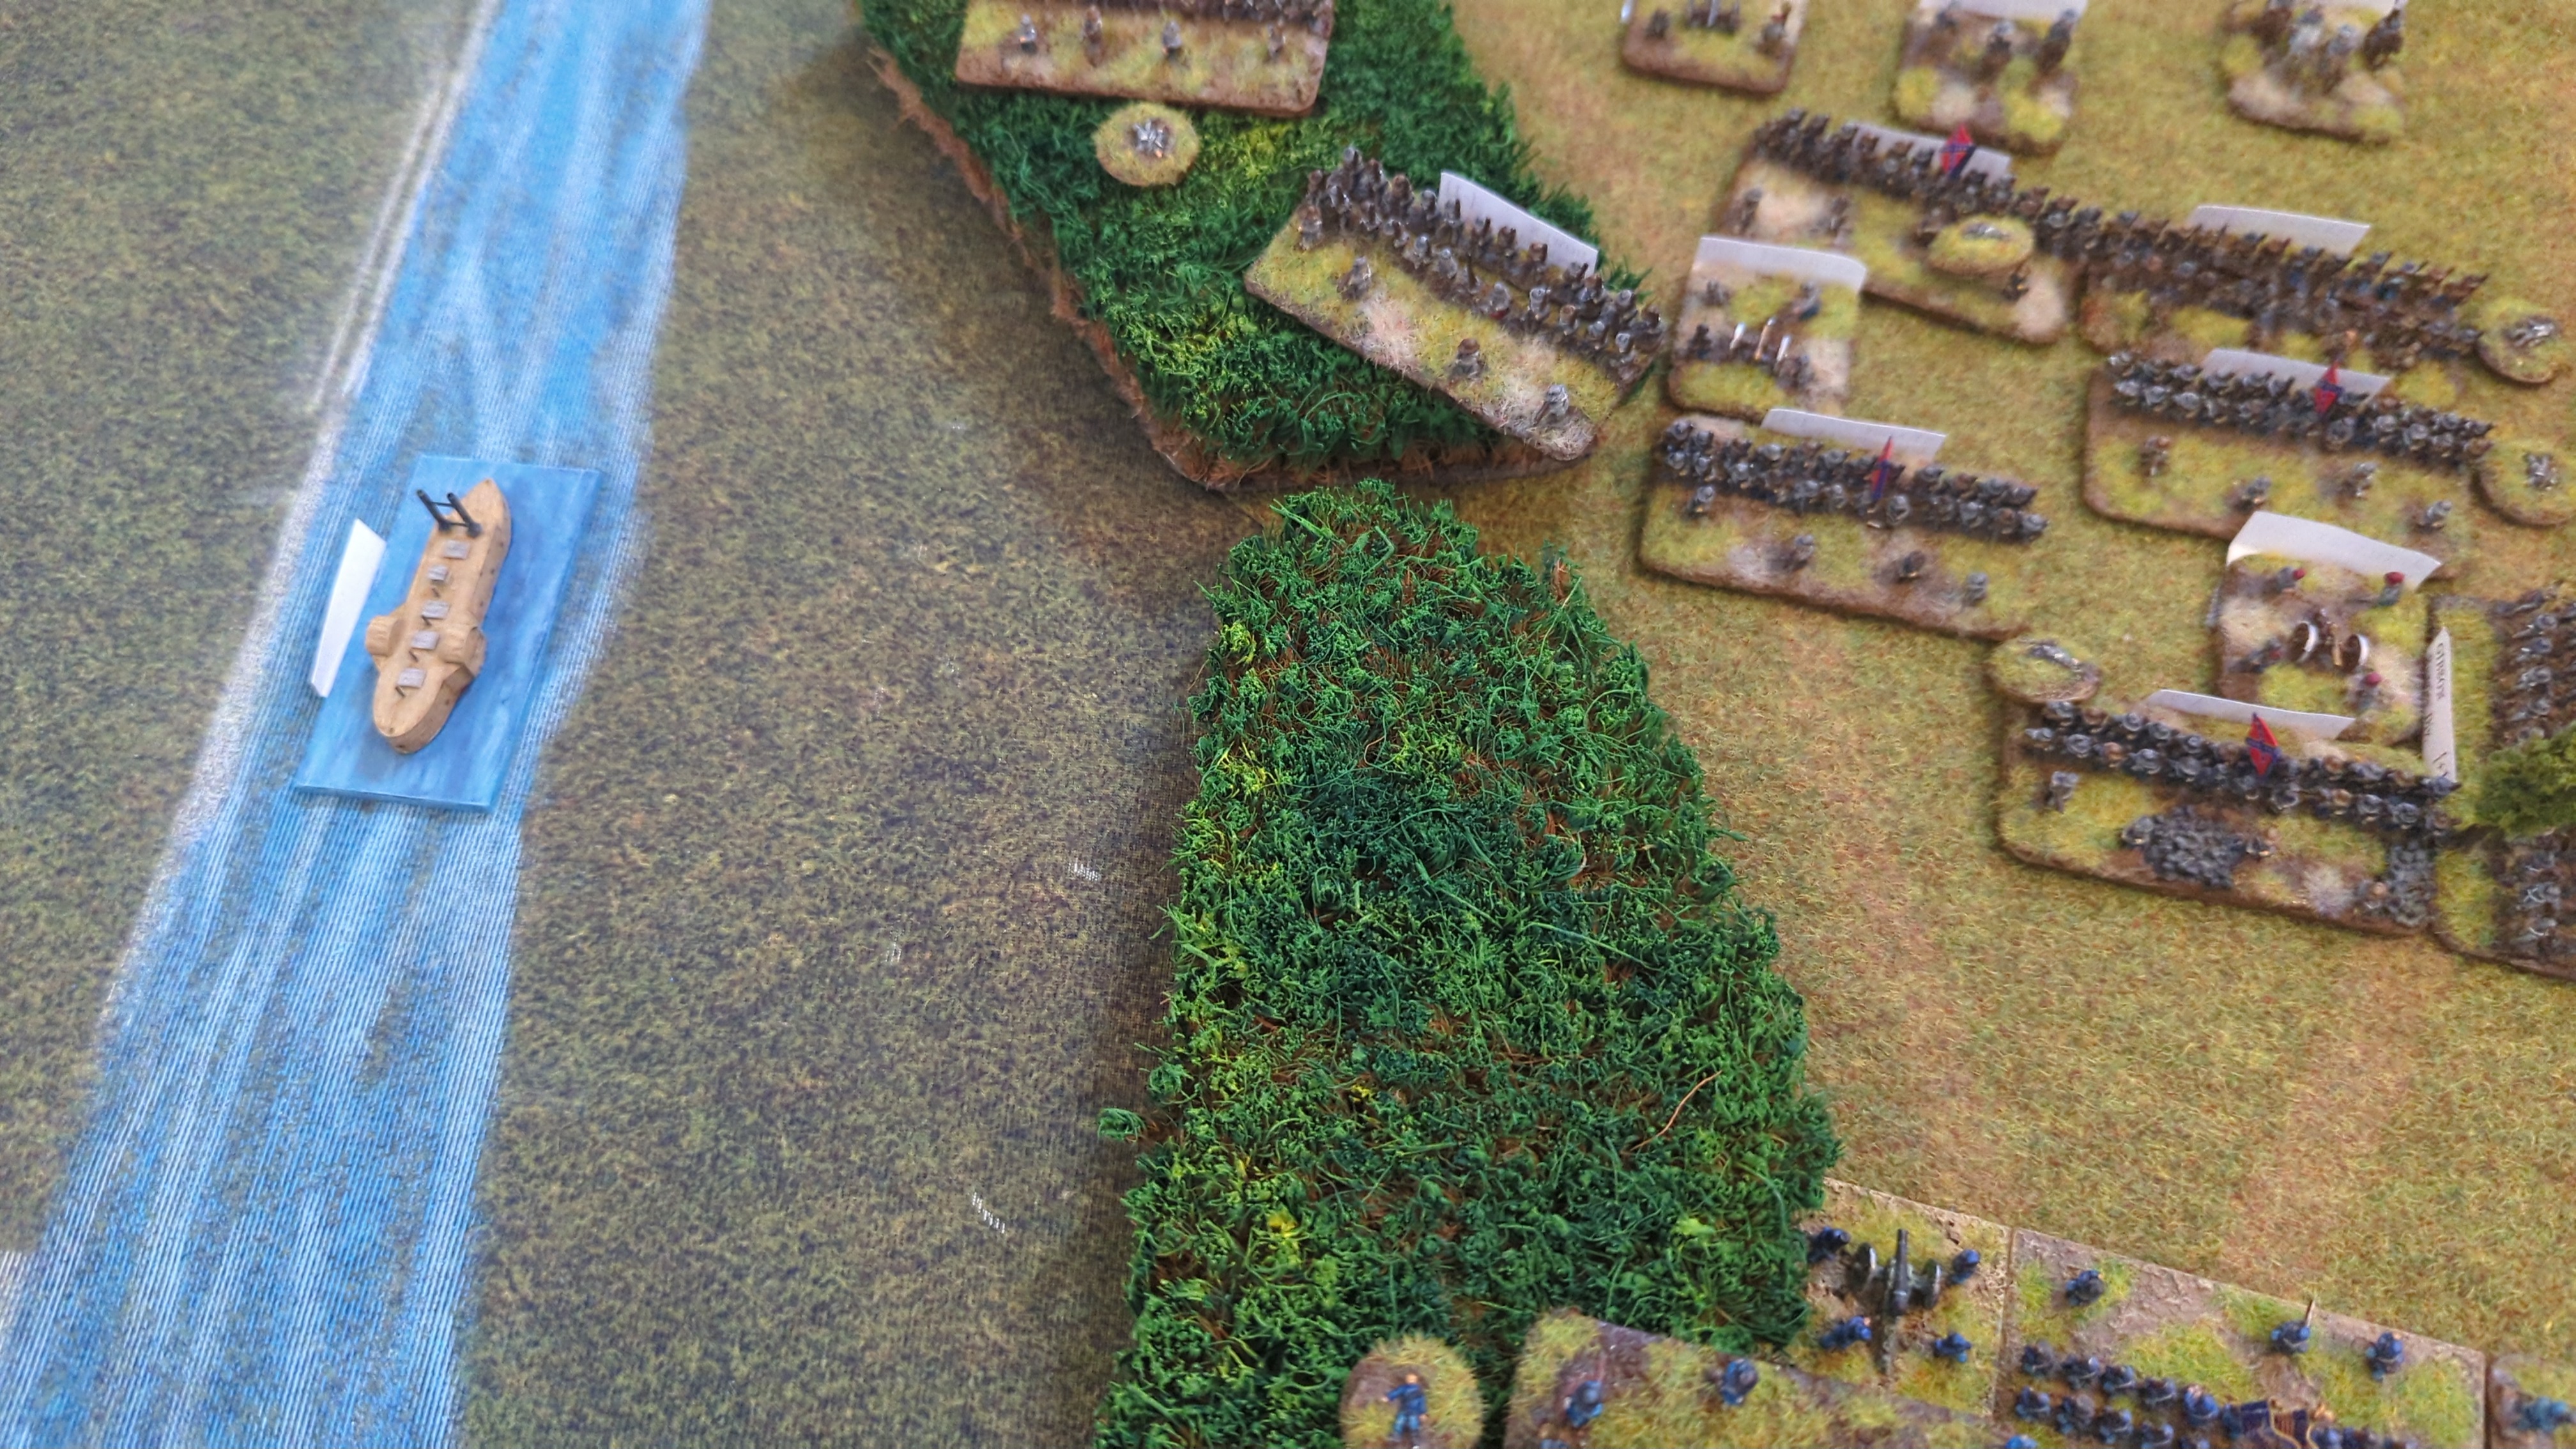
Rolled 6 and 2: 8.
Bid 3
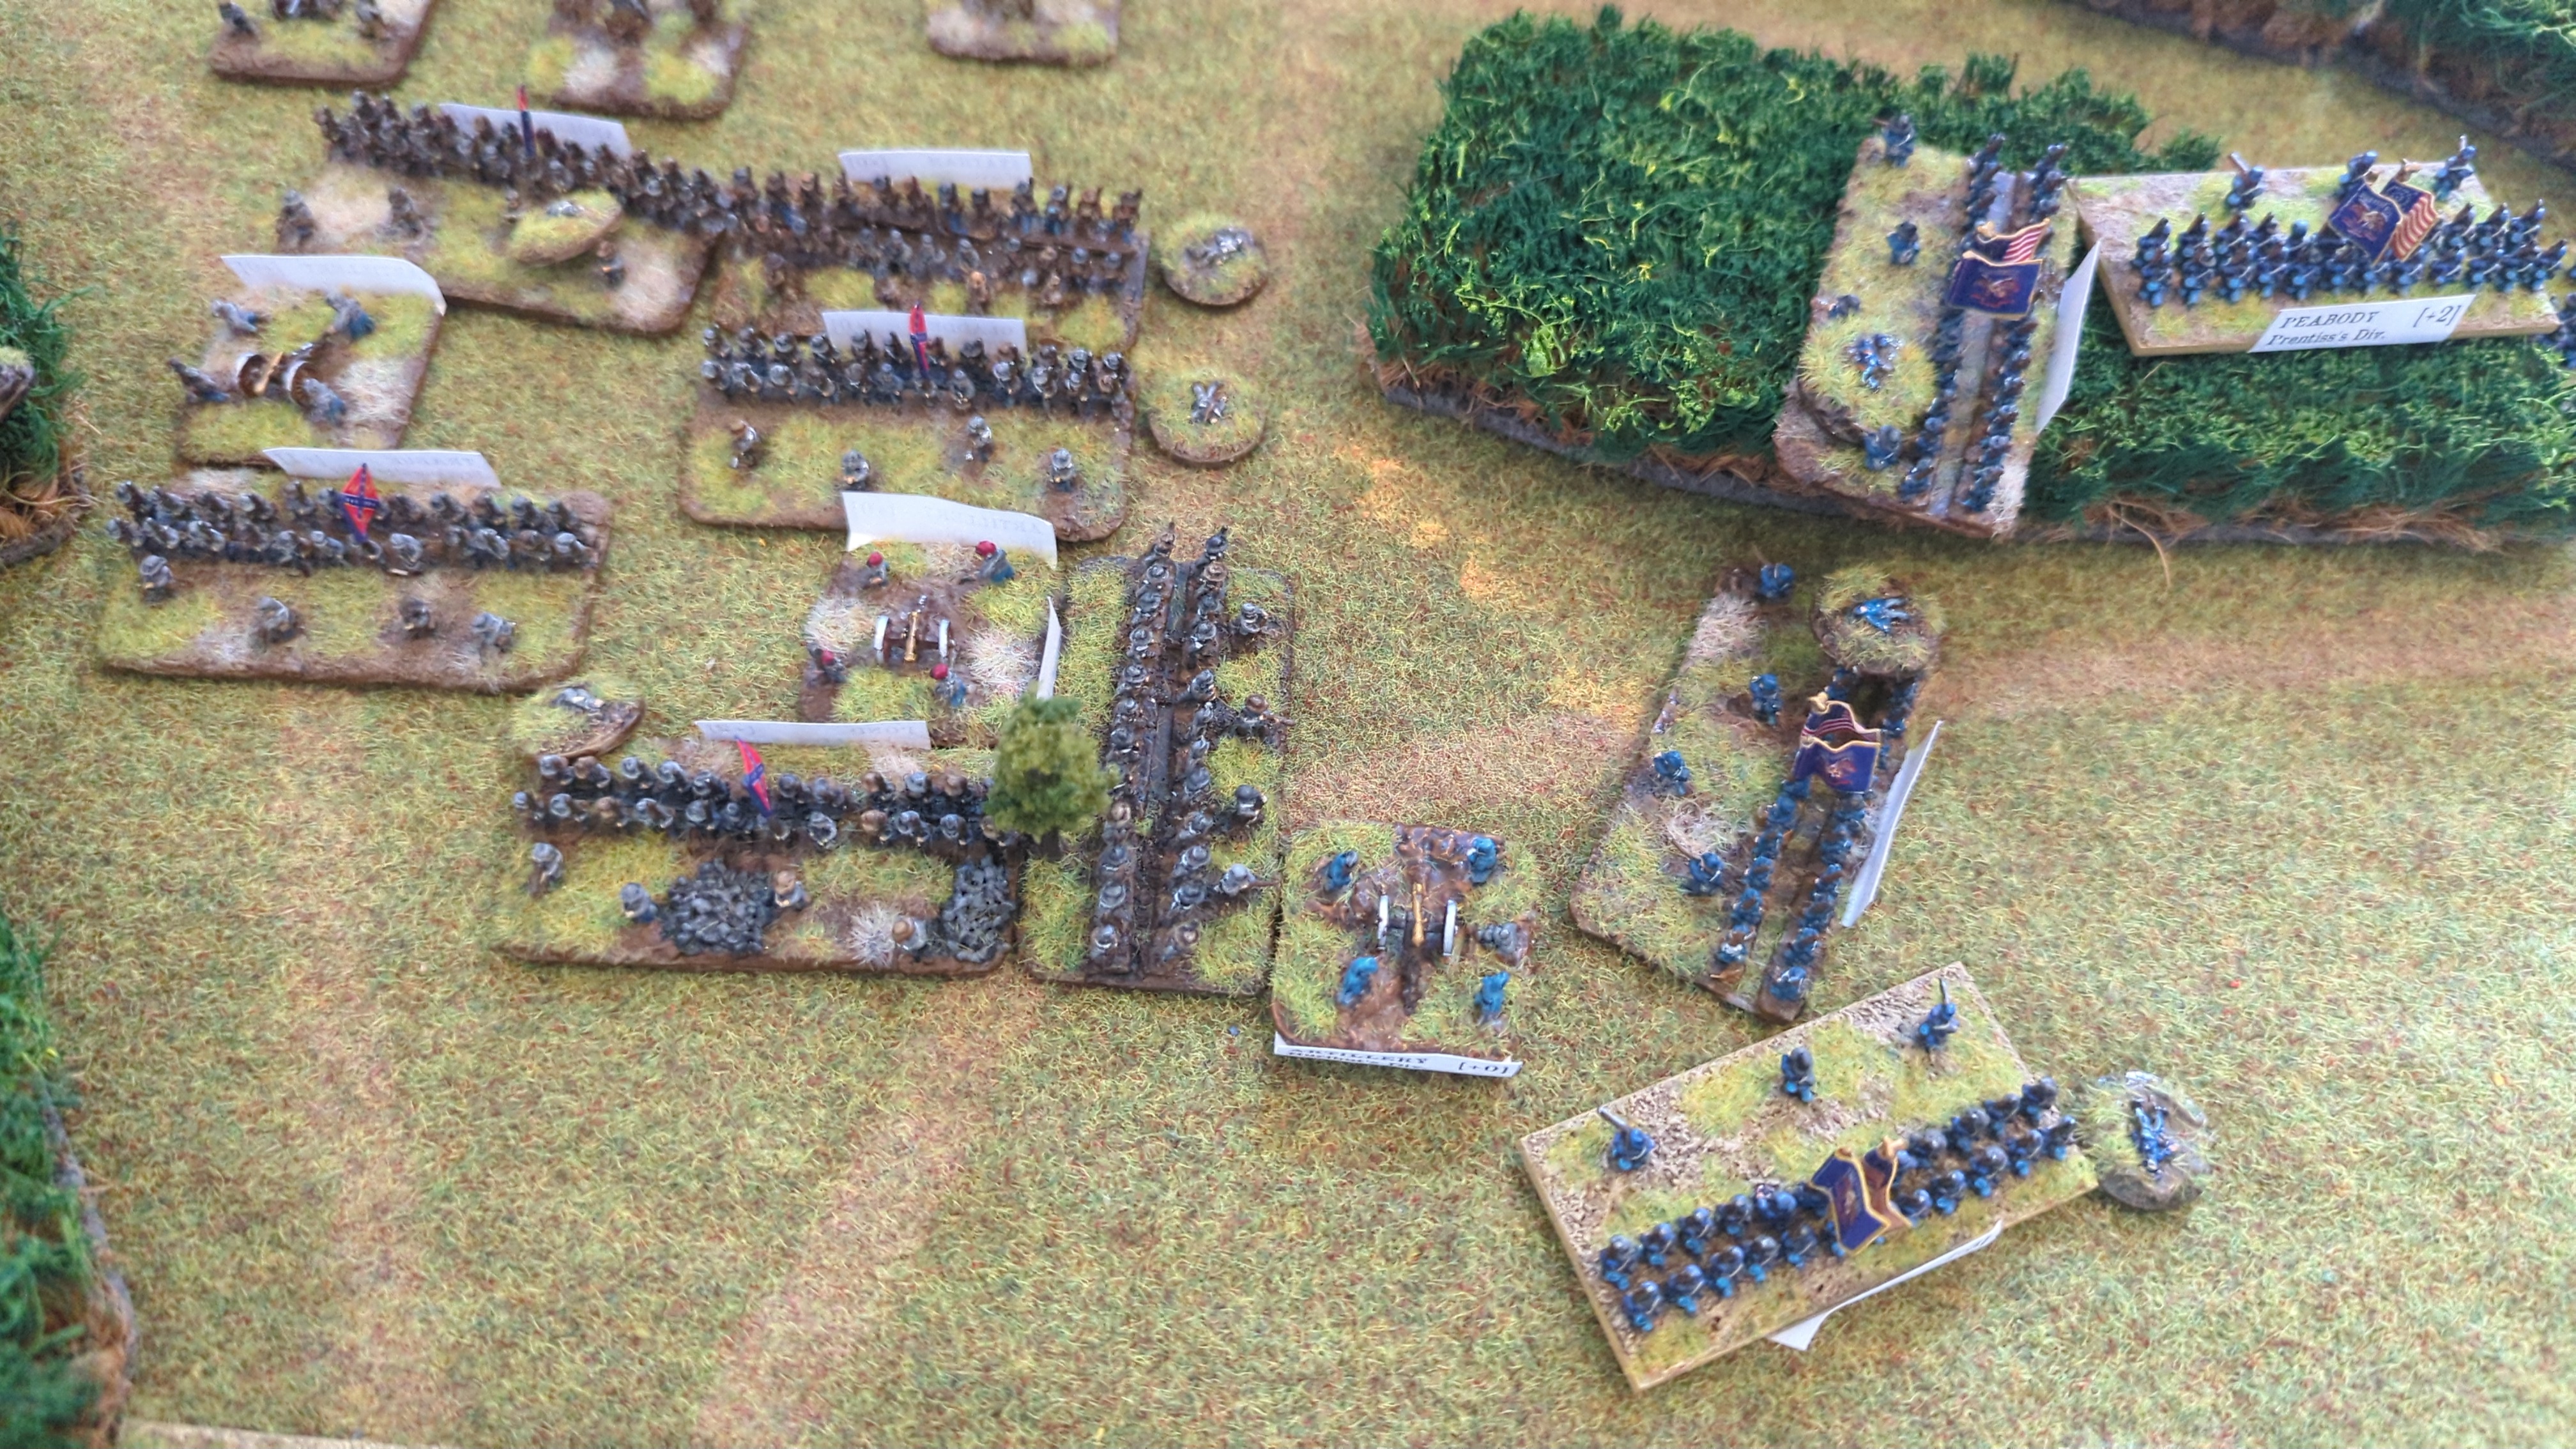
Rolled 6 and 1: 7.
Bid 2
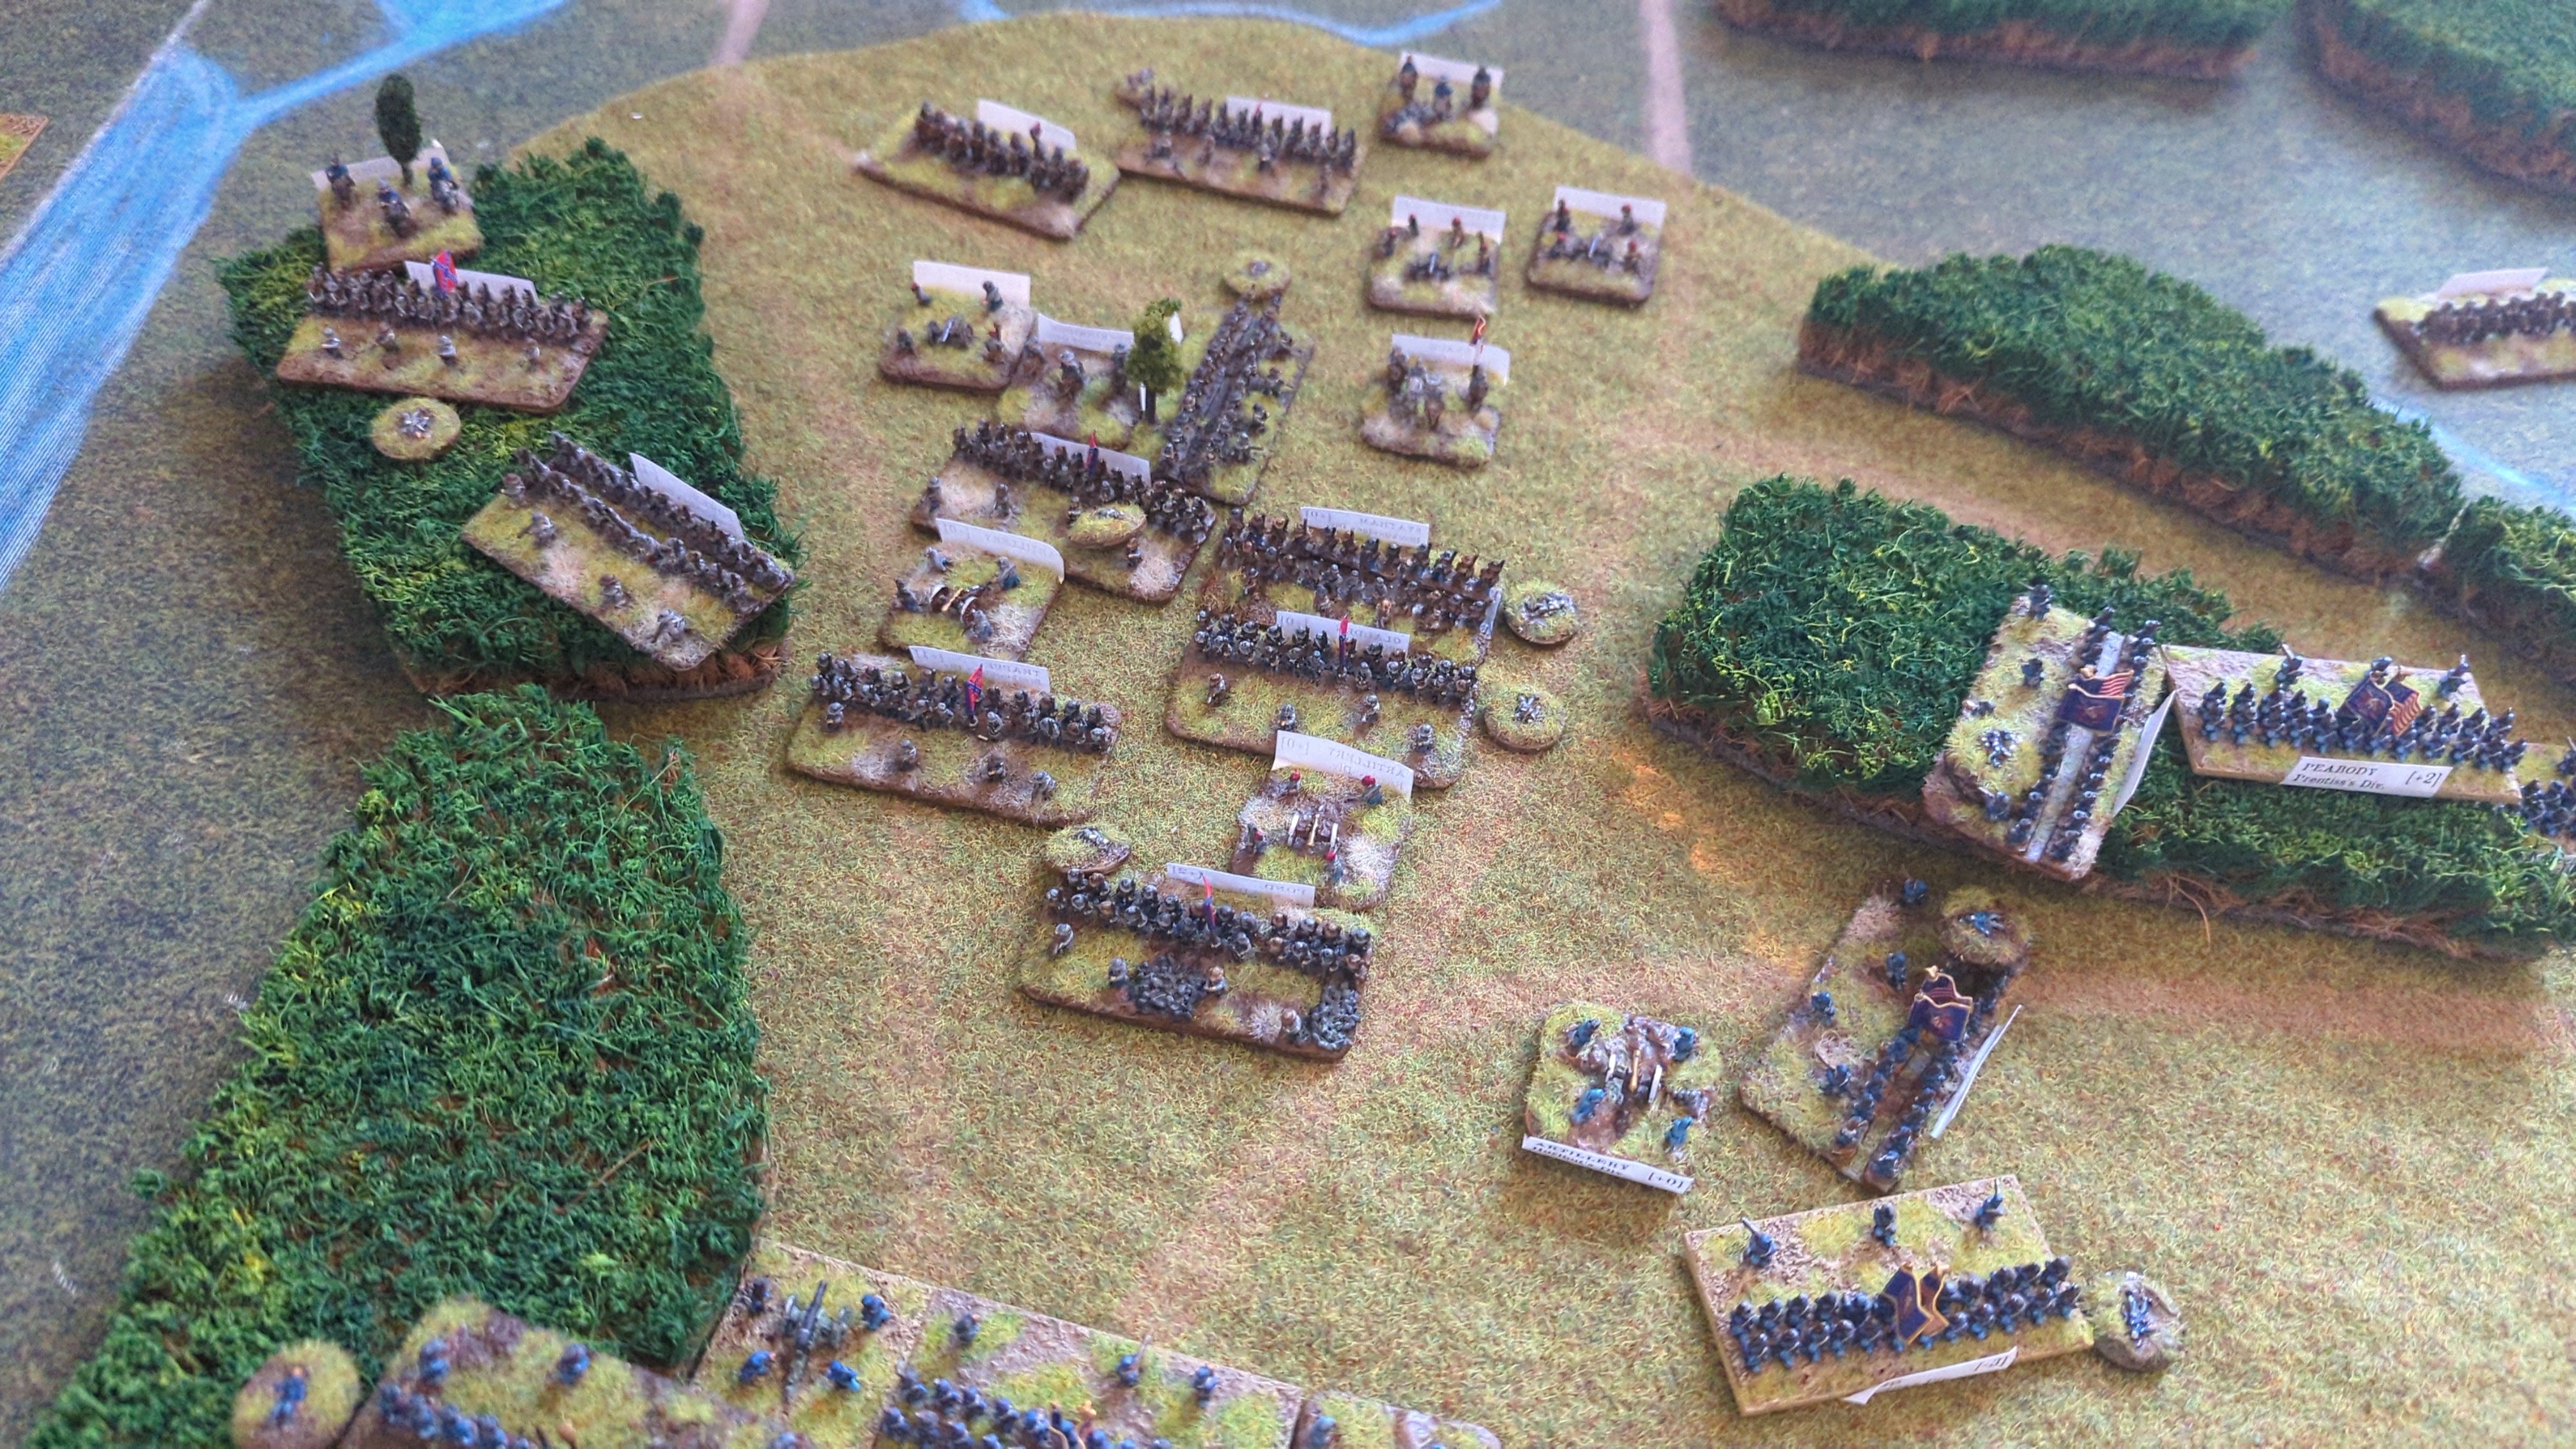
End of Turn Sequence
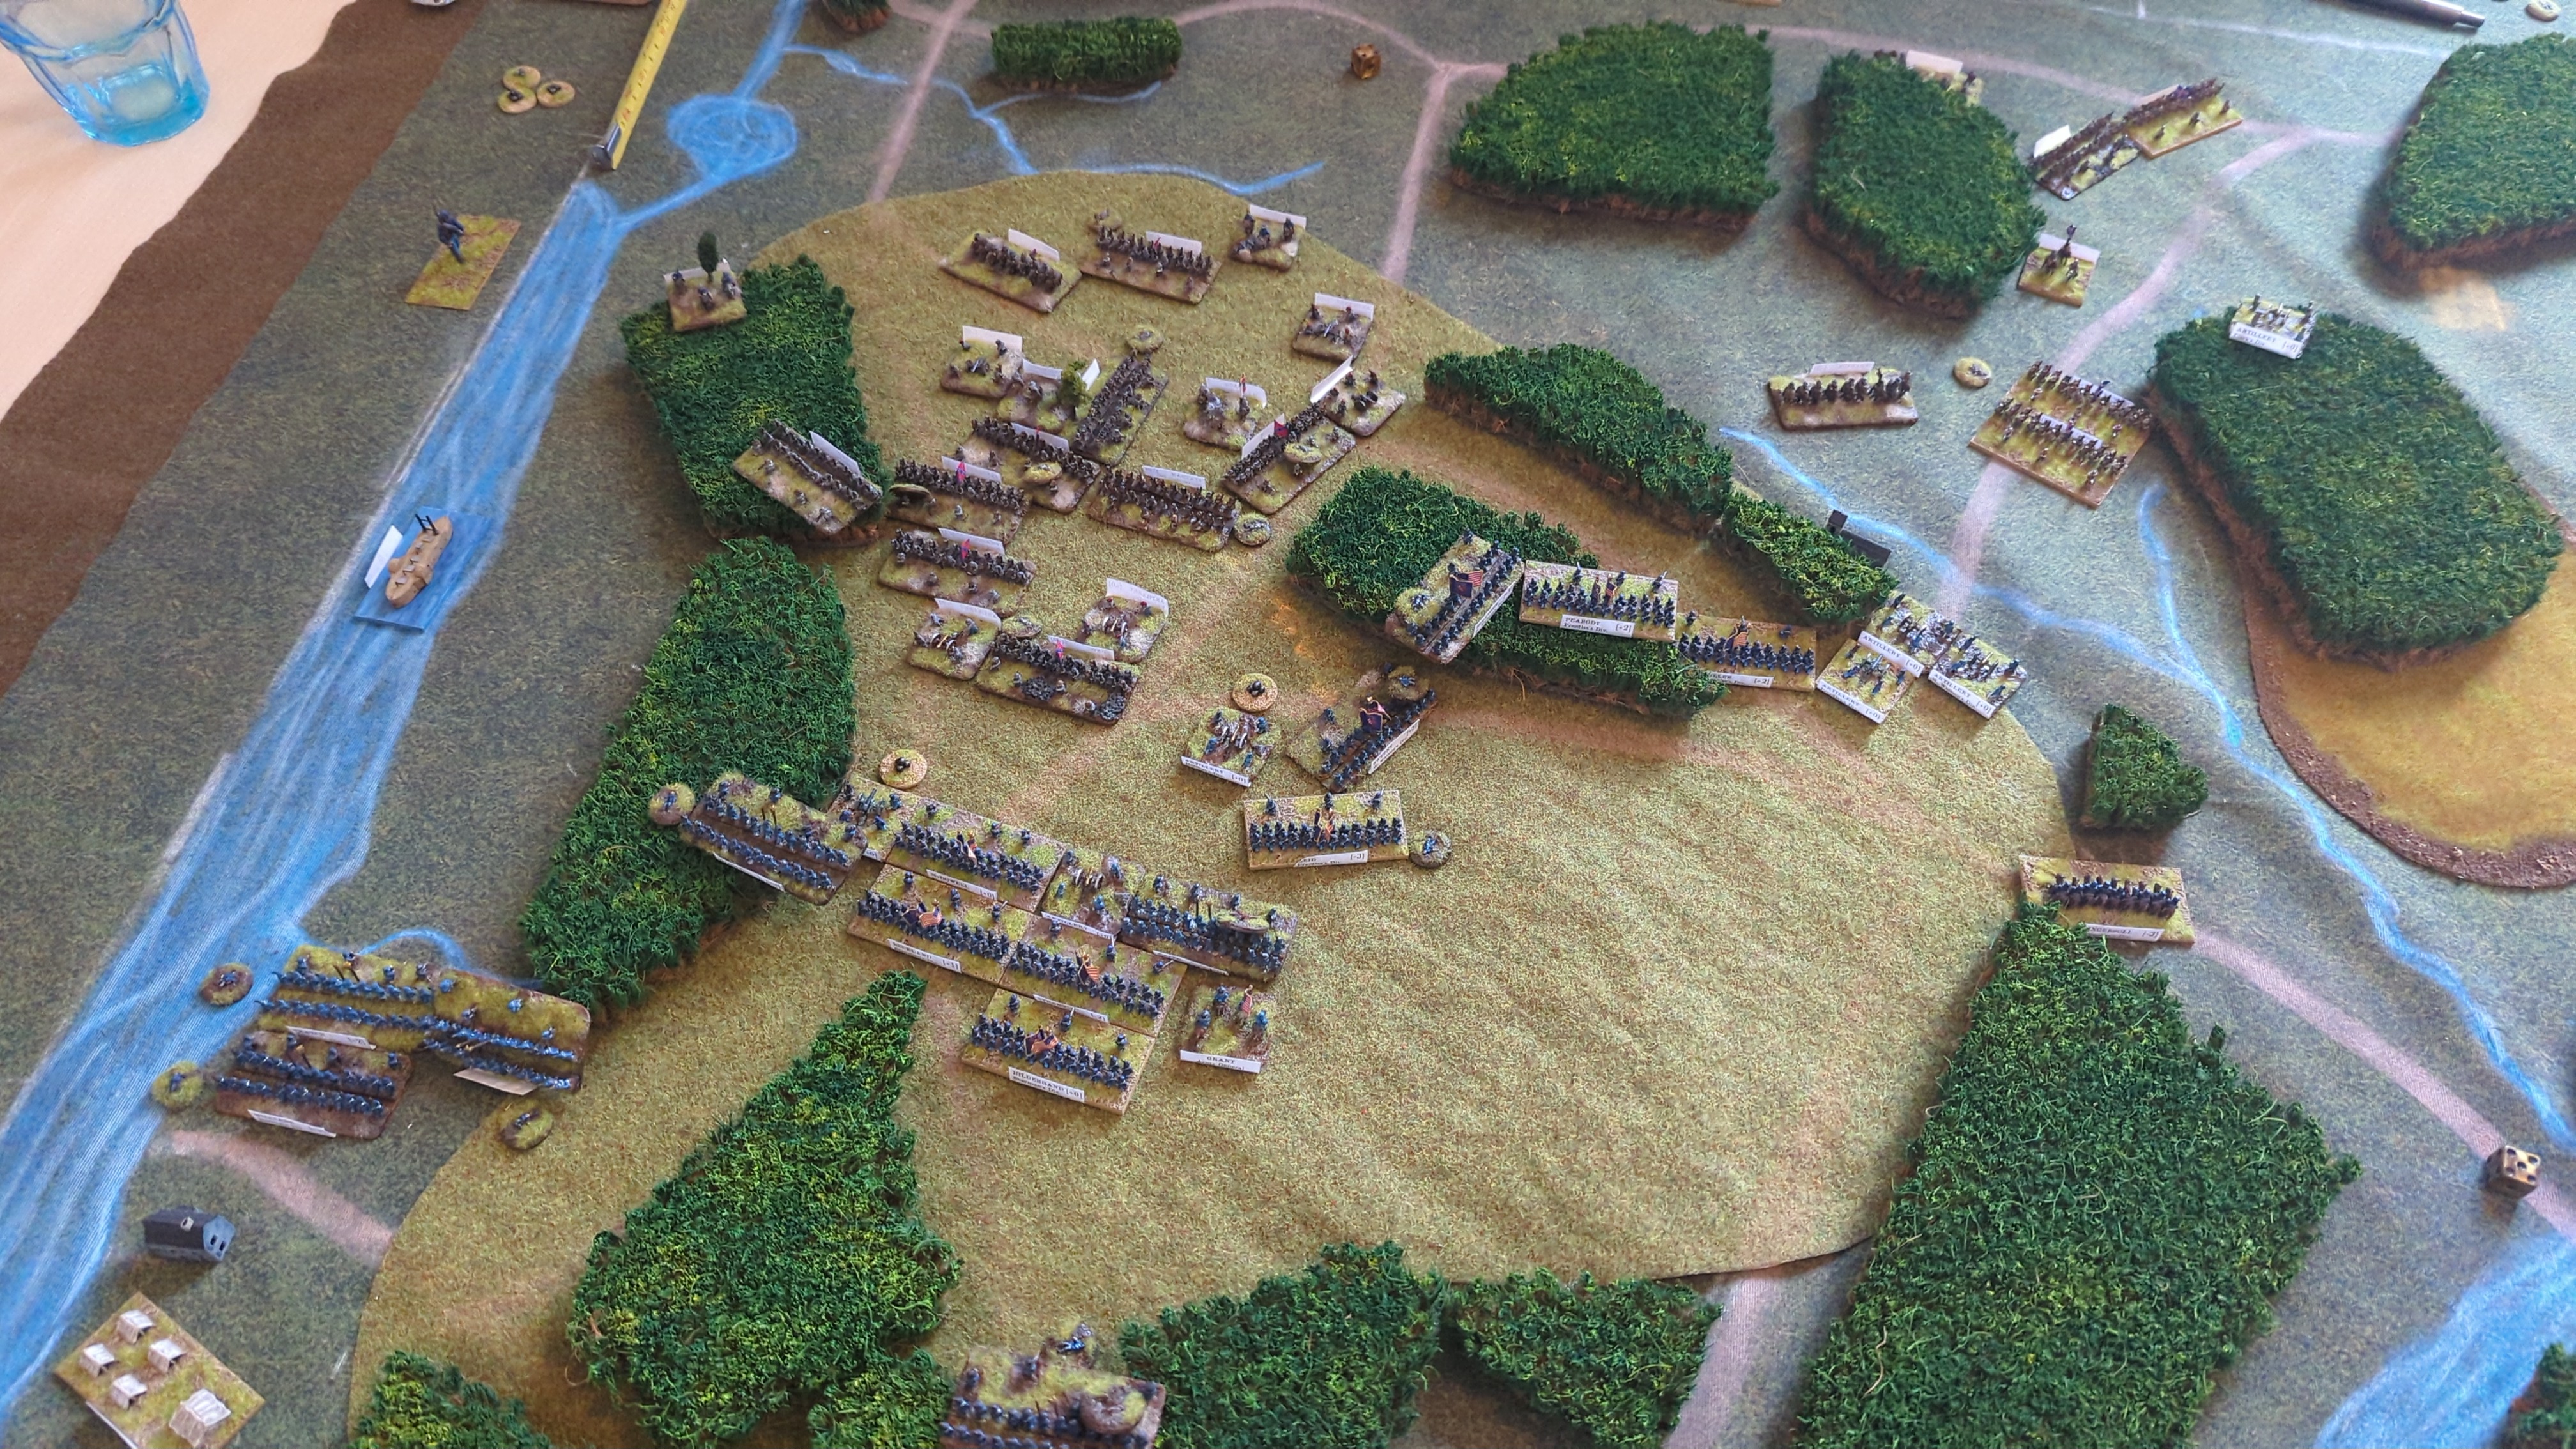
Turn 8
4 vs 6: the Union got the clock.
Bid 5
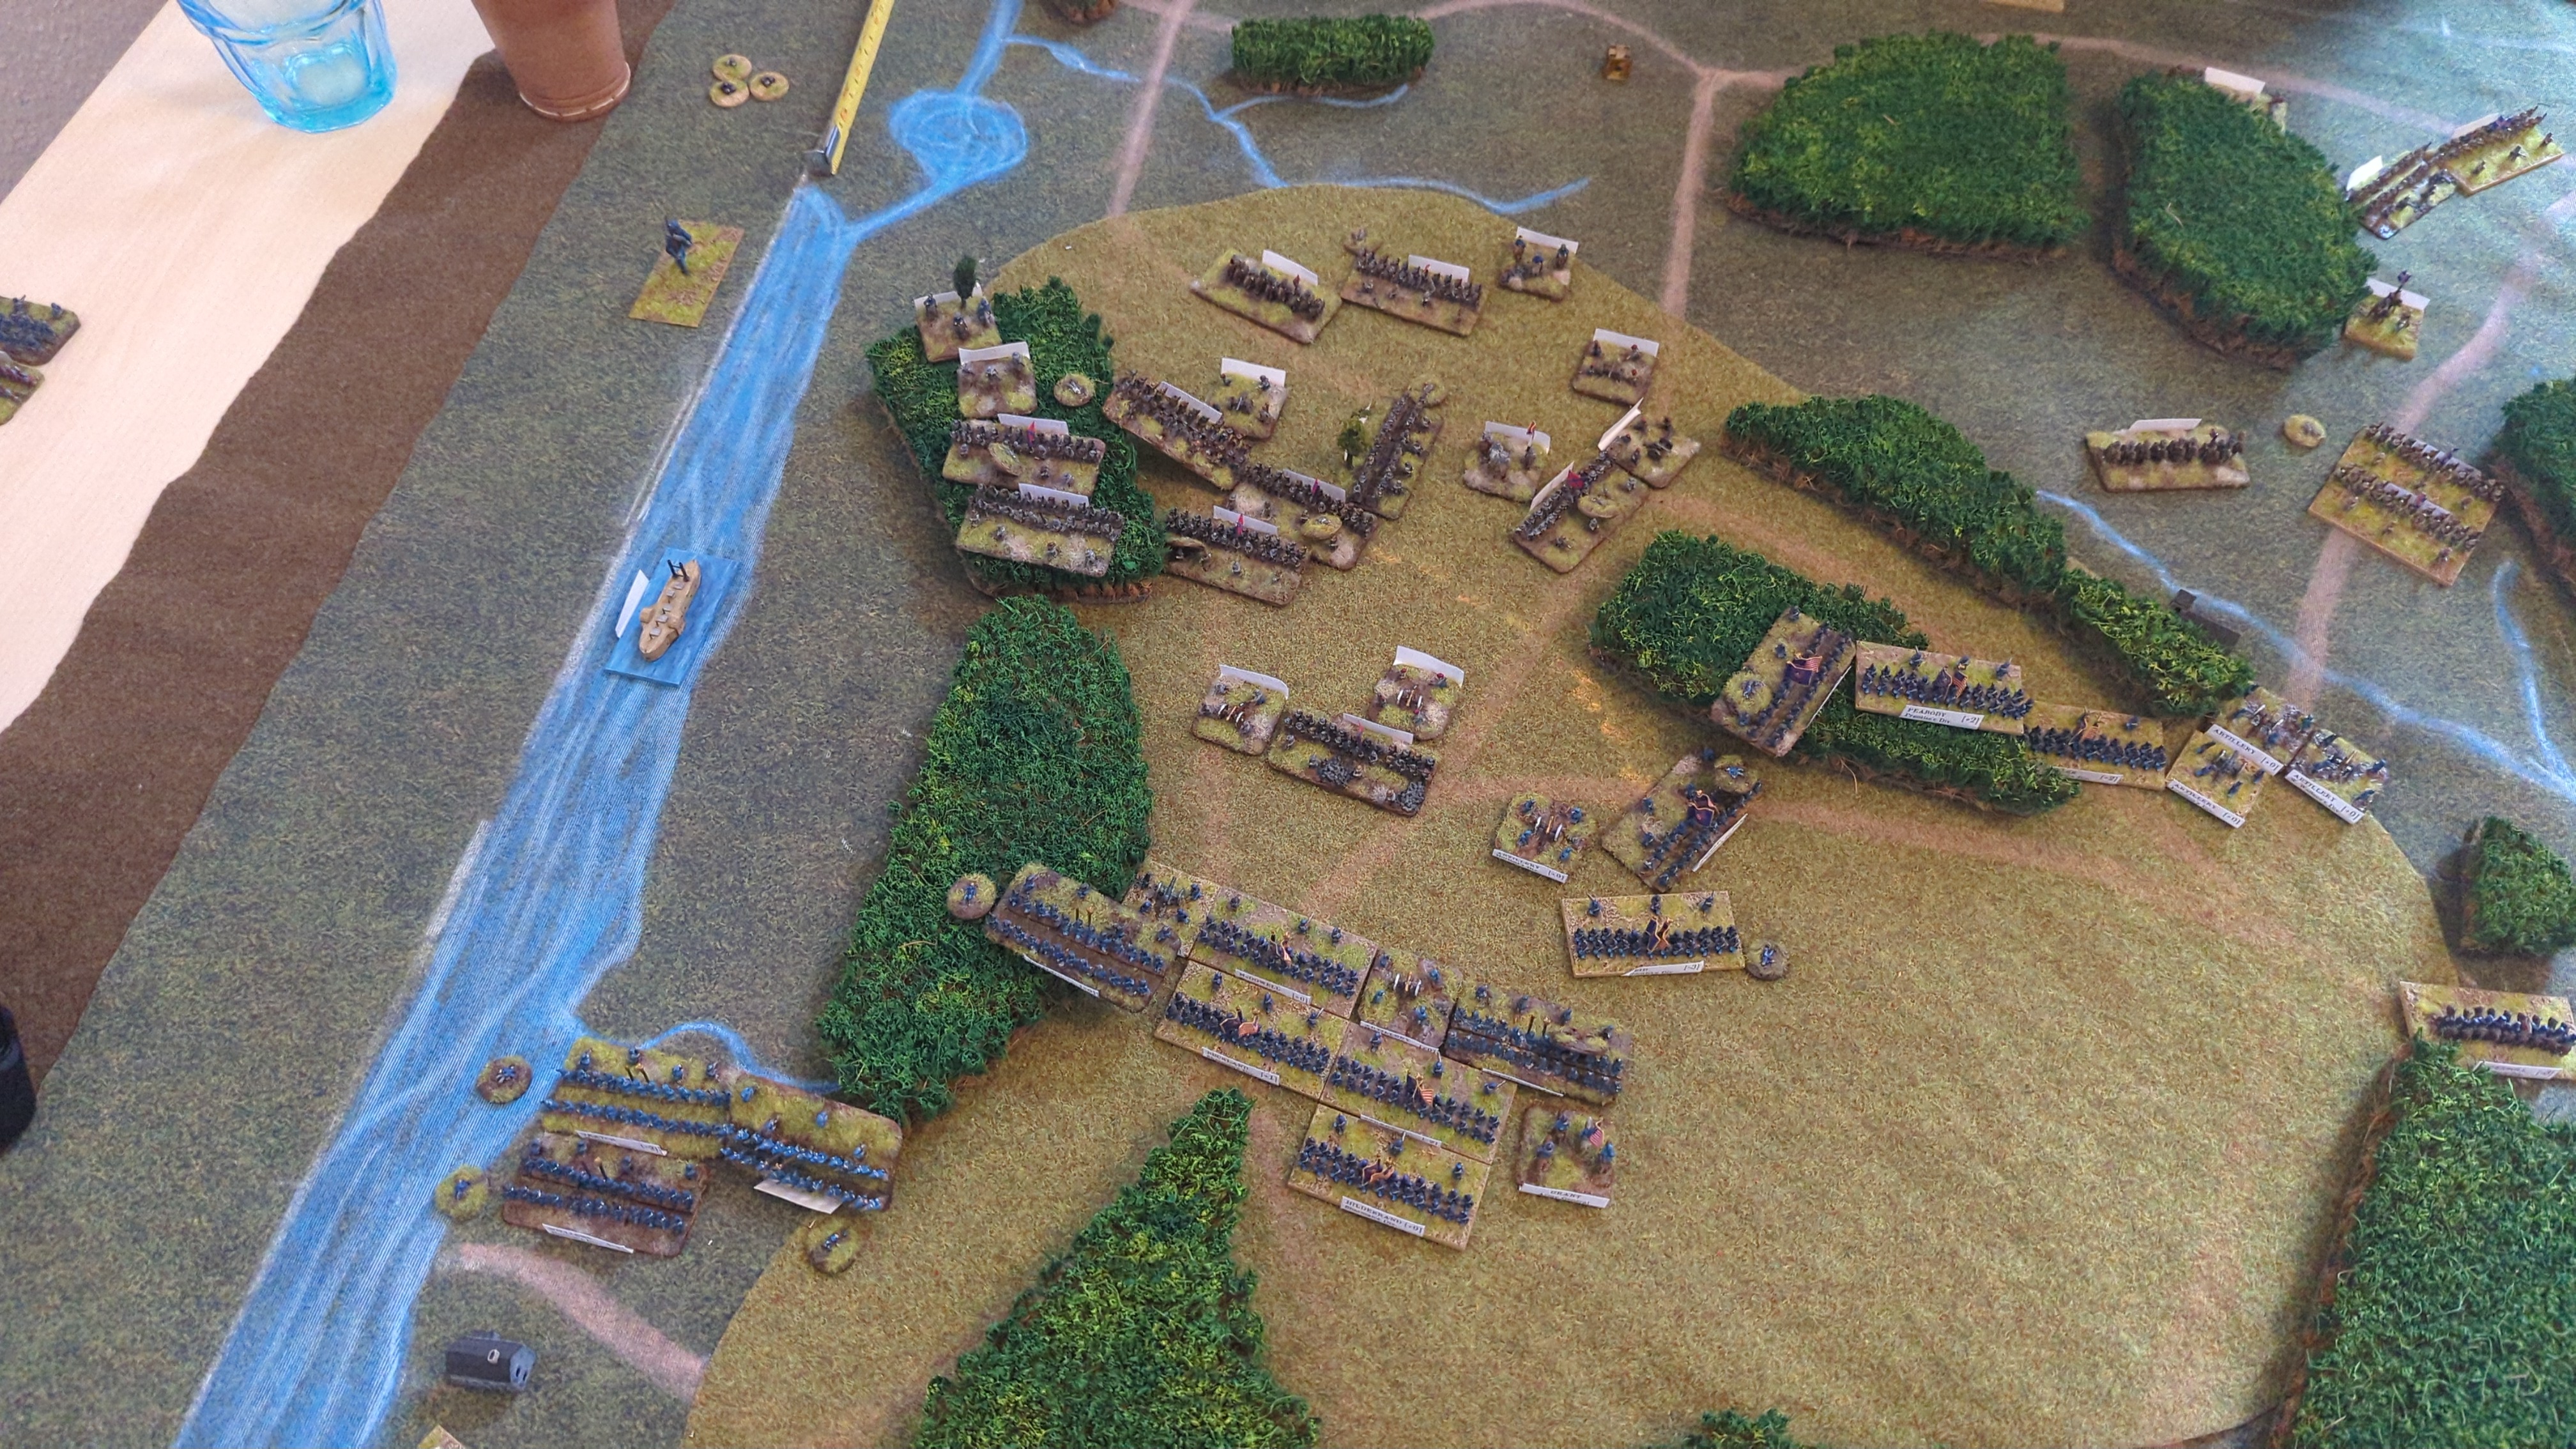
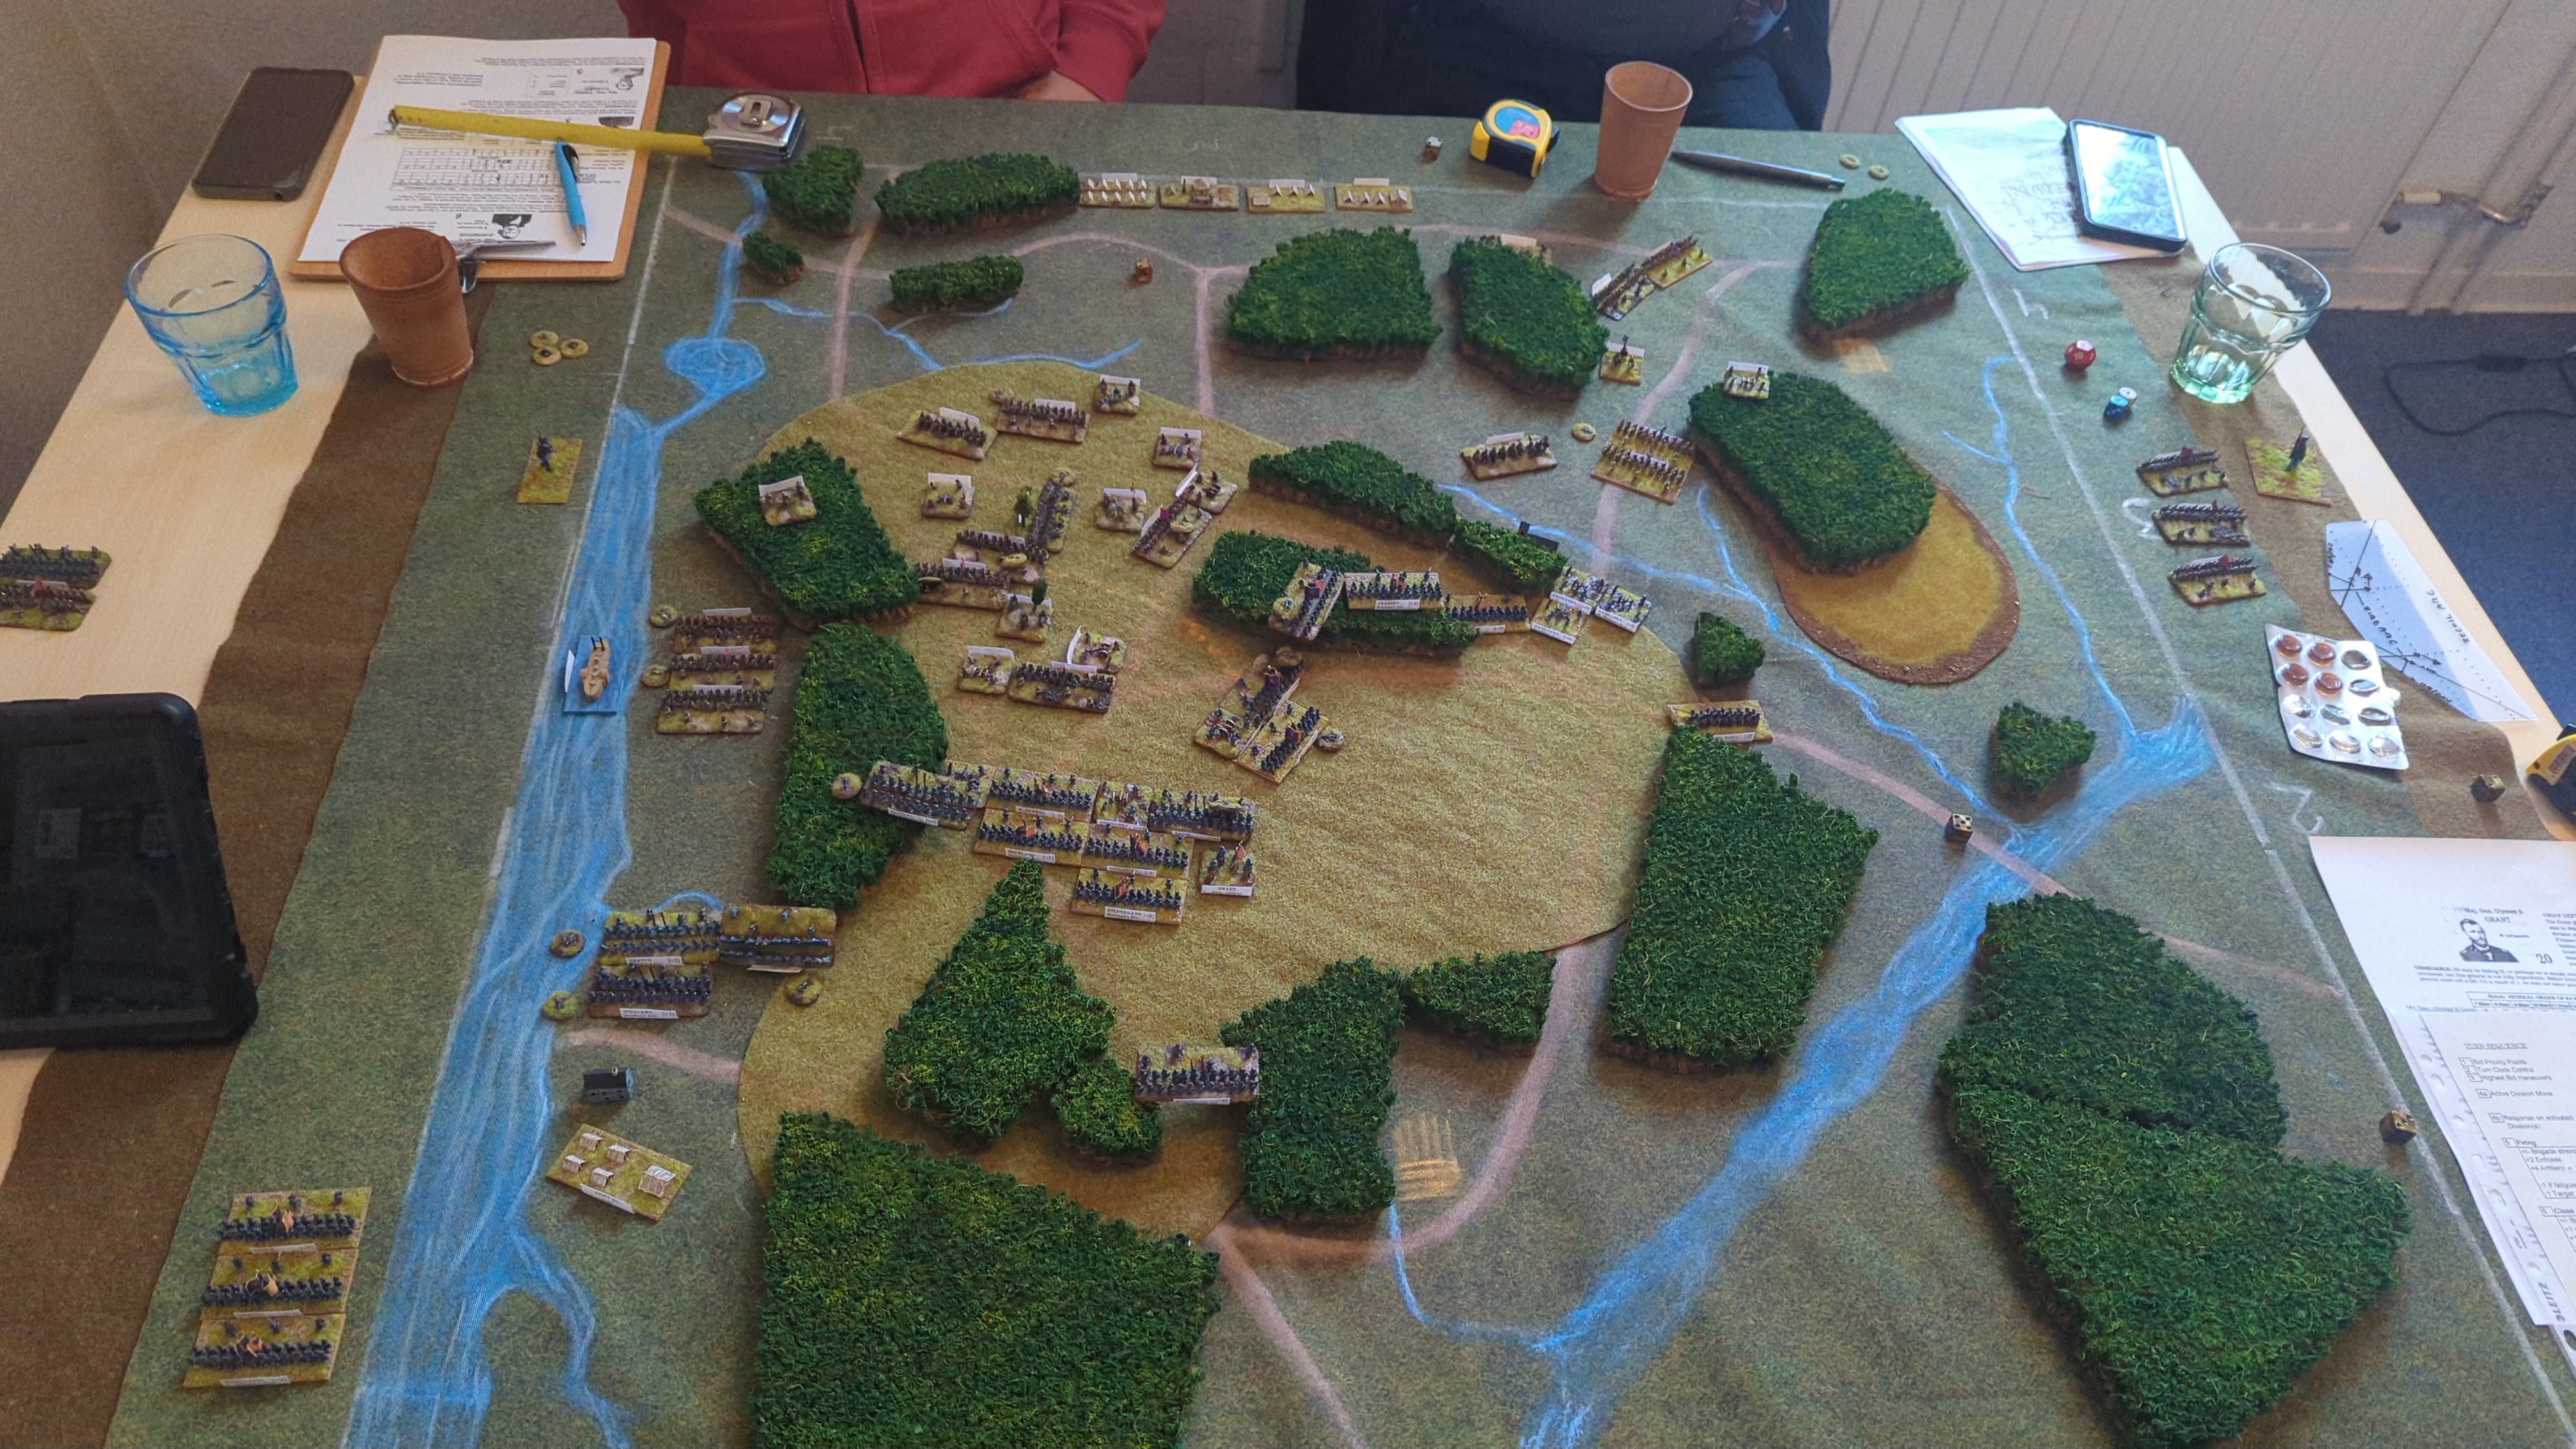
Rolled 1 and 2: 9.
Bid 4
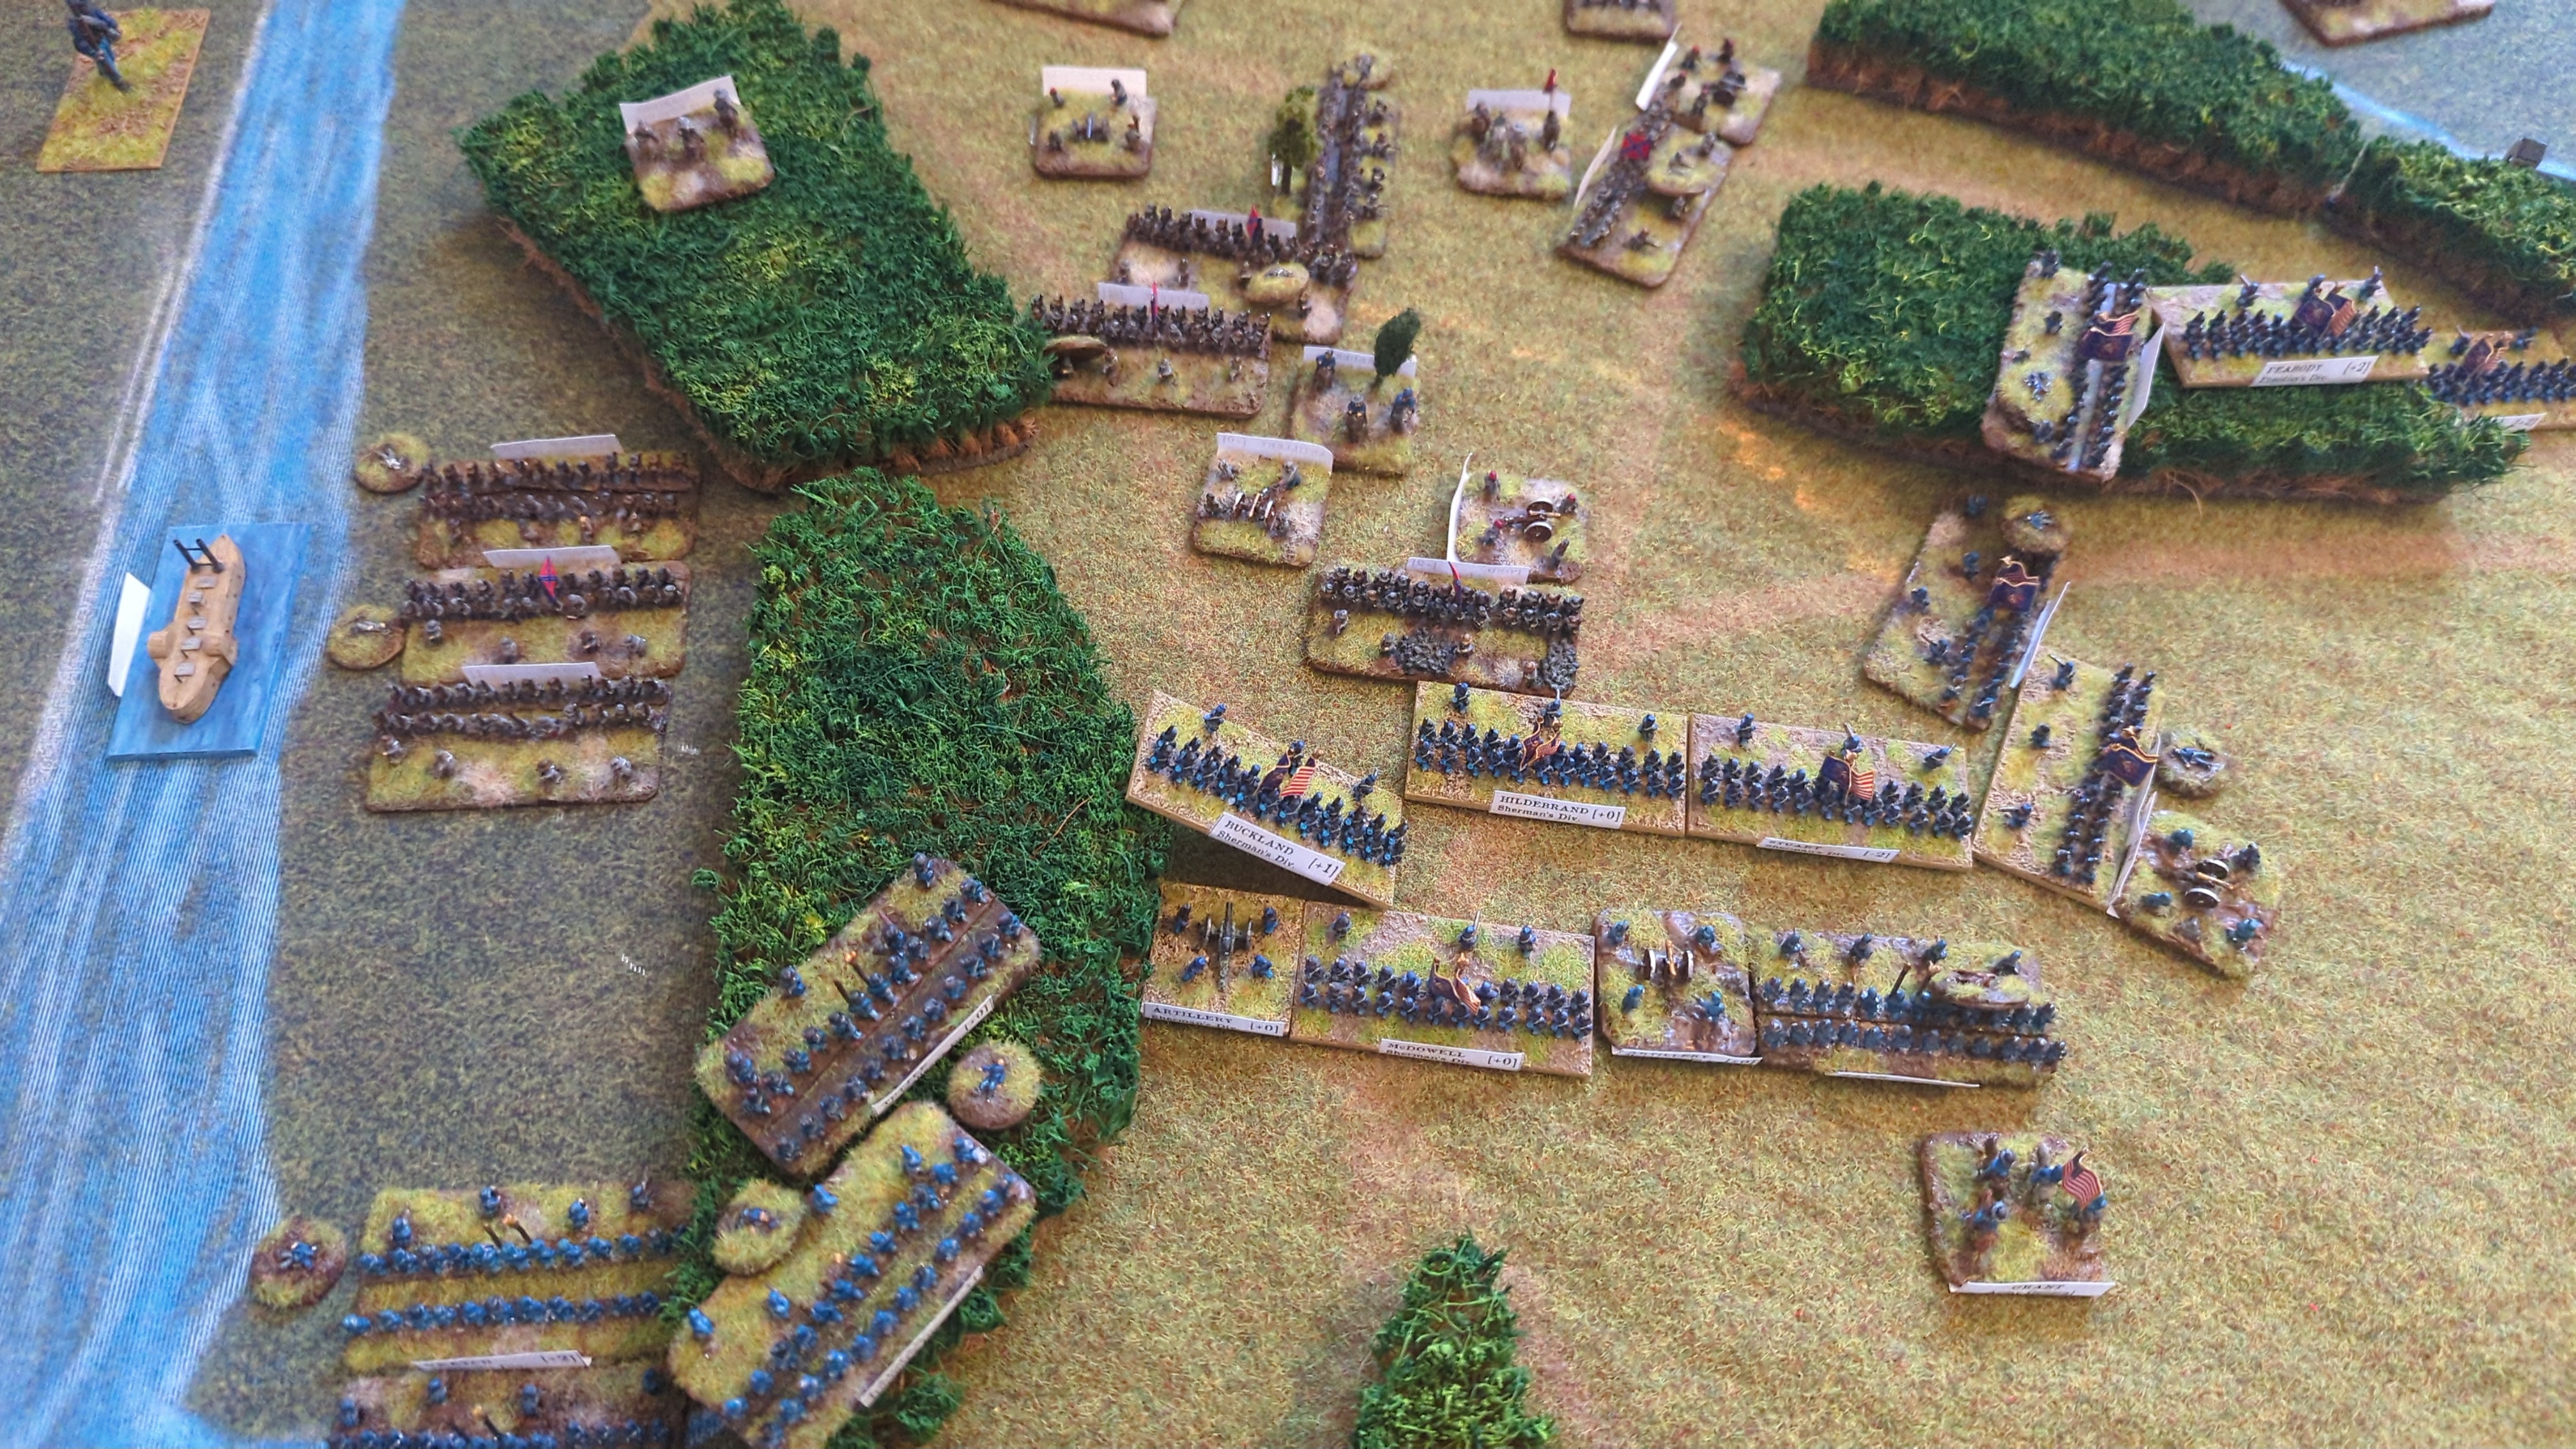
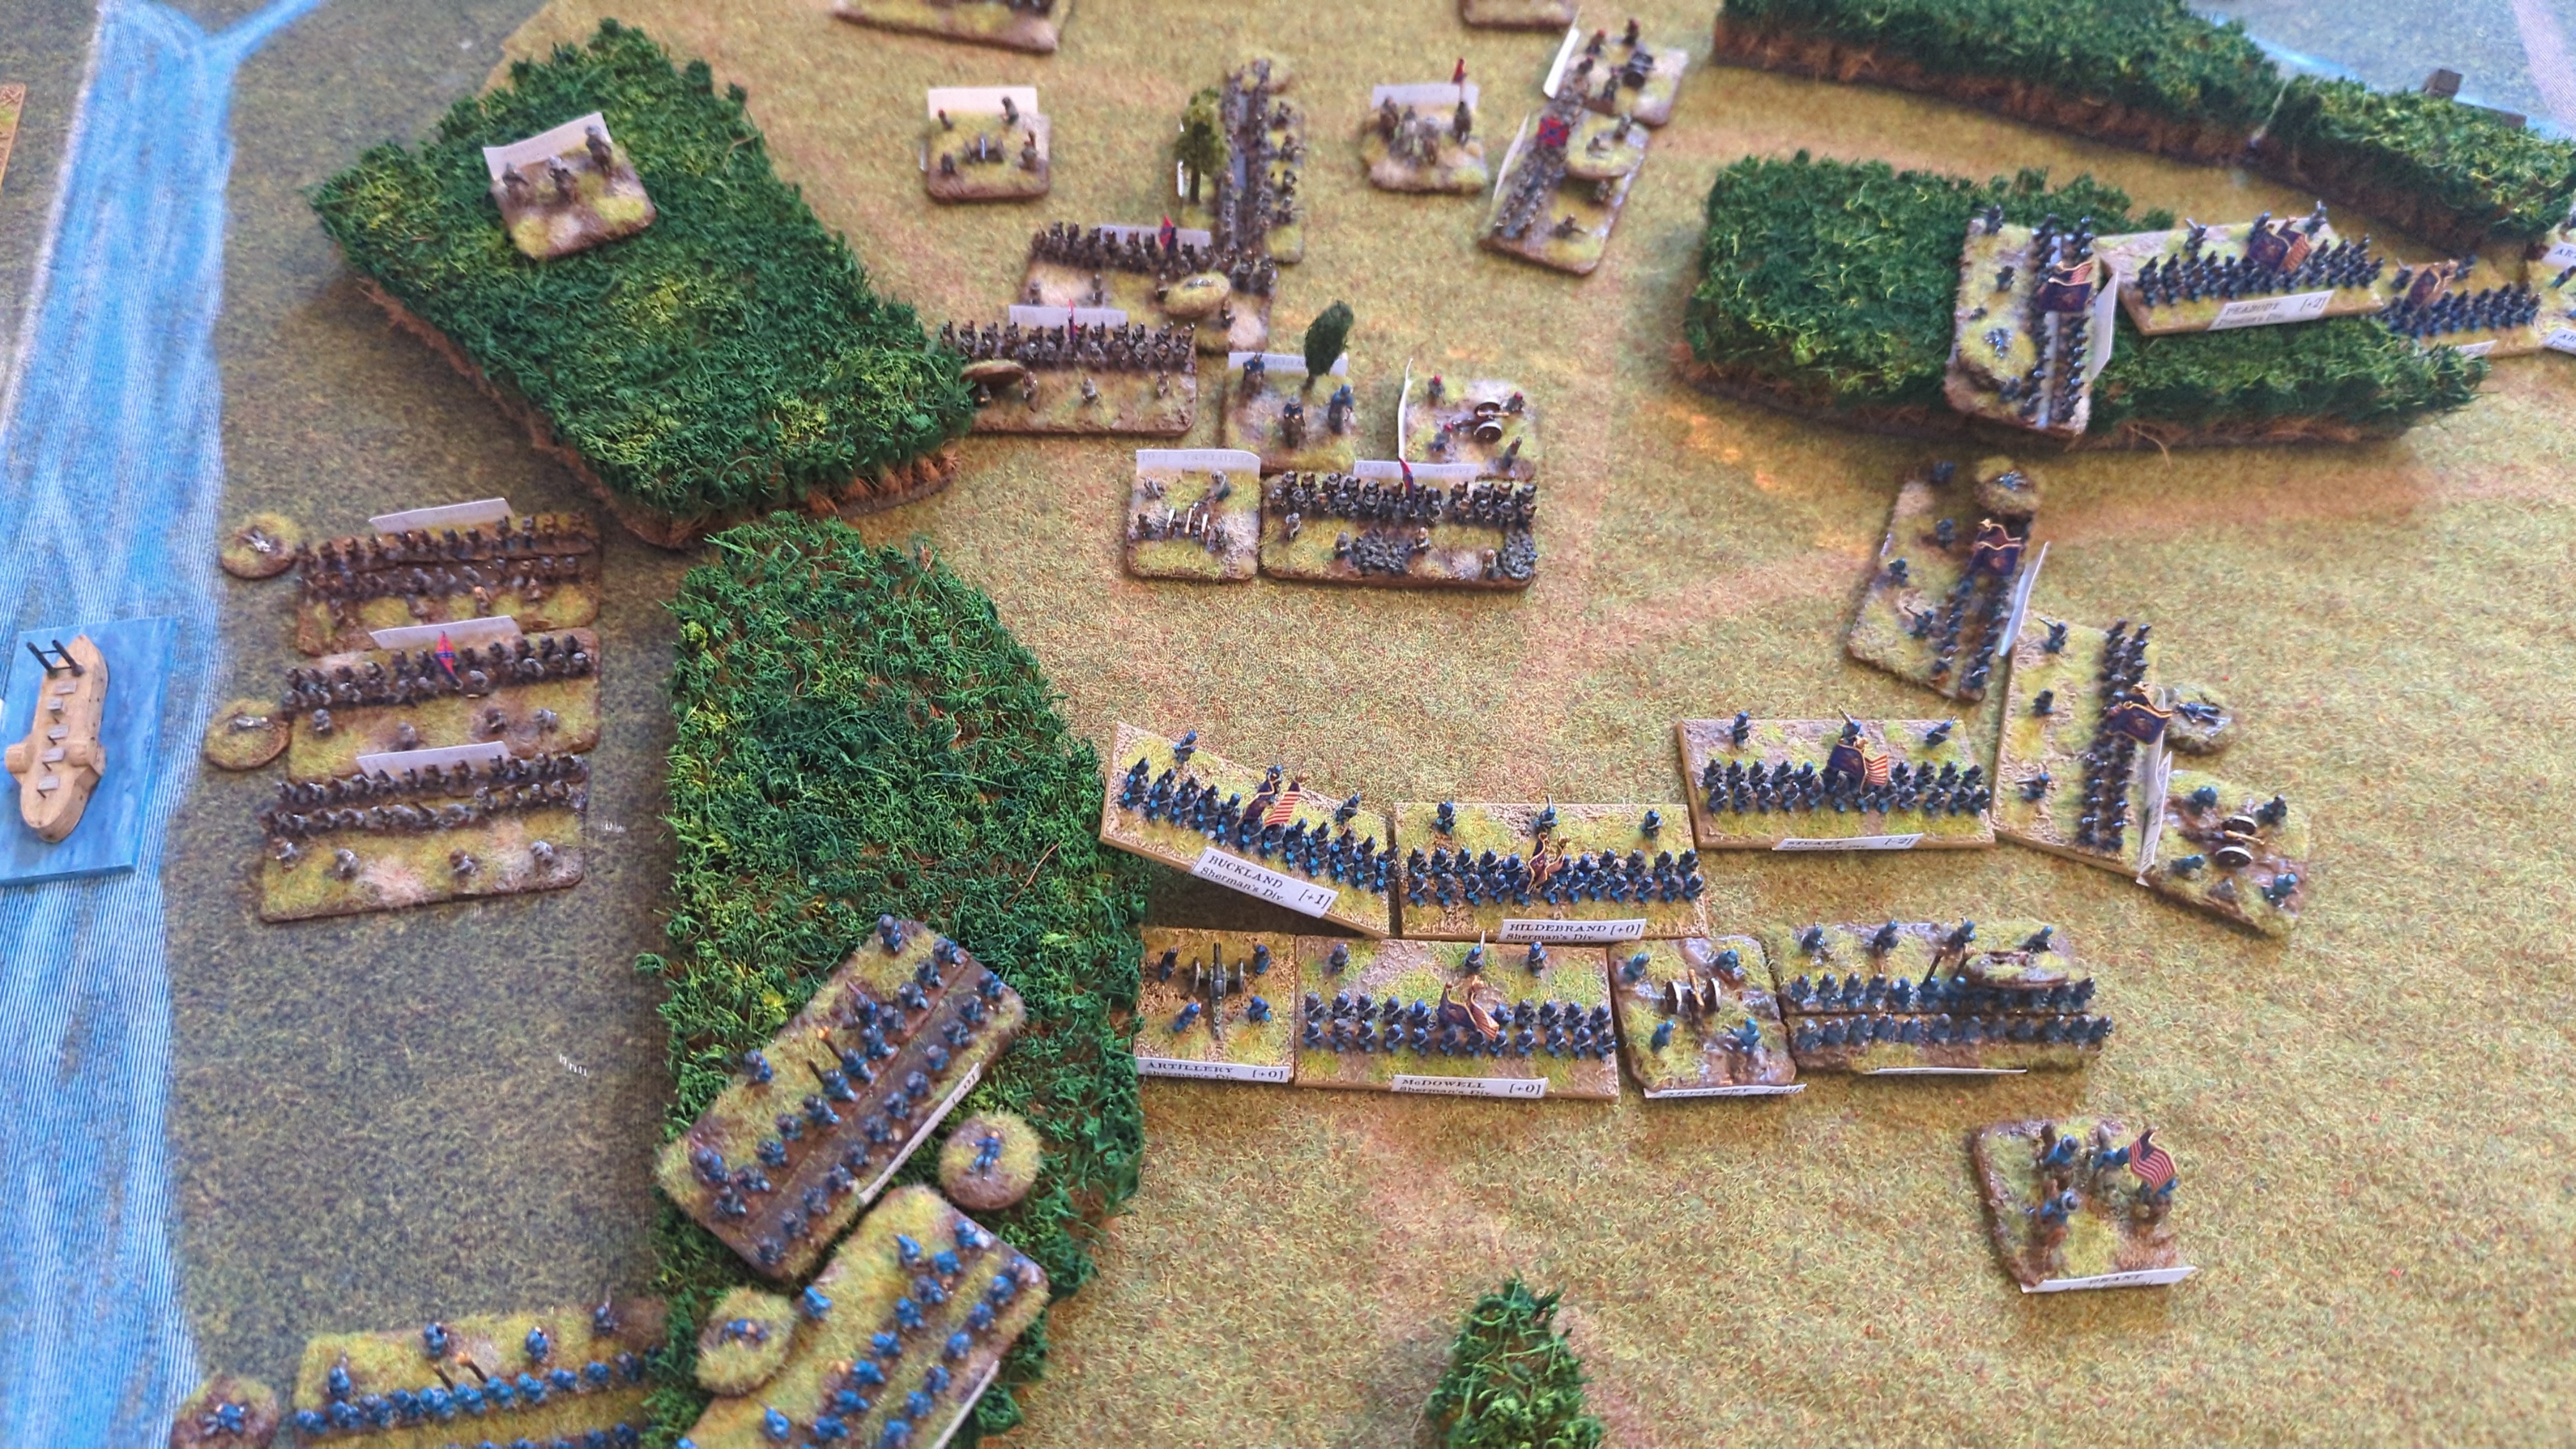
8 vs 8.
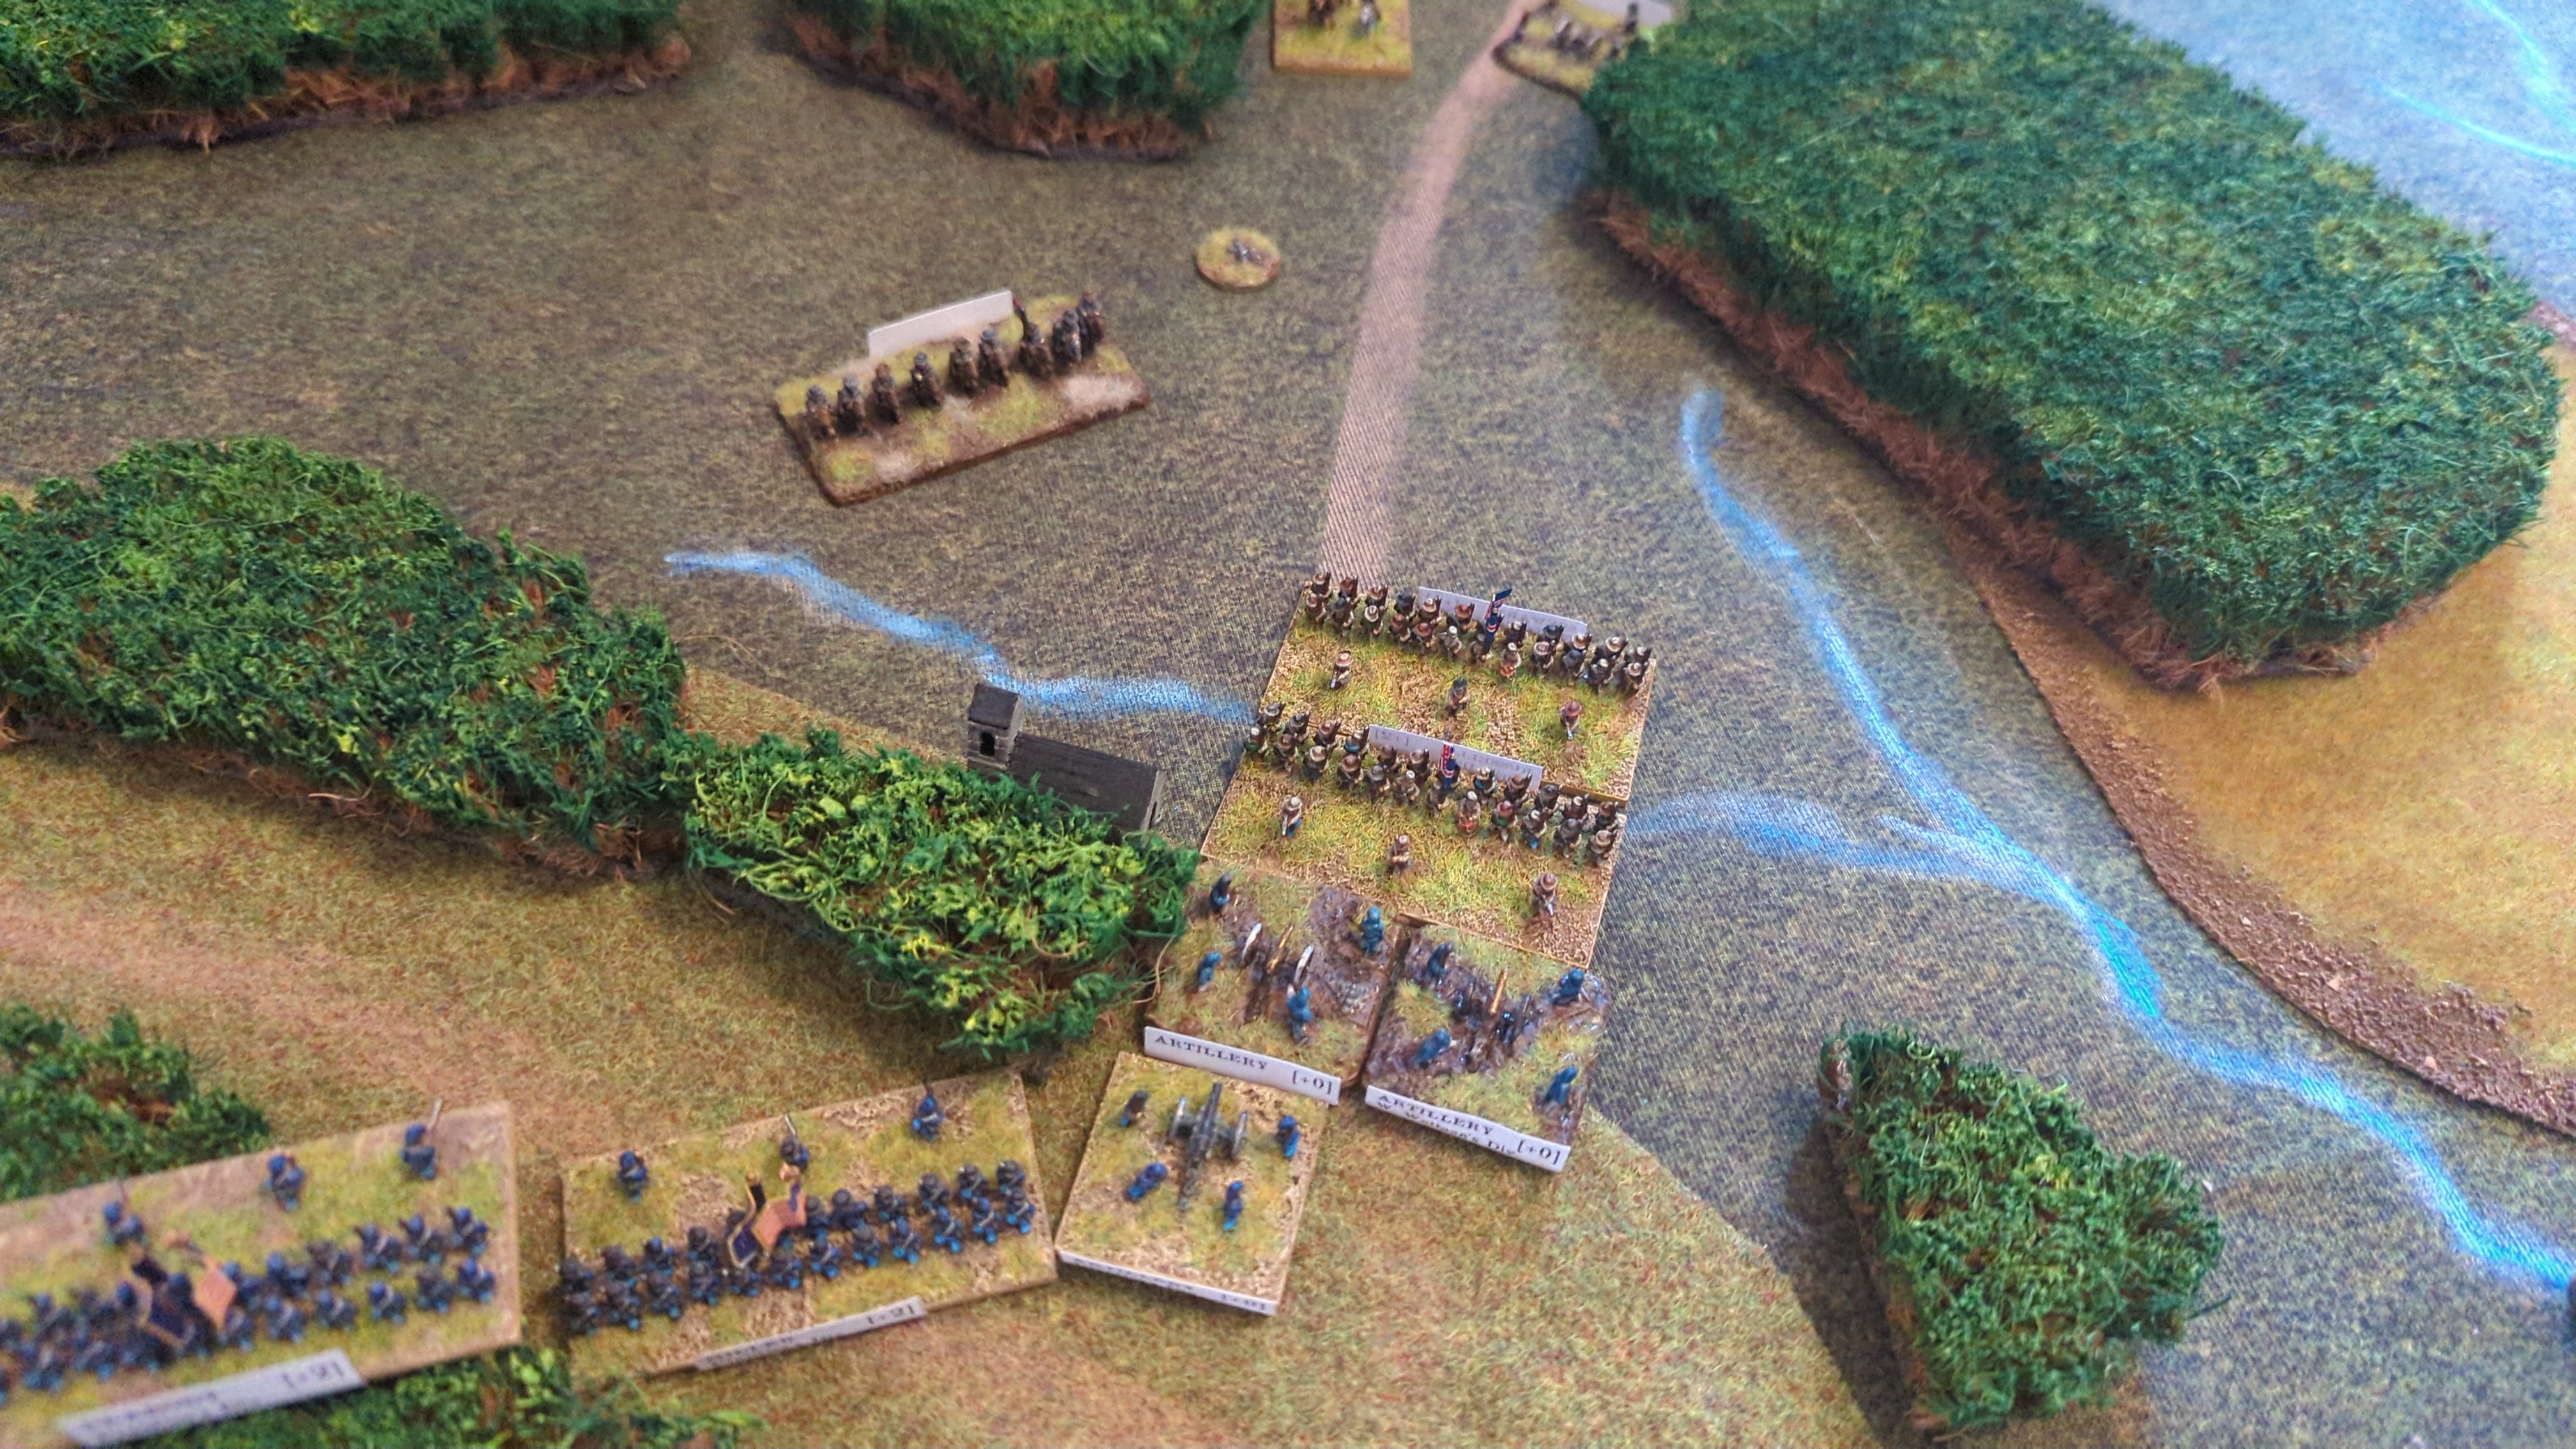
8 vs 5.
It caused three recoils.
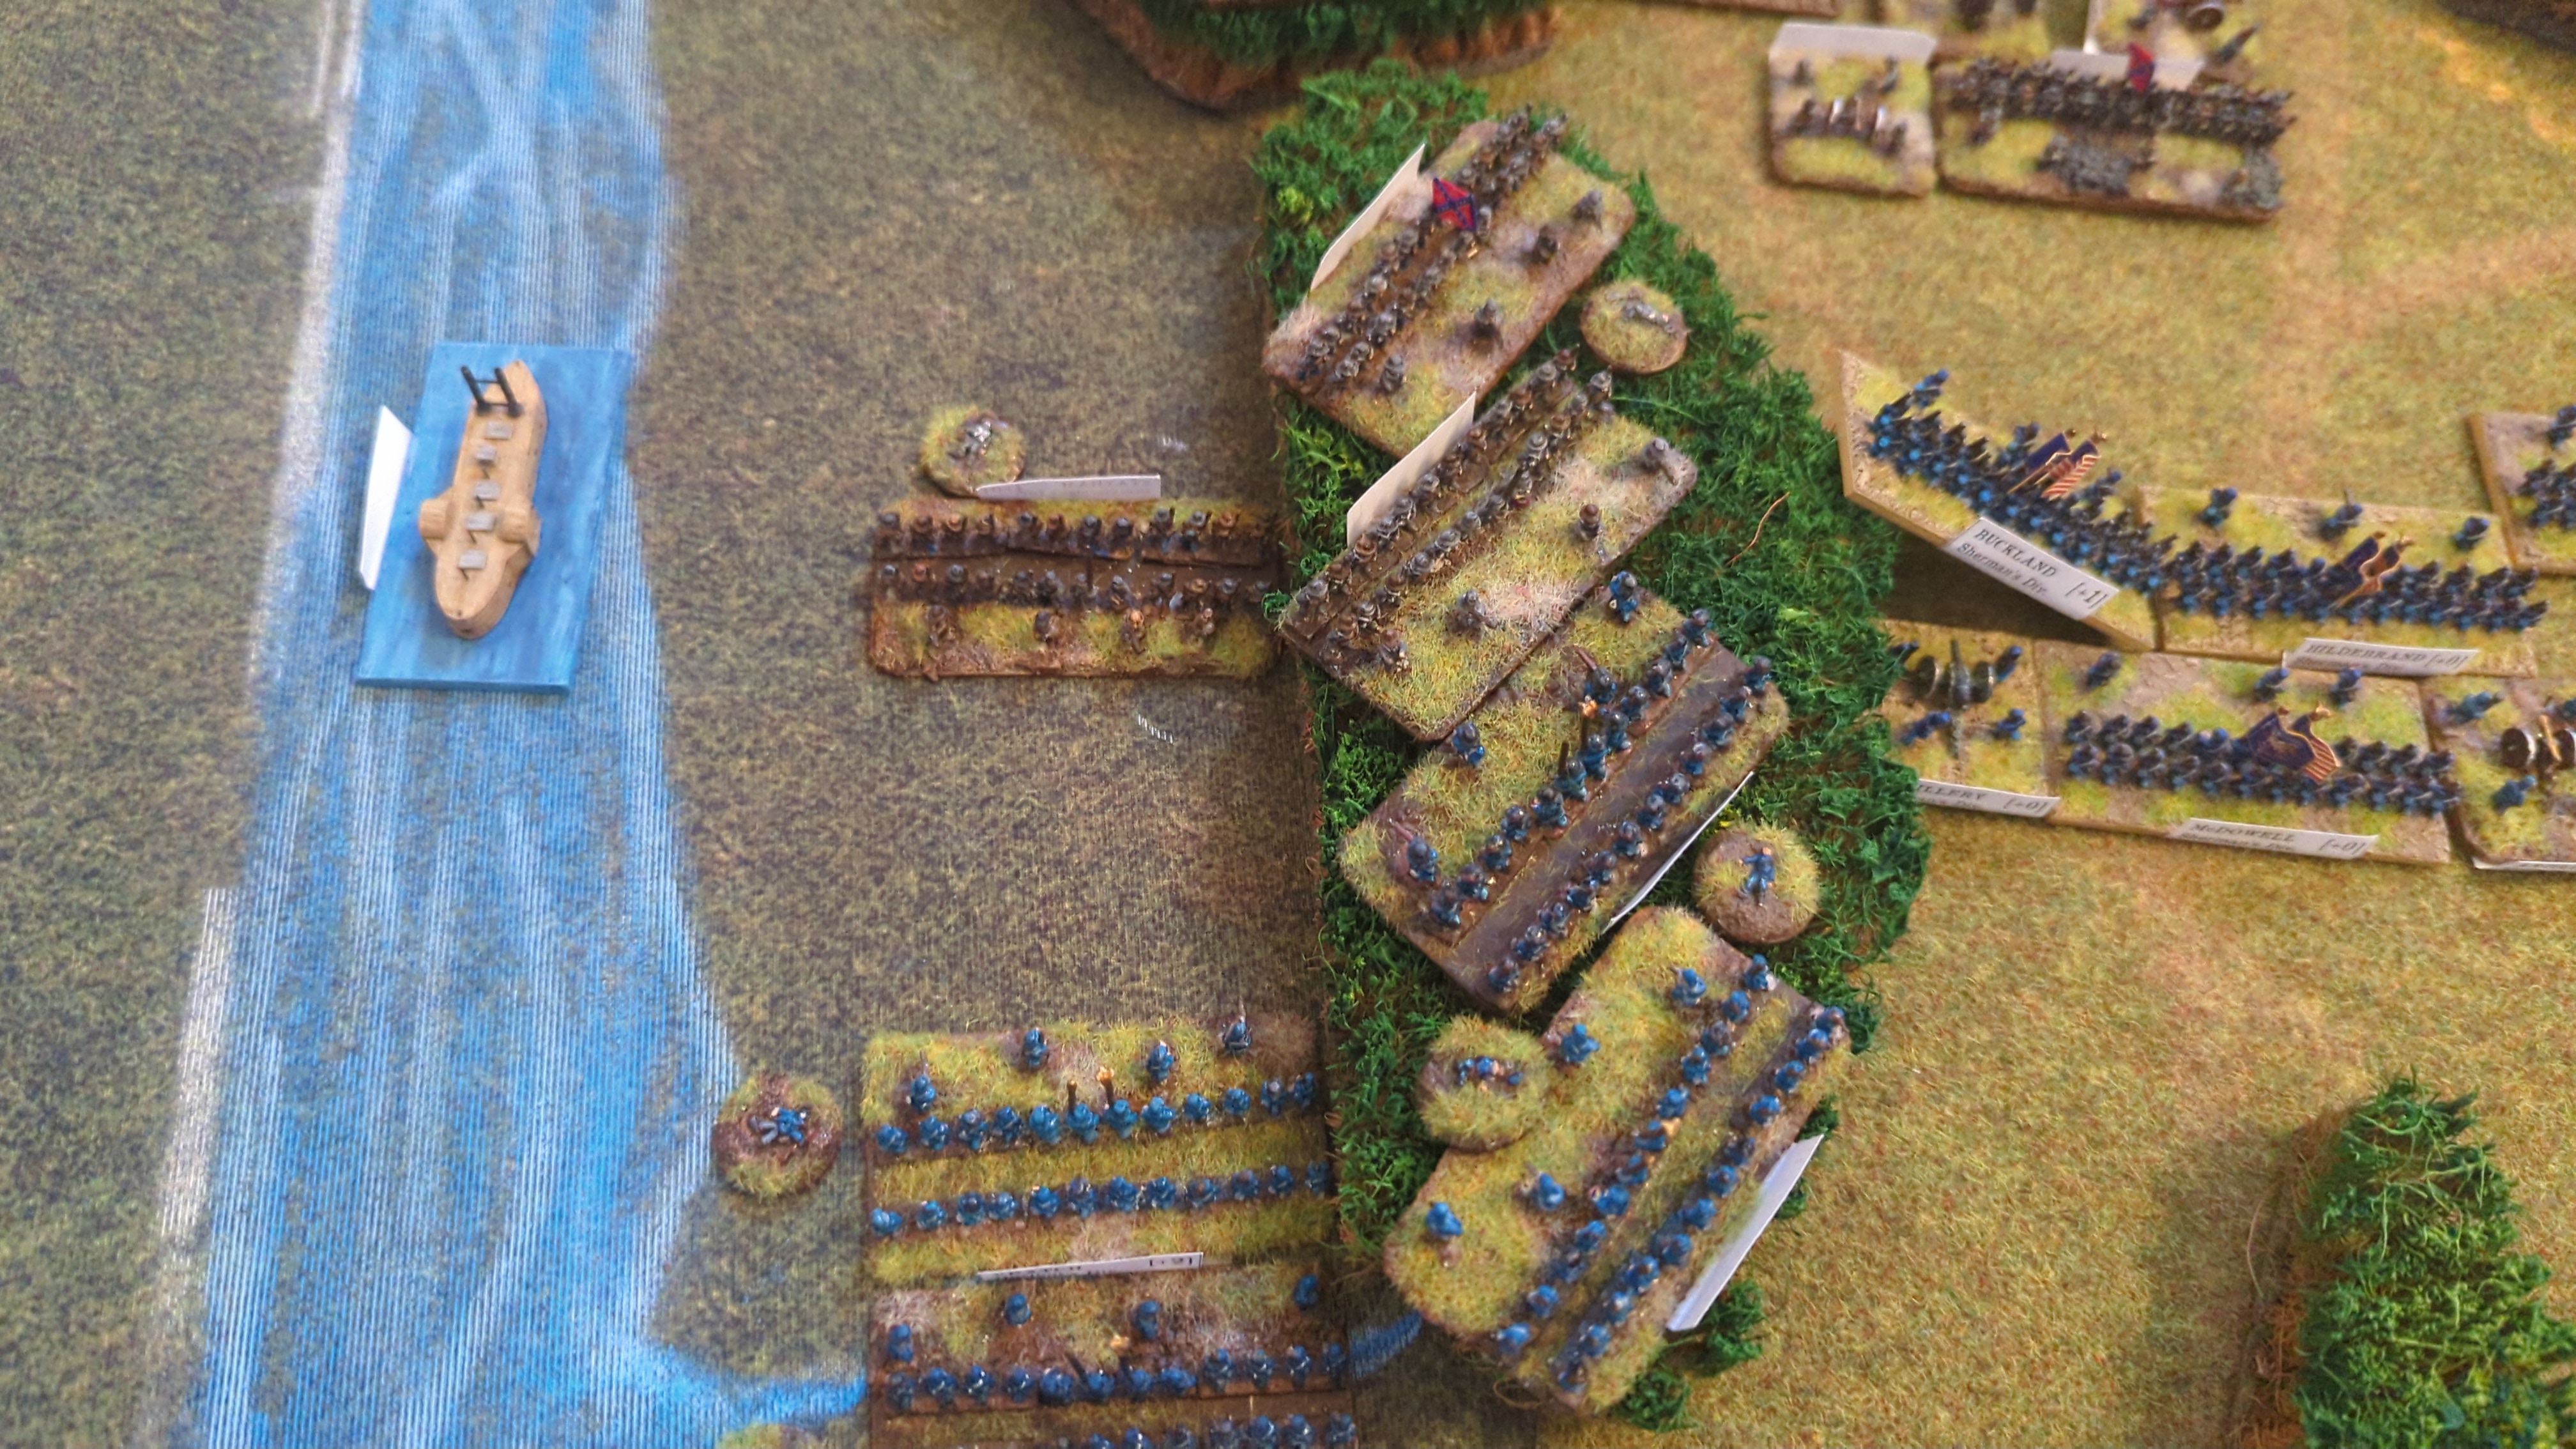
5 vs 2 for the Confederates.
It caused three recoils.
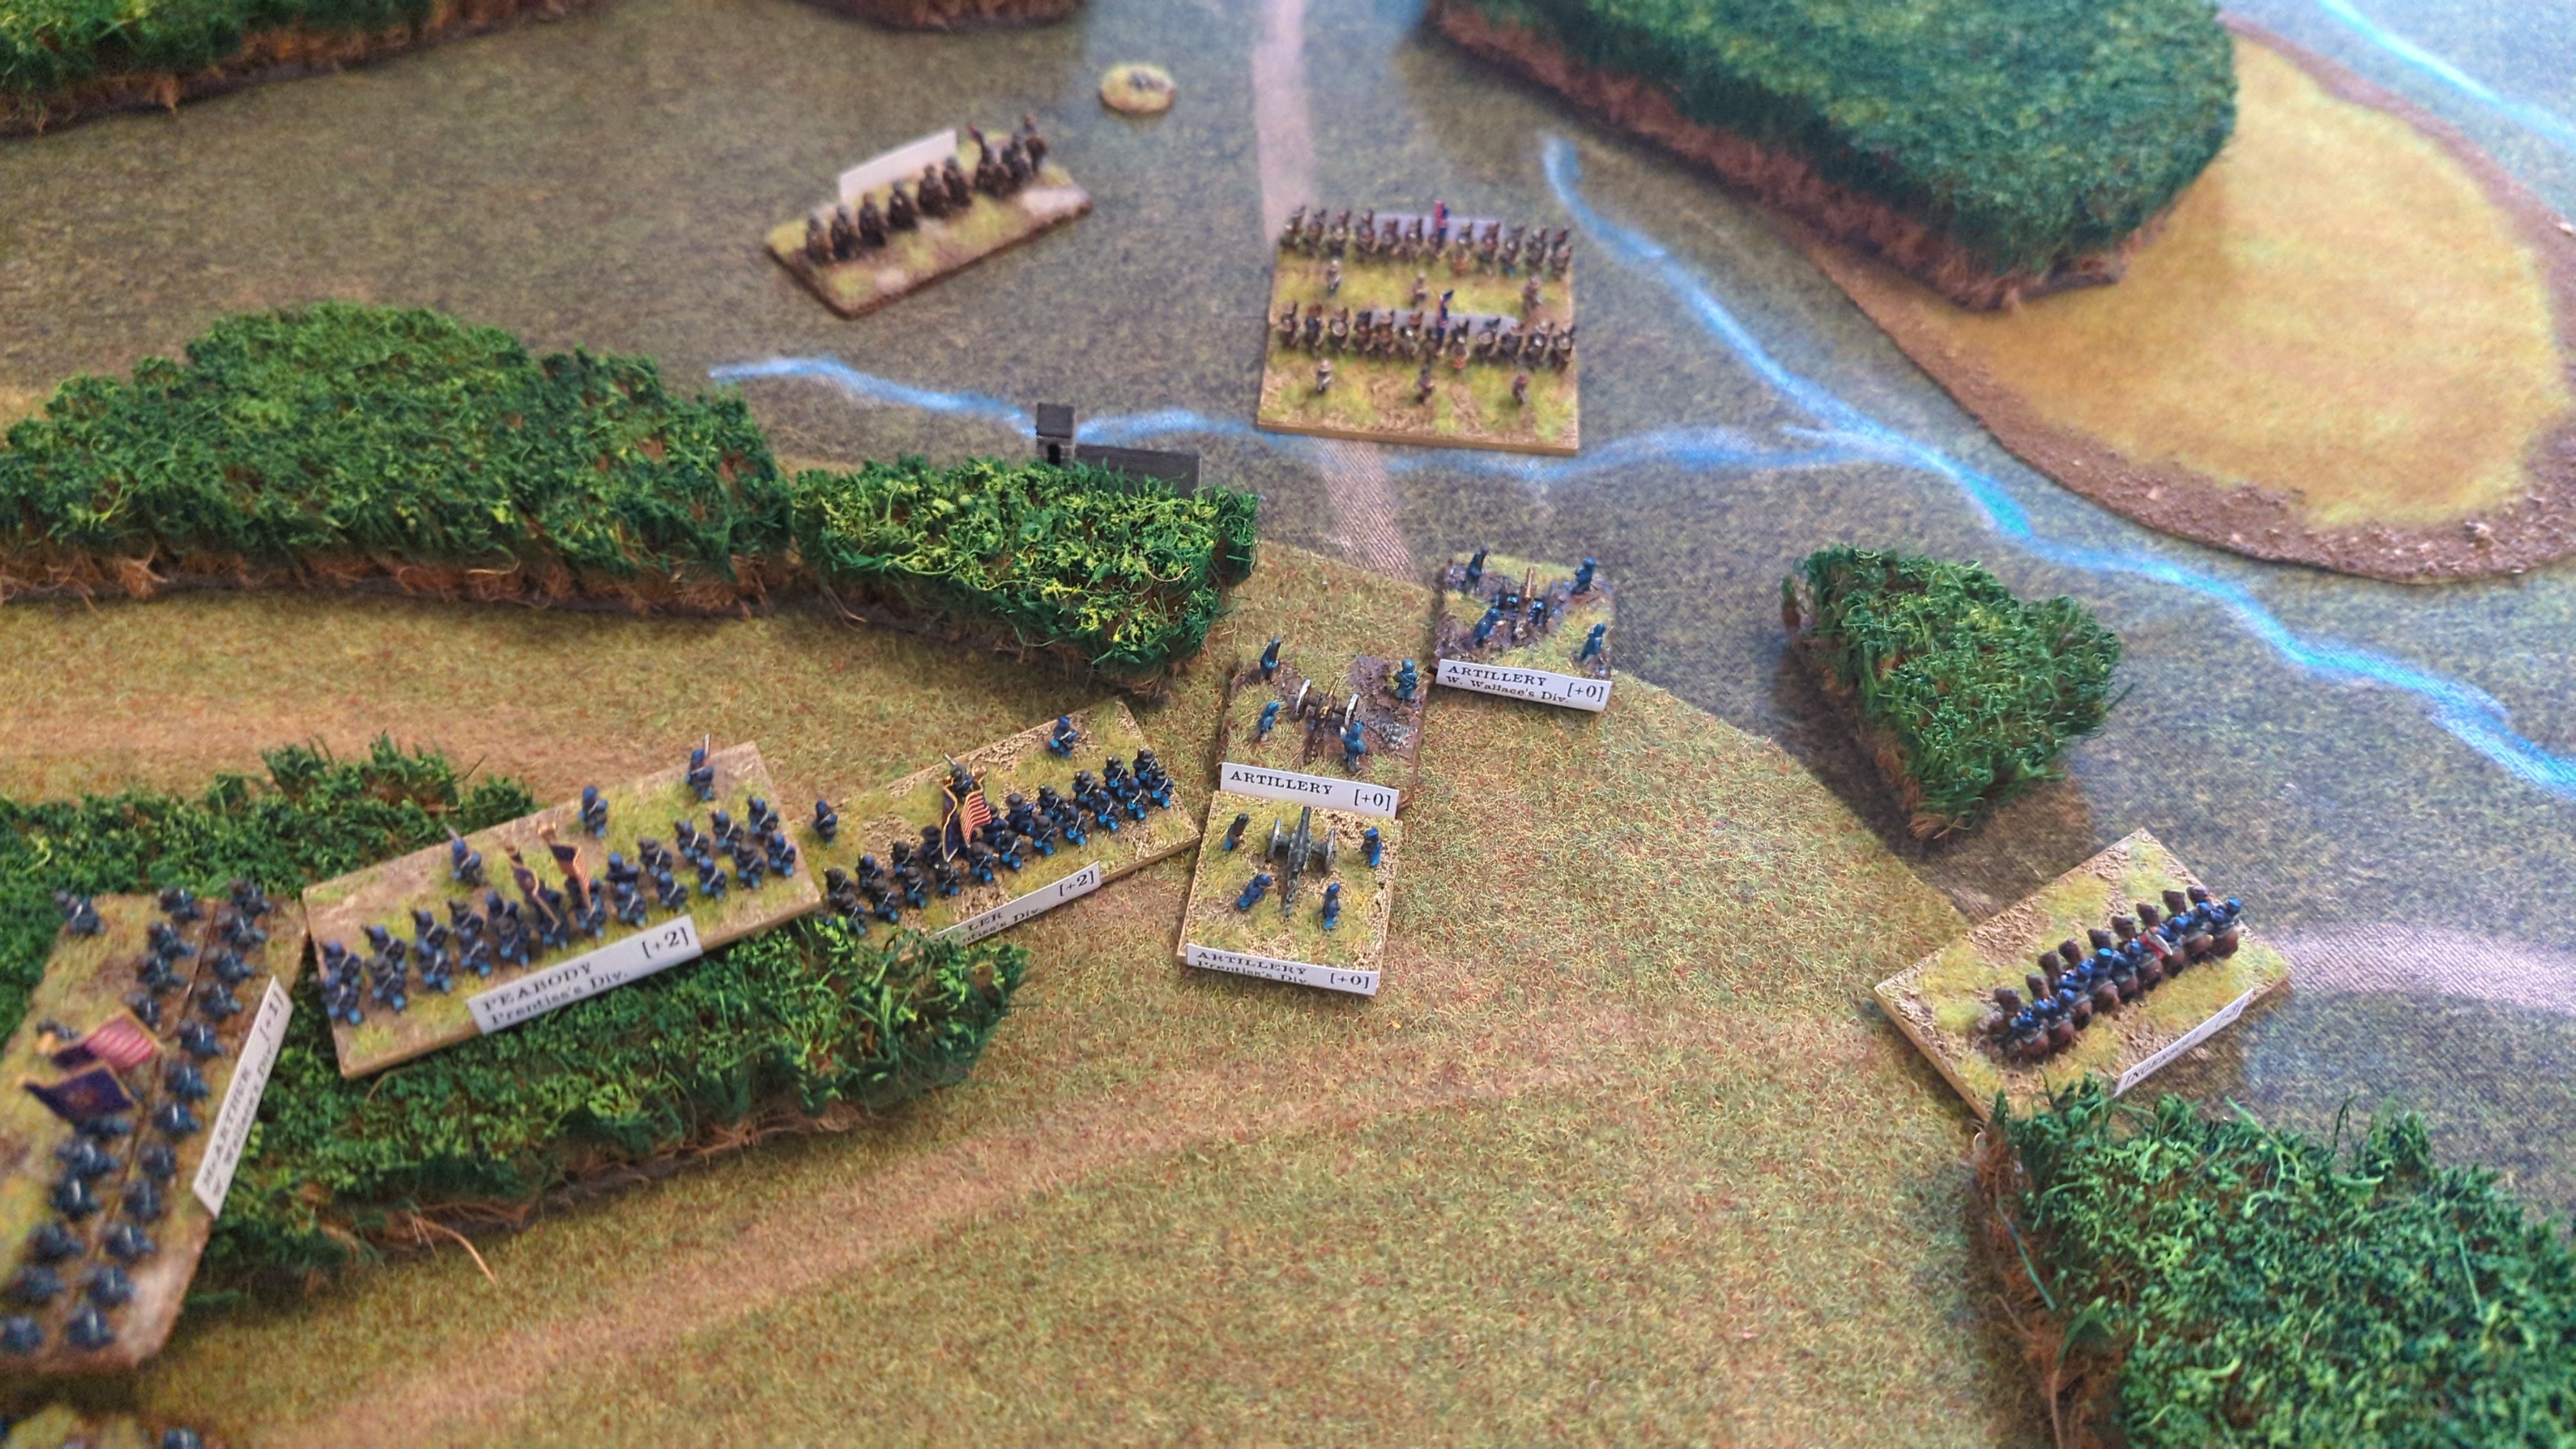
Rolled 3 and 2: 6.
Bid 3
The Confederates gave up.
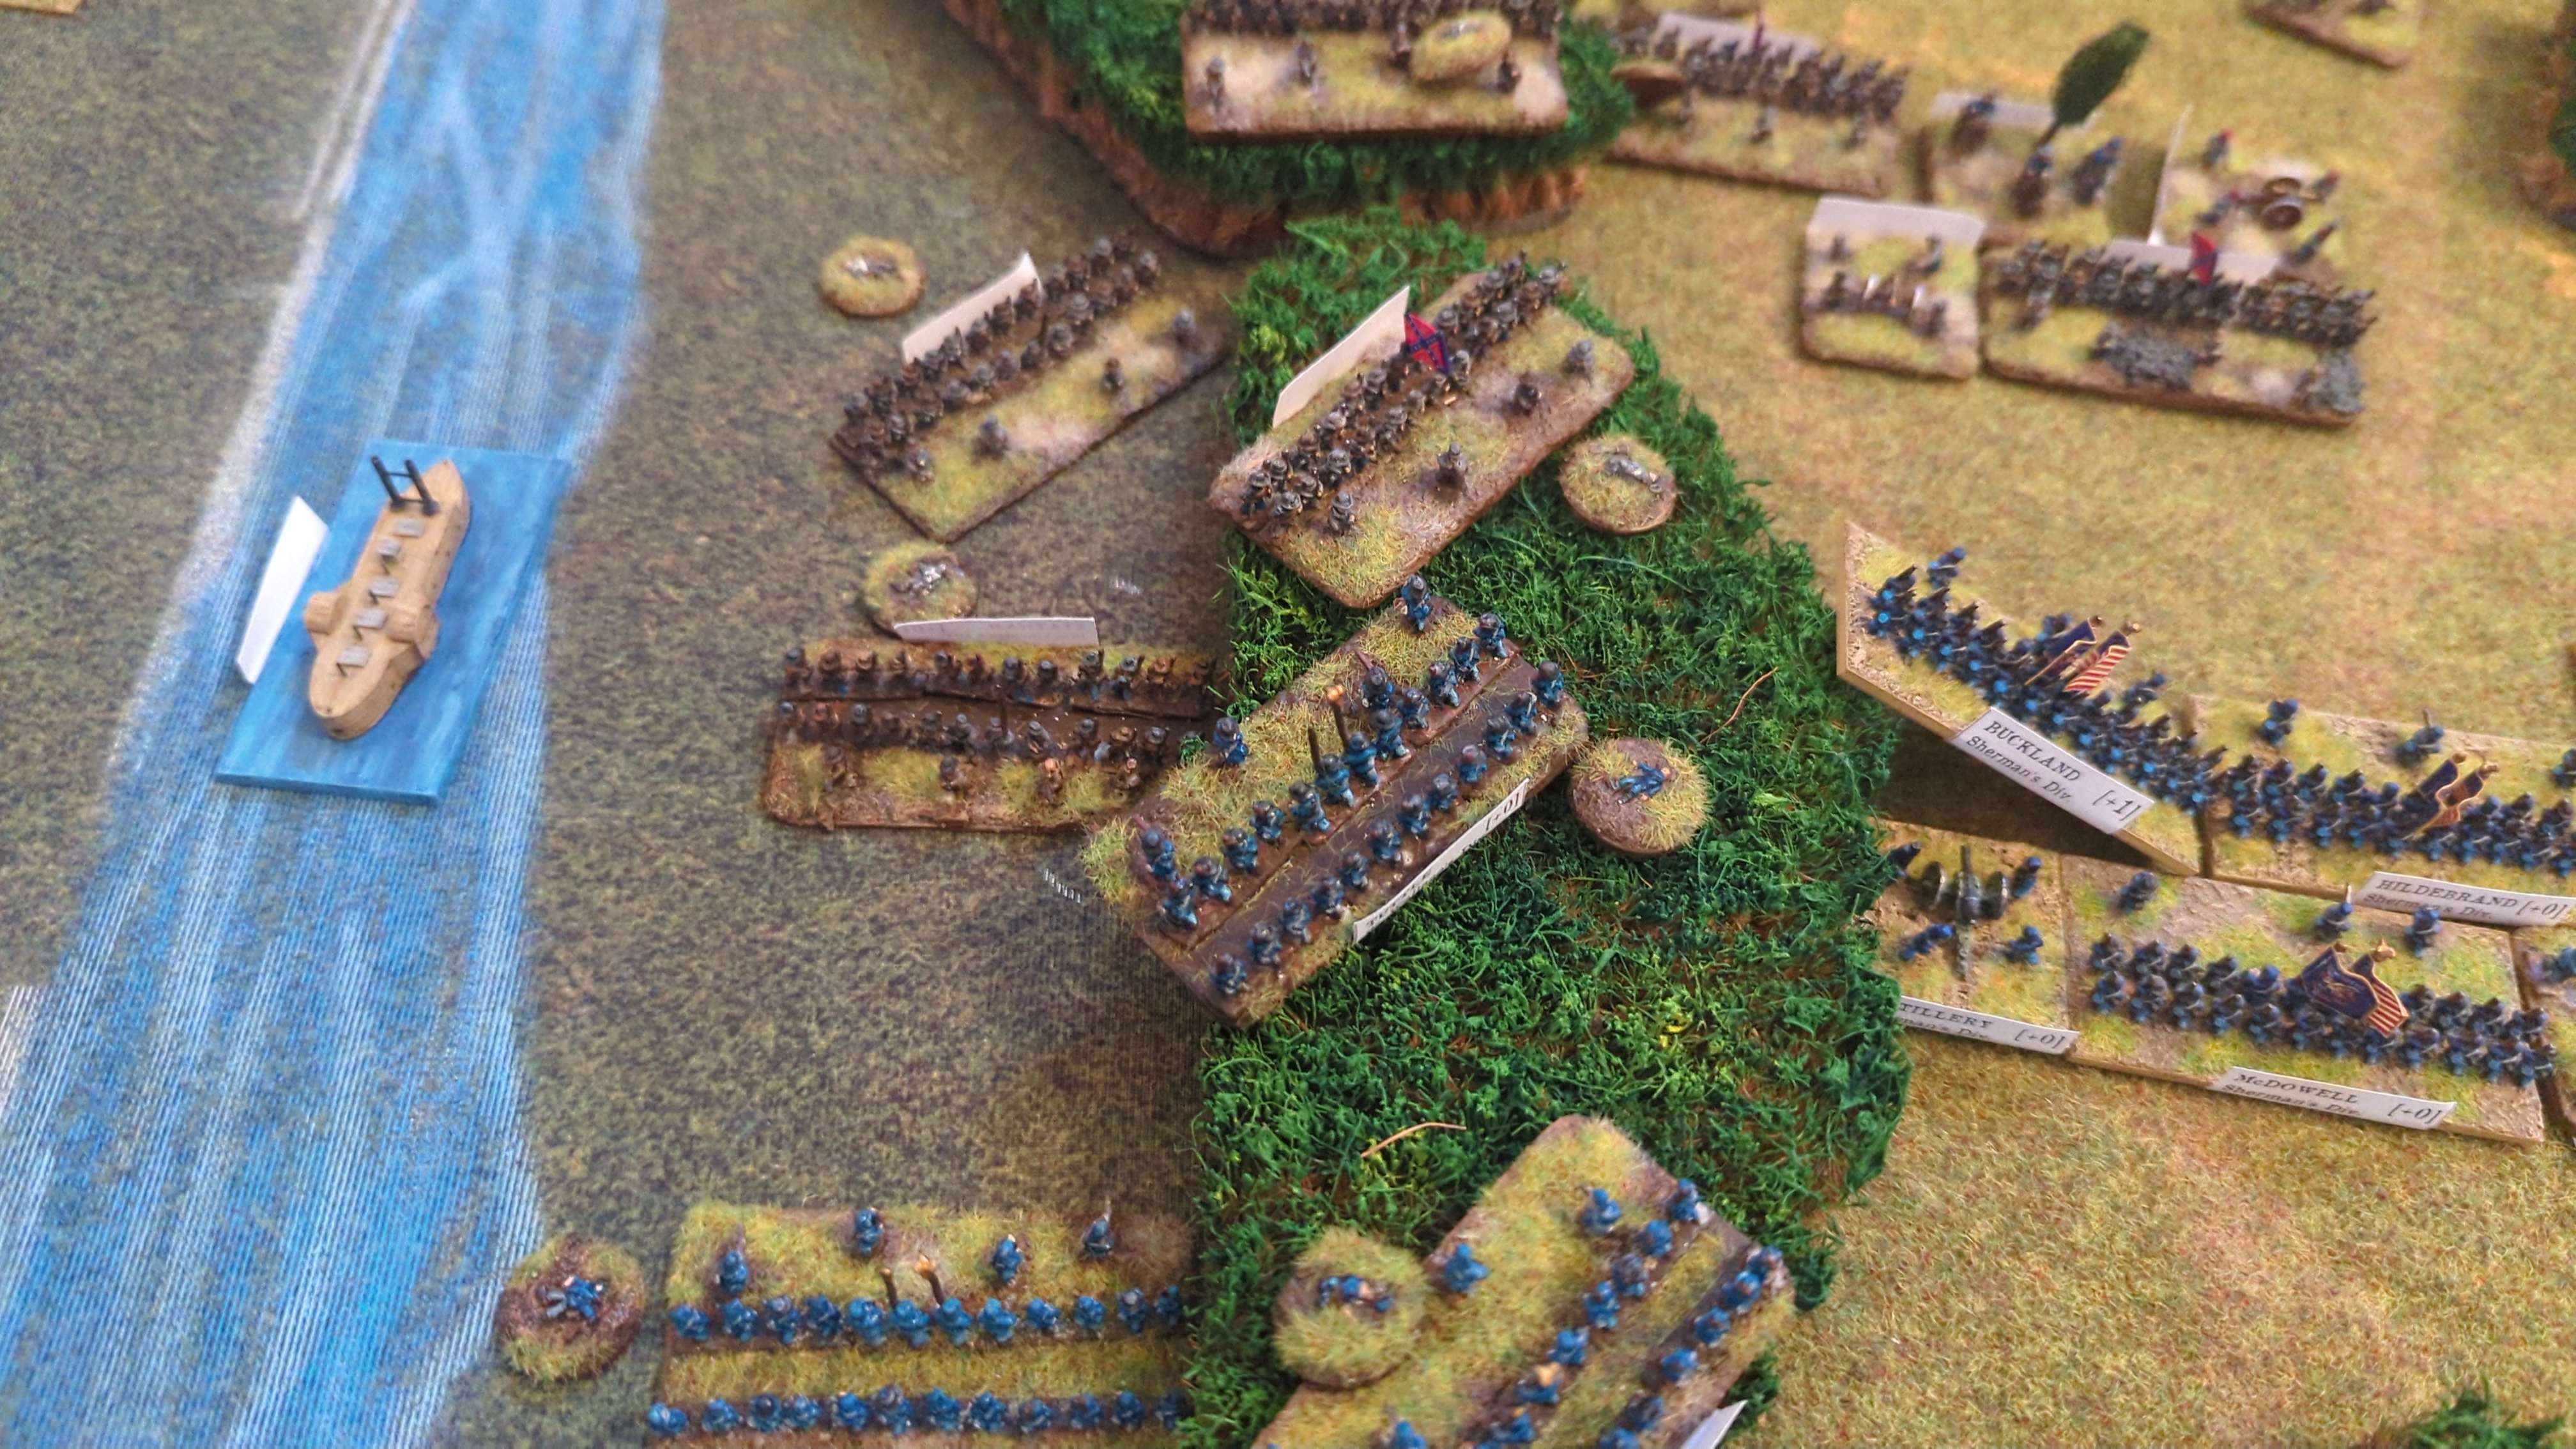
Aftermath
The Confederates did not manage to penetrate the Union lines.