![[BattleTech: Total Warfare Mercenaries] Meeting Engagement](/imgs/show/battletech-2025-mercenaries.svg/w960)
Tom Twyker’s Twerkers (TTT)
Pearl Dragon Raid
Dougie’s Daisy Despoilers (DDD)
Jade Falcon Opposing Force
Mission
Meeting Engagement
Campaign Track
1
The OpFor was rolled for in the Hot Spots Hinterland book, and turned out to be Clan Jade Falcon Force consisting of:
(no term)
Valkyrie C (4/4)
(no term)
x2 Vedette
(no term)
HOP-5C Hoplite (4/5)
(no term)
Light Bombing
(no term)
Heavy Air Cover
Due to life, family and reasons, we were not able to meet in RL, and instead met online in Discord and Tabletop Simulator. Not the real thing, but better than not playing at all.
Both sides took up position with their heavier 'Mechs in partial cover. The TNZ-N2 deactivated his stealth suit at the end of turn 1.
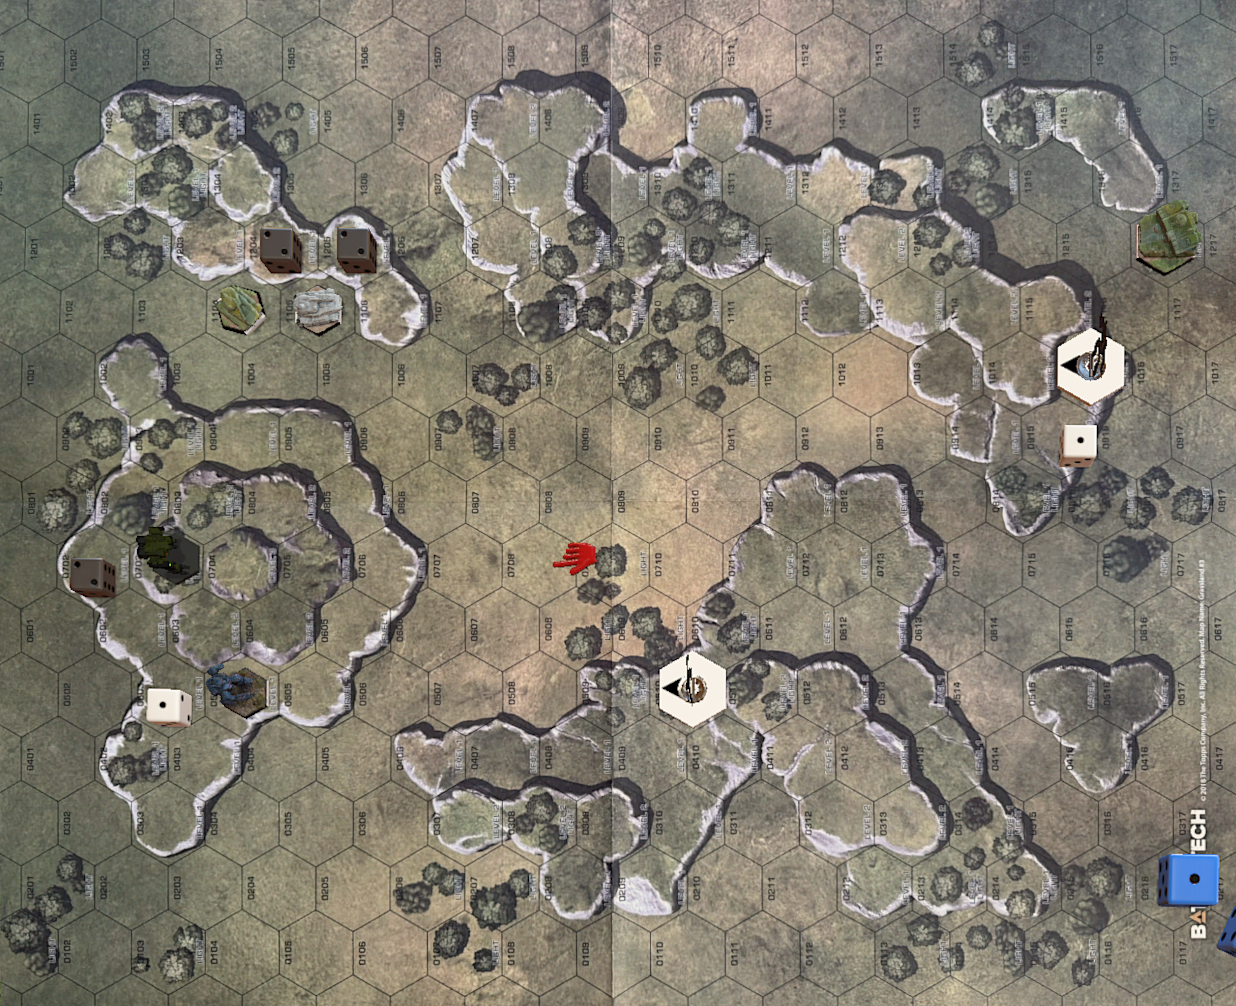
The Jade Falcons sent their supporting vehicles along their left flank, to silence the LRM carrier of the mercenary scum. The PXH-9, though, flying all over the battle area, had other plans and quickly destroyed one of the light tanks.
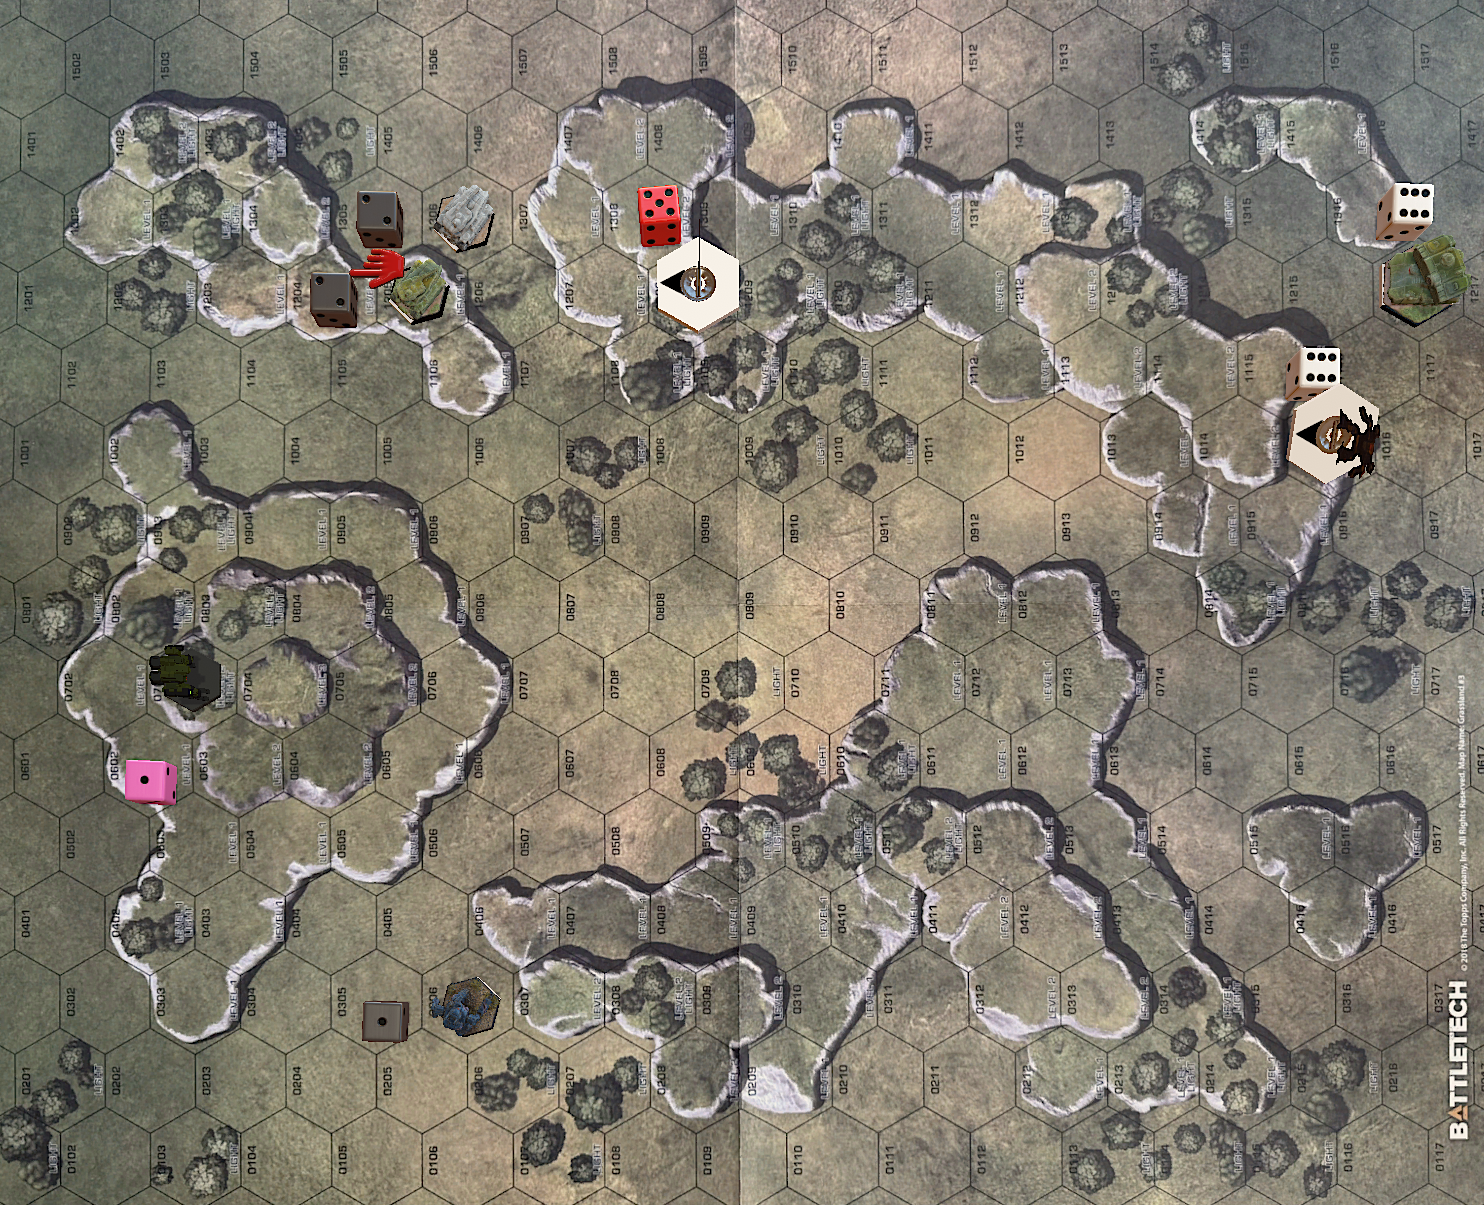
The lighter 'Mechs than both jumped into position to flank their heavier opponents, while the heavier 'Mechs engaged each other. The TNZ-N2 suffered more than 20 damage, and fell down.
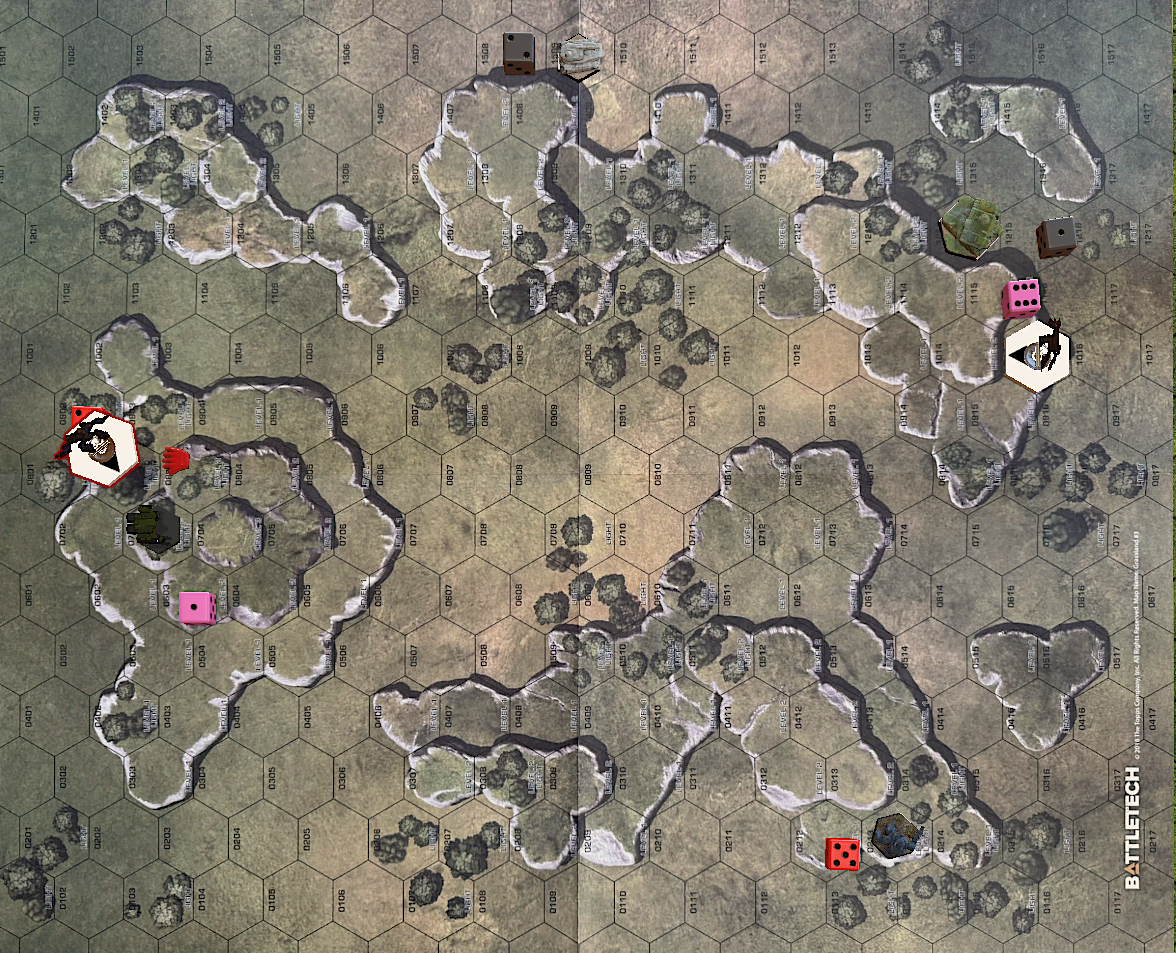
The surviving light Jade Falcon tank had made its way up the flank by now, but was not able to hit the LRM carrier. The lighter 'Mechs were jumping around the field as far as possible to raise their opponent's target numbers. The heavier 'Mechs still targeted each other.
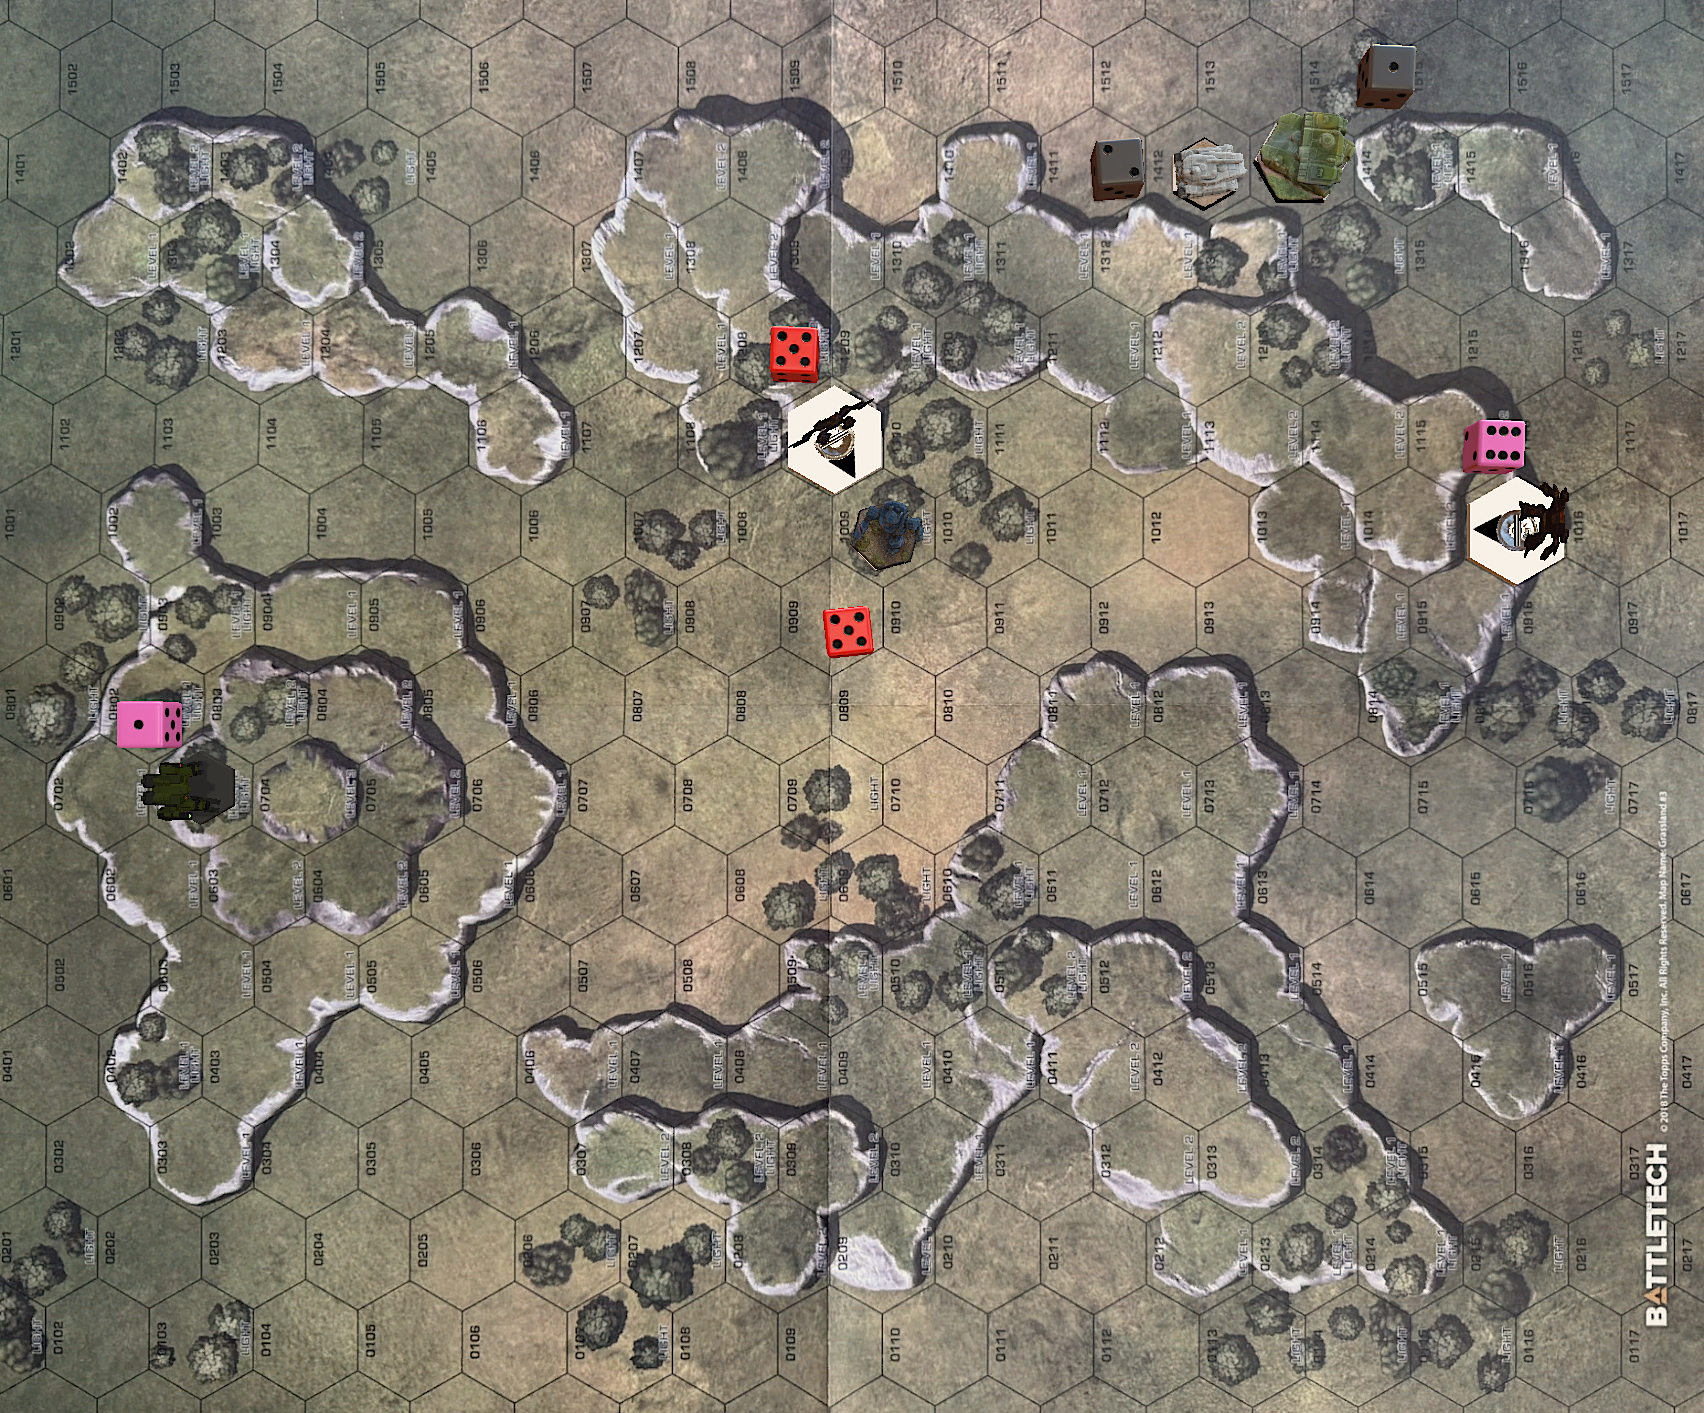
Being attacked from afar by the HOP-5C, and from close by the Valkyrie C, the TNZ-N2 suffered another heavy round of damage and fell down again. The PXH-9 was not able to retaliate, as the Valkyrie's target number was too high again. The LRM carrier destroyed the last opposing light tank.
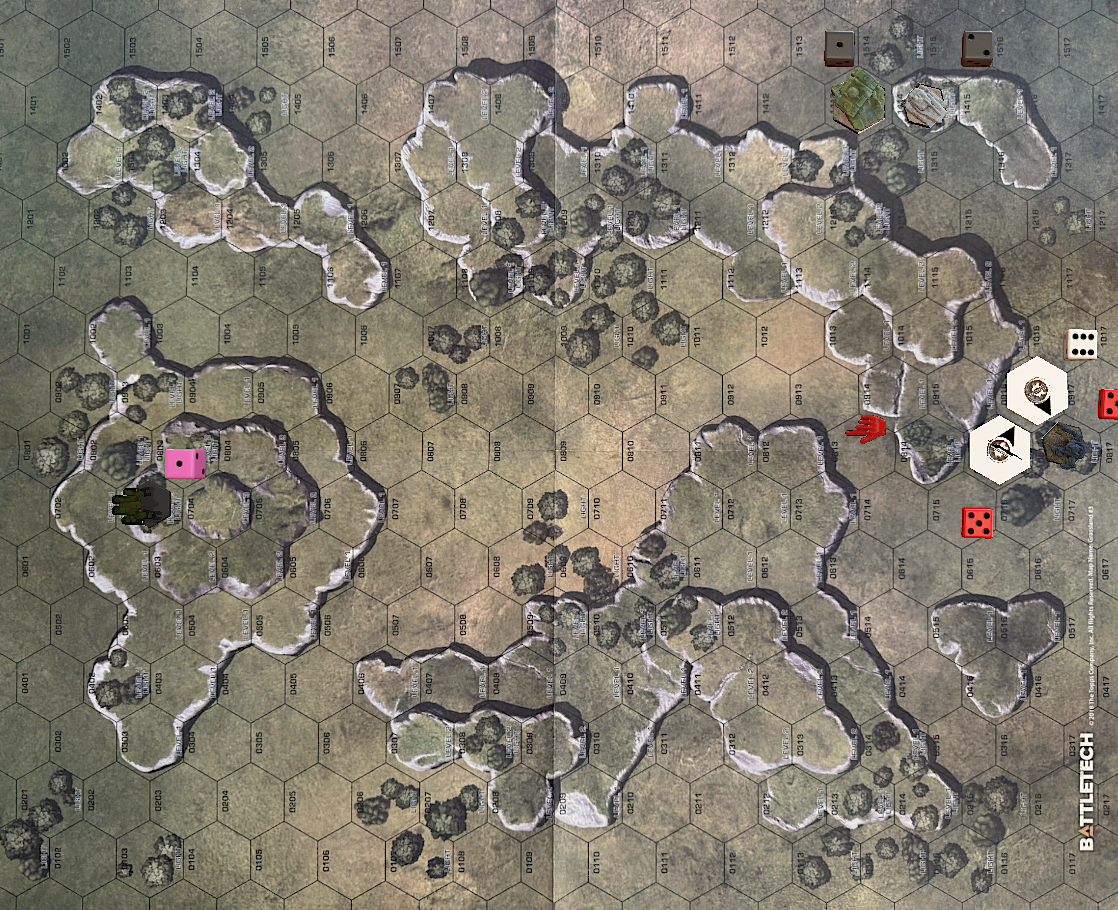
The TNZ-N2 had activated its stealth suit again, which made him very hard to hit. The PXH-9 was out of sight for the moment.
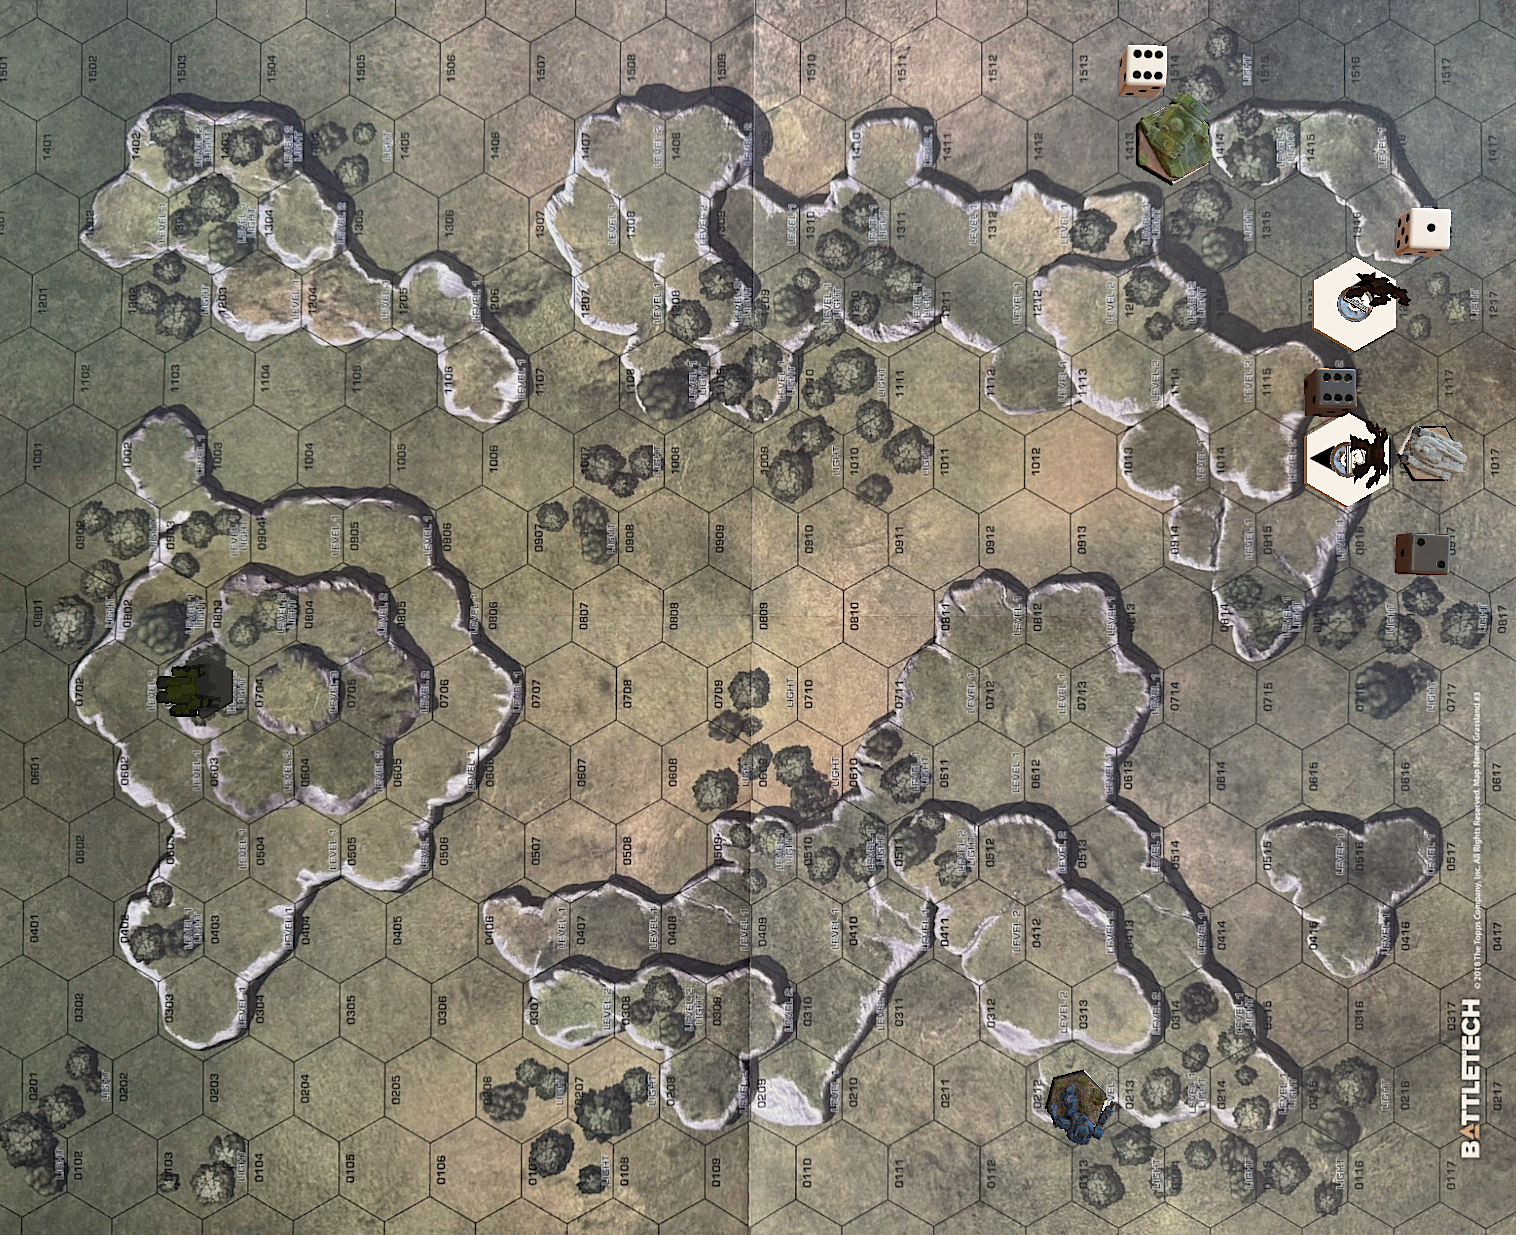
On the next turn, no-one had LOS to any opponent.
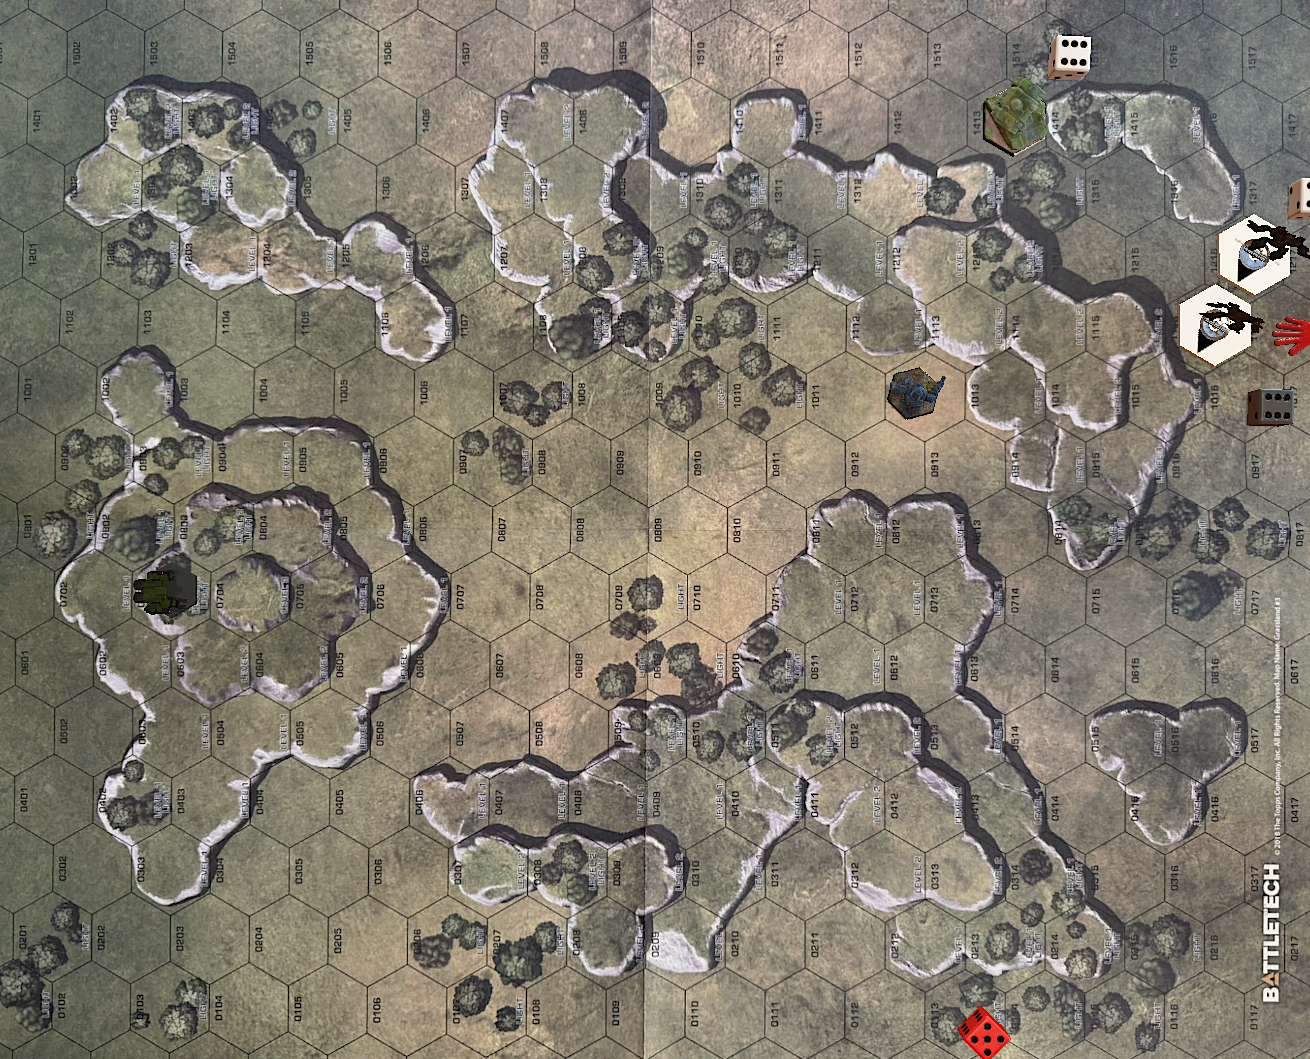
The Twerkers now tried to hunt down the badly damaged Valkyrie, but target numbers were still too high.
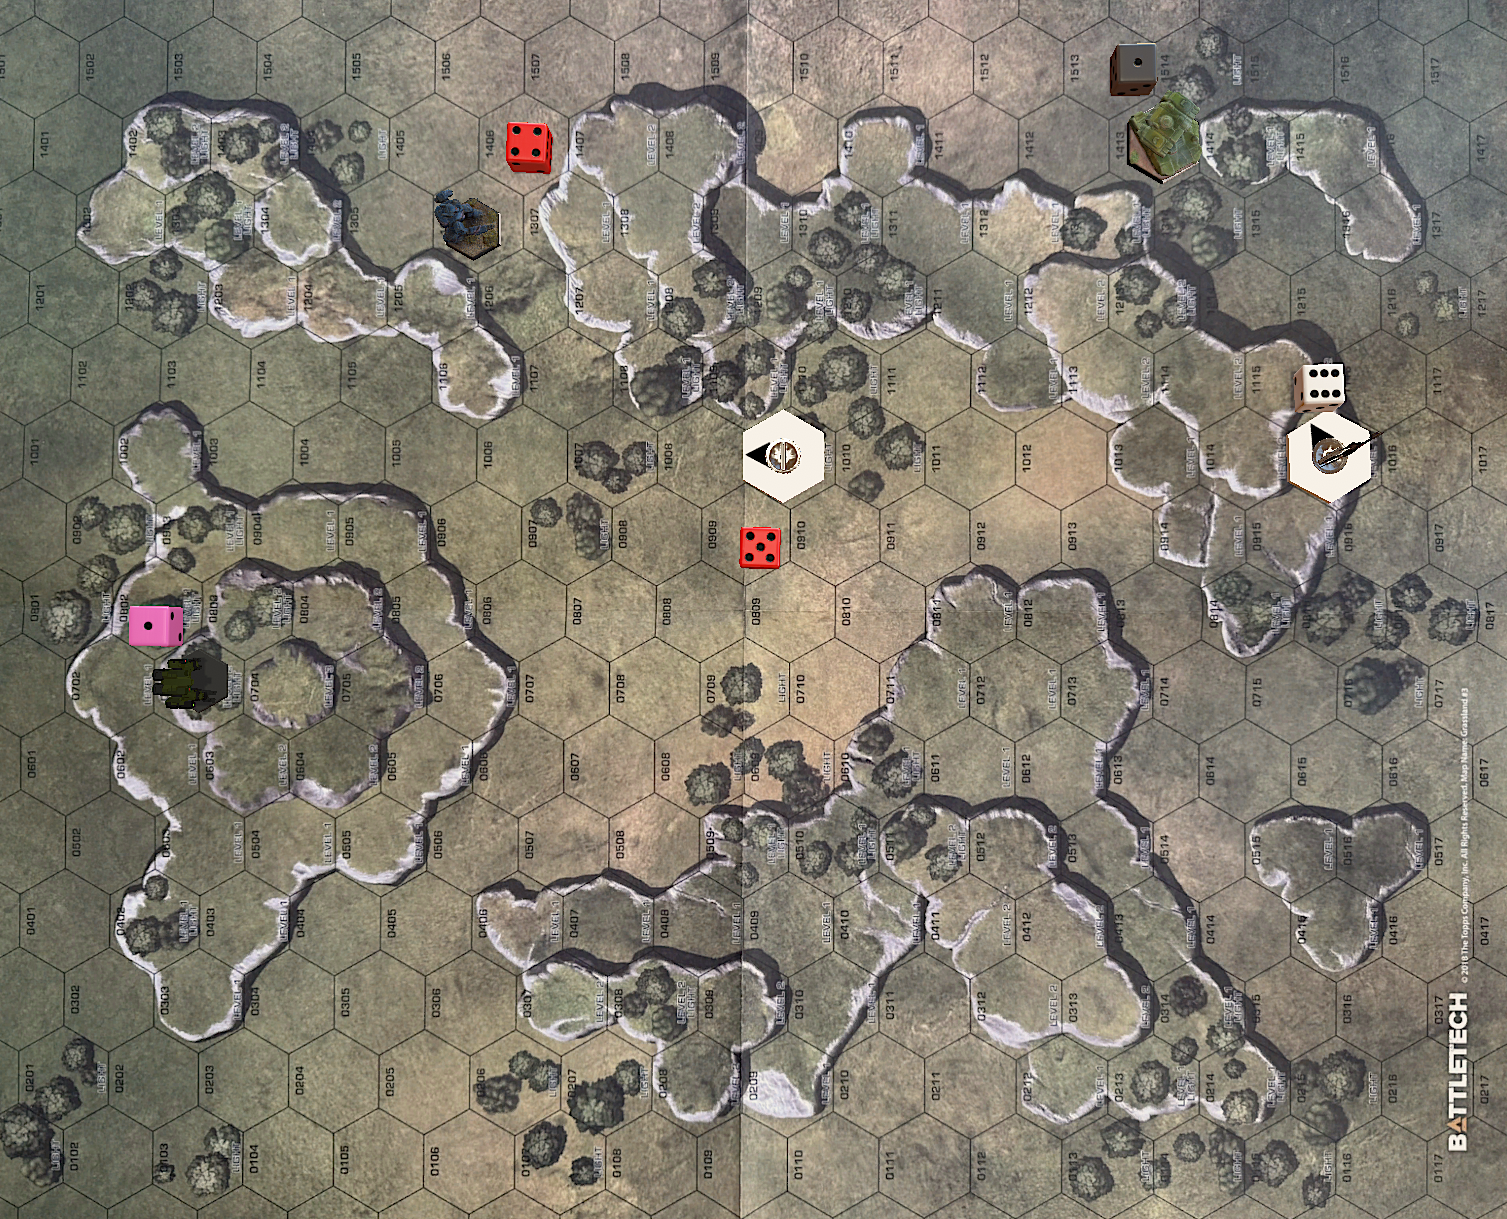
The HOP-5C got the occasional LRM hit against the TNZ-N2, but the AC mostly missed due to the stealth suit.
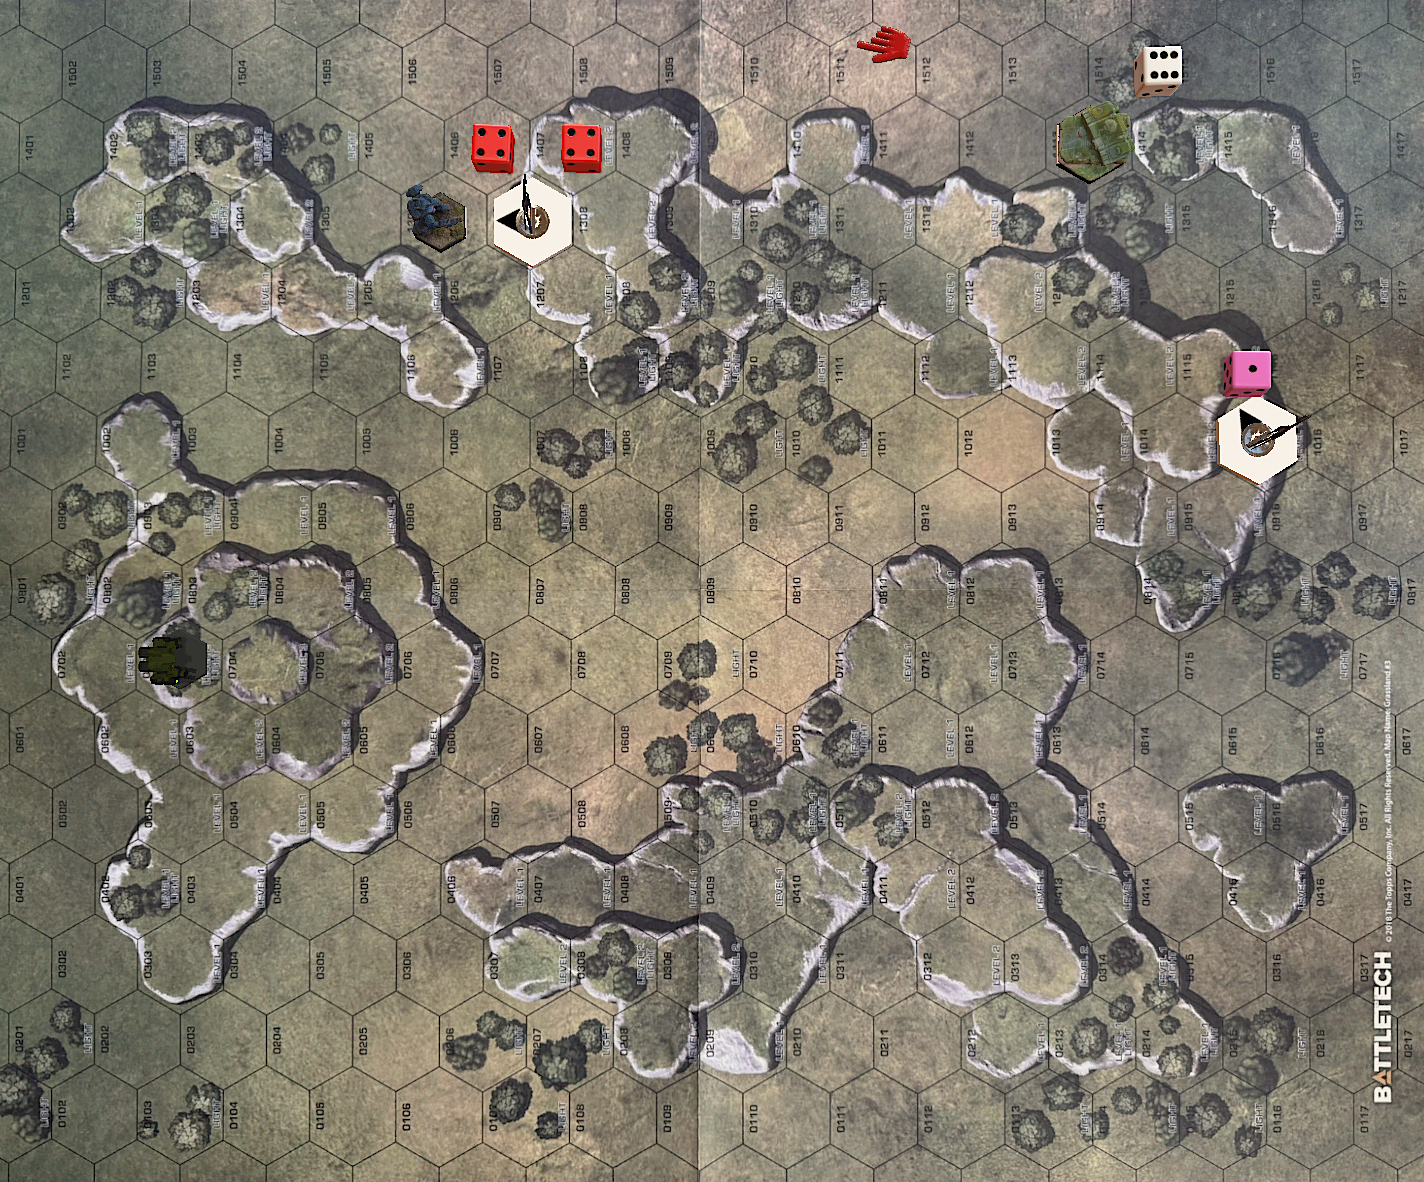
Finally, the AC did hit with a double shot, which left no armor on the TNT-N2's right torso, which caused some anxiety on Tom Twyker - which made him stumble his 'Mech and fall down for the third time, this game.
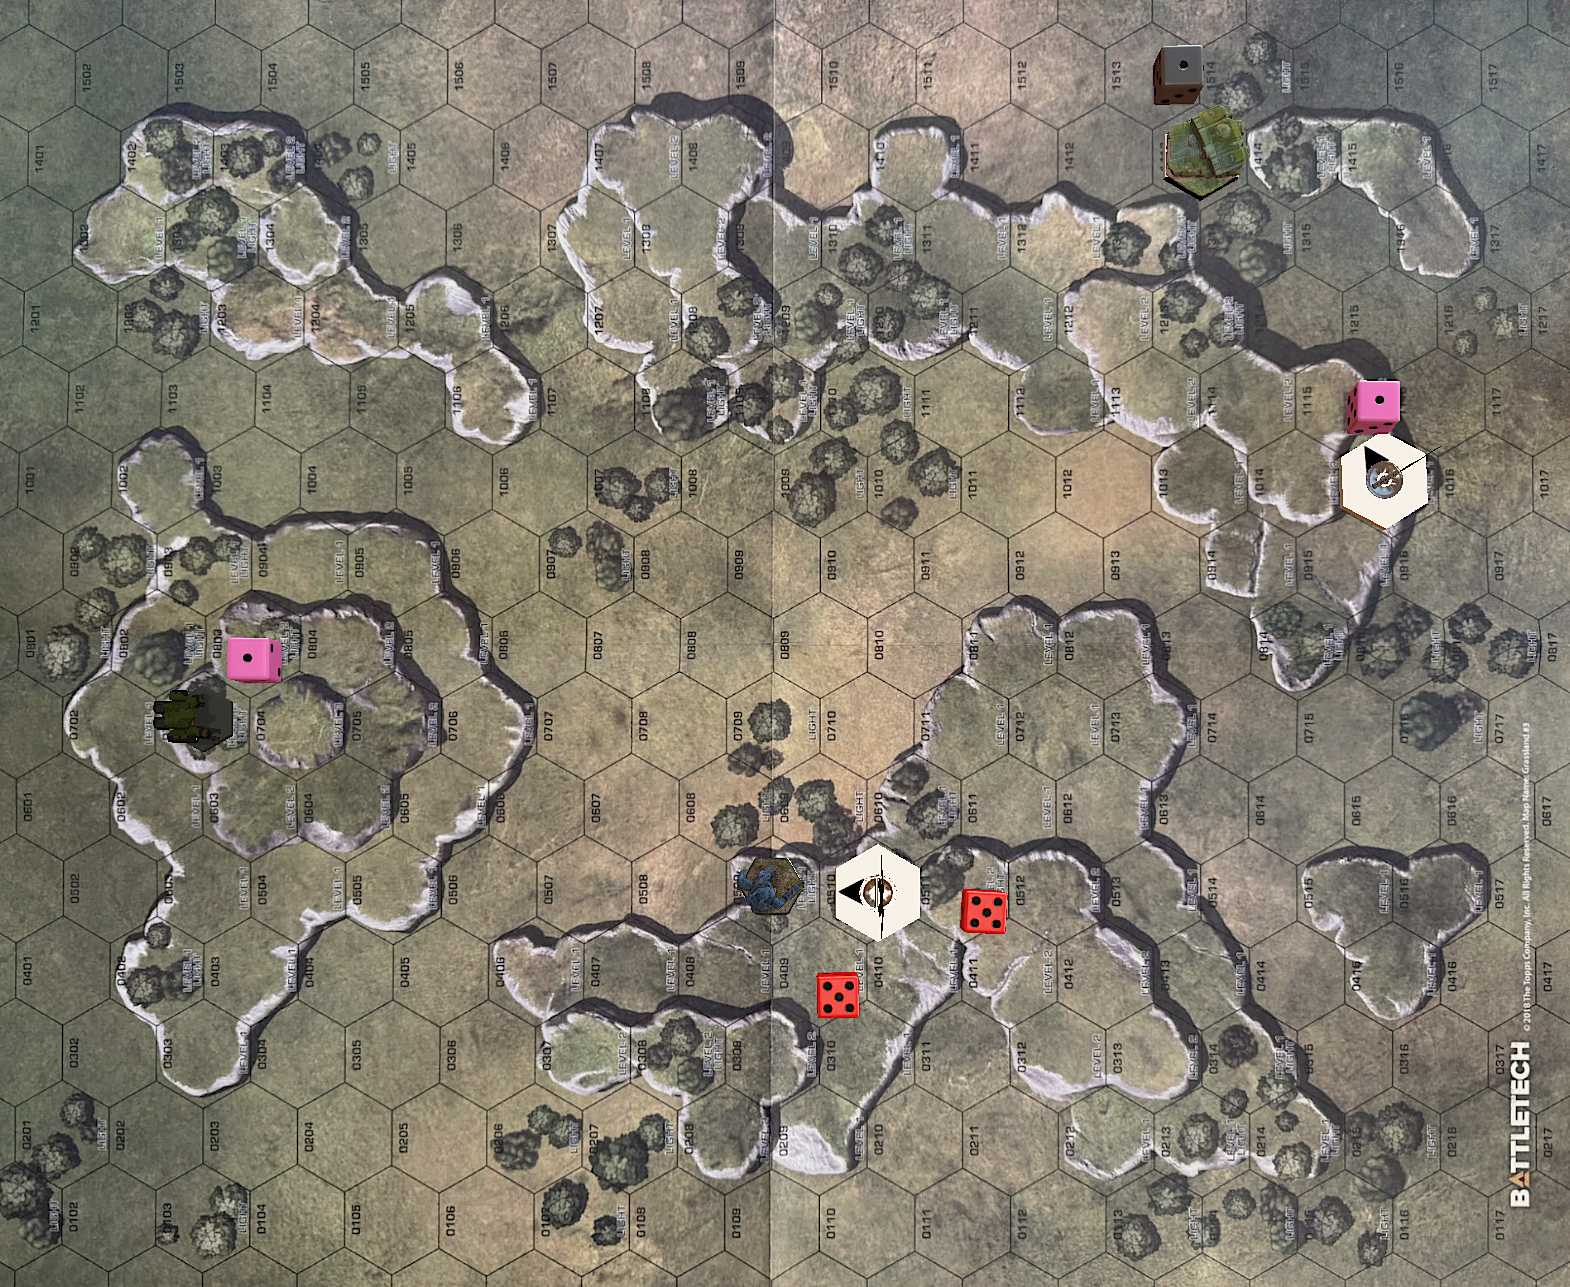
Seeing a chance now to cause some serious damage on the open right torso, the Valkyrie went on the offensive again. Even though the M-Pulse Laser hit, it was not the torso.
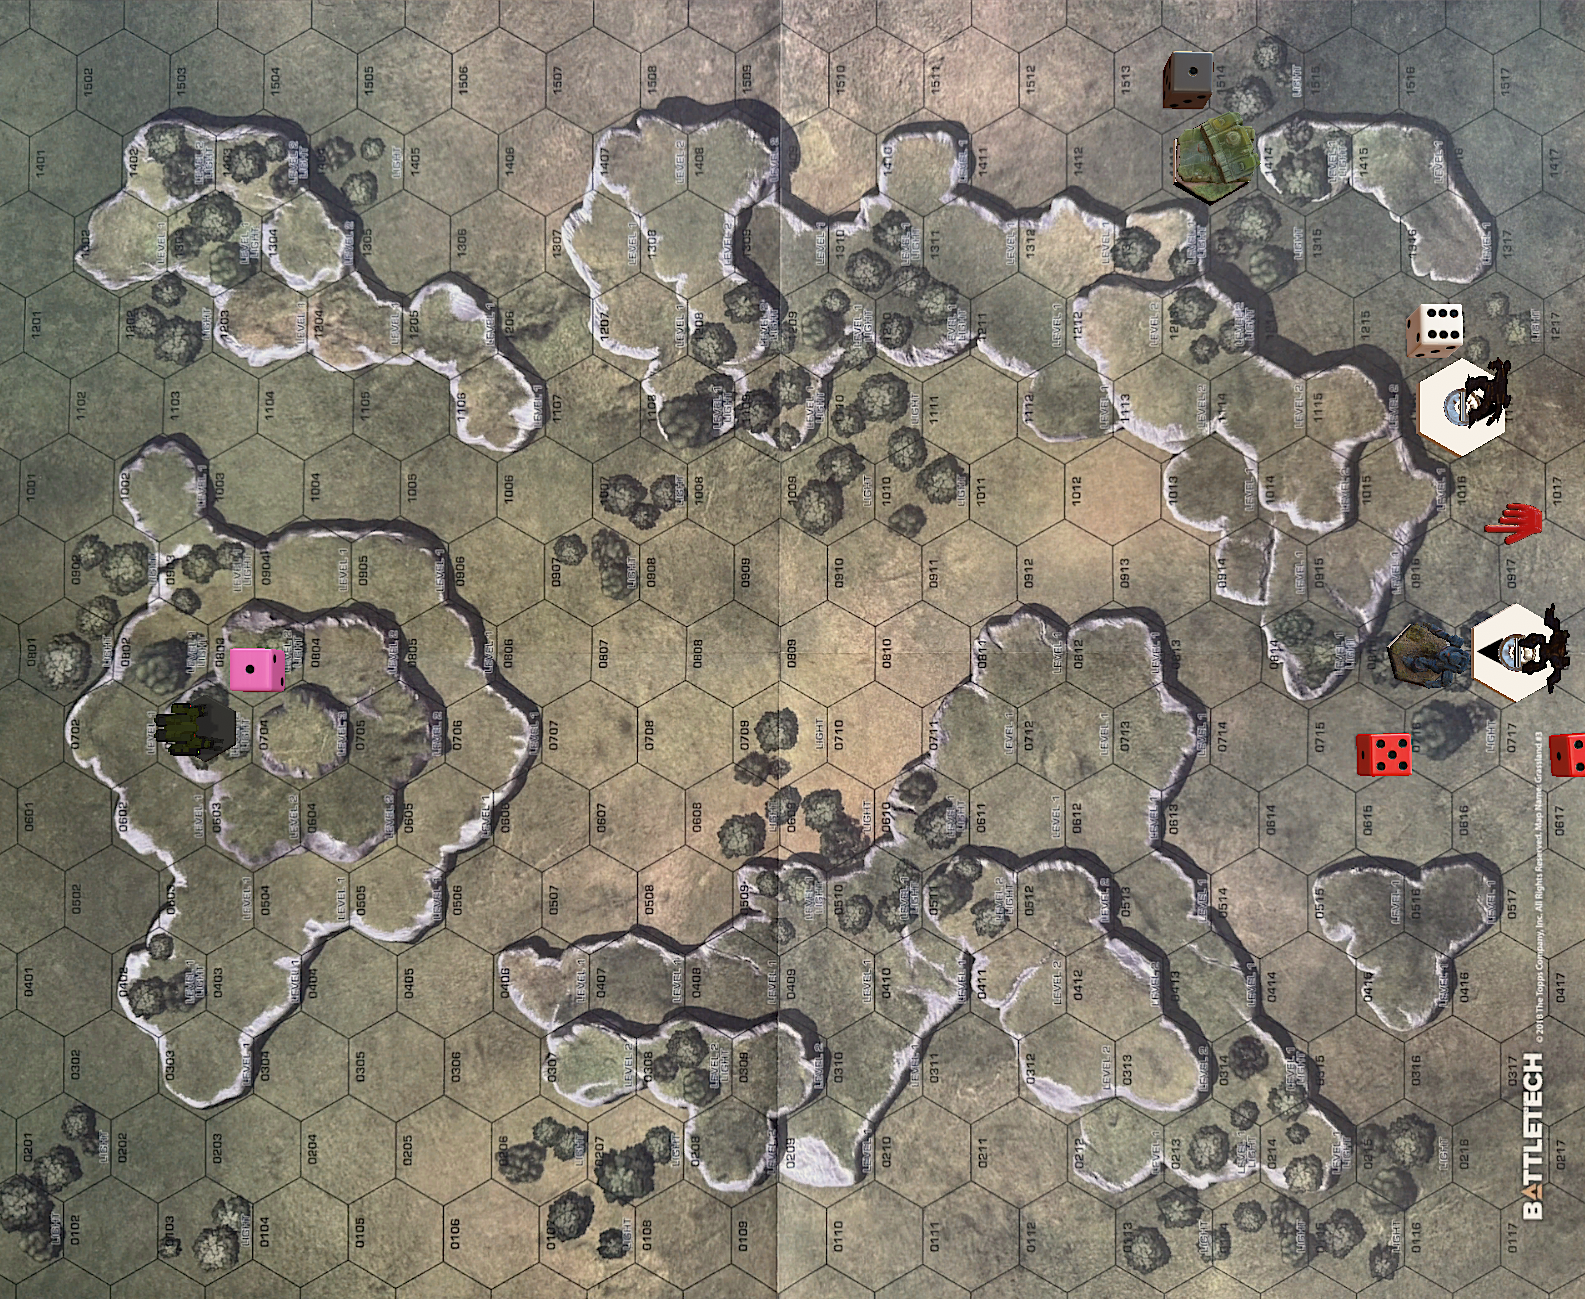
Until the last round, no side was able to disable one of the opposing 'Mechs.
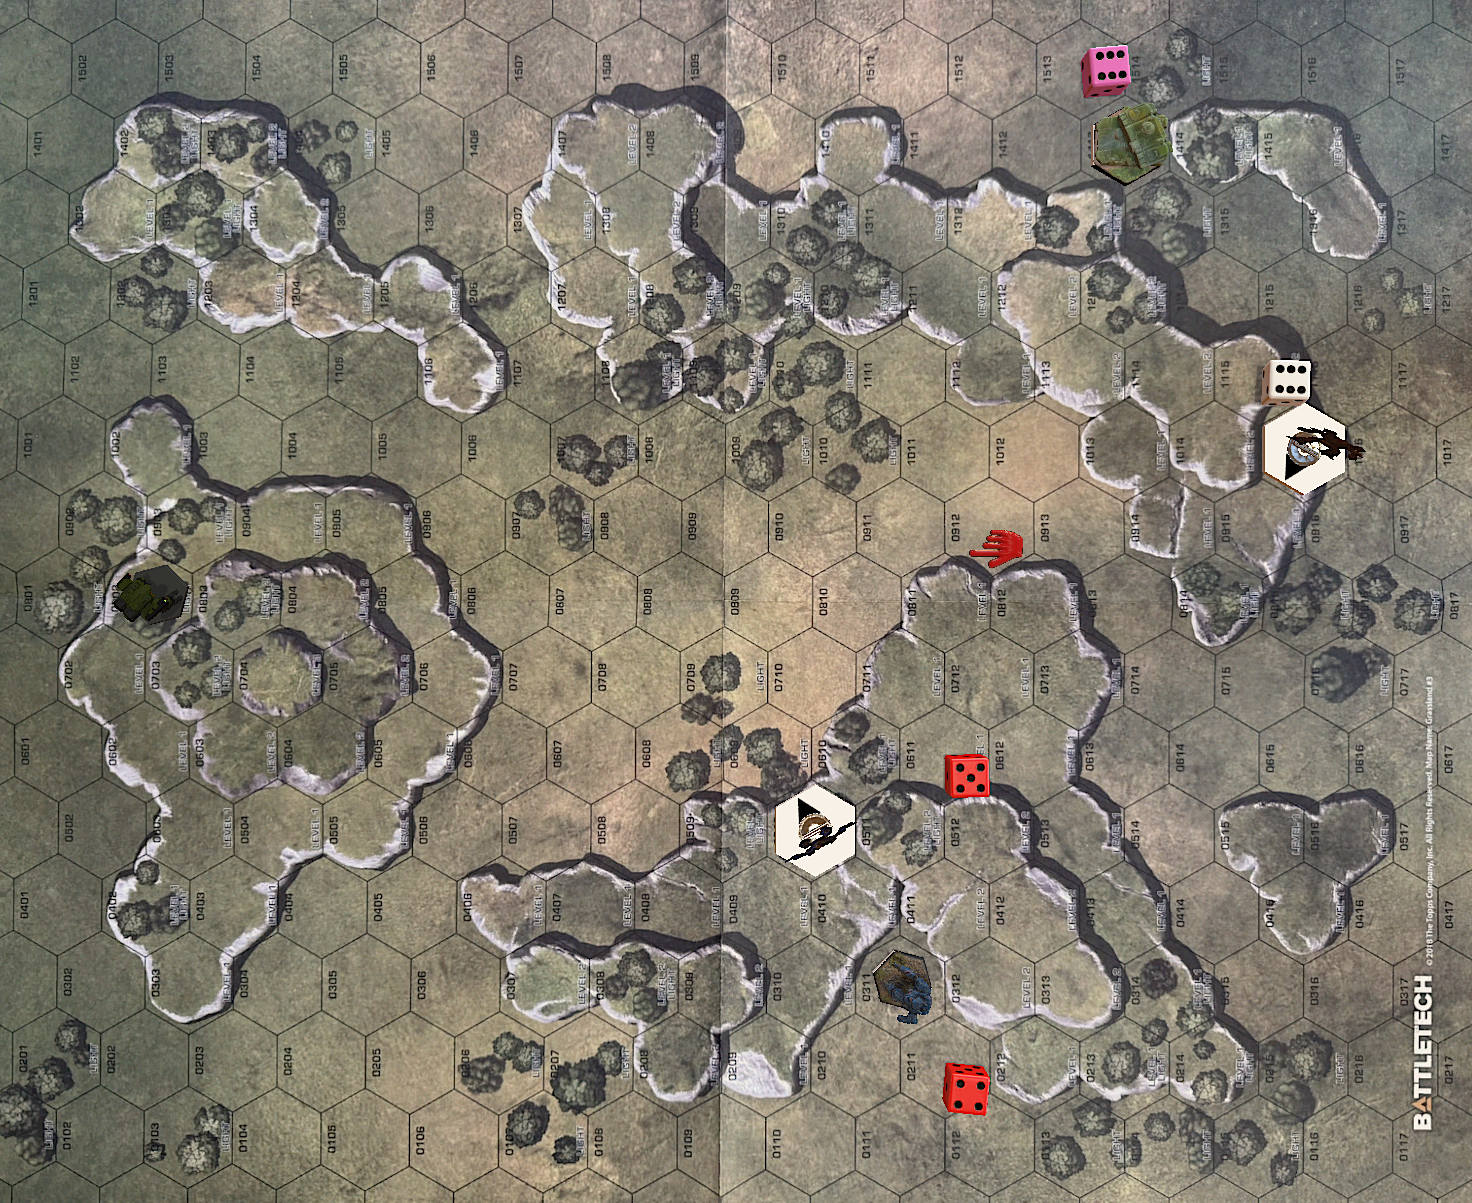
Here are the final stati of the 'Mech sheets.
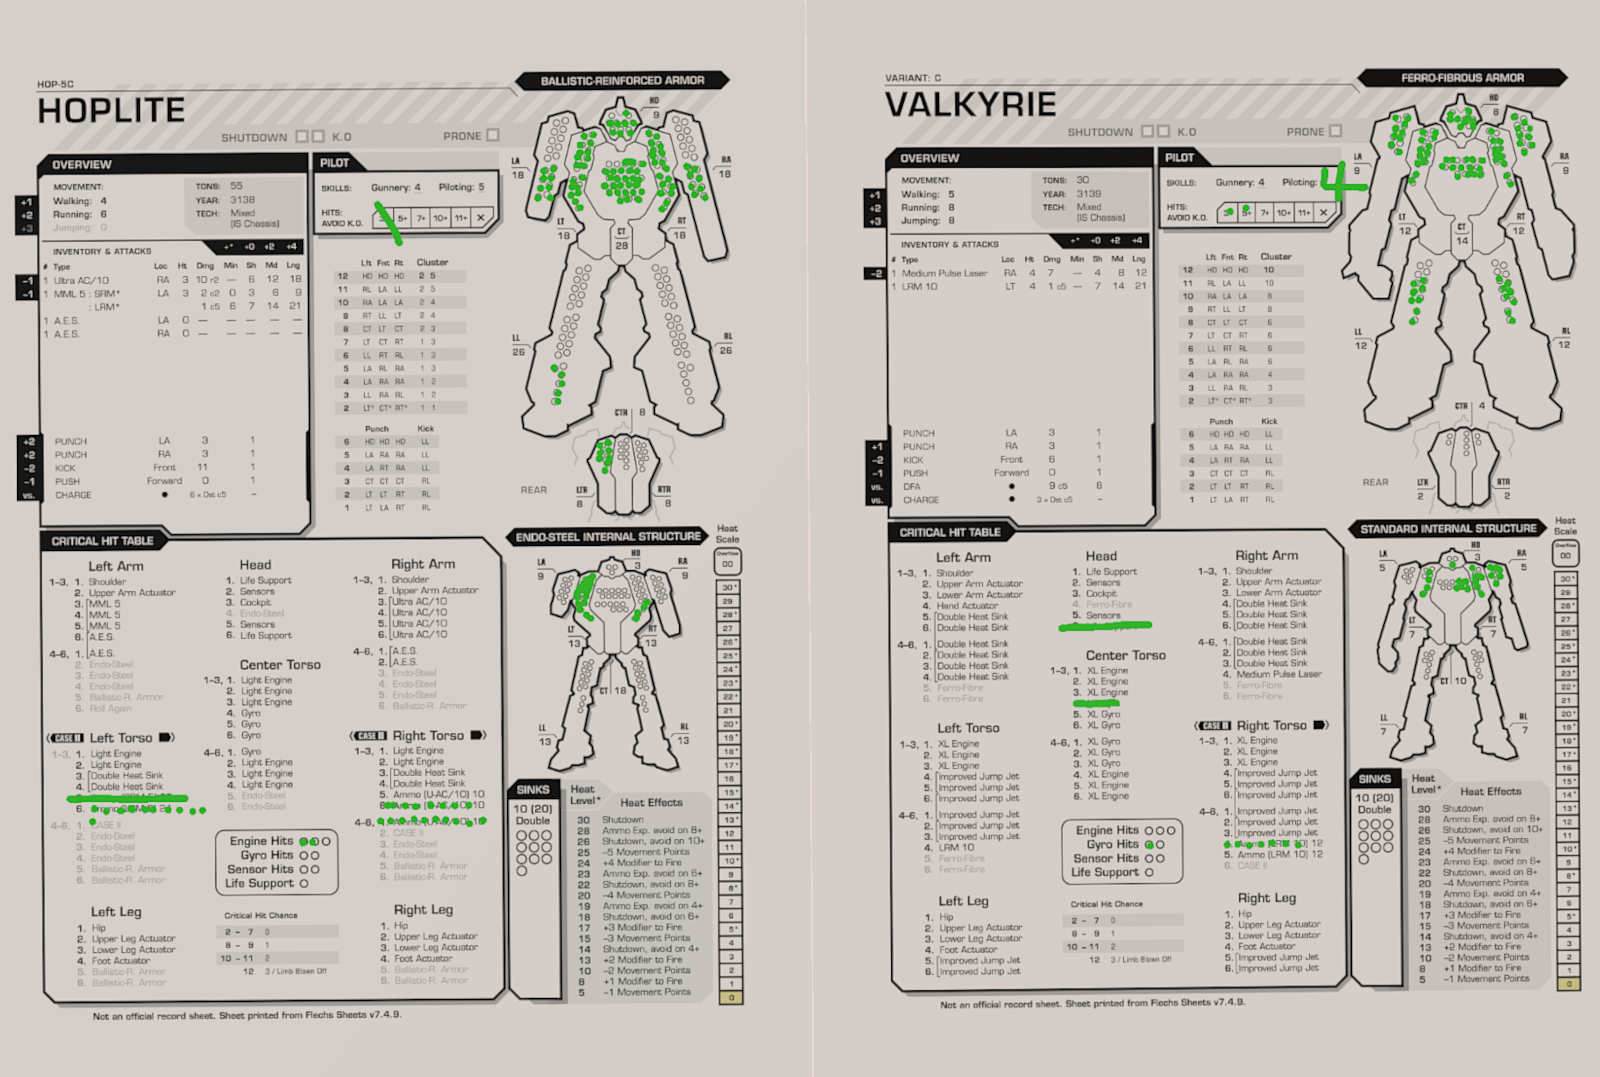
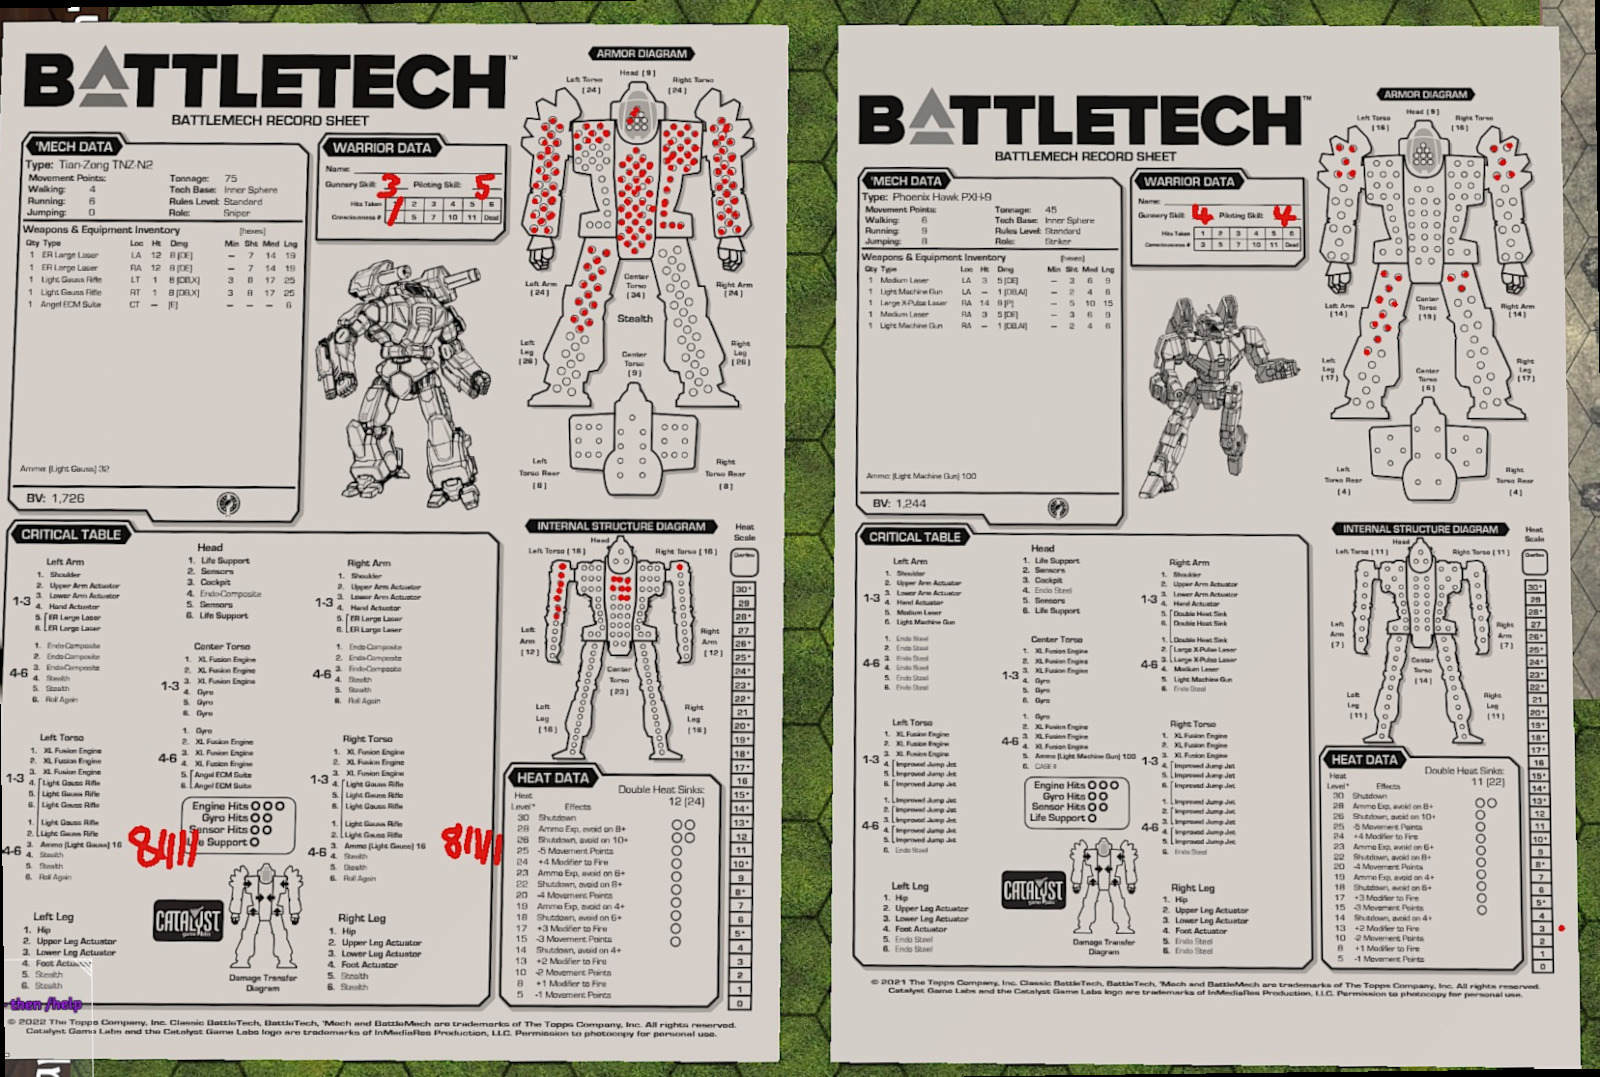
We misinterpreted the victory conditions (you need to destroy or cripple half of the opposition, not destroy), and forgot about crippled 'Mechs having to withdraw, so TTT would have won the game couple turns earlier, probably. Still, it was a tense and enjoyable game for both of us.