
Characters
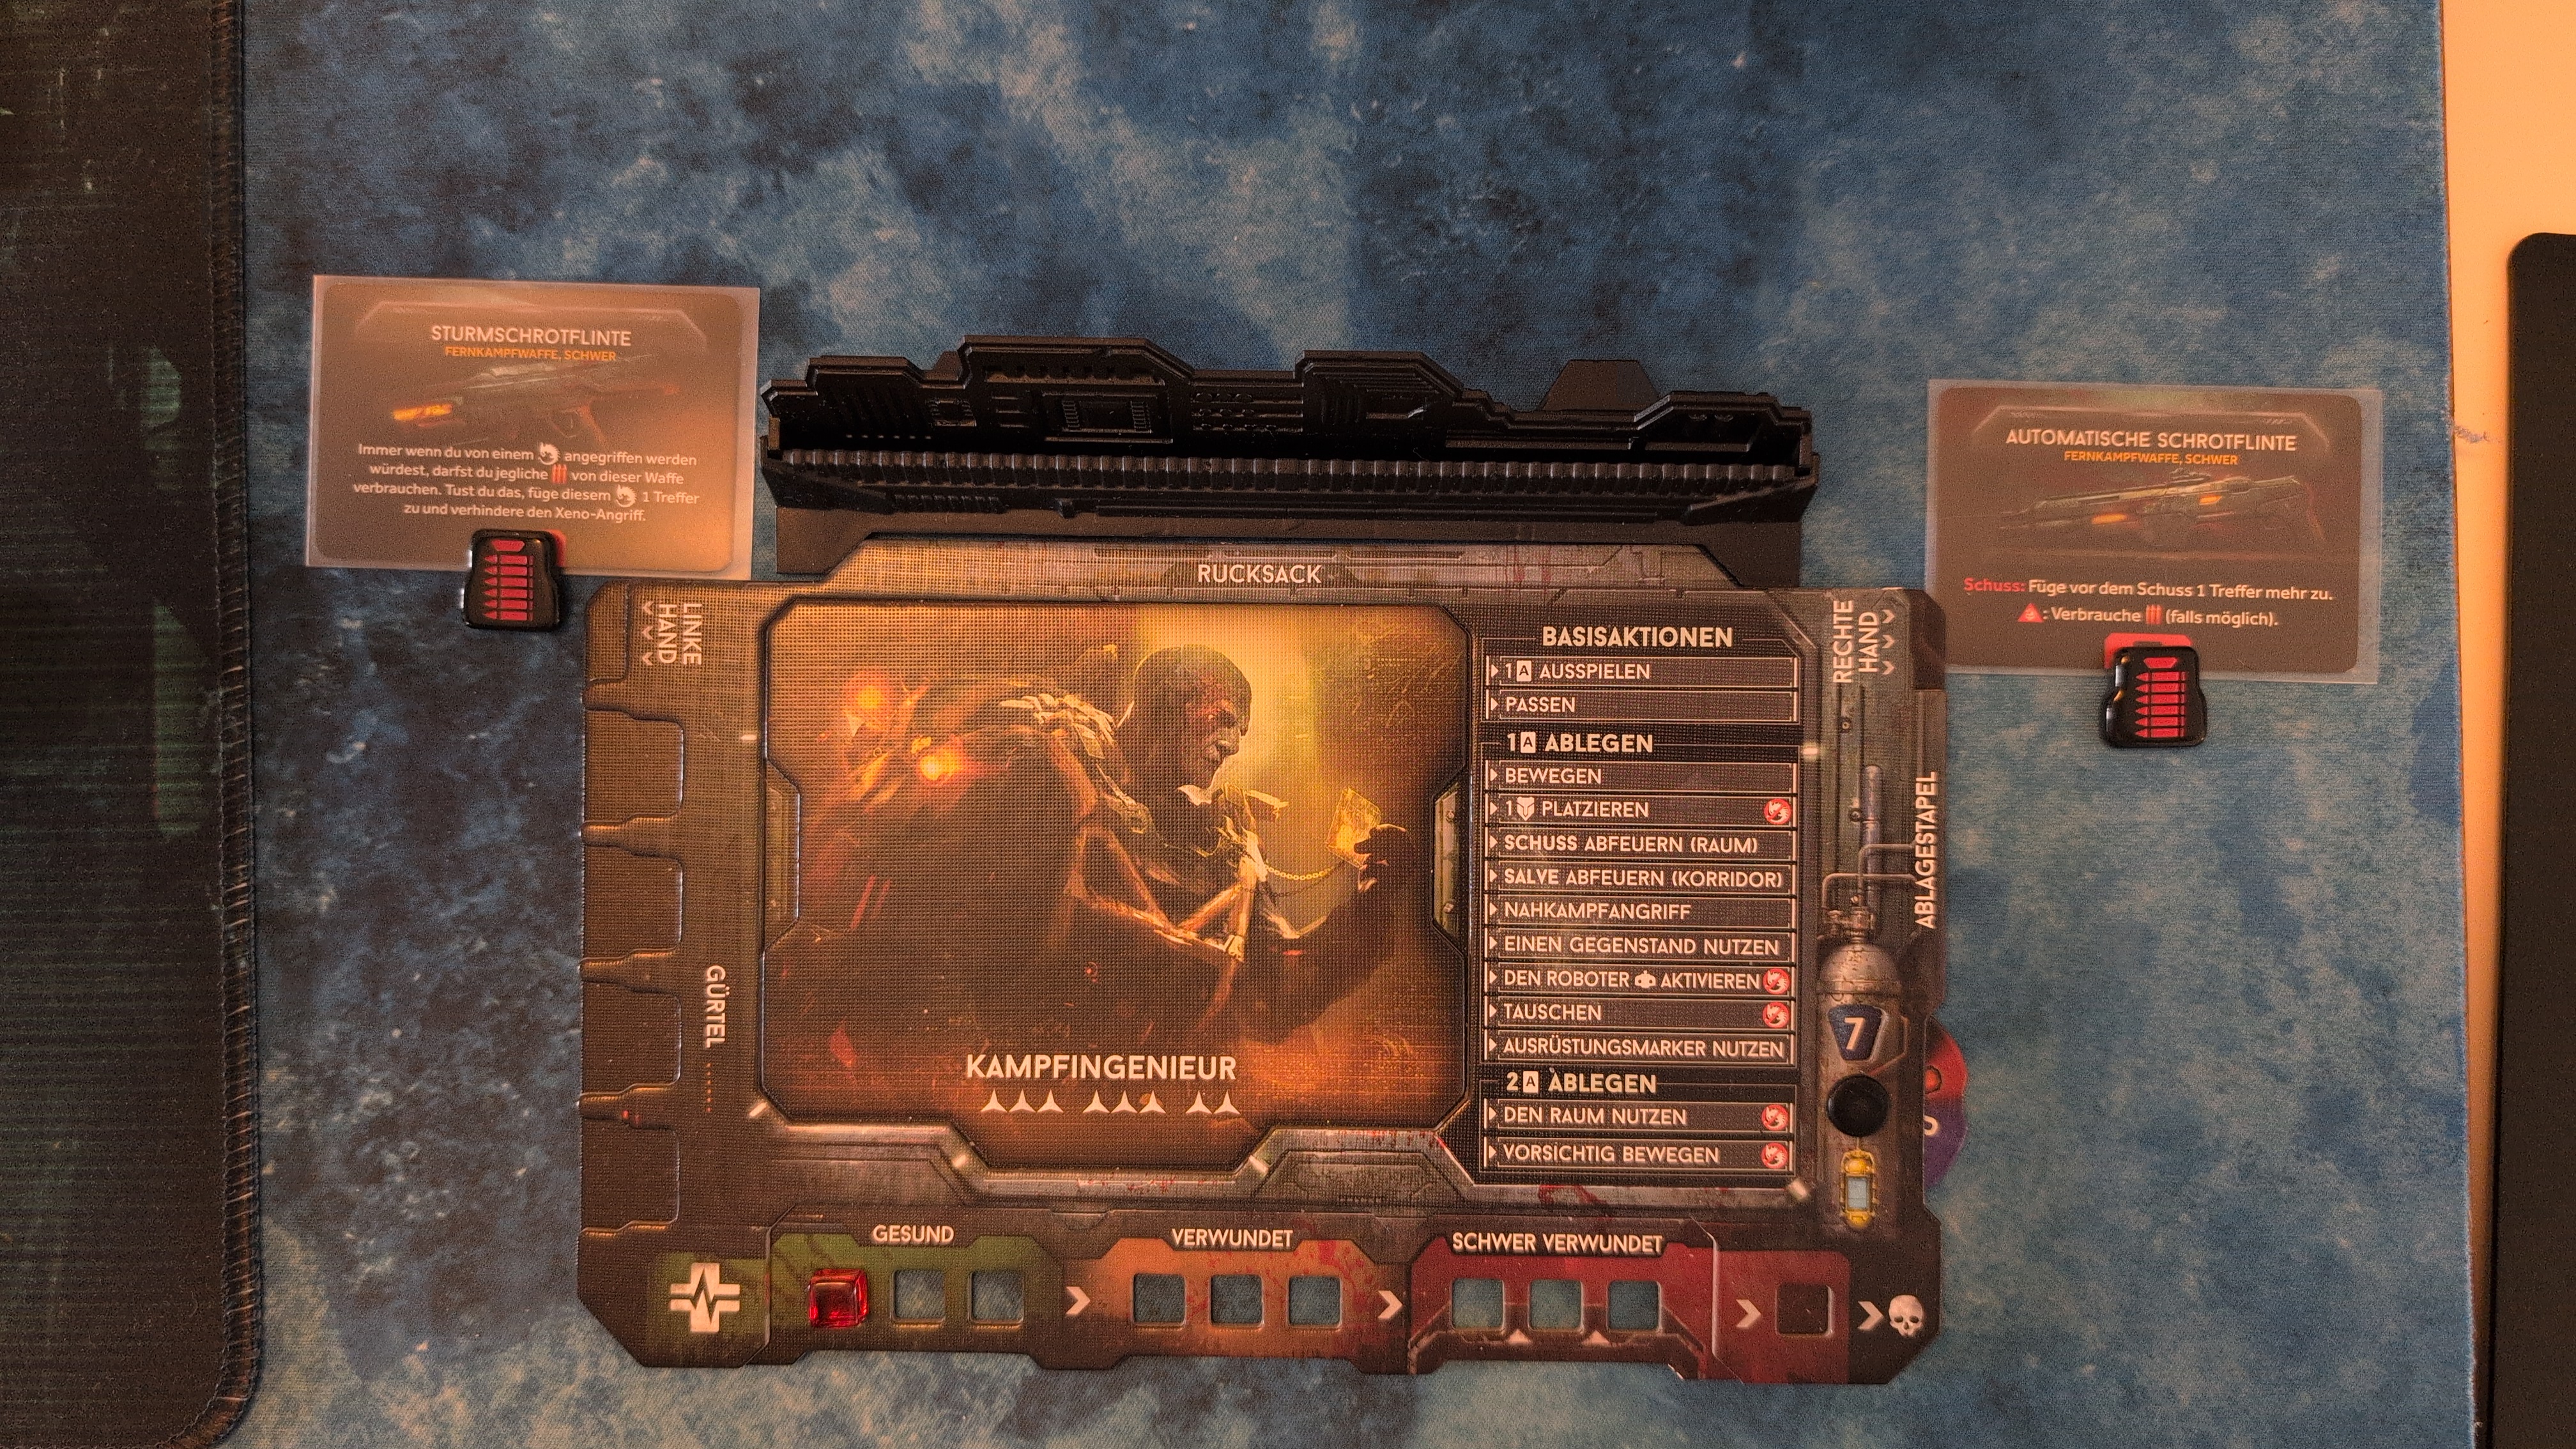
Tii (Player #1) - Combat Engineer
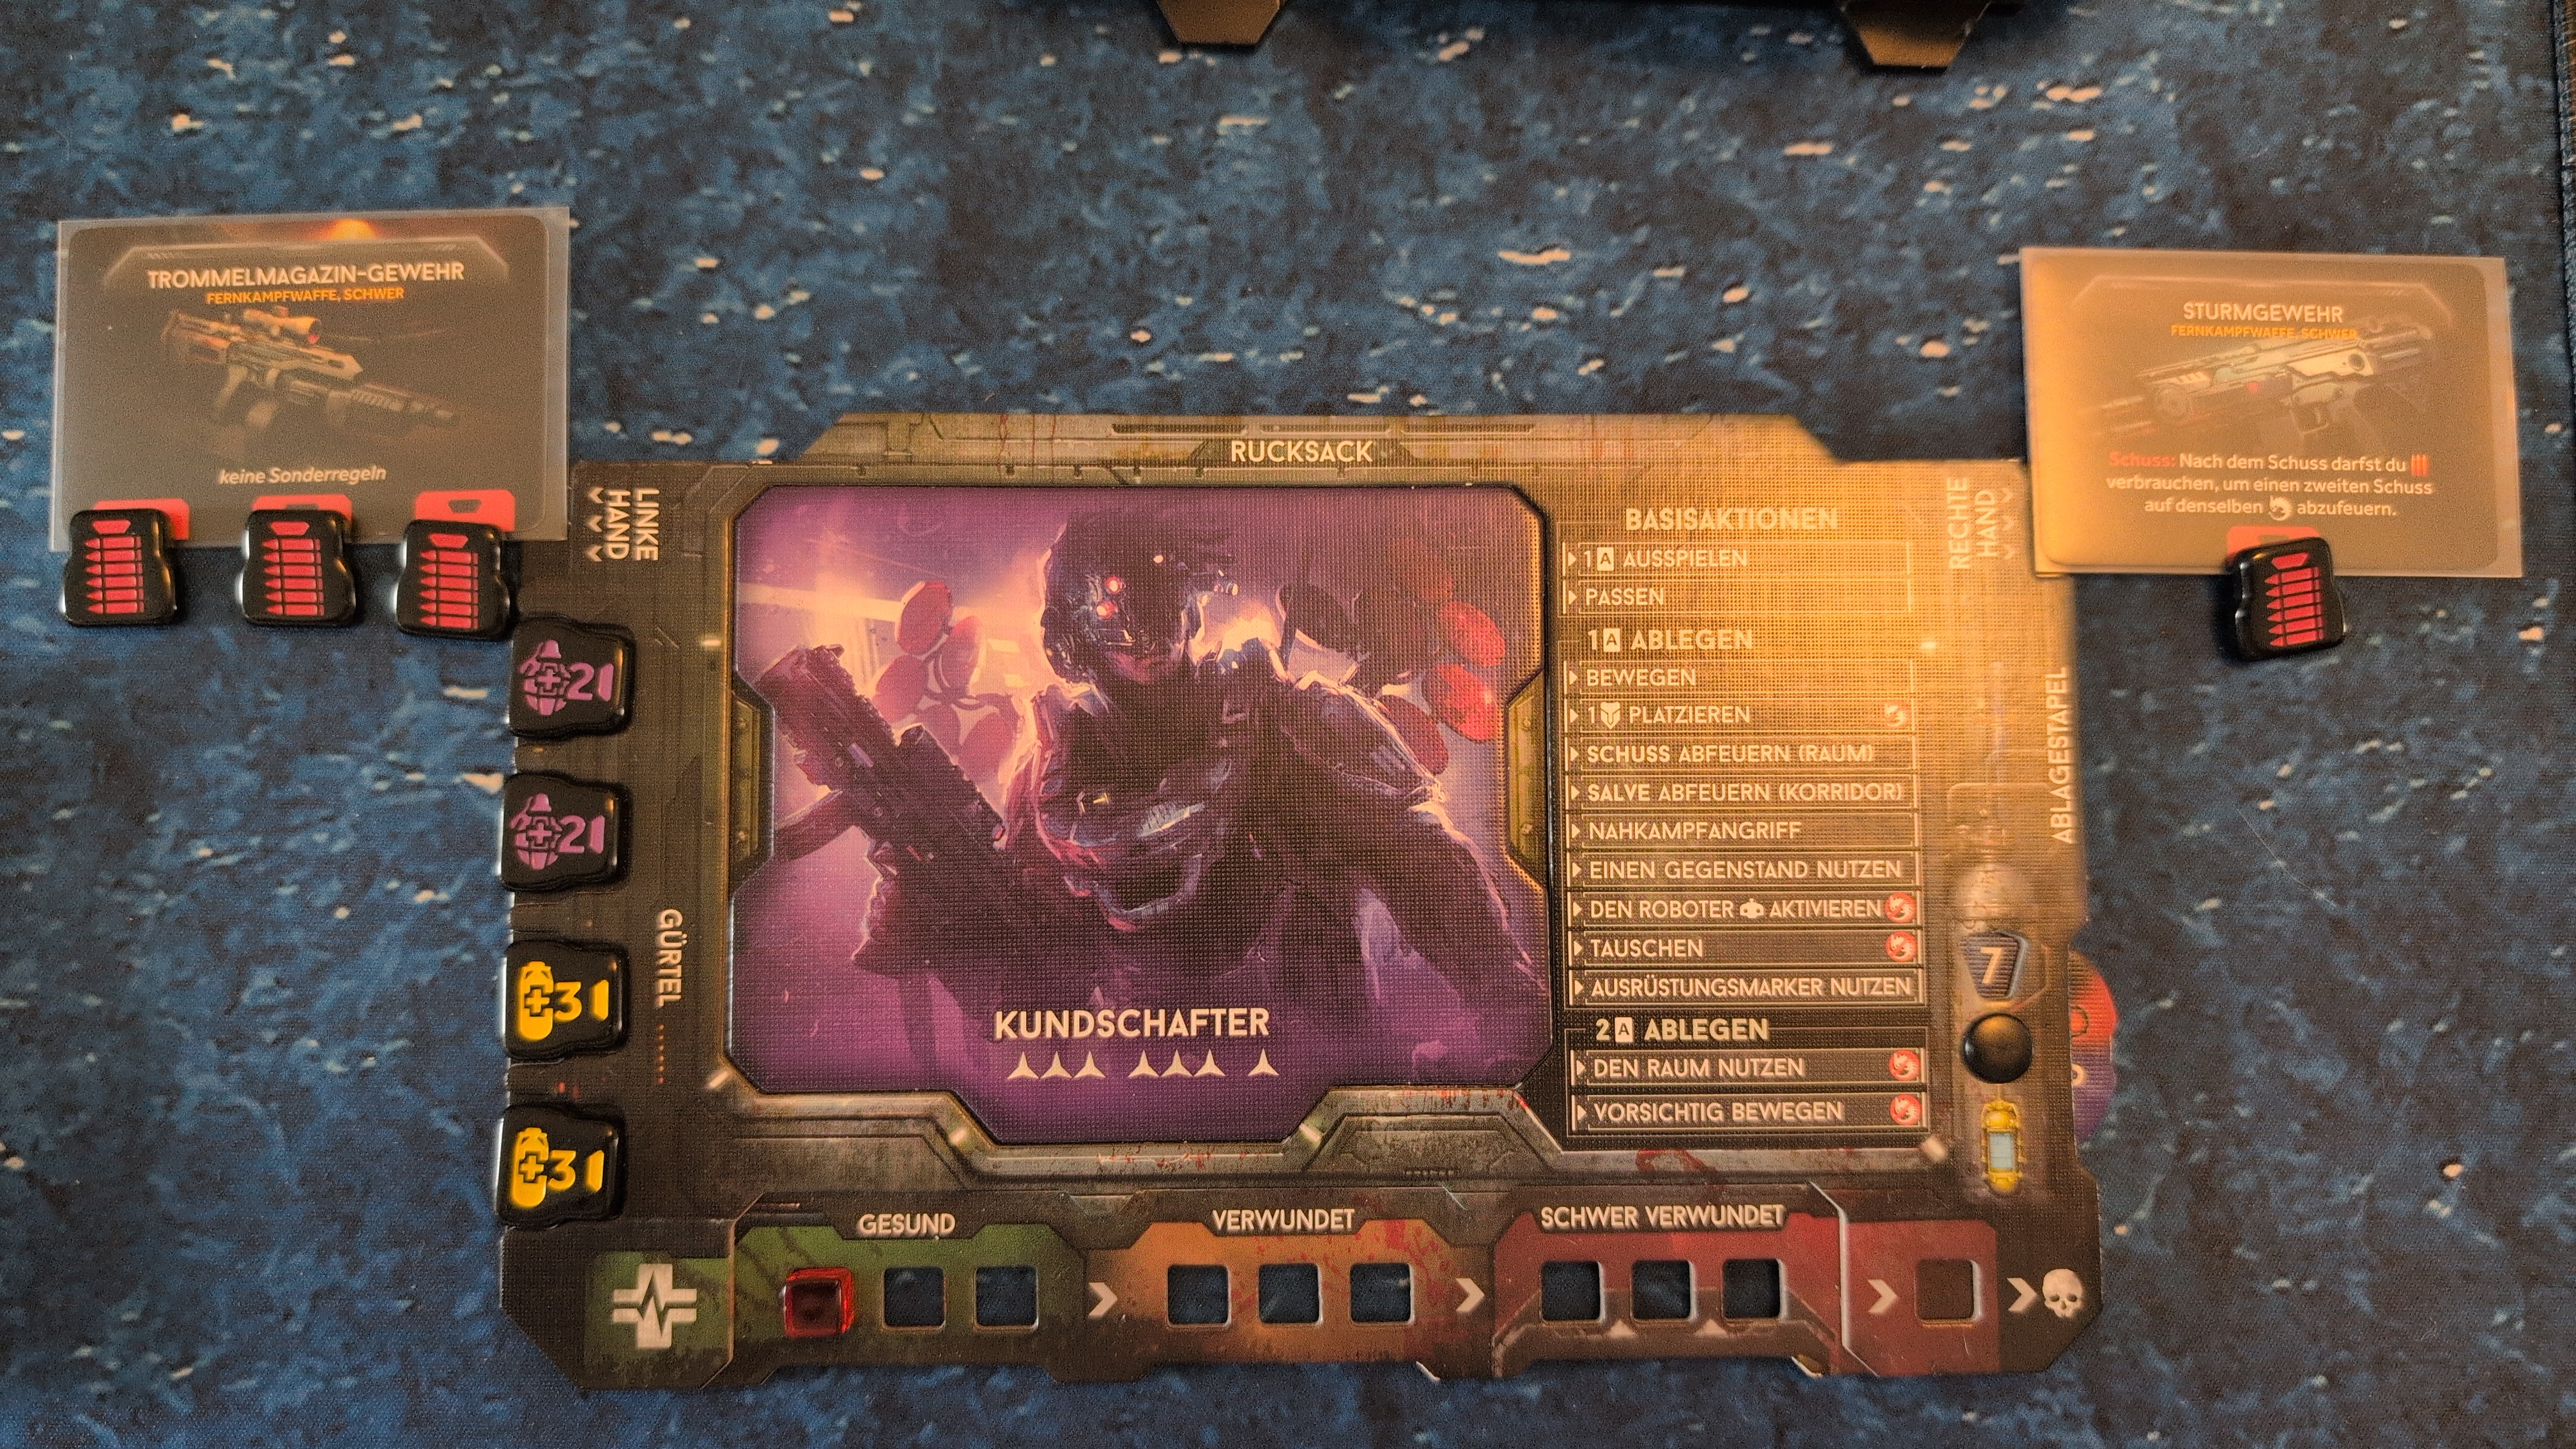
Matthias (Player #2) - Recon Marine
Rules
- base game xenomorphs
- Untold Stories #4
- It is only in the comic story line, not in the yellow rules box, but according to the comic strip, the life support in Sector A is working. We went by the comic strip and played it like that.
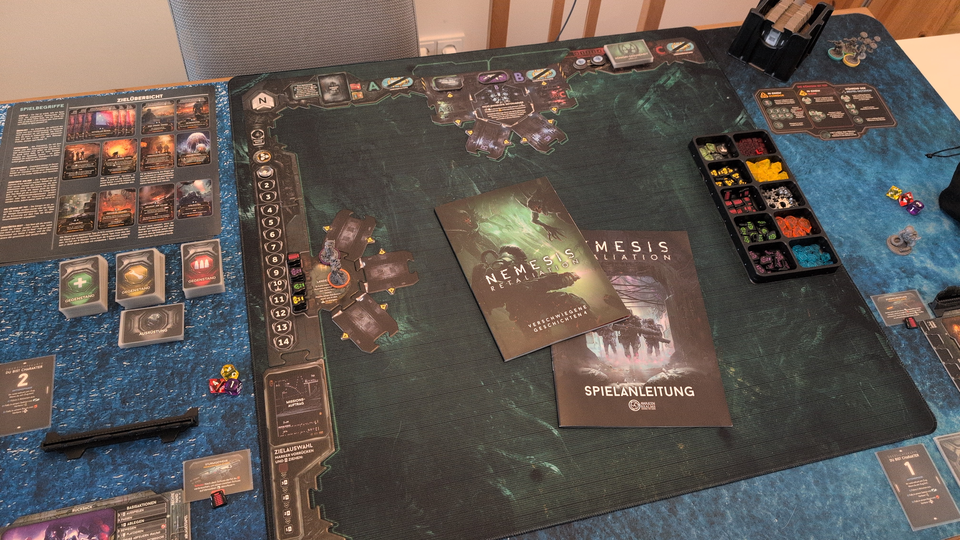
AAR – UNN Communications Research Station Anubis
Turn 1
[ ] Mission Objective
Locate the Command Center
Turn 1 – Phase 1
The combat engineer started to enter the base, by moving cautiously, thus placing a secure token in the drilling station. That was a wise choice, as his noise move immediately attracted a xeno (explaining what the reason for the station going dark is…), but the combat engineer was spared from the attack by the secure token he just had placed. In addition, two more xenos appeared in the corridor he just had passed.
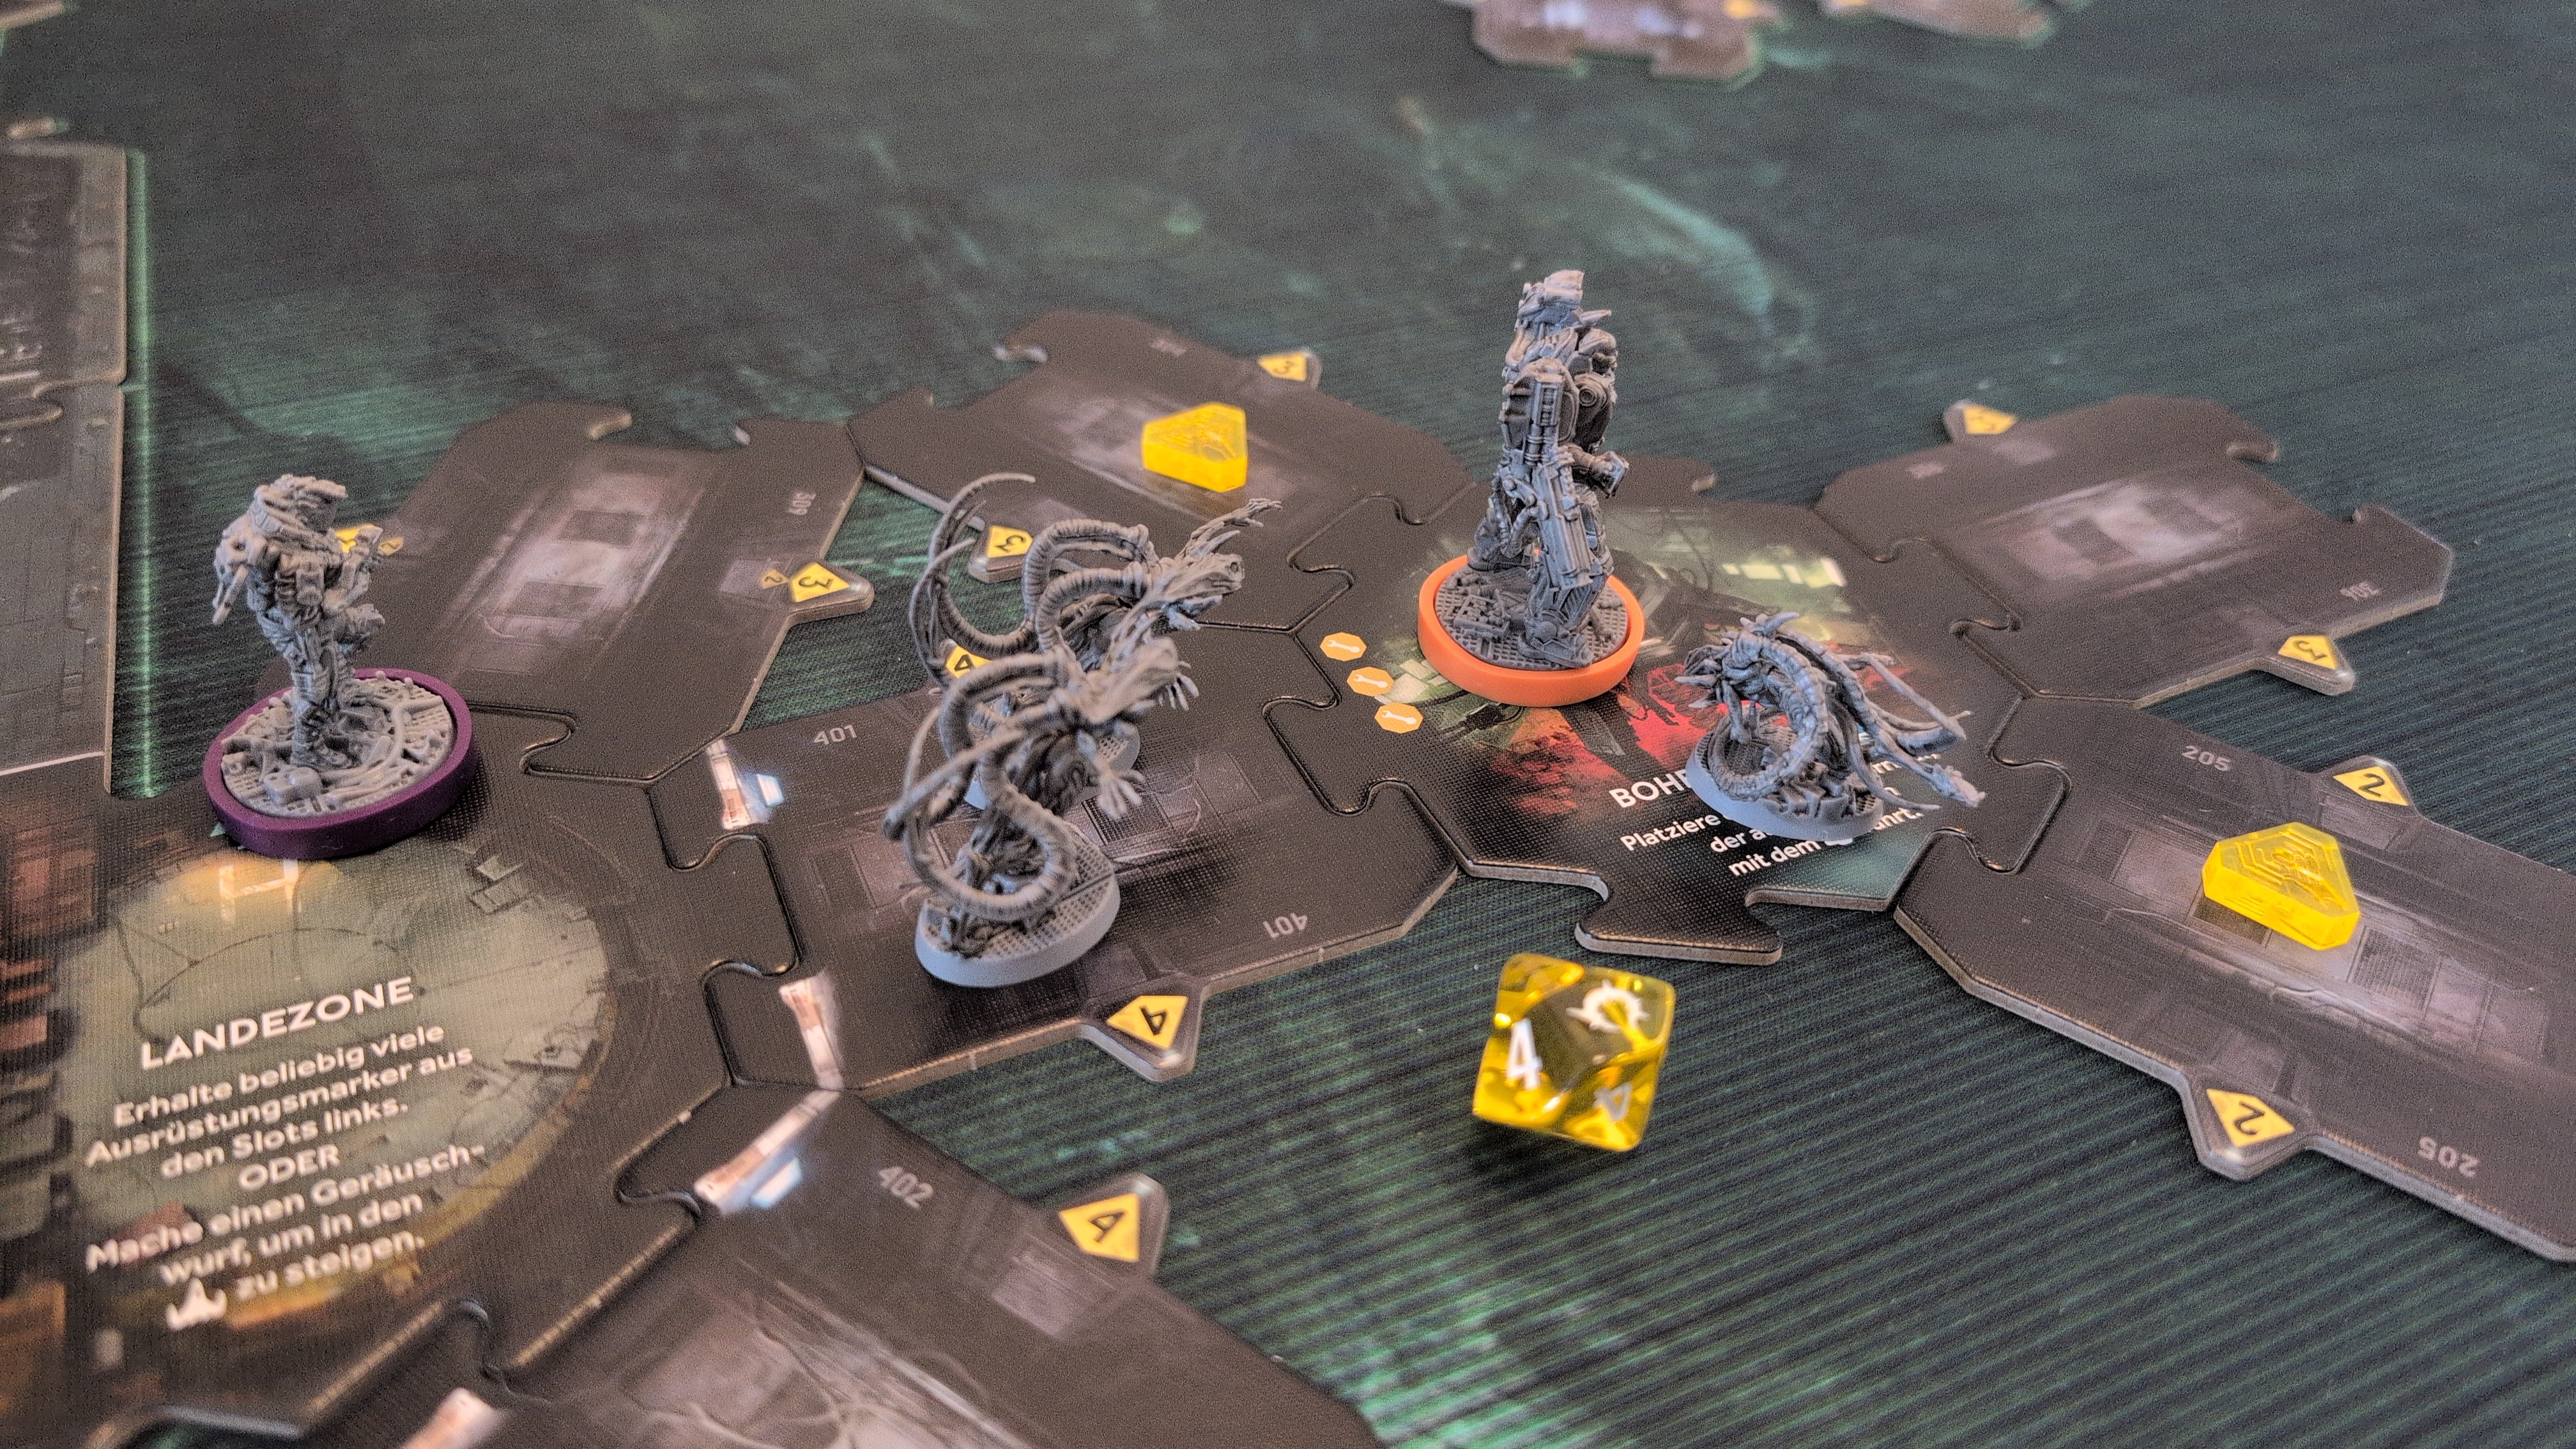
With his second action, the combat engineer placed a round right into the head of the xeno, exploding it – the head, that is, not the complete xenomorph.
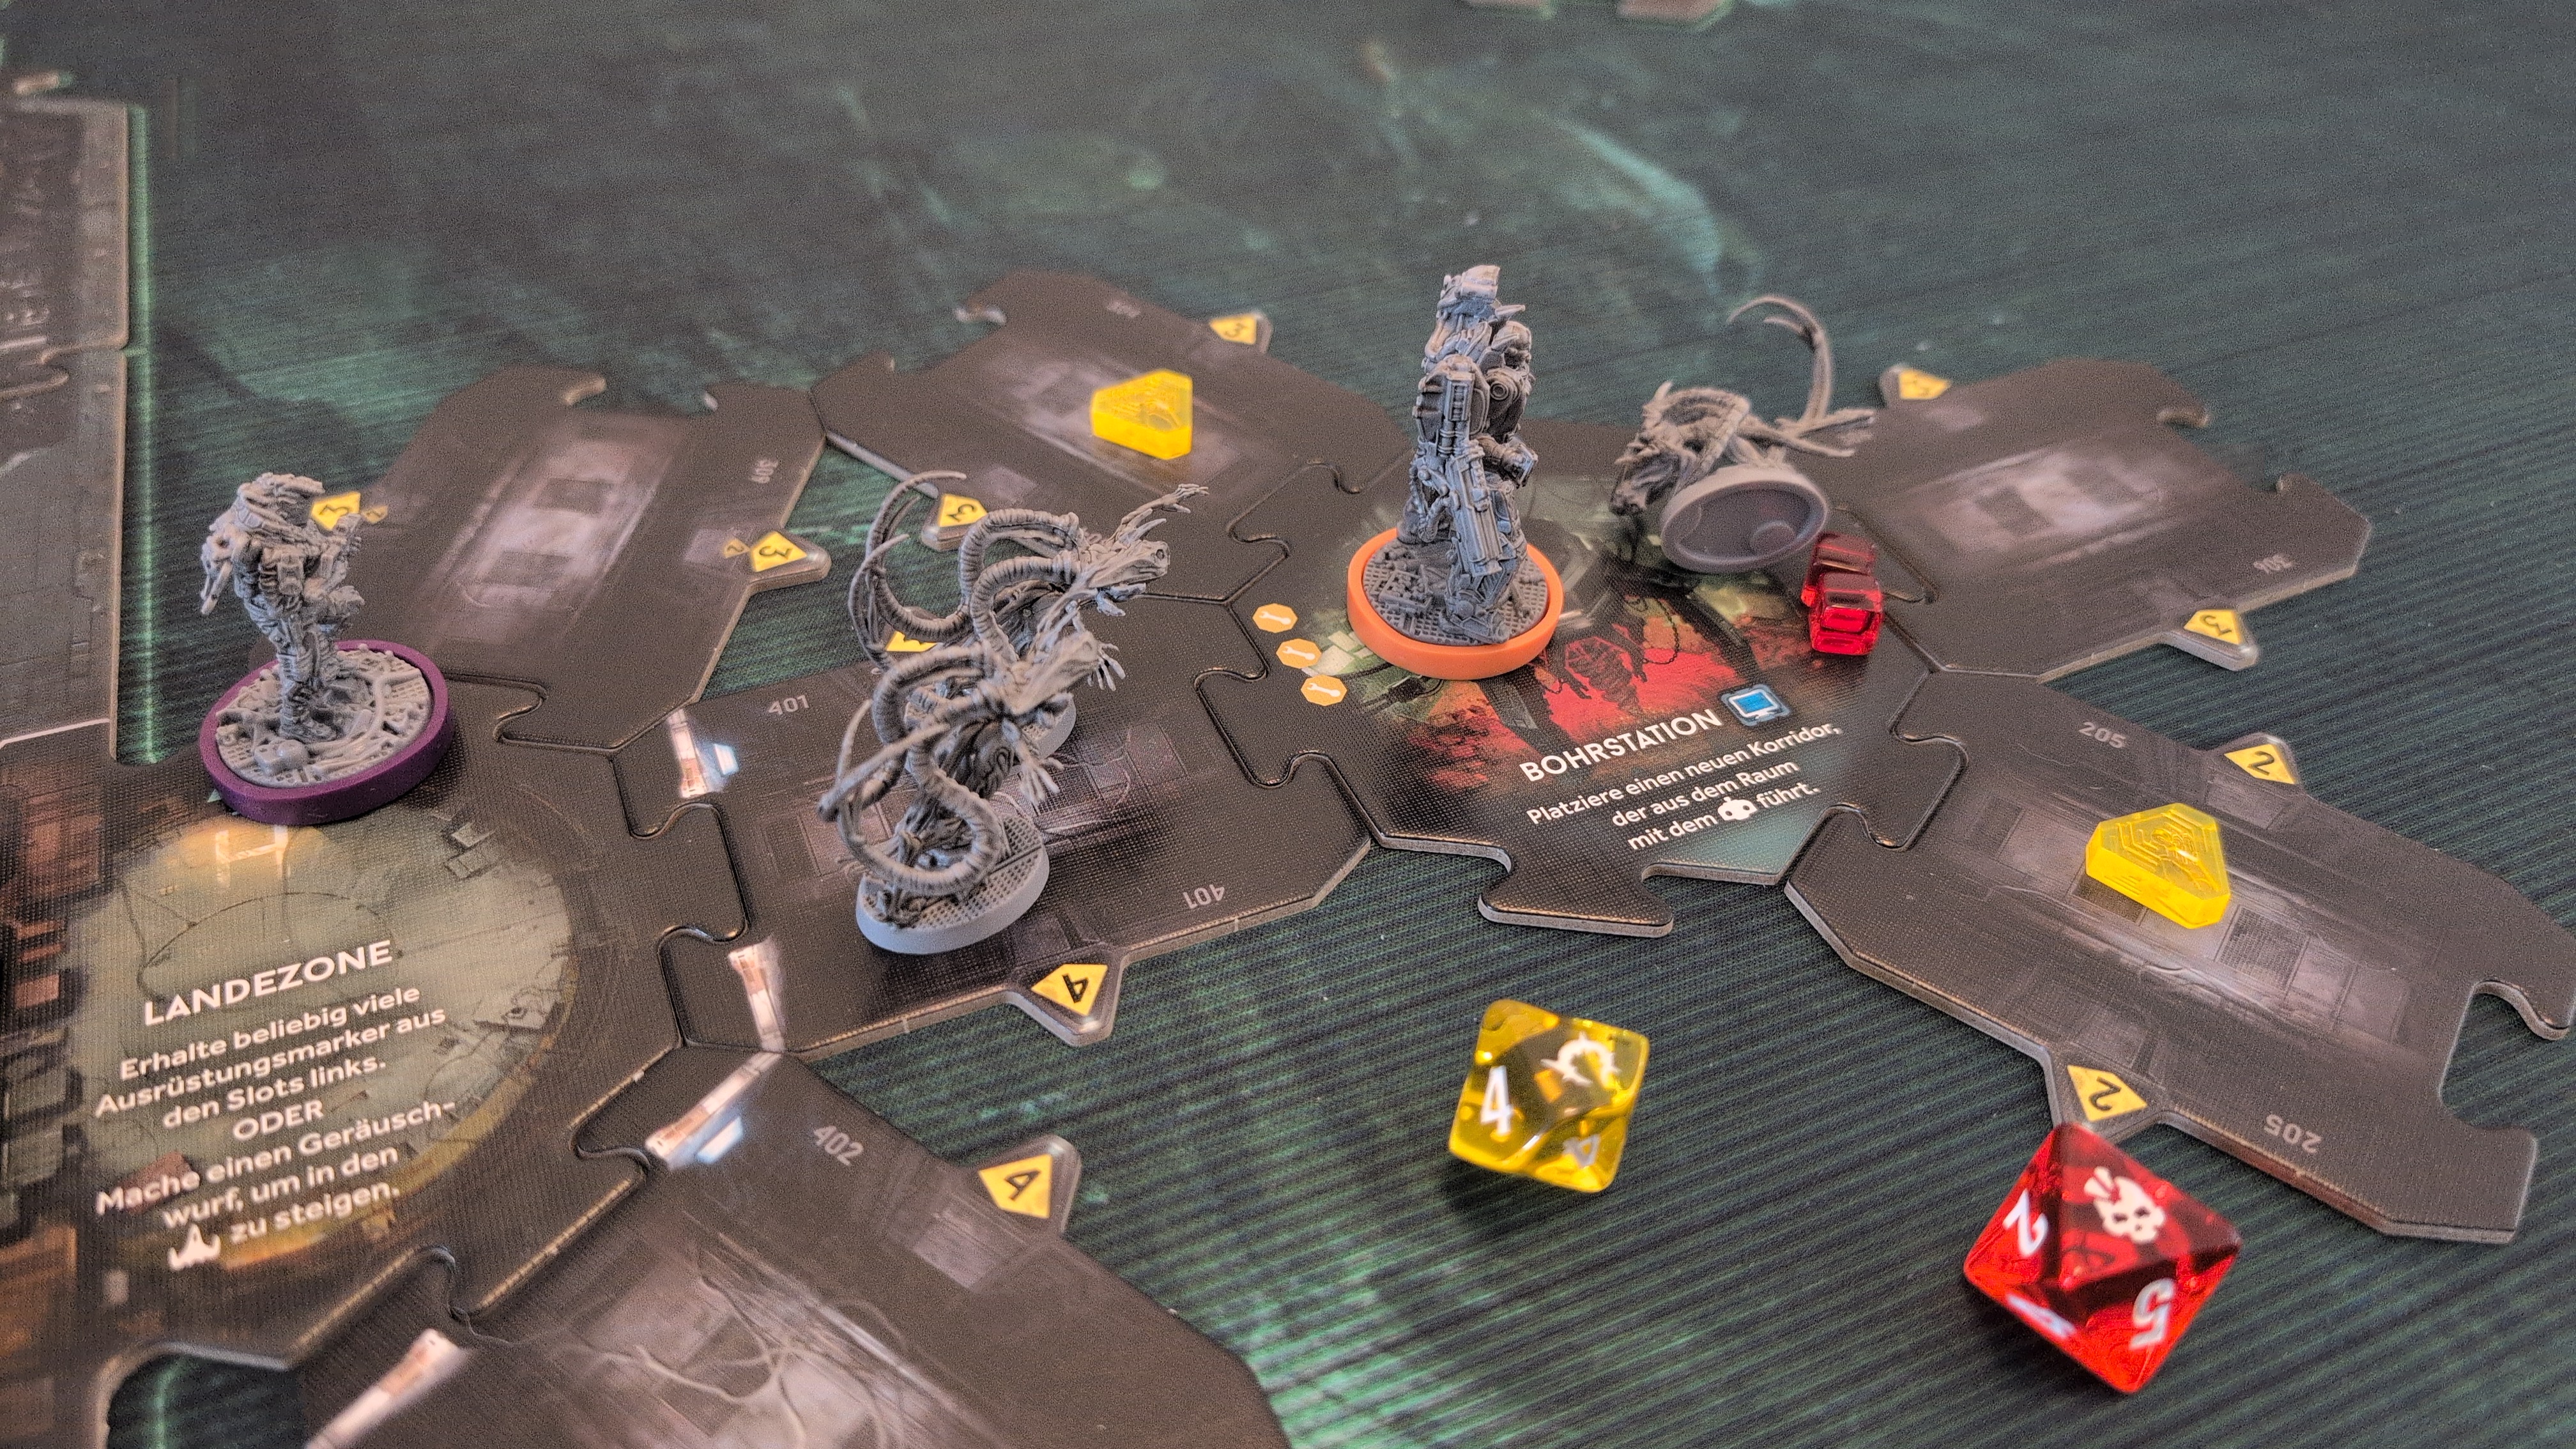
"Taking Aim", the recon marine gunned down the two xenos in the corridor. He then secured the corridor leading to the drilling station.
Turn 1 – Phase 2
The combat engineer re-armed himself with a grenade from his "Explosive Charge" action card, then placed a secure token in the drilling station.
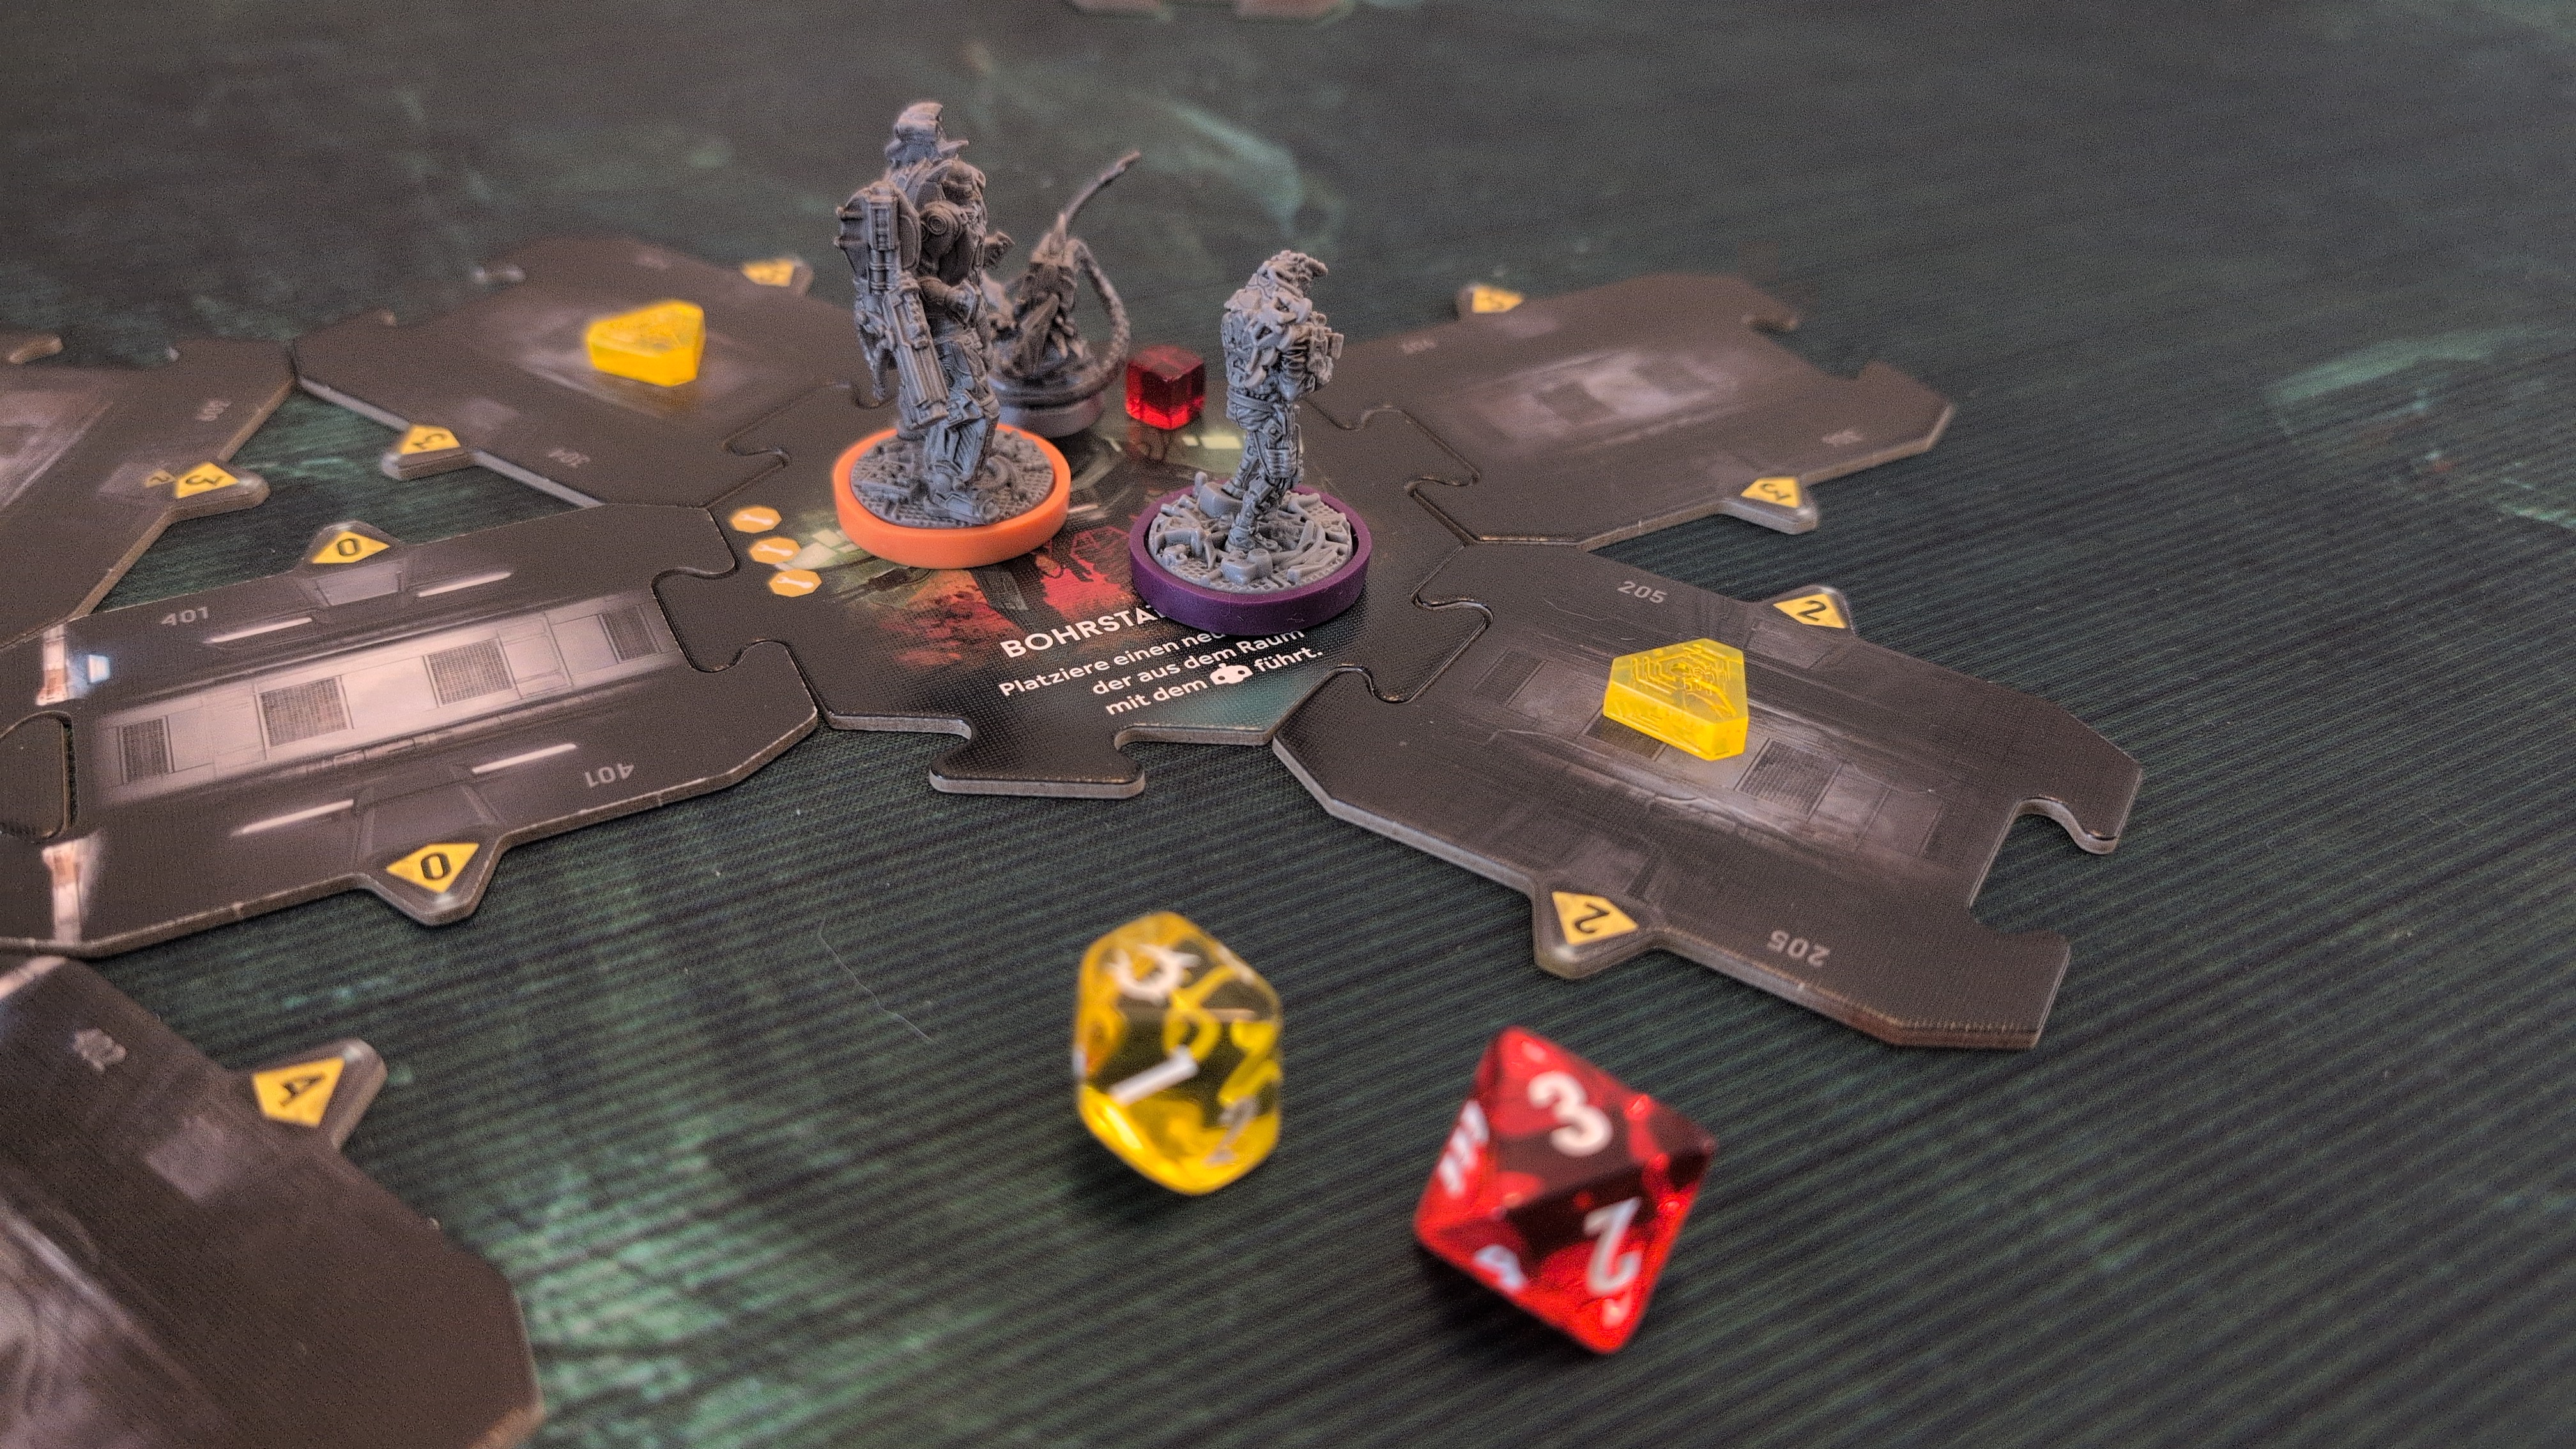
The recon marine then planned to sprint through the drilling station into the next room, but his noise roll when entering the drilling station made another xeno appear. The attack was prevented by the secure token the combat engineer had just placed, but to continue the initial plan and move on would have provoked another attack by the xeno. Therefore the recon marine adapted his plan, and instead opened fire on the xeno, but missed.
Turn 1 – Phase 3
The combat engineer did not have any more cards and had to pass.
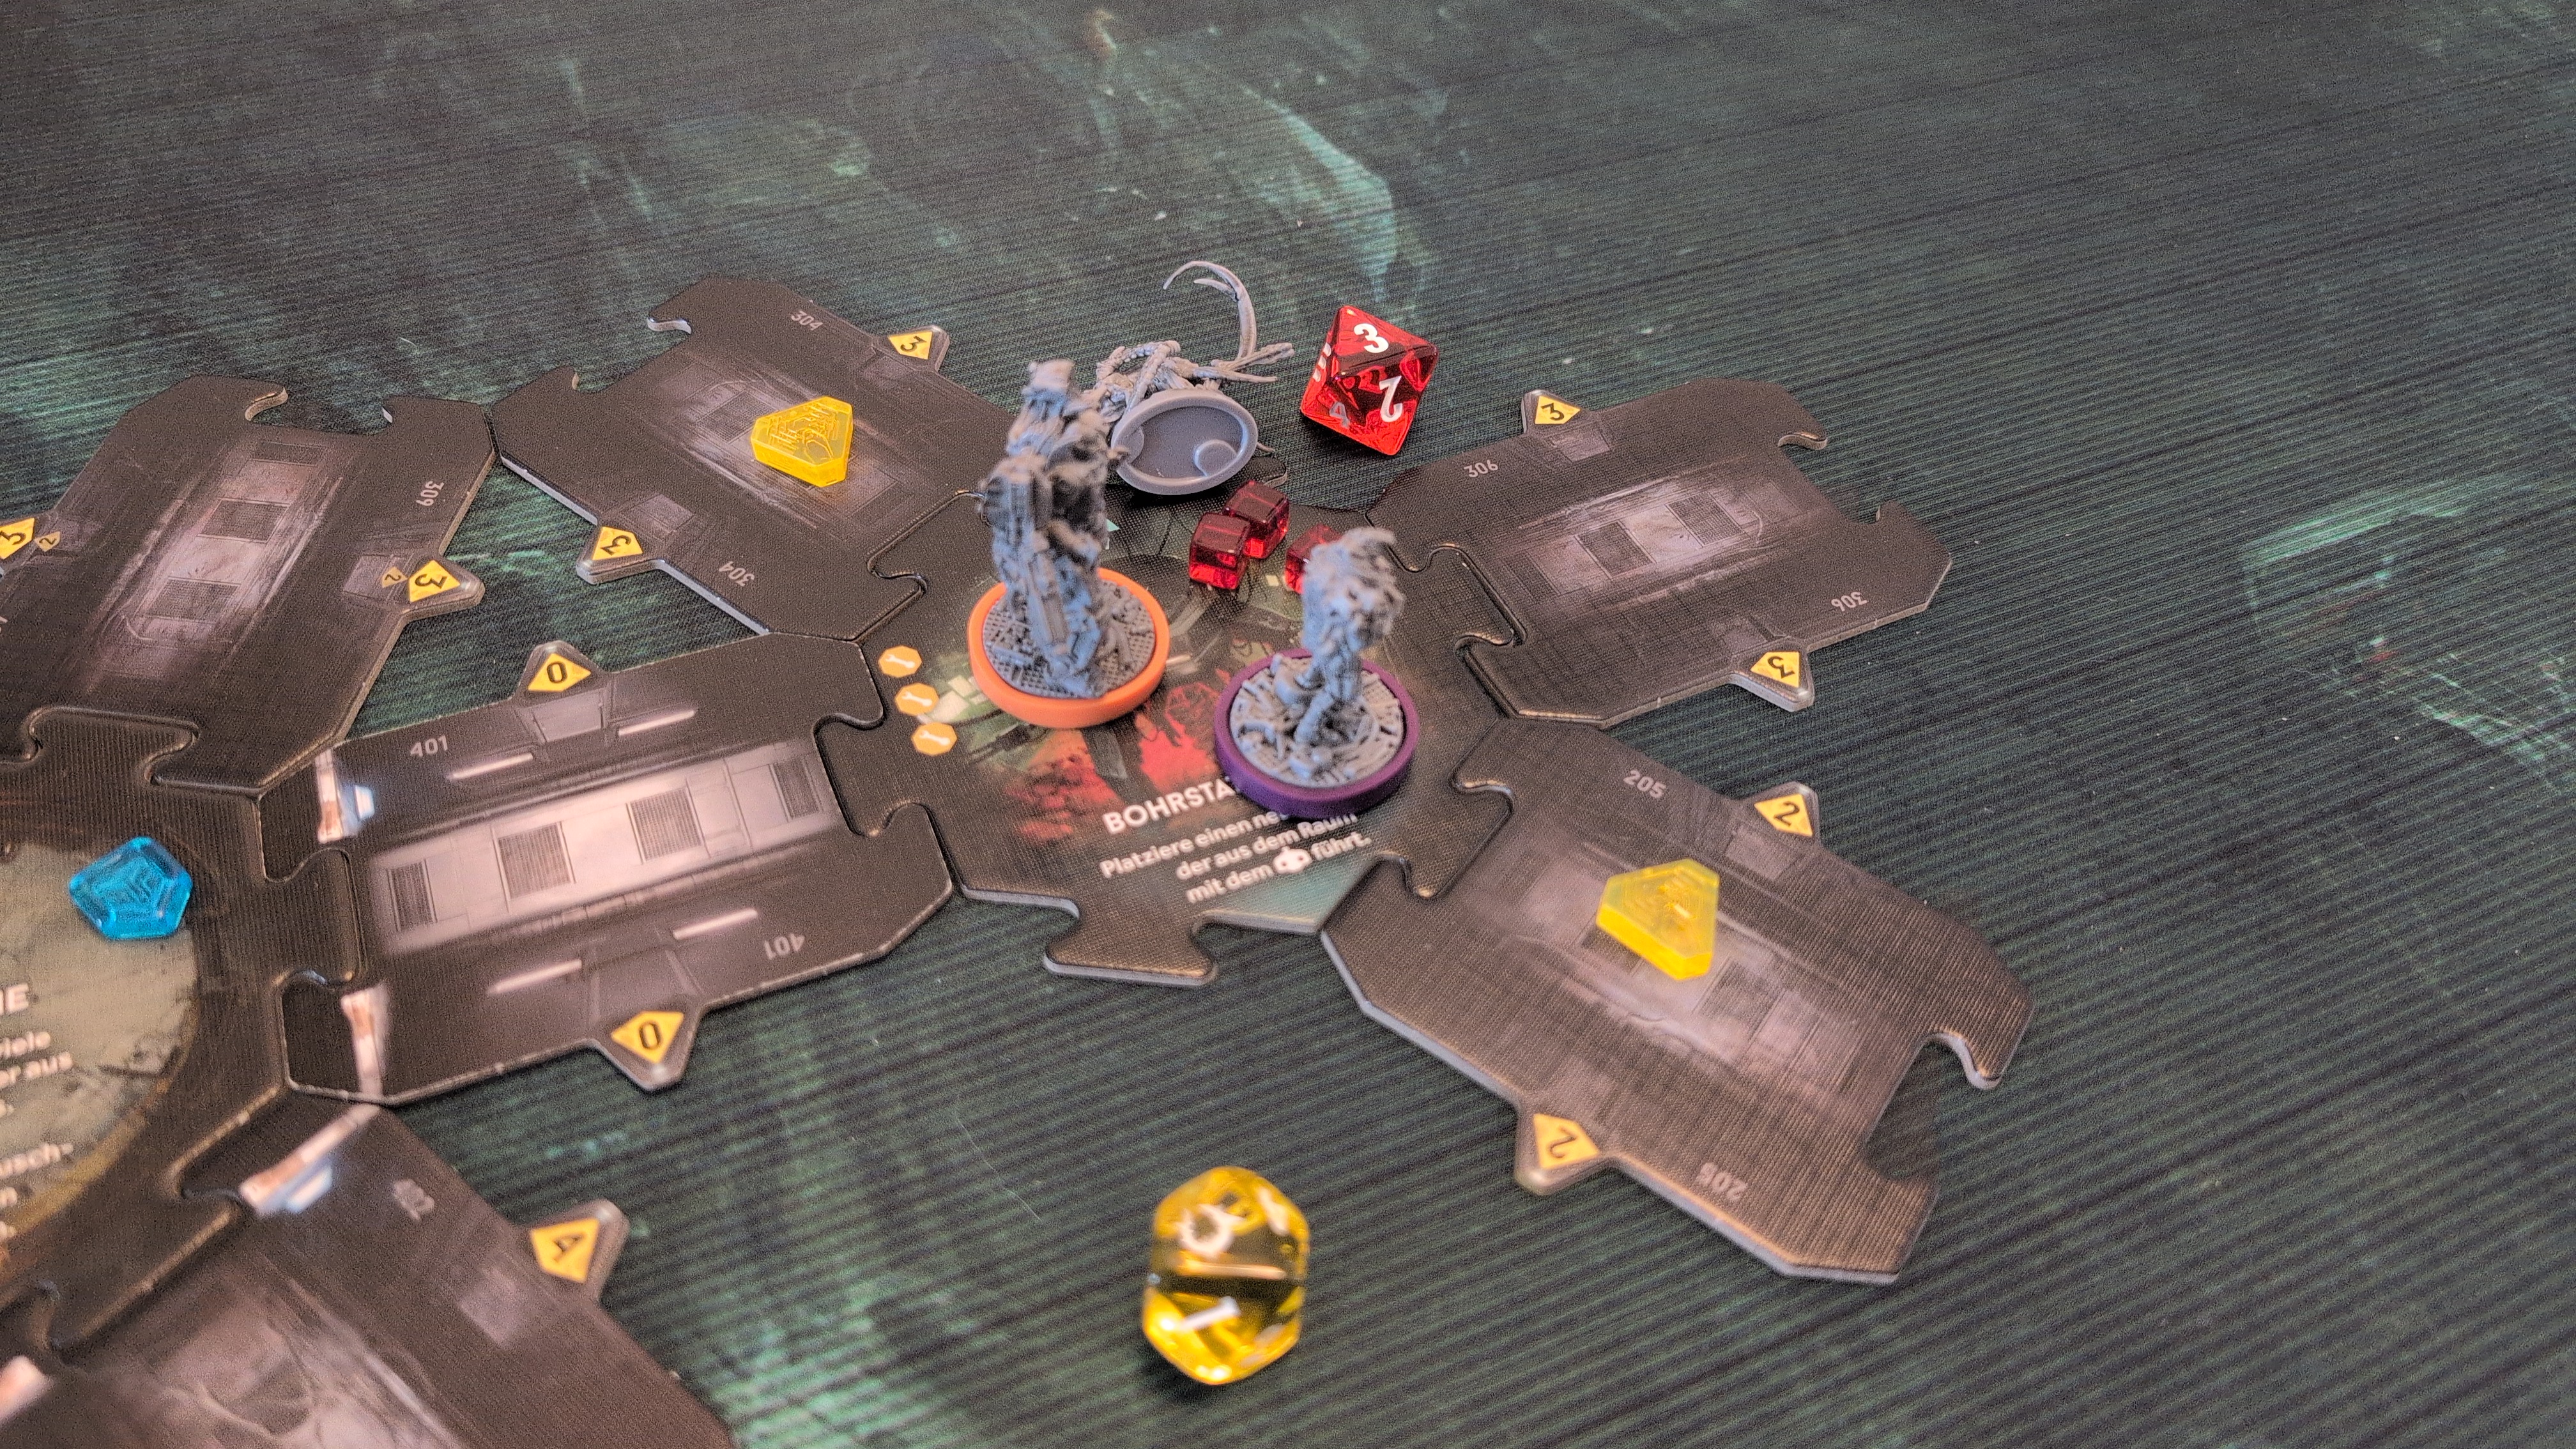
The recon marine attacked with his assault rifle, missed with the first shot; the ability of the weapon allows him to spend an ammo token and immediately take a second shot, with which he nailed the creature. He then was out of cards, too, and had to pass.
Turn 1 – Xeno Phase
None of the effects on the card drawn applied.
Turn 2
[ ] Mission Objective
Locate the Command Center
Turn 2 – Phase 1
The recon marine cautiously explored the first room in Sector B, which turned out to be the cooling systems control room. In the corridor leading towards this room, three xenomorphs were lurking. The door to the other corridor was closed.
The recon marine secured the corridor leading back to the combat engineer.
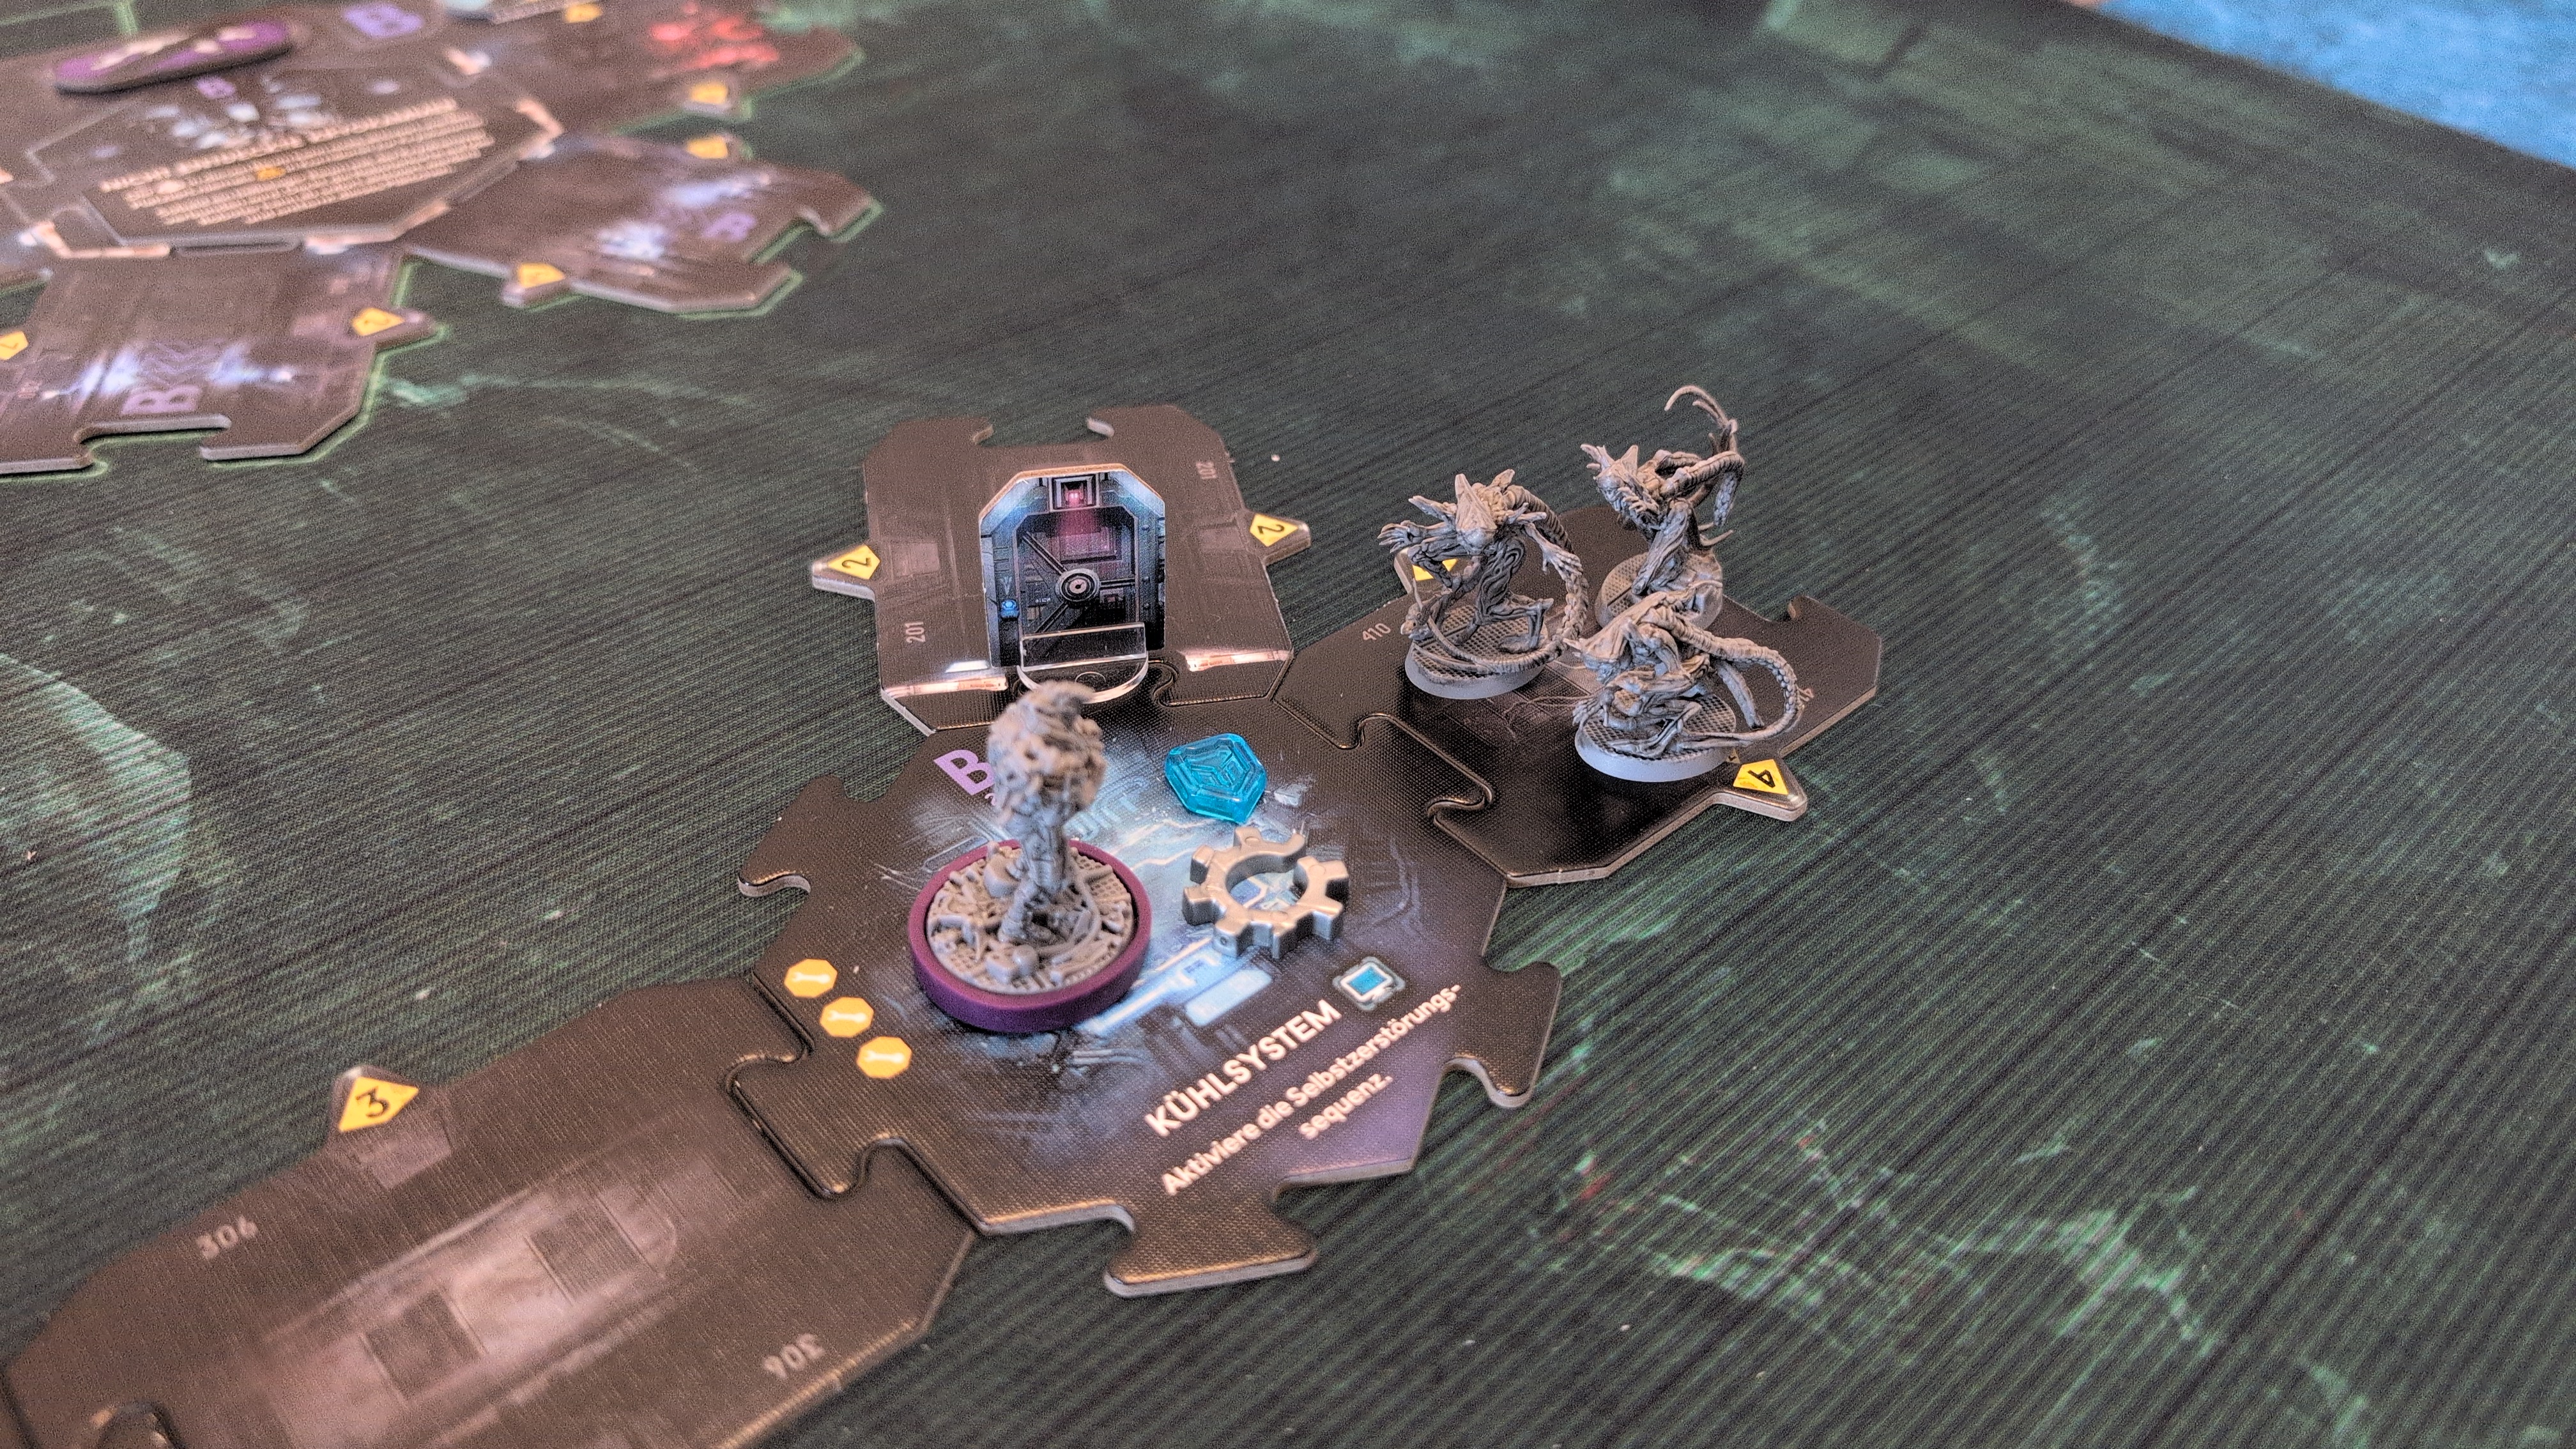
The combat engineer cautiously moved to support the recon marine, which drew one of the lurking xenomorphs into the room with the Marines. The combat engineer immediately opened fire, but didn't bring the xeno down.
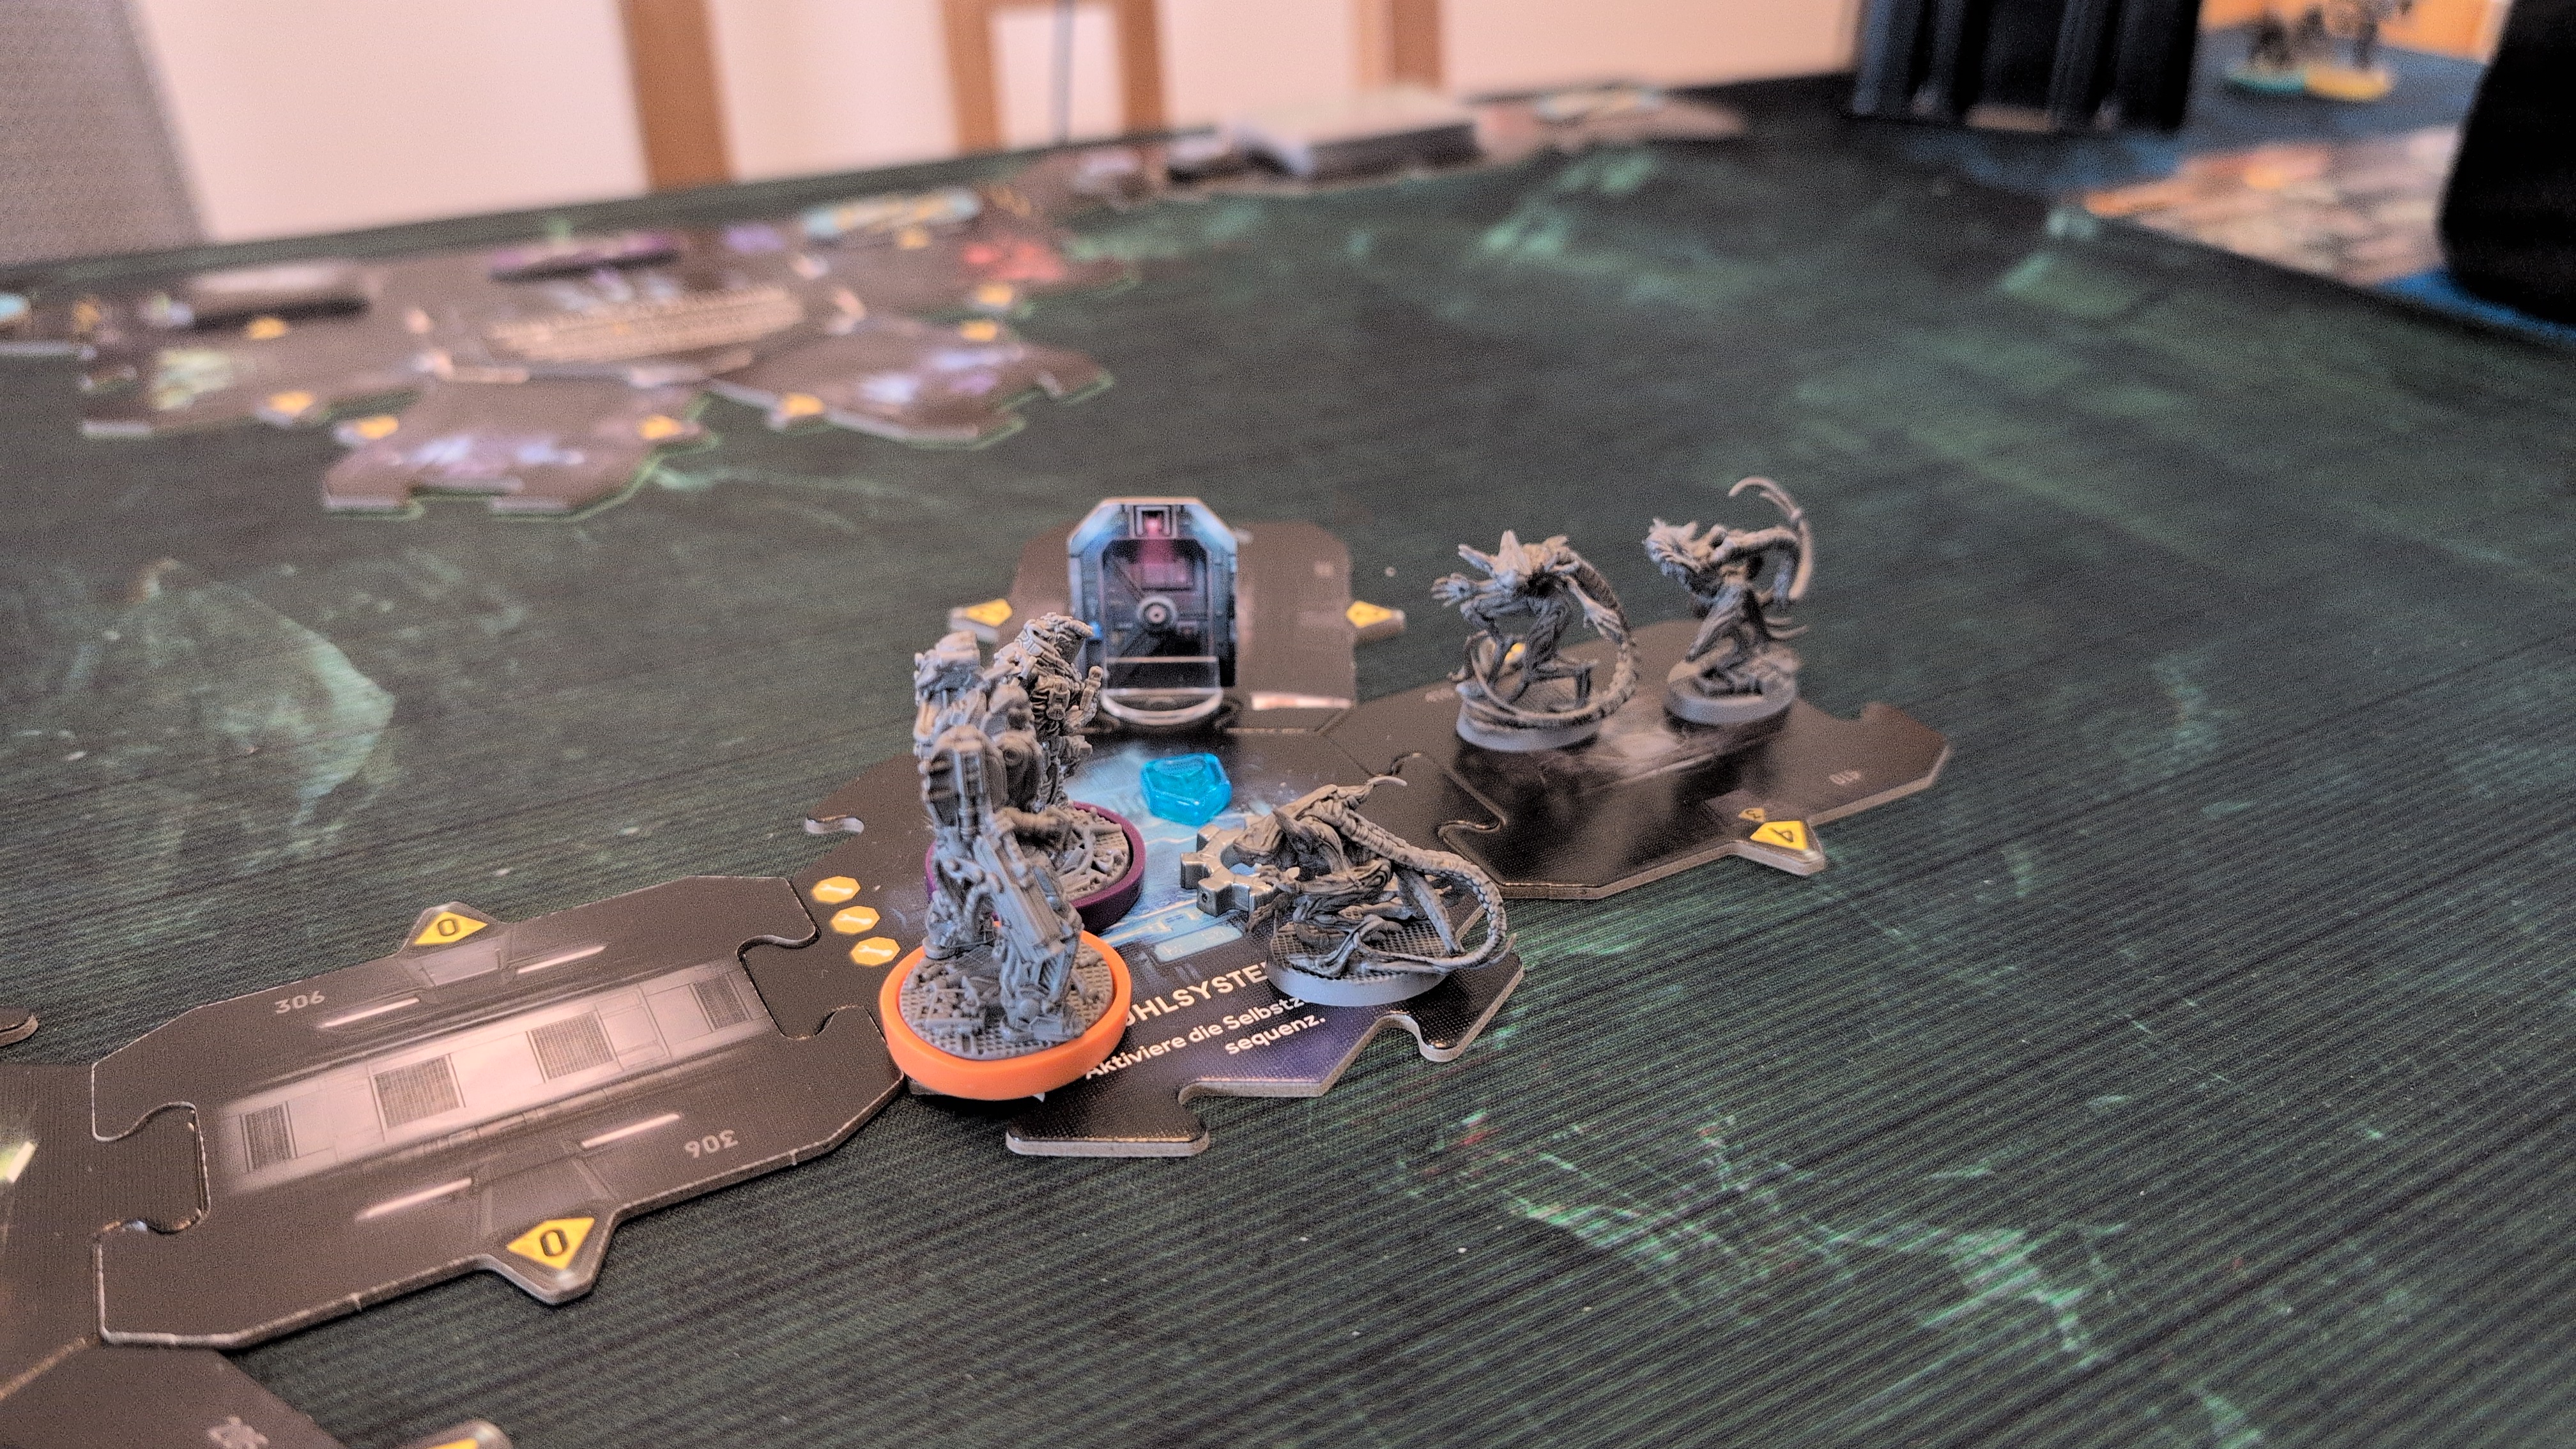
Turn 2 – Phase 2
The recon marine opened fire as well, and brought the xenomorph down in the crossfire, but had to spend so much ammunition that his assault rifle was now dry. With his second action, he searched the room for items.
The combat engineer cleared the remaining xenomorphs with a grenade, then opened the door.
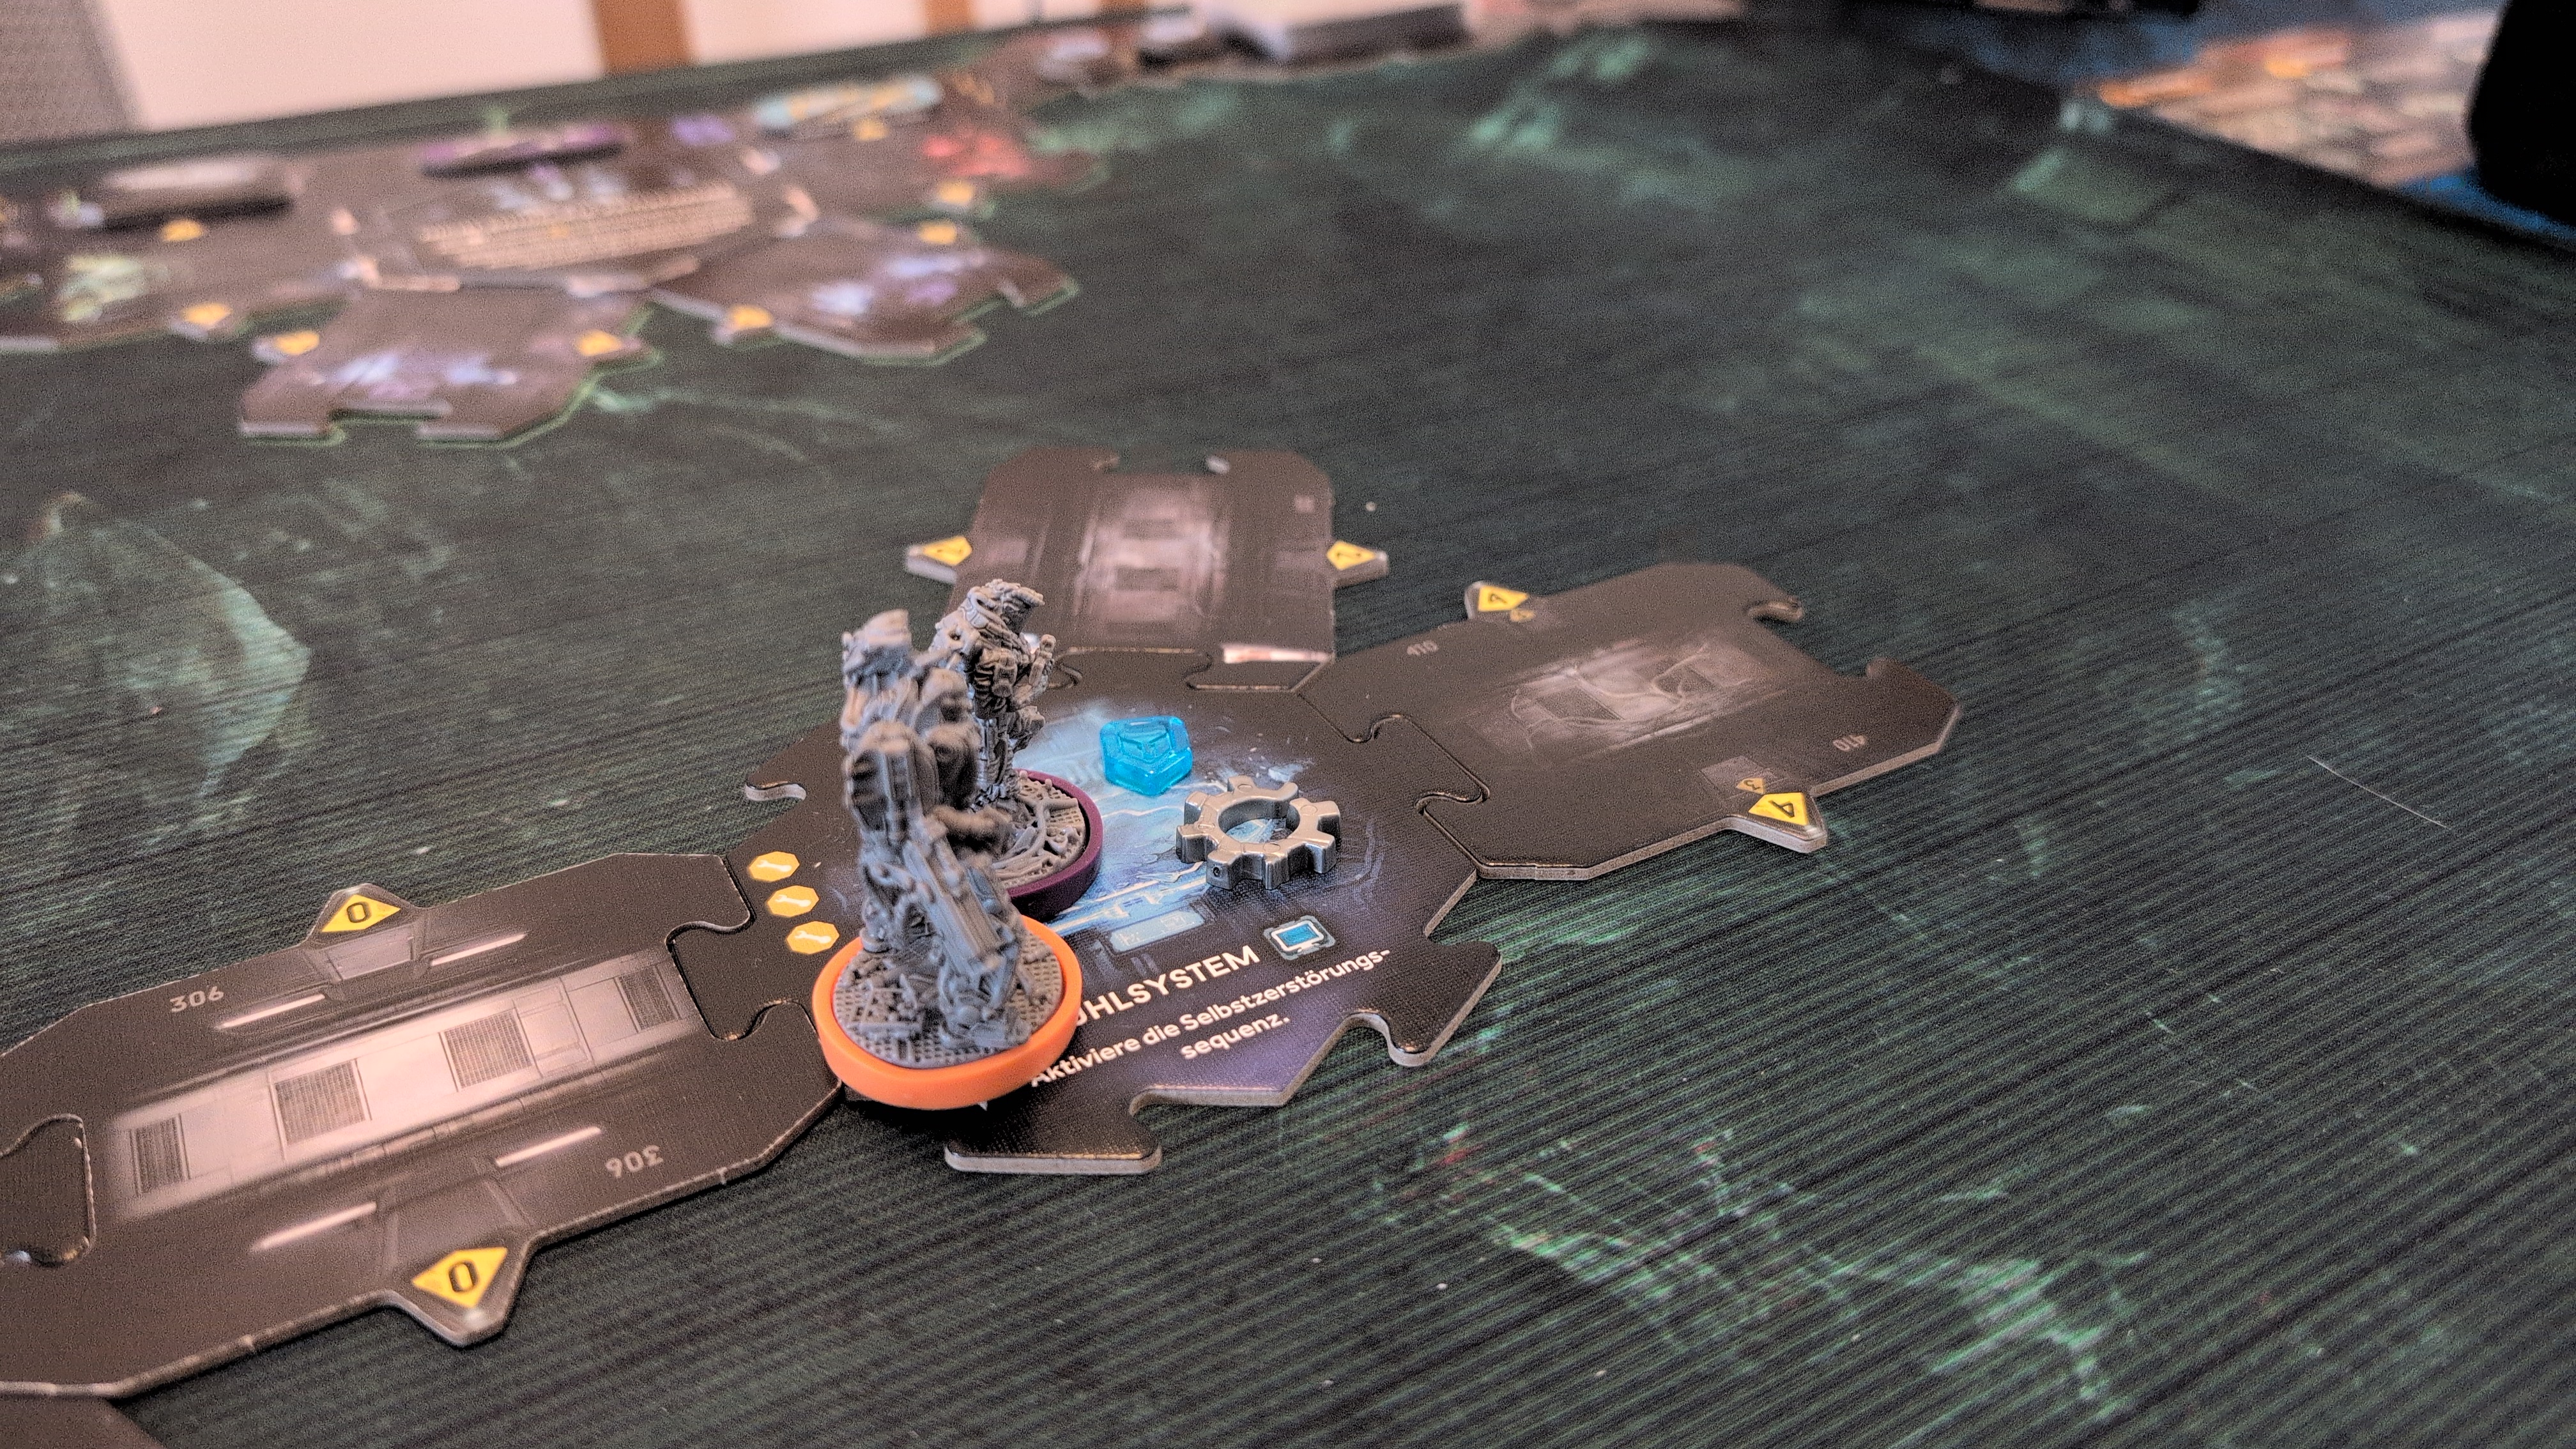
Turn 2 – Phase 3
The combat engineer also searched the room for items.
Turn 2 – Xeno Phase
Drawn towards the room by all the gunfire, another xeno turned up, but his attack was prevented by the secure marker still in the room.
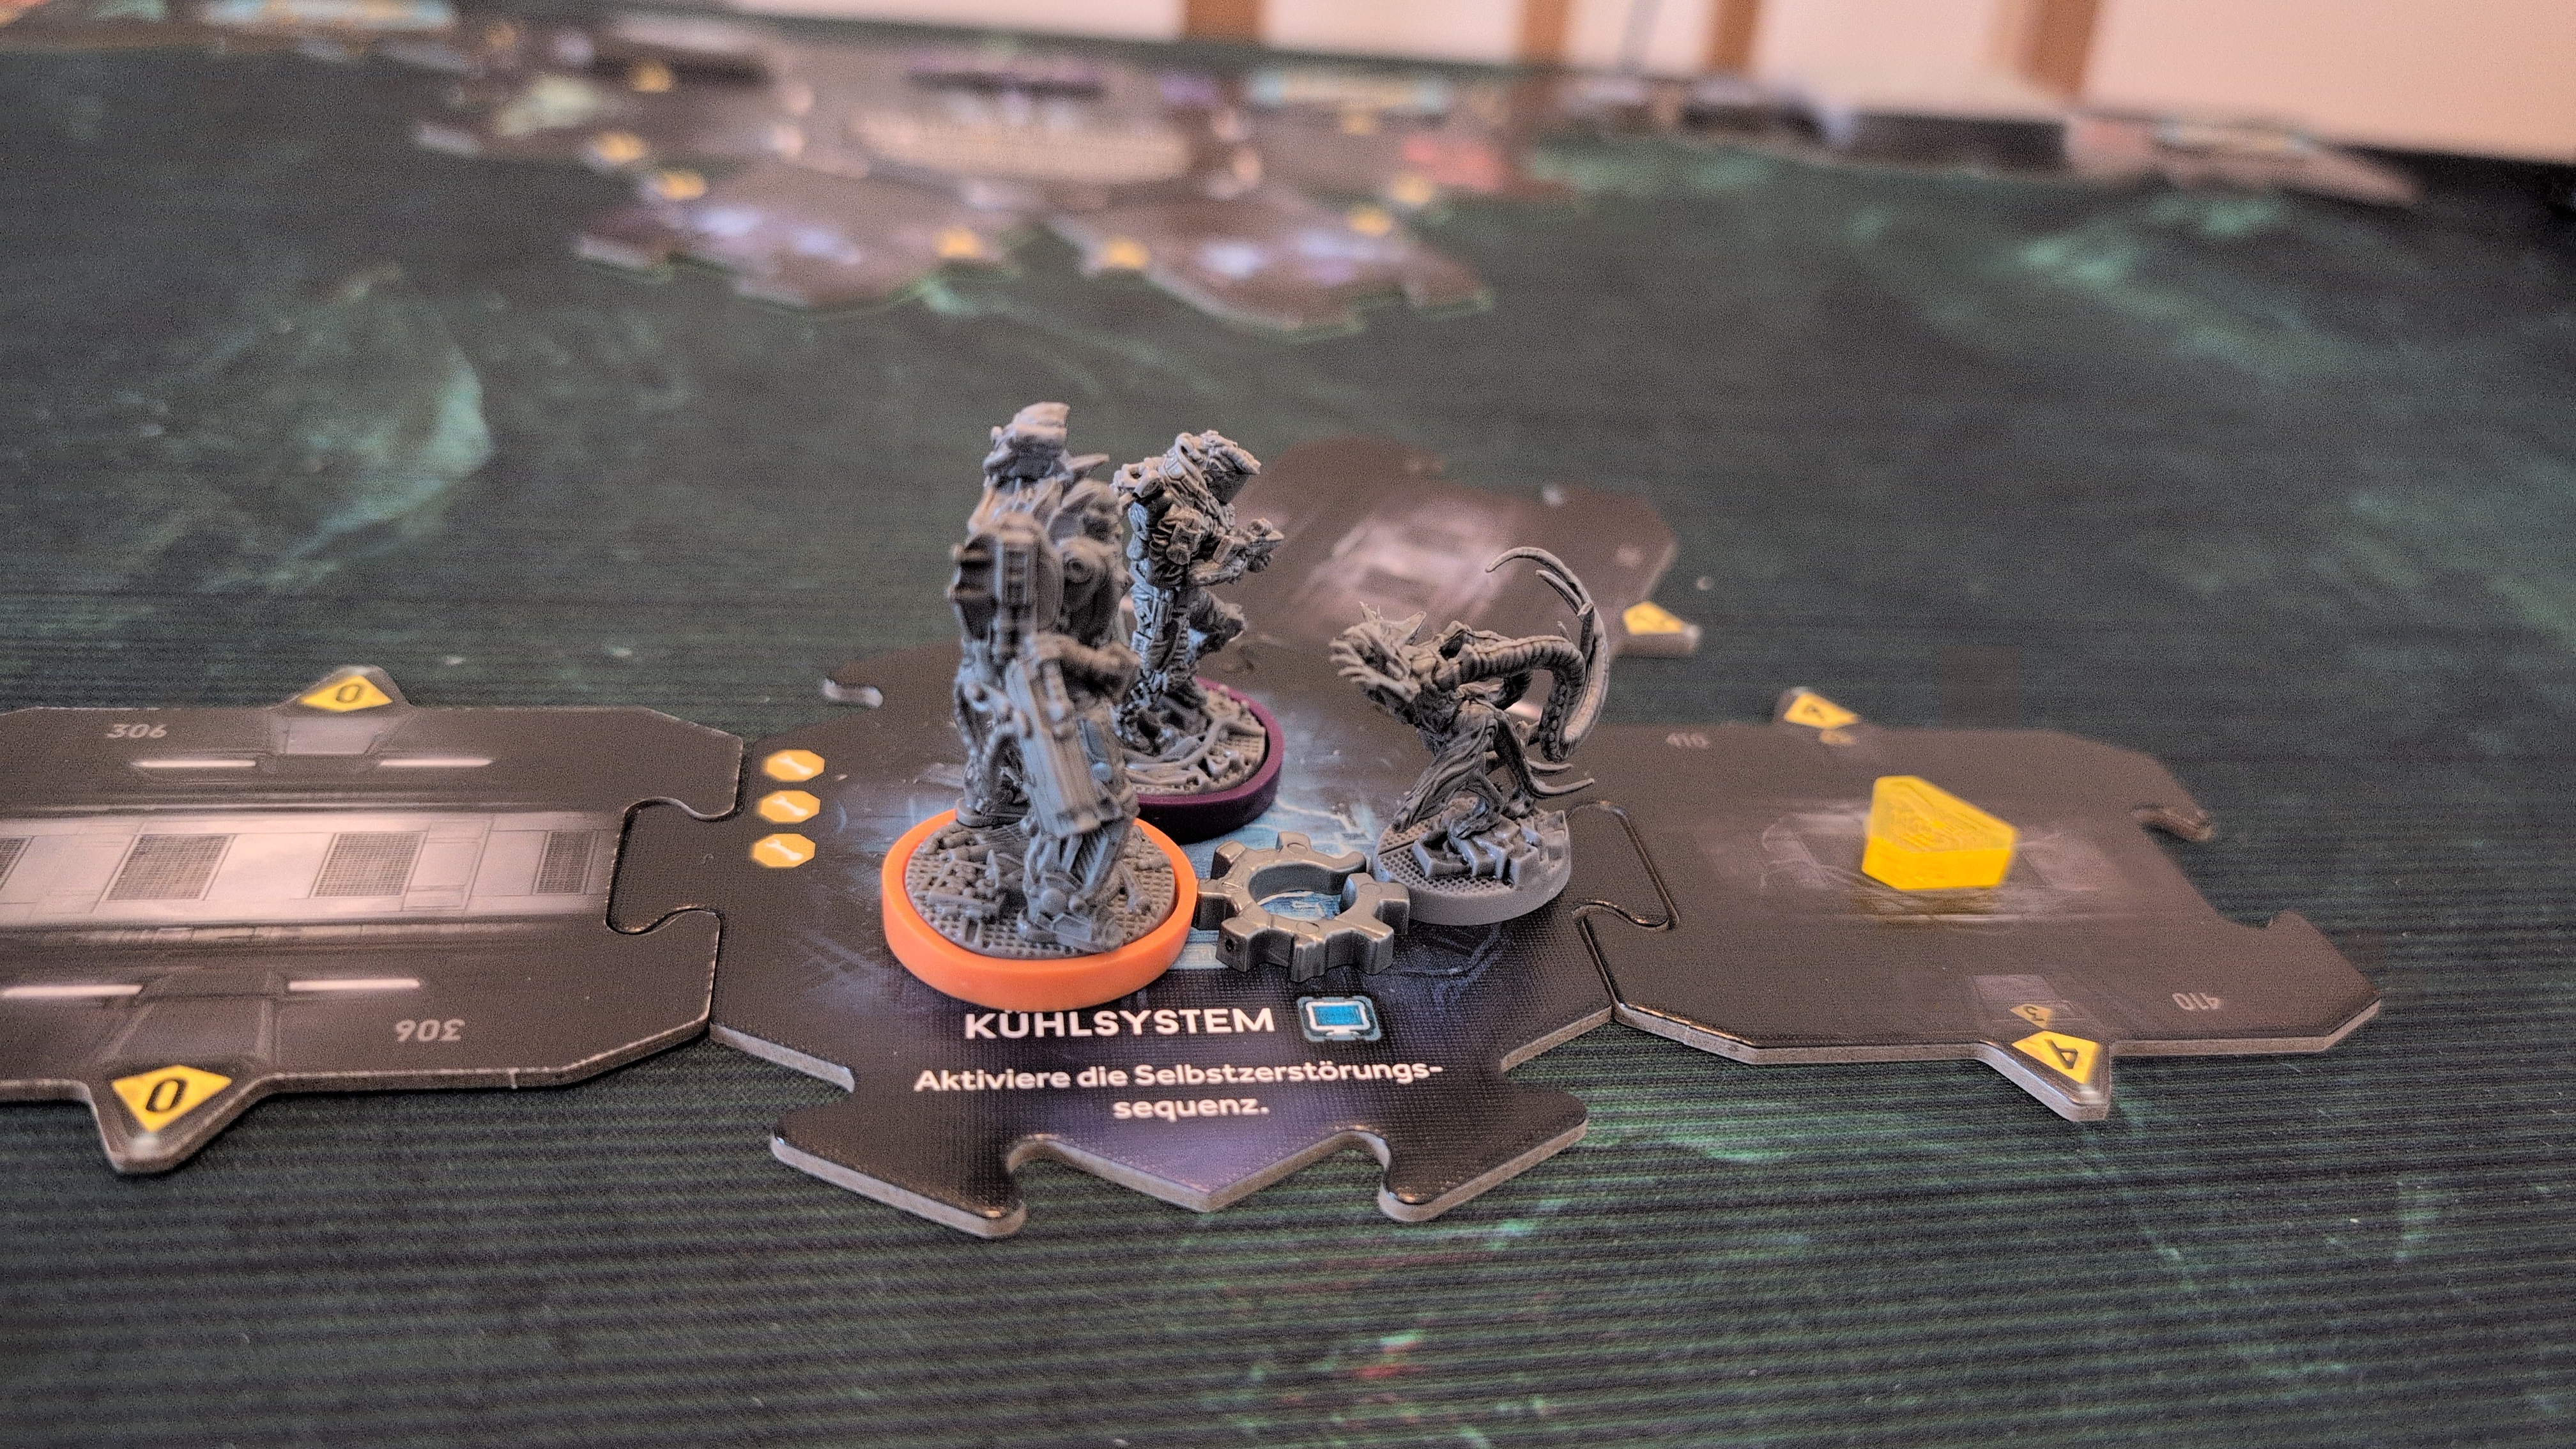
Turn 2 – Turn End Phase
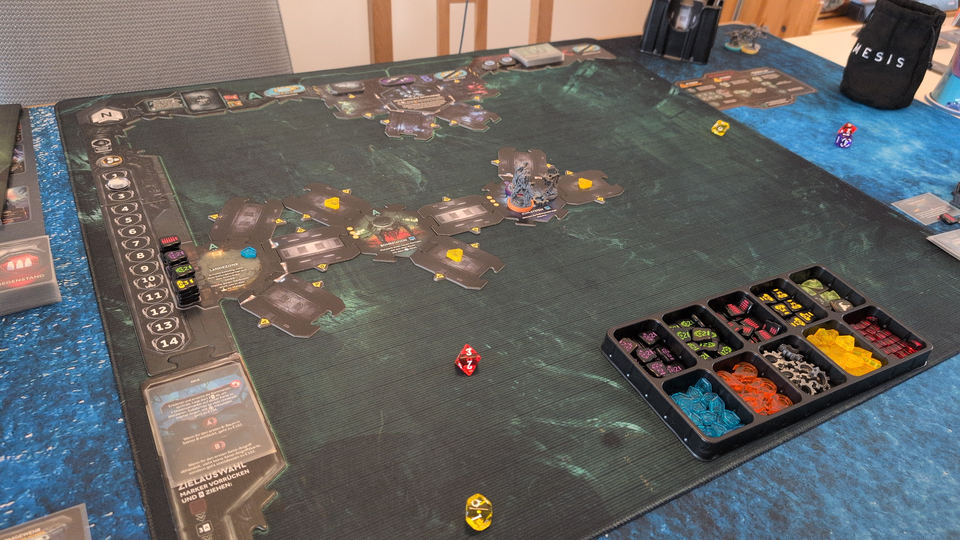
Turn 3
[ ] Mission Objective
Locate the Command Center
Turn 3 – Phase 1
The combat engineer riddled the xenomorph with bullets, but either the creature was very resilient, or the combat engineer's aim very poor, he did not bring the xenomorph down with his two actions.
The recon marine had better aim, and killed the xeno. He then explored the next room with his Scouting card – this was the Command Center! Behind him, in the corridor he had just moved through, two xenomorphs silently dropped from the ceiling…
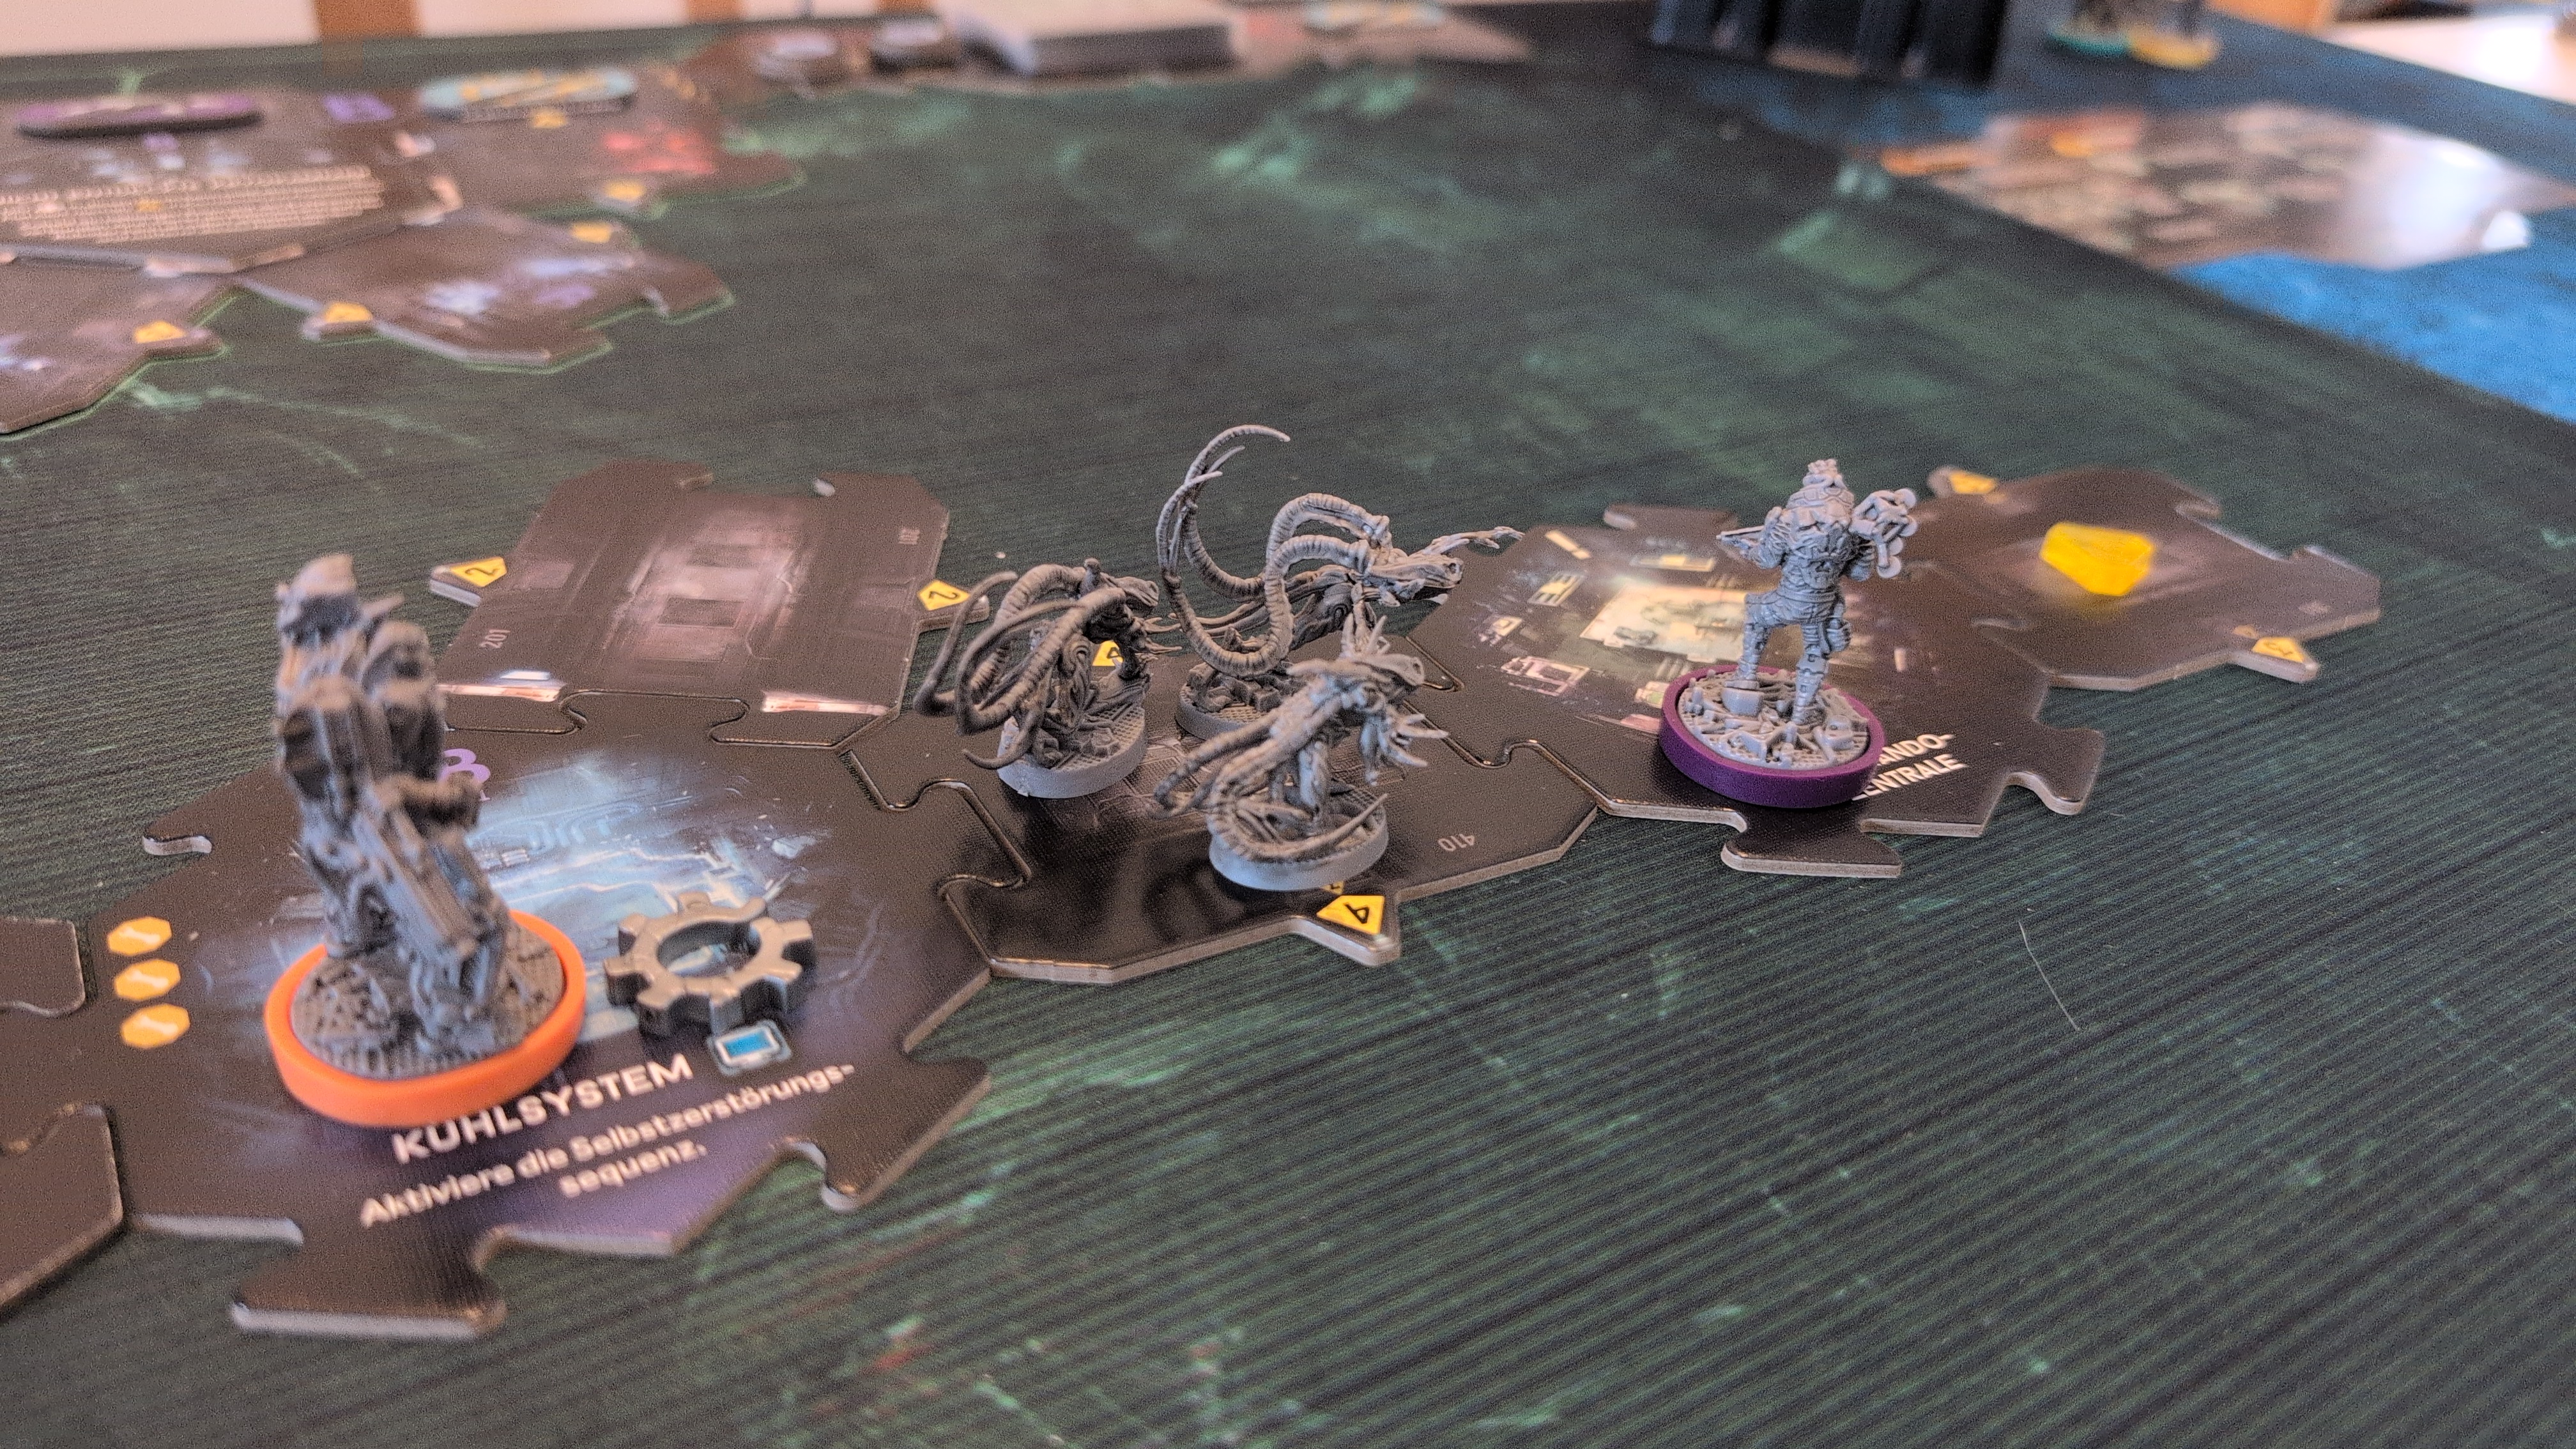
The combat engineer played Explosives to gain a fresh grenade from the room's storage and discarded another card to use his gear. He topped up his oxygen supply, then tossed the new grenade he just had picked up into the corridor to shred the xenomorphs there.
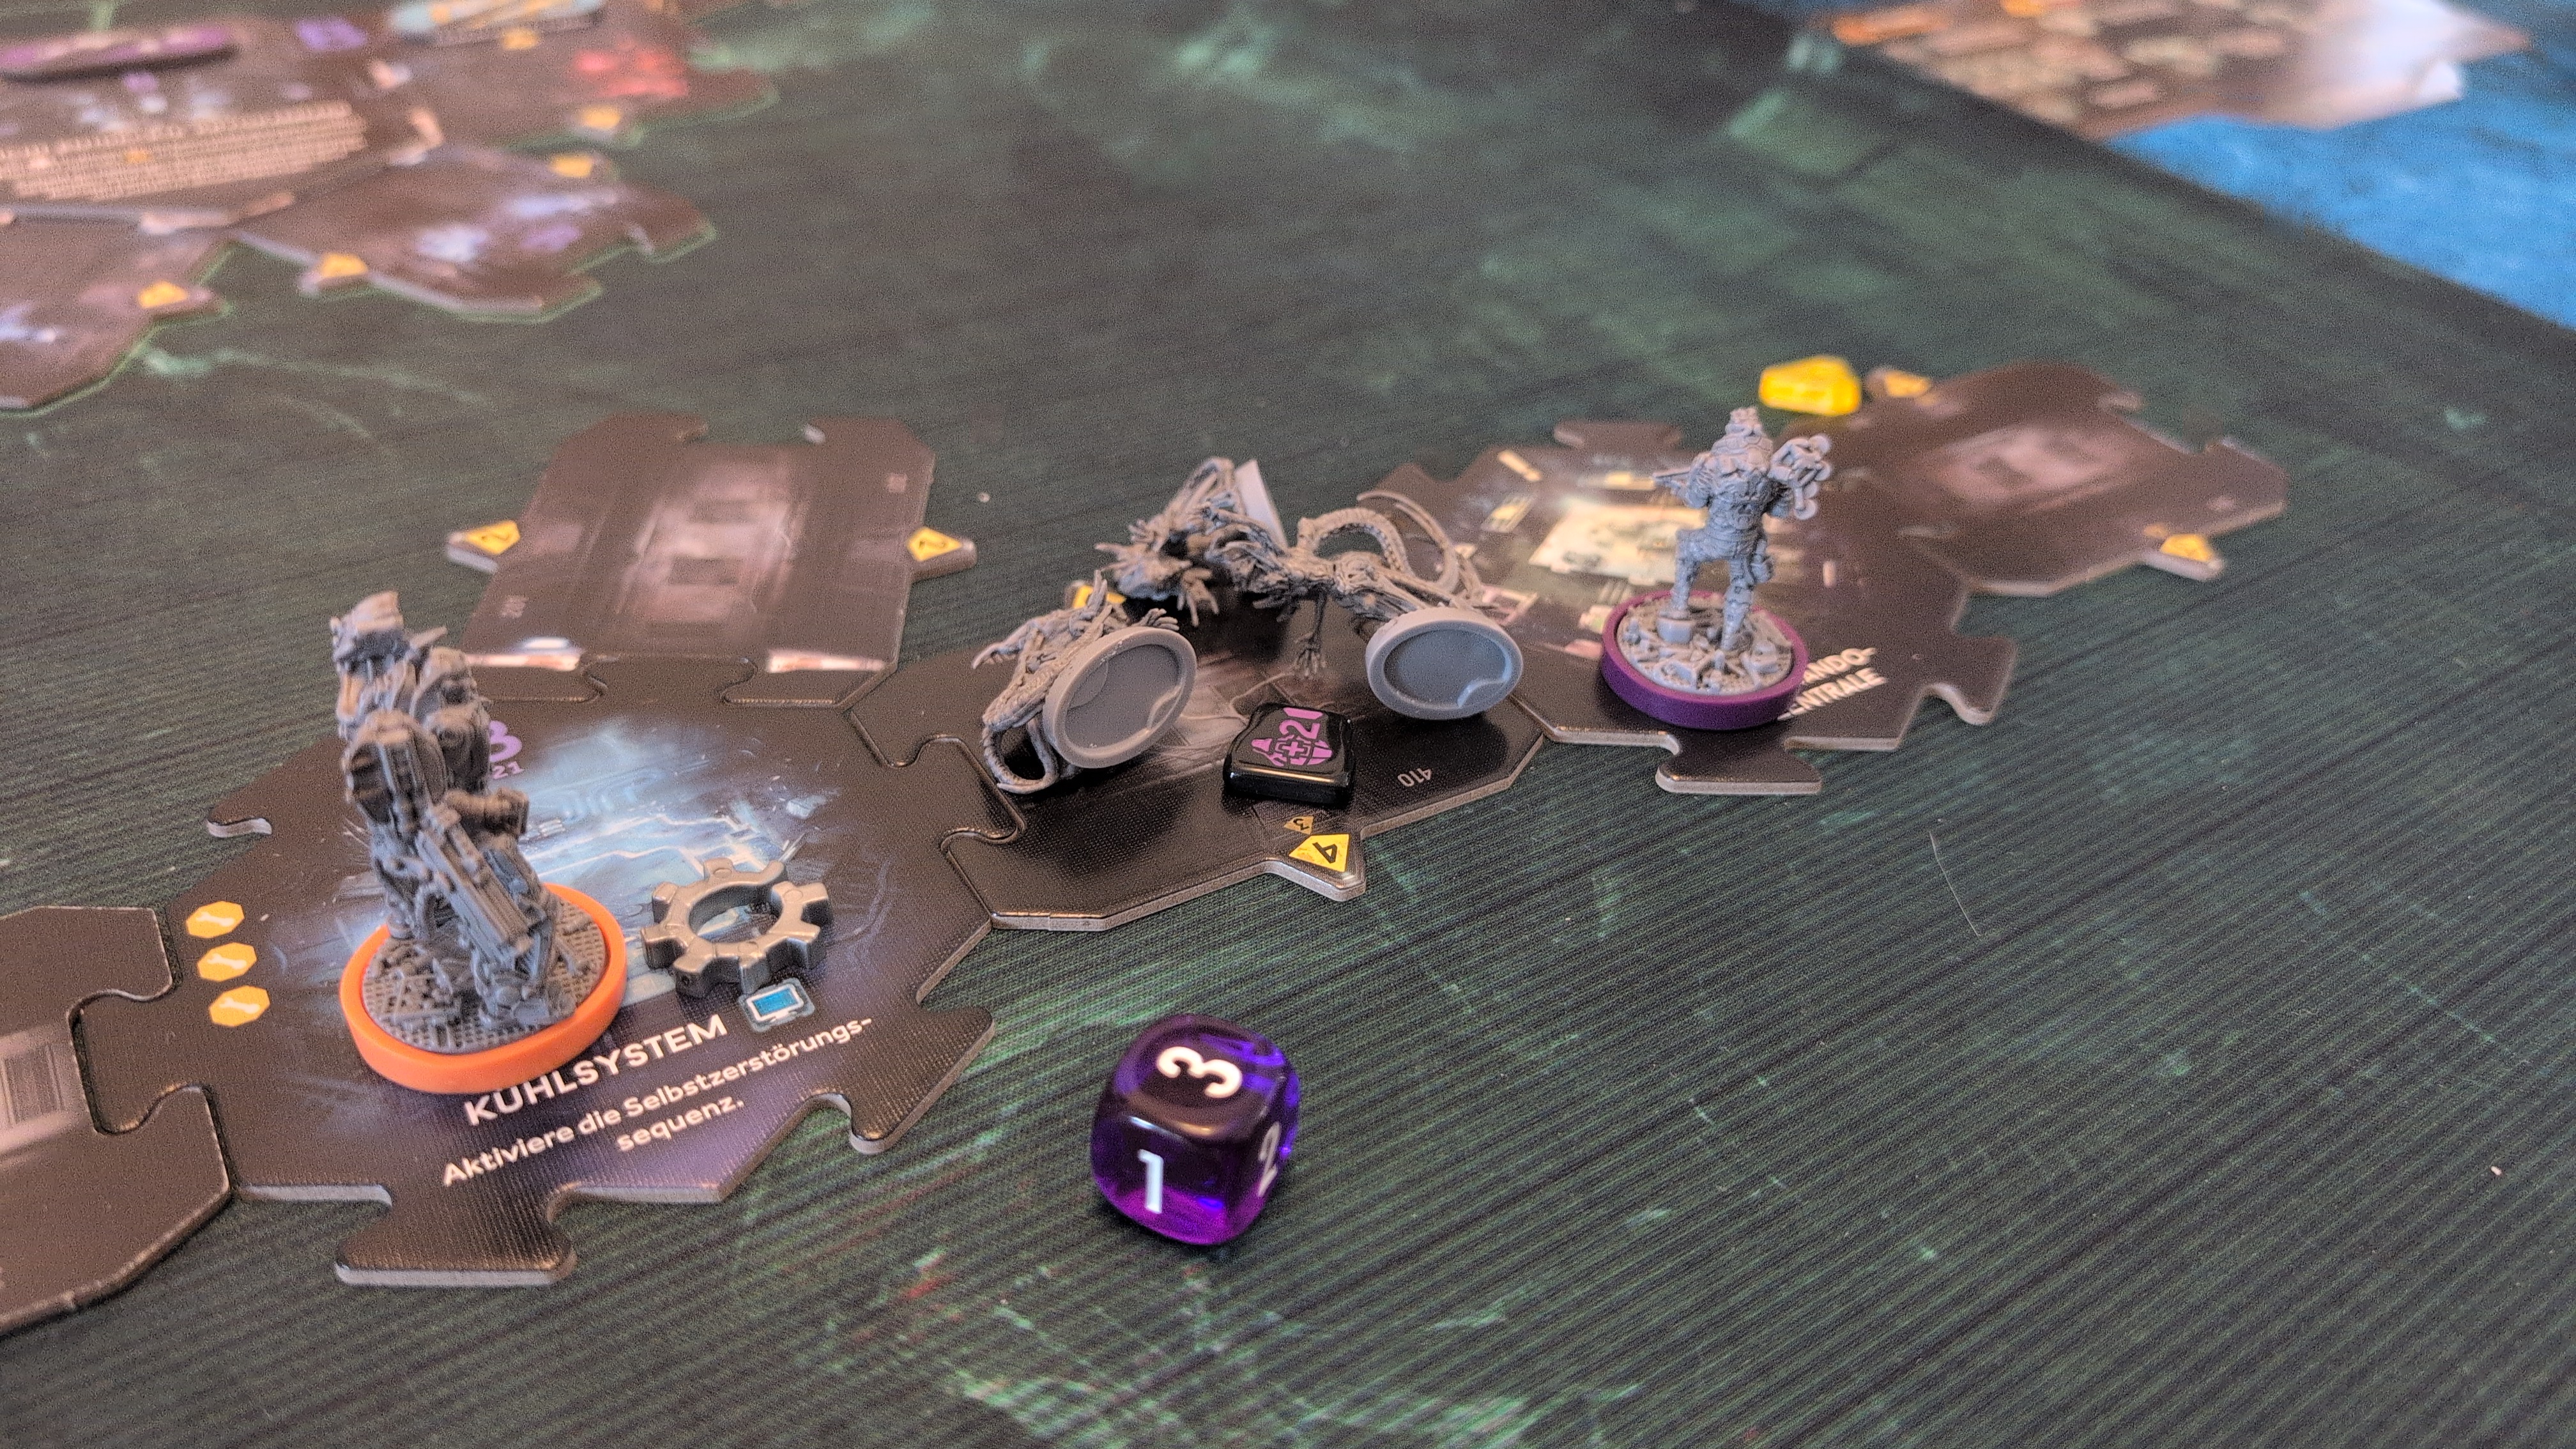
Turn 3 – Phase 2
The recon marine played two cards towards triggering the campaign specific room action, another room action (by either player) was still needed to trigger the next event.
The combat engineer secured the corridor.
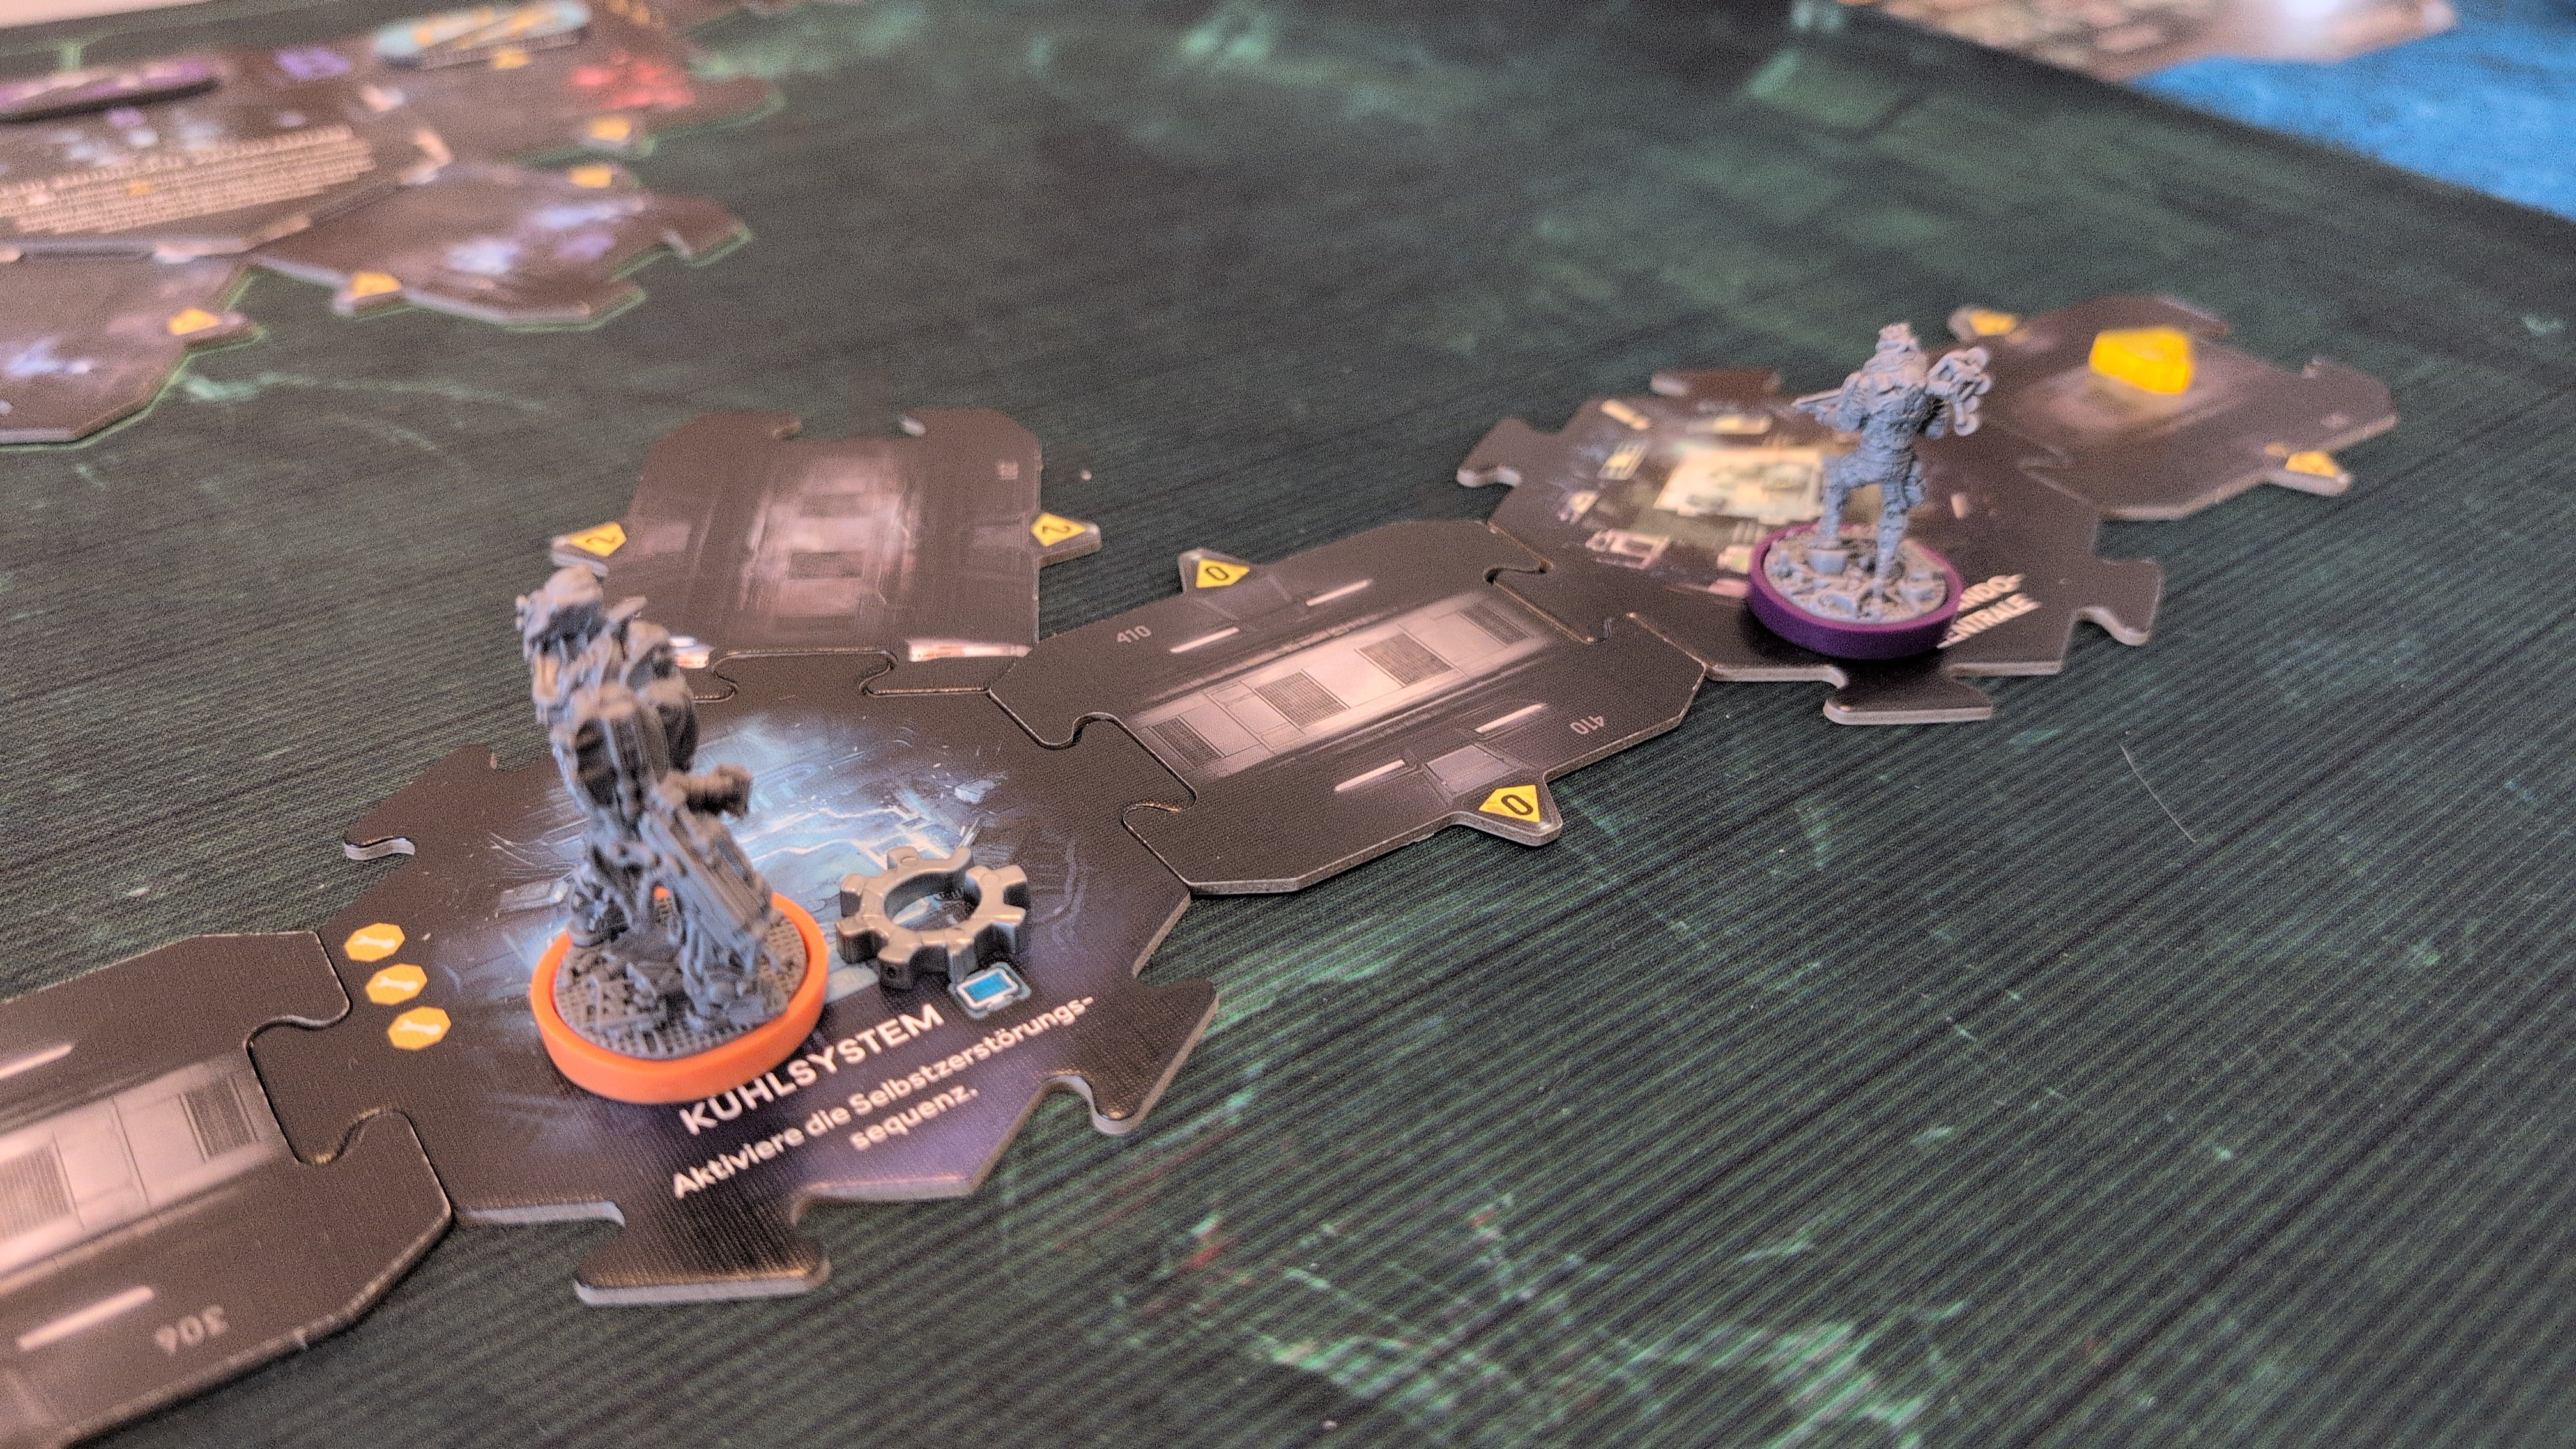
Turn 3 – Xeno Phase
Nothing happened.
Turn 4
[ ] Mission Objective
Locate the Command Center
Turn 4 – Phase 1
The recon marine again triggered the room action, with it being triggered "the number of players times", the next part of the comic was read:
A new room was placed at the bottom left corner of Sector A, where Valeria Ashton's ID chip located her.
[X] Mission Objective
Locate the Command Center
[ ] Mission Objective
Locate and Rescue Dr. Ashton
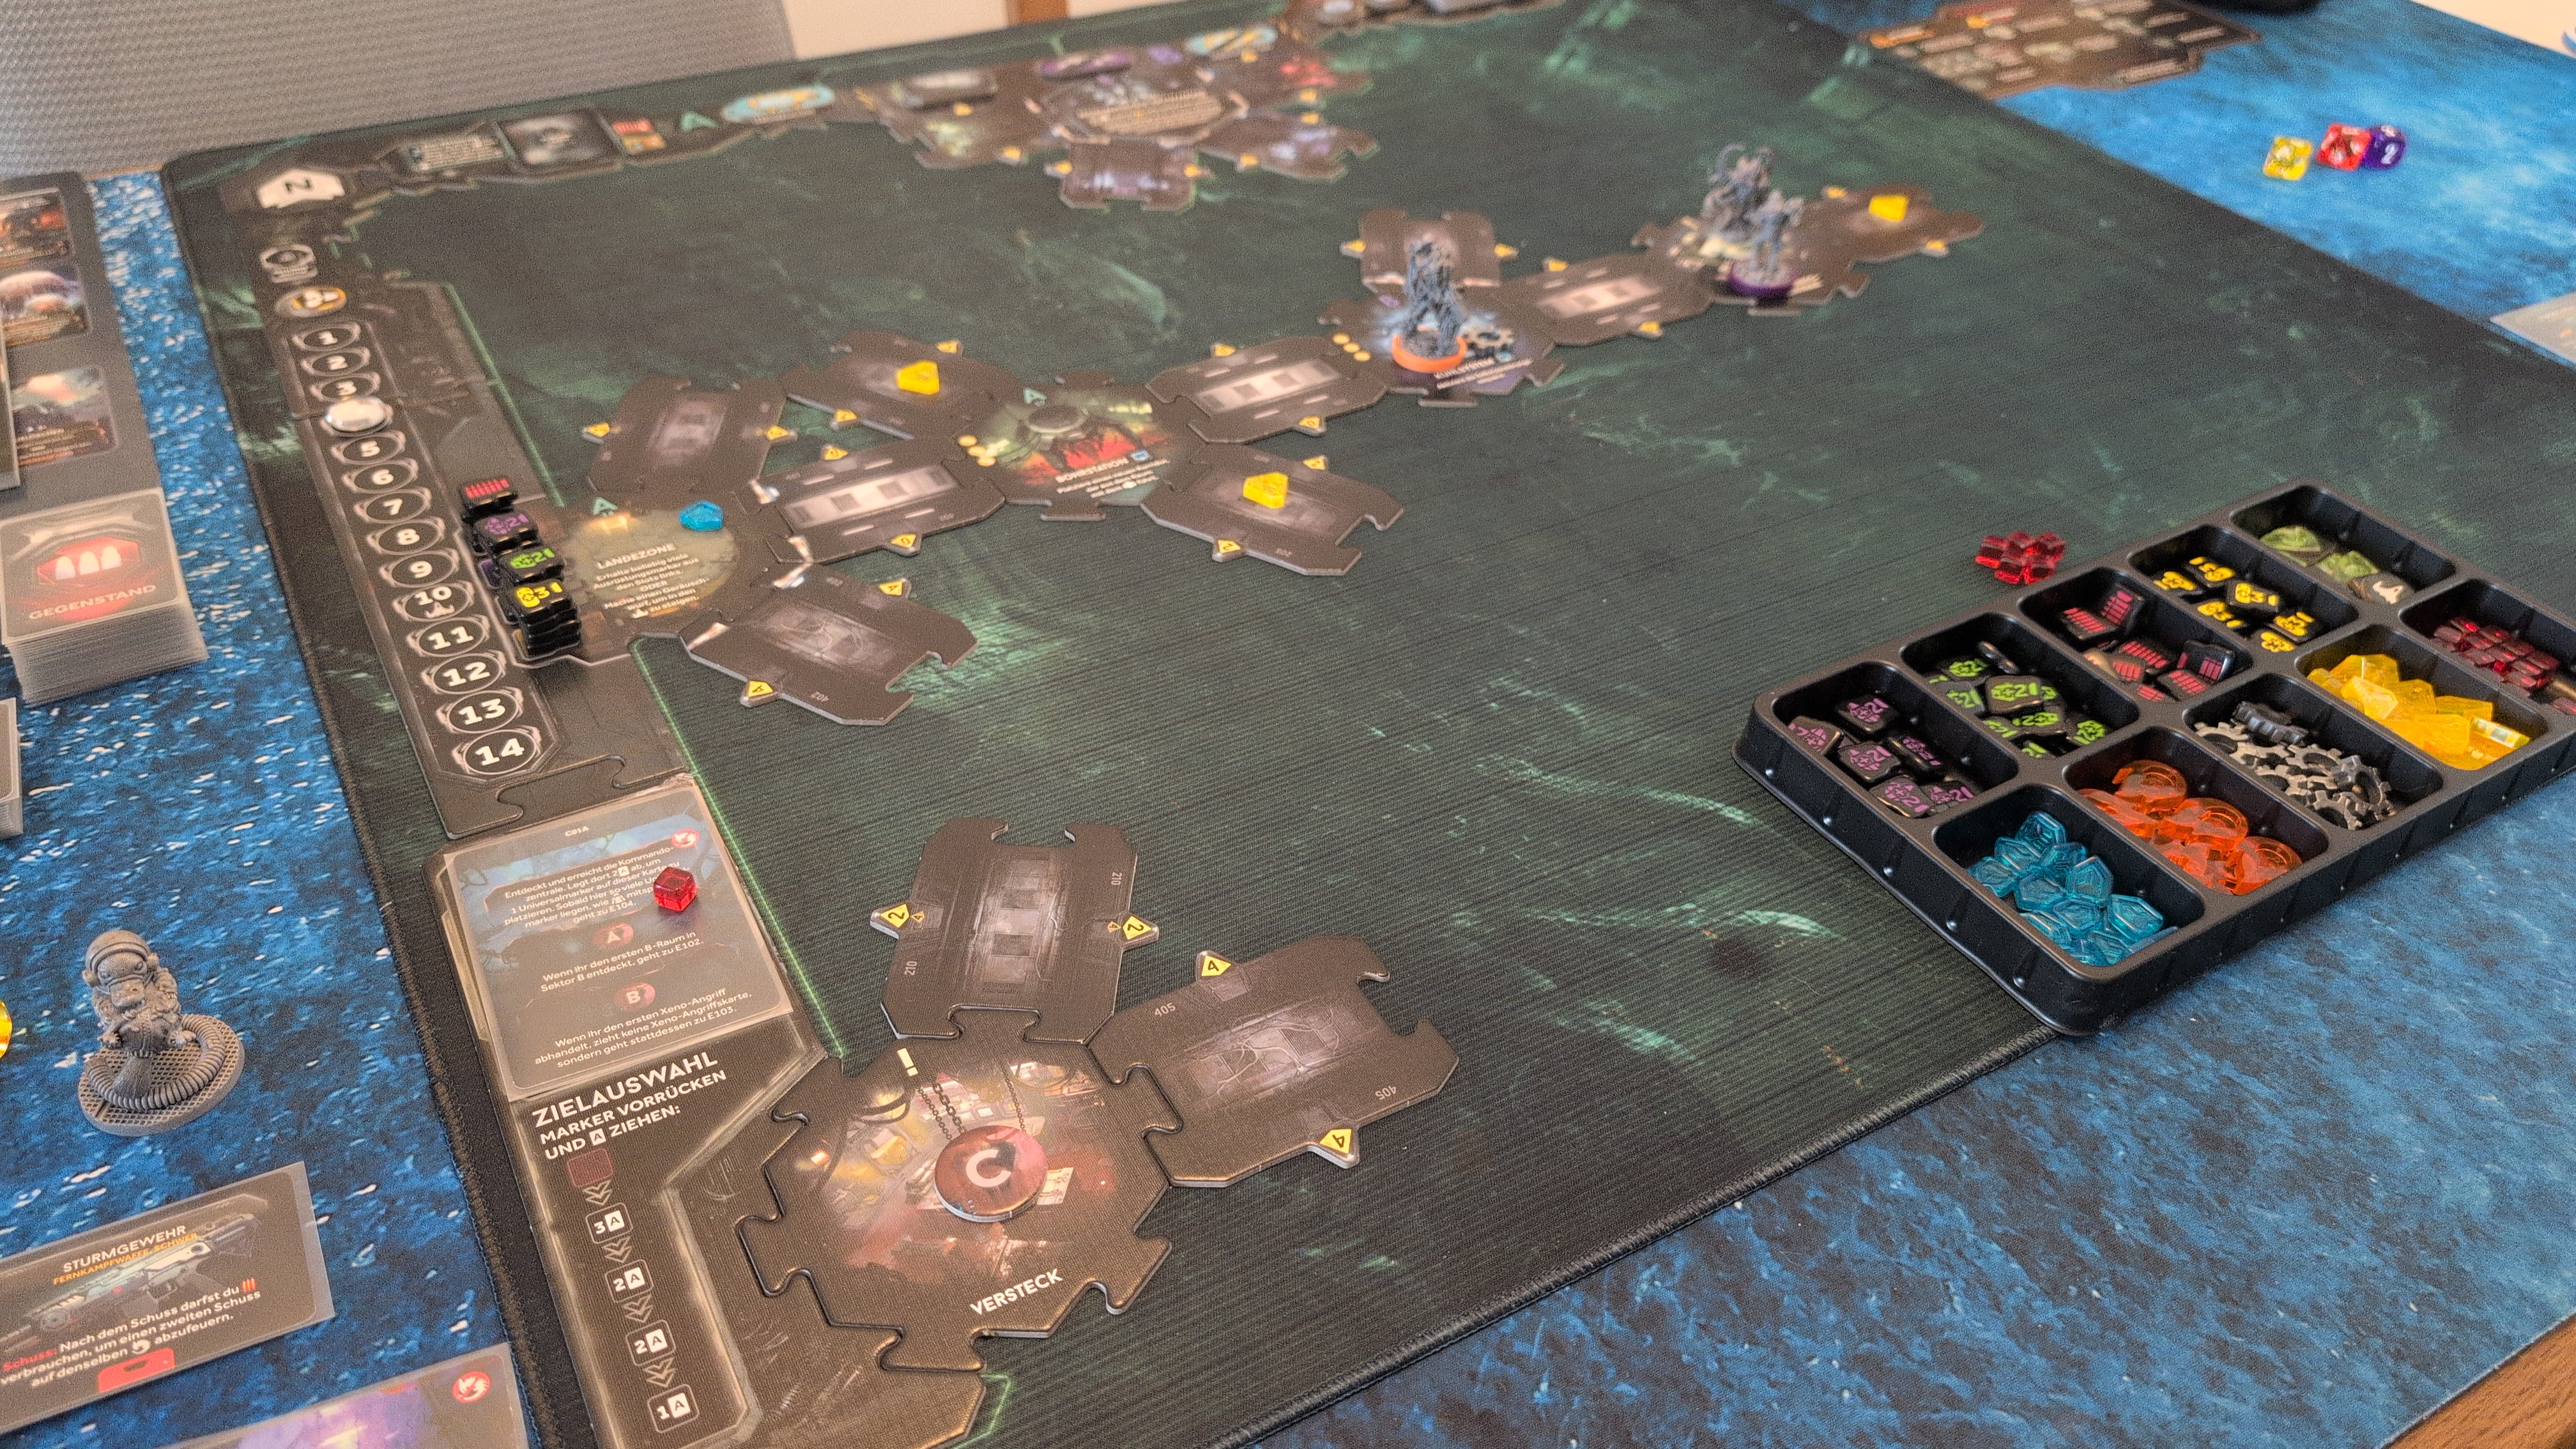
And an adult xenomorph entered the room, and attacked the recon marine, who lost one health and gained one contamination card.
Taking Aim, the recon marine immediately retaliated against the adult, using his Drum Mag Rifle (his assault rifle was still dry). The first shot missed, but the allowed re-roll from Taking Aim was a crit hit.
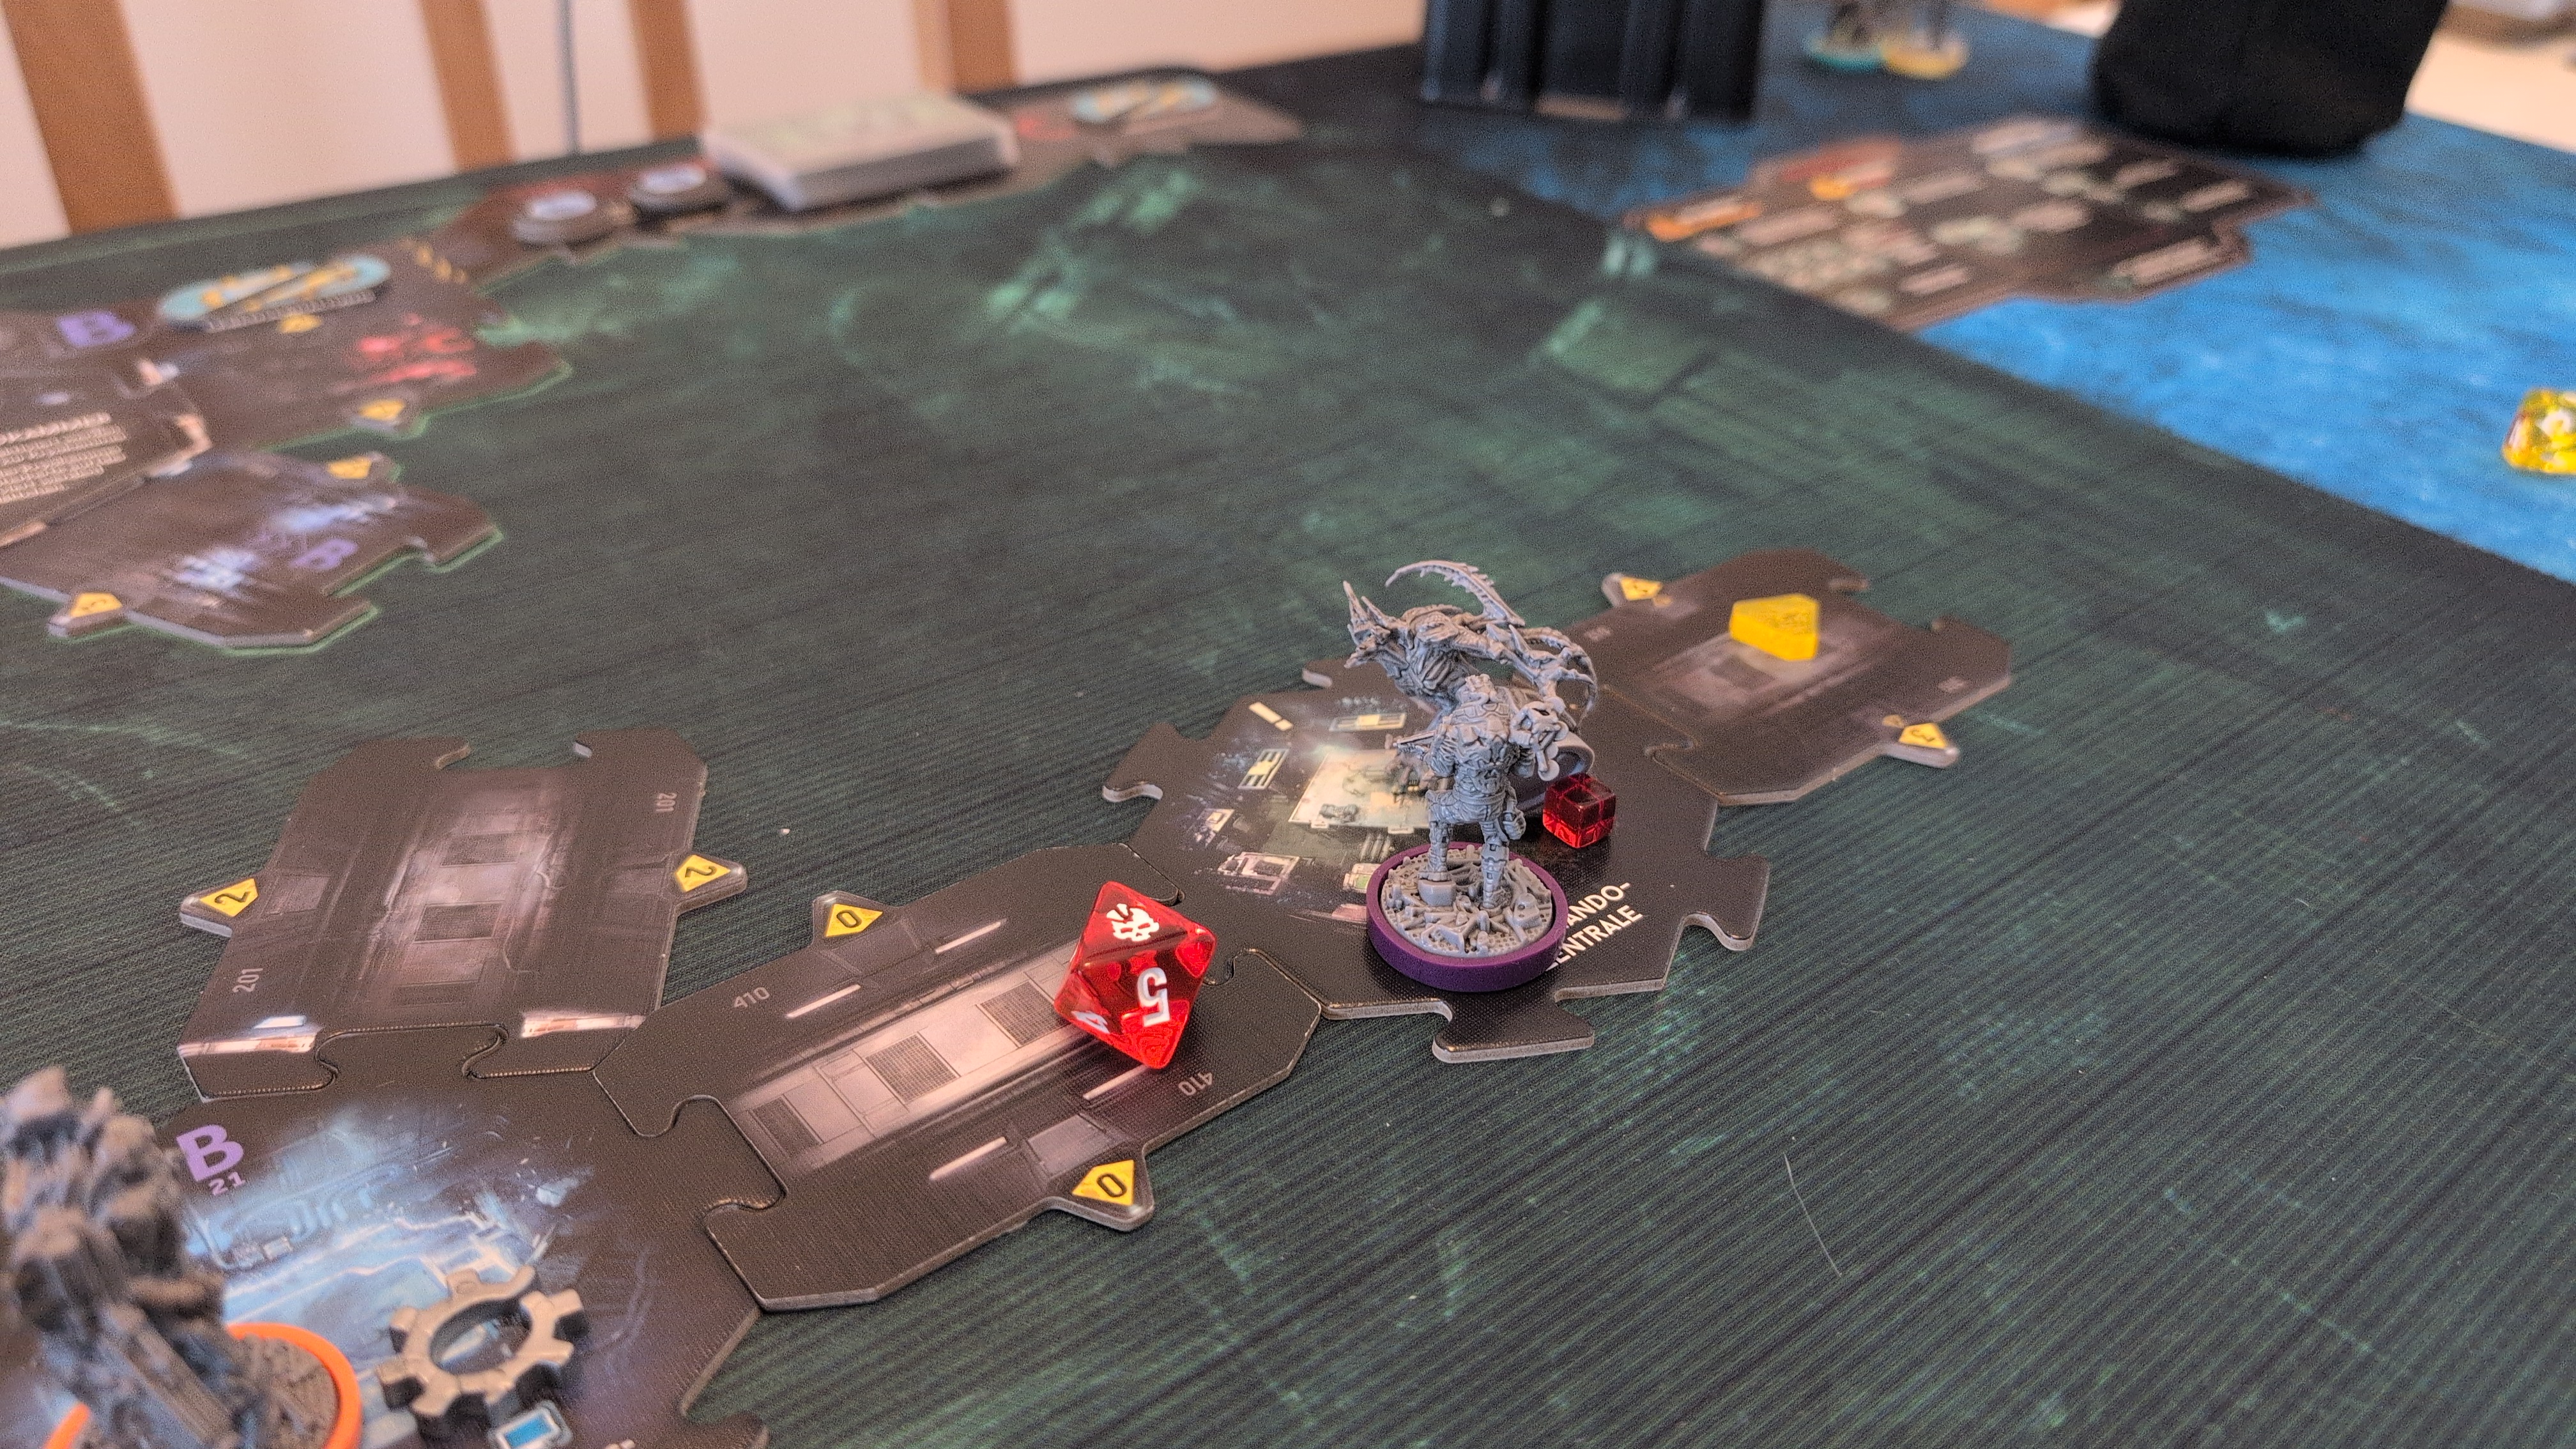
The combat engineer started to move cautiously towards the new mission objective, and encountered another xenomorph. He fired at the drone, but missed it.
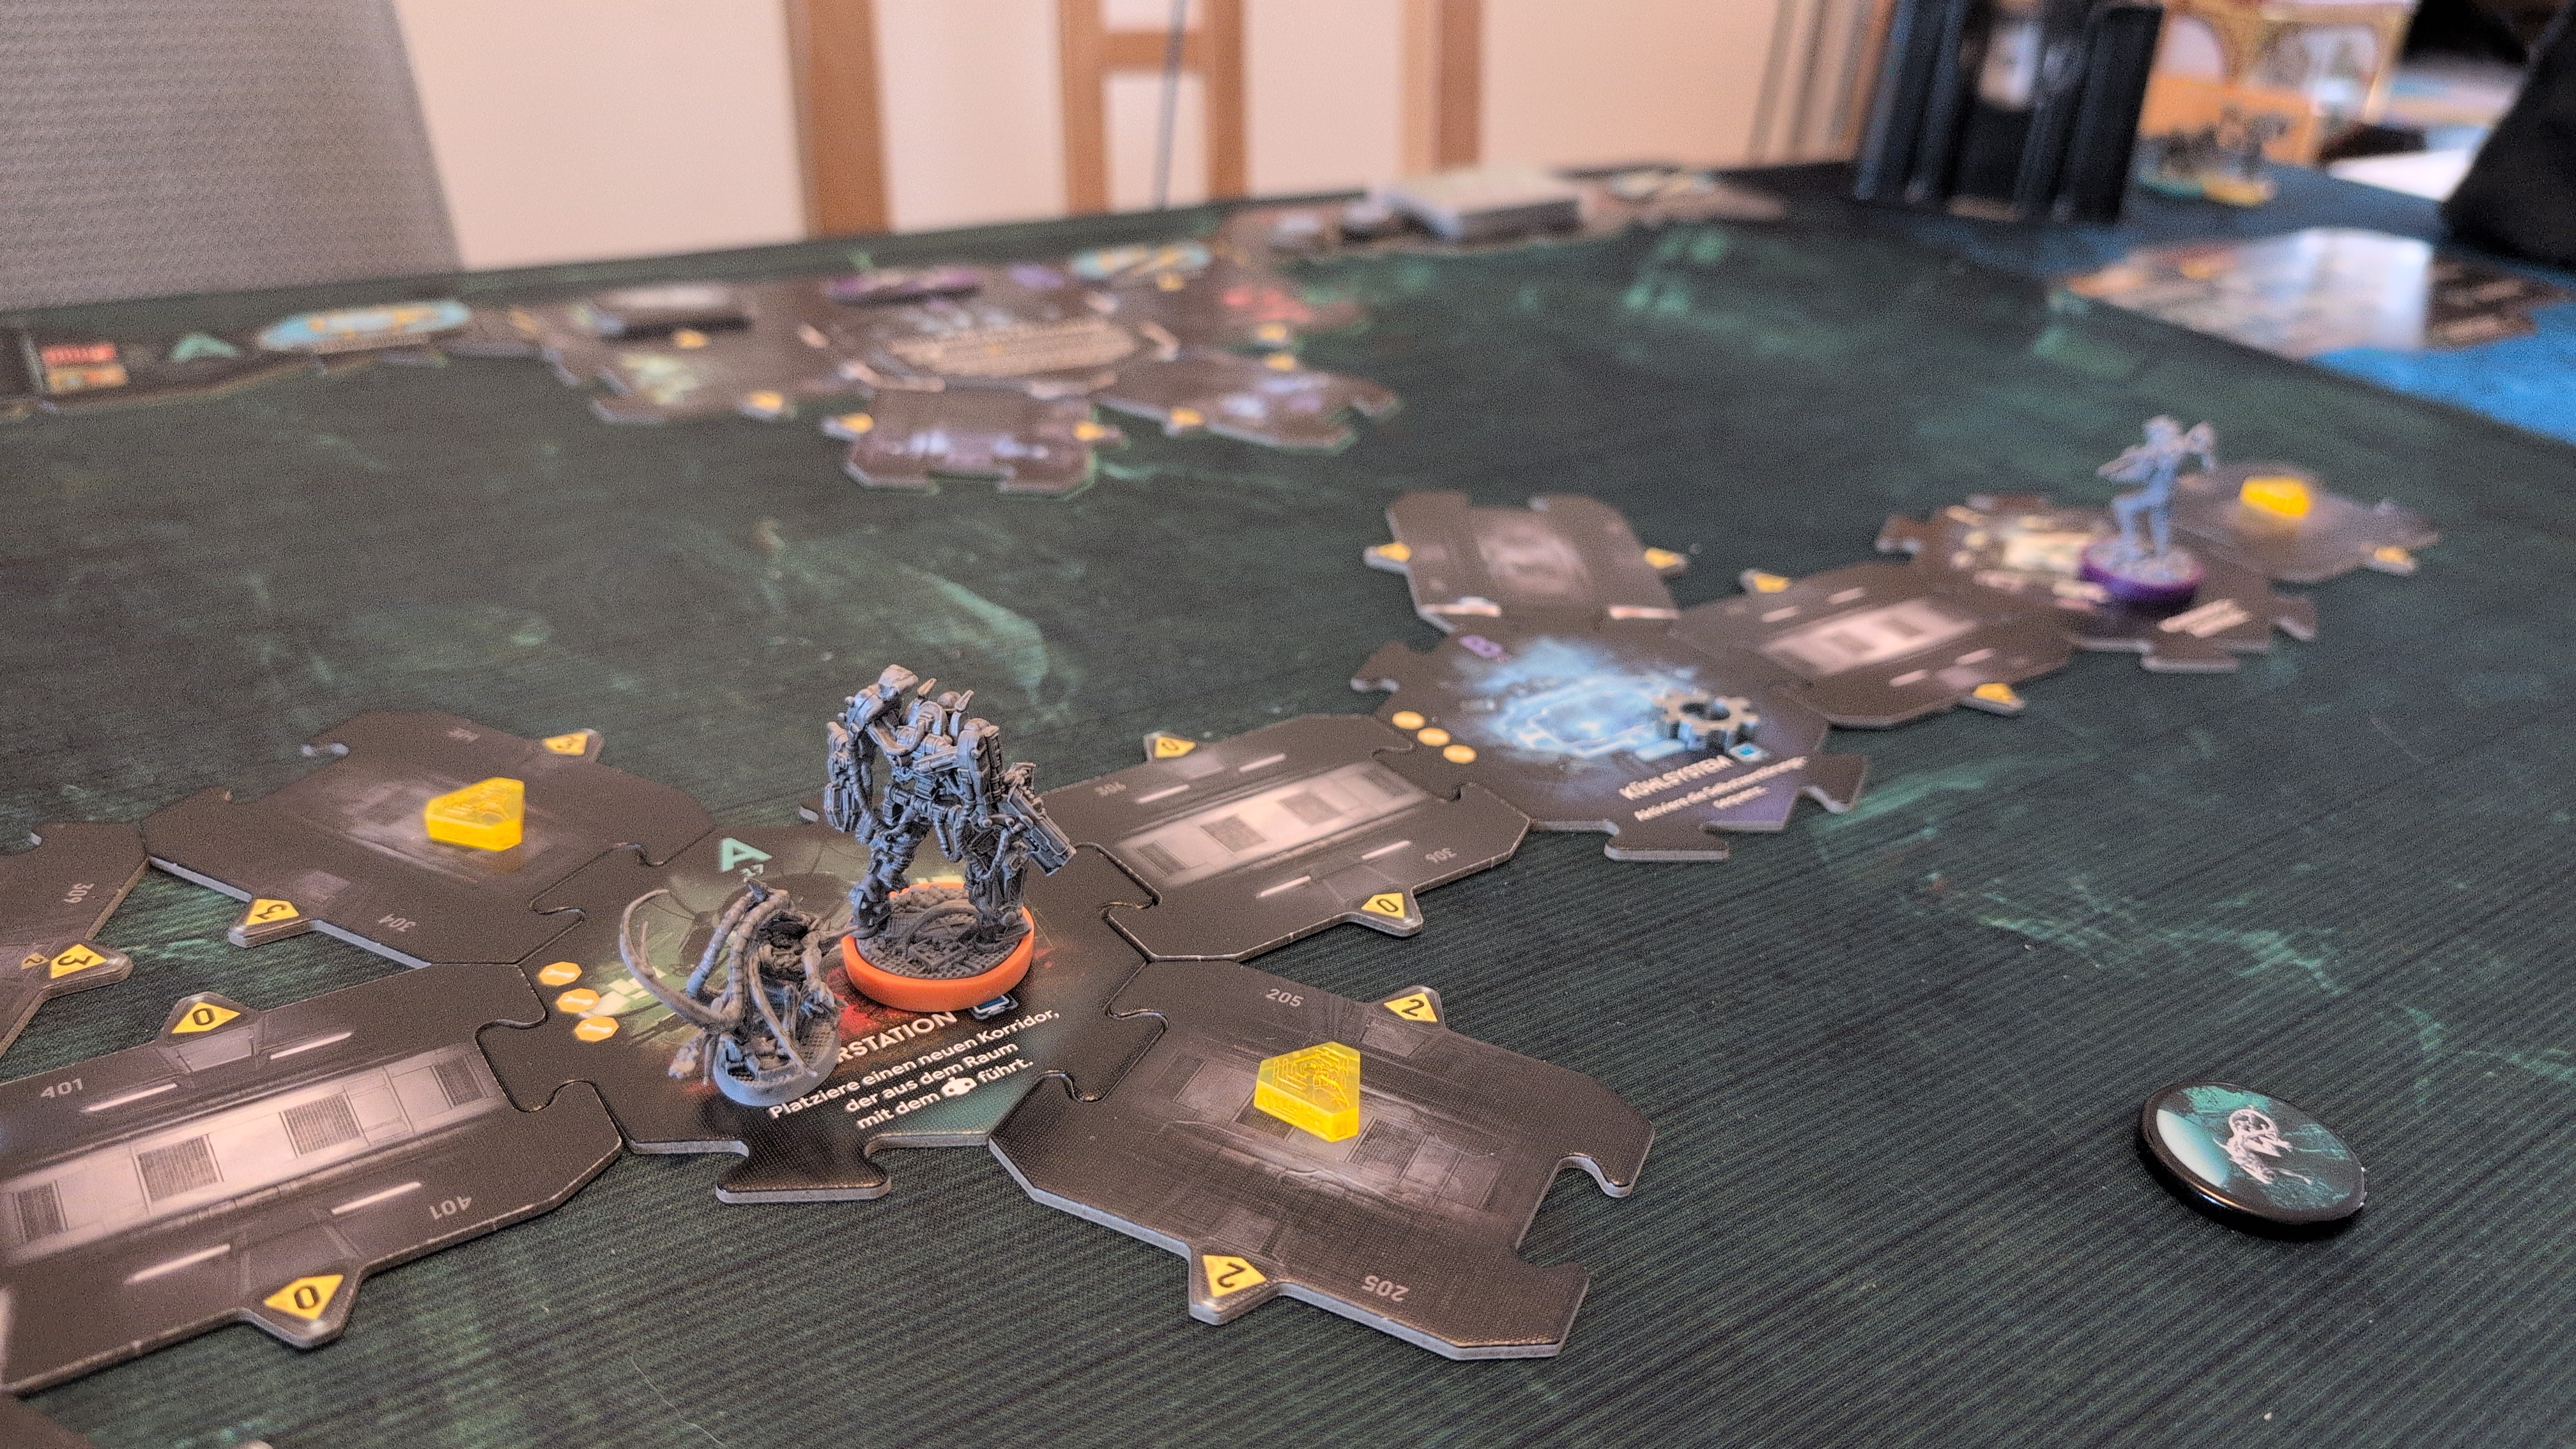
Turn 4 – Phase 2
The recon marine also cautiously moved towards the new objective, and restocked on oxygen from the canisters at his belt.
The combat engineer fired two more shots, but the nimble drone dodged every one.
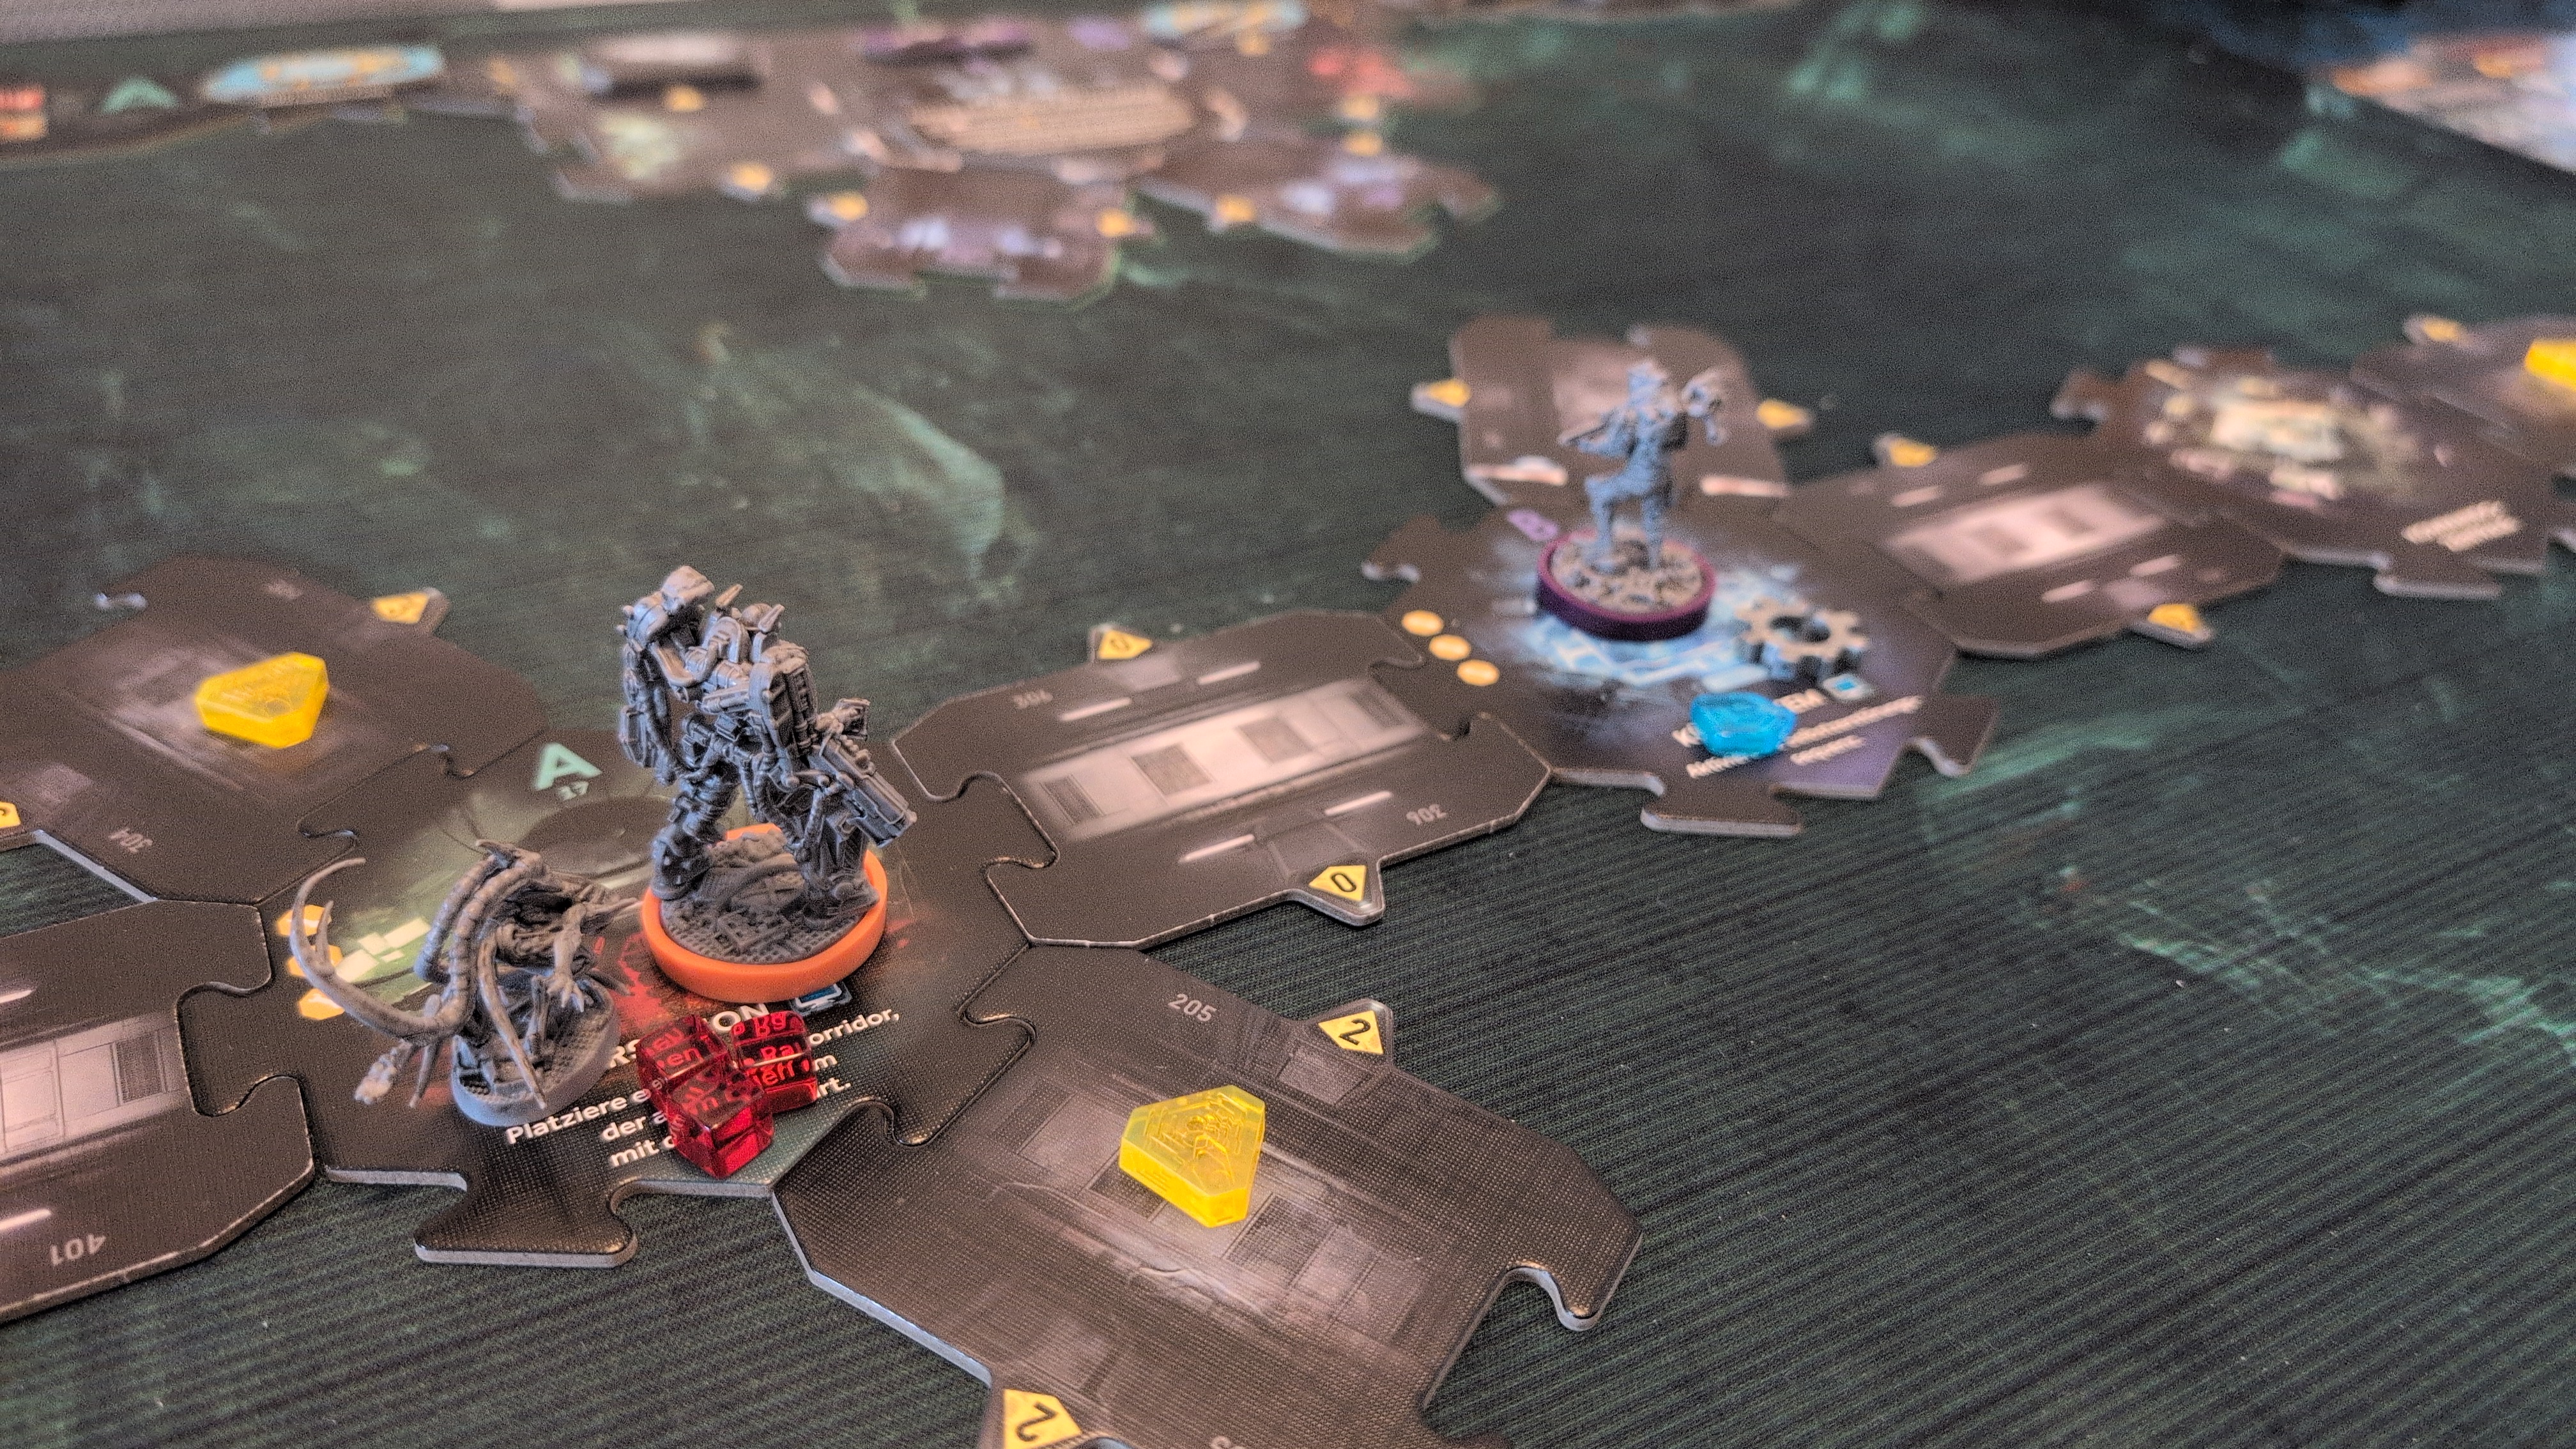
Turn 4 – Xeno Phase
The room with the drone got a malfunction token. In Sector C in the corridor, a larva turned up, as did in the corridor leading to the combat engineer.
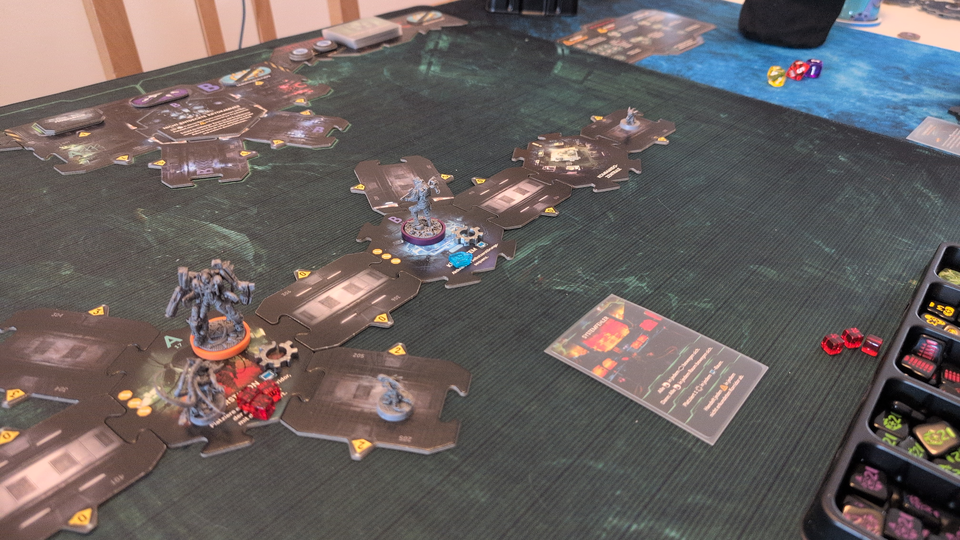
Turn 5
[X] Mission Objective
Locate the Command Center
[ ] Mission Objective
Locate and Rescue Dr. Ashton
Turn 5 – Phase 1
The combat engineer missed again (rolled yet another 5), and then, finally, killed the drone.
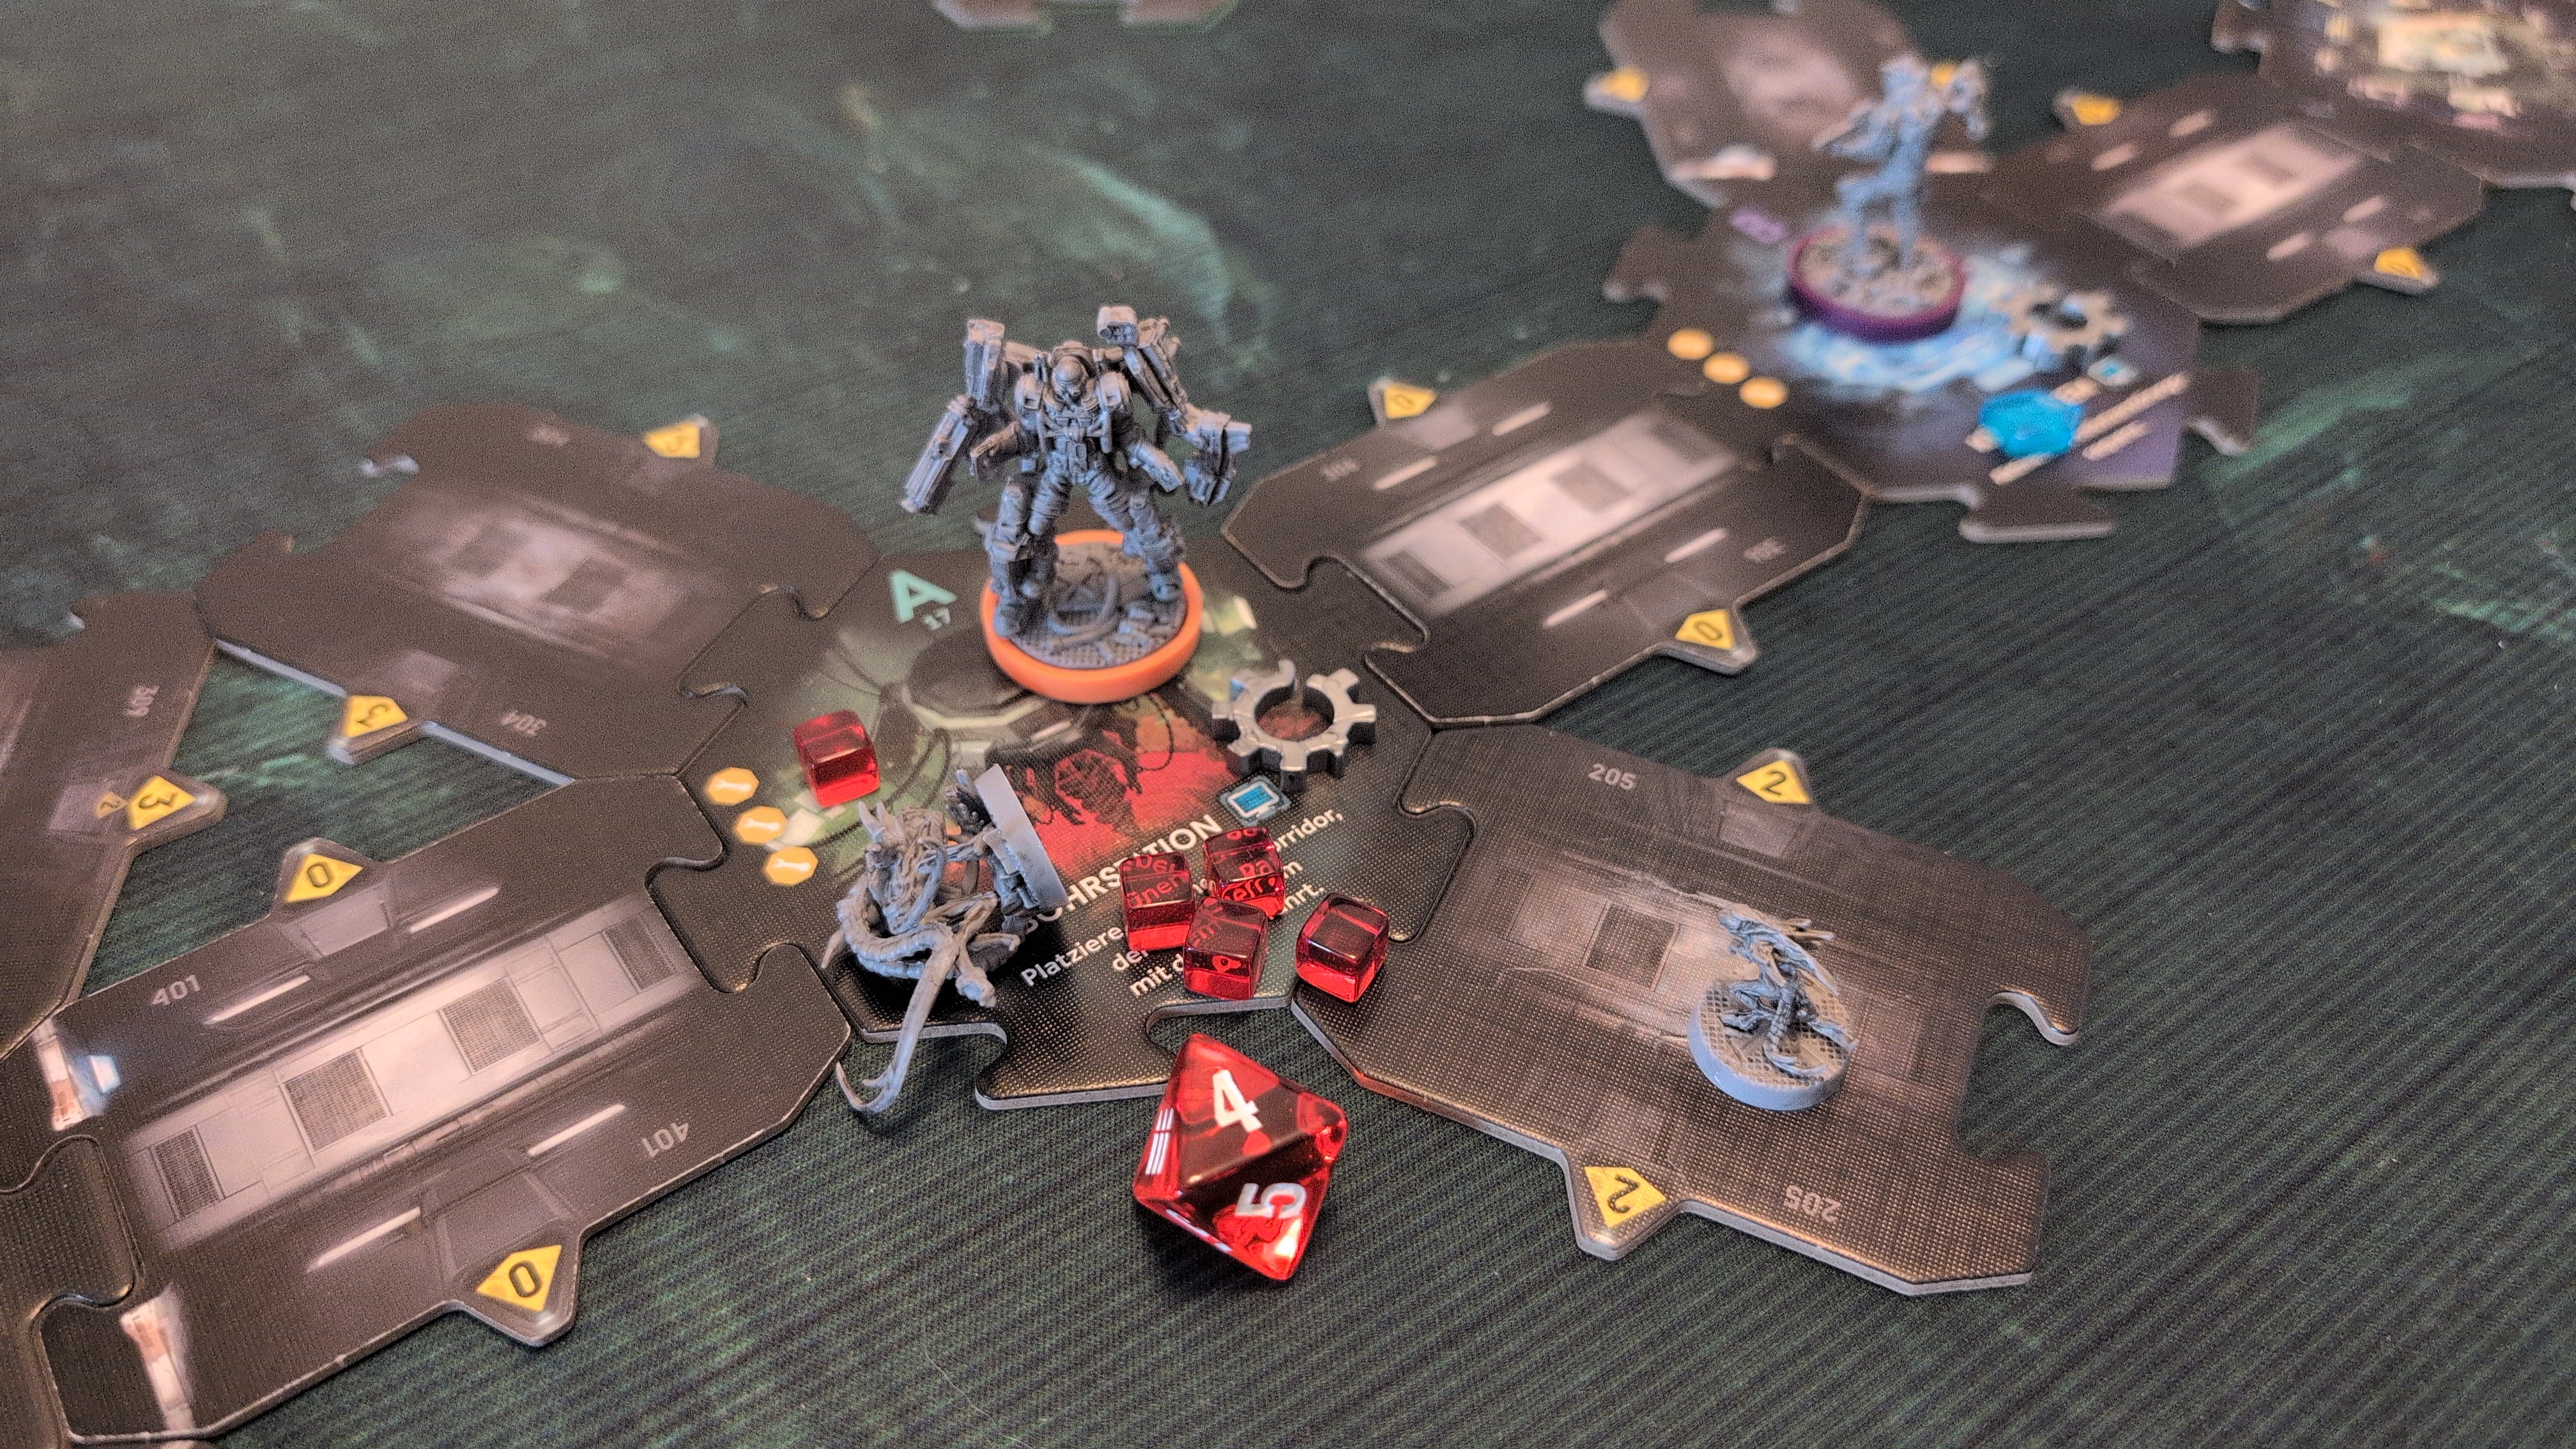
The recon marine moved into the room with the combat engineer, and promptly aroused another xeno. He gained a body injury (only four cards from now on instead of five), and gained a contamination card. He then took revenge on the xeno and killed the drone.
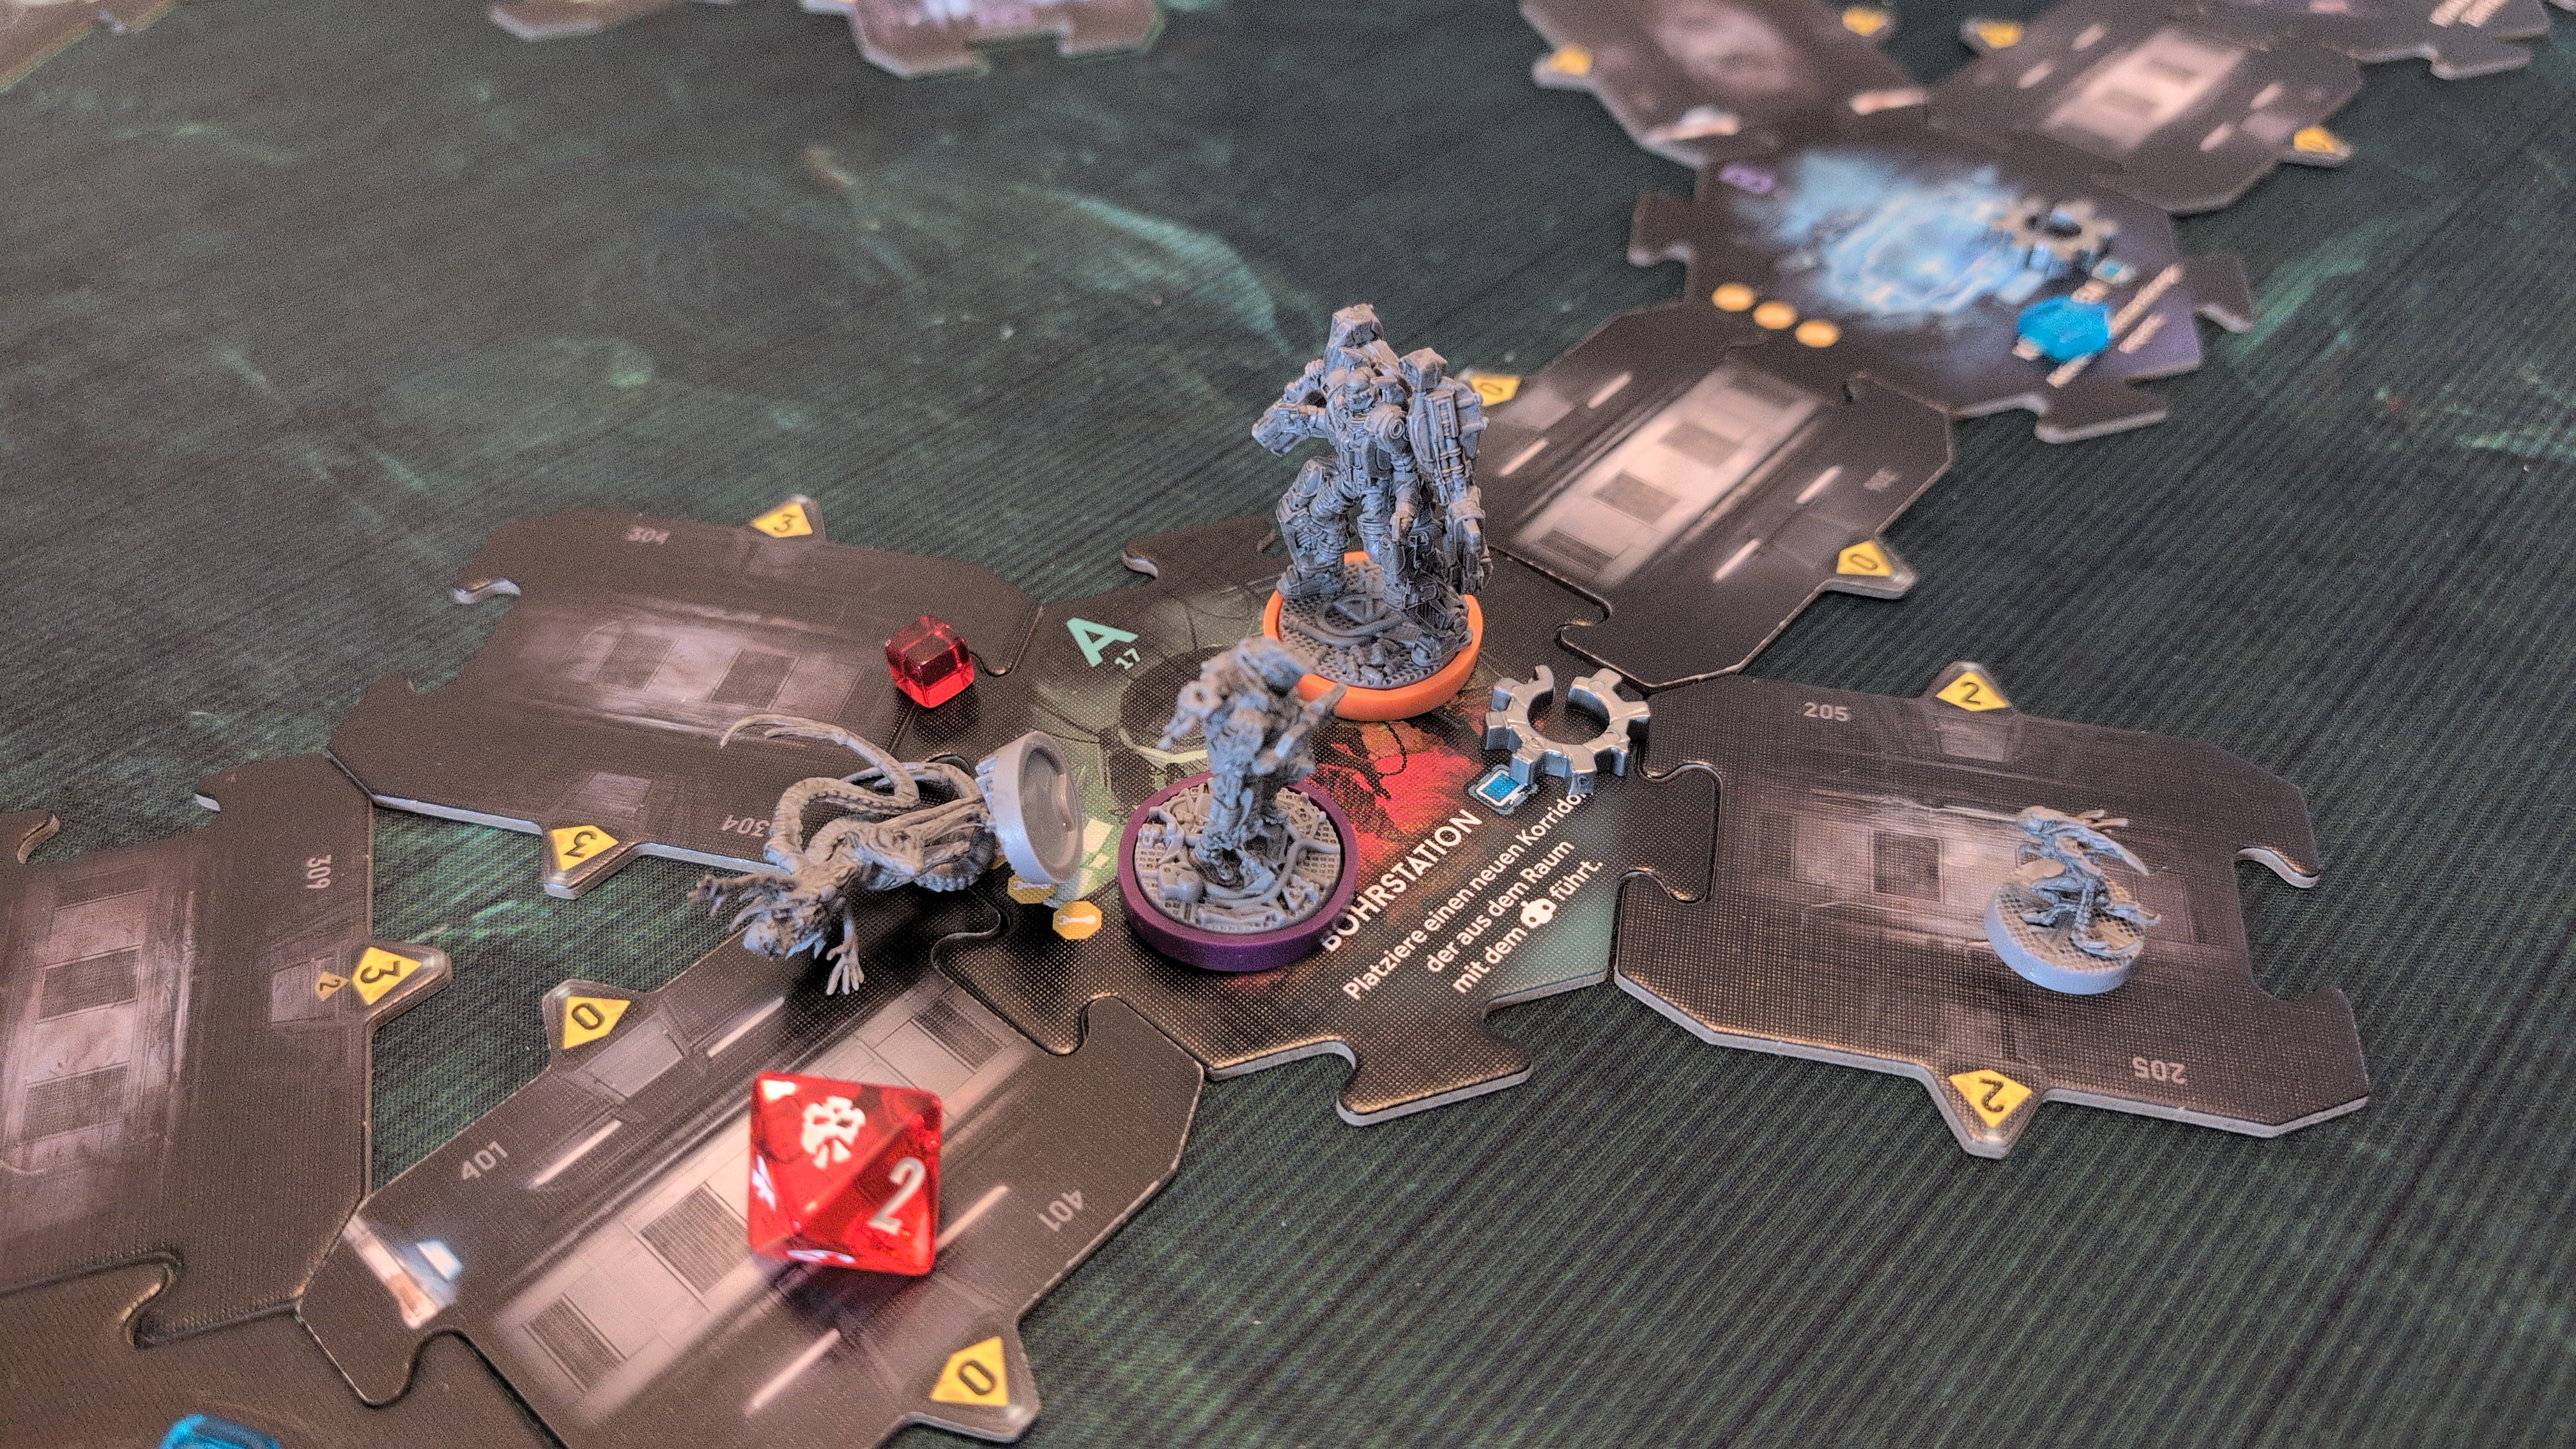
Turn 5 – Phase 2
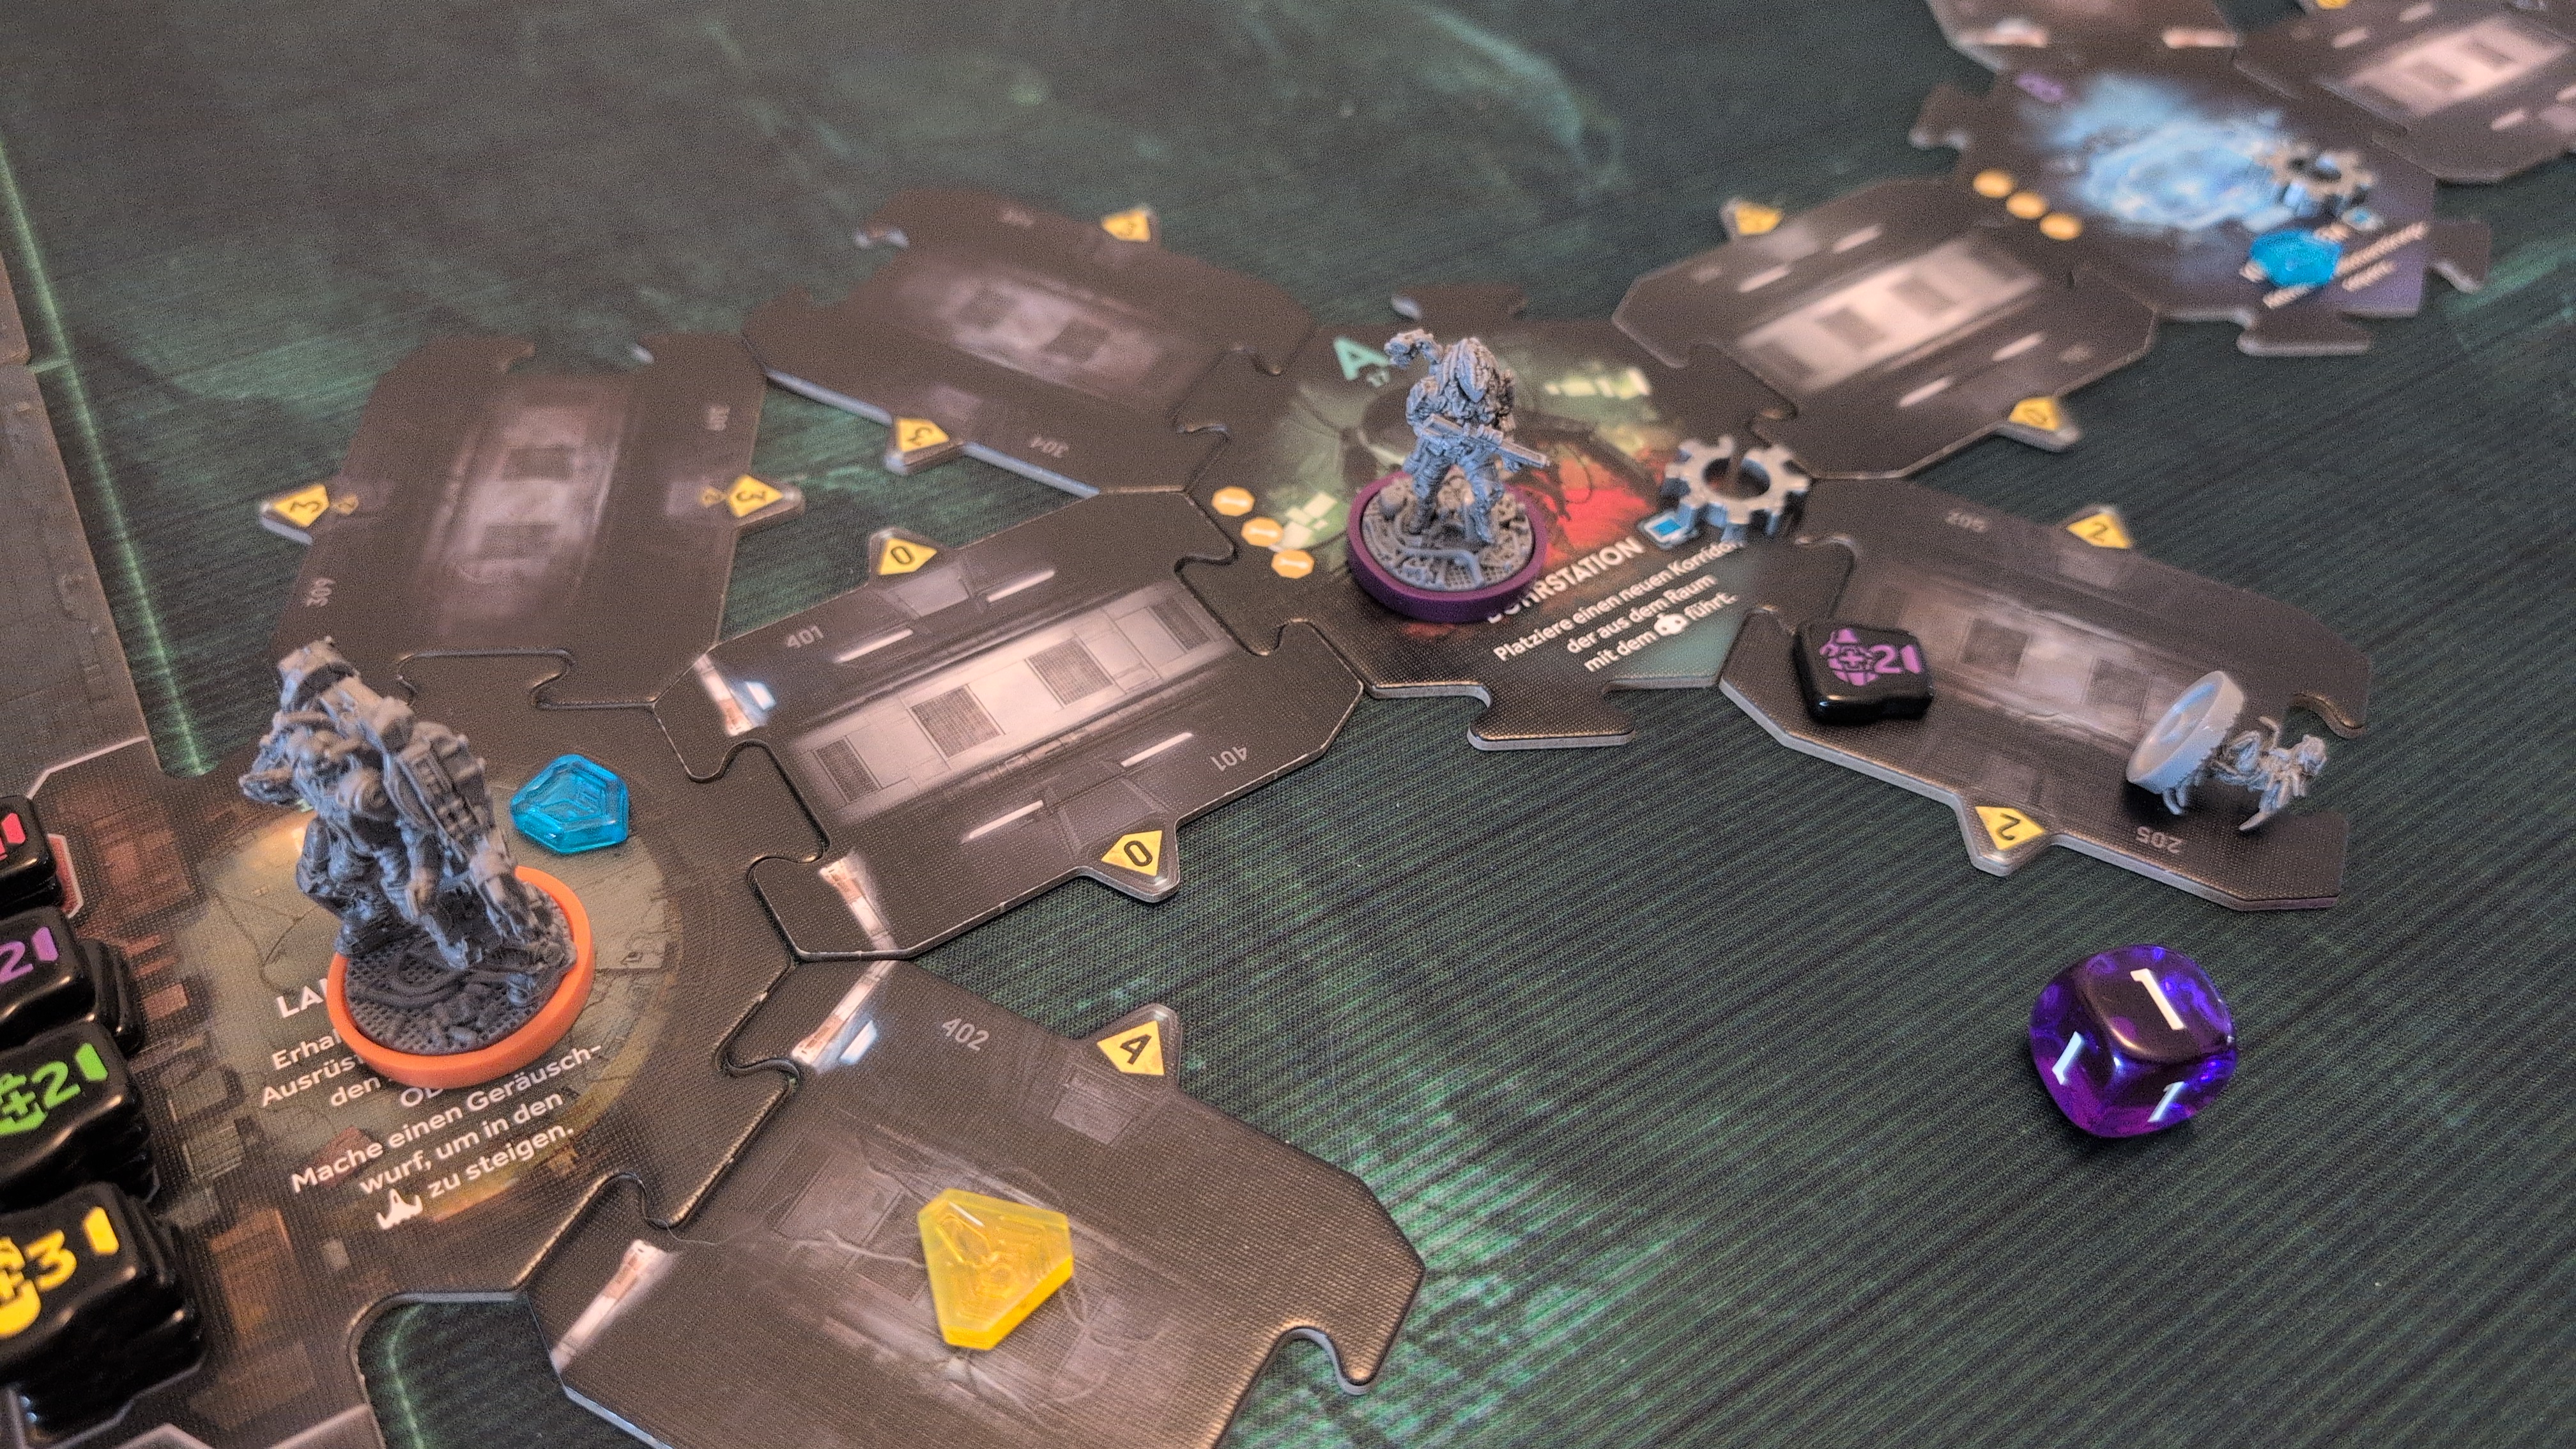
The combat engineer moved to the landing zone, and re-supplied himself there.
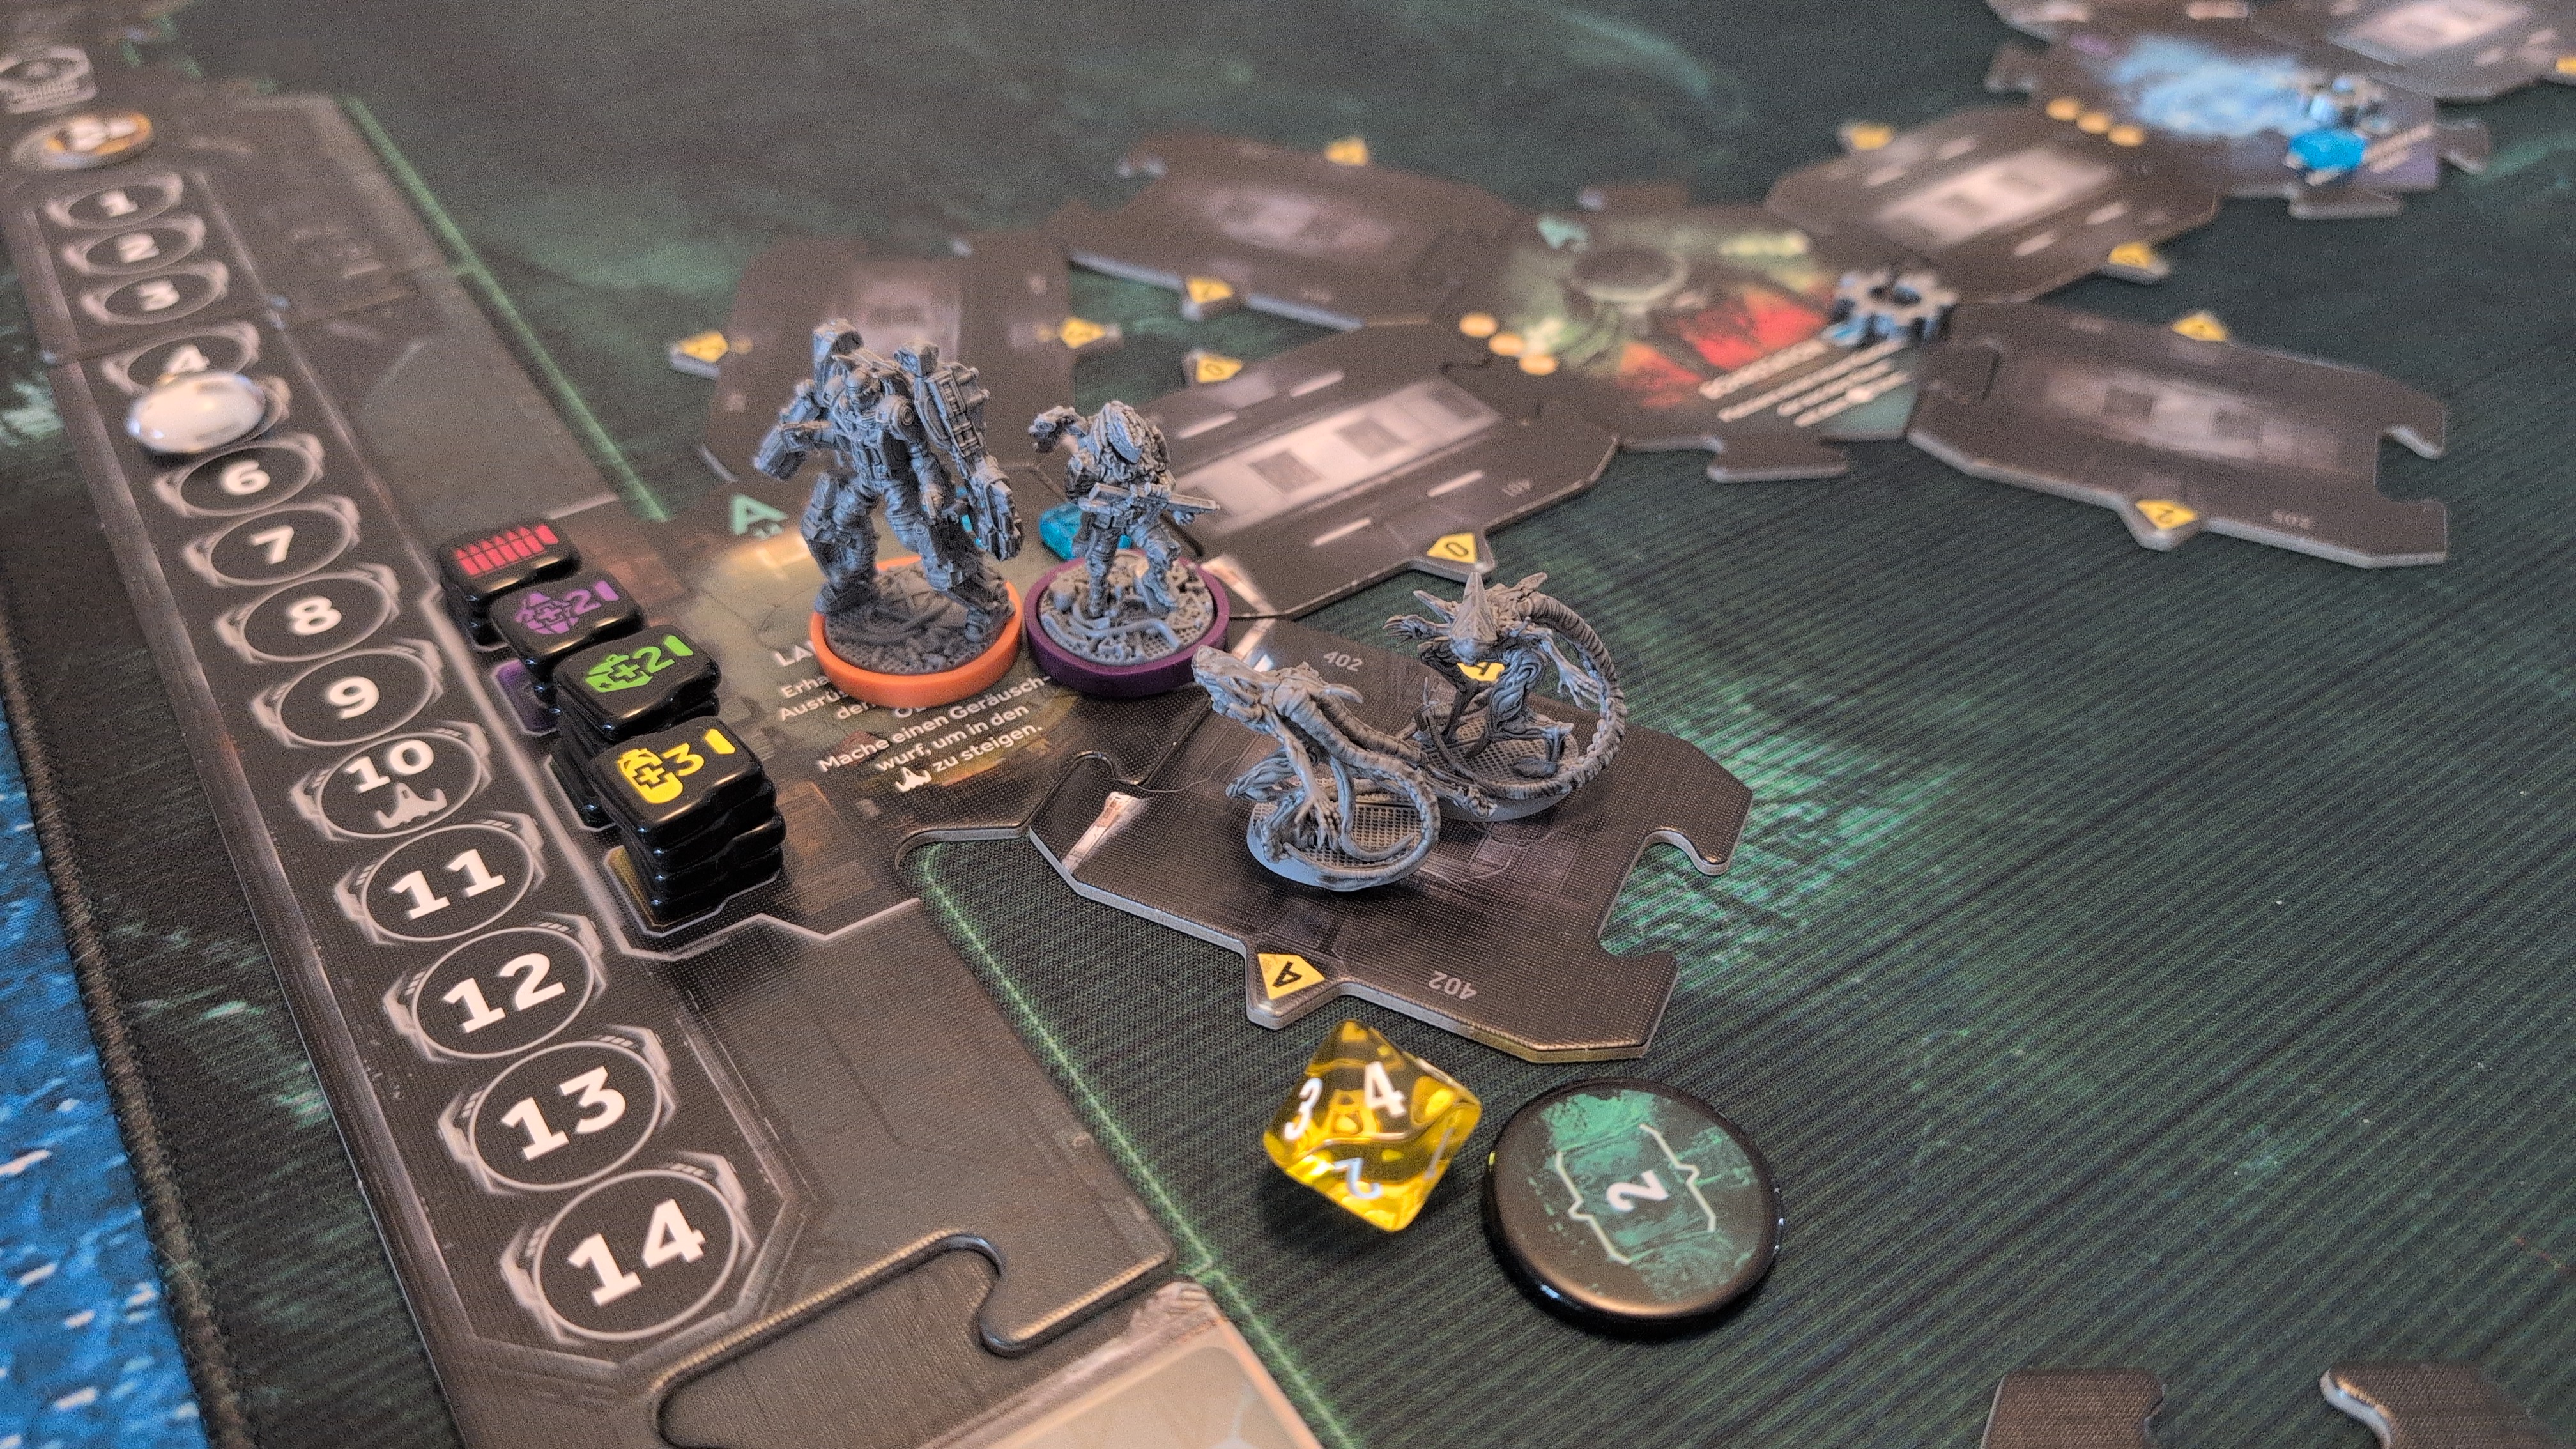
The recon marine threw a grenade into the corridor, to kill the larva. He then moved to the landing pad, too, which caught the attention of more drones.
Turn 5 – Xeno Phase
The larva at the far end moved towards the Marines.
Turn 5 – Turn End Phase
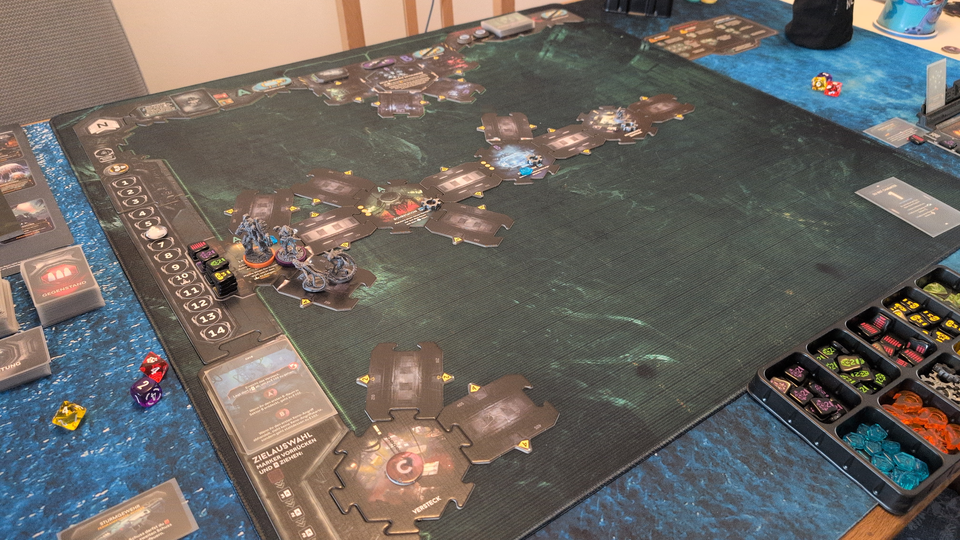
Turn 6
[X] Mission Objective
Locate the Command Center
[ ] Mission Objective
Locate and Rescue Dr. Ashton
Turn 6 – Phase 1
The recon marine threw another grenade, to clear the corridor.
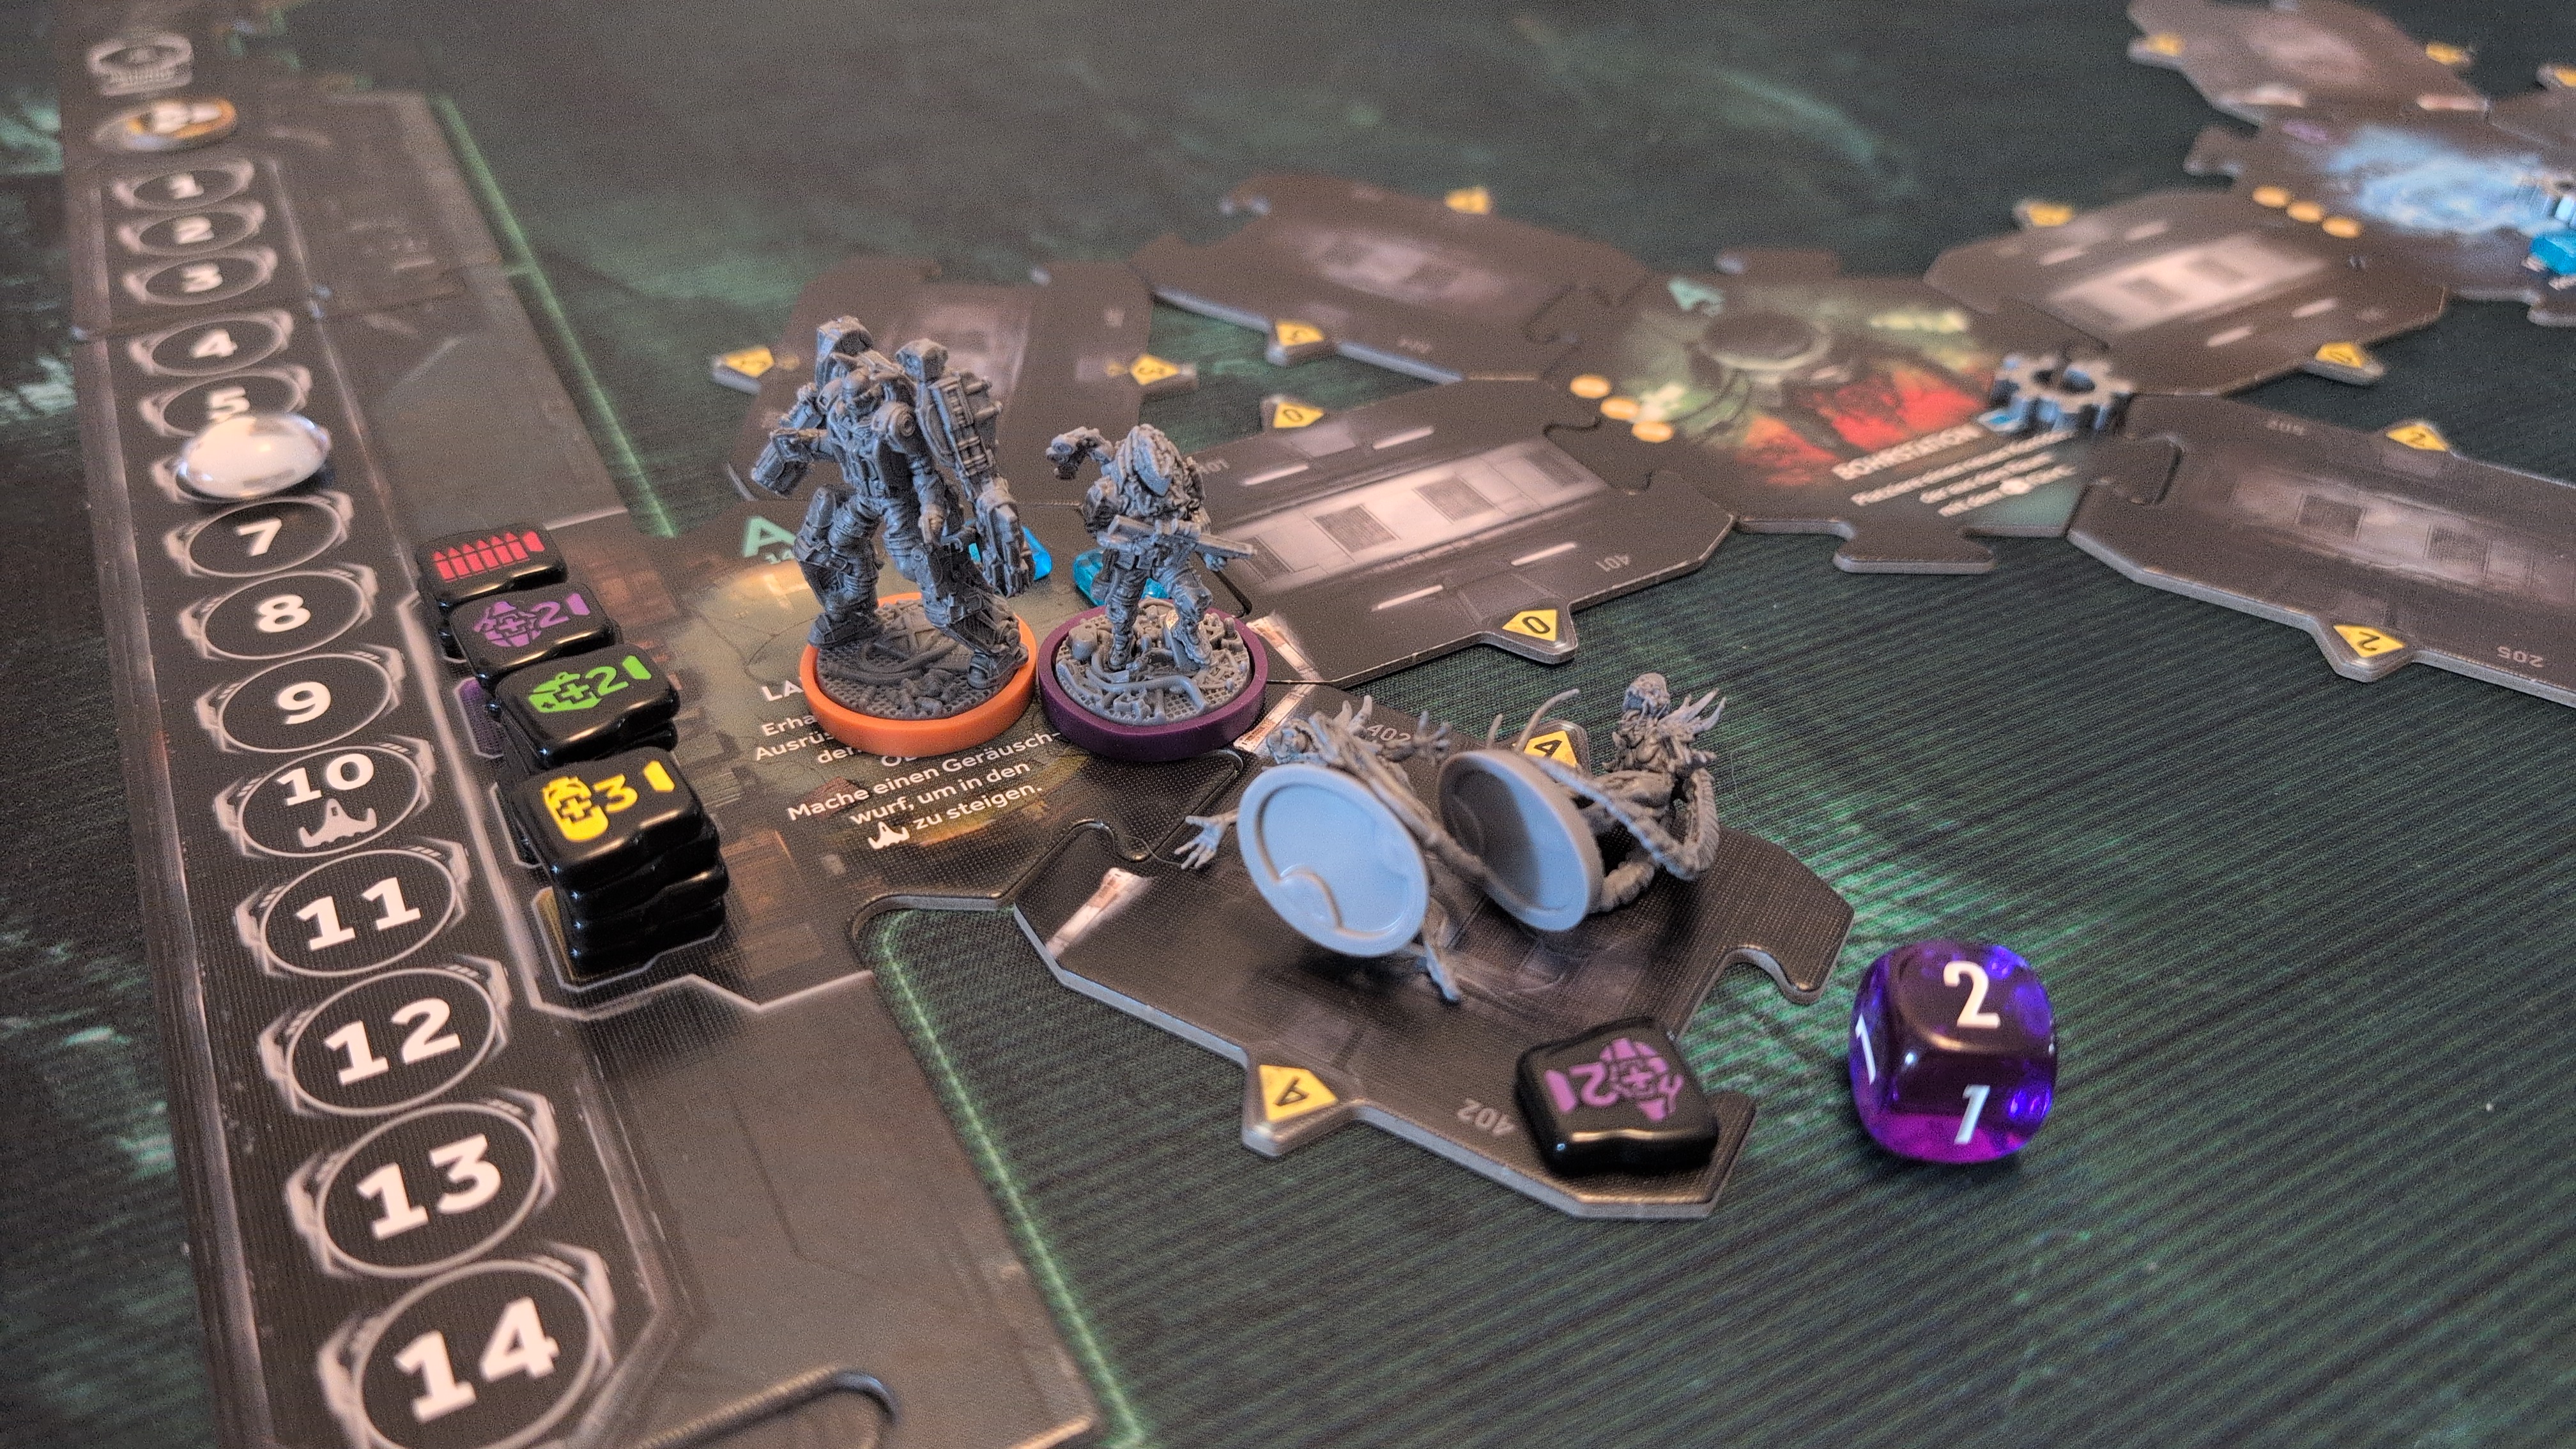
He then also stocked up on supplies.
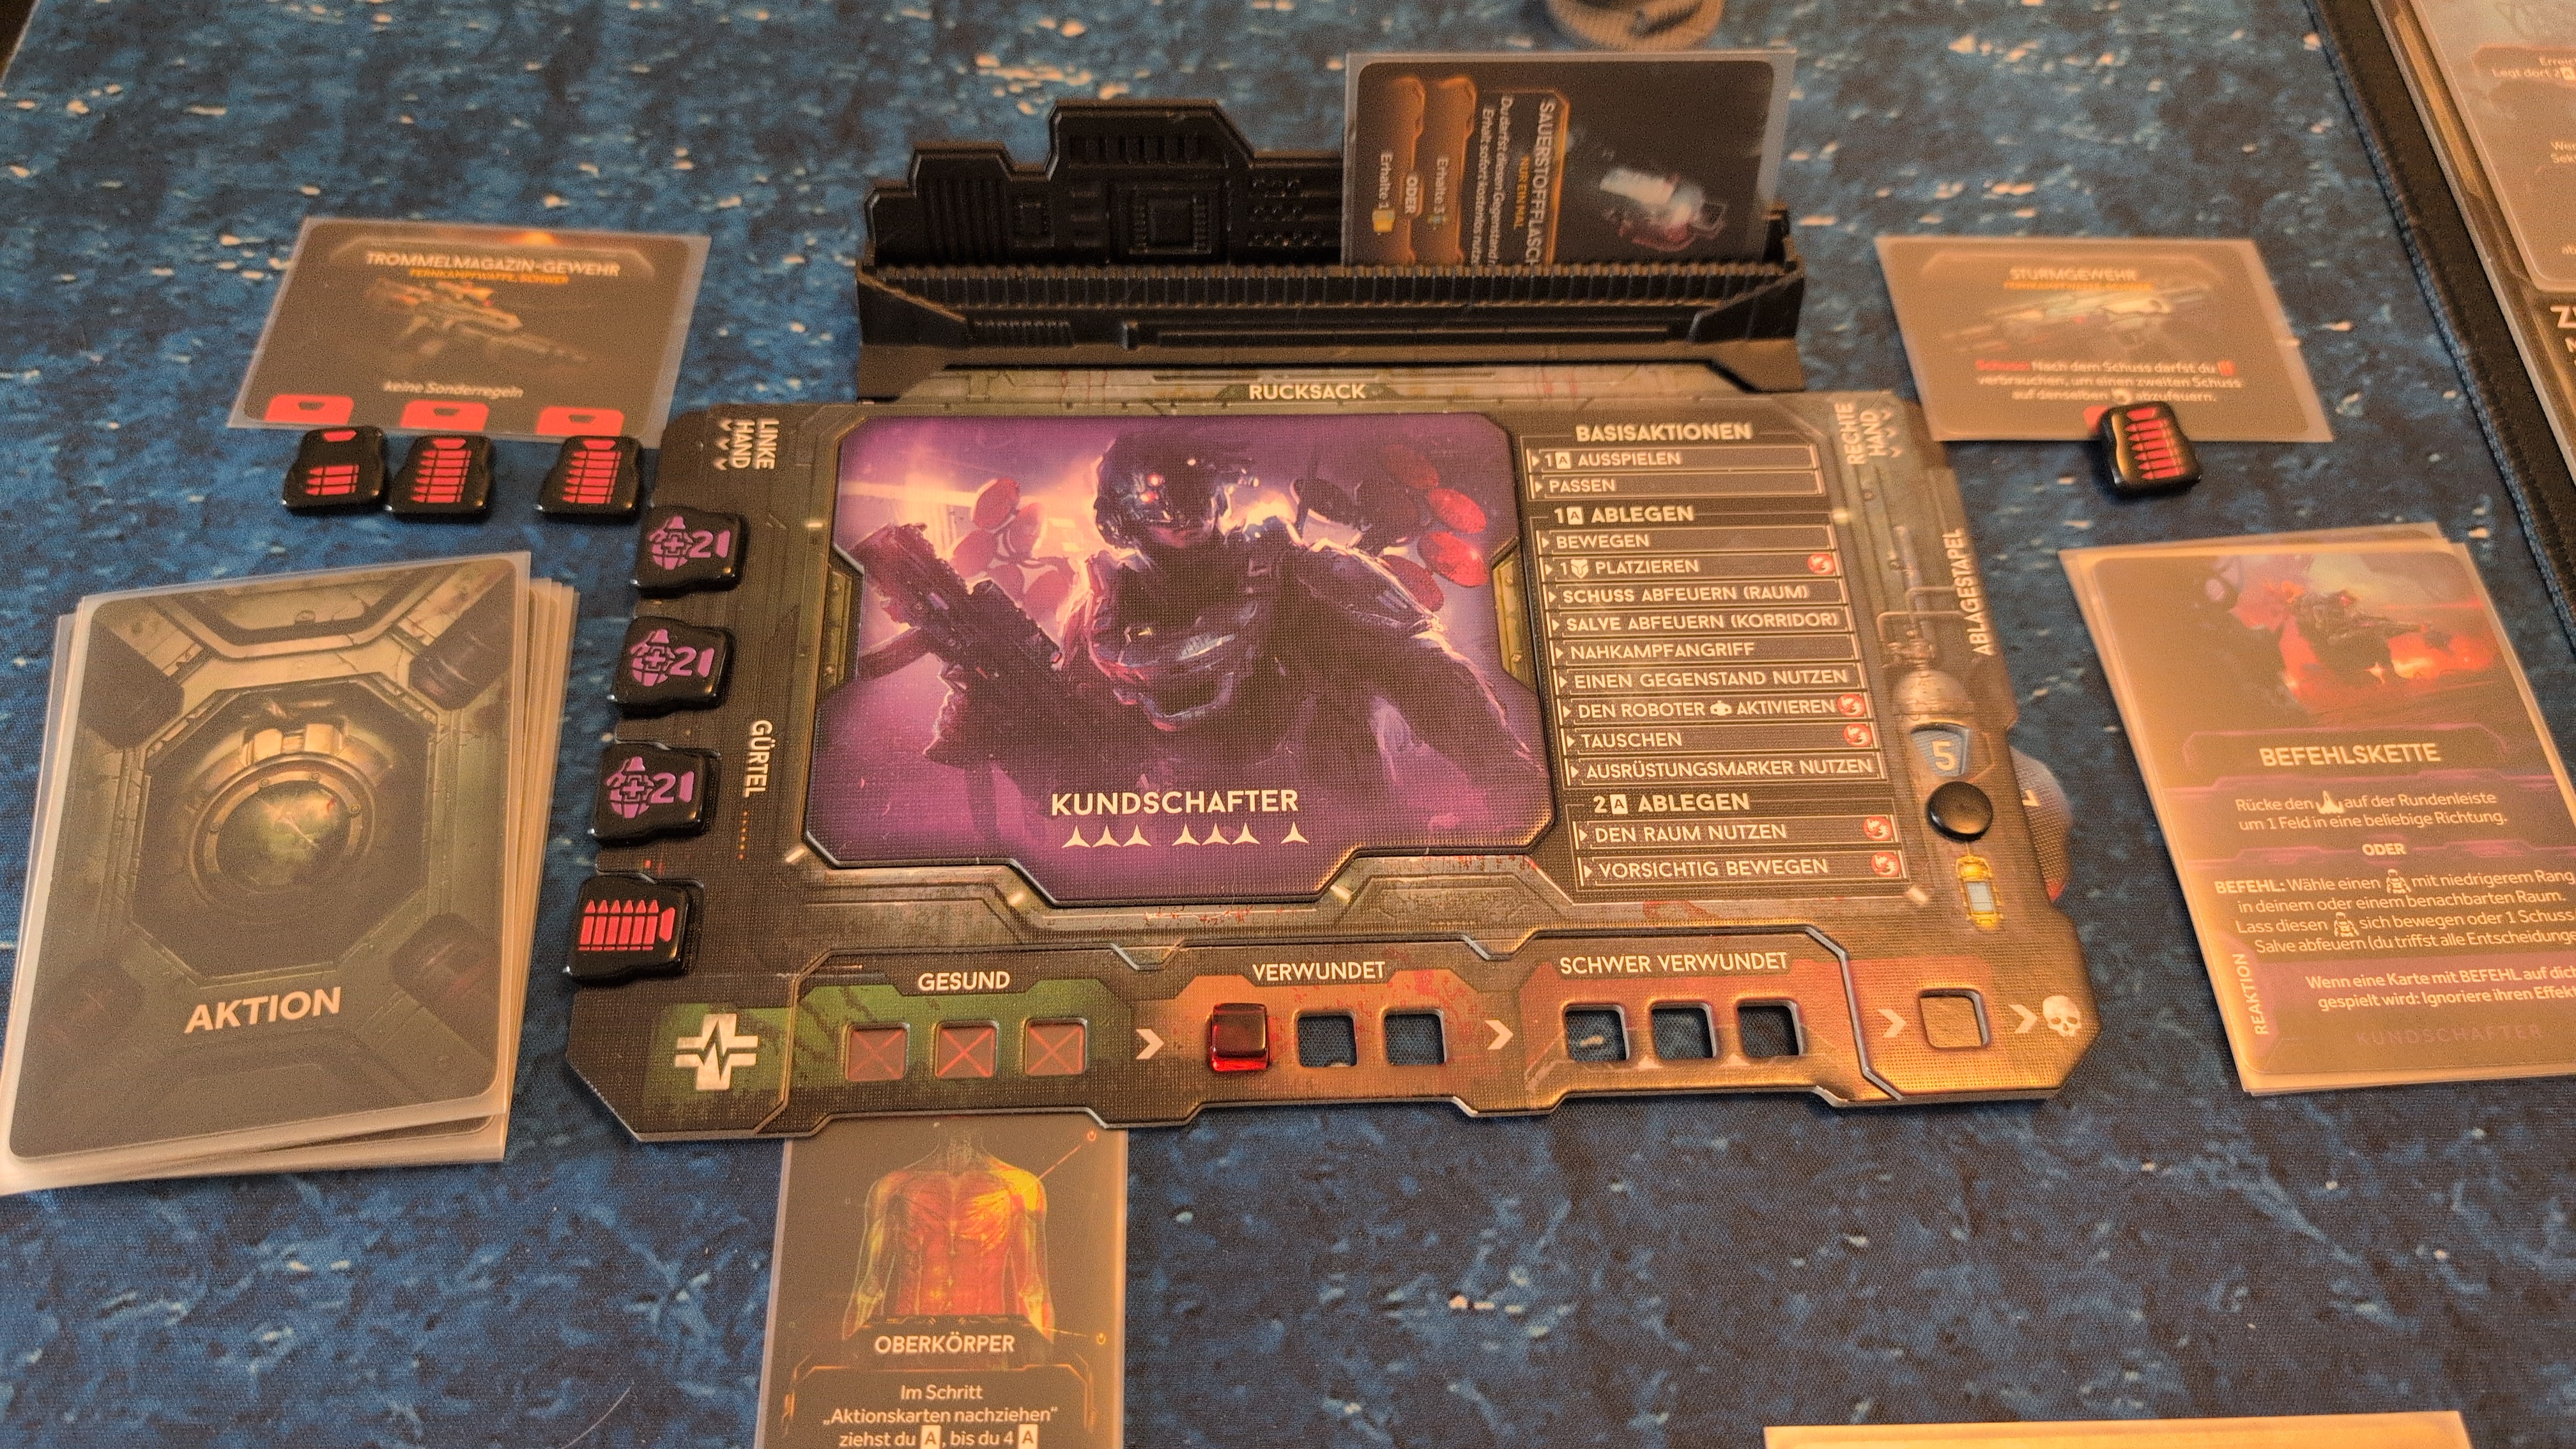
The combat engineer cautiously moved to the next room, which turned out to be the gun control room. He then secured the corridor back towards the landing zone.
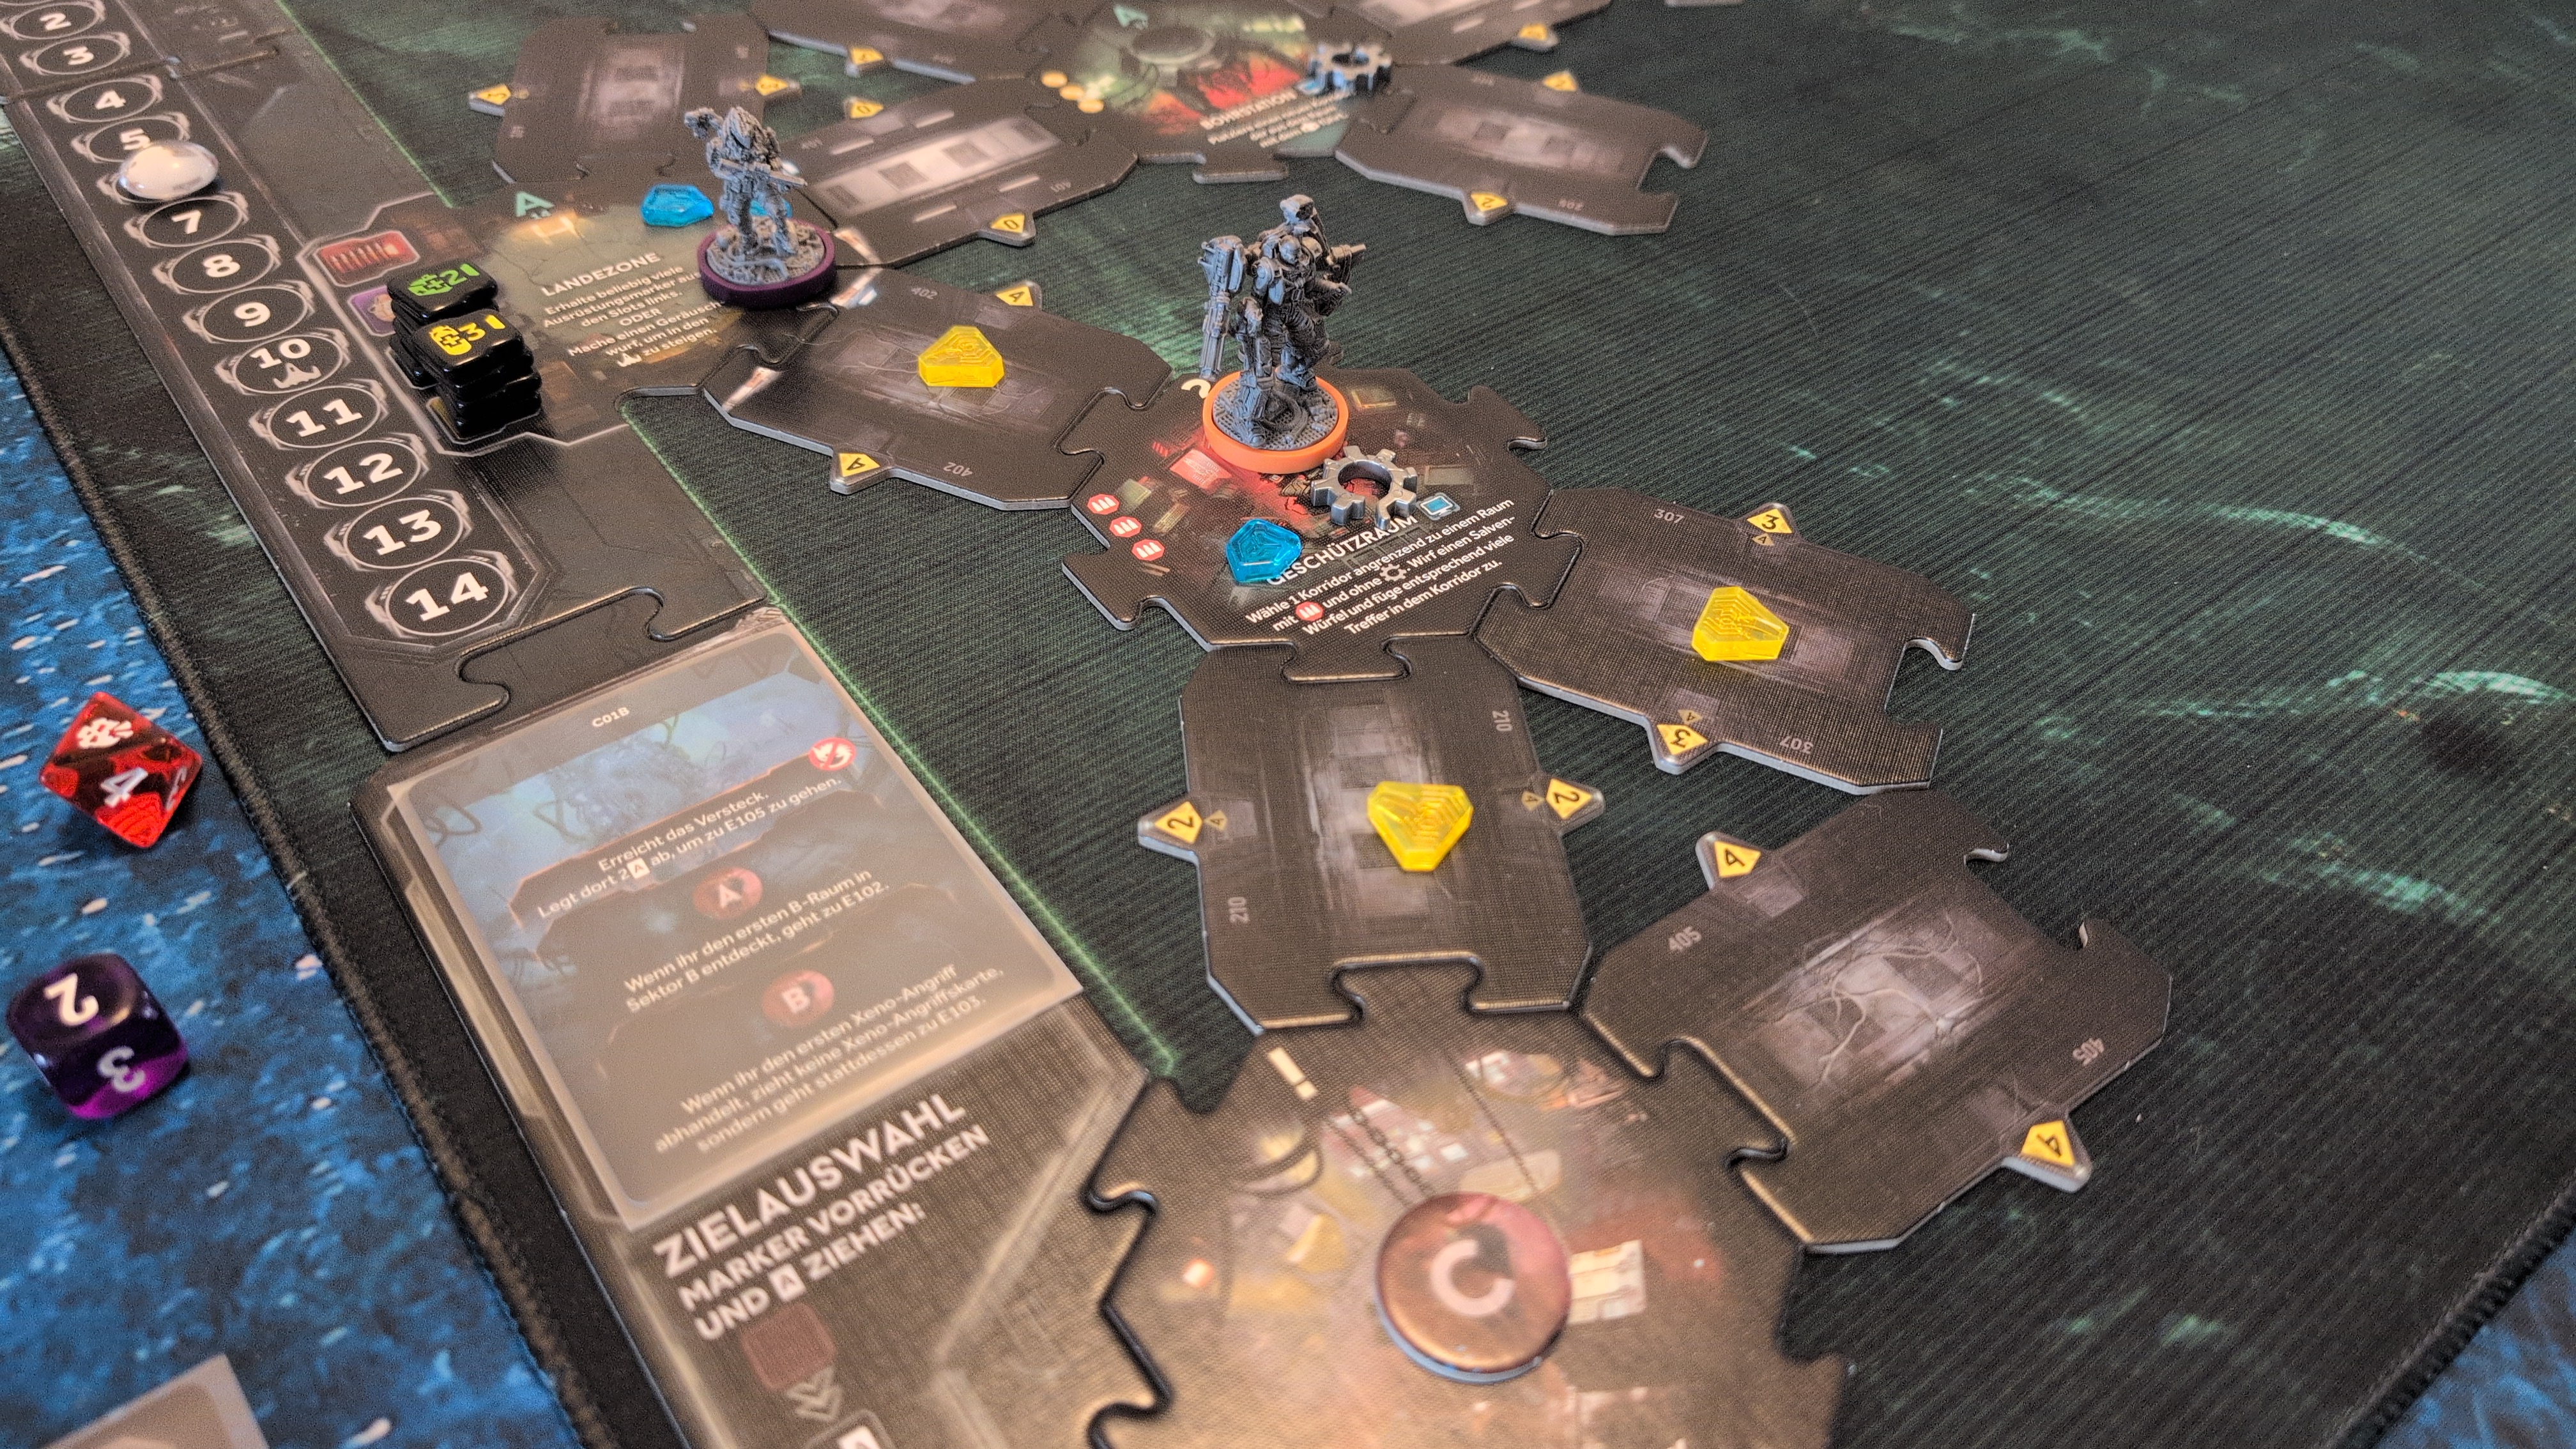
Turn 6 – Phase 2
While the recon marine had to pass early (remember, hand limit of four only due to the injury), the combat engineer repaired the gun control room and placed another secure token.
Turn 6 – Xeno Phase
The larva continued to move, and a lot of noise markers had to be placed.
Turn 6 – Turn End Phase
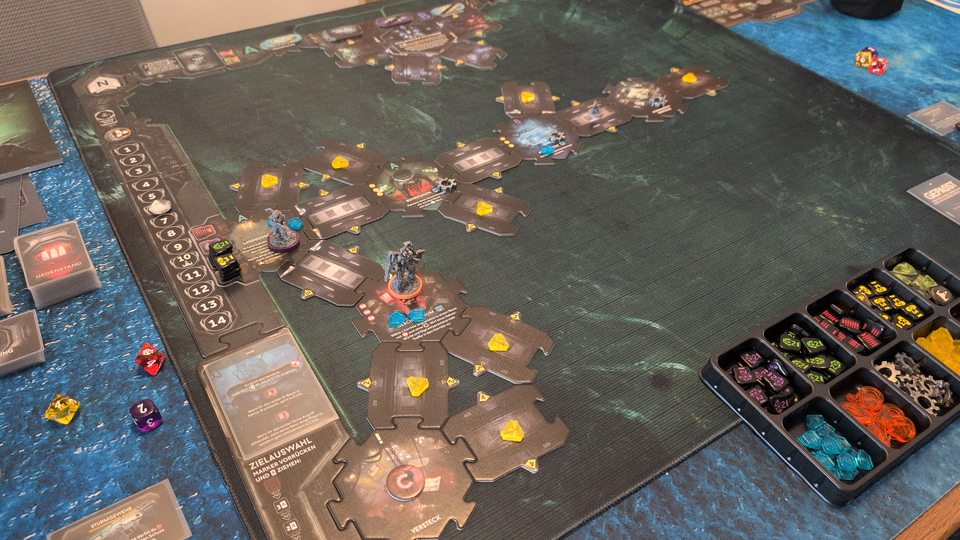
Turn 7
[X] Mission Objective
Locate the Command Center
[ ] Mission Objective
Locate and Rescue Dr. Ashton
Turn 7 – Phase 1
The combat engineer searched the gun control room for useful items, then cautiously moved towards the objective room. In the other corridor leading to the objective room, he discovered two more drone xenos.
The recon marine cautiously moved into the gun control room using Scouting, then secured the corridor leading to the objective room.
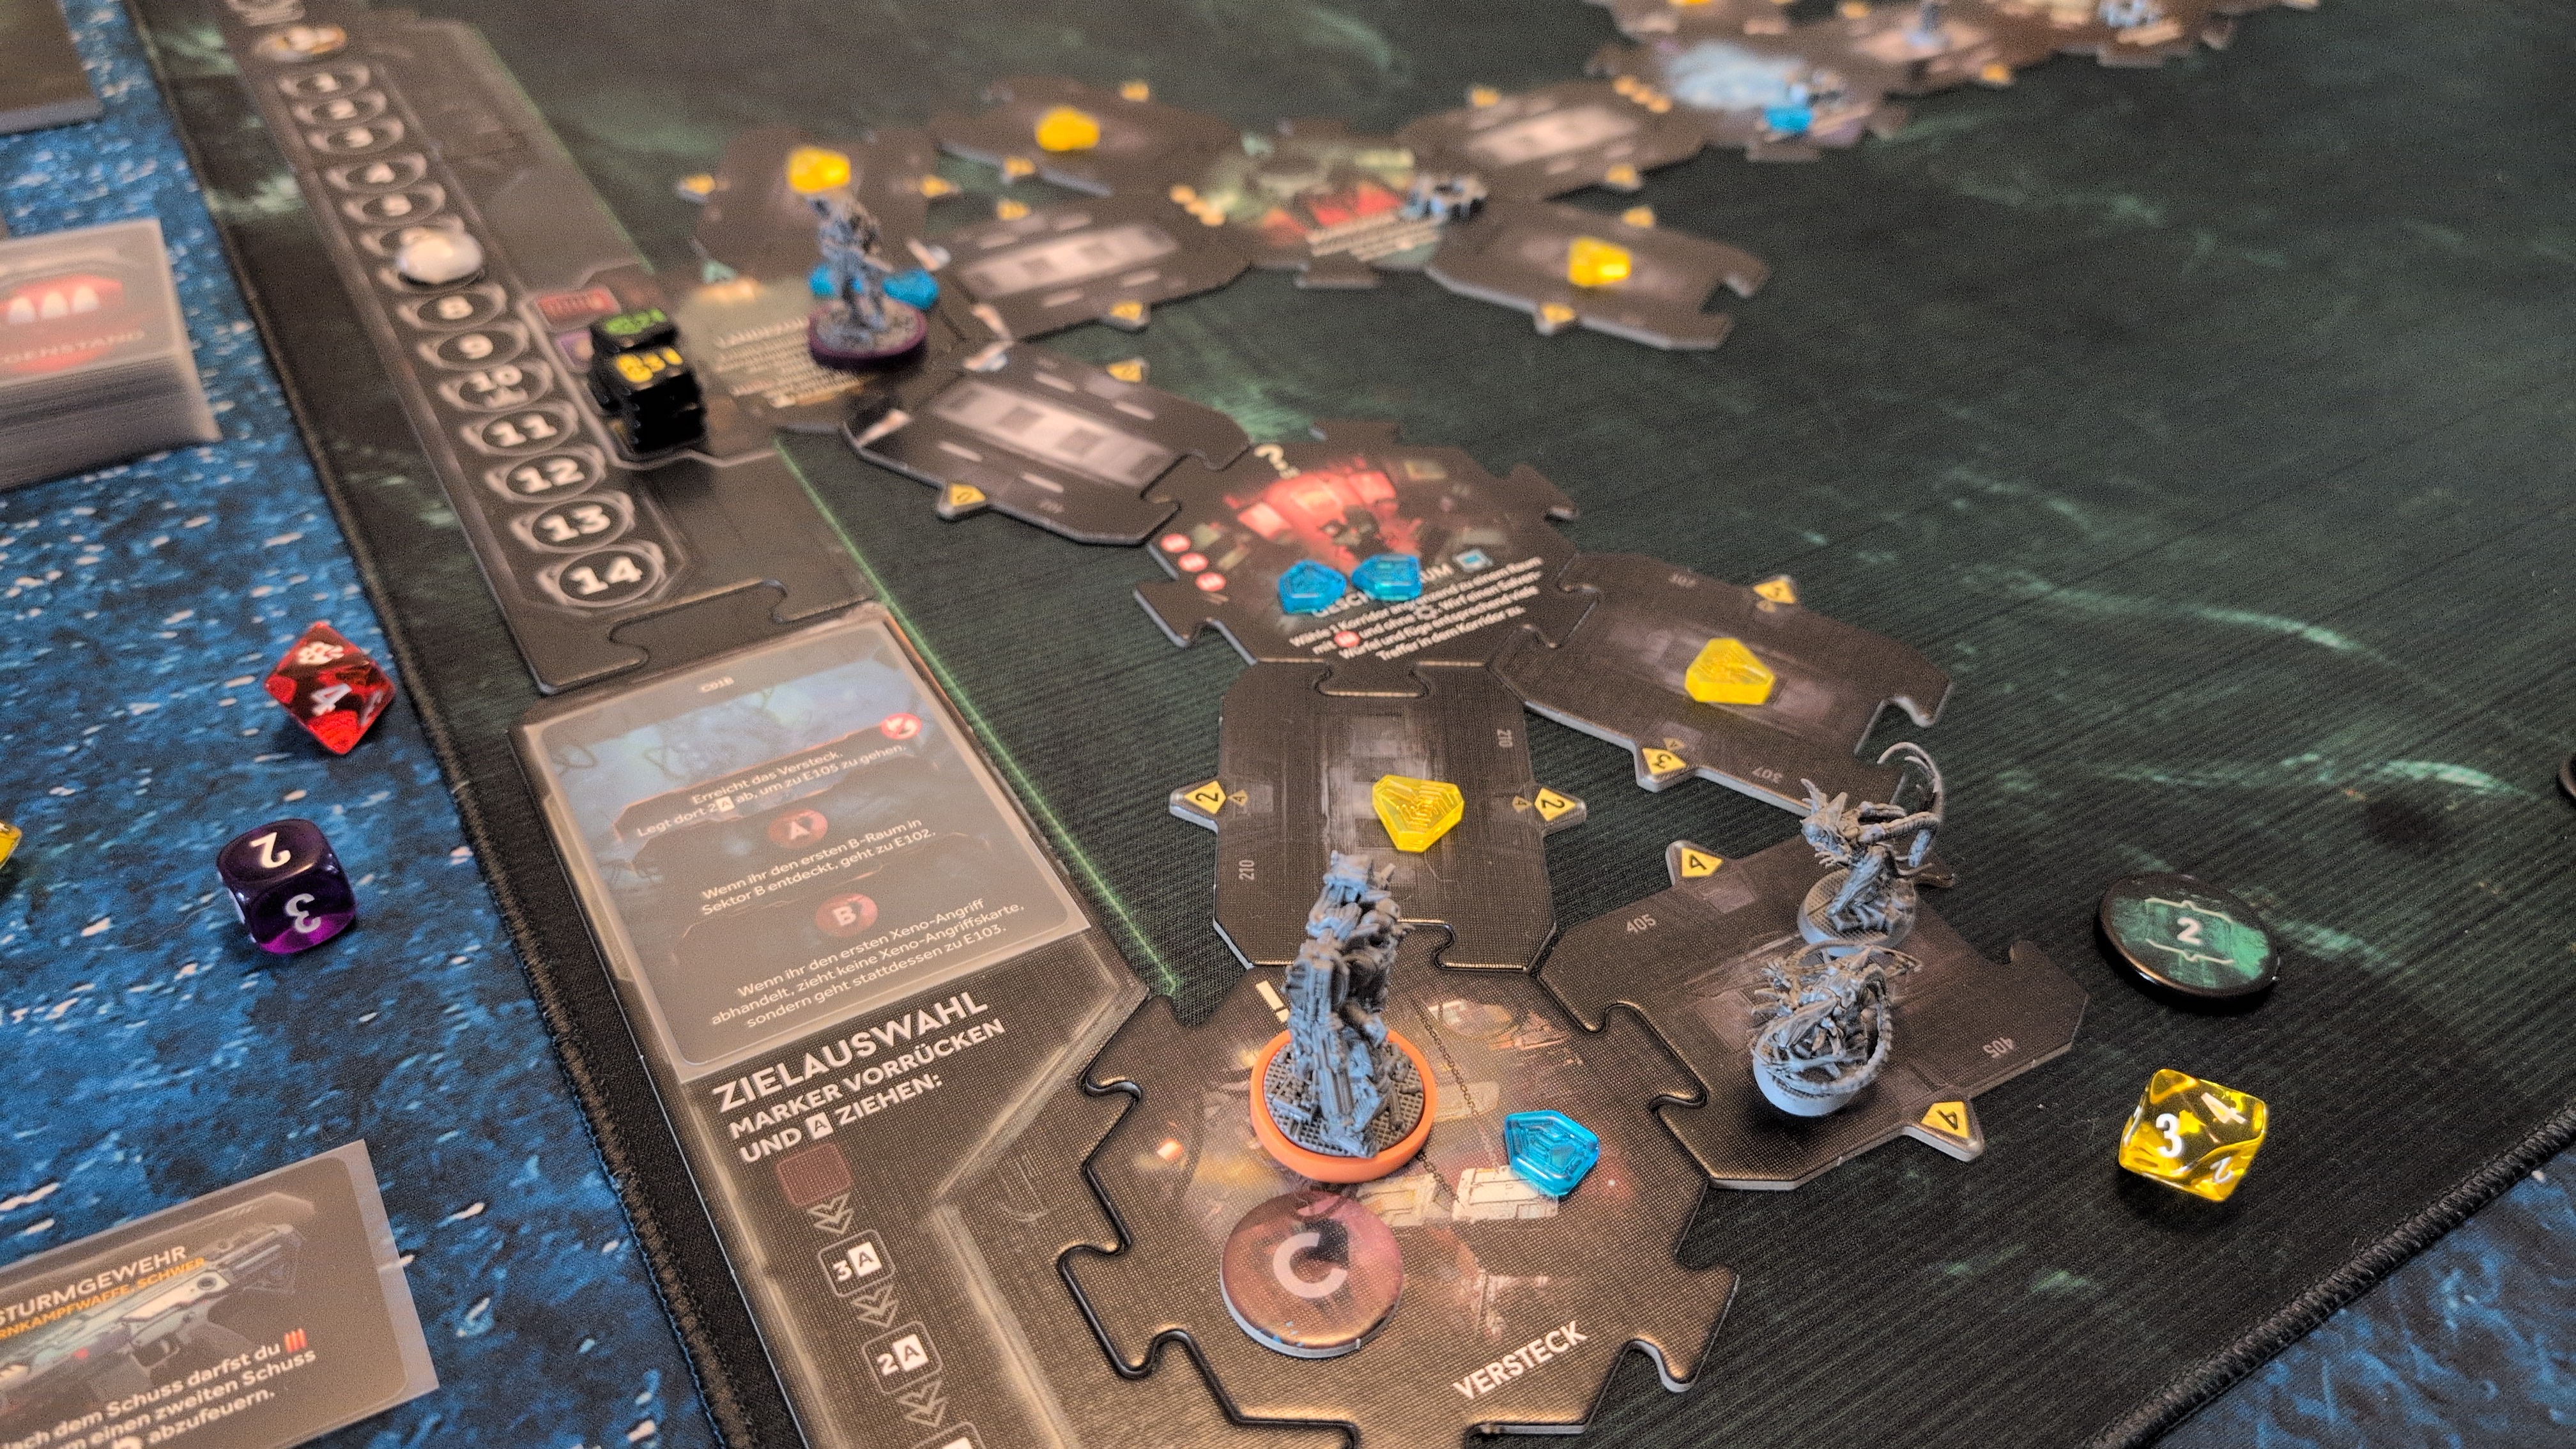
Turn 7 – Phase 2
The combat engineer threw a grenade into the corridor with the drones, killing both. He then used the previously found Phosphate, to secure this corridor, allowing for safe passage of the recon marine to the objective room.
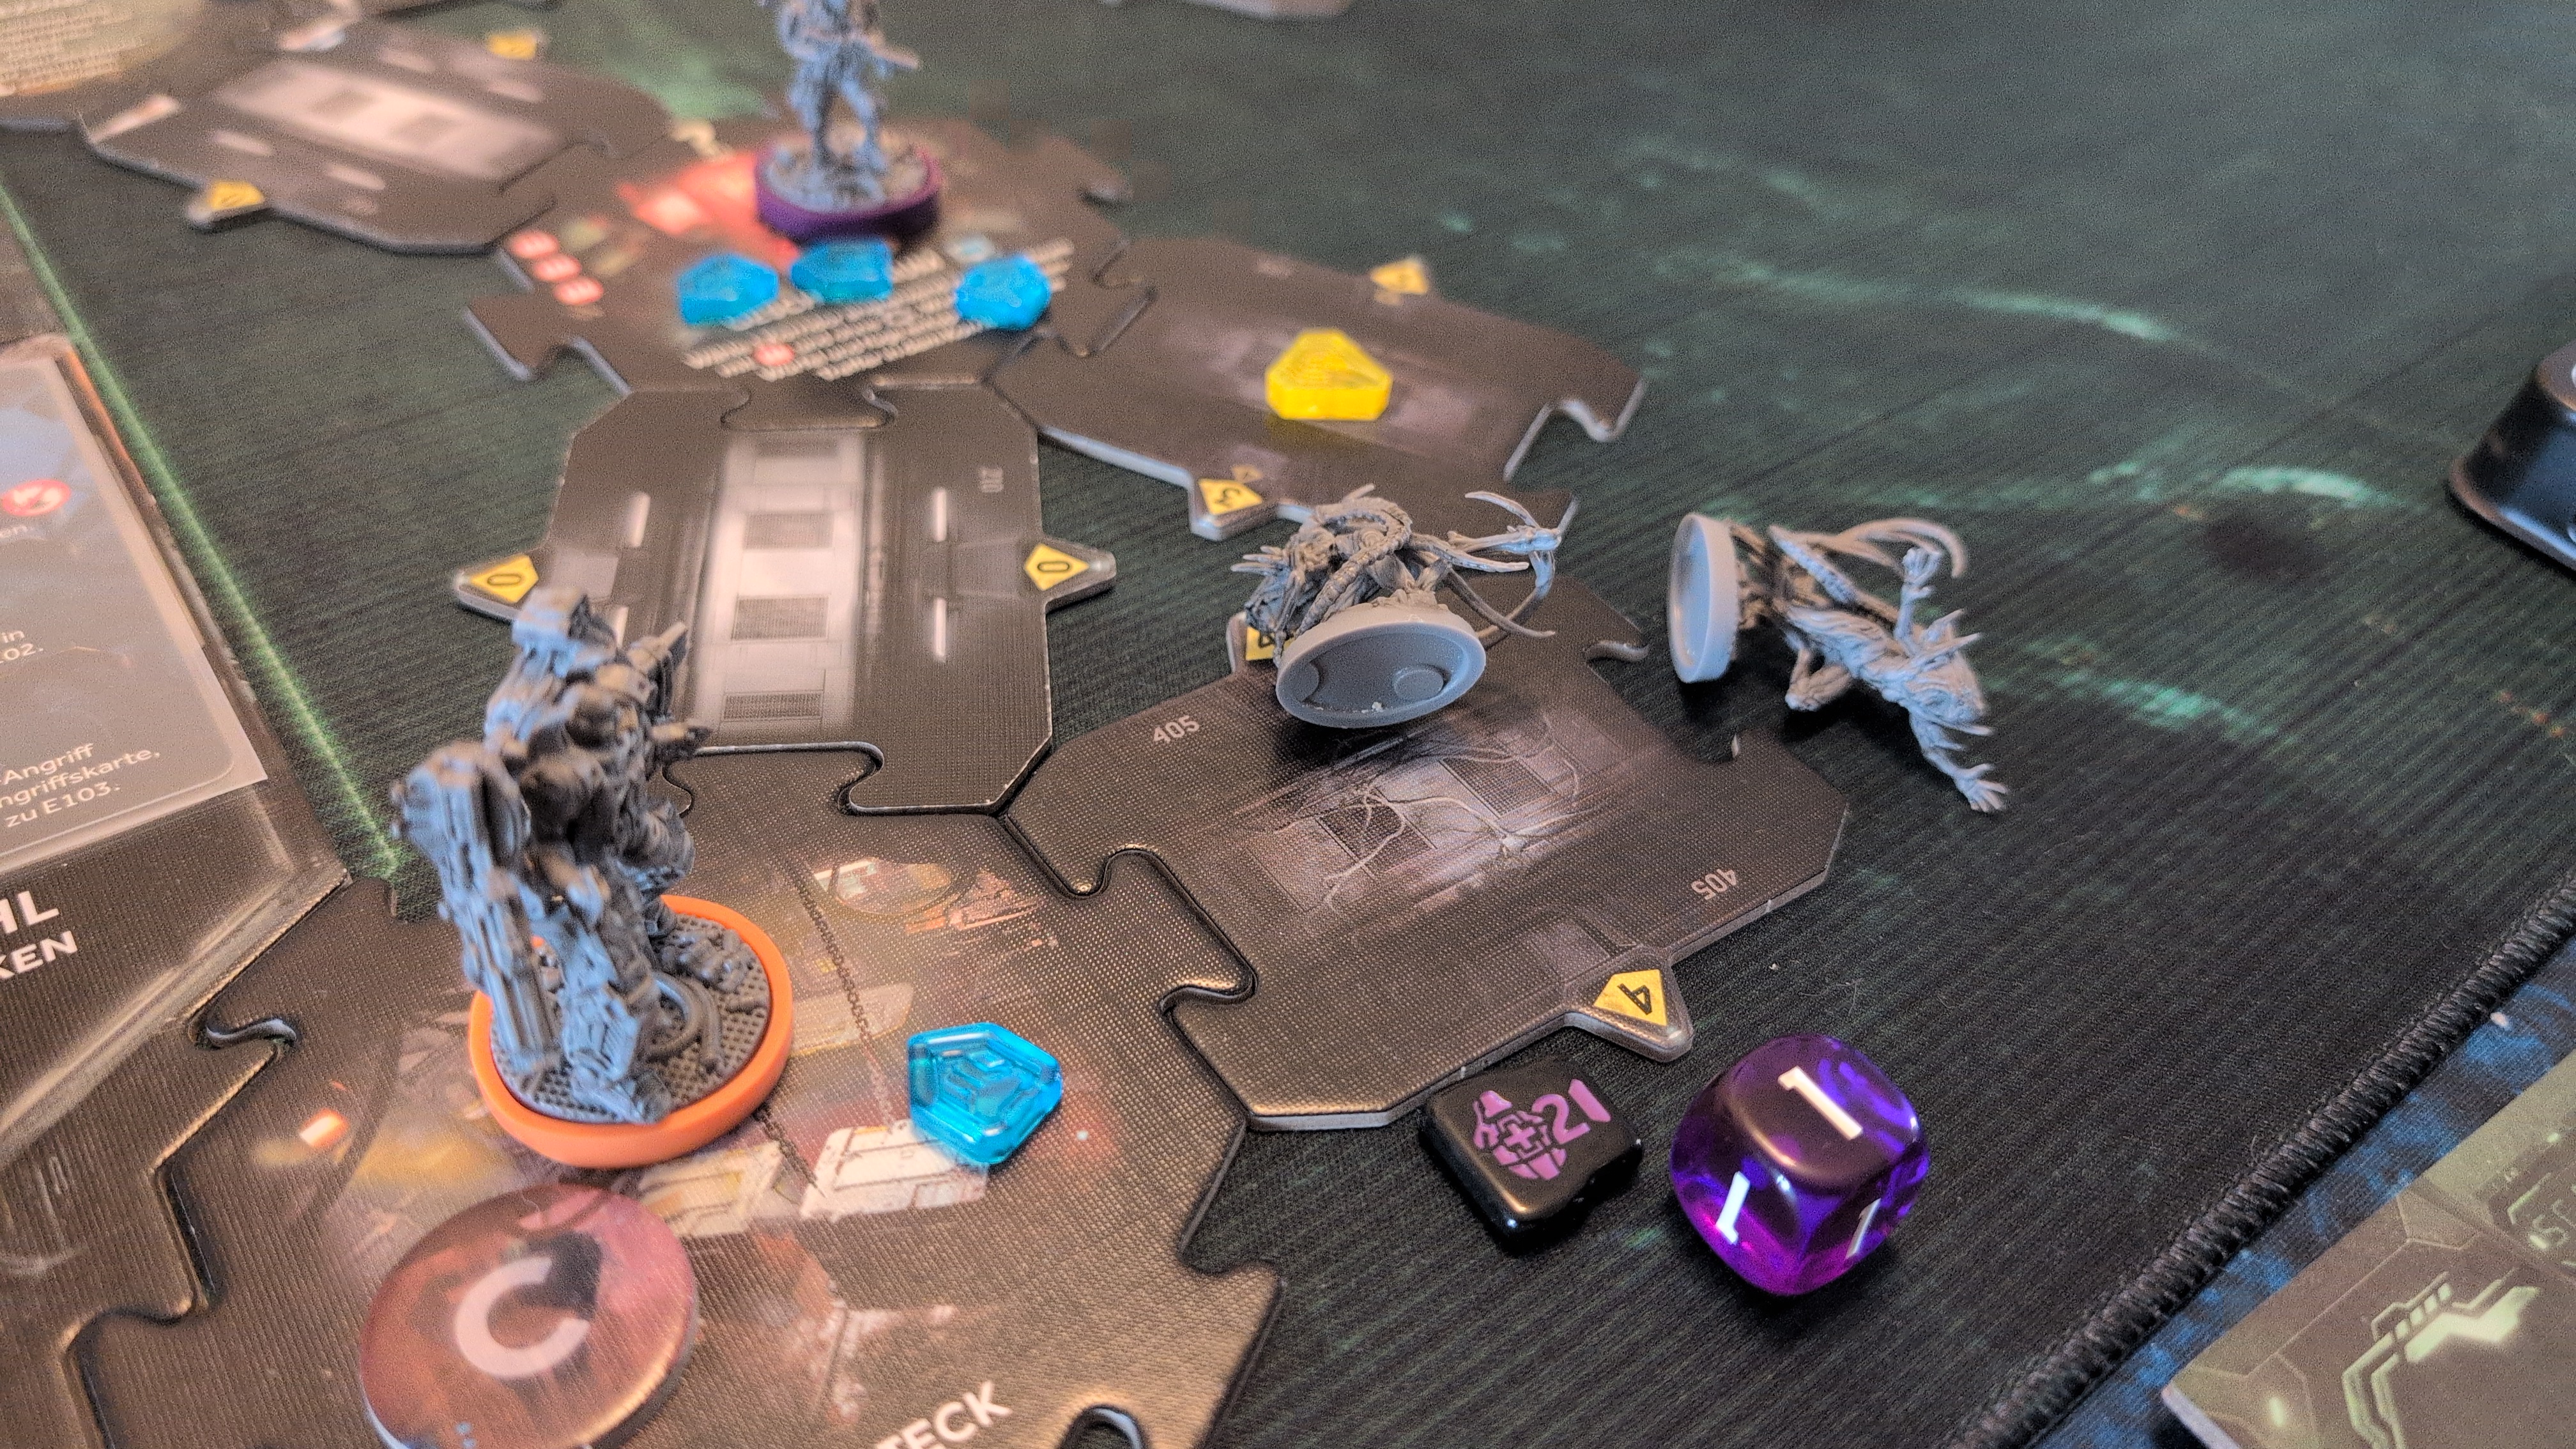
Well, at least that was the plan. But one result on the die remained, that would trigger the arrival of a xeno, and of course exactly that result was rolled…
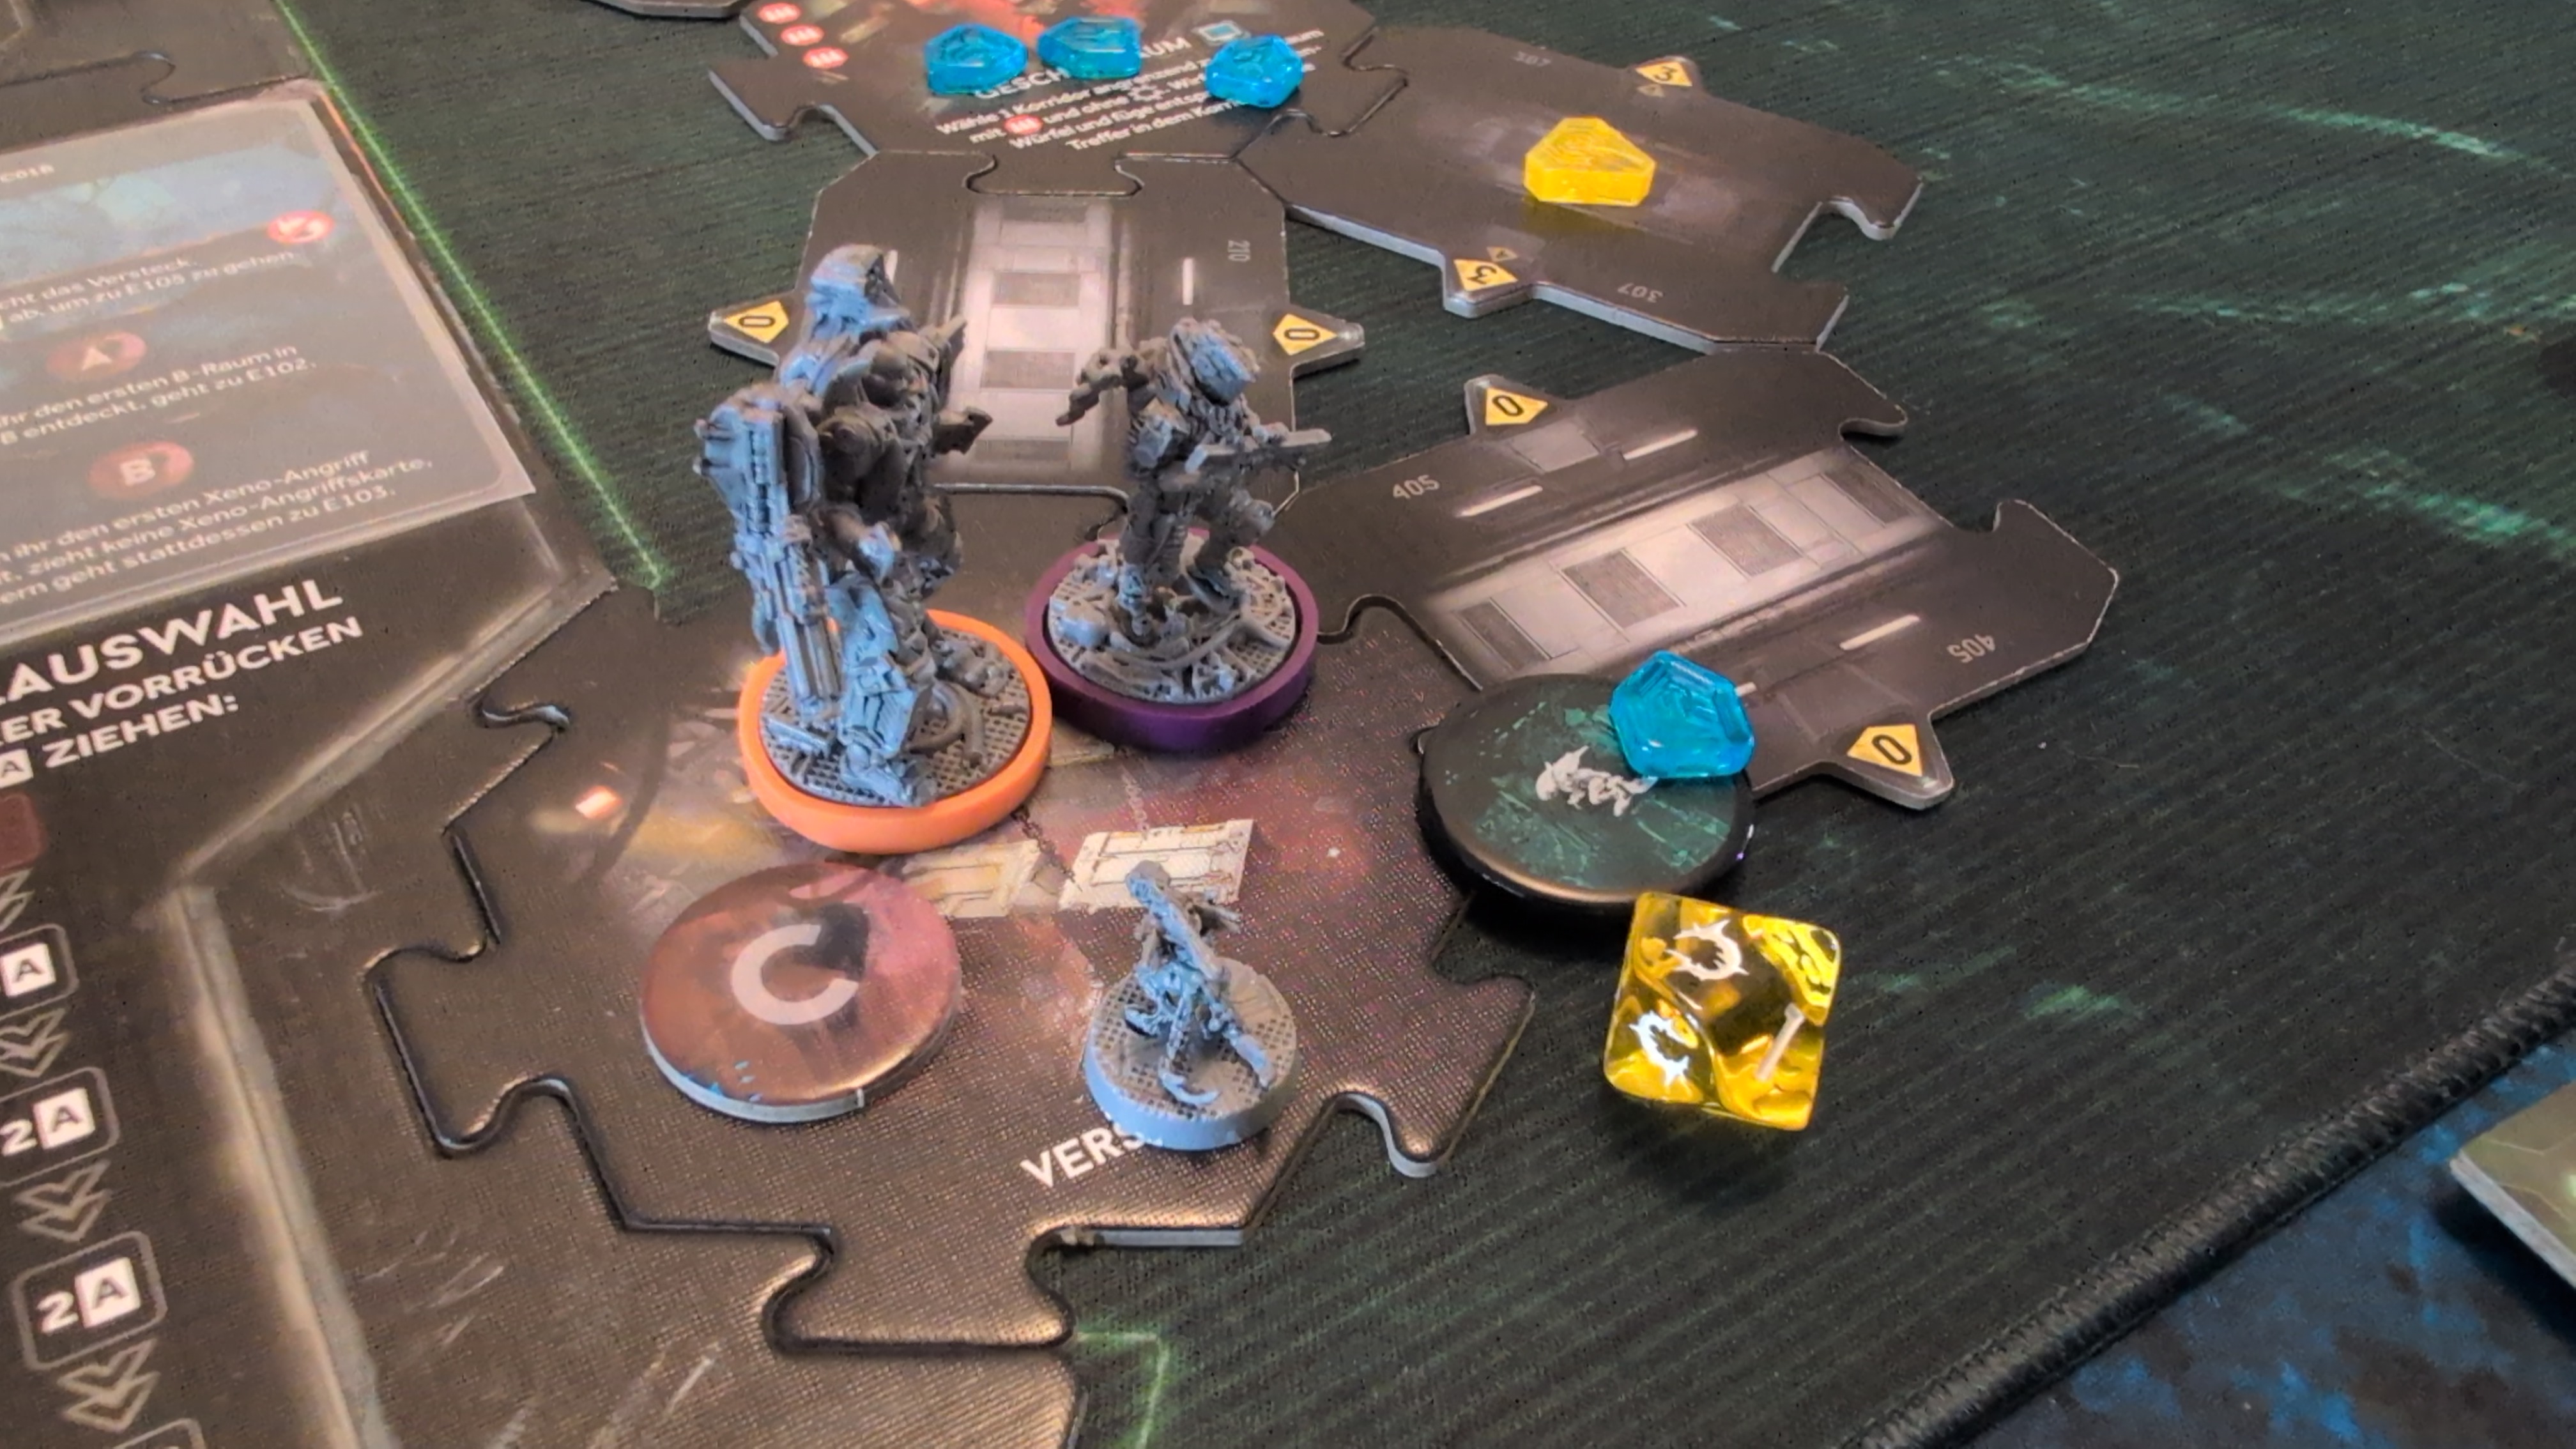
Turn 7 – Xeno Phase
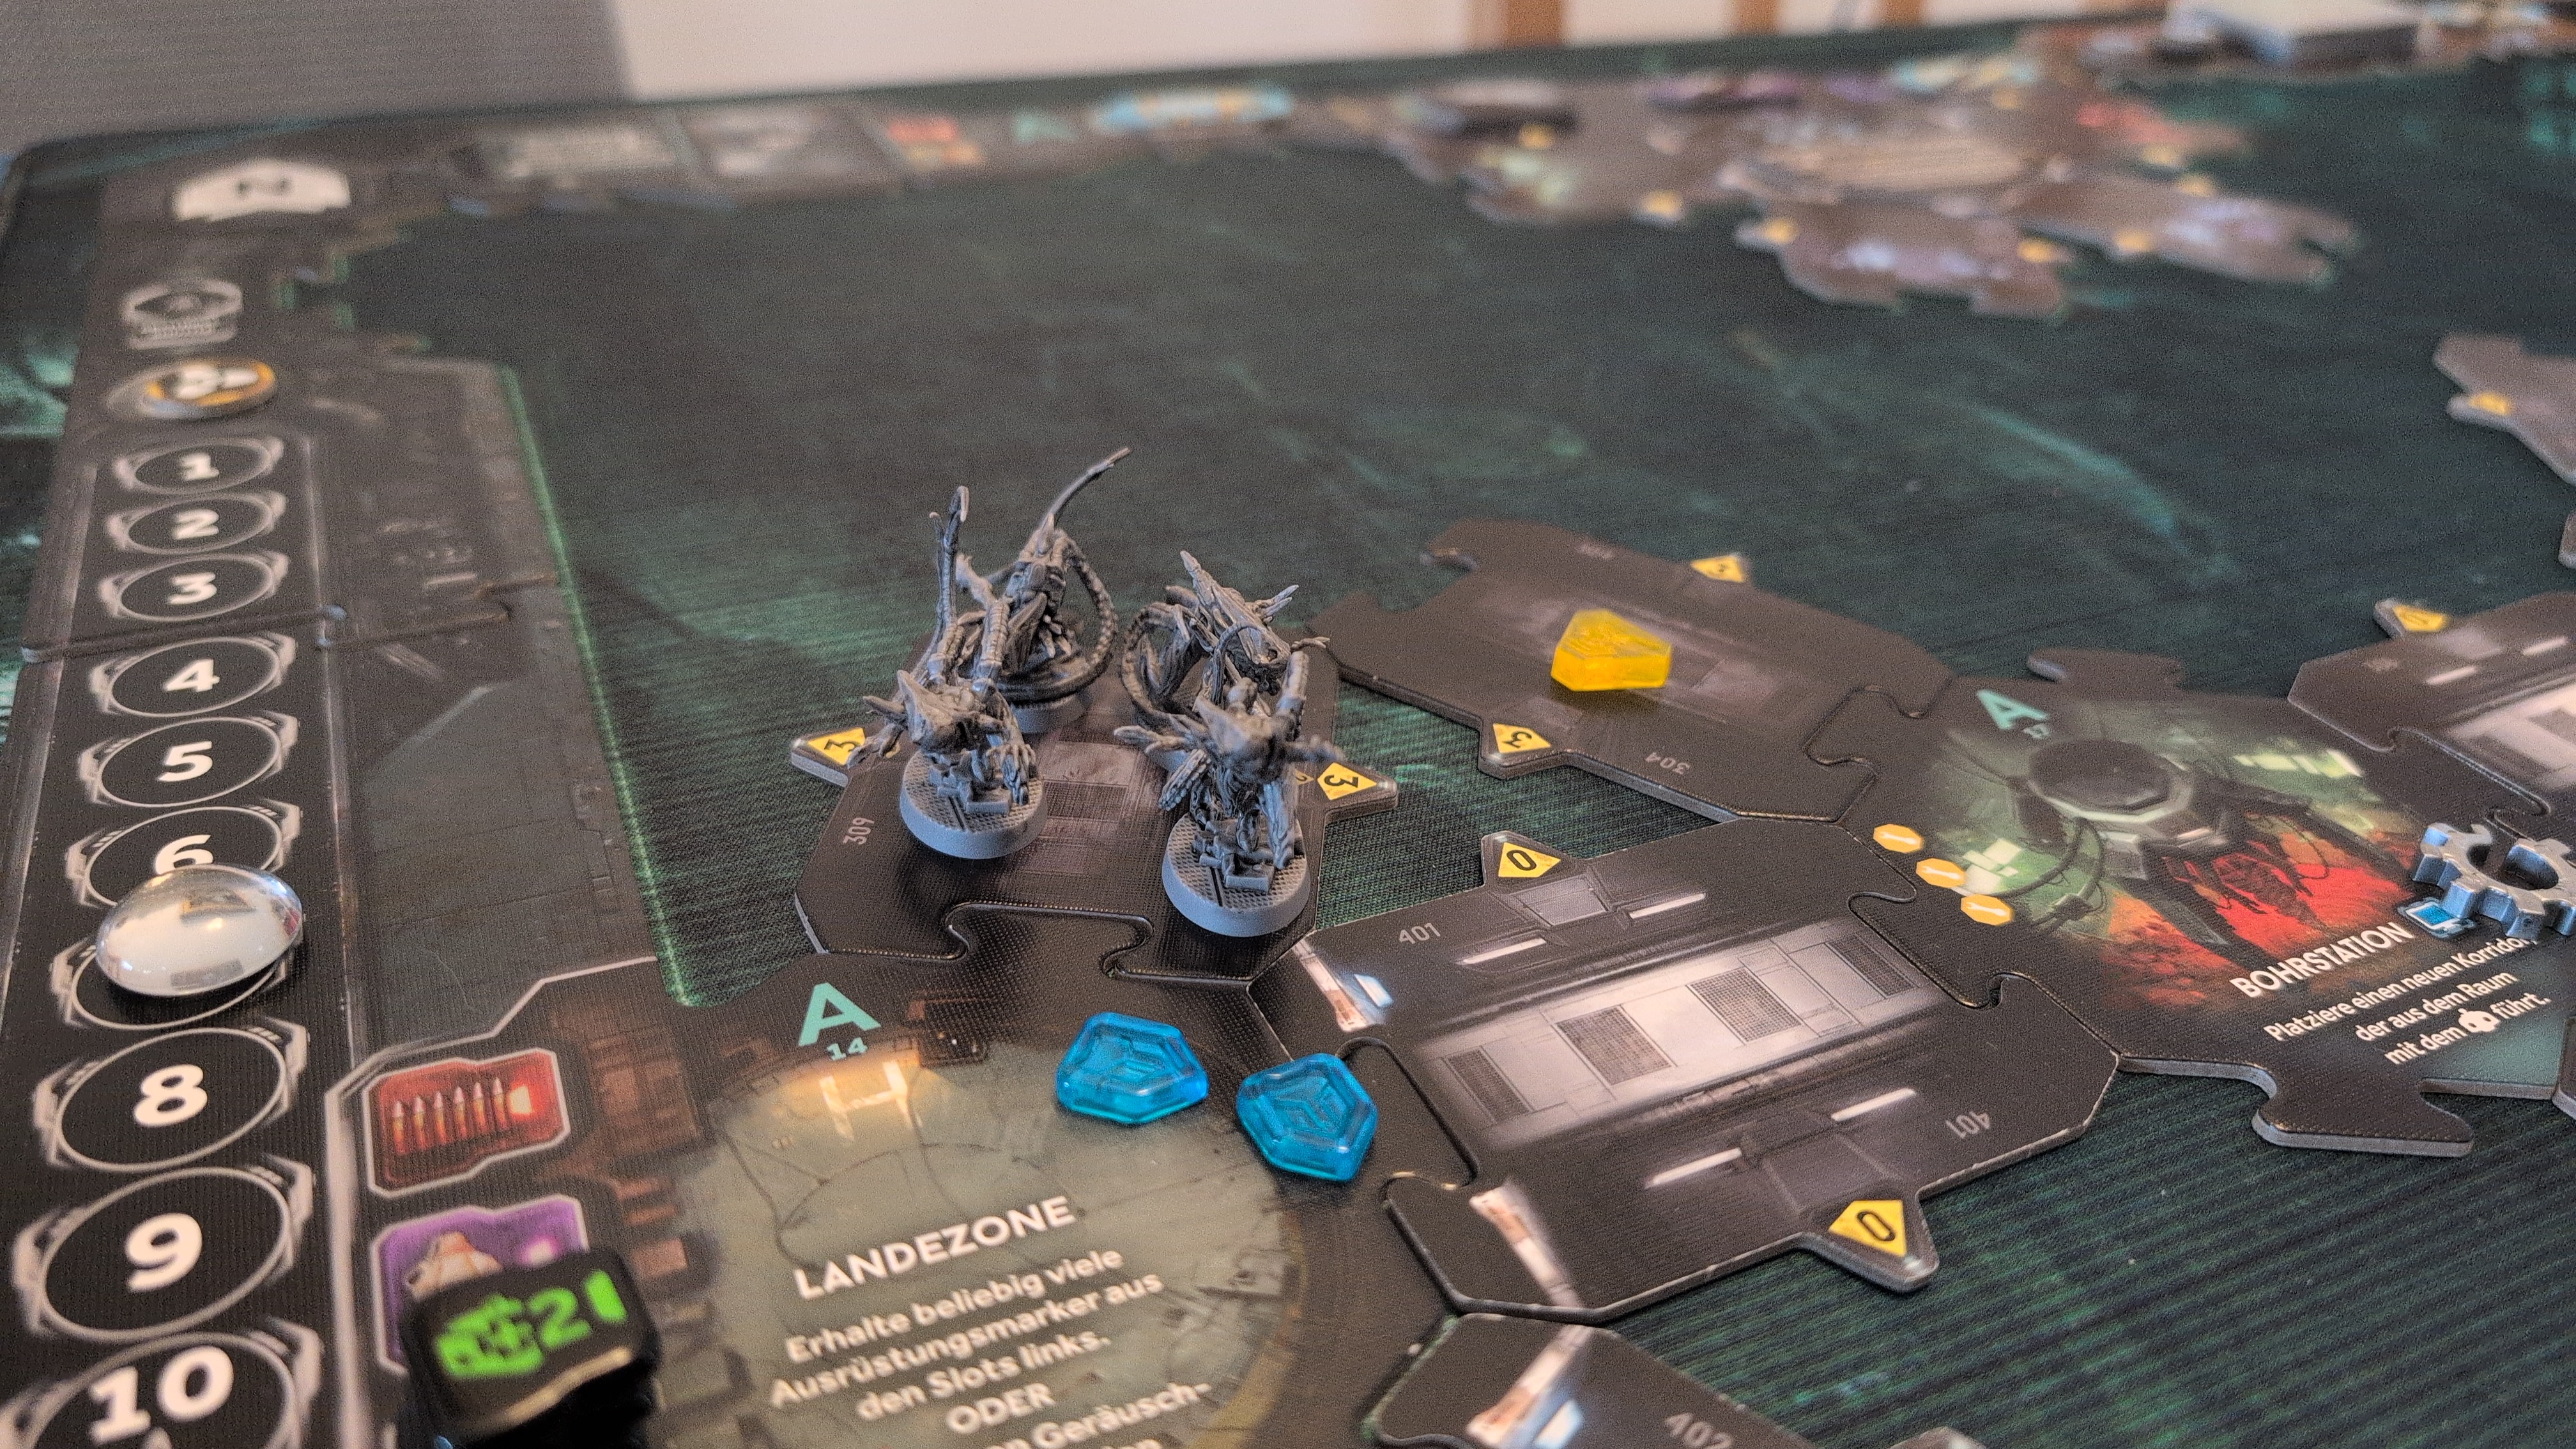
The larva attacked the combat engineer, who spent all his ammo to prevent the attack and cause one point of damage on the larva (Assault Shotgun's ability).
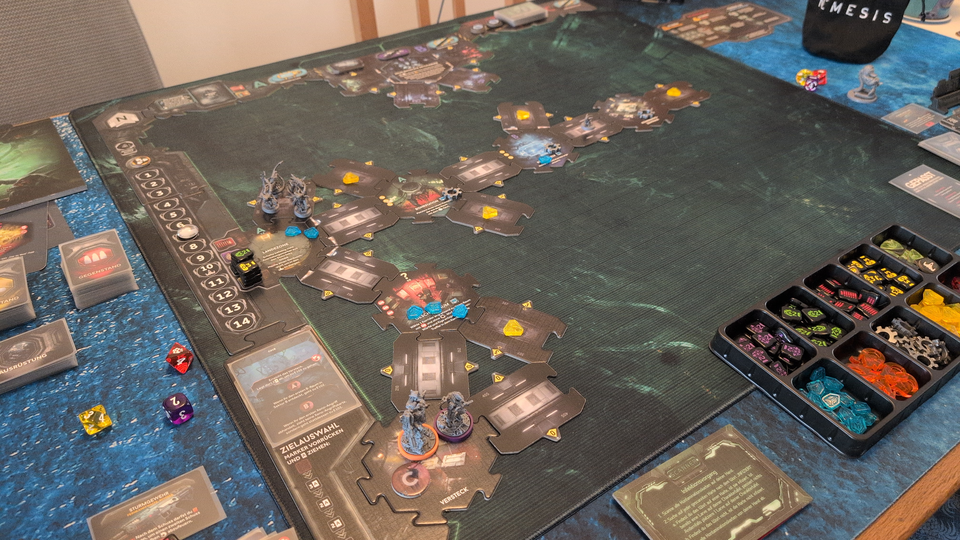
Four drones entered each non-secured corridor leading to the landing pad – which was only one.
Turn 7 – Turn End Phase
Turn 8
[X] Mission Objective
Locate the Command Center
[ ] Mission Objective
Locate and Rescue Dr. Ashton
Turn 8 – Phase 1
[X] Mission Objective
Locate the Command Center
[X] Mission Objective
Locate and Rescue Dr. Ashton
[ ] Mission Objective
Reach the Landing Zone with Dr. Ashton
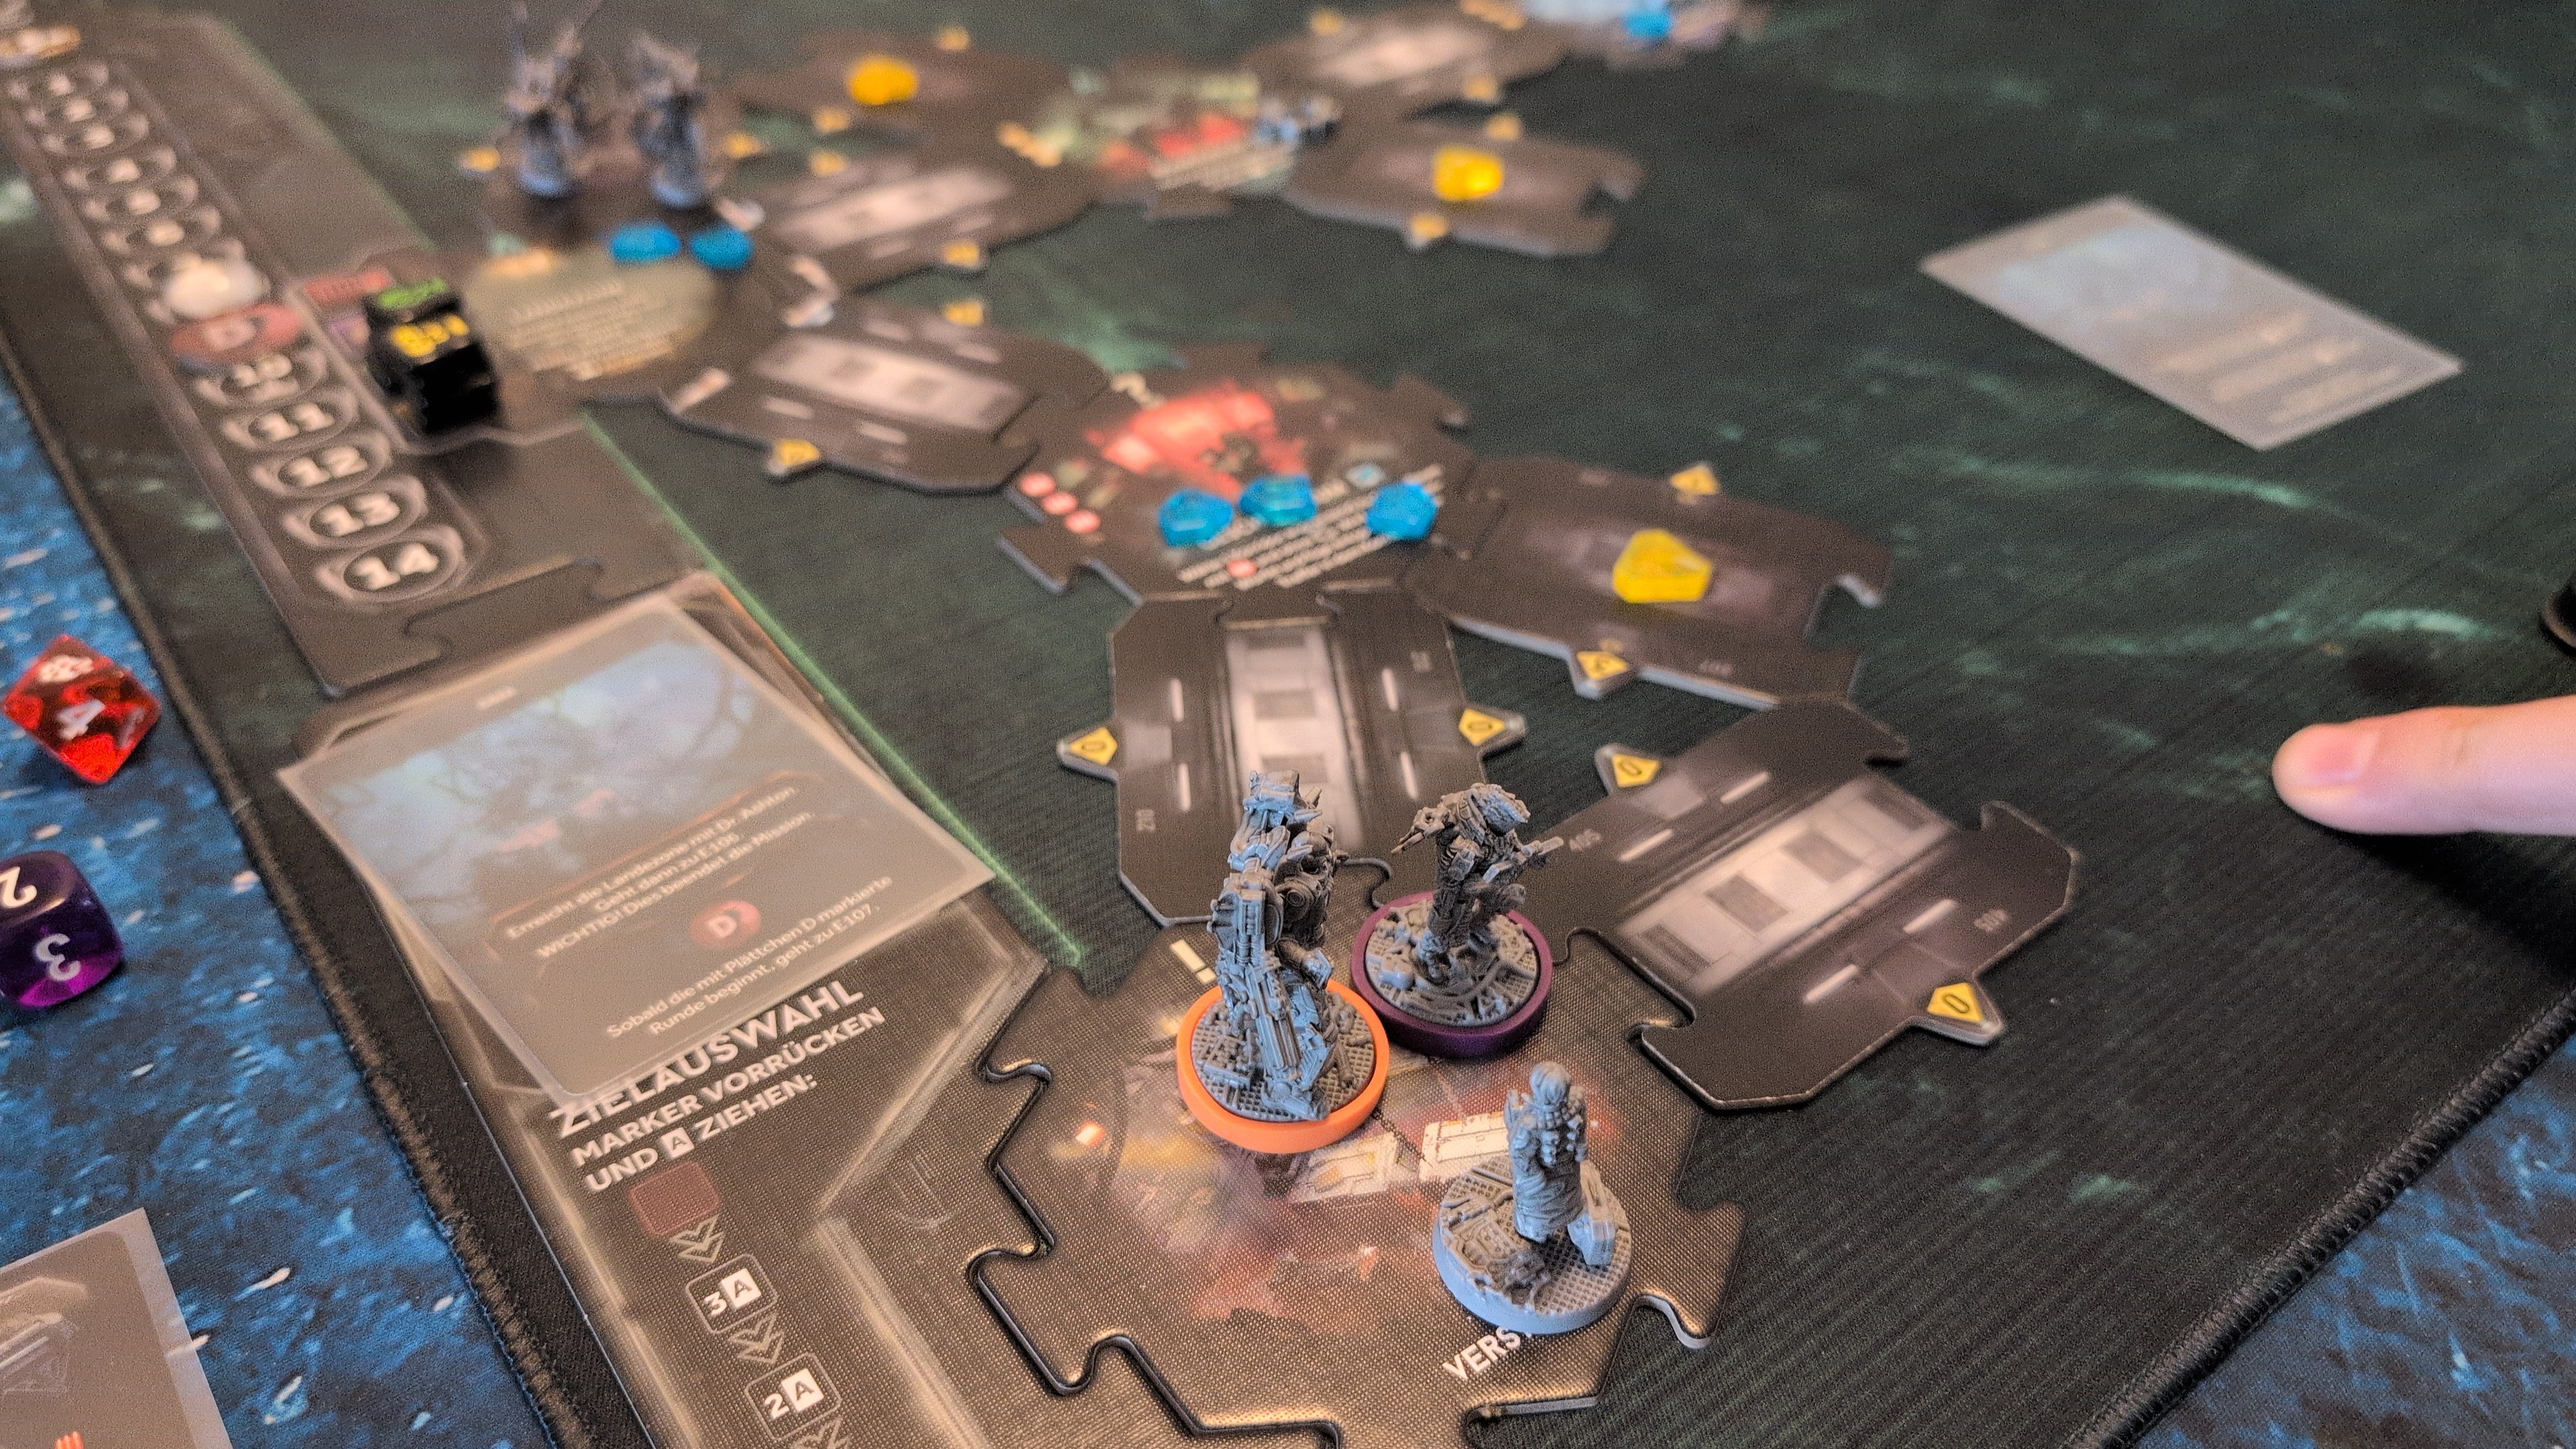
The combat engineer cautiously moved into the unexplored room and discovered it to be the surgery - occupied by an adult. He opened fire immediately, but scored no hit.
Being low on cards, the recon marine passed and discarded an infected card.
Turn 8 – Phase 2
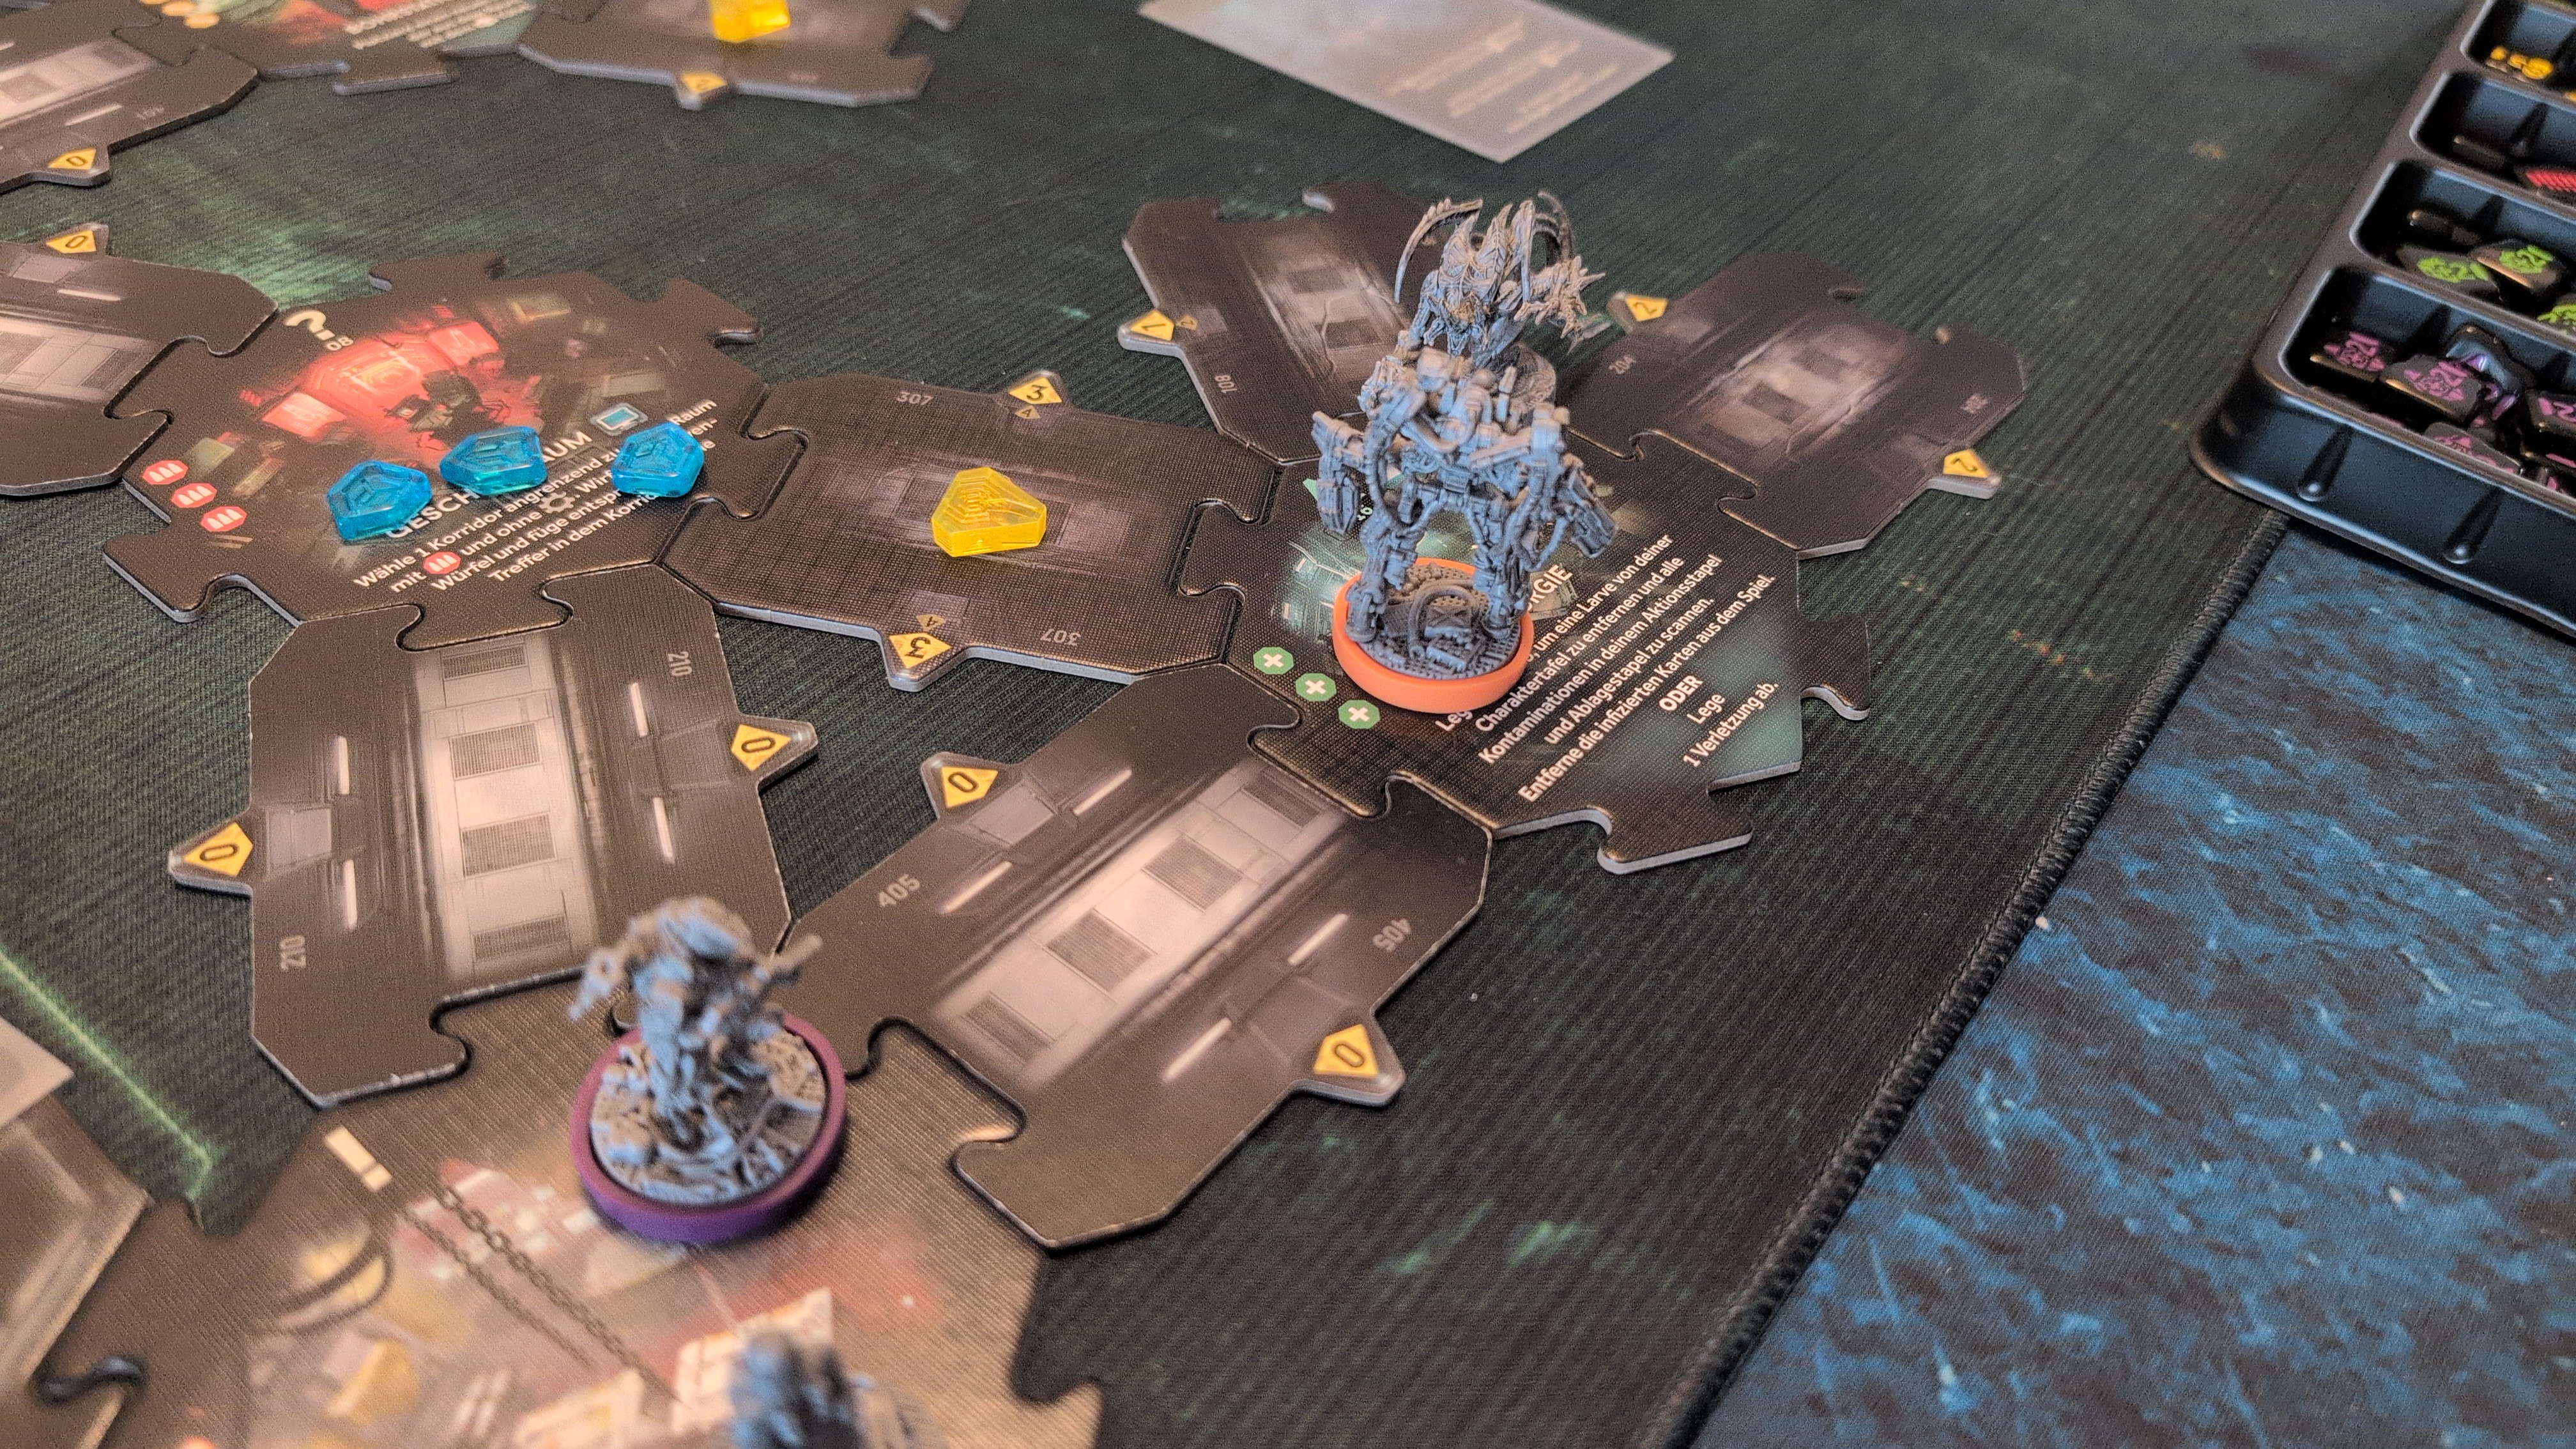
The combat engineer relentlessly showered the adult with bullets, until it went down.
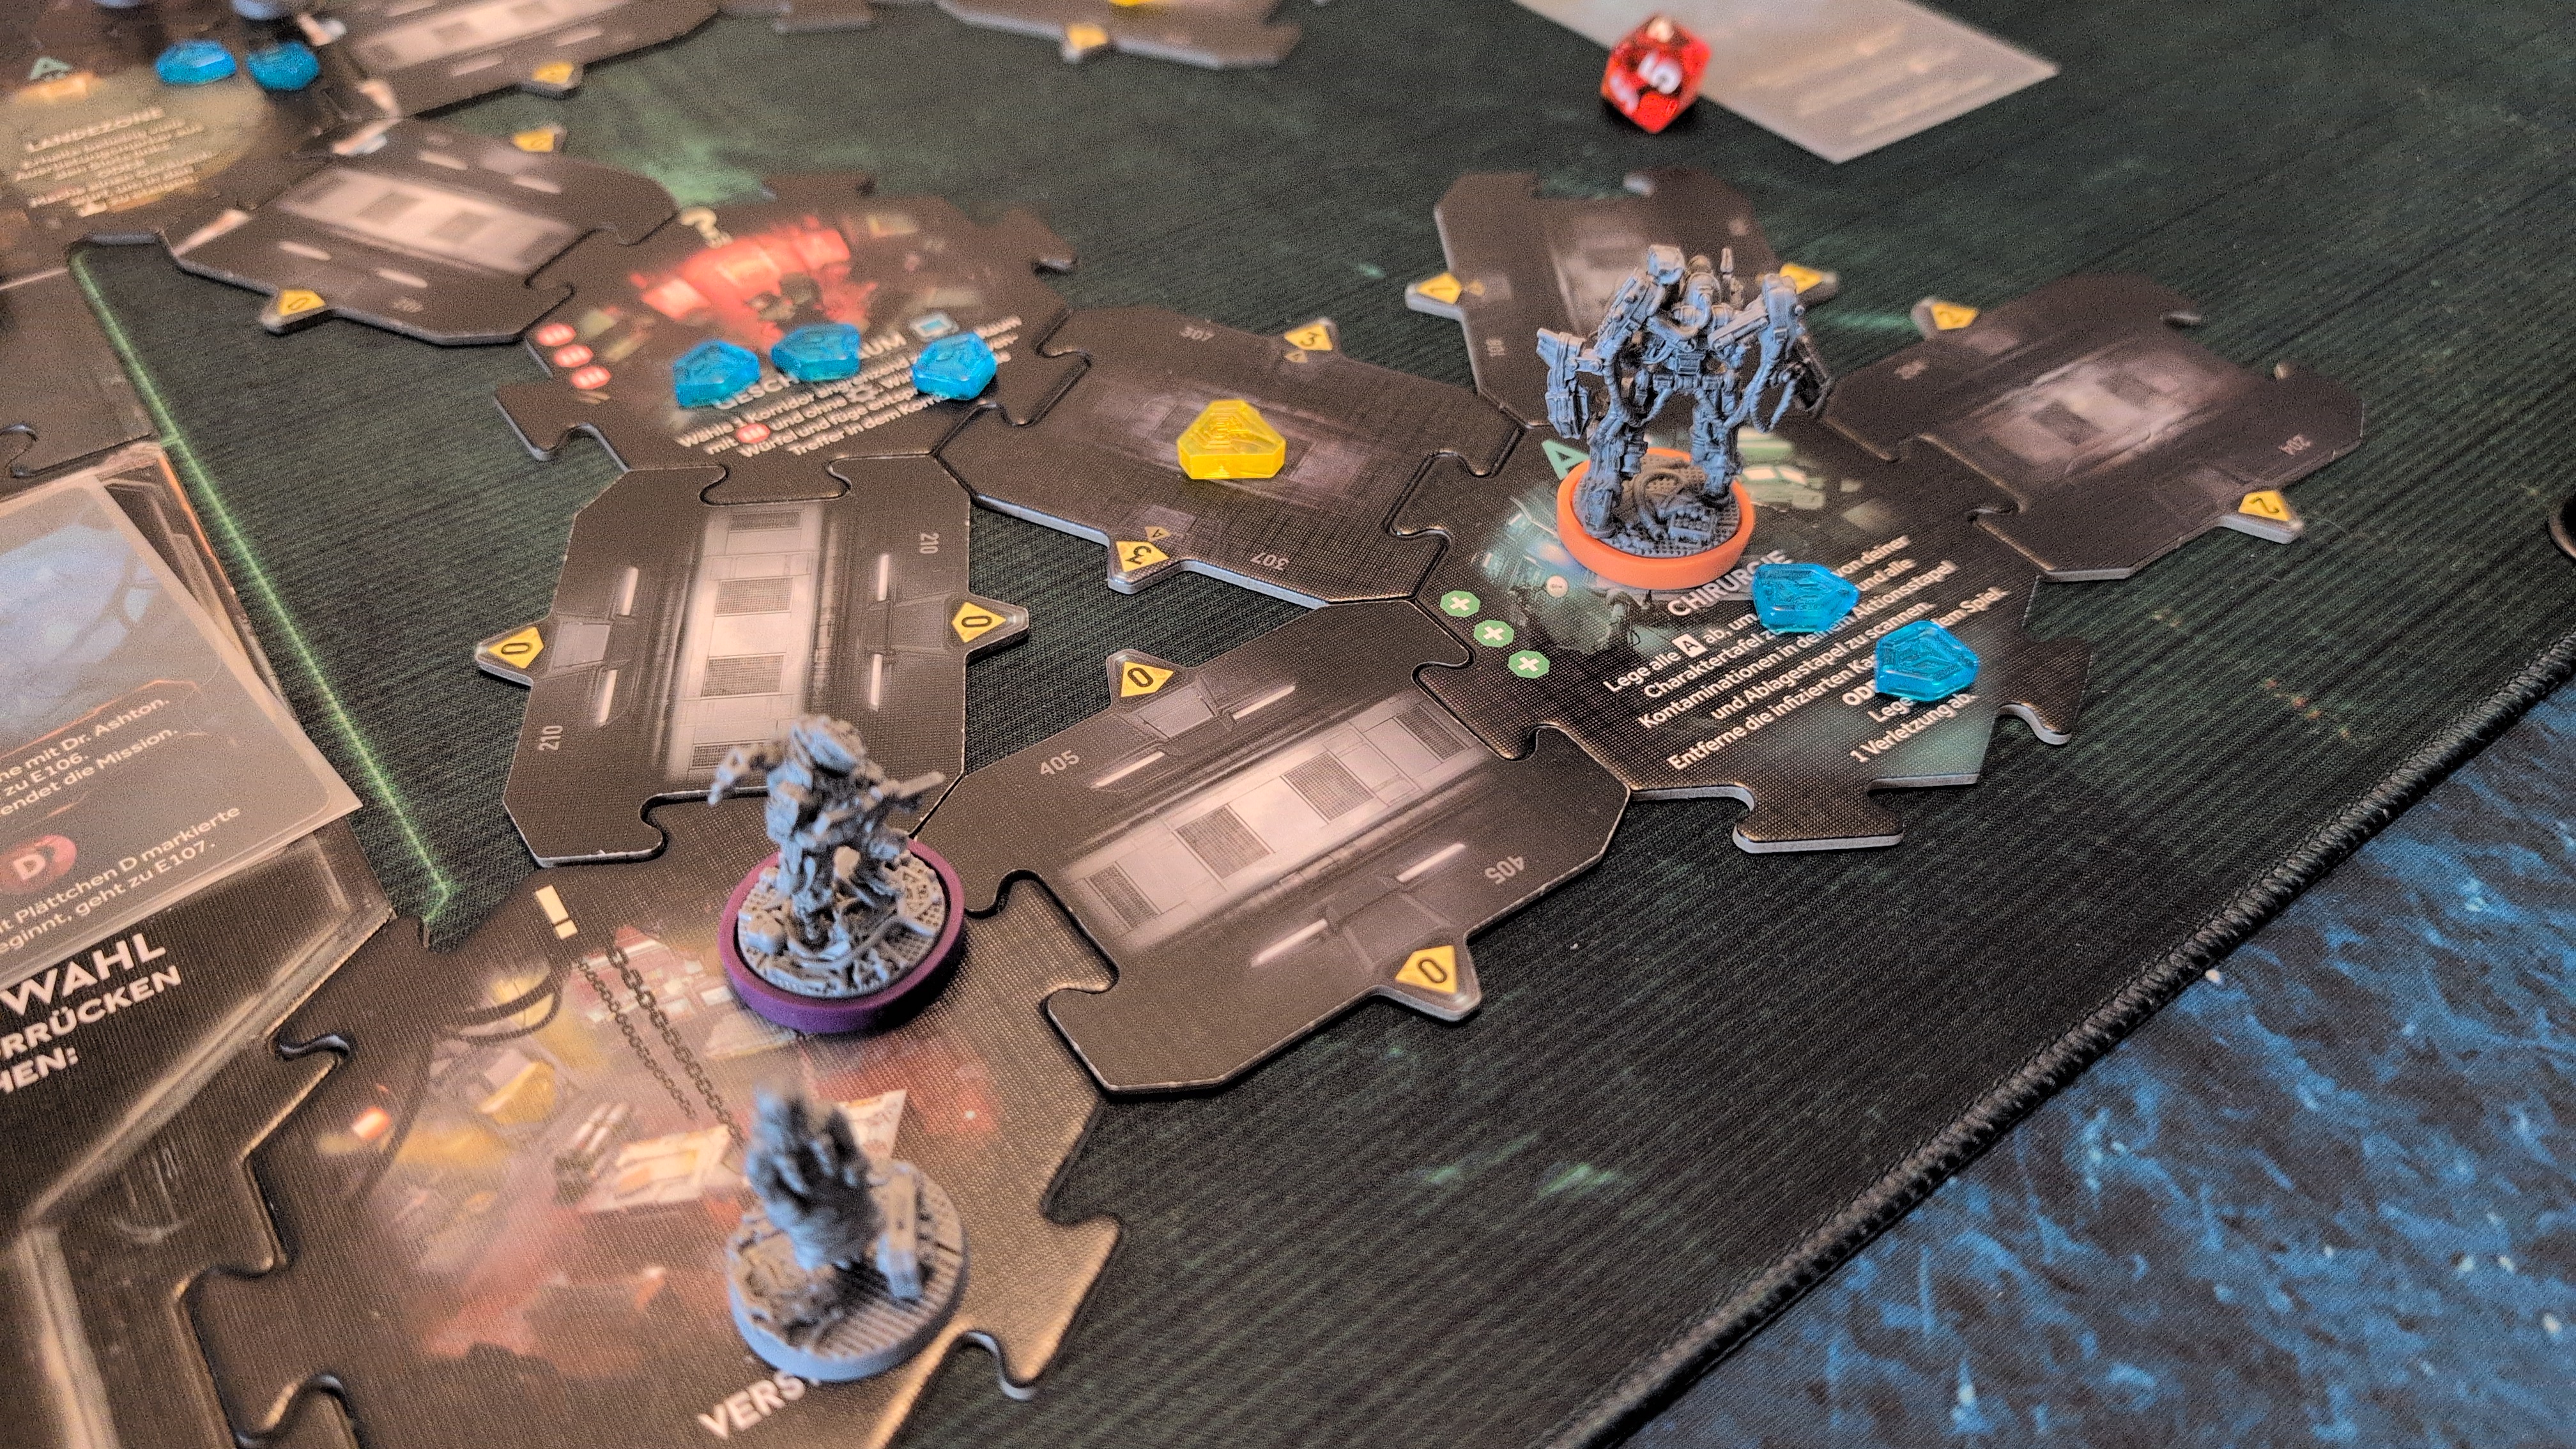
Turn 8 – Xeno Phase
The xenos from the landing pad moved towards the Marines. Another adult entered the corridor next to the combat engineer. A drone appeared and attacked the recon marine, who gained another infection card.
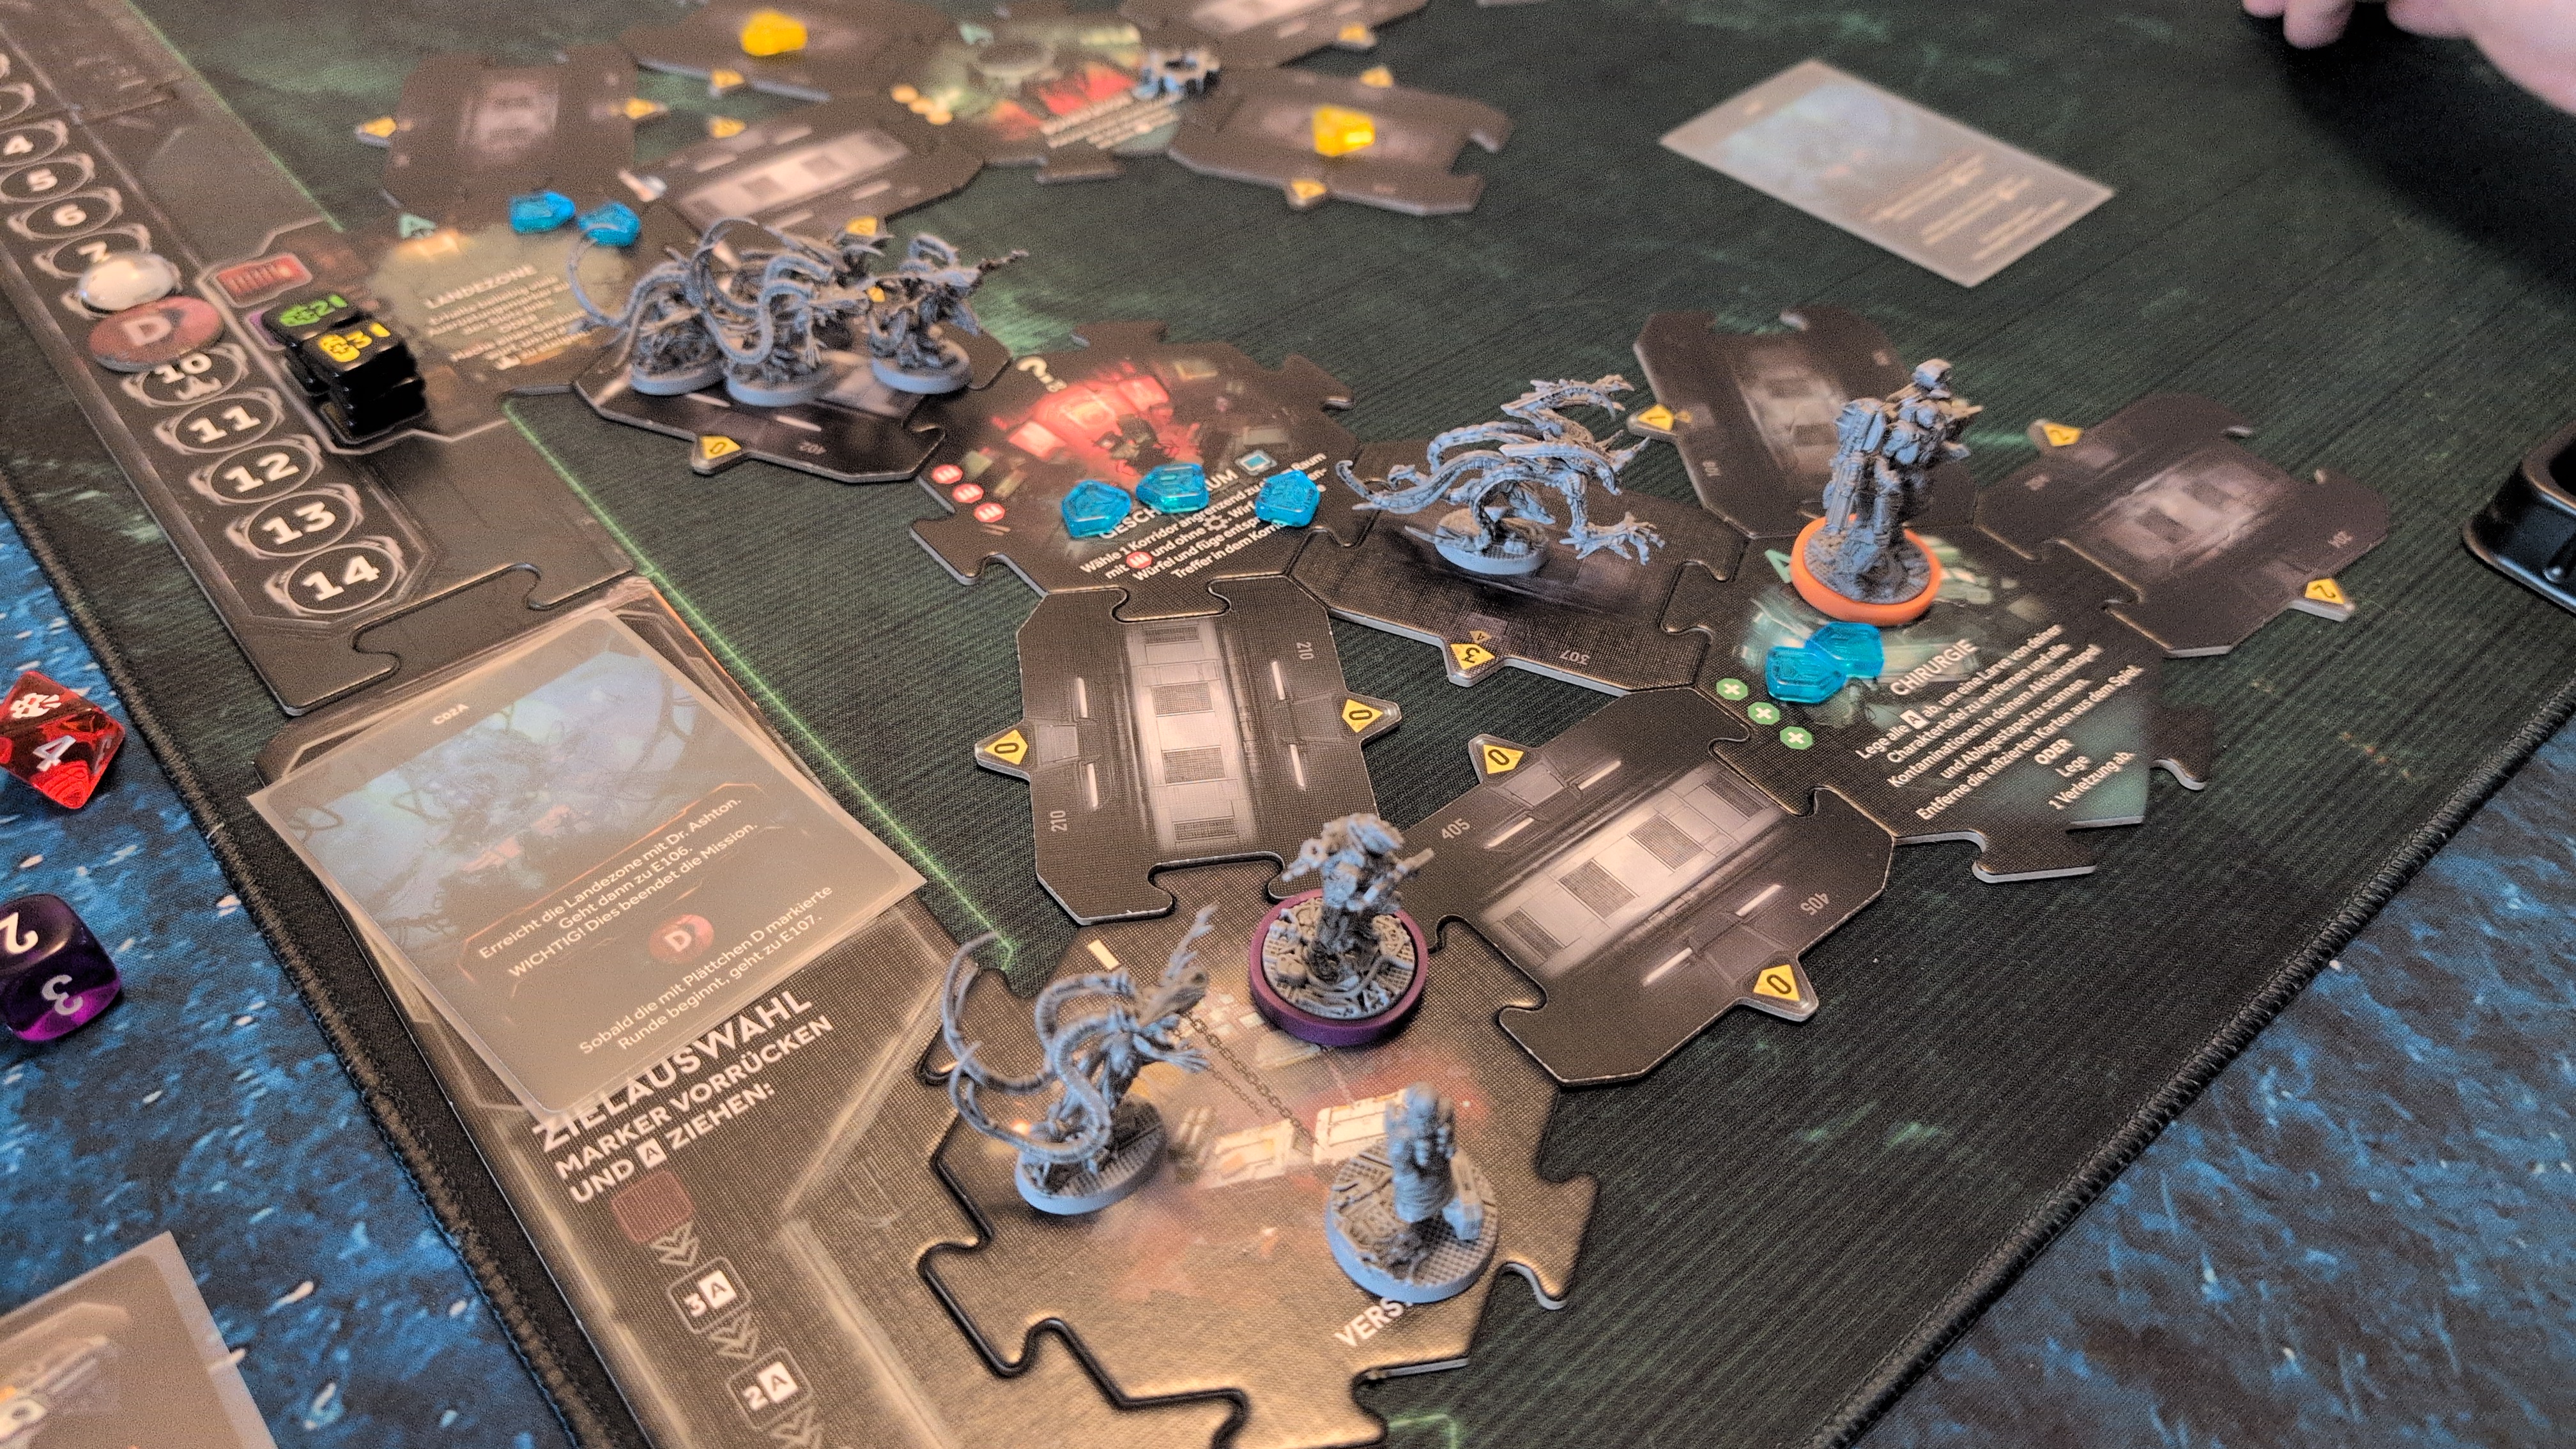
Turn 8 – Turn End Phase
[X] Mission Objective
Locate the Command Center
[X] Mission Objective
Locate and Rescue Dr. Ashton
[ ] Mission Objective
Reach the Landing Zone with Dr. Ashton
[ ] Objective of Opportunity
Locate the Alert Room
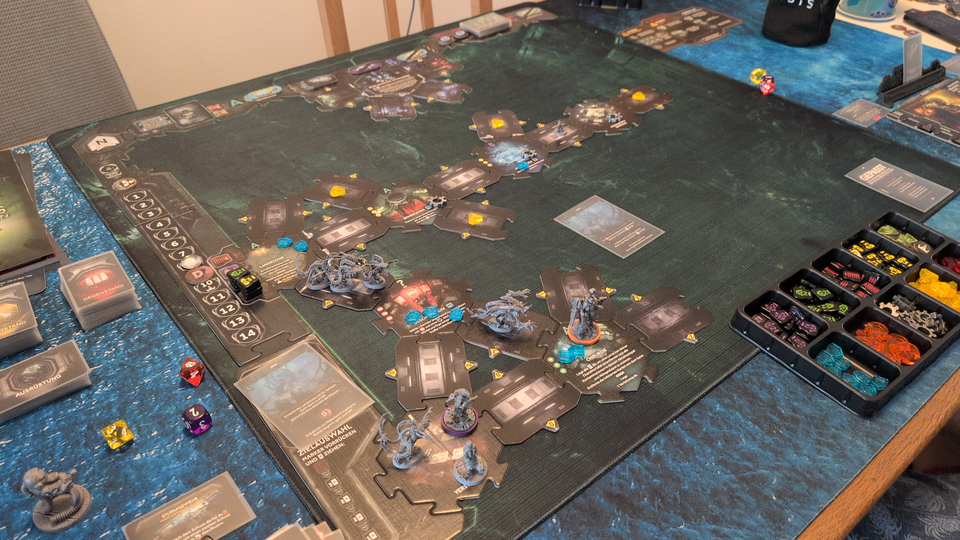
Turn 9
[X] Mission Objective
Locate the Command Center
[X] Mission Objective
Locate and Rescue Dr. Ashton
[ ] Mission Objective
Reach the Landing Zone with Dr. Ashton
[ ] Objective of Opportunity
Locate the Alert Room
Turn 9 – Phase 1
The combat engineer killed the adult with his last grenade, then moved to the gun control room.
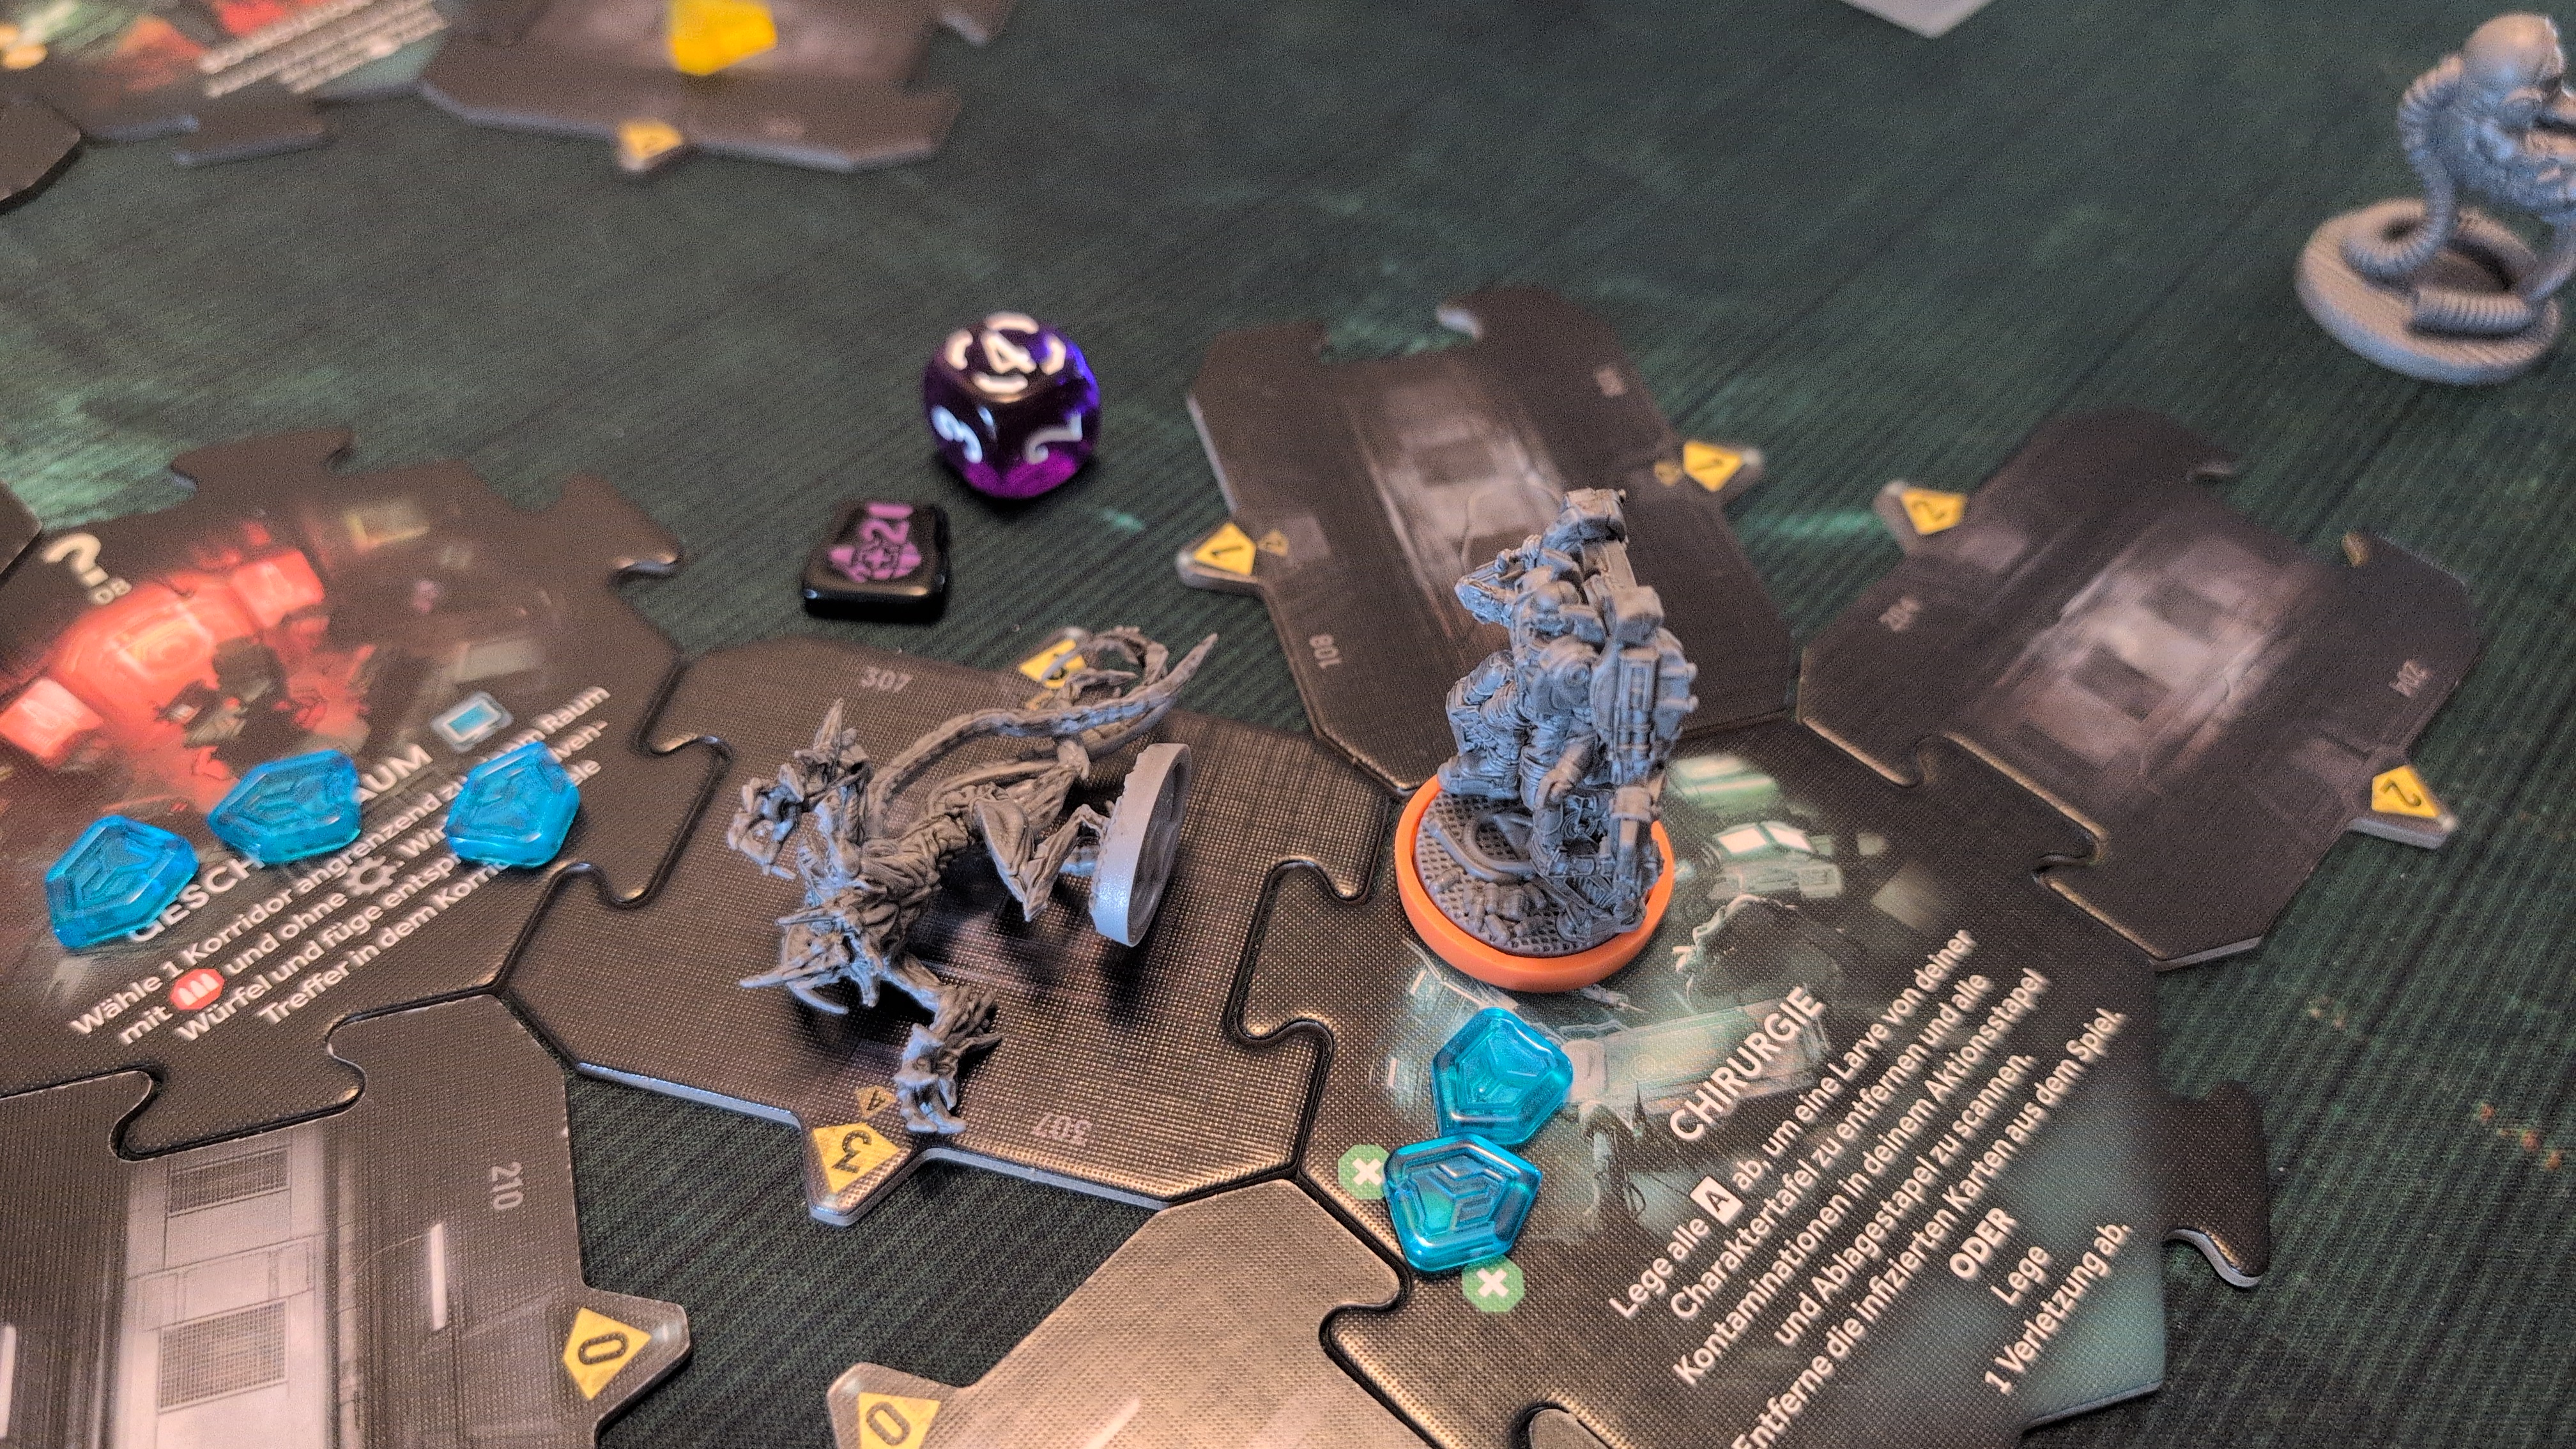
The recon marine Took Aim with his assault rifle, missed but was allowed to re-roll and head-shot the xeno. He then used Scouting to move with Dr. Ashton to the surgery.
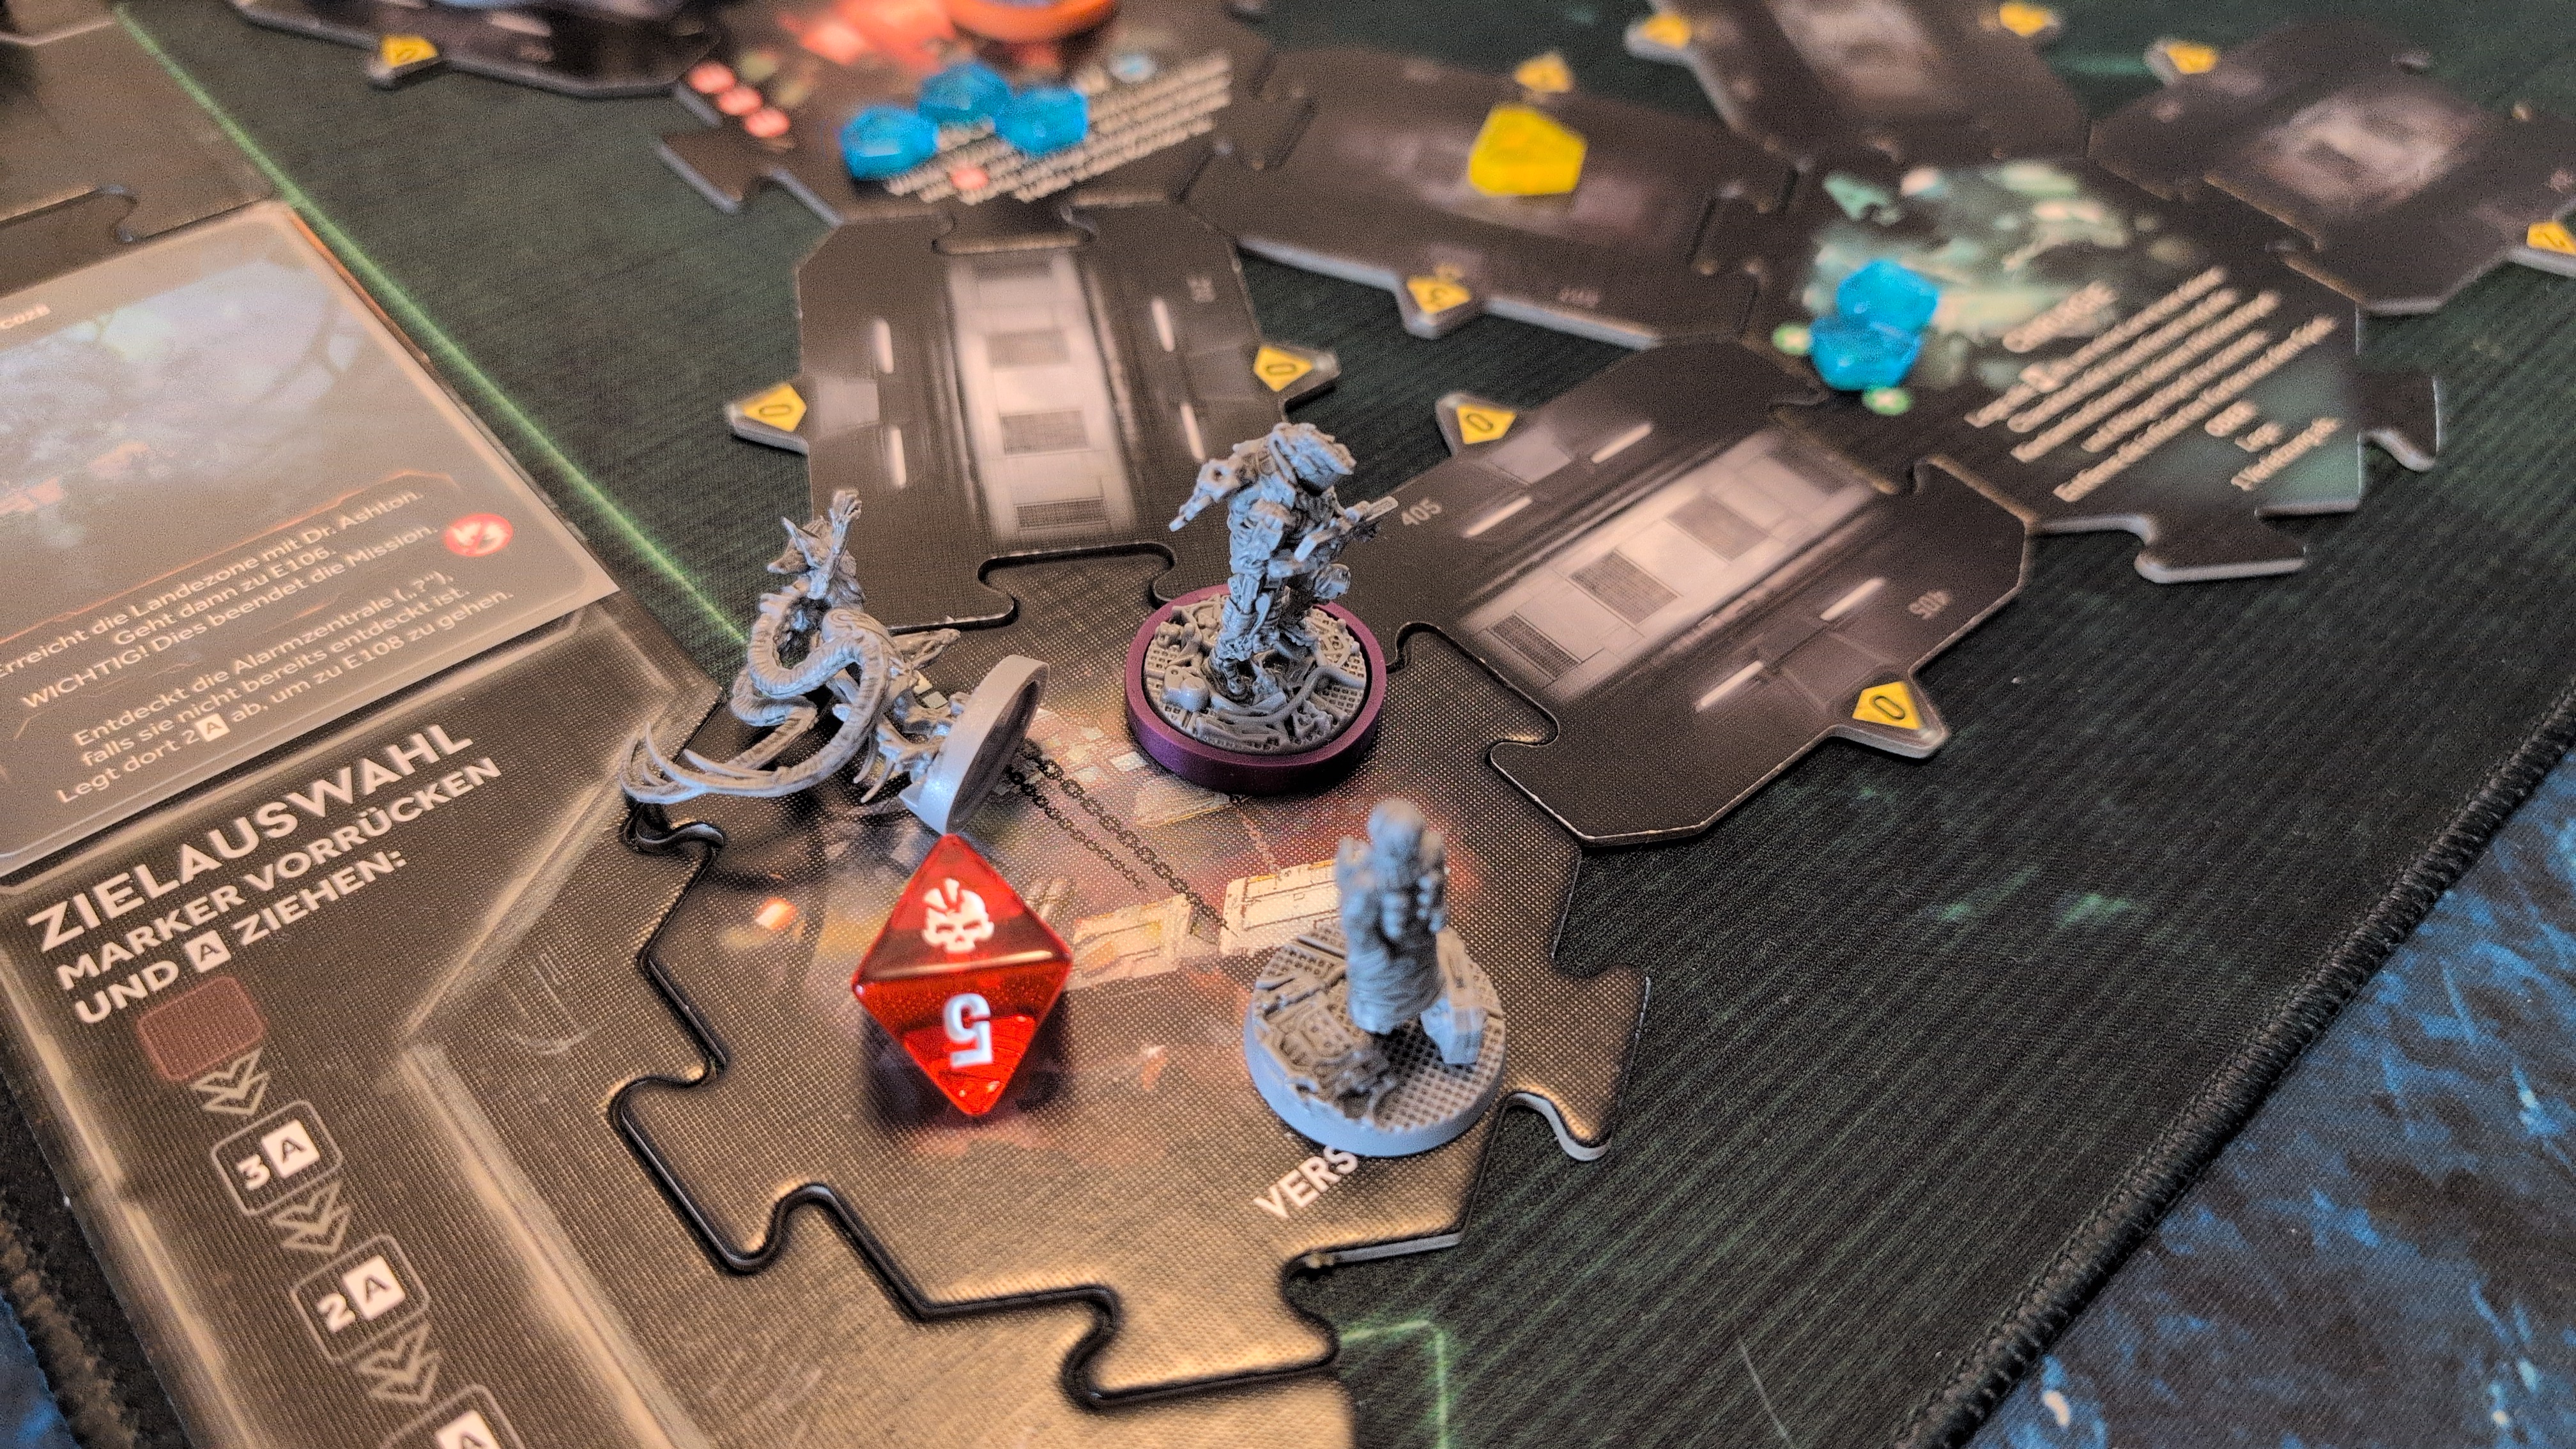
Turn 9 – Phase 2
The combat engineer used the gun control room to eliminate the xenomorphs moving towards him, but only got one of the fast creatures.
The recon marine used the surgery to check all his contamination cards; he removed two "infected" cards from his deck, keeping only one "not infected".
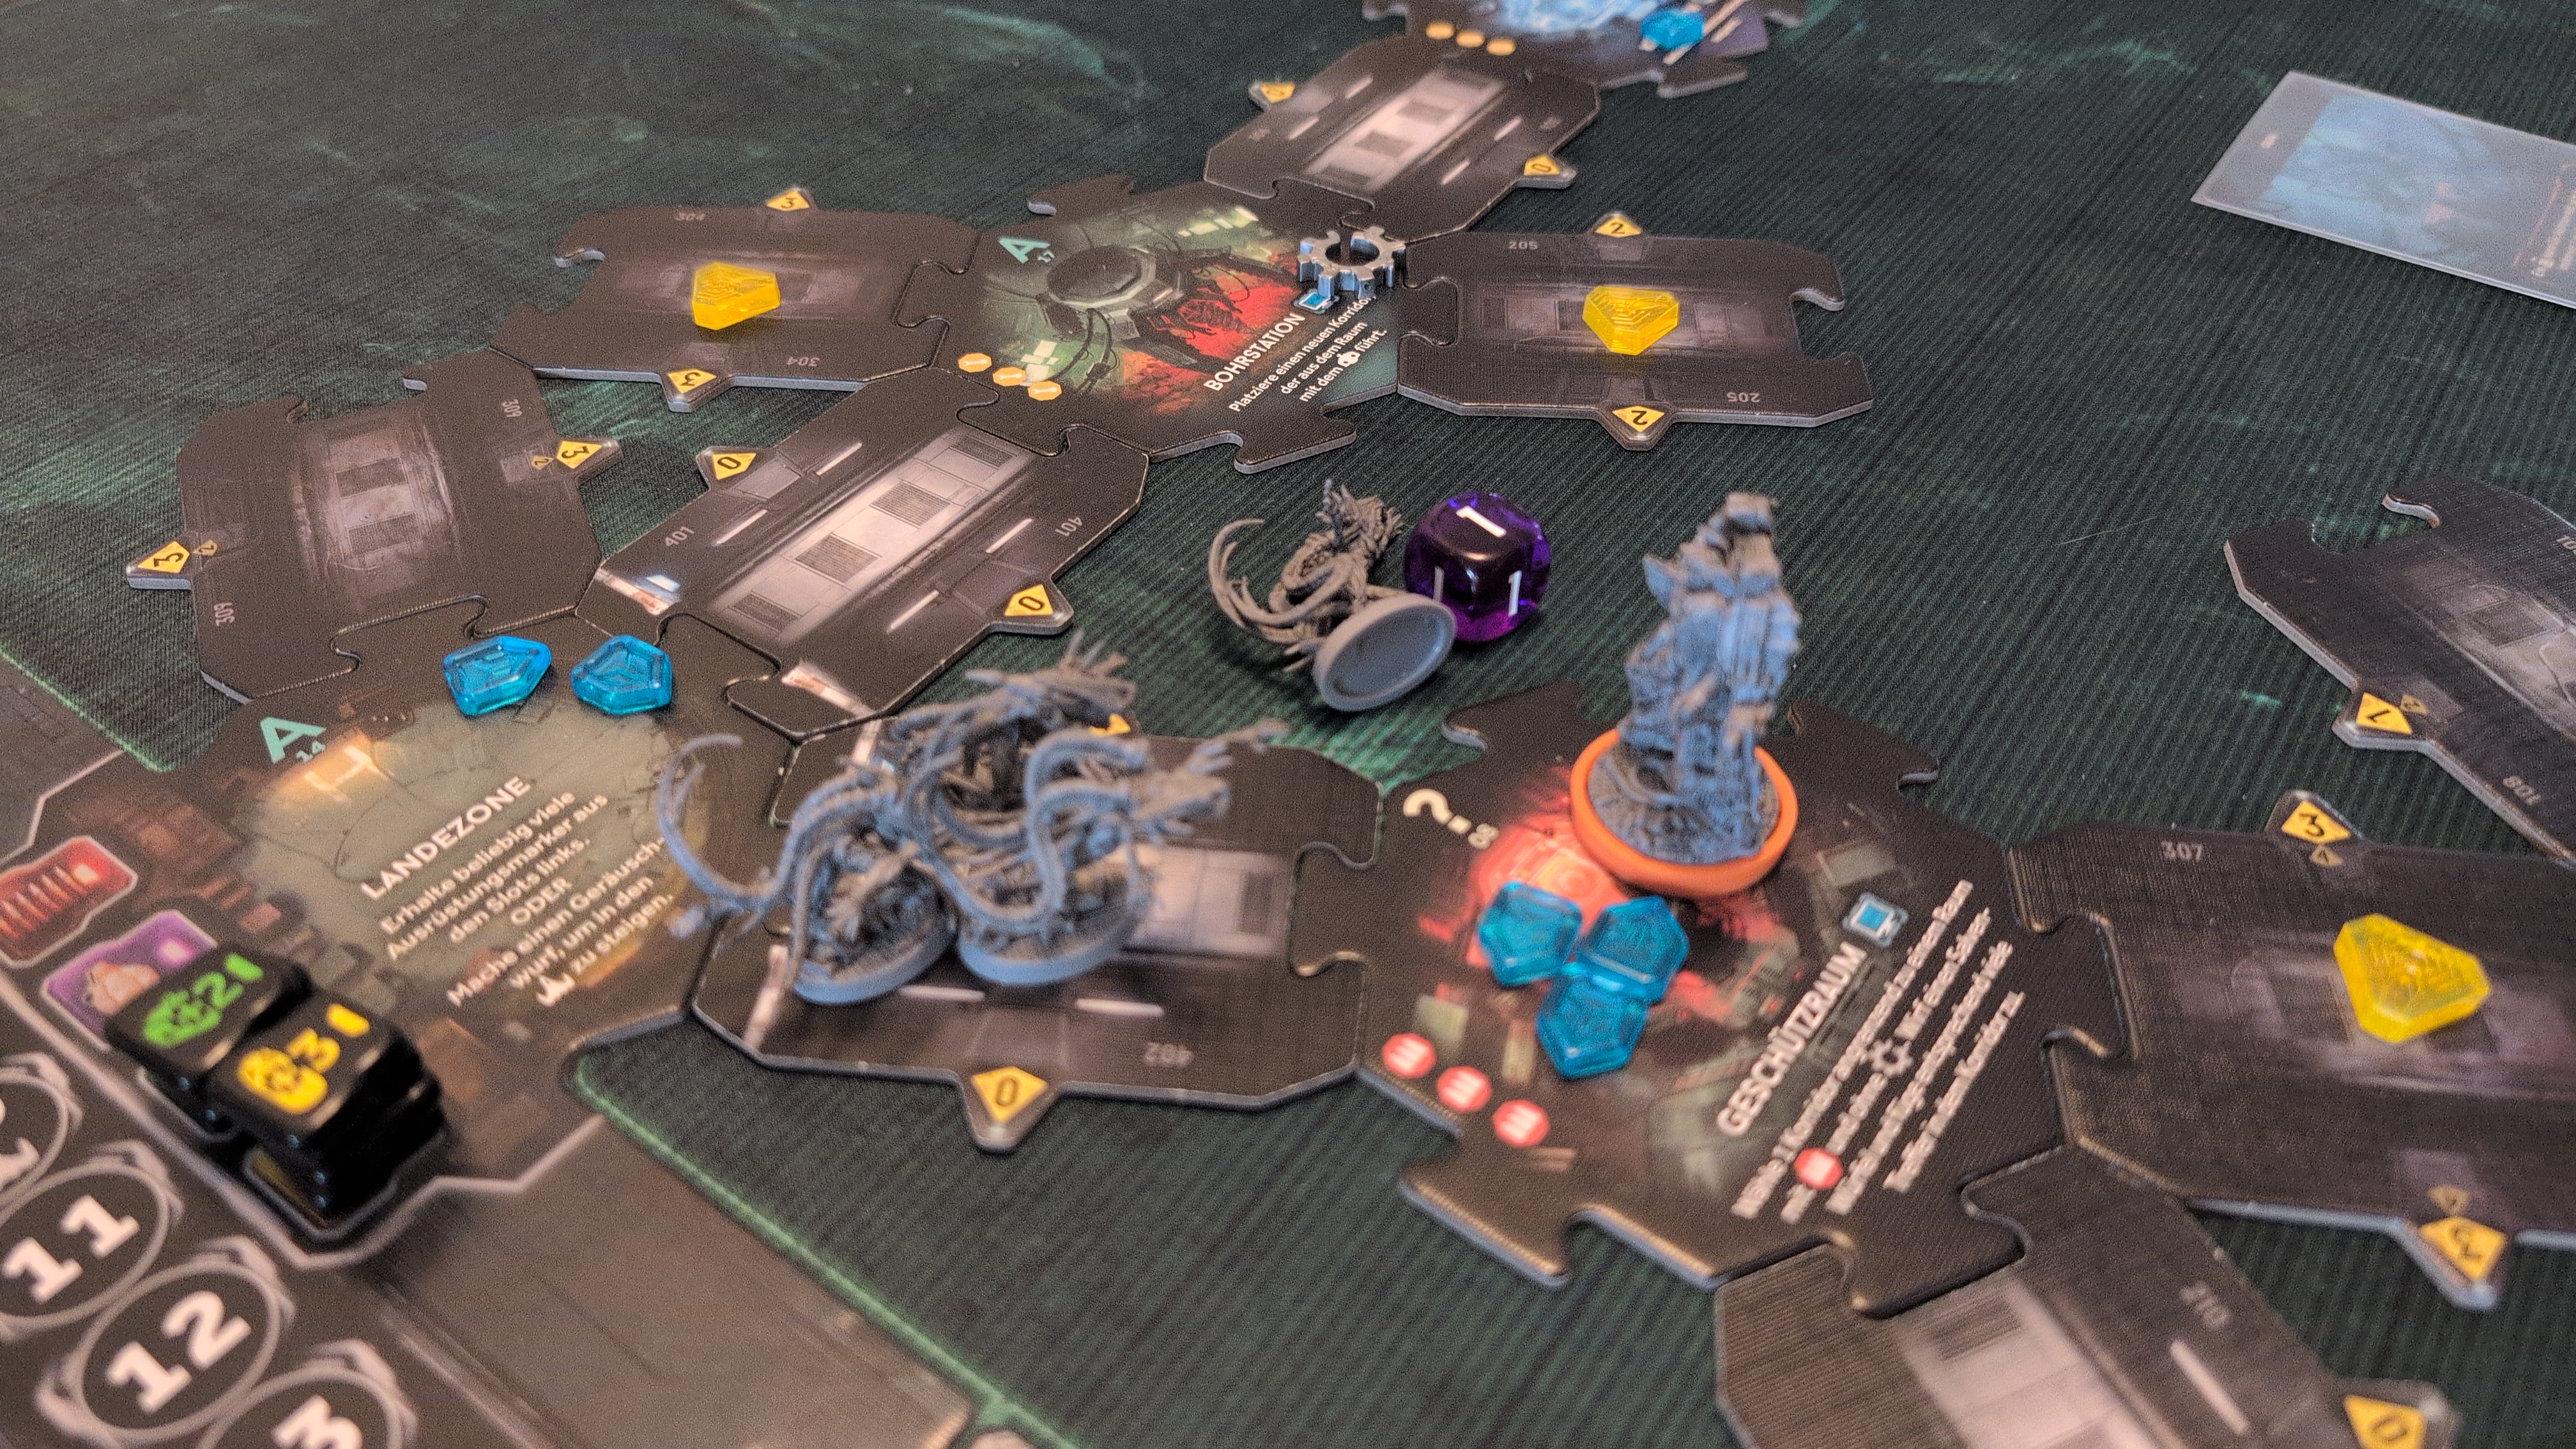
He then fired his personal weapon into the corridor, but again only got one xeno.
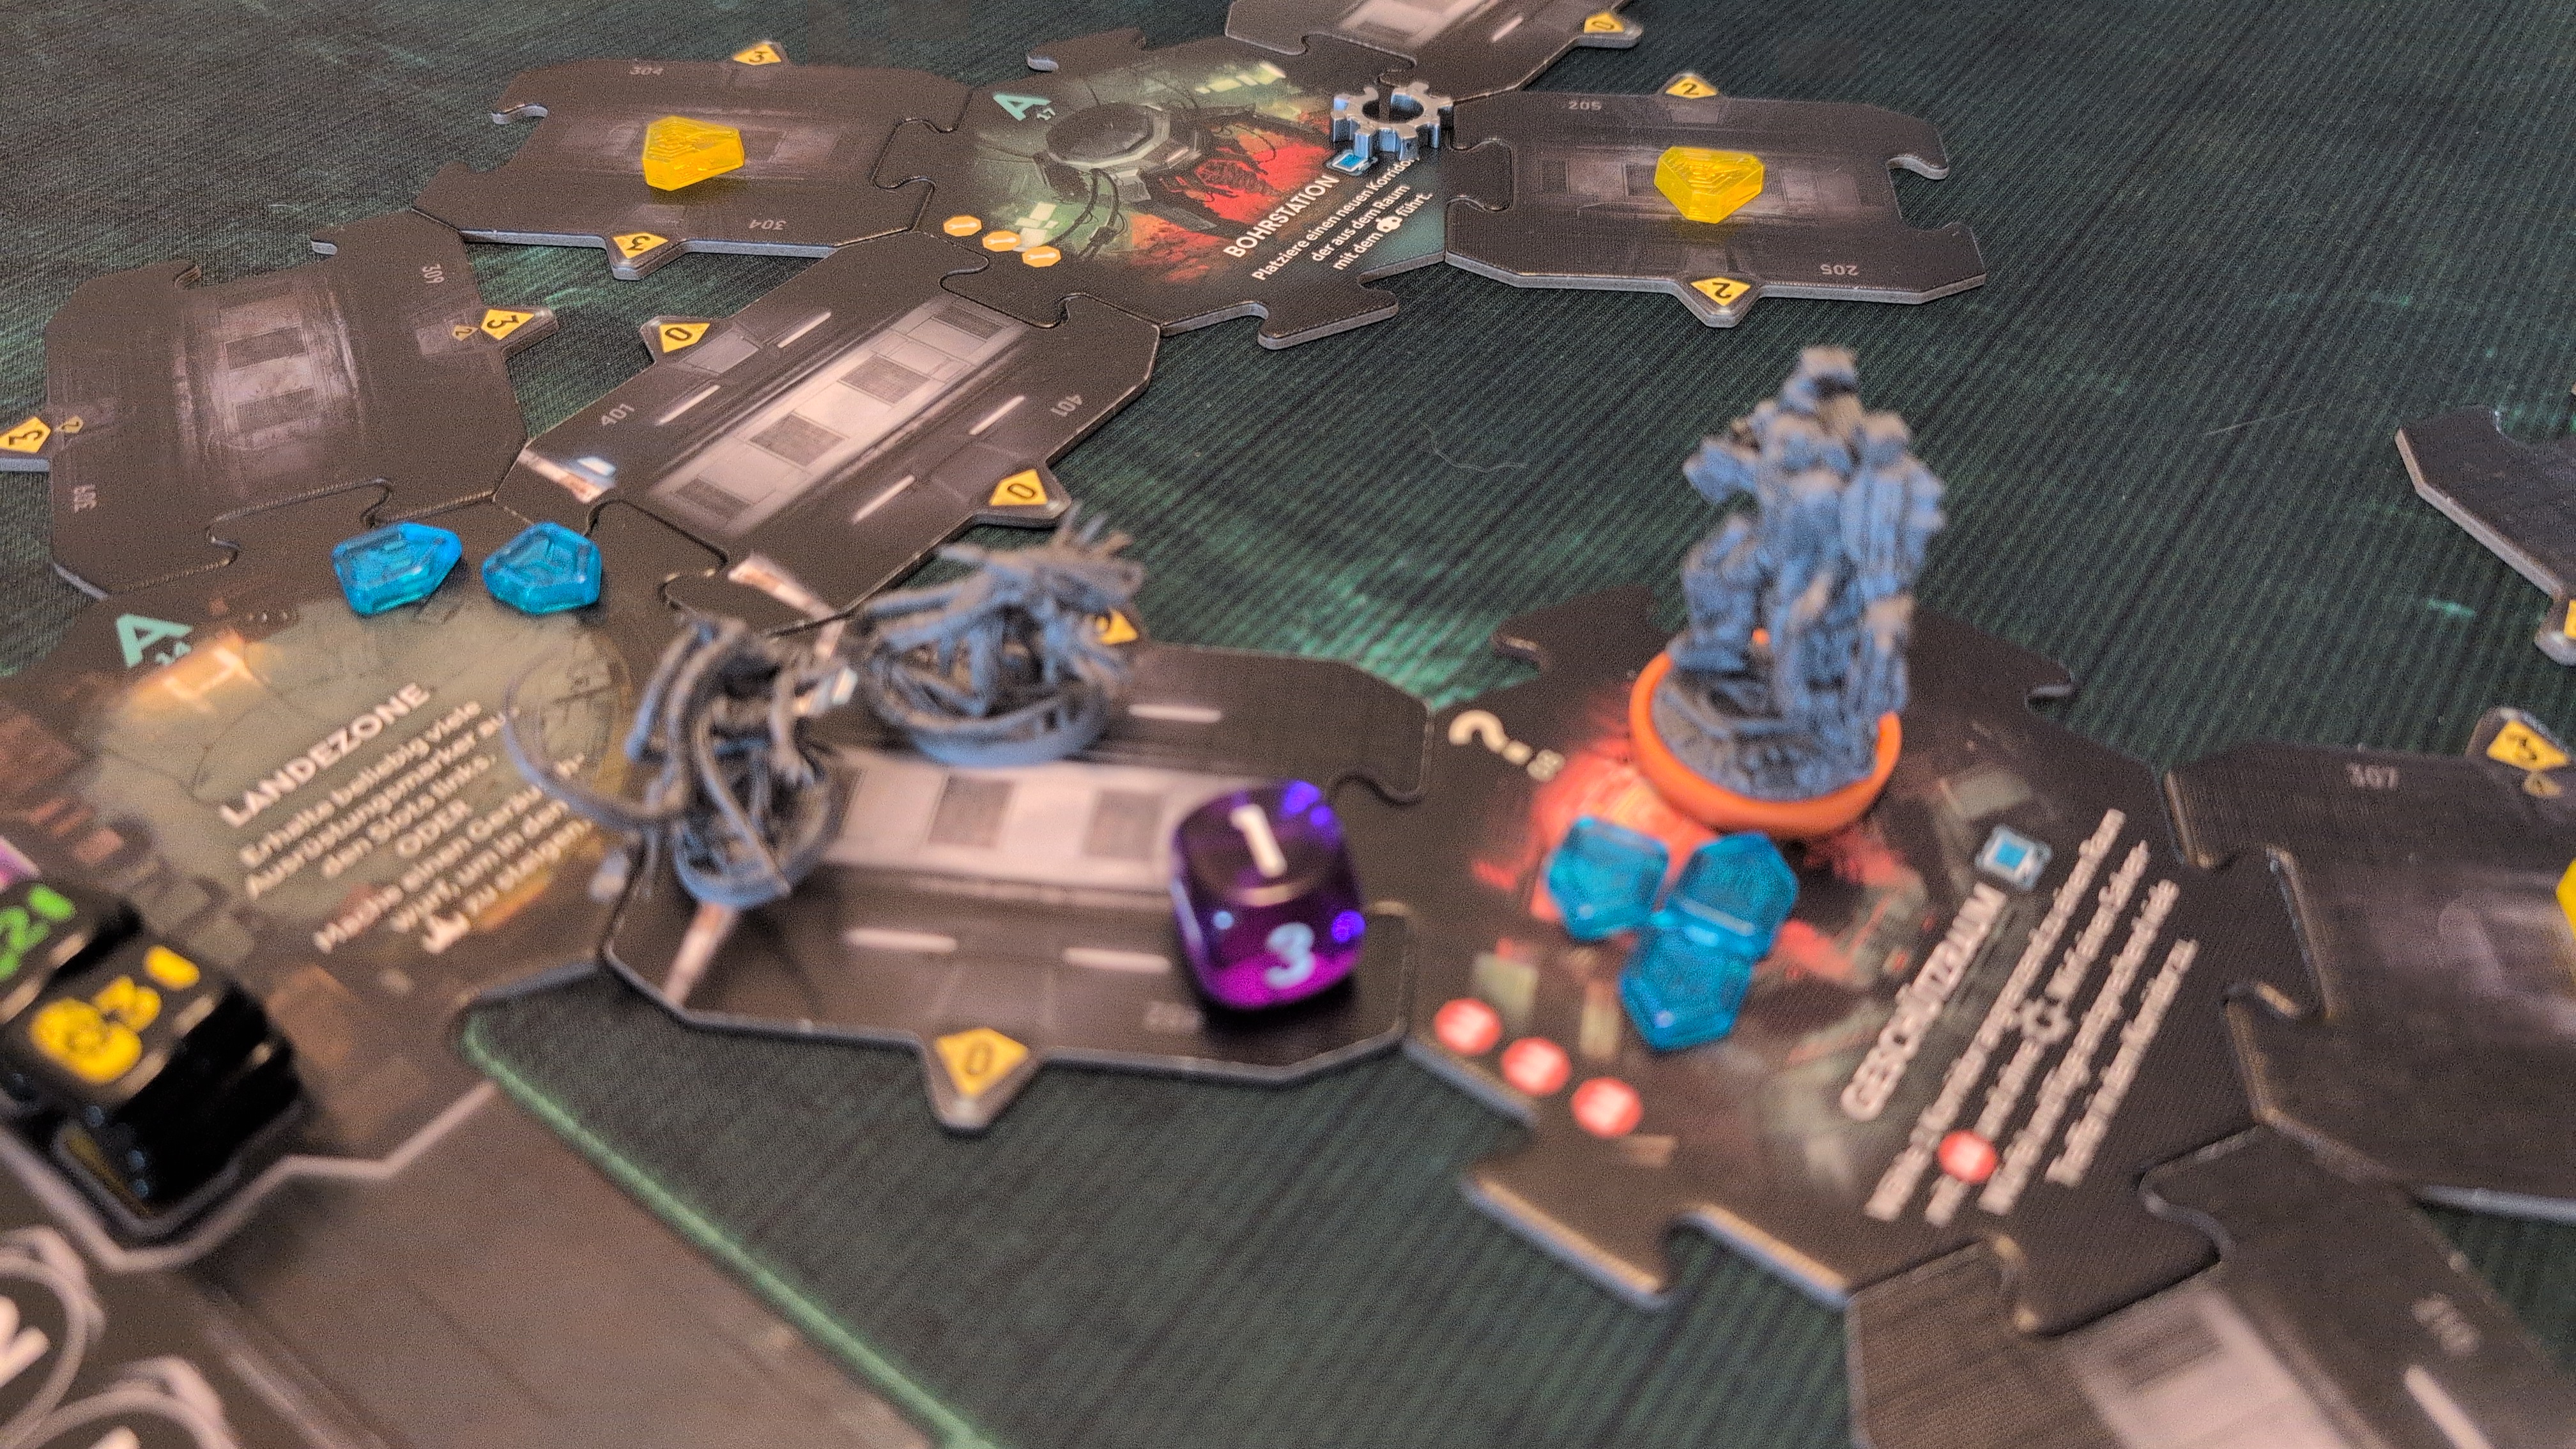
Turn 9 – Xeno Phase
The larva from Sector C moved into Sector B, coming ever closer. Four xenomorphs dropped from air vents in the ceiling into the corridor between the combat engineer and the recon marine.
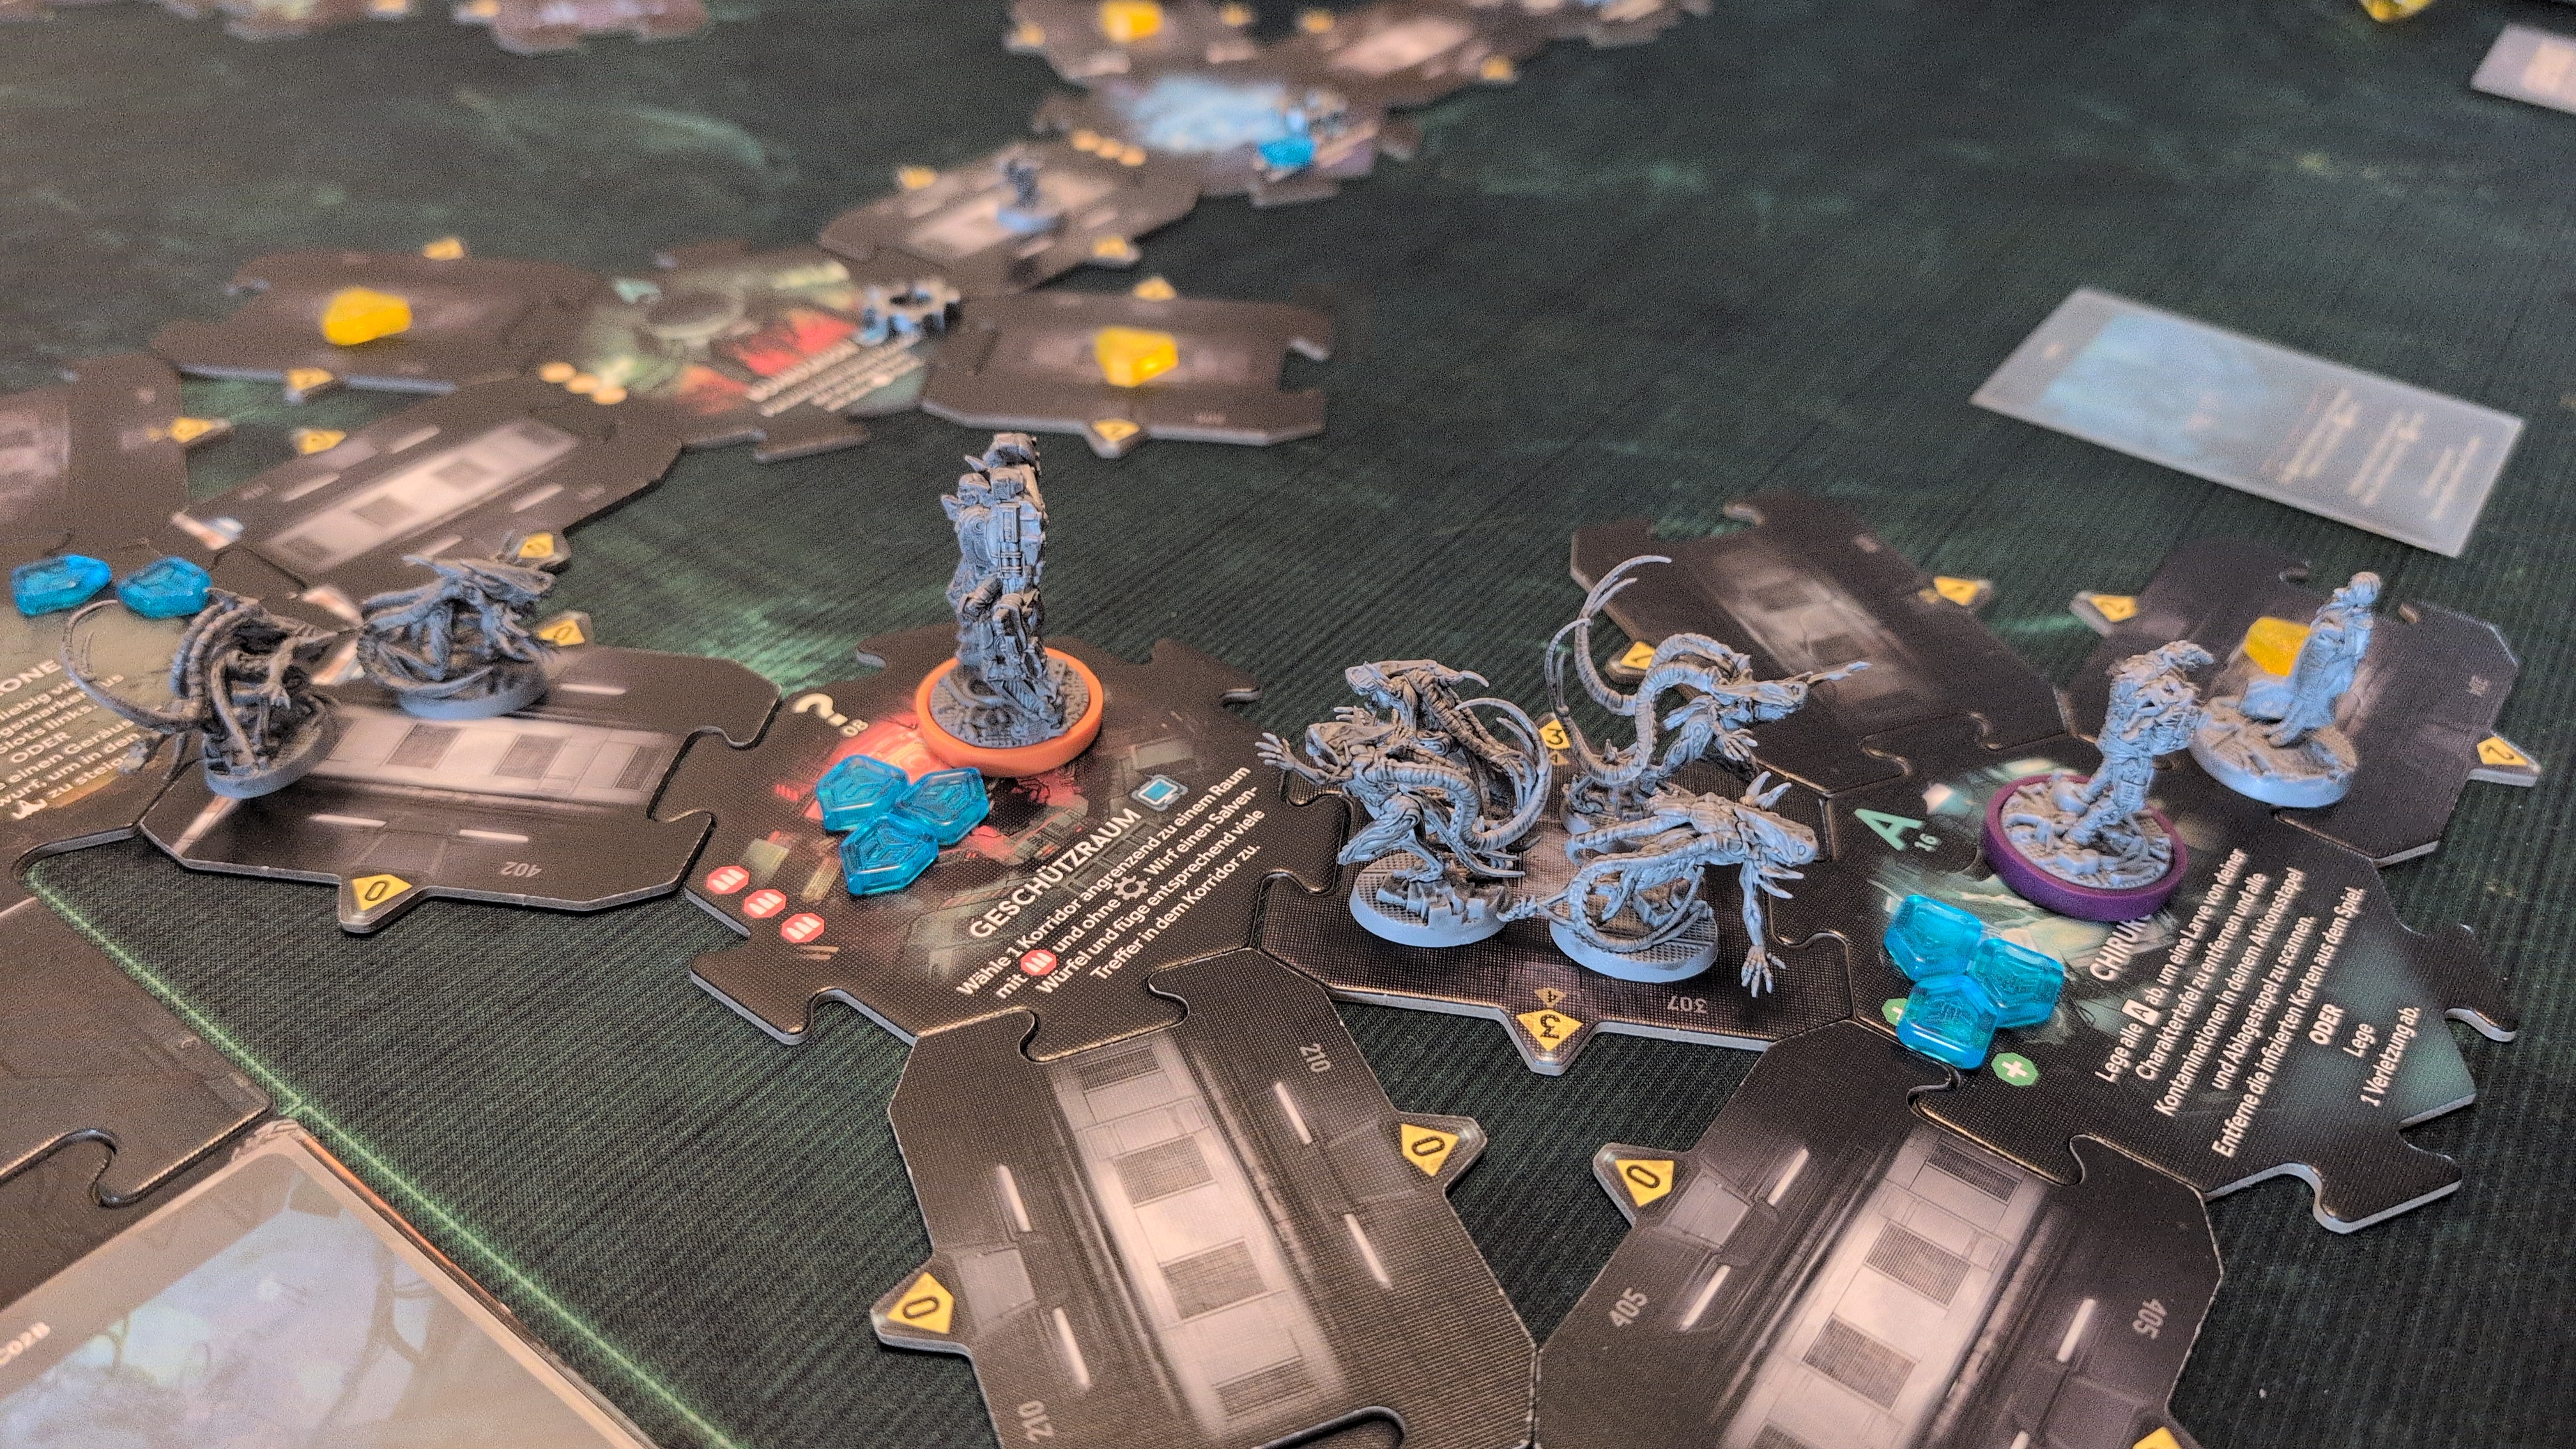
Turn 9 – Turn End Phase
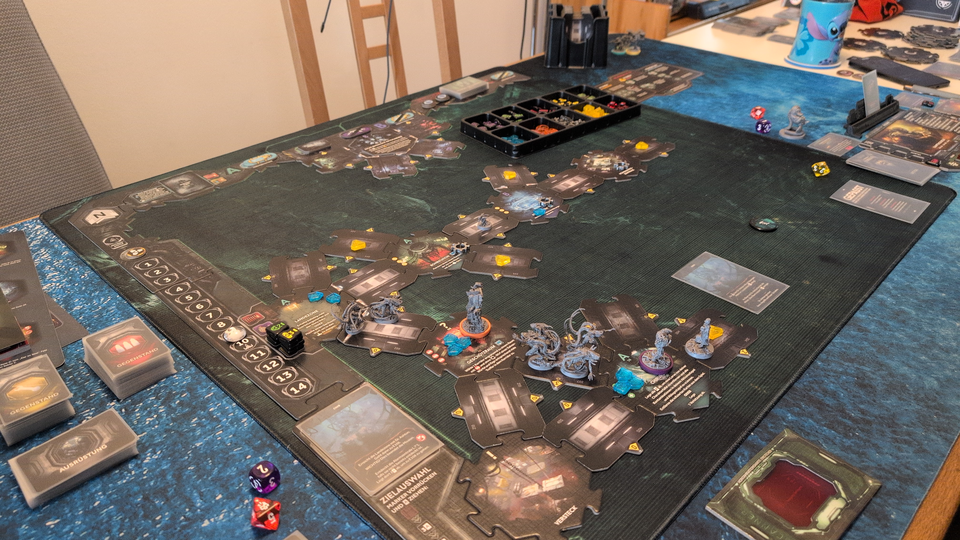
Turn 10
[X] Mission Objective
Locate the Command Center
[X] Mission Objective
Locate and Rescue Dr. Ashton
[ ] Mission Objective
Reach the Landing Zone with Dr. Ashton
[ ] Objective of Opportunity
Locate the Alert Room
Turn 10 – Phase 1
The recon marine cleared the corridor with a grenade. He then used the room action again to treat his injury.
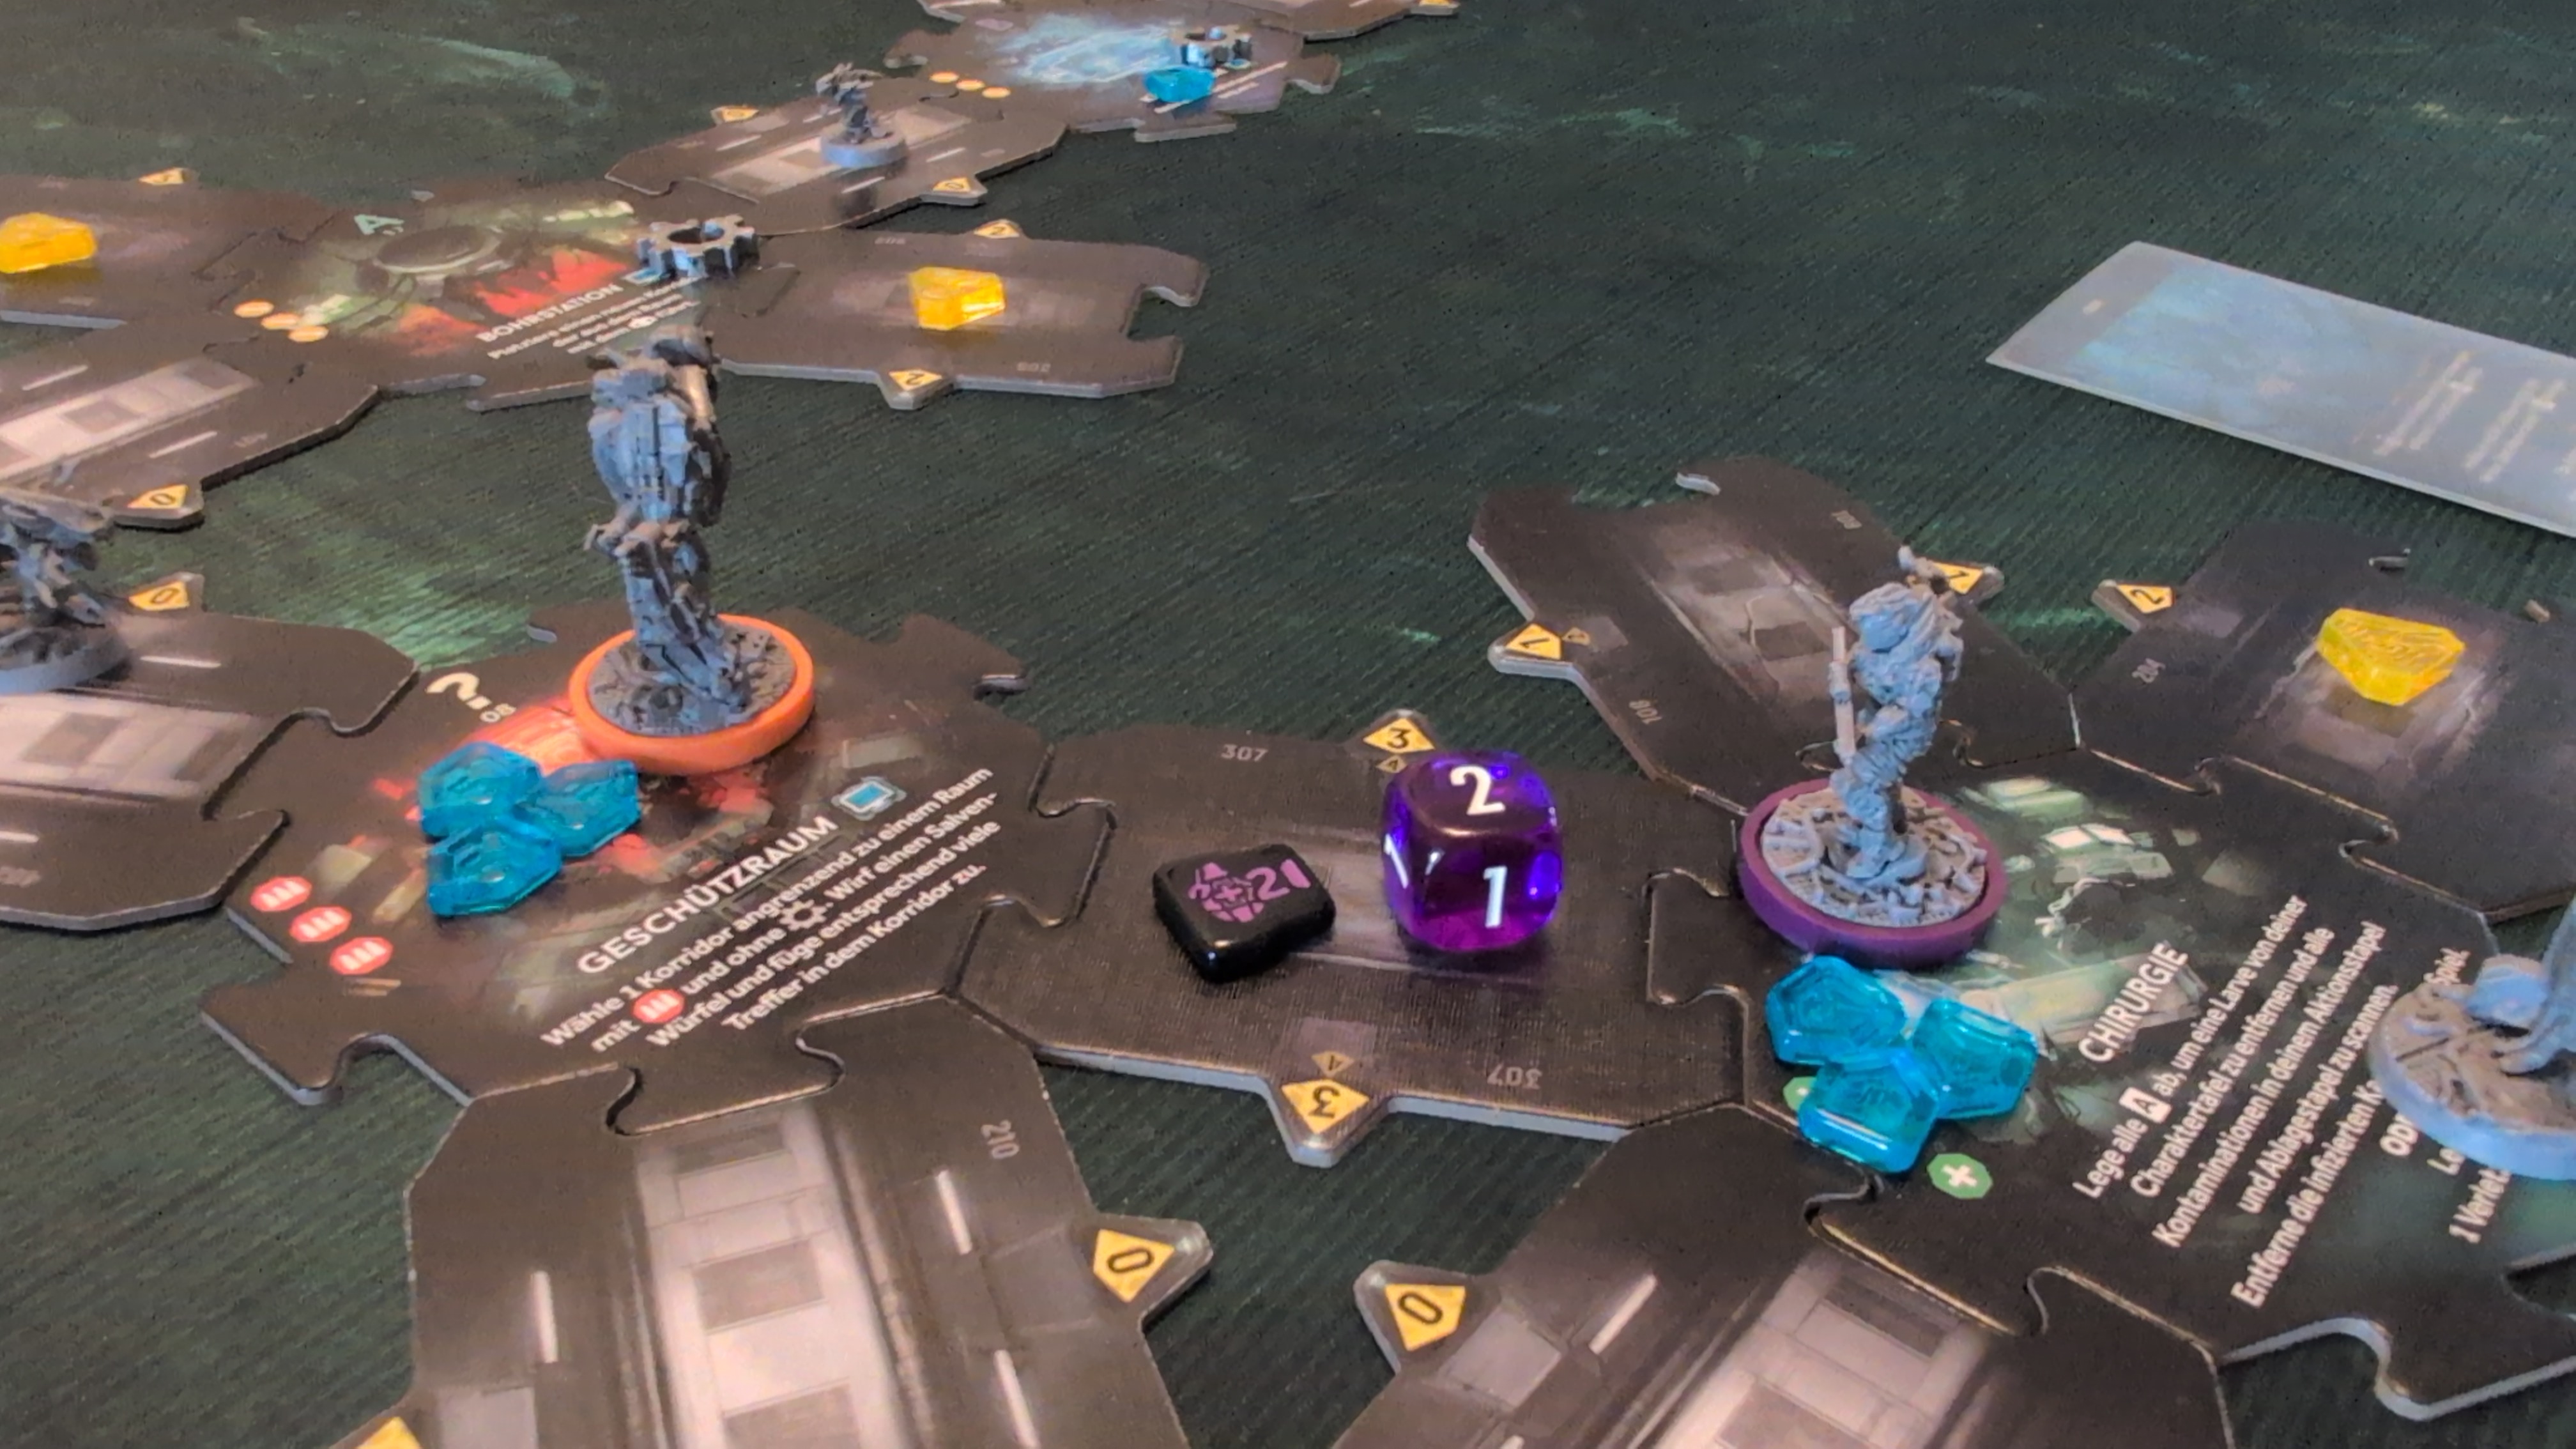
The combat engineer continued to pick them off one by one… not being able to hit multiple xenos with his bursts.
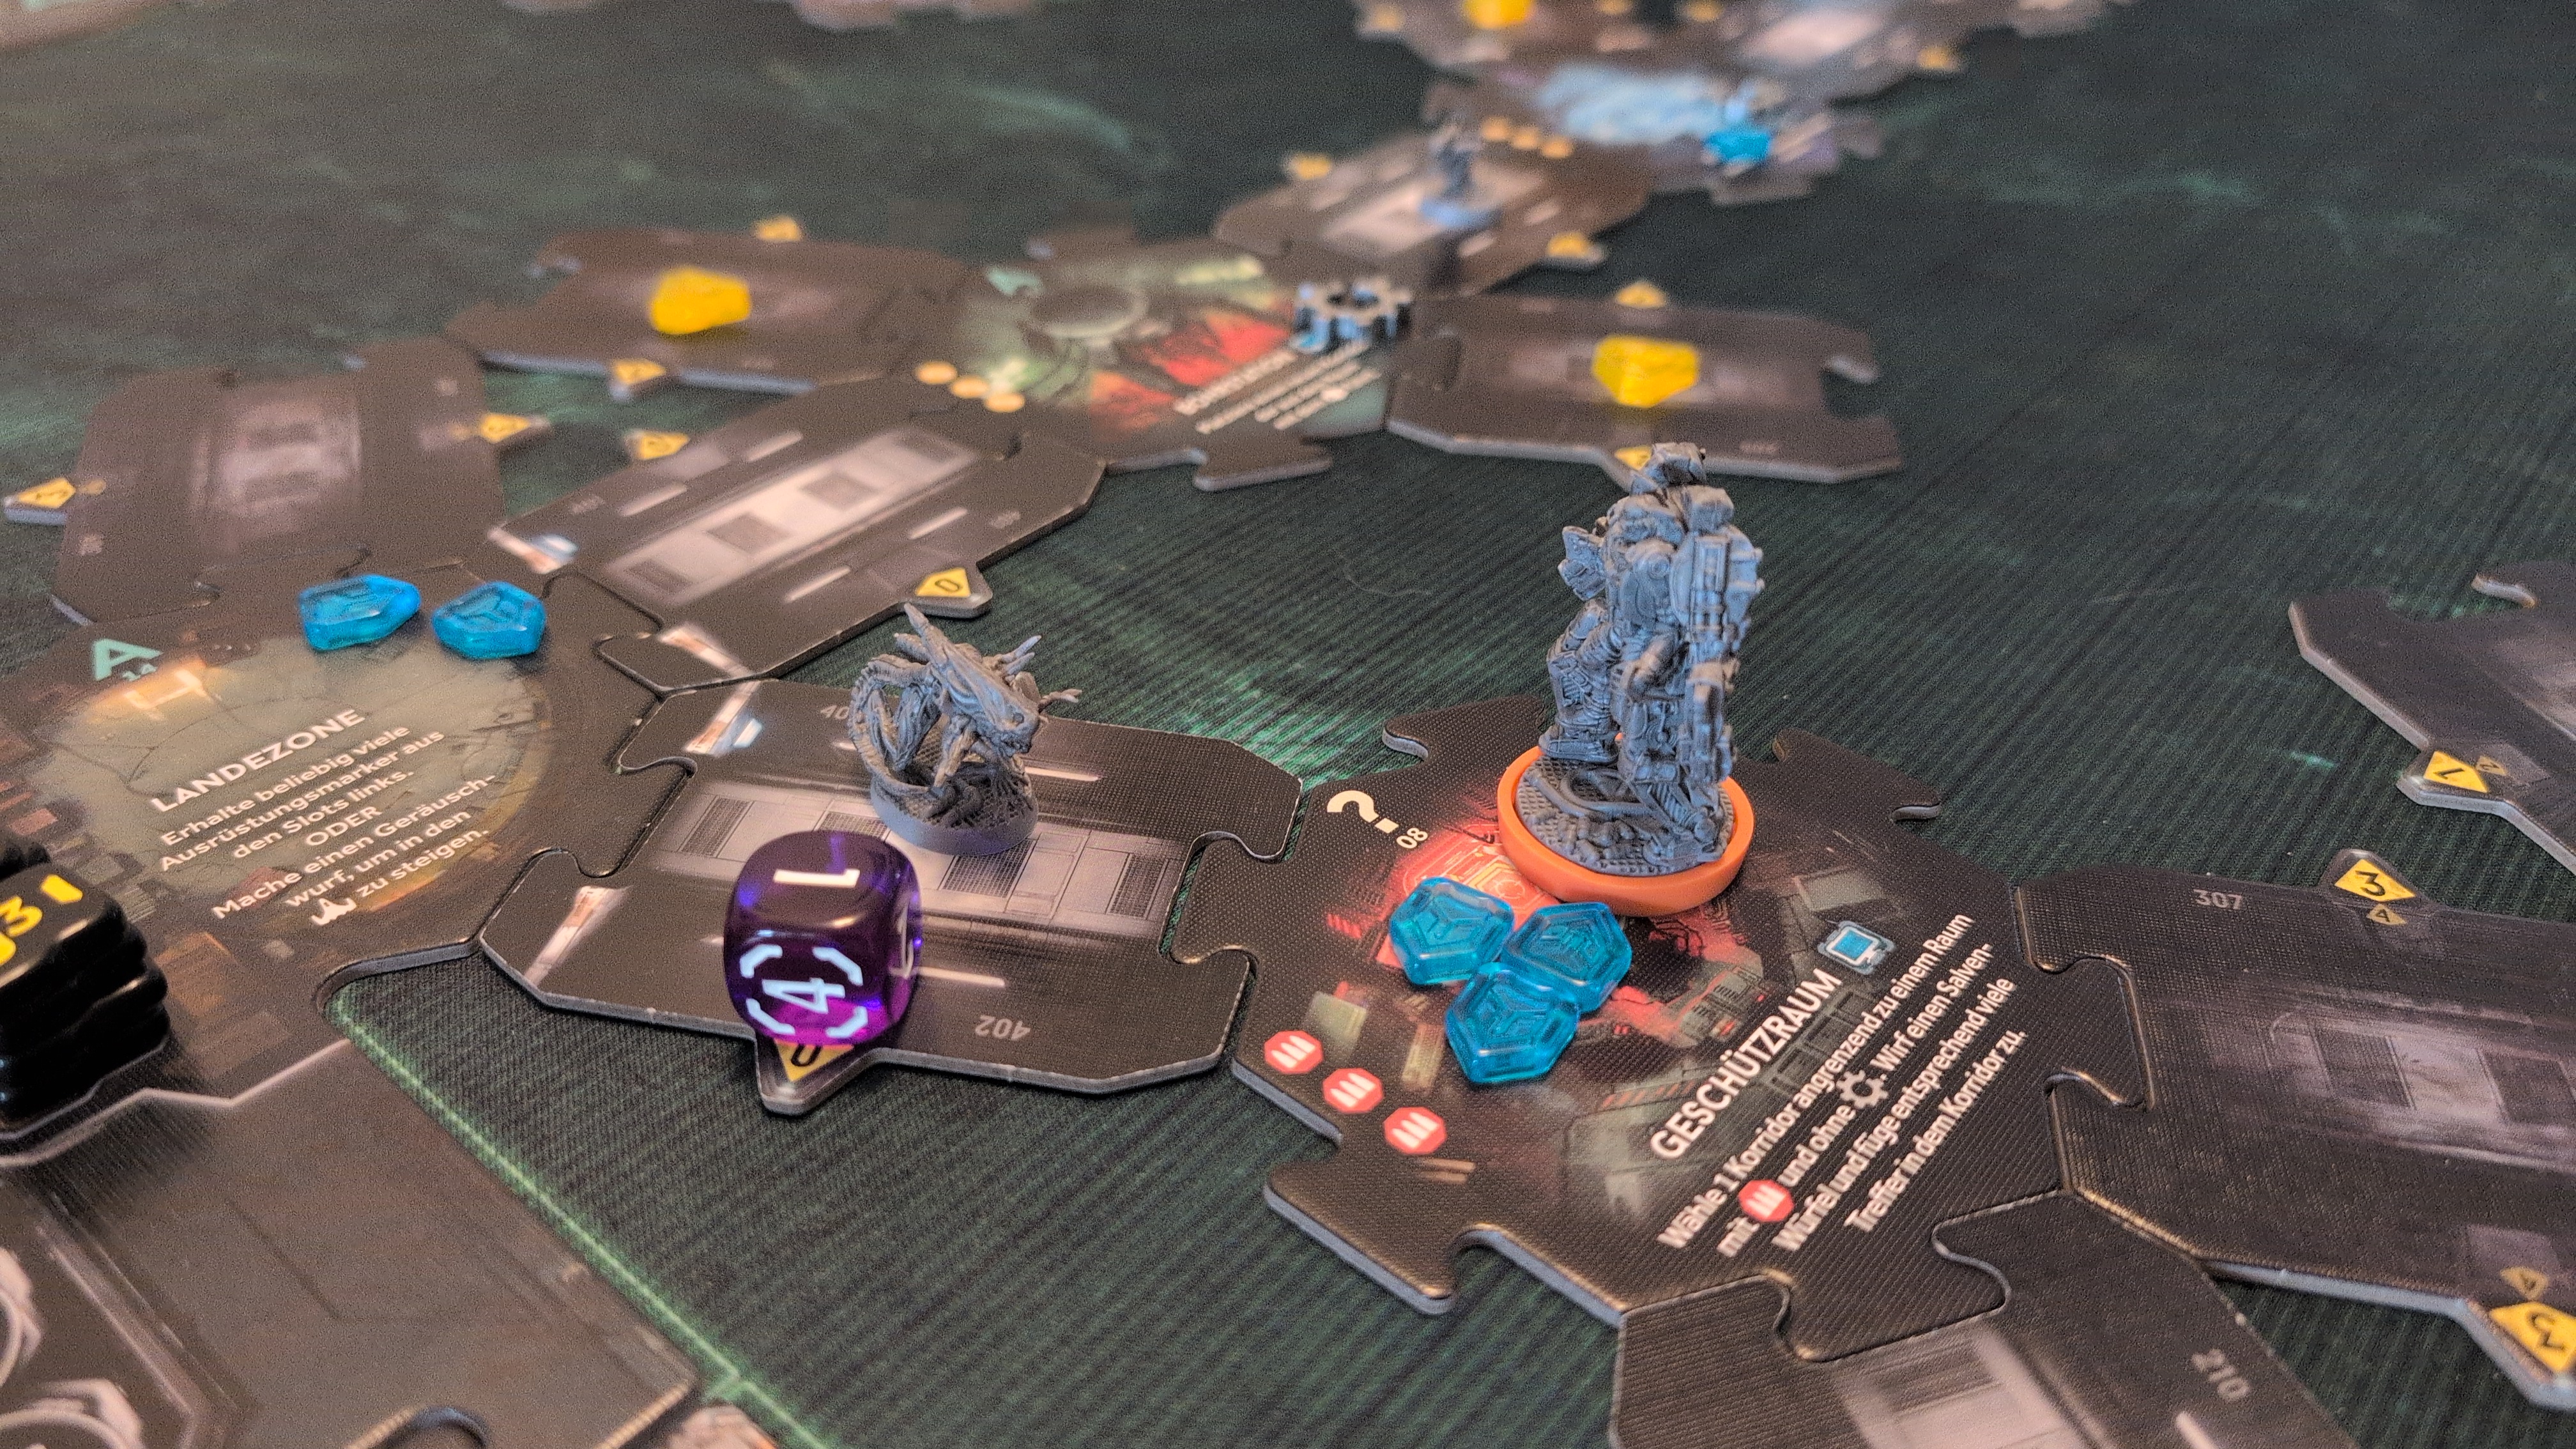
Turn 10 – Phase 2
The recon marine searched the surgery (sounds like a pun), and immediately used the Stimulants to heal hit points.
Finally, the combat engineer hit the last xenomorph in the corridor. He then searched the gun control room for items, and found a remote detonator.
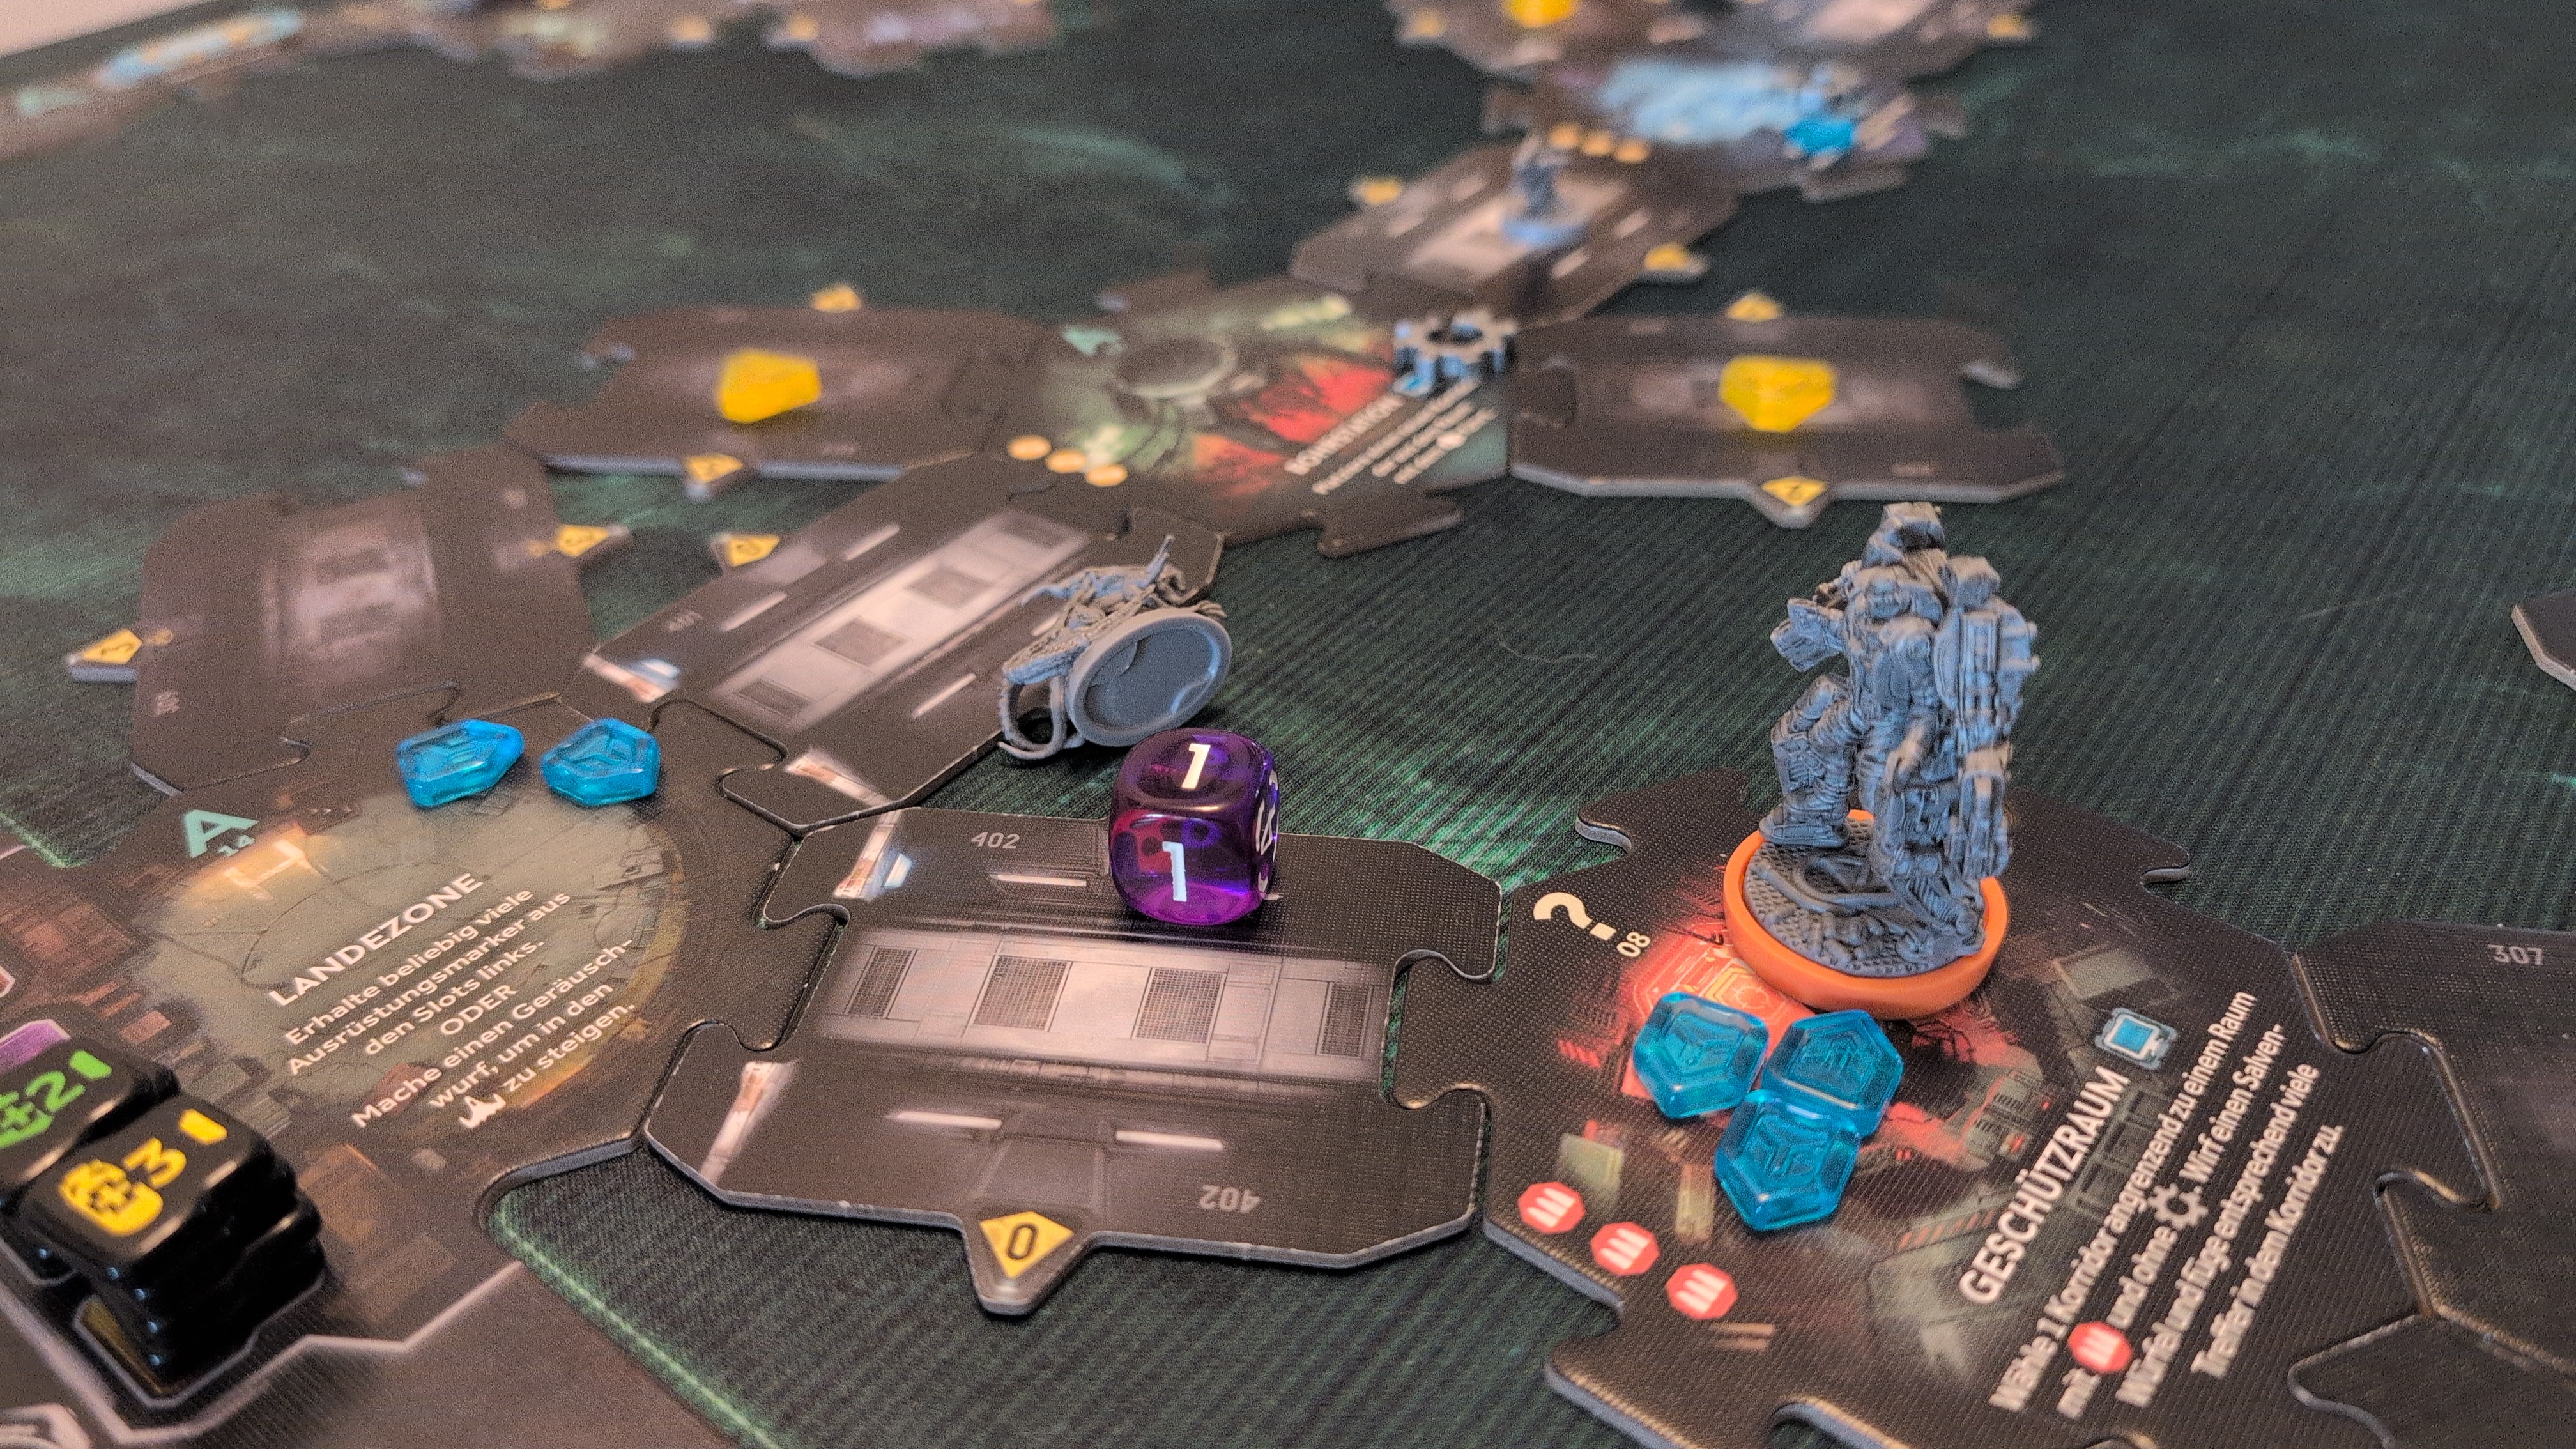
Turn 10 – Xeno Phase
The larva came closer again, otherwise nothing happened.
Turn 10 – Turn End Phase
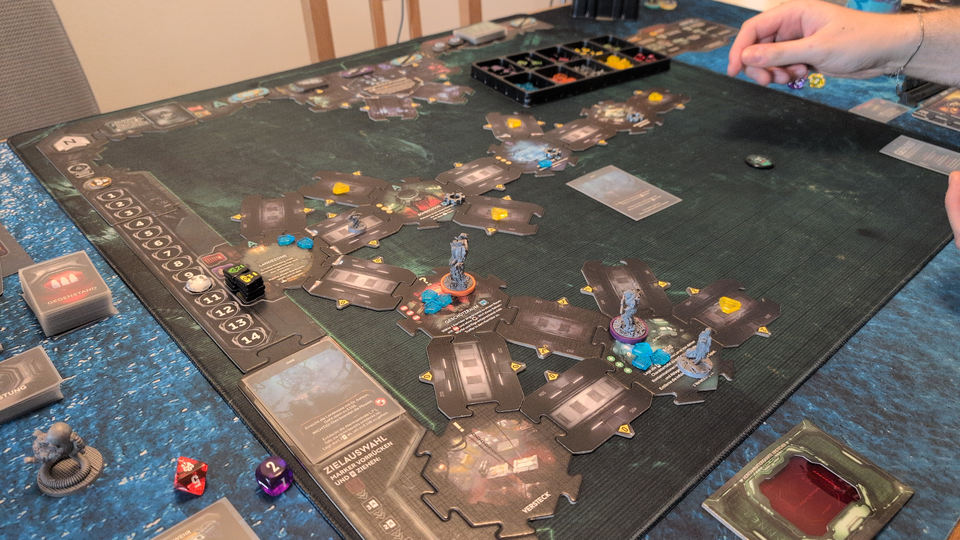
Turn 11
[X] Mission Objective
Locate the Command Center
[X] Mission Objective
Locate and Rescue Dr. Ashton
[ ] Mission Objective
Reach the Landing Zone with Dr. Ashton
[ ] Objective of Opportunity
Locate the Alert Room
Turn 11 – Phase 1
The combat engineer again searched the room, finding a grenade this time, then moved cautiously to the landing zone.
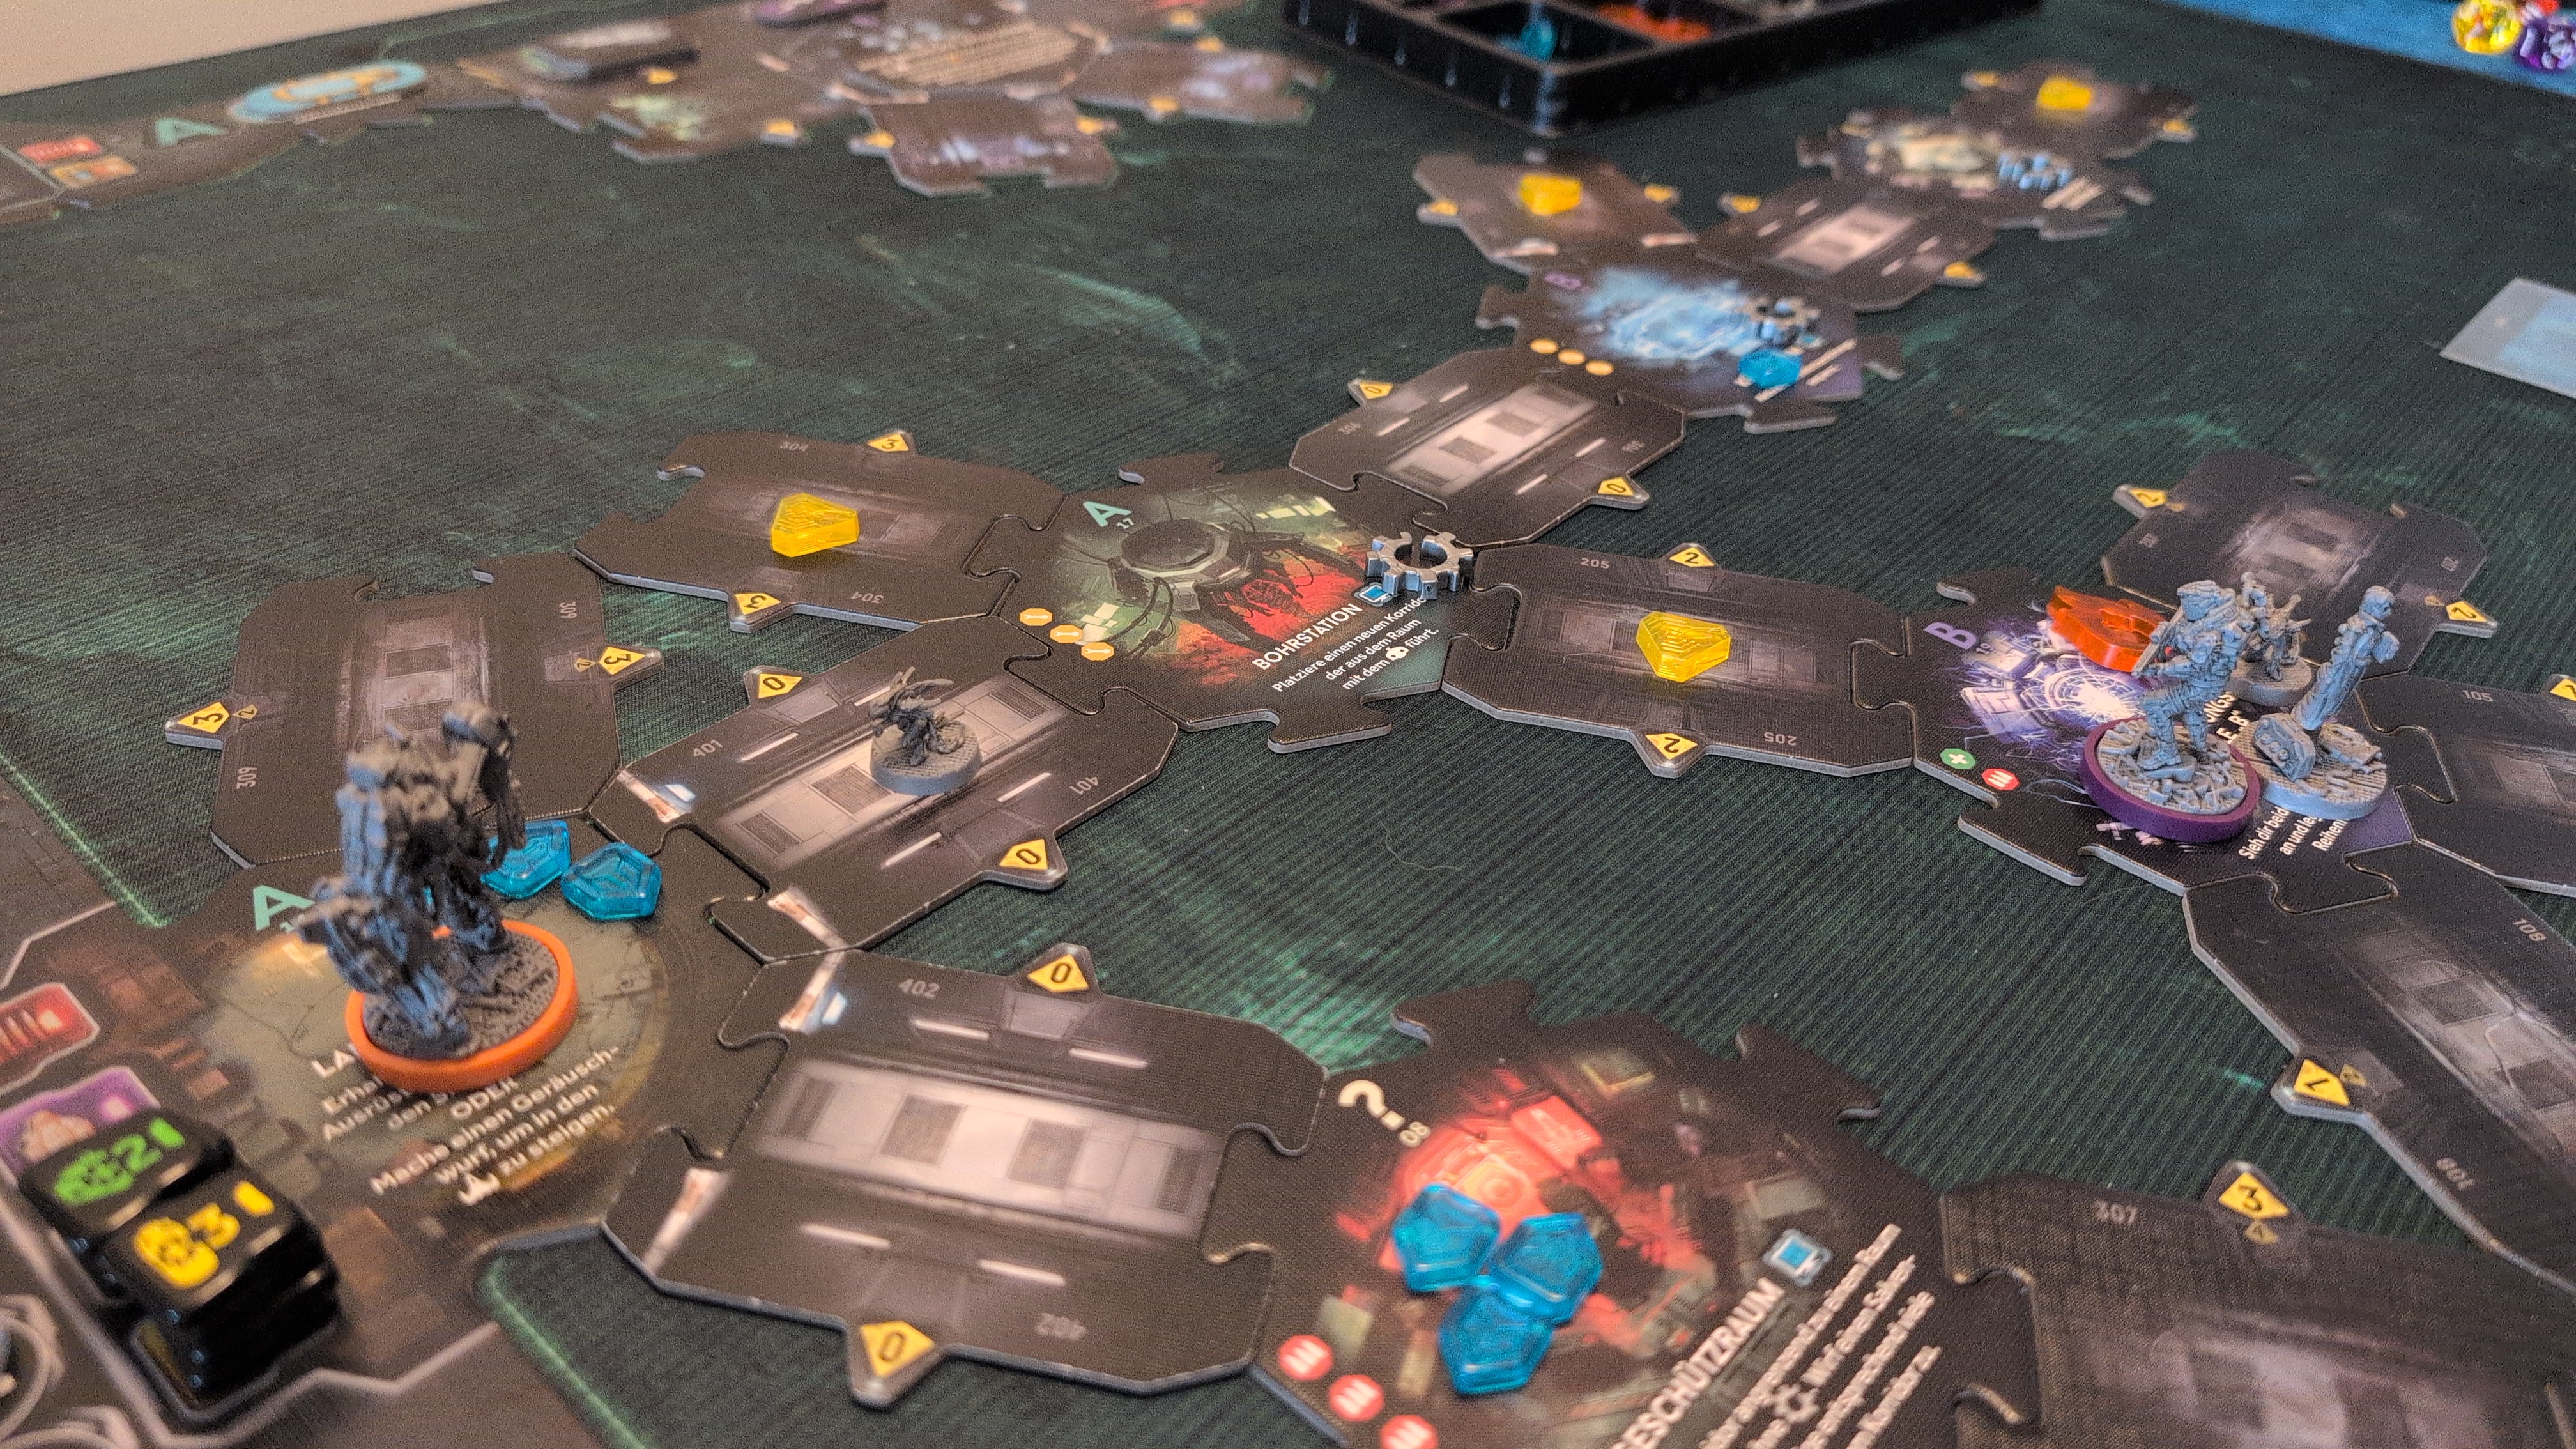
The recon marine, trying to fulfill the objective of opportunity, moved cautiously into the unexplored room in Sector B – unfortunately, it was not the alert room, but the life support room. The larva in the room immediately attacked him, giving him another contamination card.
Turn 11 – Phase 2
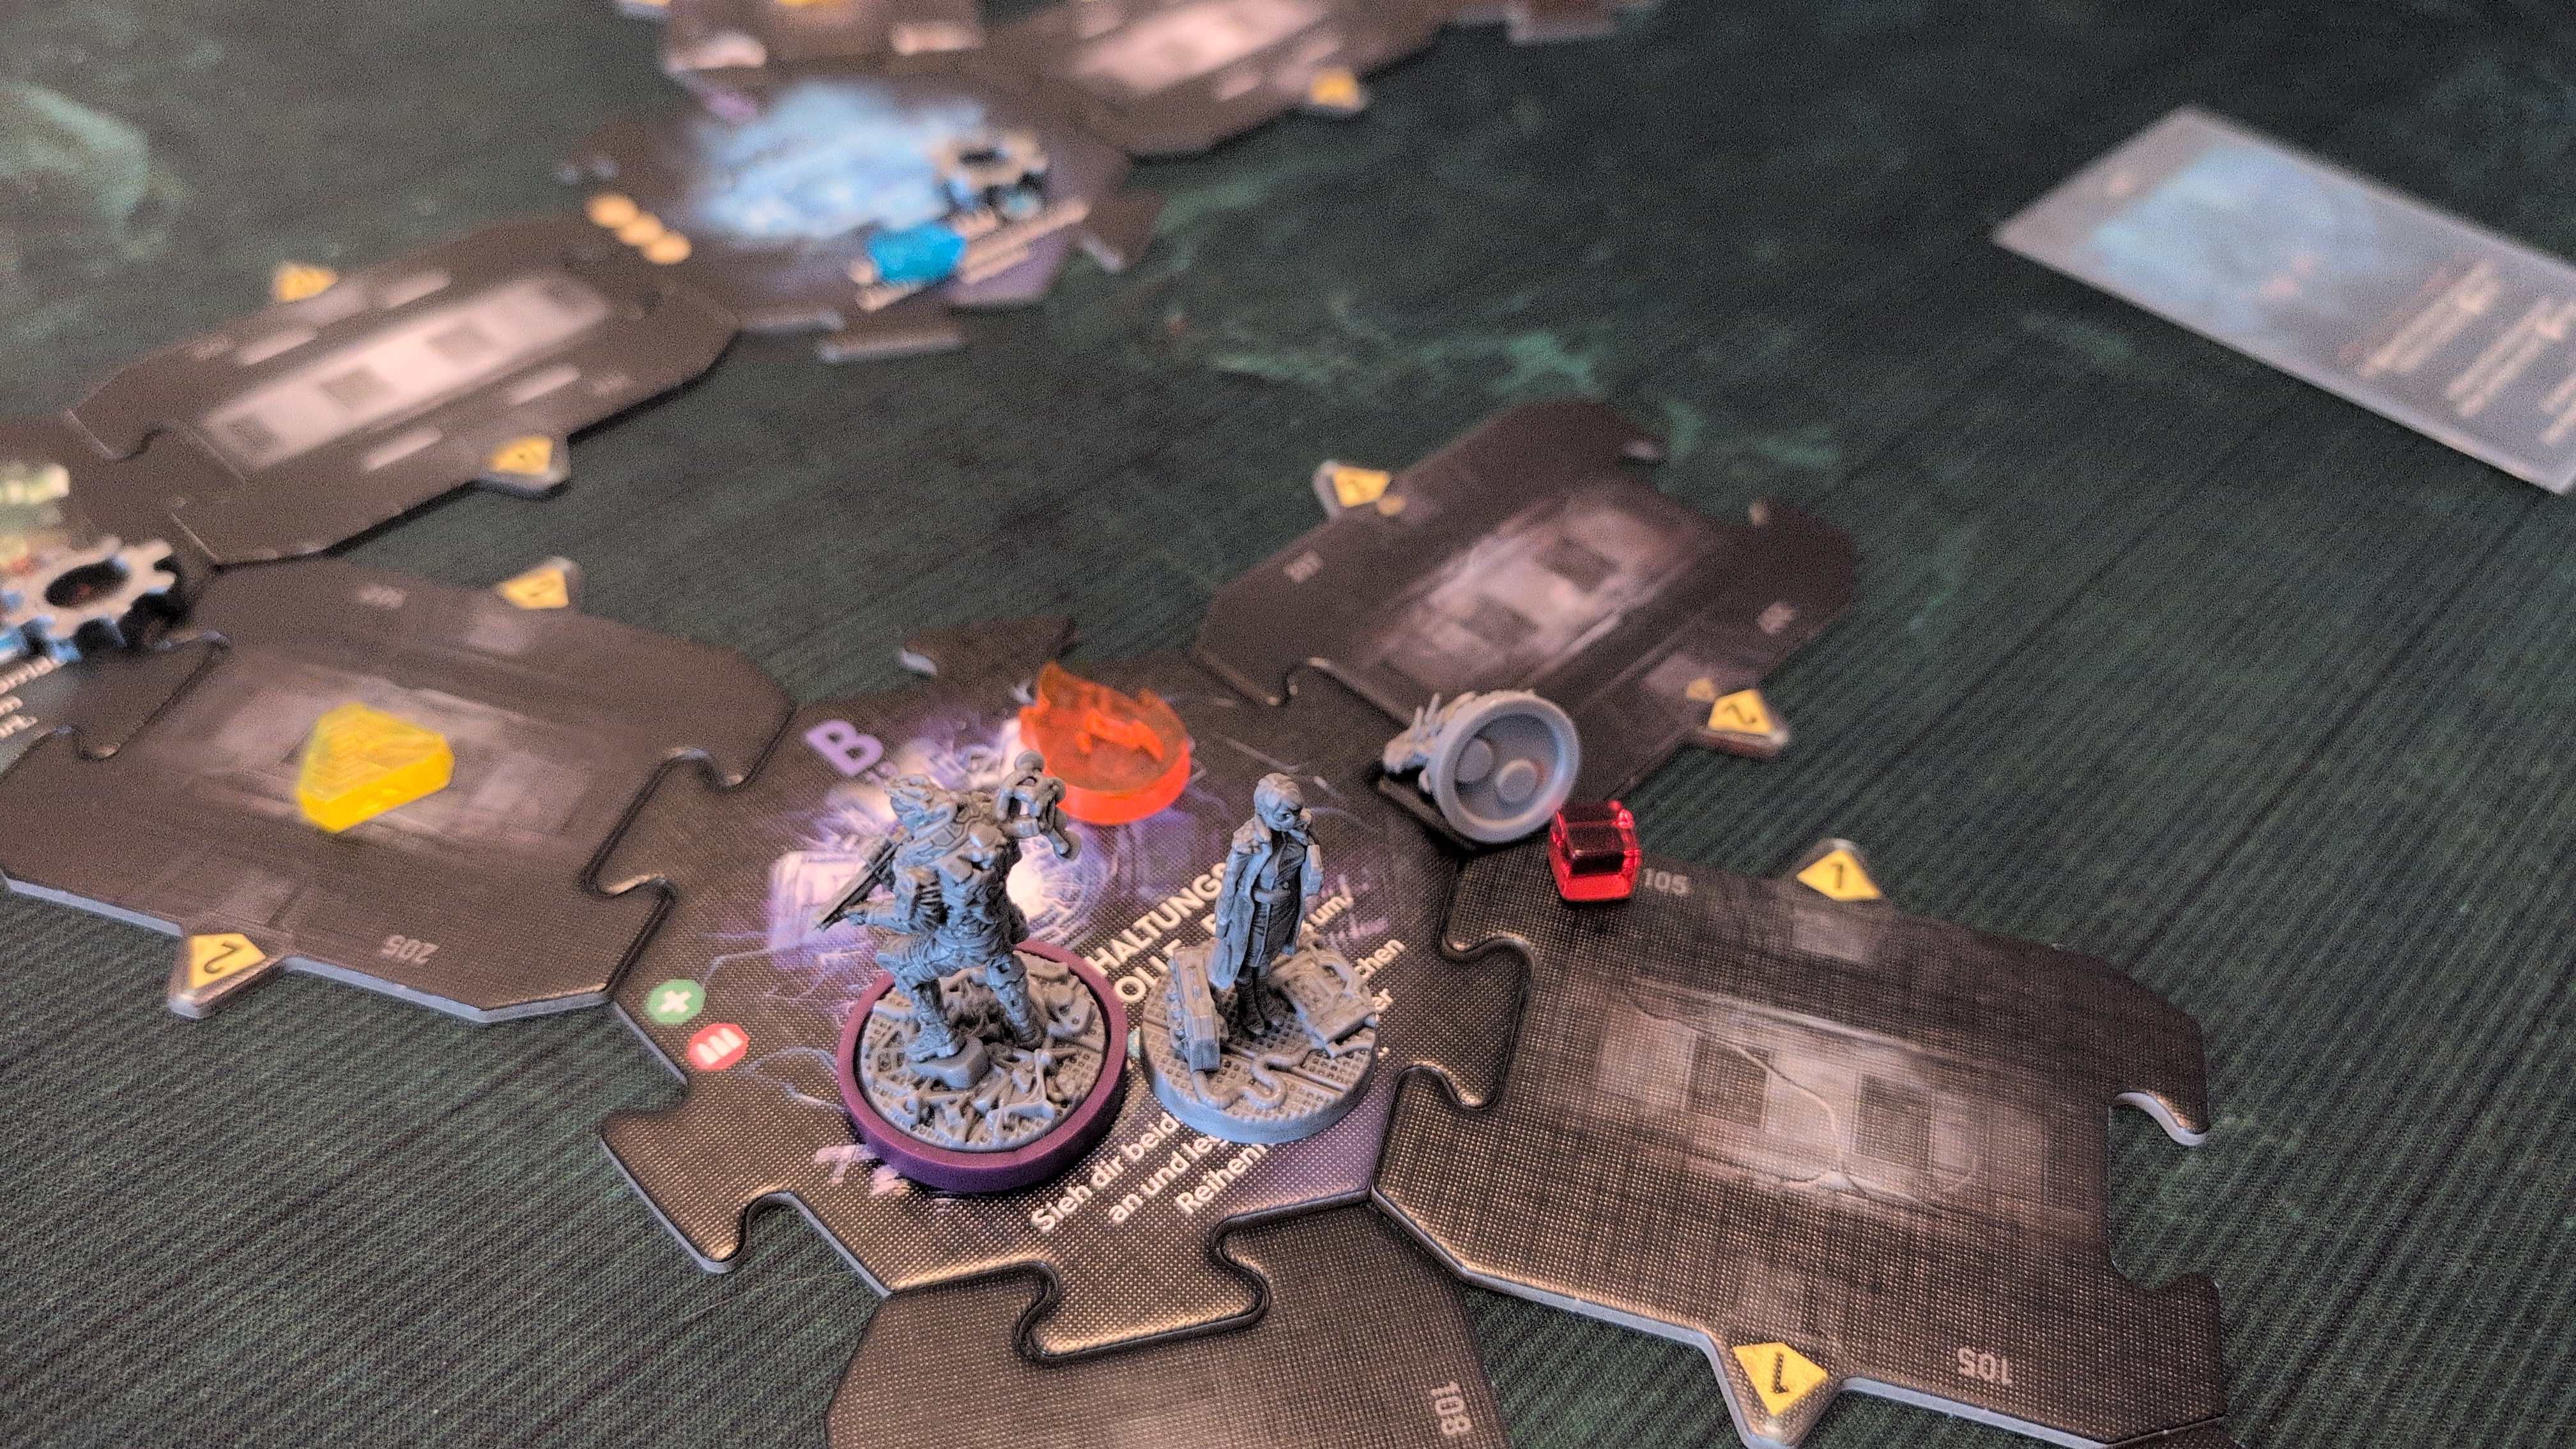
Also trying to find the alert room, the combat engineer moved into the unexplored room above the landing zone – also discovering the life support room of that Sector instead of the alert room. Instead of a larva, as with the recon marine in Sector B, this one was occupied by an adult! The corridor to the next yet unexplored room was barred by a closed door.
Turn 11 – Xeno Phase
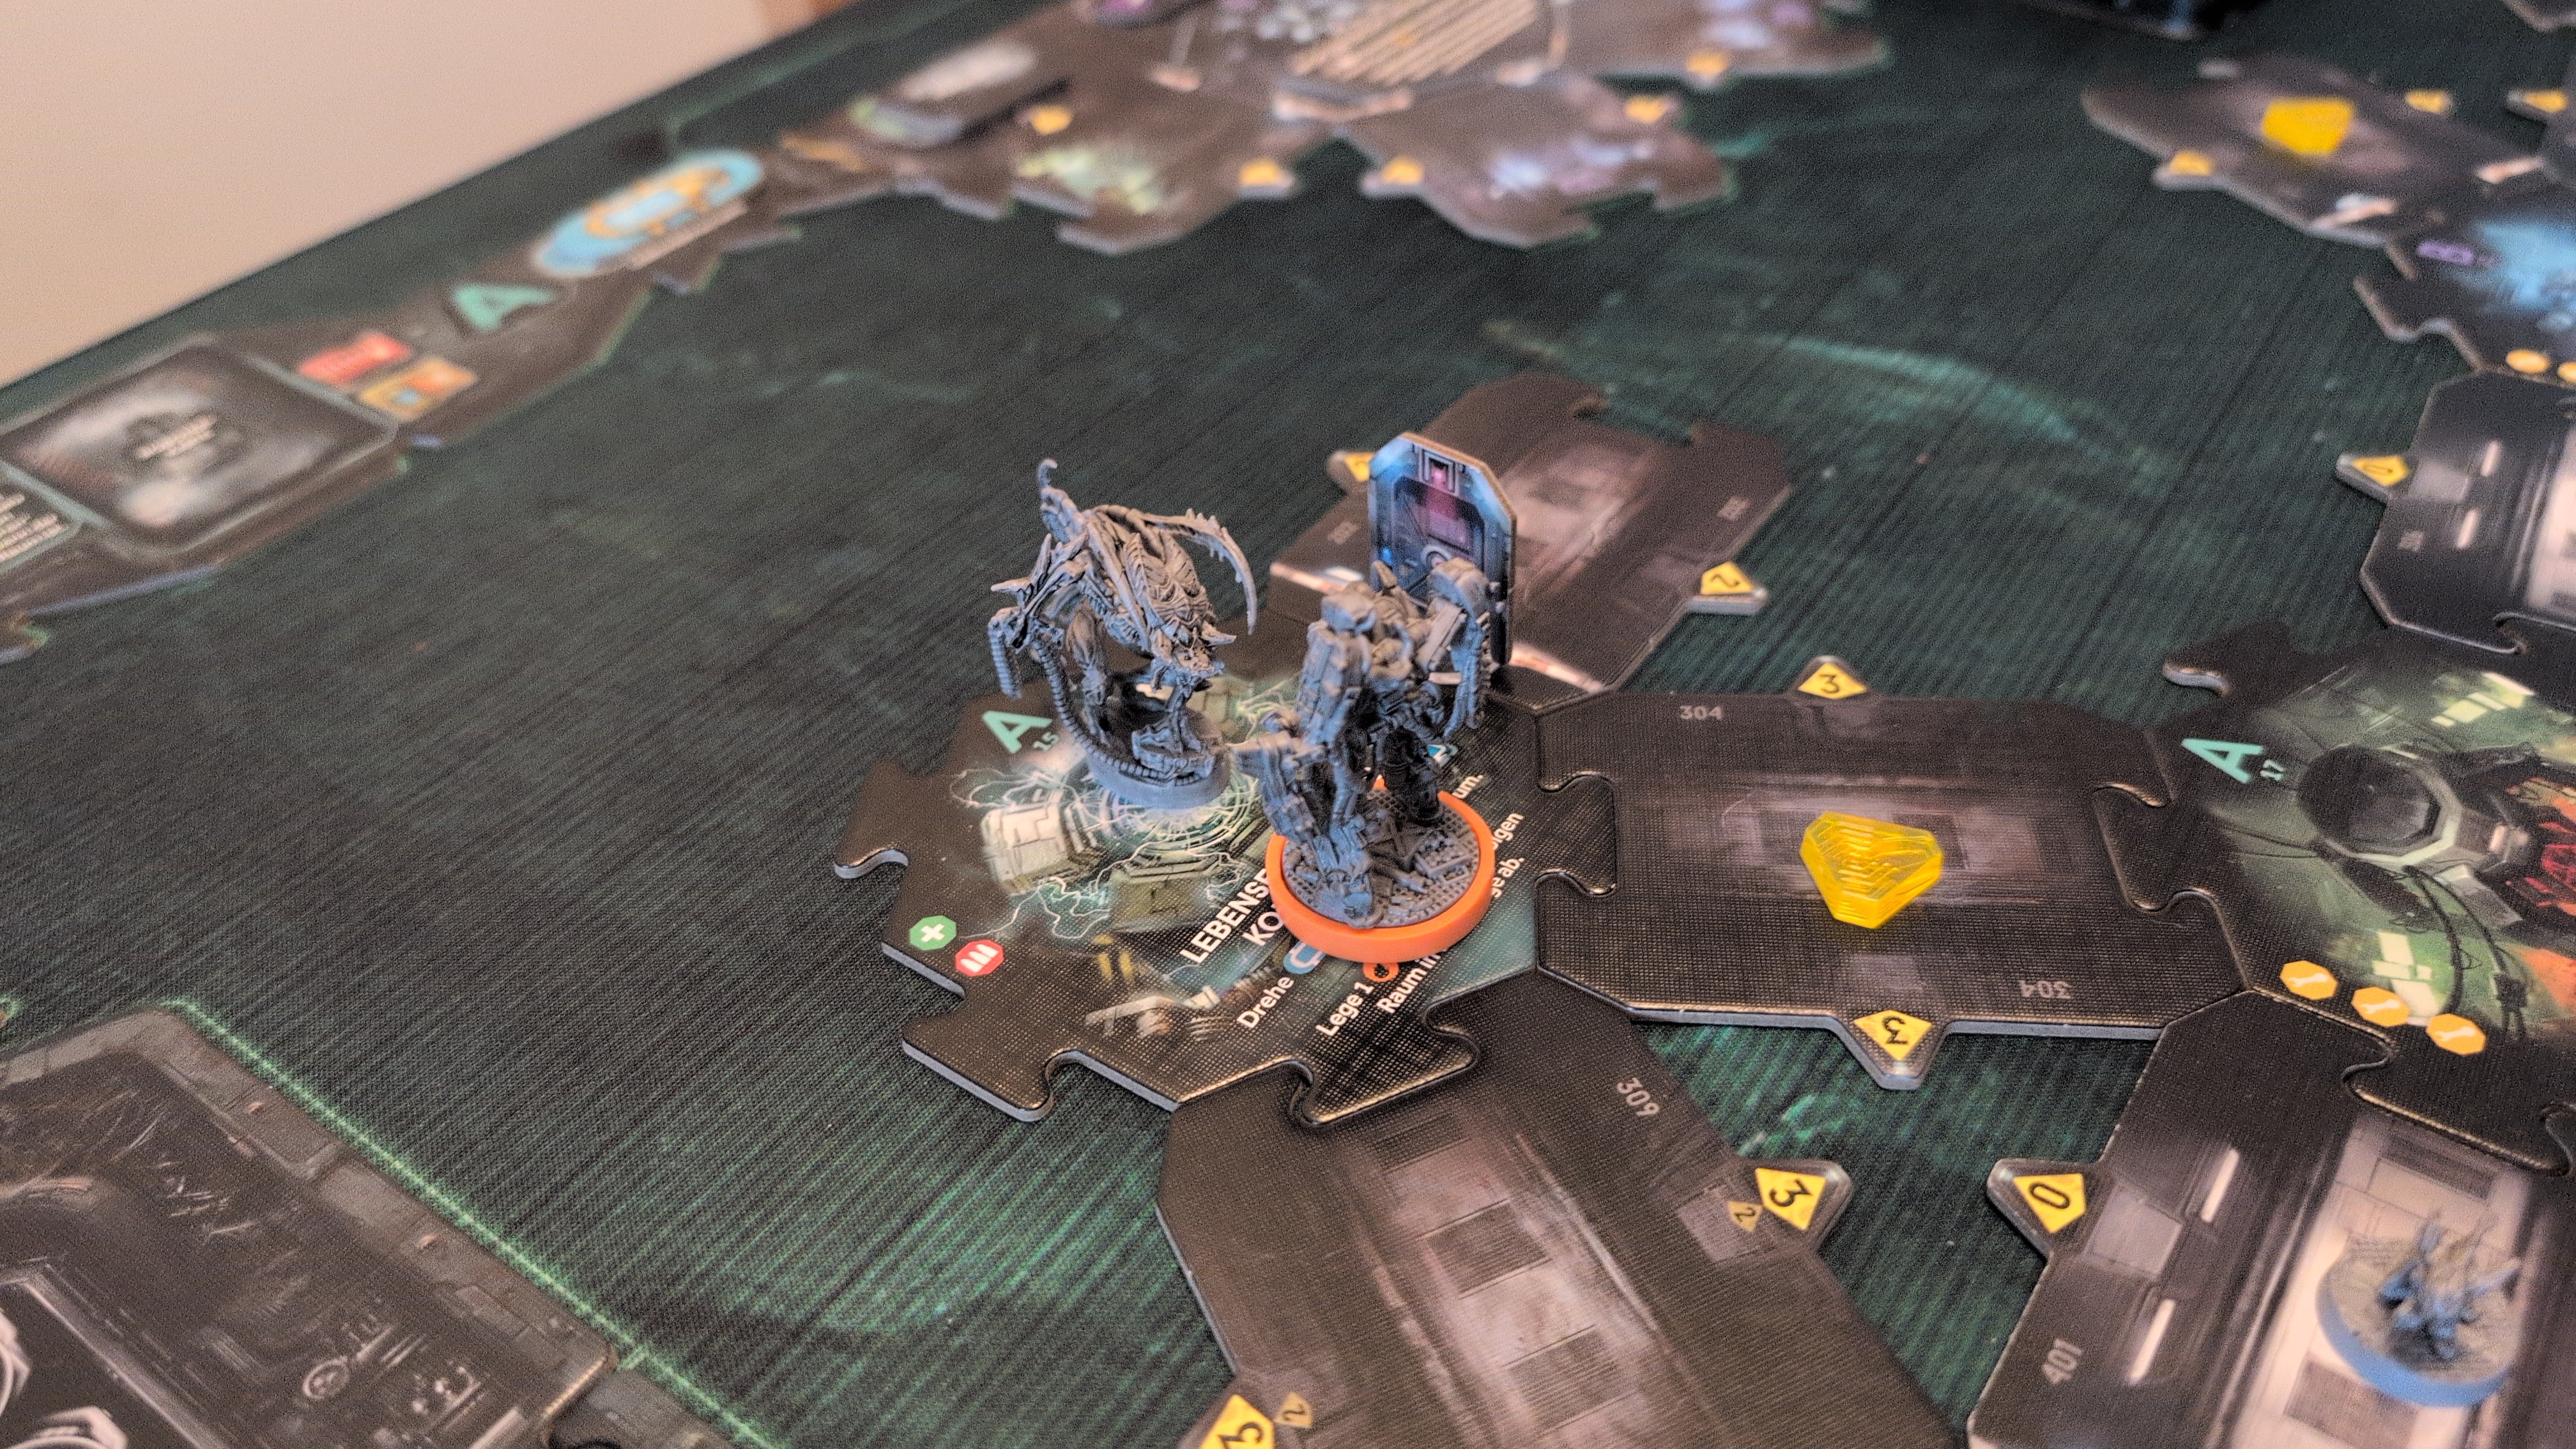
The combat engineer received an injury from an adult, which made him lose one oxygen each time he passed from now on.
In each room with a fire, a malfunction marker was placed, and the fire spread to neighbouring rooms.
The adult in the combat engineer's room was reinforced by a second adult!
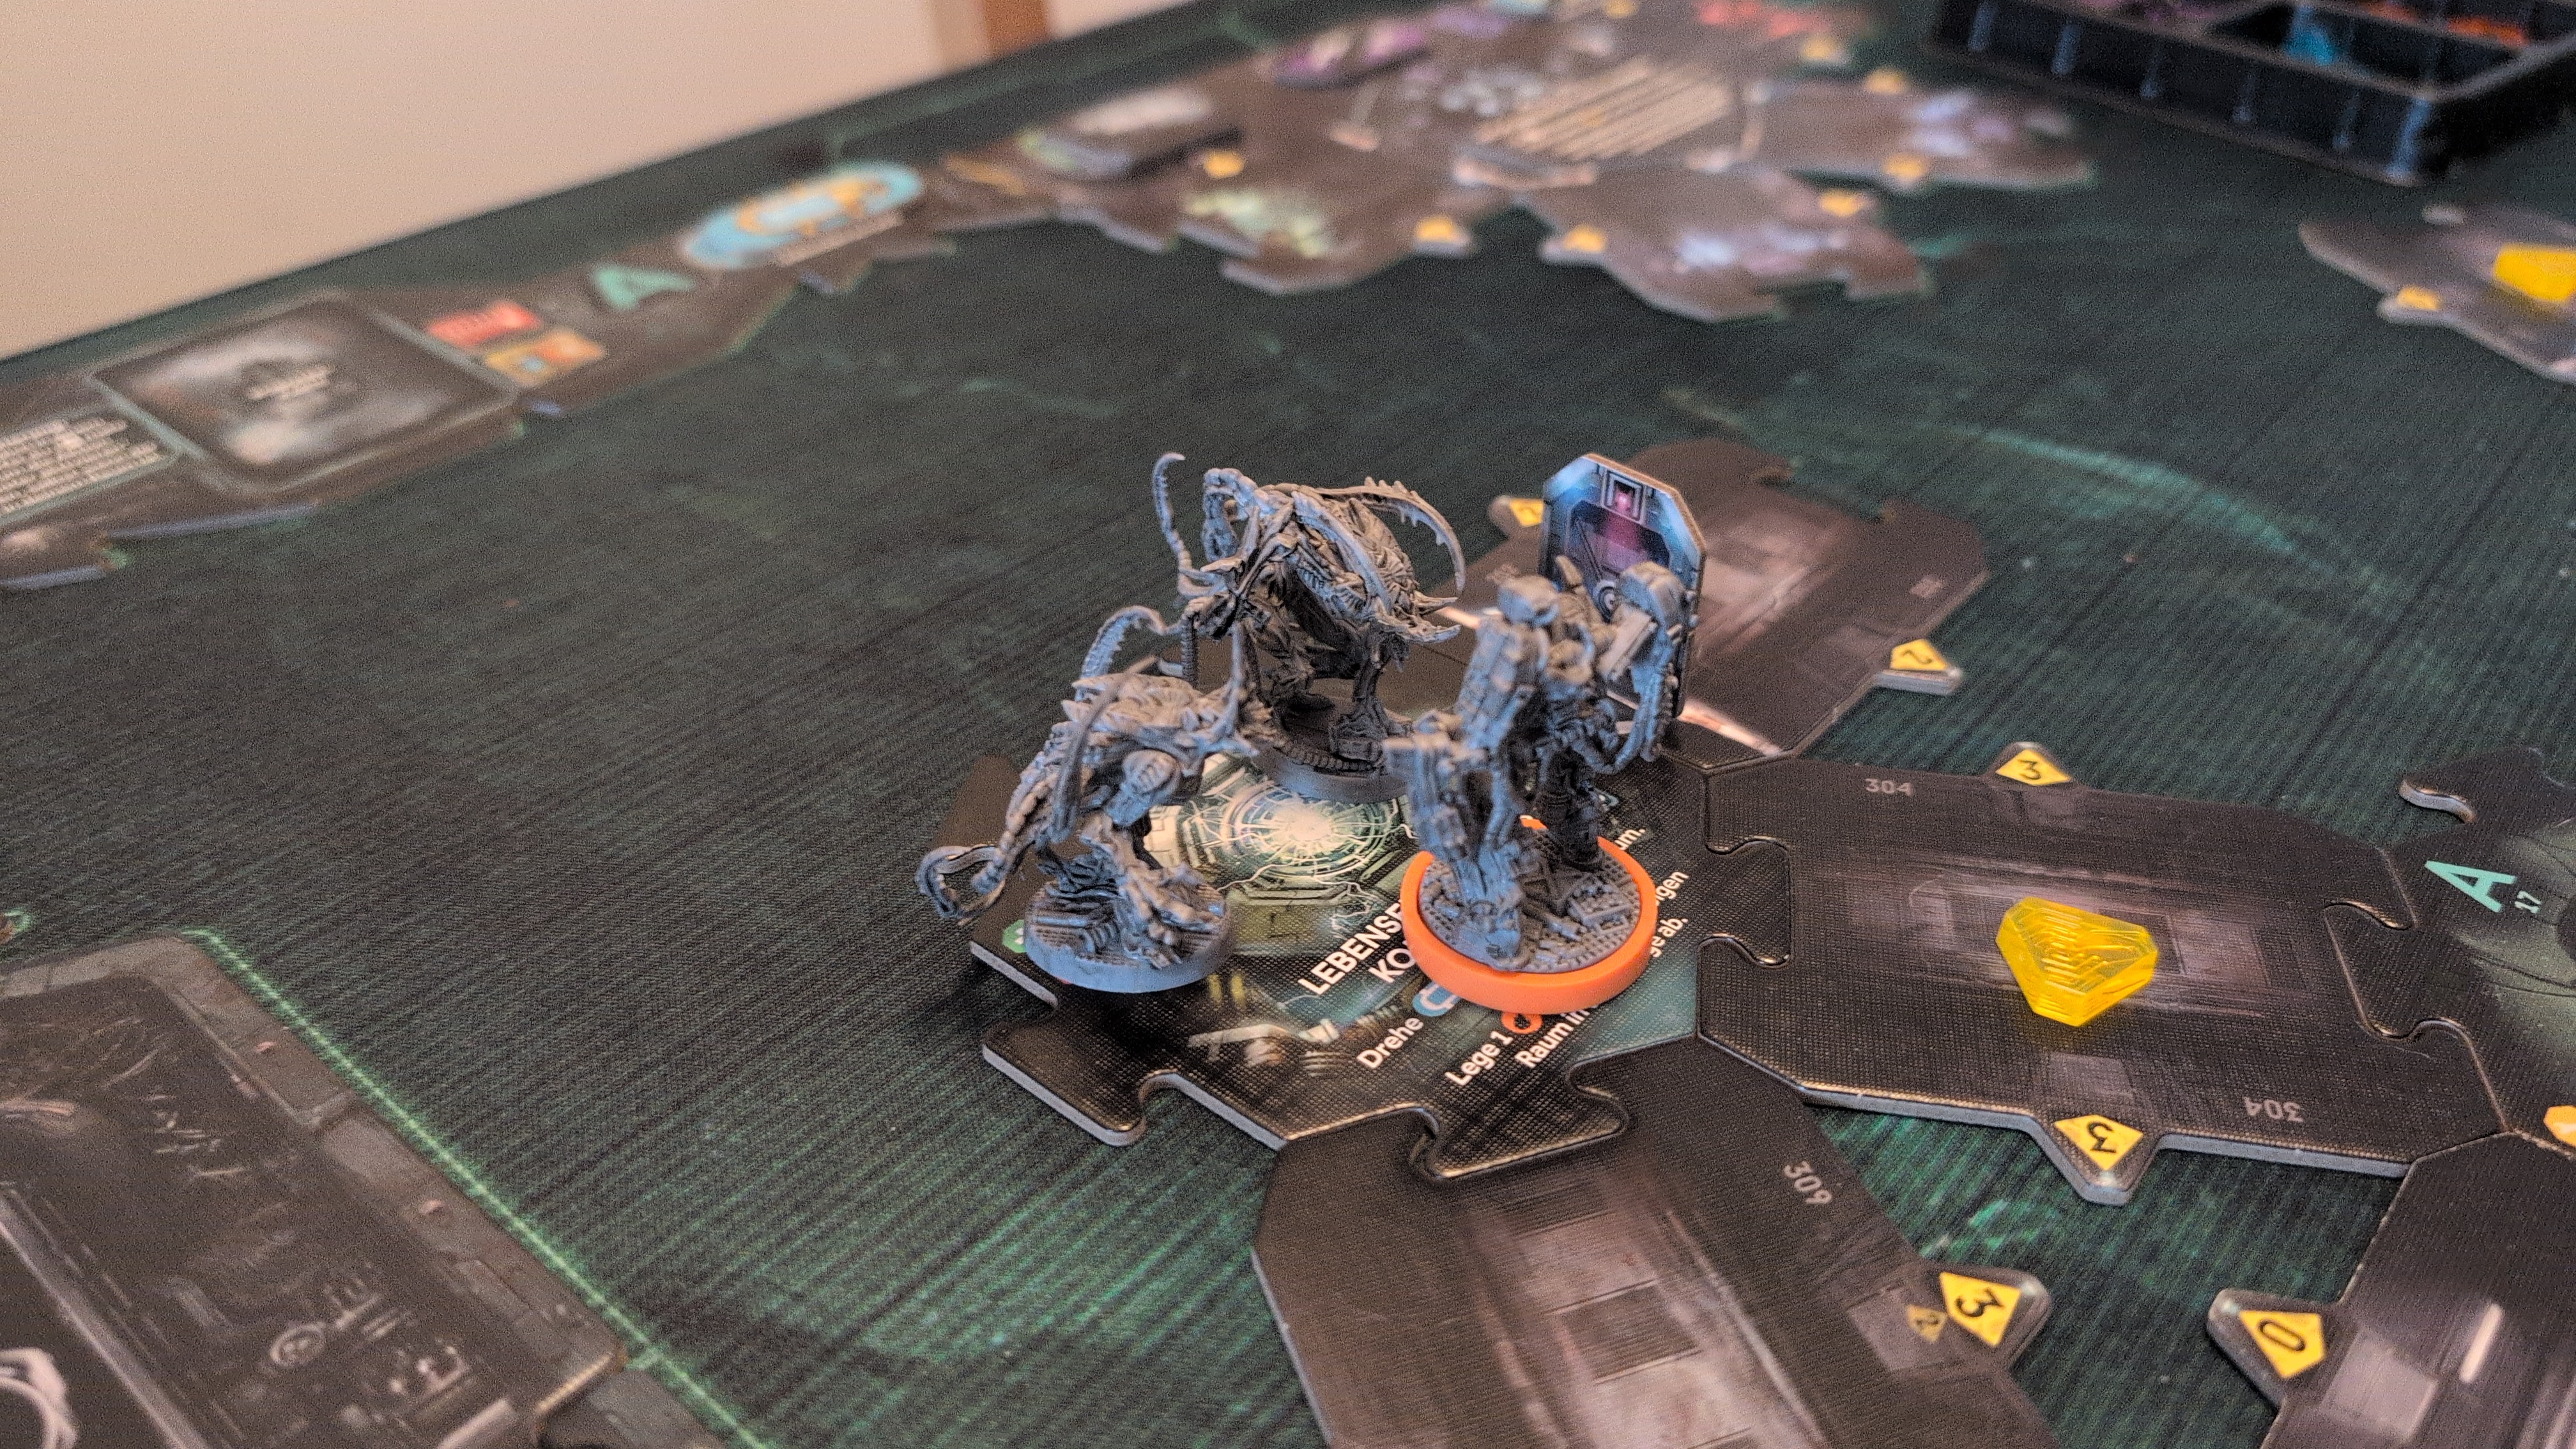
Turn 11 – Turn End Phase
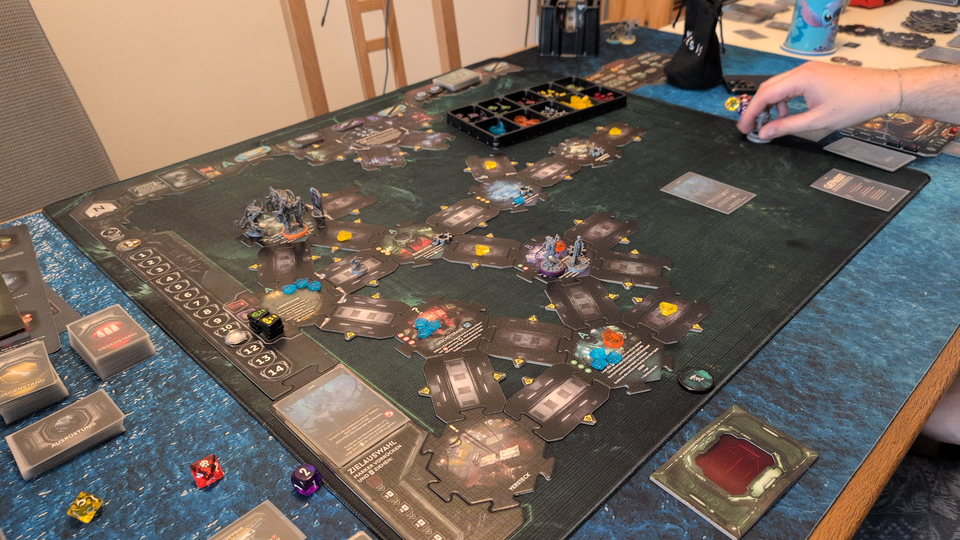
Turn 12
[X] Mission Objective
Locate the Command Center
[X] Mission Objective
Locate and Rescue Dr. Ashton
[ ] Mission Objective
Reach the Landing Zone with Dr. Ashton
[ ] Objective of Opportunity
Locate the Alert Room
Turn 12 – Phase 1
The recon marine moved back to the surgery with Dr. Ashton. He then checked his new contamination from the larva, which turned out to be harmless. He then lost another health due to the surgery being on fire.
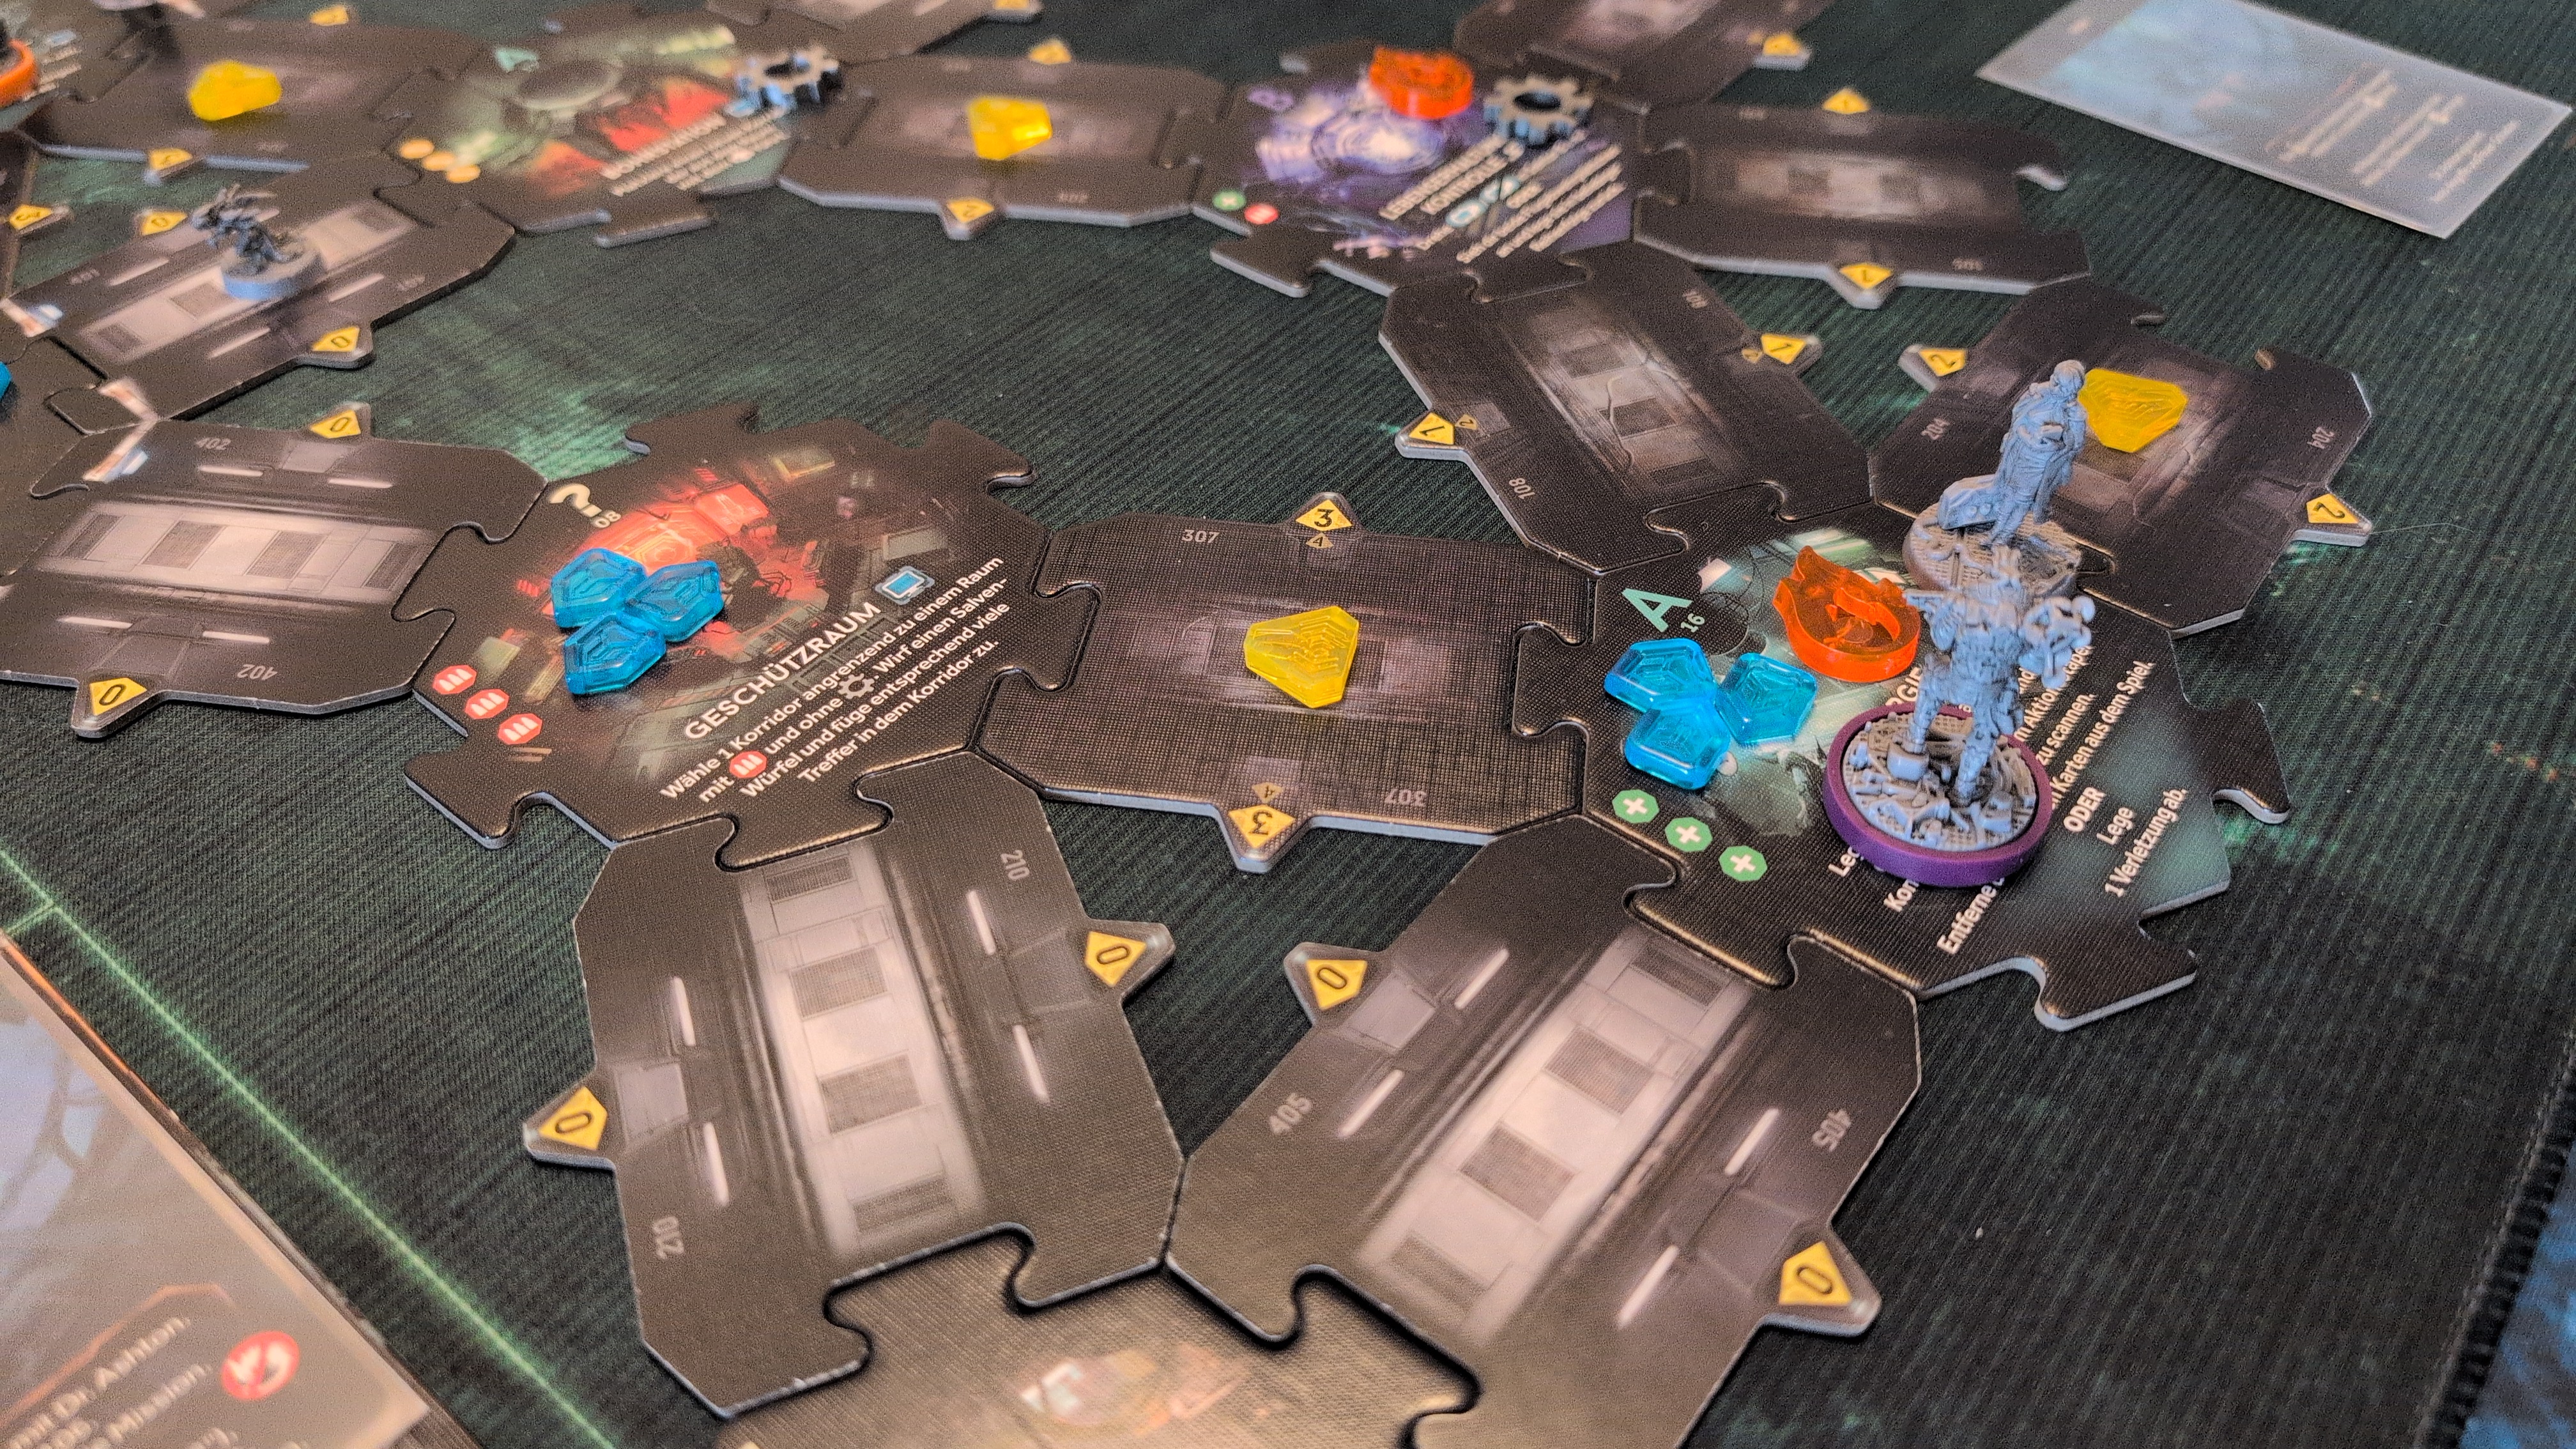
The combat engineer used a Tactical Retreat to move back to the landing zone, then used his last ammo clip to reload his weapon.
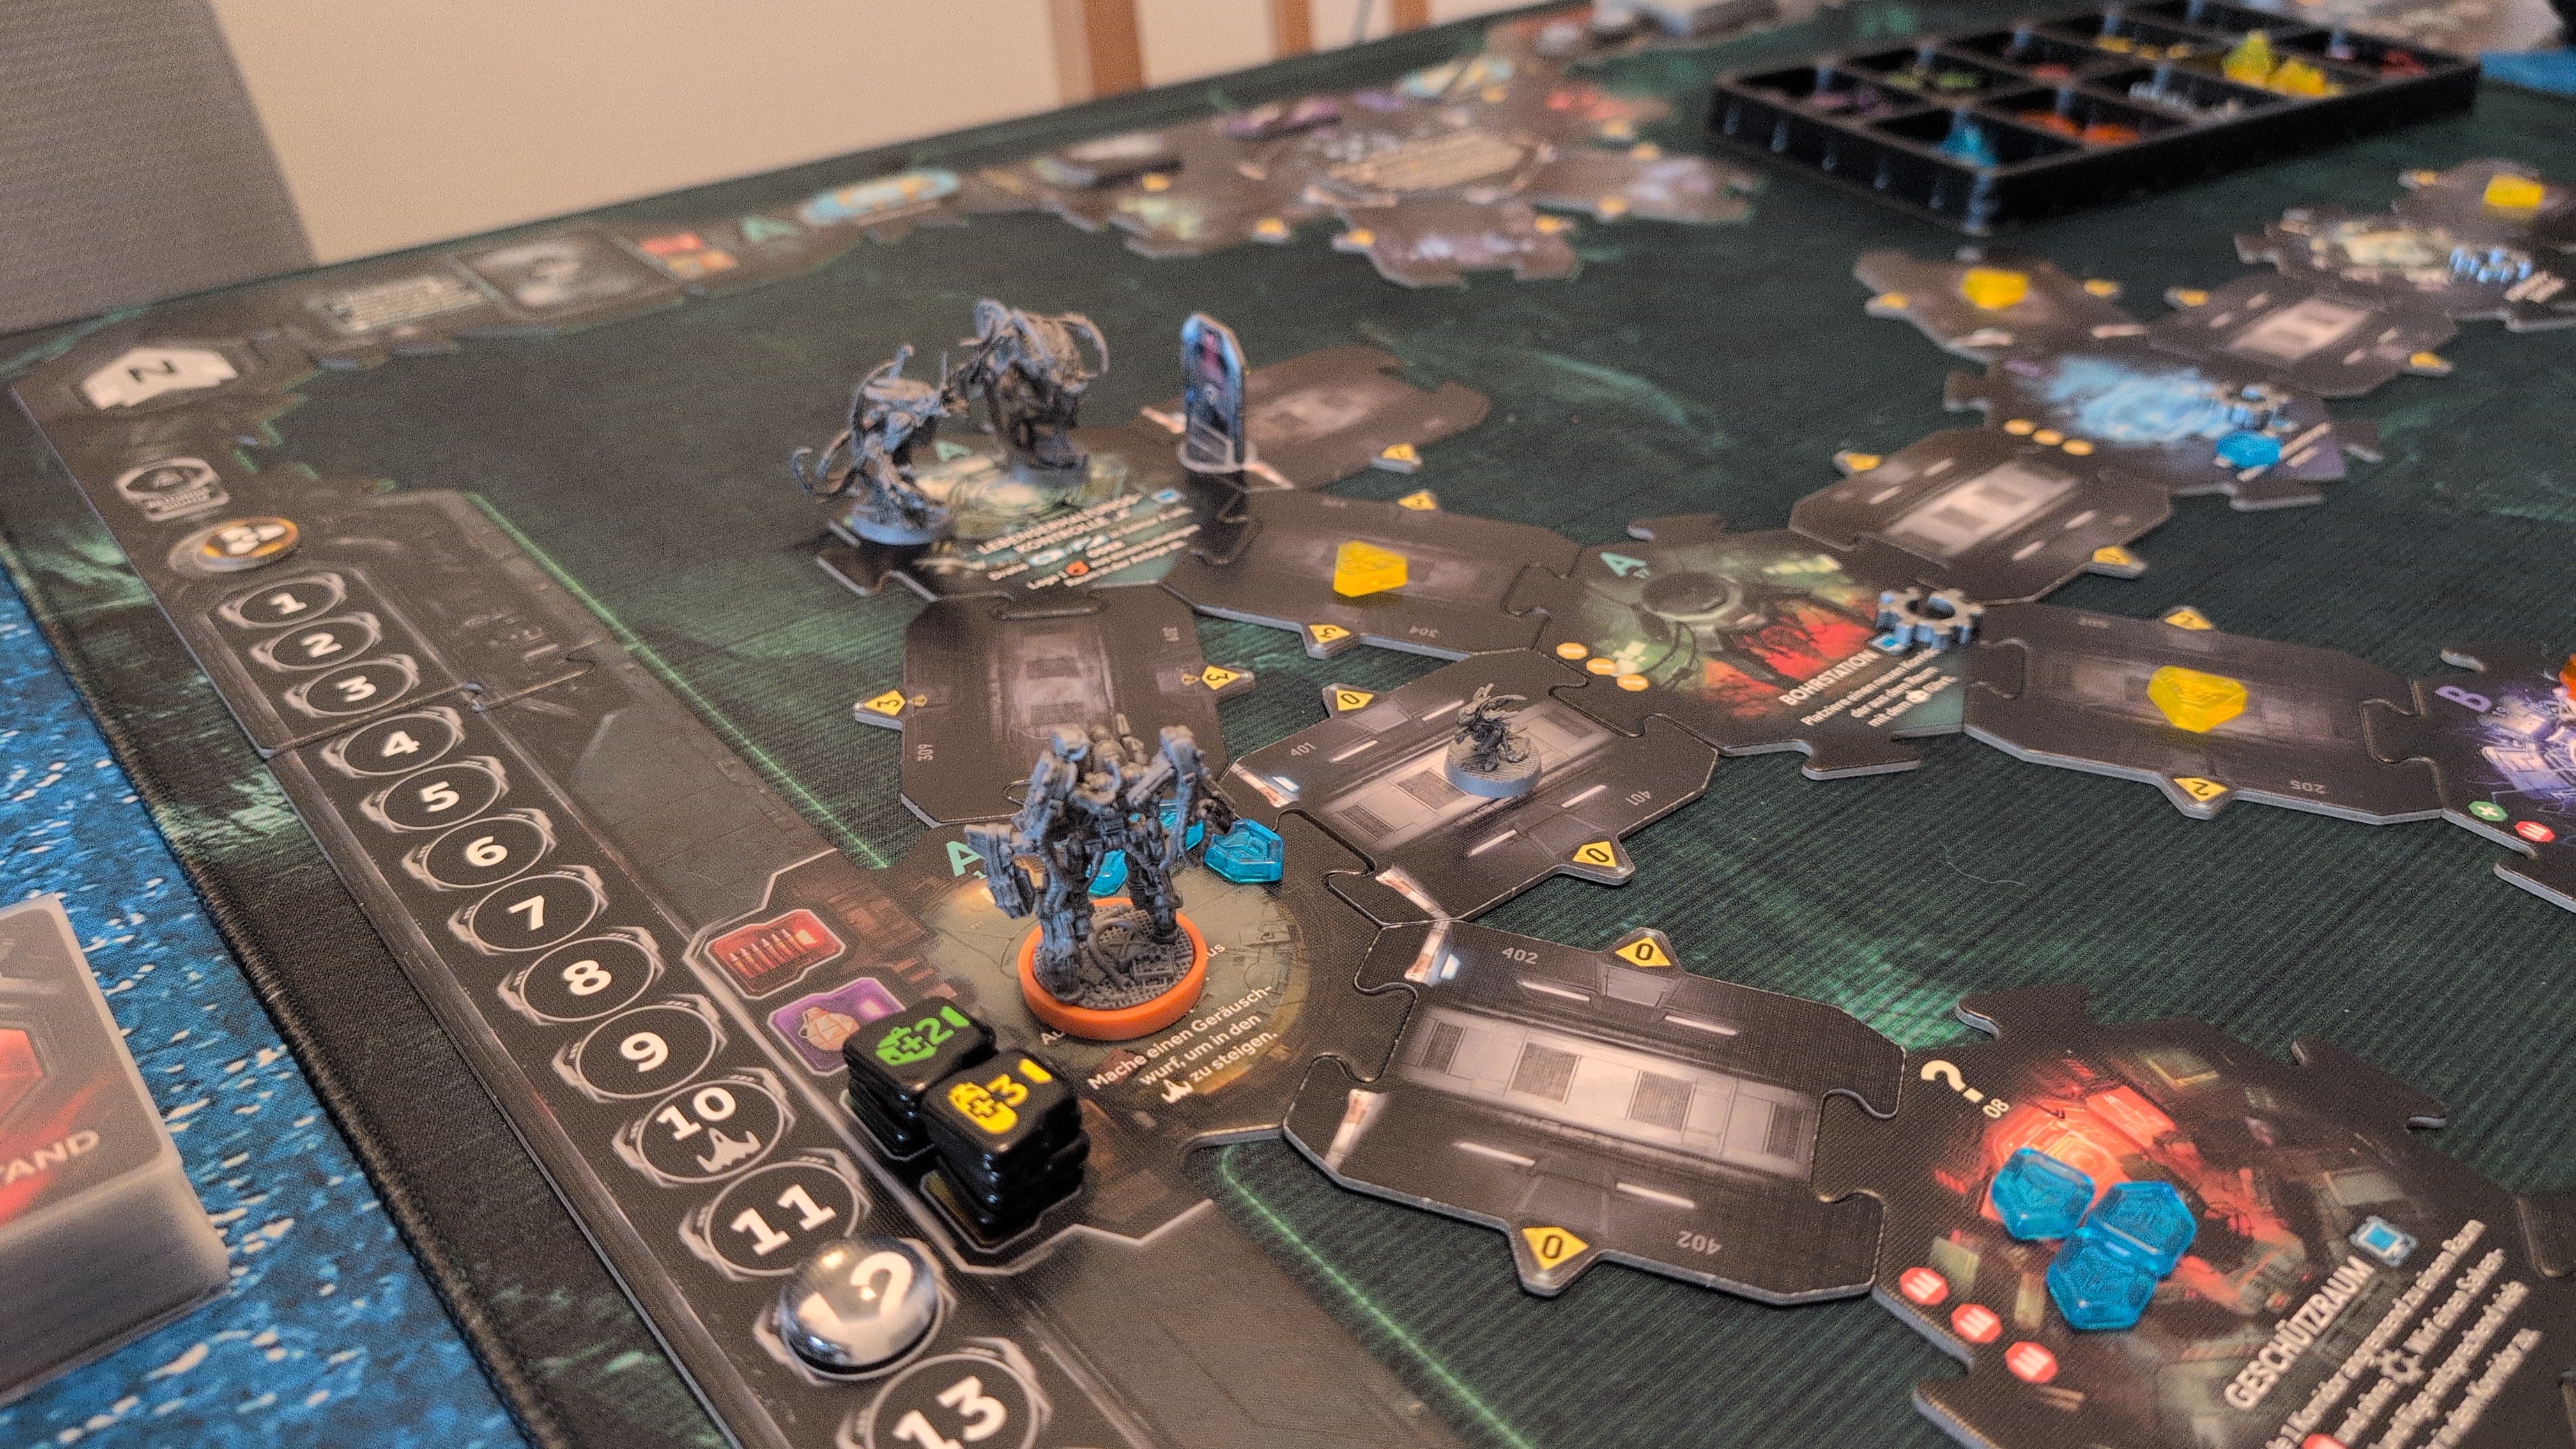
Turn 12 – Phase 2
The recon marine passed. The combat engineer killed the advancing larva, then passed as well.
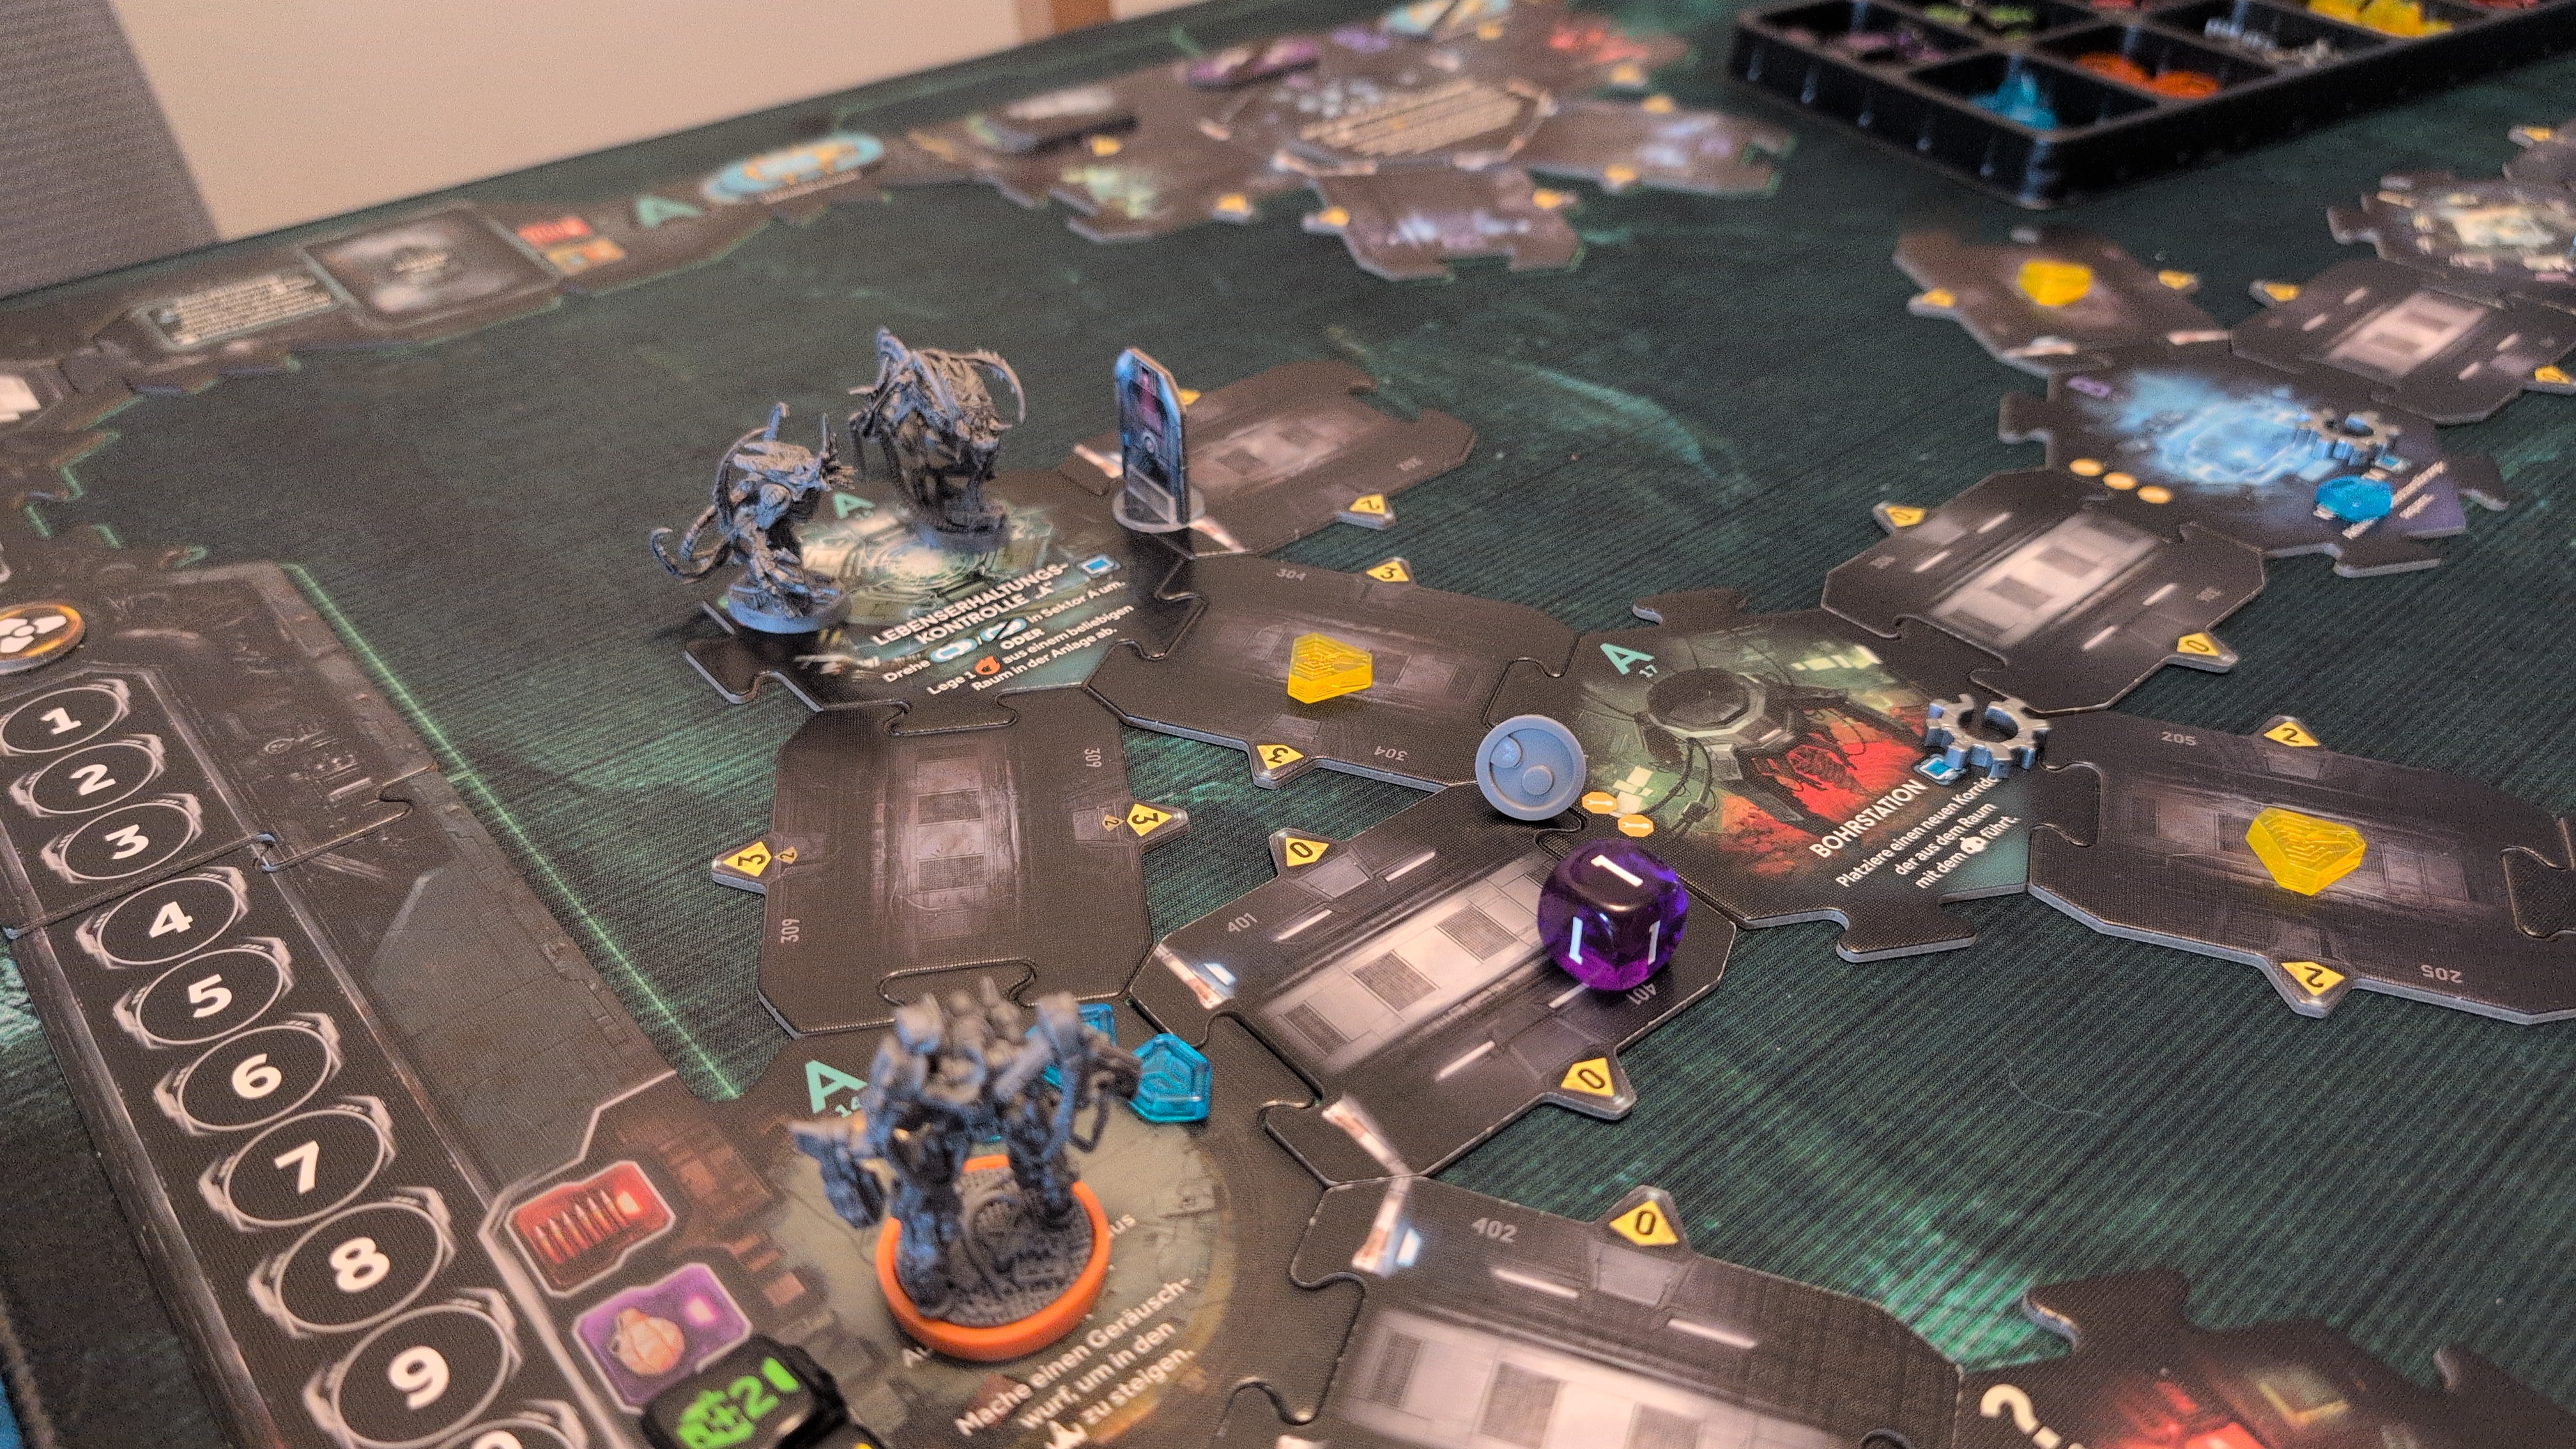
Turn 12 – Xeno Phase
The adults moved towards the landing zone. More fires broke out in rooms supplied by oxygen and a malfunction marker.
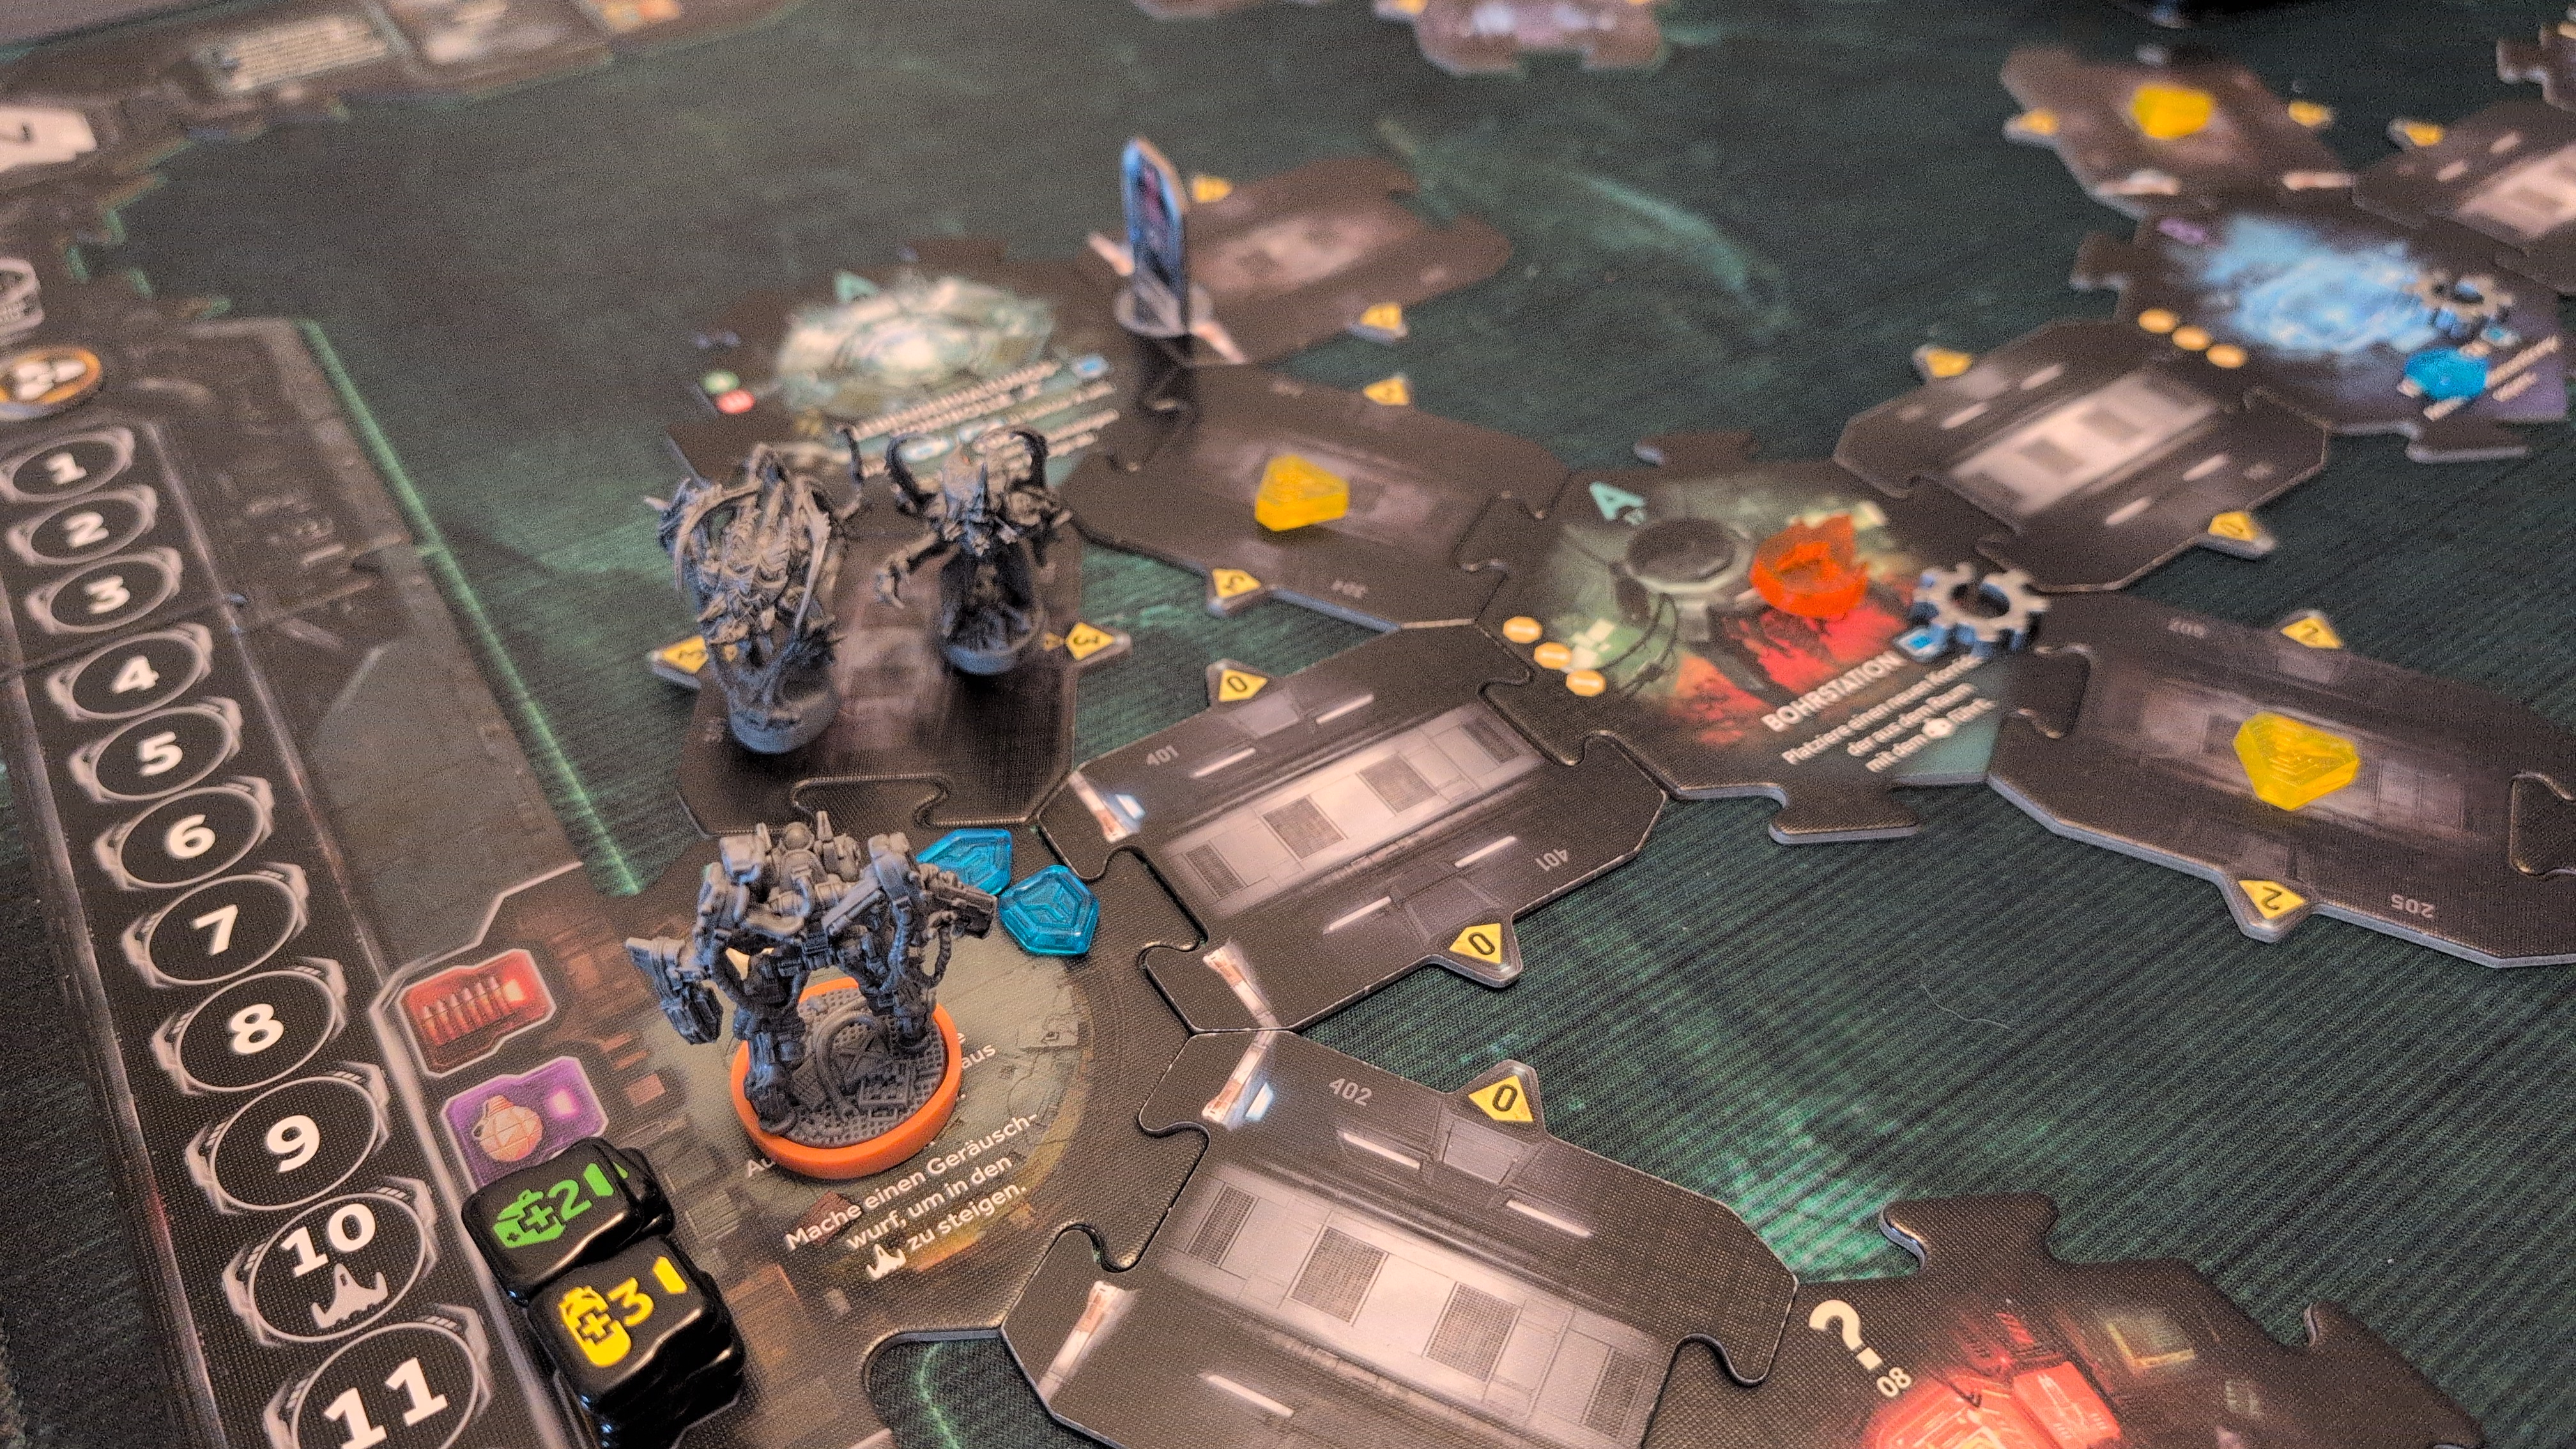
Turn 13
[X] Mission Objective
Locate the Command Center
[X] Mission Objective
Locate and Rescue Dr. Ashton
[ ] Mission Objective
Reach the Landing Zone with Dr. Ashton
[ ] Objective of Opportunity
Locate the Alert Room
Turn 13 – Phase 1
The combat engineer threw a grenade into the corridor with the adults, but rolled yet another 1! Only one adult was killed.
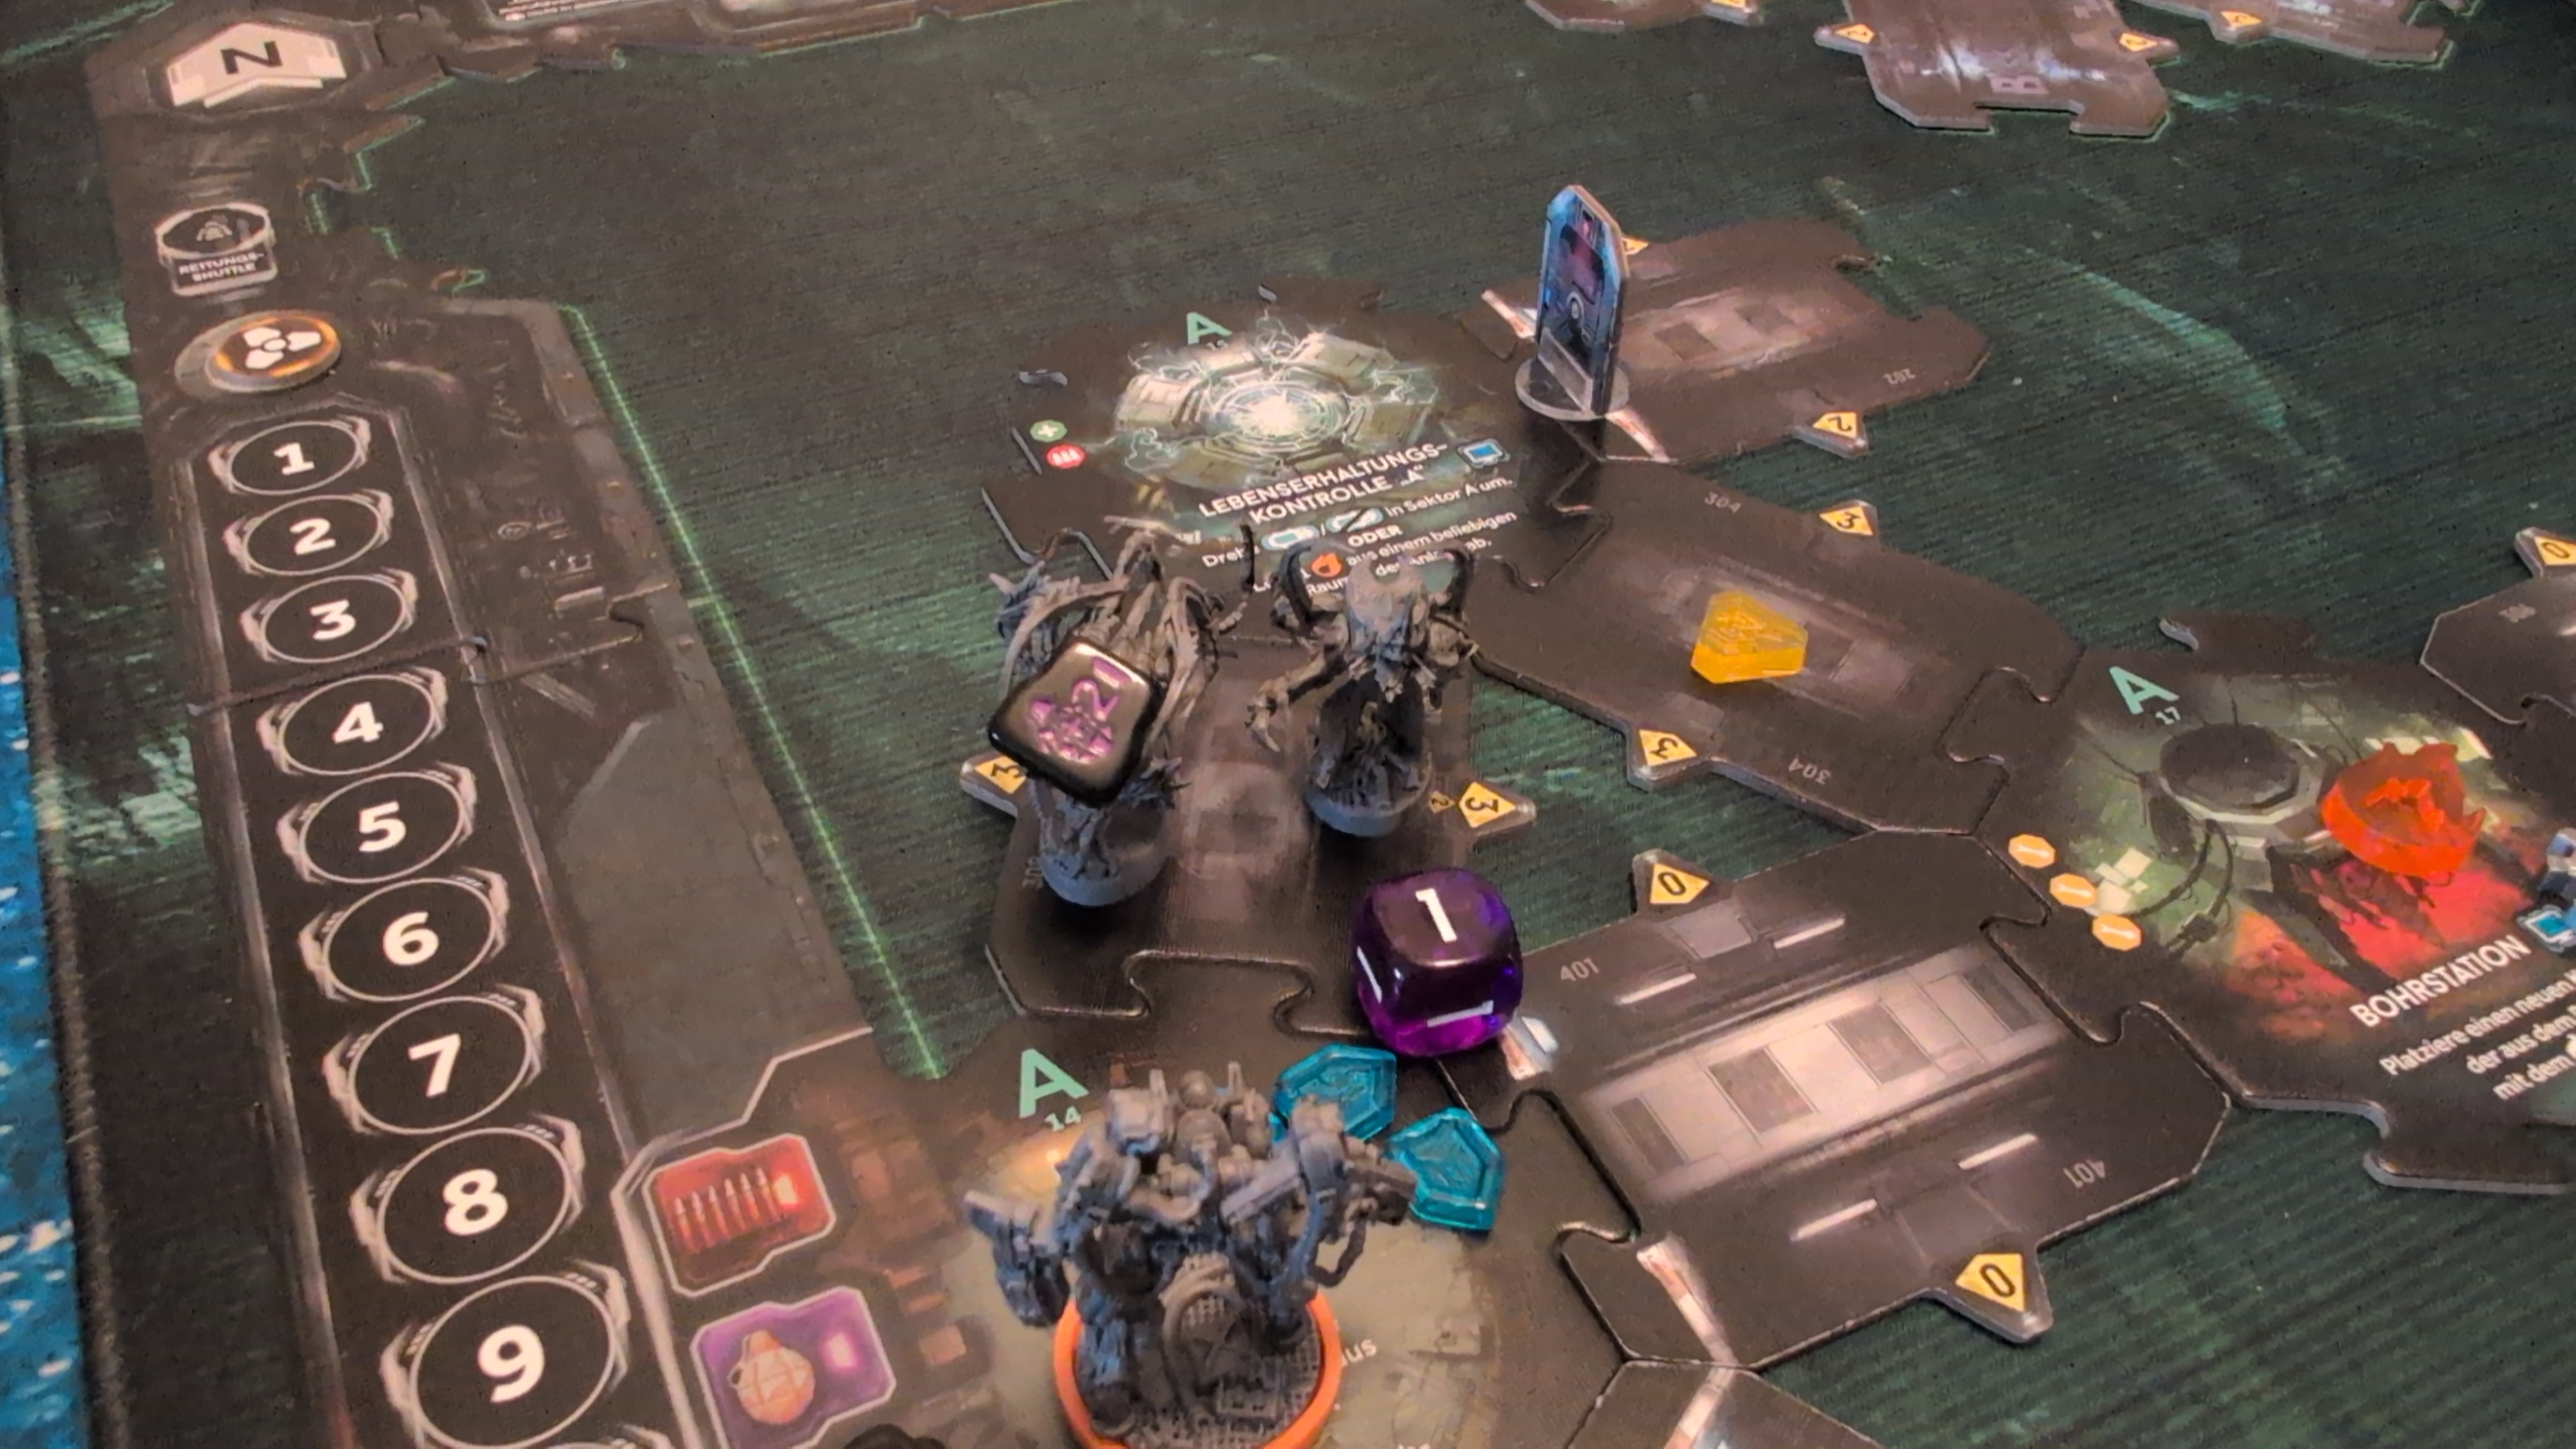
It shouldn't have come as a surprise by now, but his next salvo of course also rolled a 1…
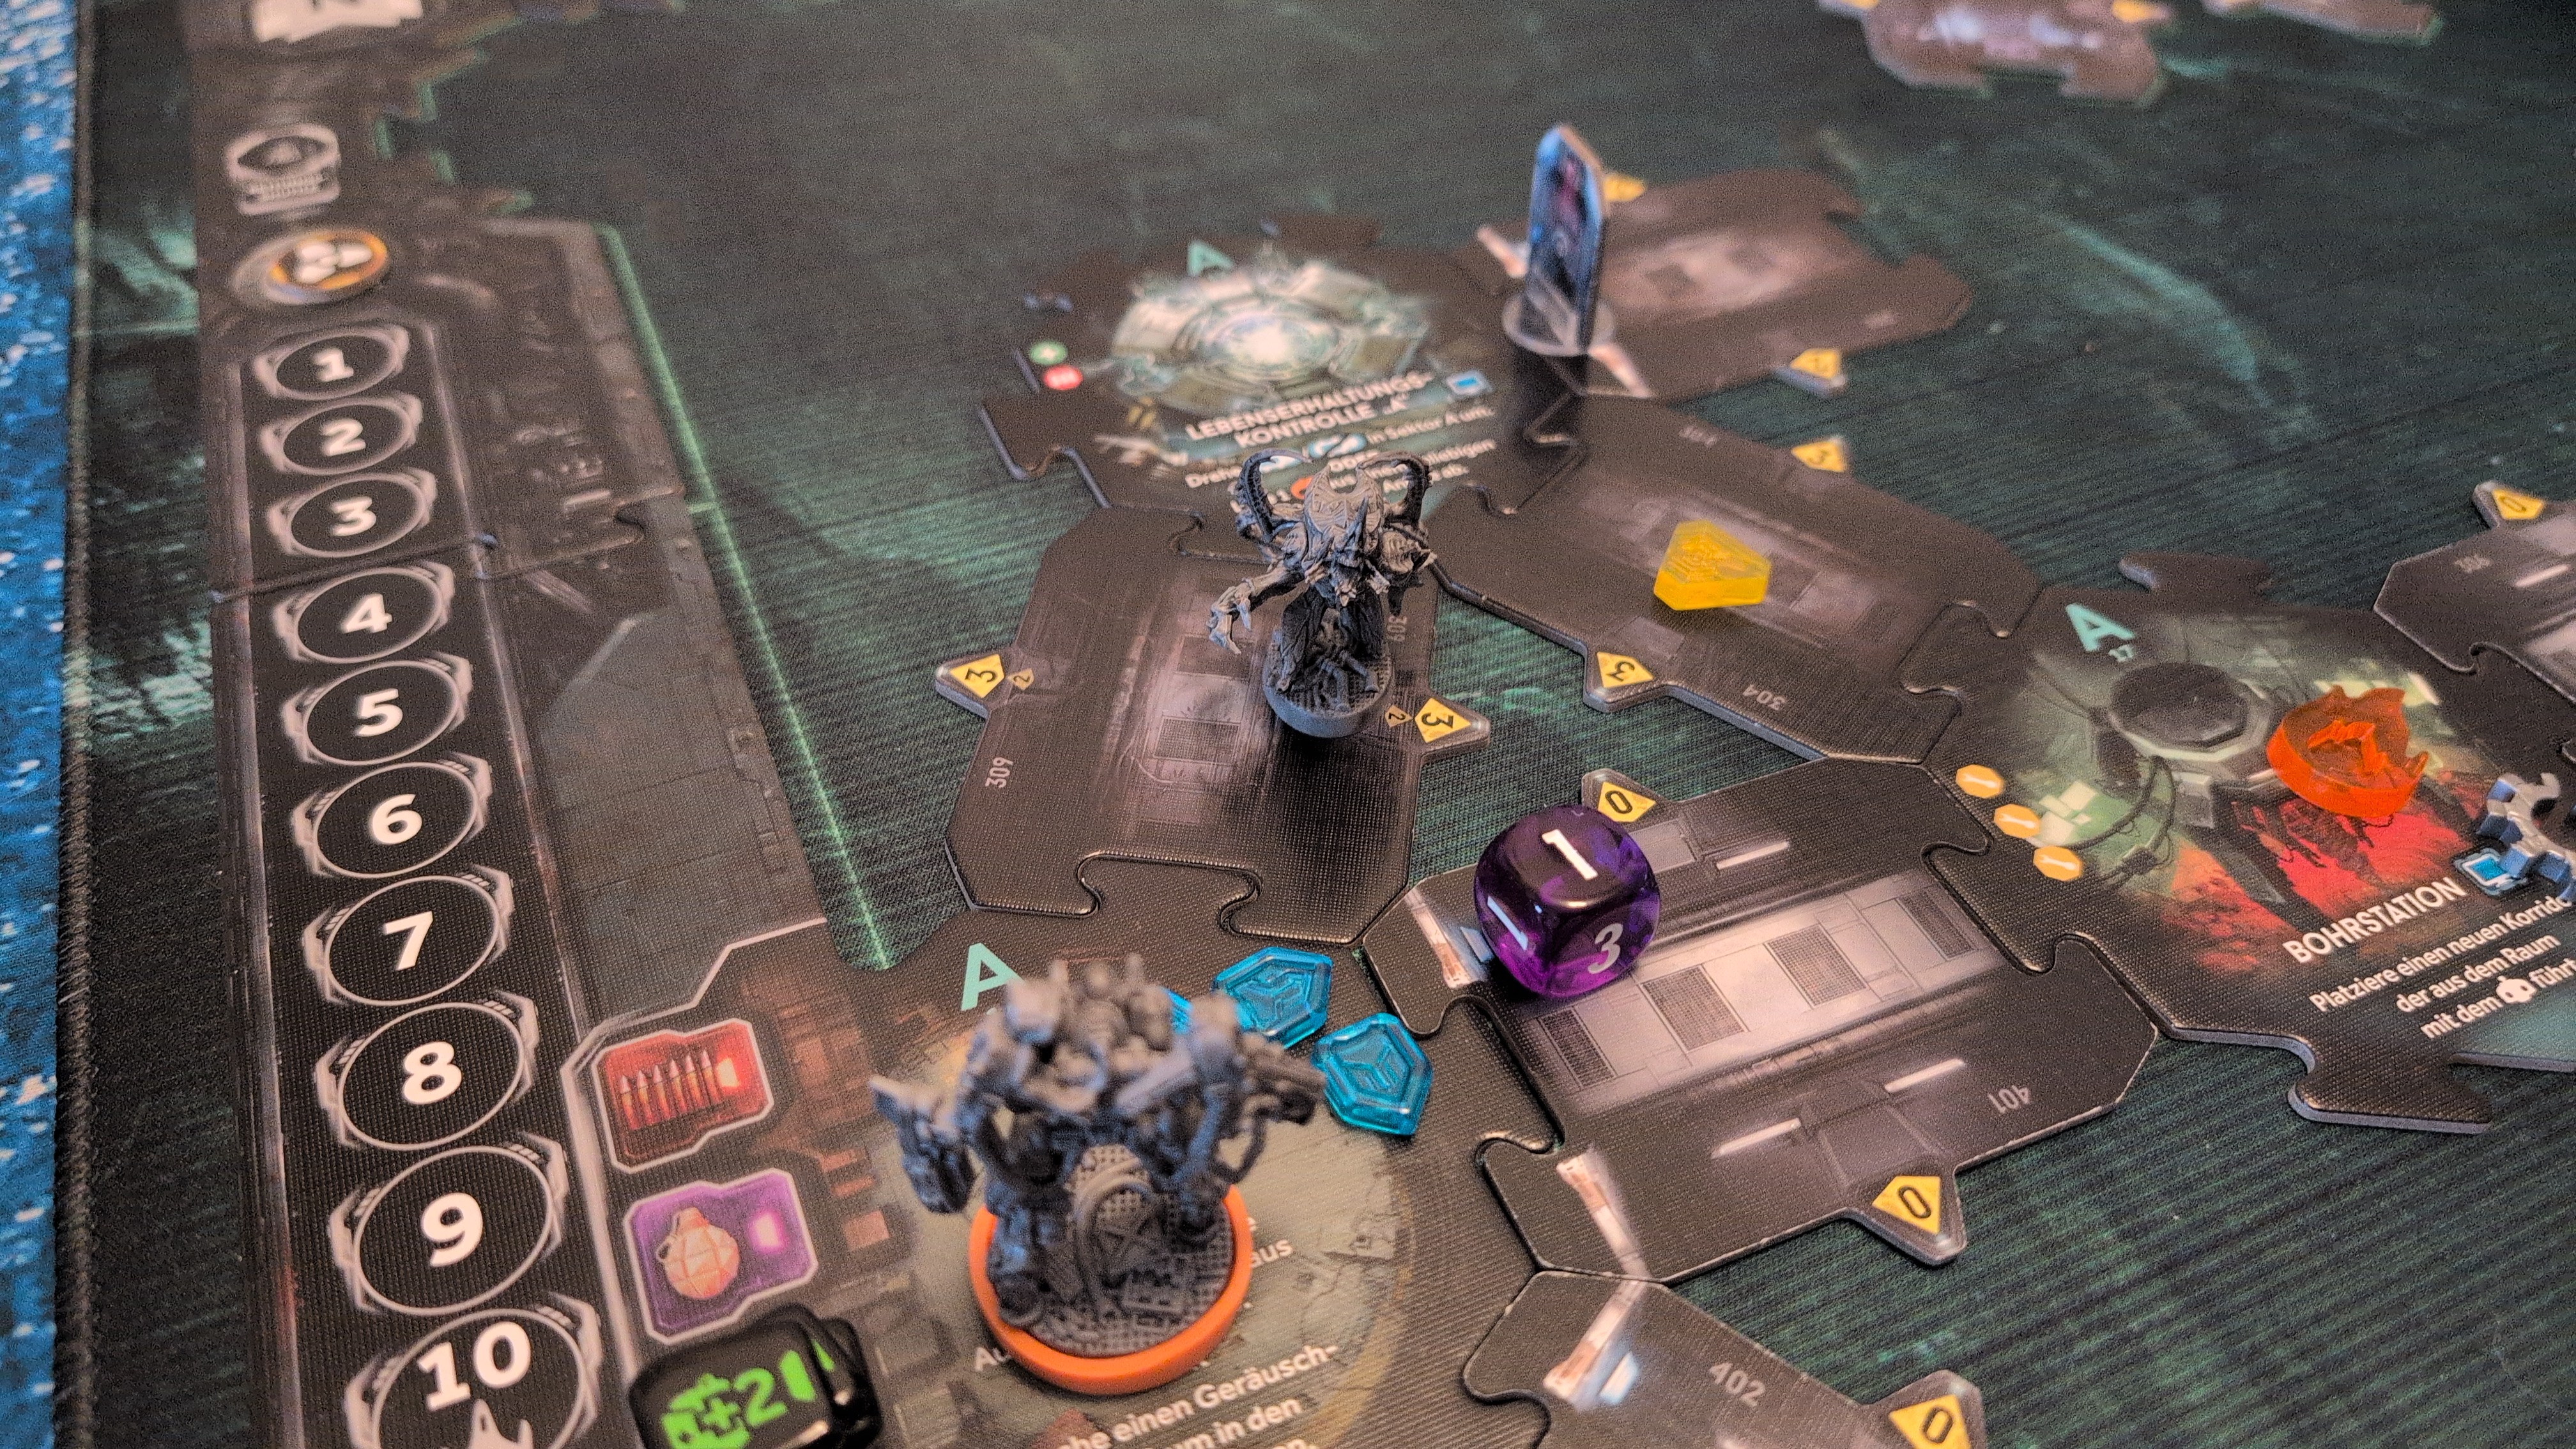
The recon marine used Sprint to get Dr. Ashton to the landing zone, which made another larva appear behind him.
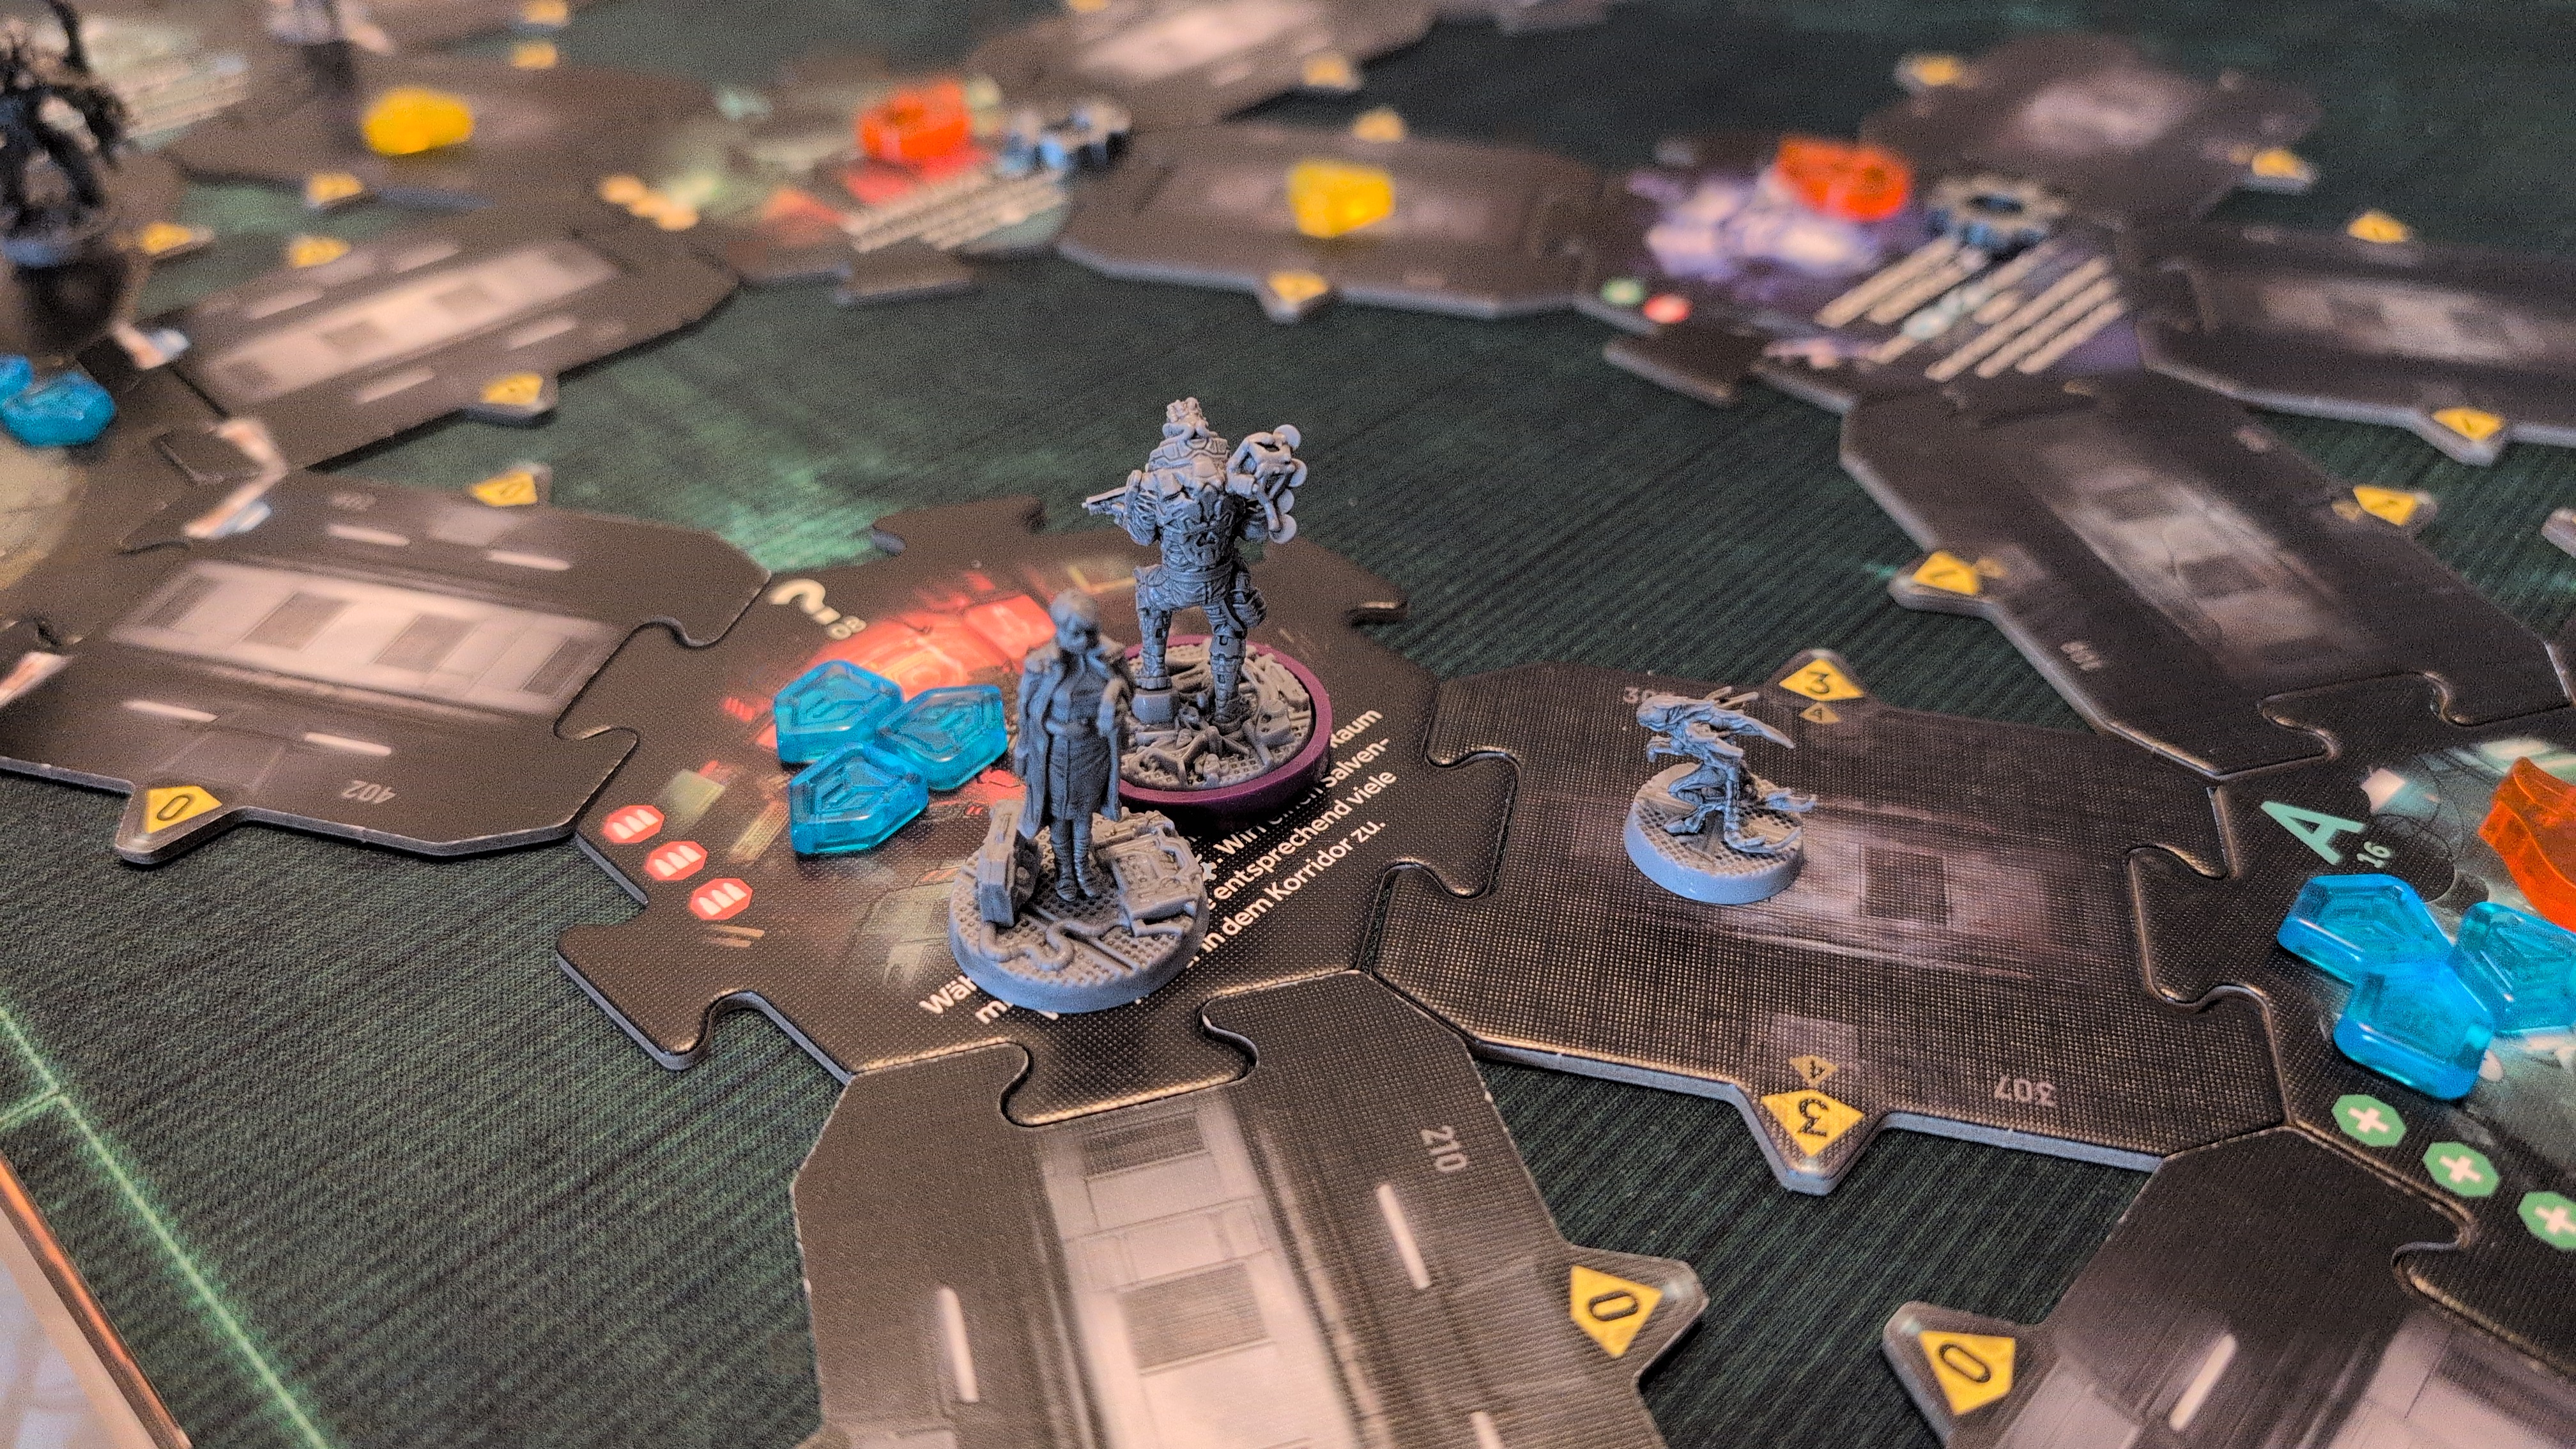
Upon arriving in the landing zone, another drone appeared!
Turn 13 – Game End
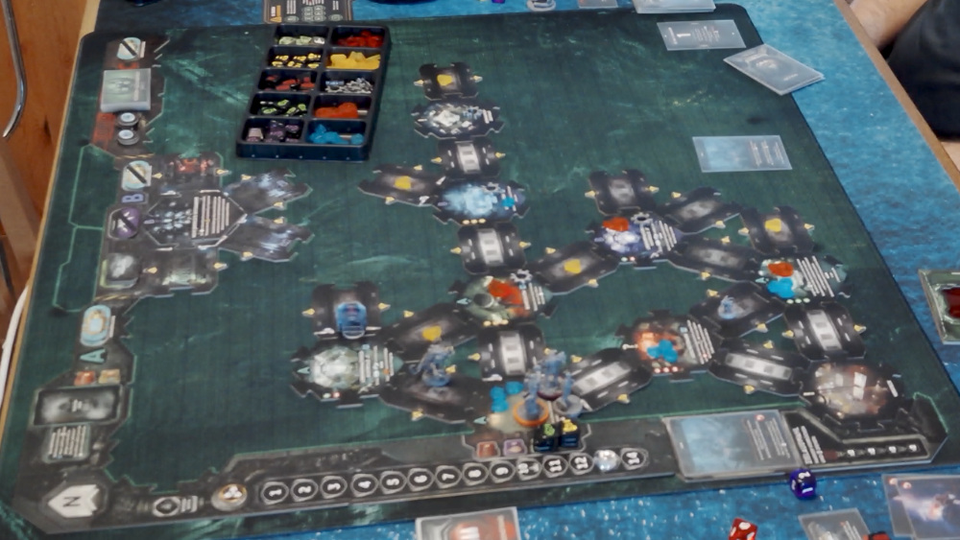
Aftermath
[X] Mission Objective
Locate the Command Center
[X] Mission Objective
Locate and Rescue Dr. Ashton
[X] Mission Objective
Reach the Landing Zone with Dr. Ashton
[ ] Objective of Opportunity
Locate the Alert Room
The main mission objective was reached, unfortunately we were not able to find the Alert Room; ammunition was low, contamination cards and injuries piled up… We had hoped that the last two rooms we explored would reveal the Alert Room, but no luck.
The combat engineer checked his contamination cards, but luckily no "Infected" was among them.
We had to decide between two options:
- [X] The shuttle tries to take off and cling to the station's outer hull.
- [ ] Abandon the shuttle, and the pilot joins the group.
We decided to keep the shuttle.