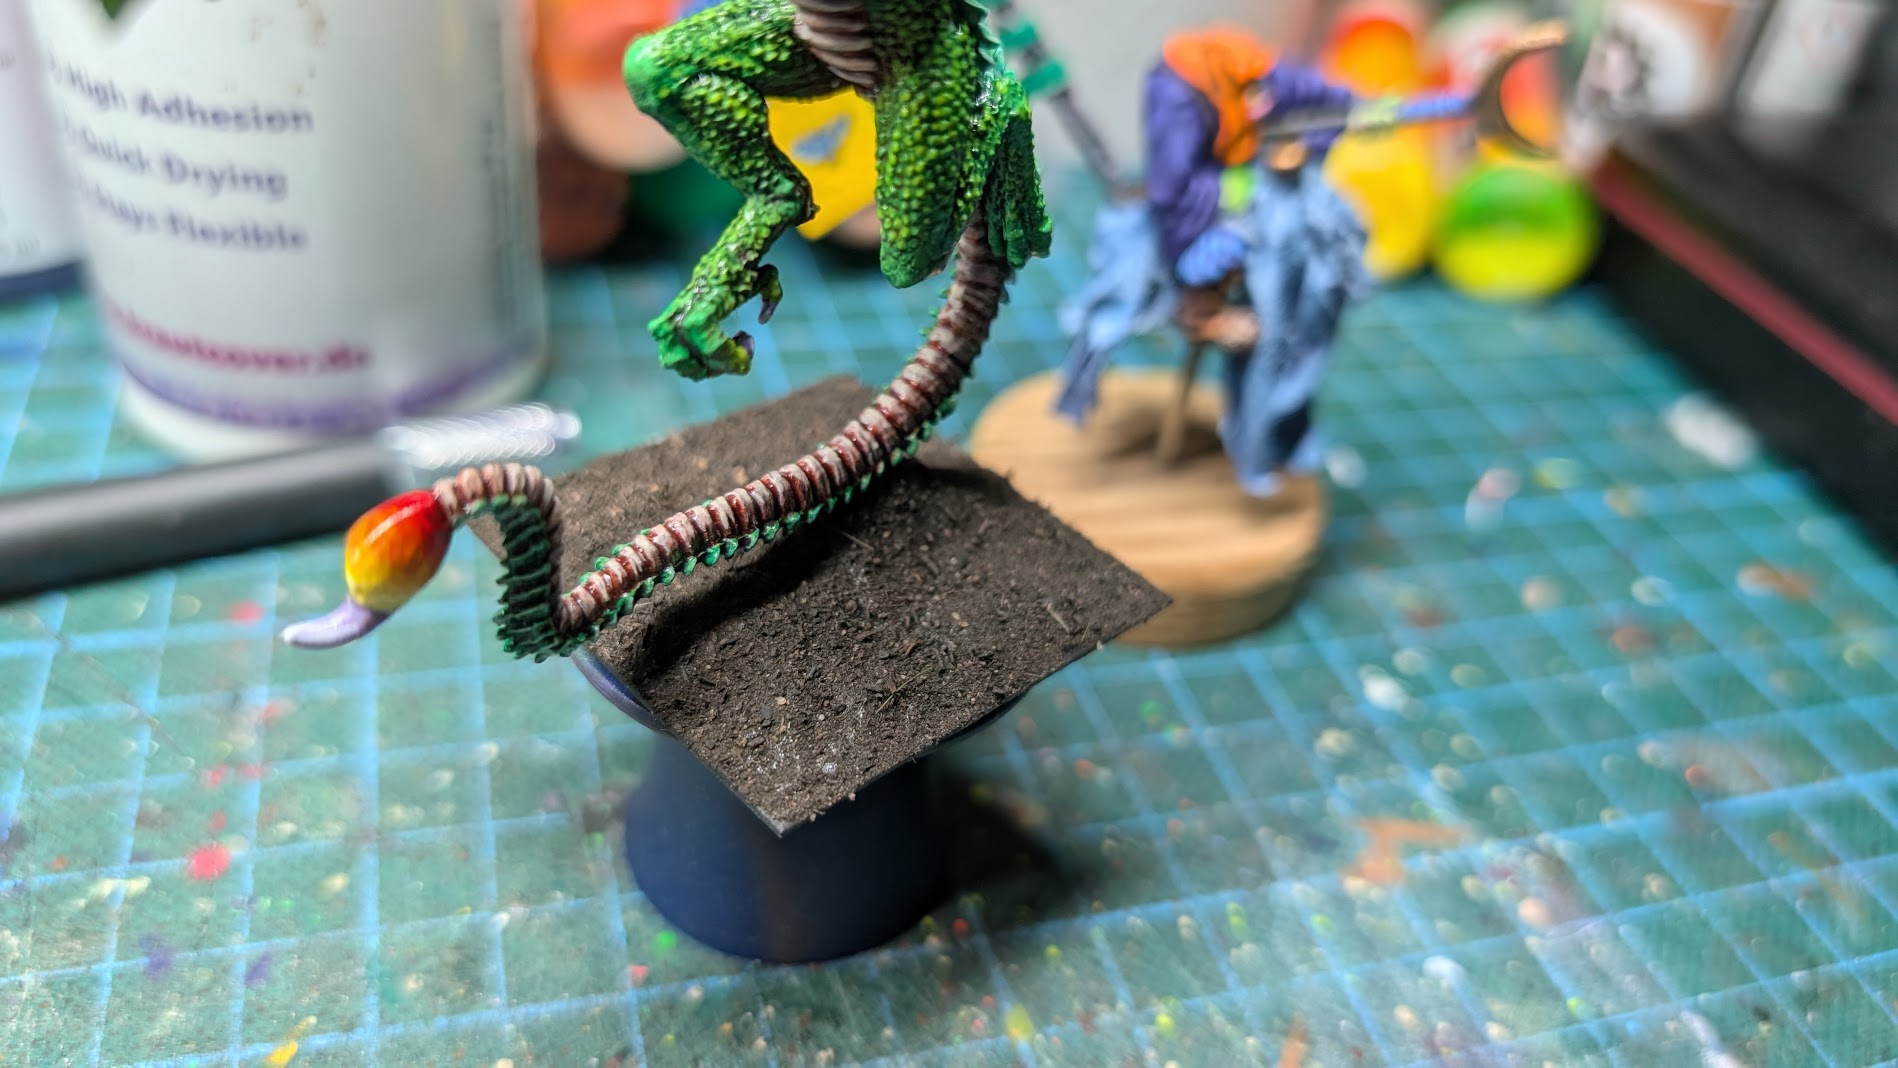
I applied the first base cover layer.
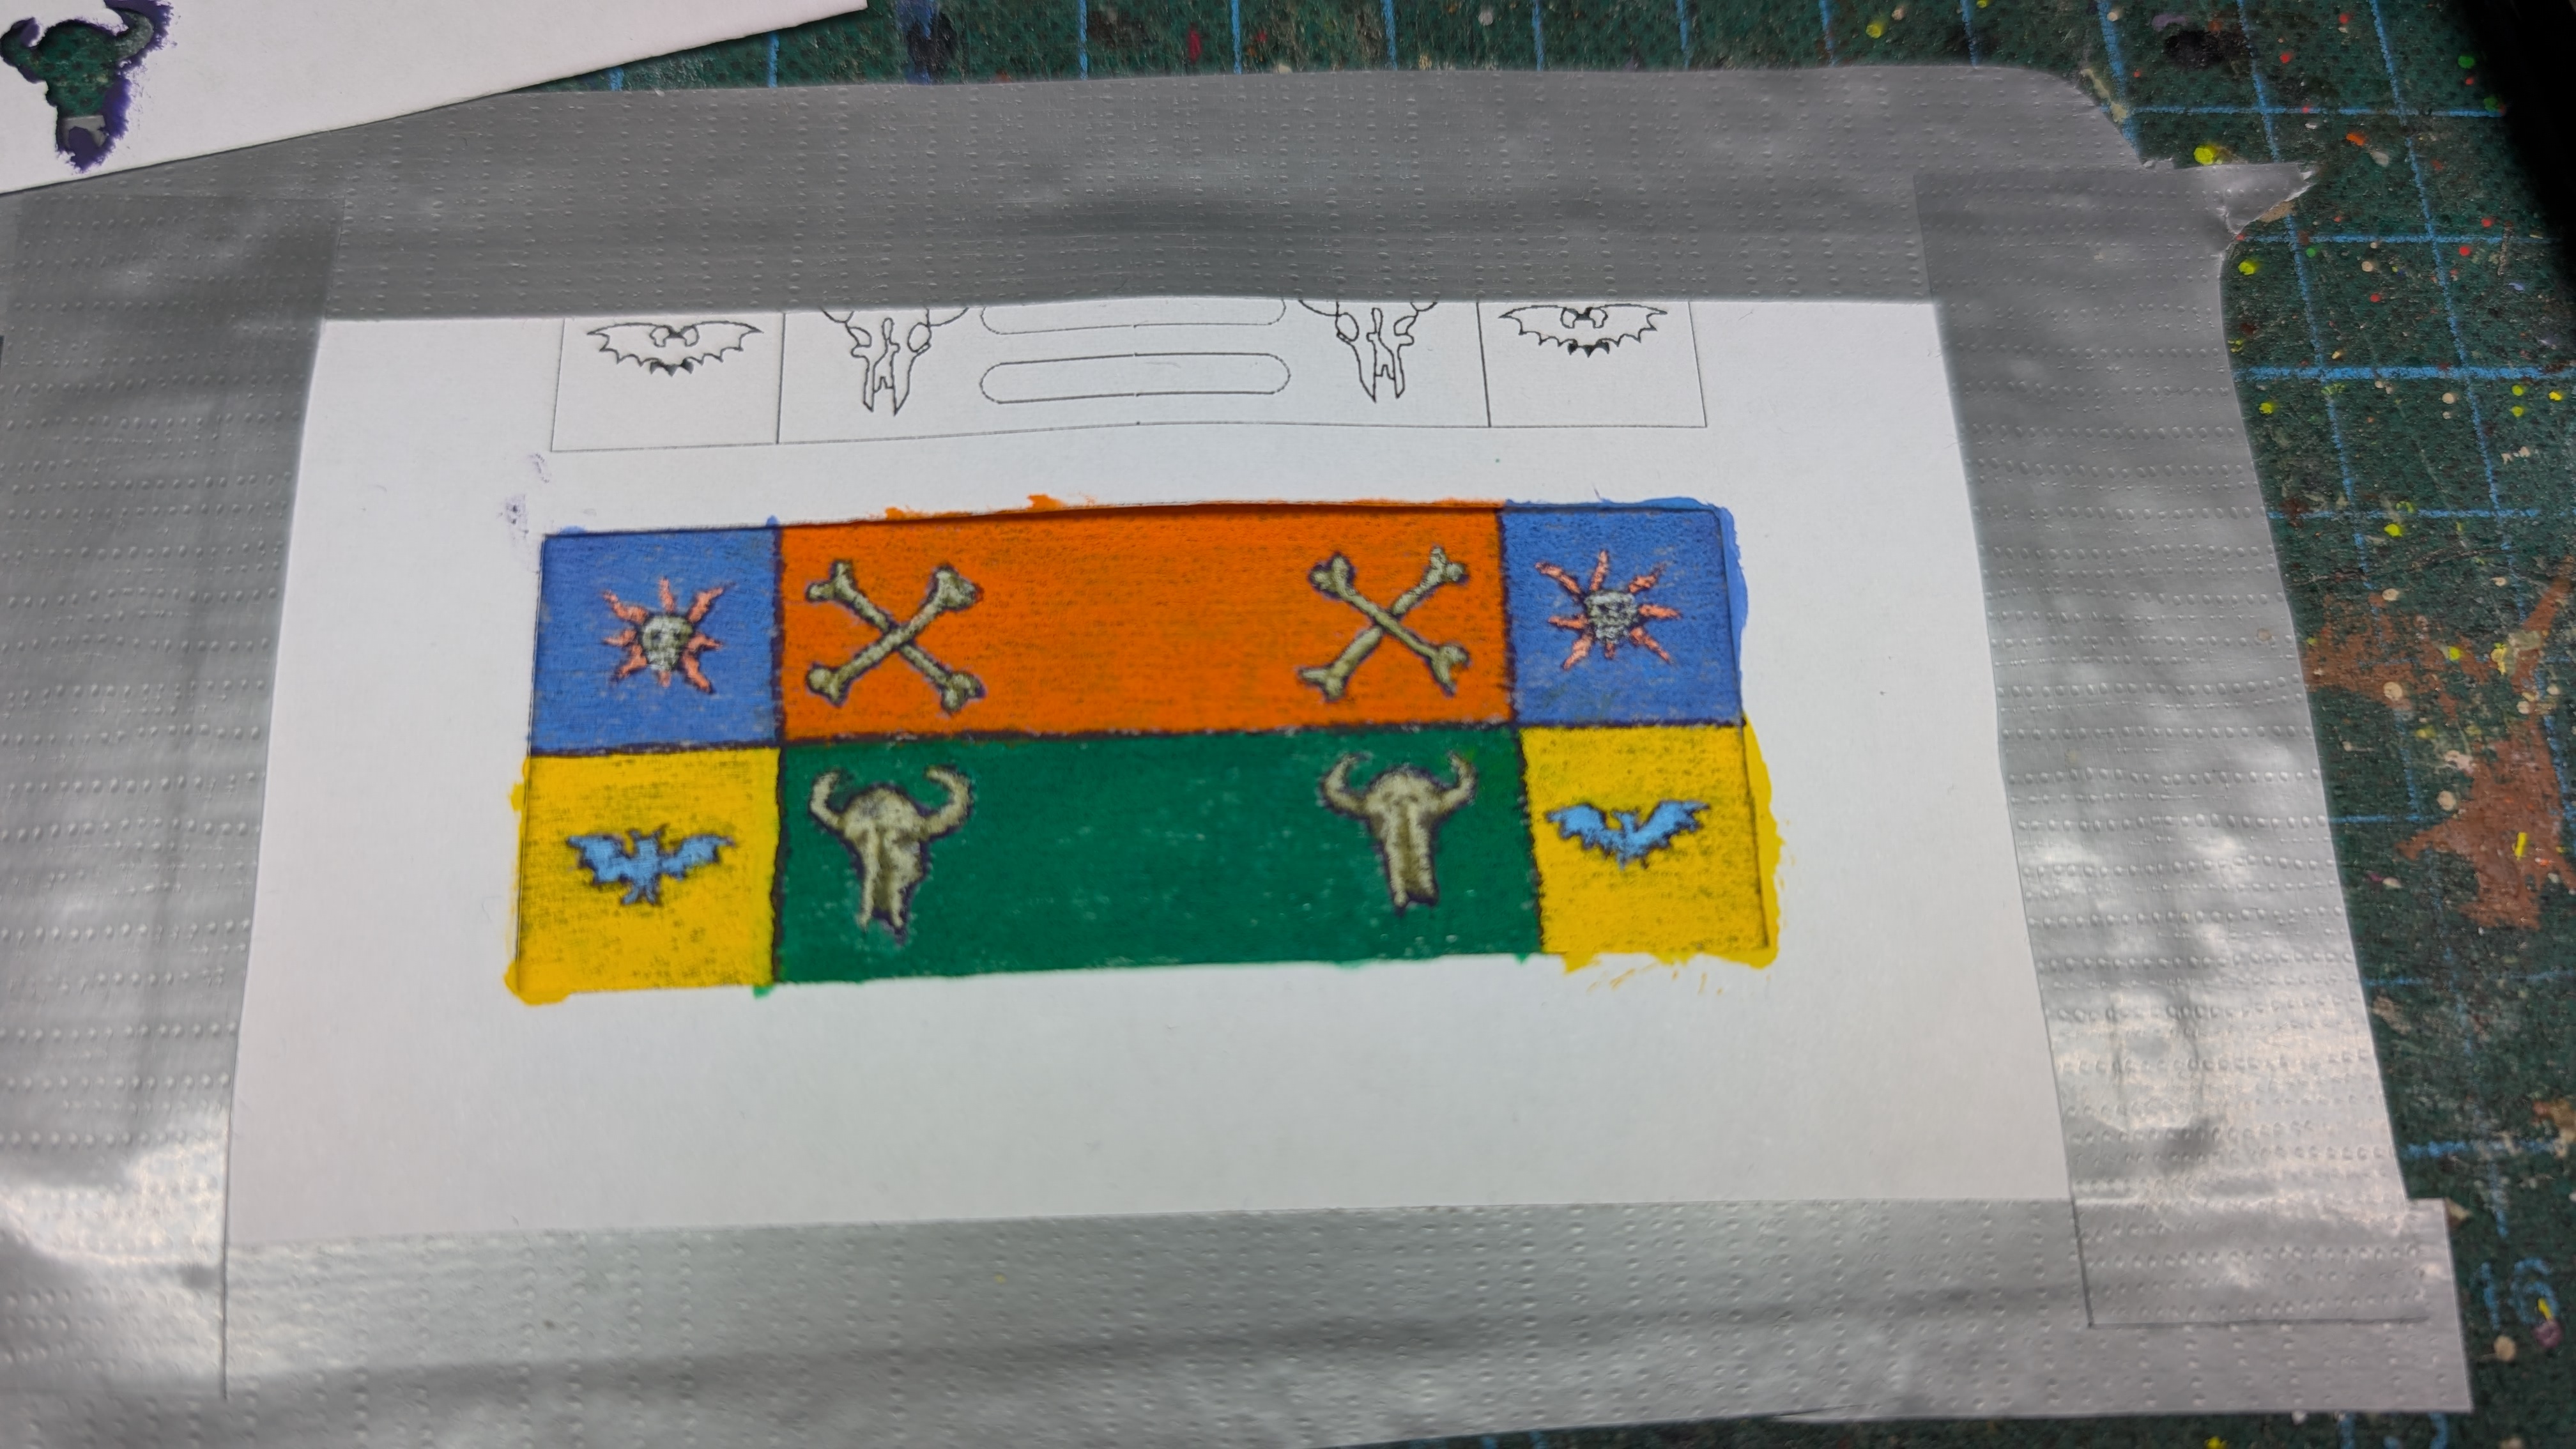
Coming back to the flag, after tidying up the outlines – well, as best as possible. The drawback of using something that looks like actual fabric is, it actually is real fabric. This means you have threads, and some depressions between them, some stray hair standing up… So drawing a straight line often does not work, because it gets interrupted all the time. So it was more dabbing on small points, when I tried to create a certain shape.
Anyway, after tidying up the outlines, I started to paint in the details, leaving the purple outline. The four fields of the flag were then also separated by purple lines.
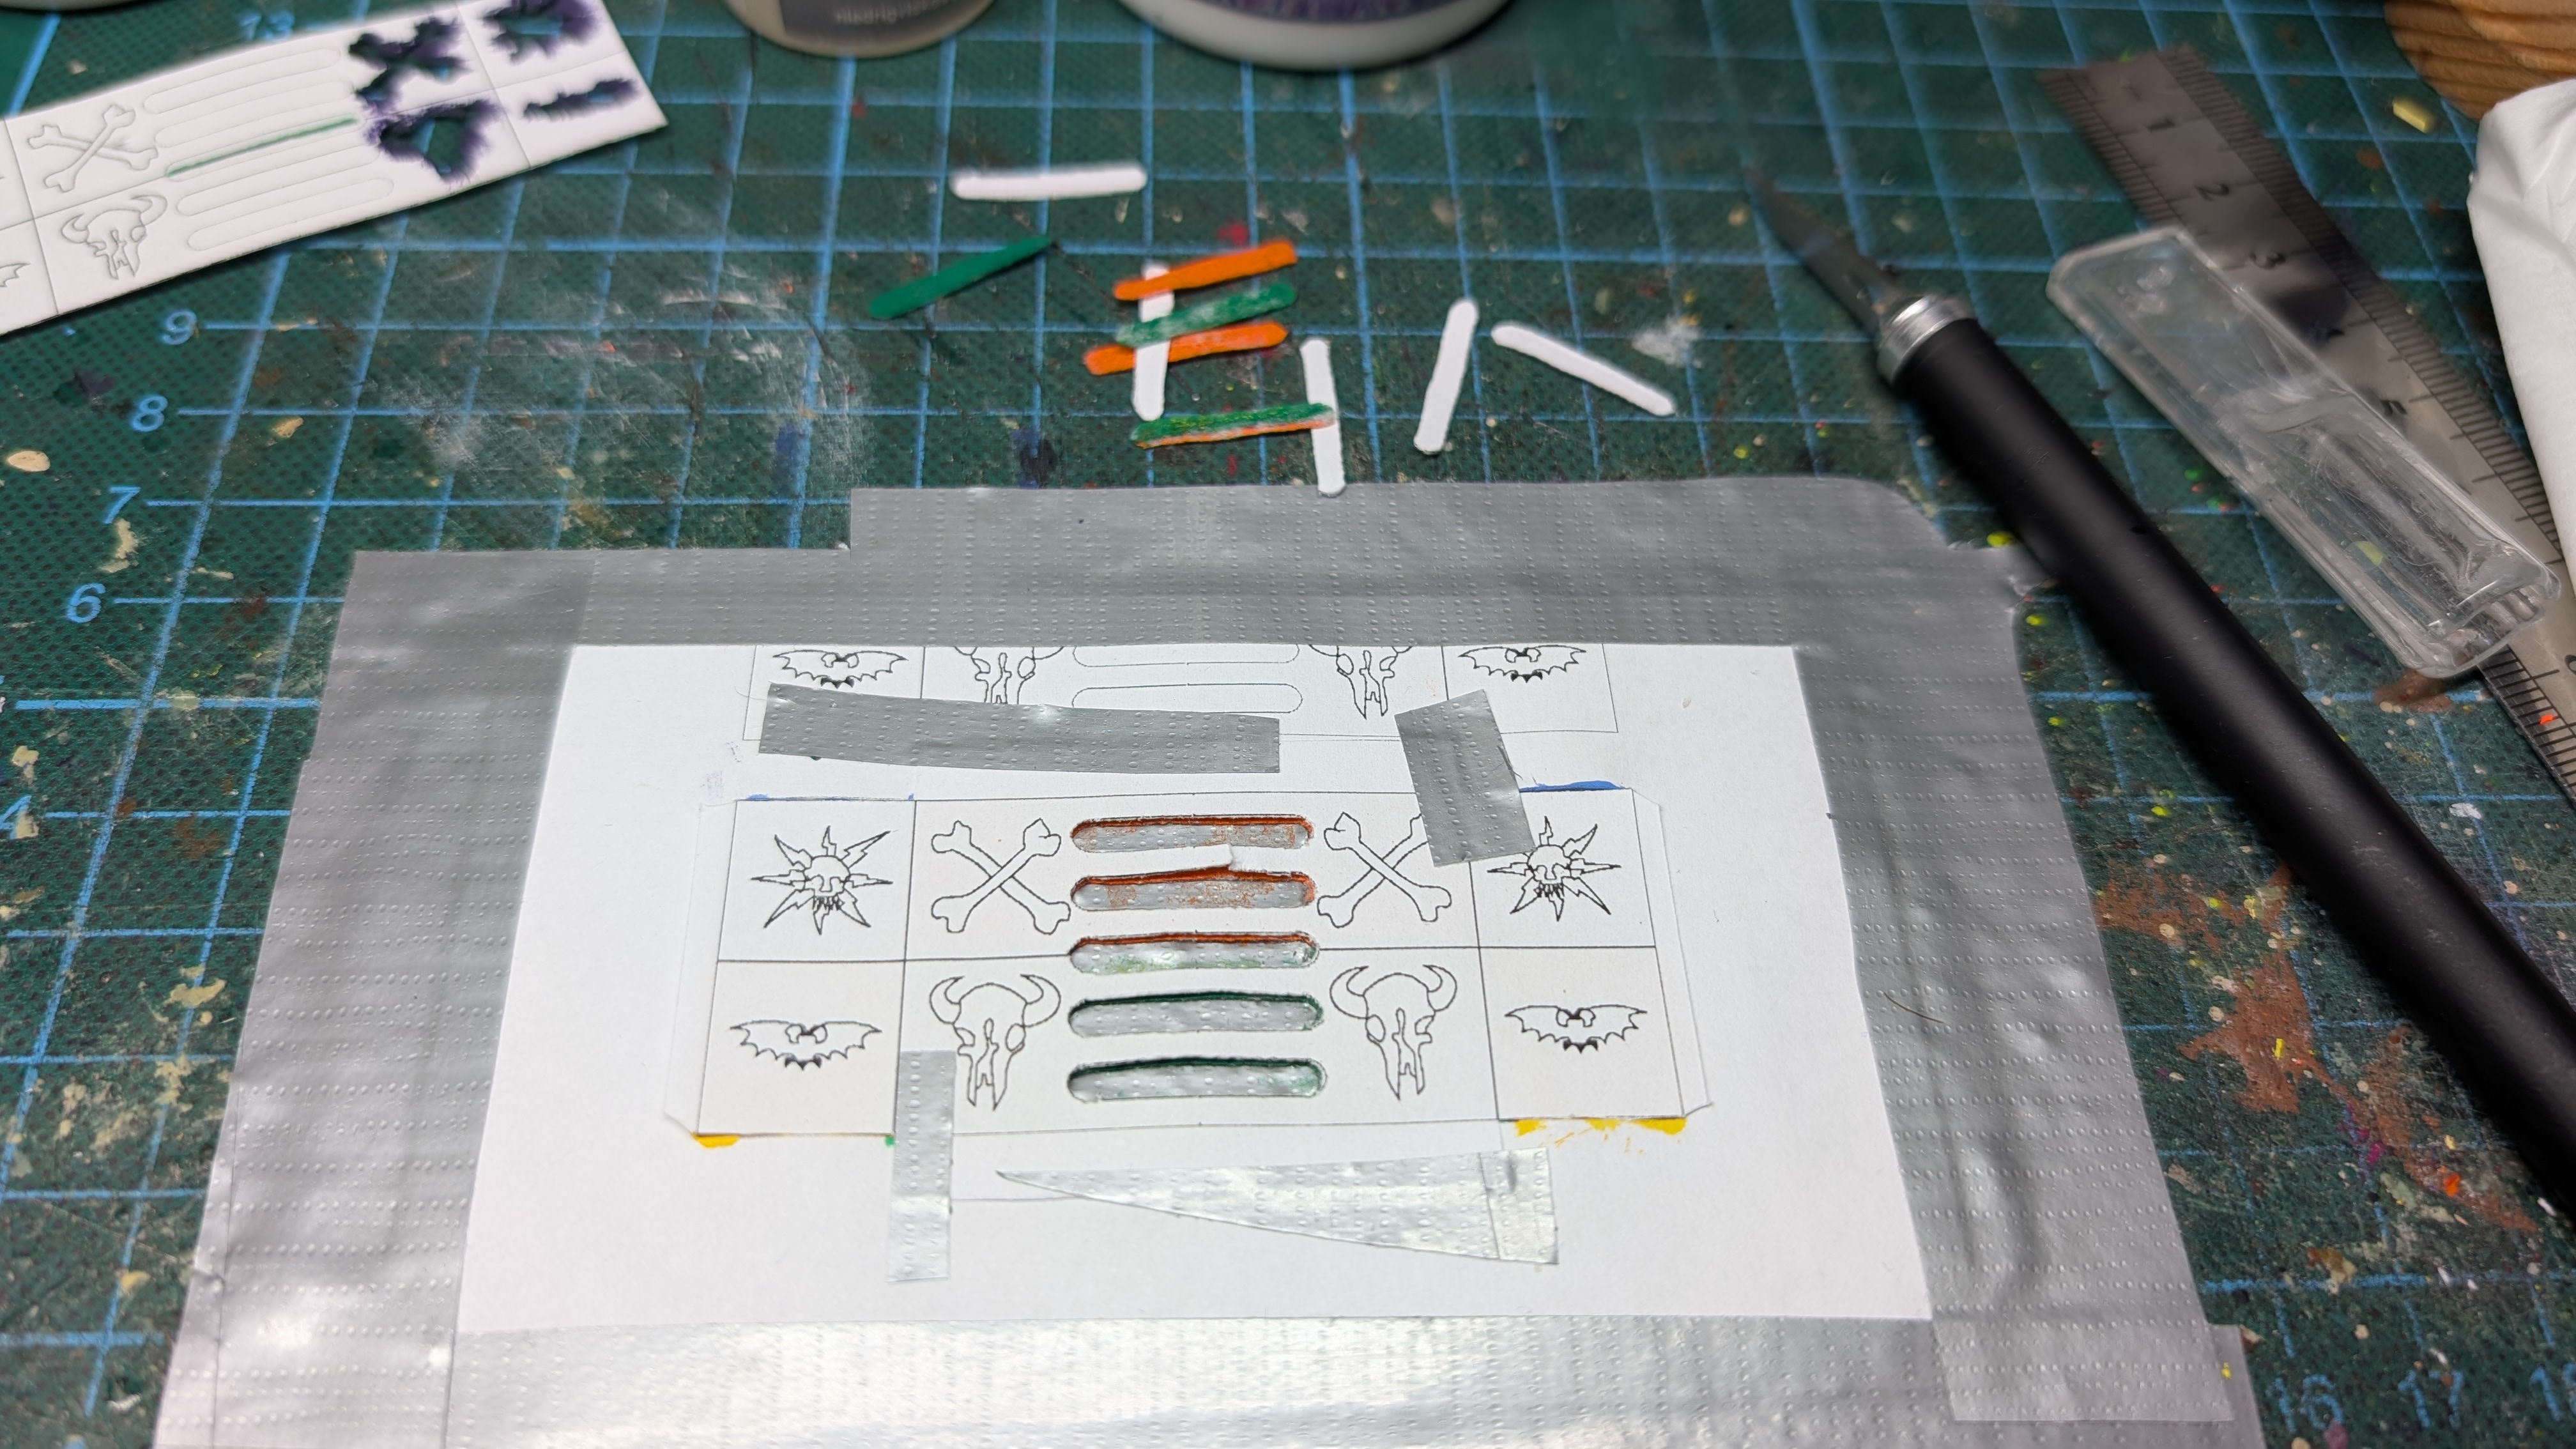
Using another cutout flag, I inserted into the canvas, I then cut out the center areas to represent the straps. This was also done in small cuts, as dragging along the lines might also rip rather than cut the fabric.
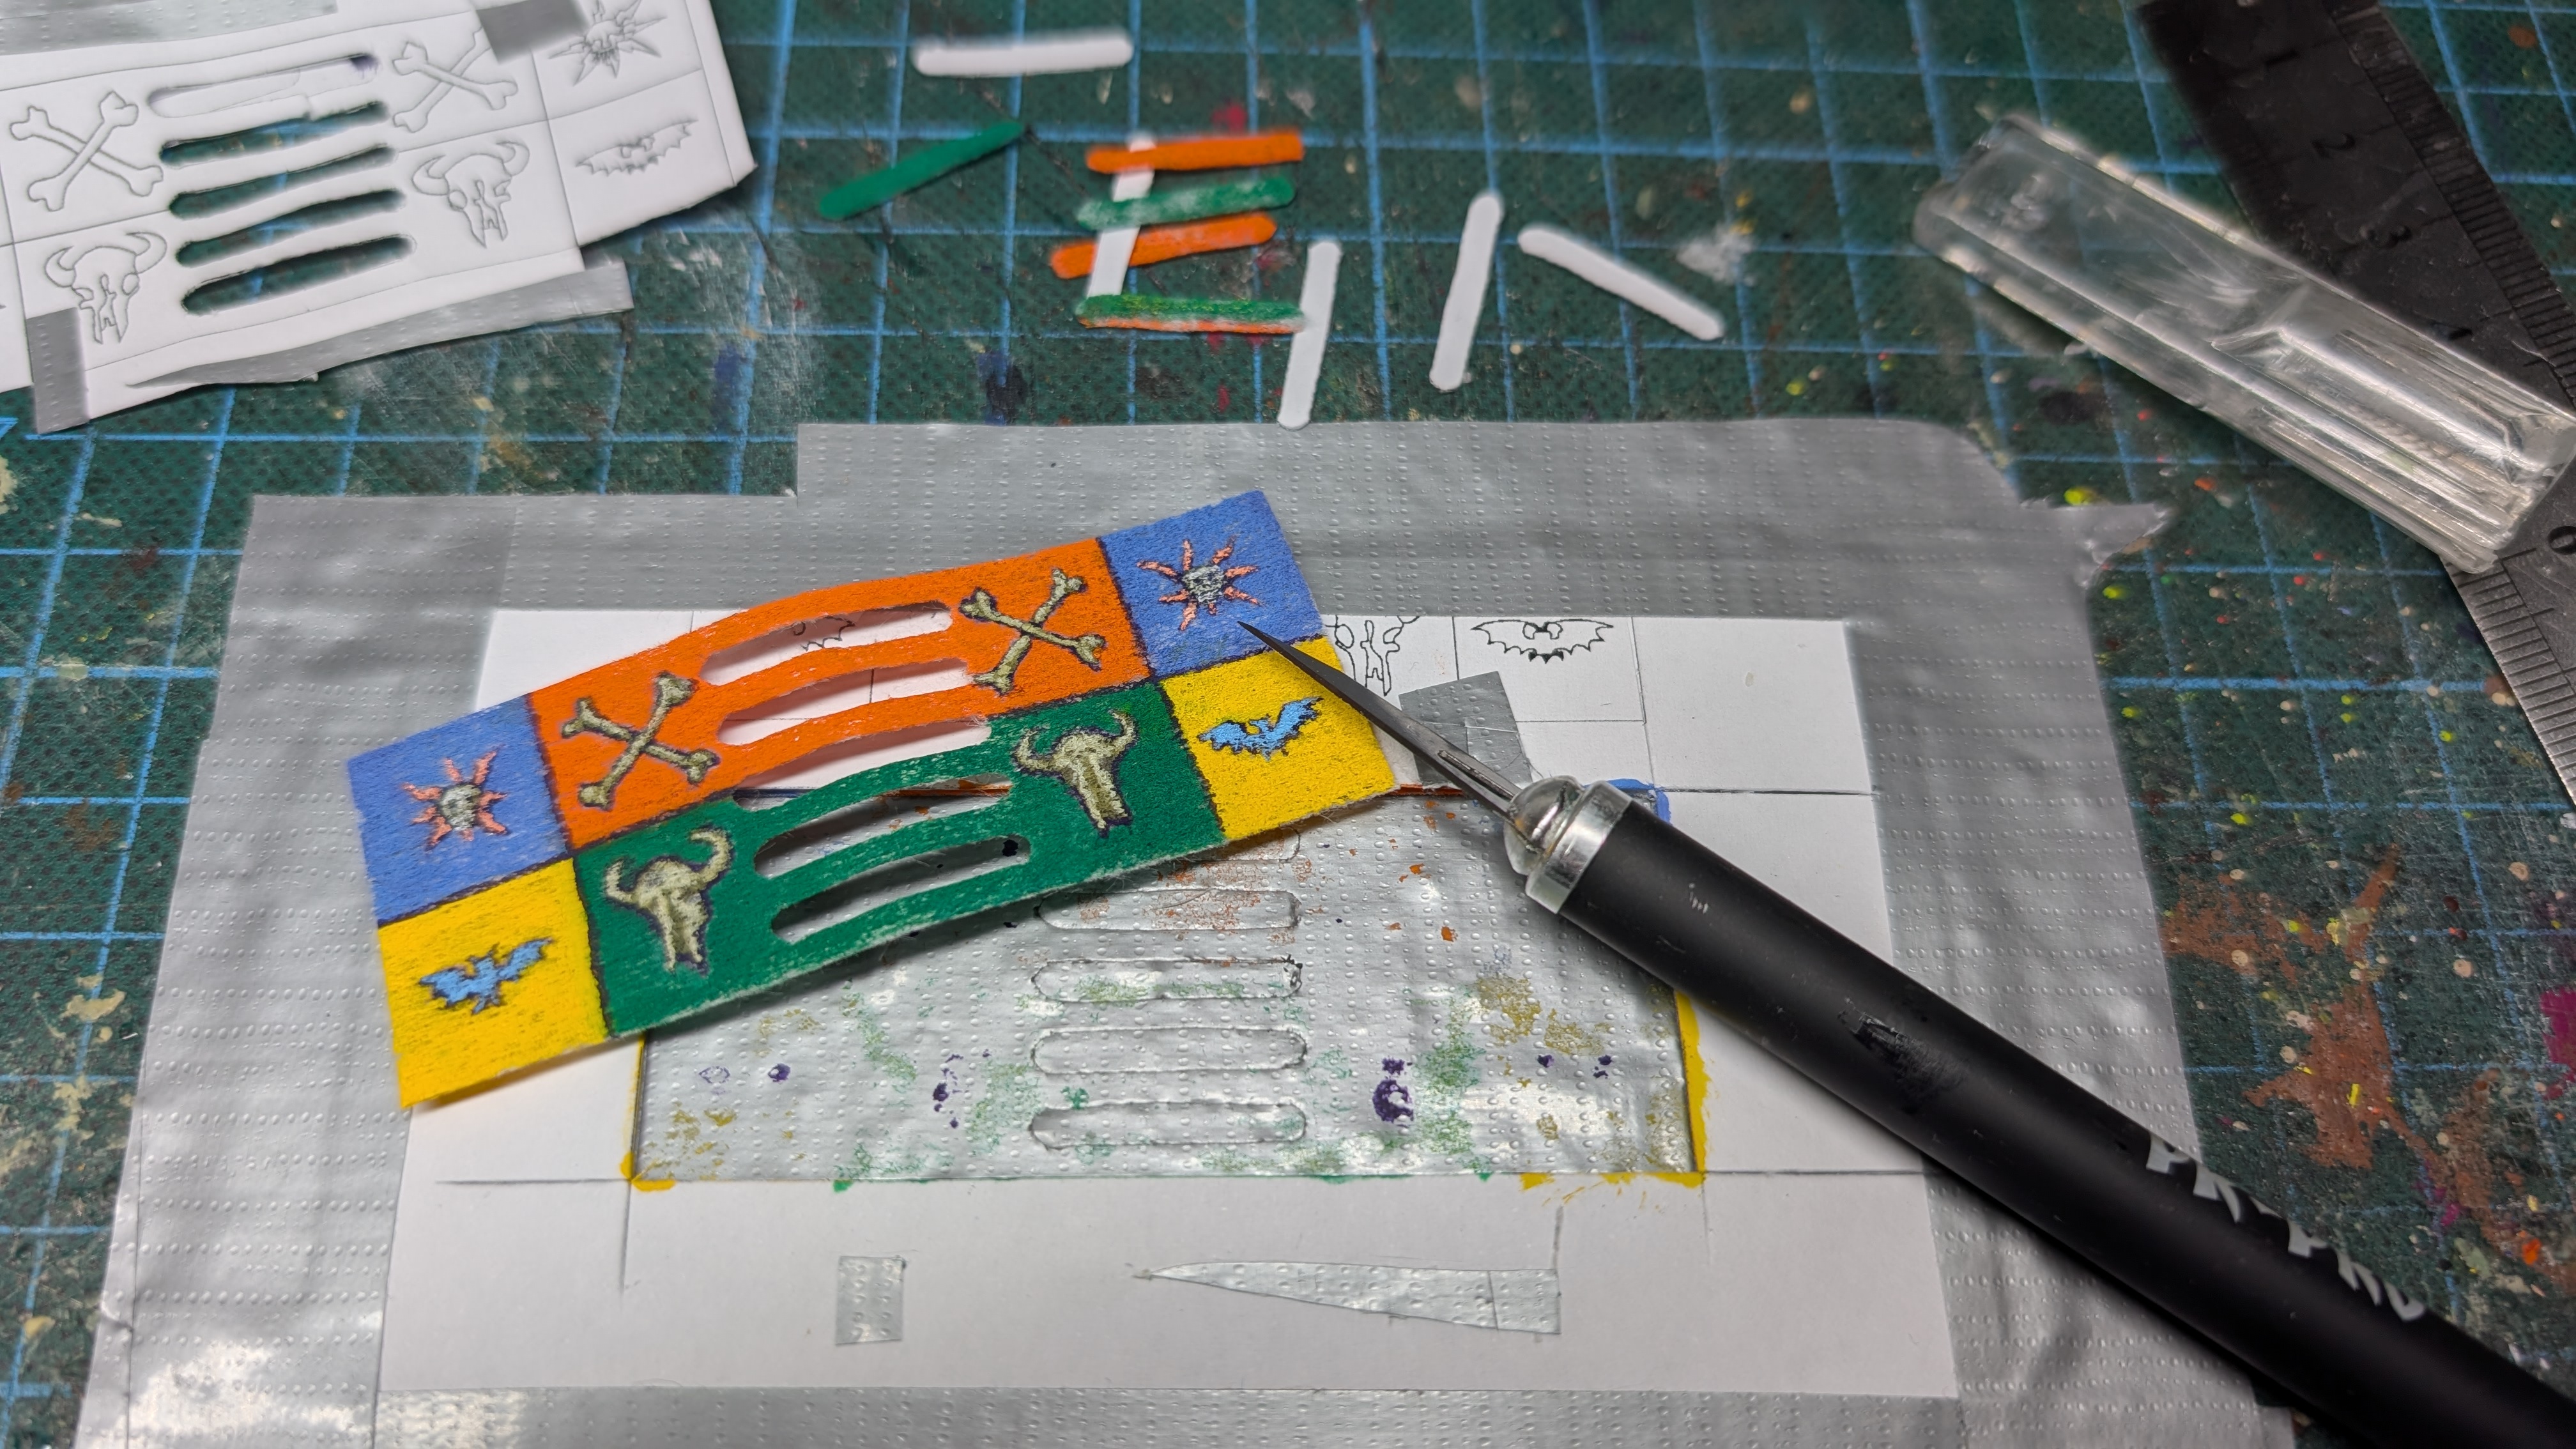
Then, the whole flag was cut out.
I then had an idea, that never occured to me before. I still had the Kraut-Tac base glue in front of me. This is a kind of glue, which is super sticky, and never fully cures. It dries to a rubber like consistency, which never looses its tackiness; similar to the stuff freebies are attached to the front of magazines with.
The idea is, to glue the flag with that glue, then shape it (as it will still be flexible), then use the base fixer from Krautcover (to my understanding a PVA/ISO mix, basically) to harden the shaped form.
Let's see how this turns out. So far, I used a thin strip of Kraut-Tac to fix the ends together, then I attached the rear to the pole with drops of superglue.
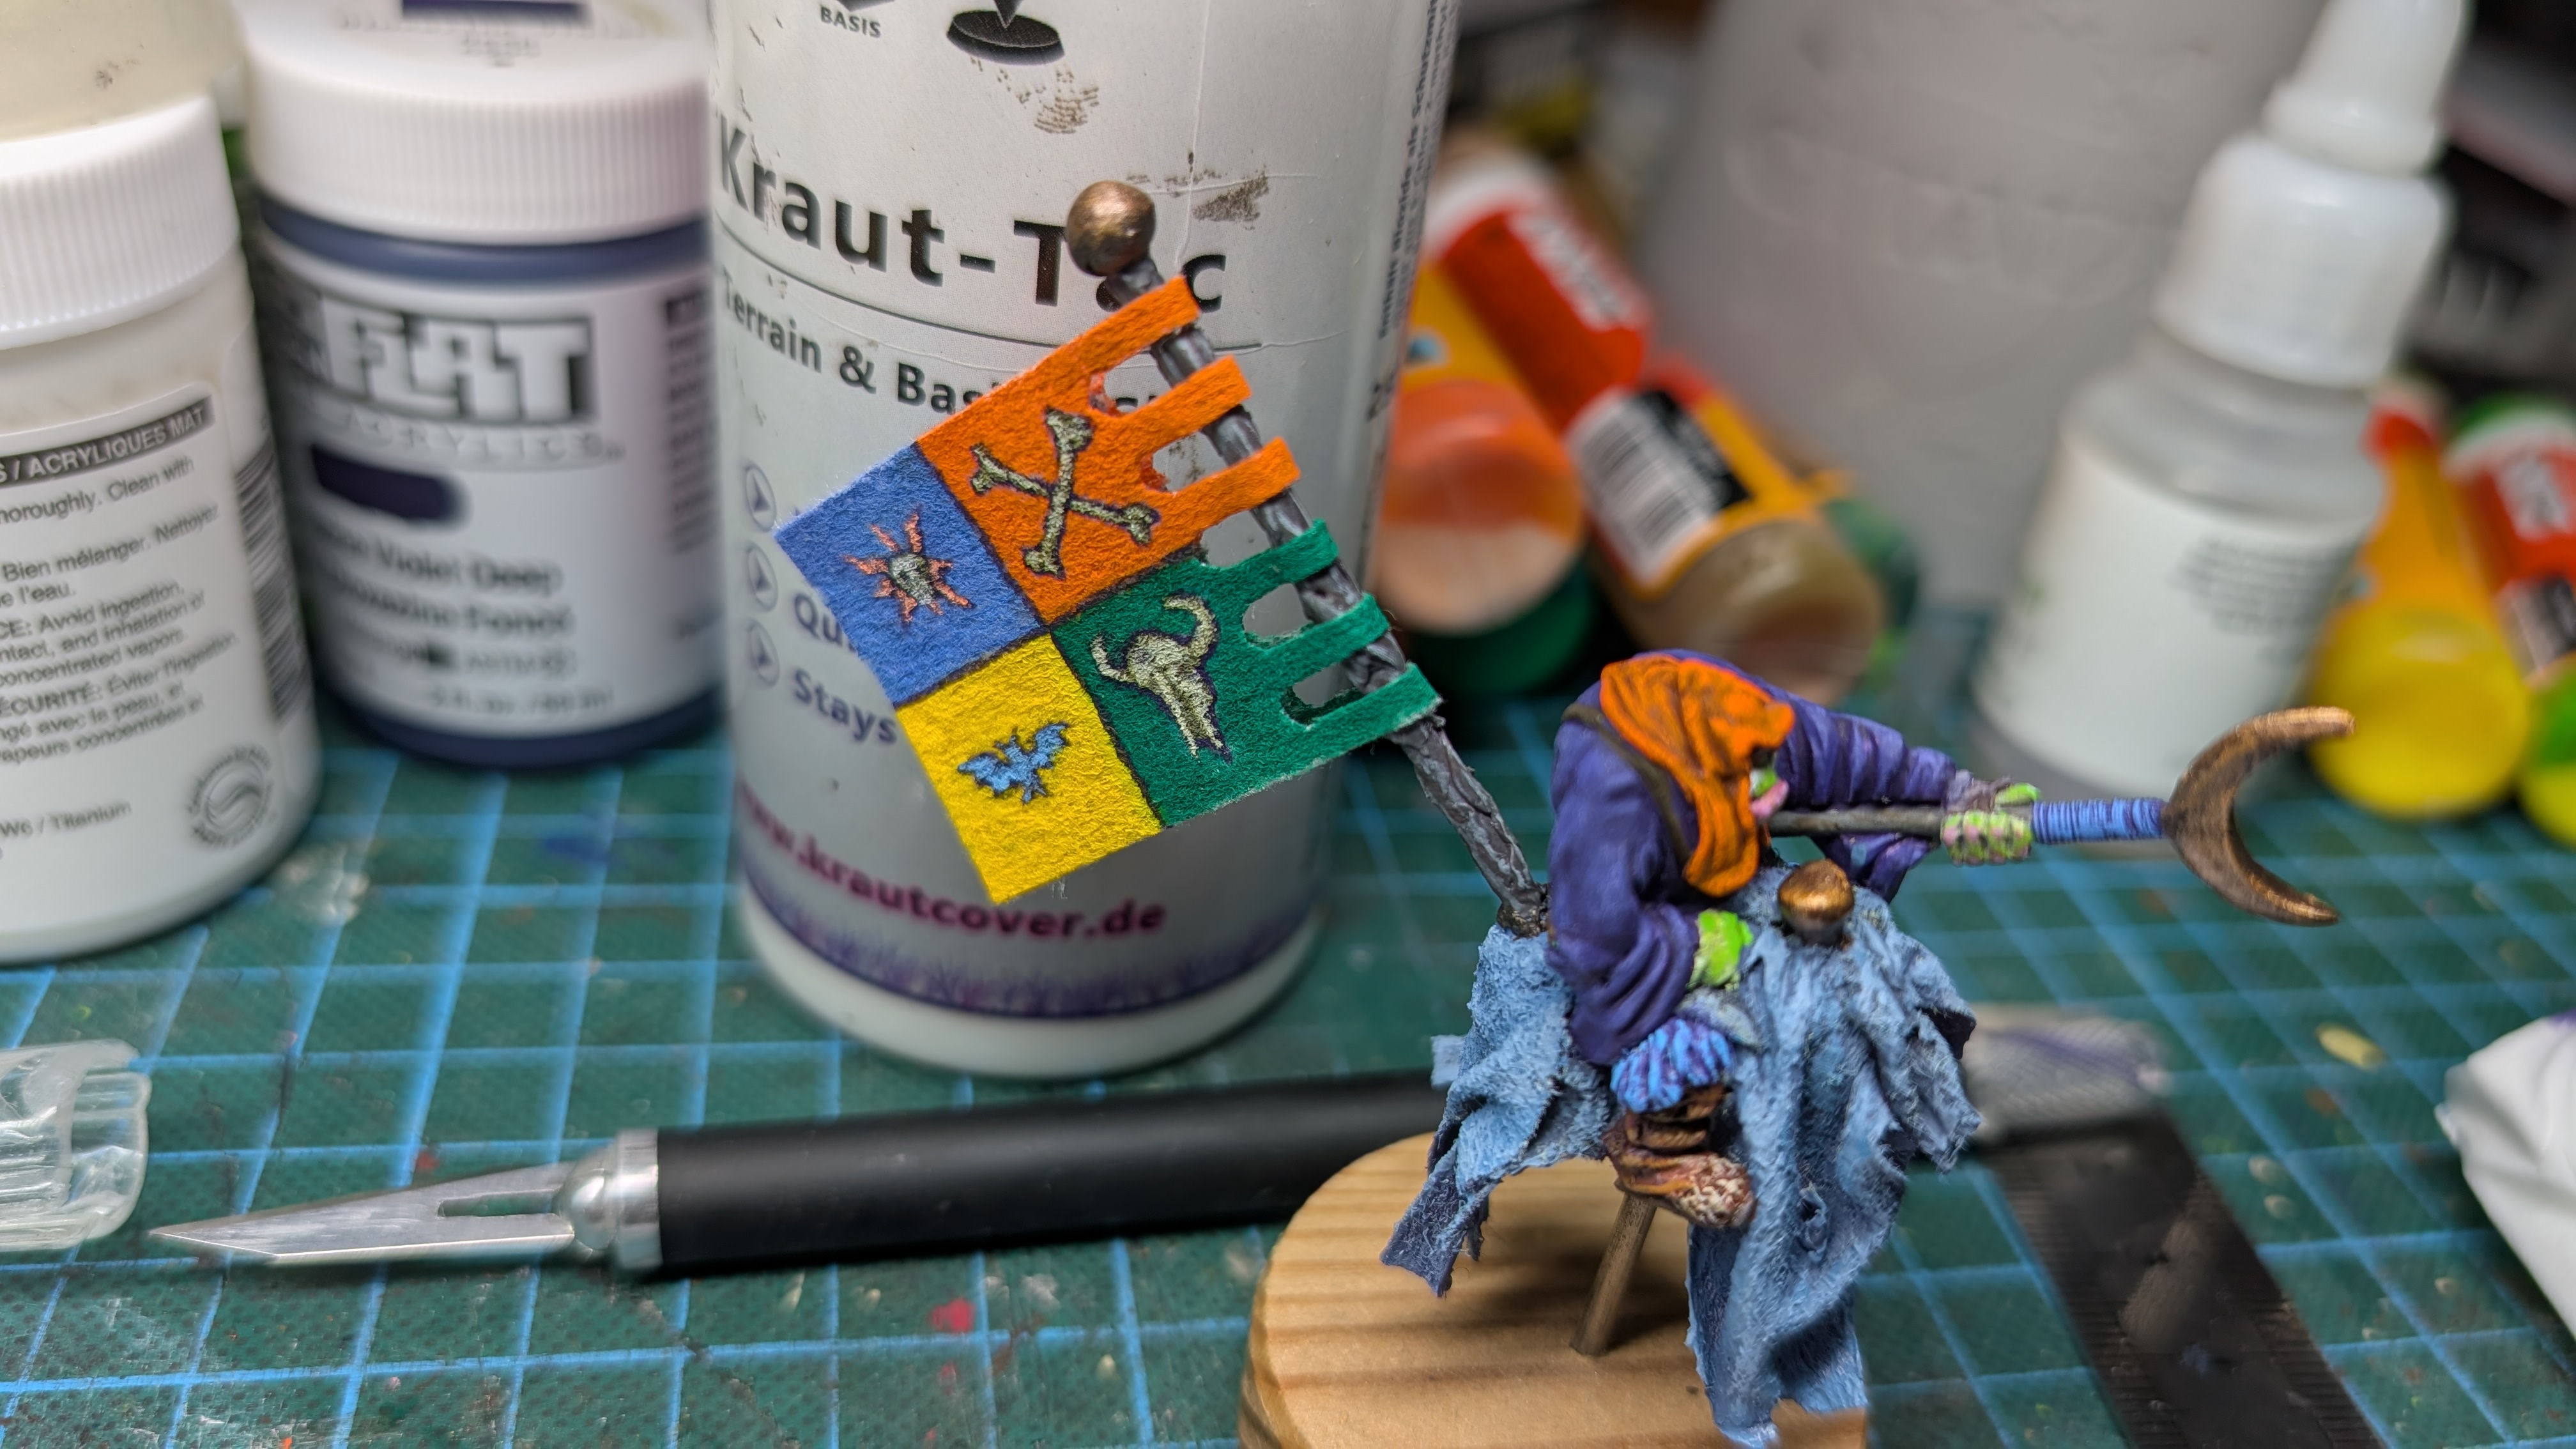
So far, the middle of the flag is not yet glued, this will follow next.